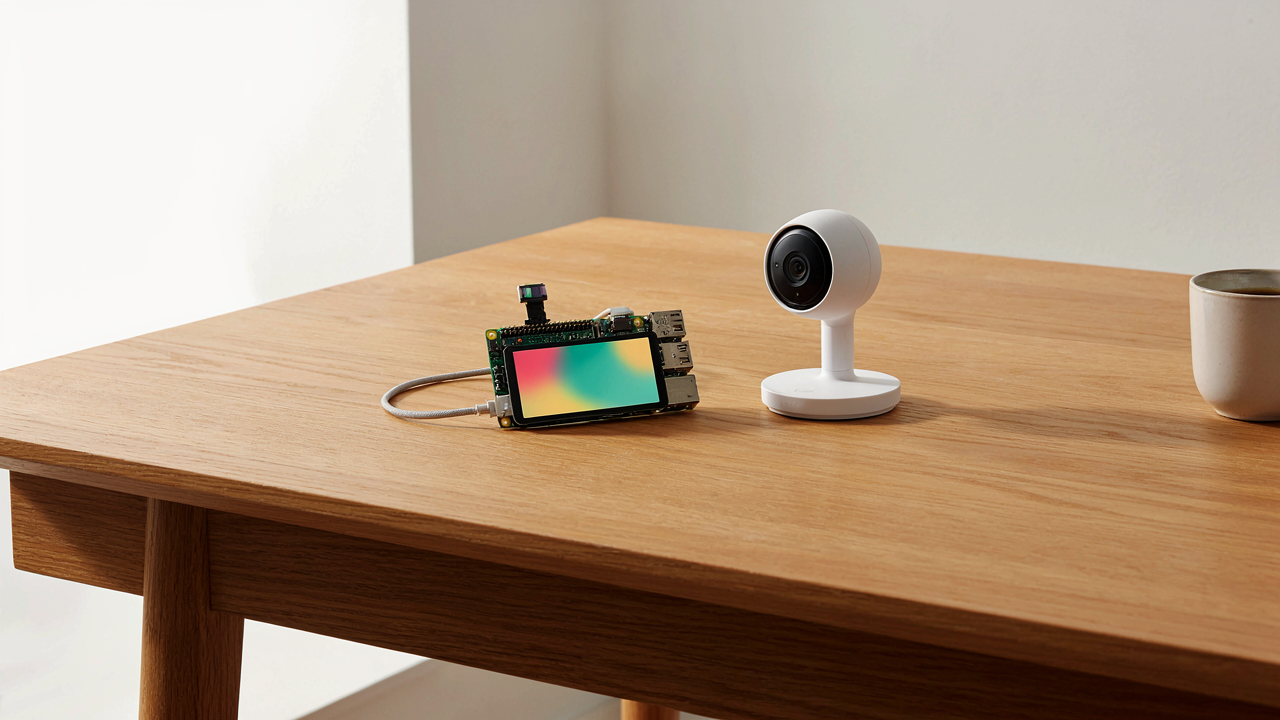
The Illusion Of “Simple” DIY: Why Most Projects Fail
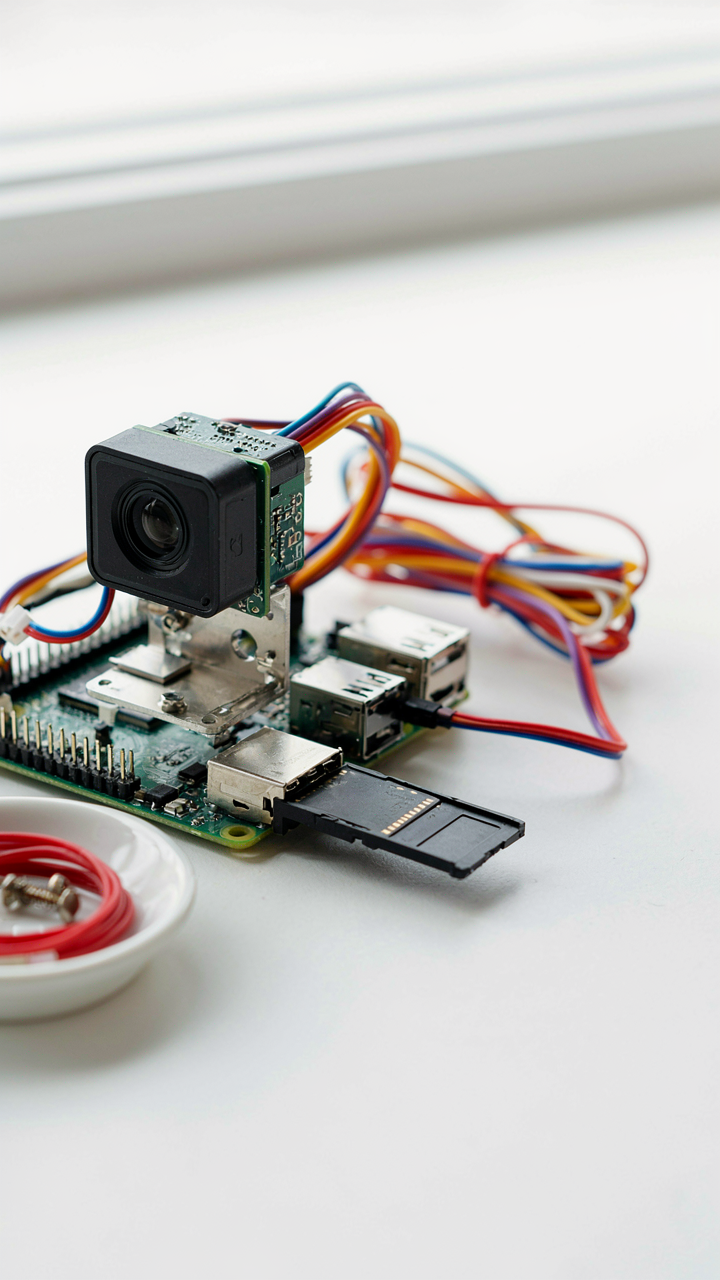
You’re Betting On Staying Interested
You want this to work because you don’t want to admit a $40 computer won’t behave like a $400 product out of the box. The real mechanism is technical debt, borrowed from software engineering: every shortcut you take compounds into maintenance burden that kills the project months later. A Pi security camera isn’t a one-time build. It’s a system that demands updates, debugging, and intervention the moment you stop paying attention to it.
Most people build a Raspberry Pi camera, it runs for three weeks, then they ignore alerts about kernel updates or storage filling up. The system doesn’t fail catastrophically. It degrades. You notice the footage is corrupted. The night vision cuts out. The web interface times out. By then, you’ve already forgotten the setup, and the cost of fixing it exceeds the appeal of having it at all. That’s technical debt in motion. The mechanism that kills DIY security projects isn’t complexity during setup. It’s apathy during maintenance.
The False Comfort Of Basic Encryption
Everyone assumes a Raspberry Pi camera behind a password is secure because that’s what consumer camera makers advertise. It’s incomplete thinking. A basic setup running Raspberry Pi OS with default SSH credentials and a self-signed certificate creates a surface that invites compromise. You’re not protecting anything. You’re creating a node on your network that demands constant attention to patching, credential rotation, and network segmentation.
The real risk isn’t someone breaking in dramatically. The risk is slow decay: you never update the system, a known vulnerability sits unfixed for months, and your camera becomes a pivot point into your home network. Implement network isolation immediately. Separate the Pi onto a guest VLAN or isolated subnet that cannot reach your personal devices or router admin panel. This single step removes the illusion of security and replaces it with actual compartmentalization.
Deconstructing The “Cheap” Narrative: True Cost Vs. Perceived Savings
Hardware Failure And The Storage Problem
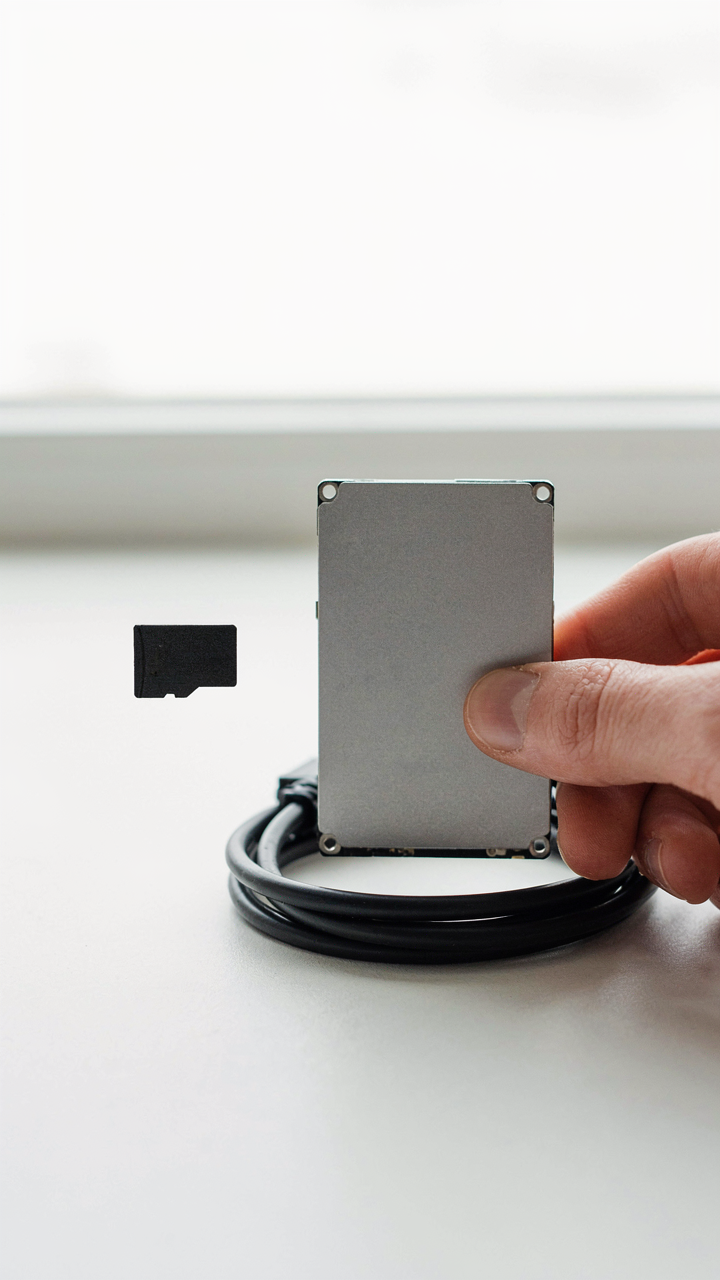
You want to believe a forty-dollar computer solves your surveillance problem because admitting otherwise means you wasted research time. Here’s the mechanism: Raspberry Pi hardware degrades under continuous load. SD cards fail predictably within twelve to eighteen months under constant read-write cycles that security footage demands. A Pi running MotionEye or similar software writes gigabytes daily. Most users buy the cheapest SD card available, then lose weeks of footage when it corrupts without warning.

The real cost surfaces when your system goes dark and you have no recording of the break-in you thought you were capturing. Commercial systems use industrial-grade storage designed for this workload. A Pi needs either a USB-connected SSD with proper power delivery or external NAS storage, which immediately adds one hundred to three hundred dollars to your actual project cost. Most project guides gloss over this because they focus on initial assembly, not operational reality.
Time Investment Against Off The Shelf Reality
Economics calls this the labor cost variable, and most Raspberry Pi security camera builders completely ignore it. Setup requires choosing an OS, configuring network access, managing SSH credentials, troubleshooting driver conflicts, and maintaining software updates indefinitely. You’re looking at fifteen to thirty hours of active work before the system runs reliably. A commercial four-camera system from established manufacturers installs in under an hour and ships with support.
The math breaks down fast. If your time costs anything above minimum wage, you’ve already exceeded the price difference between a Pi setup and a Reolink or Wyze system that handles power management, storage optimization, and failover automatically. You then spend months patching security vulnerabilities on your Pi because it runs a full Linux OS that you’re responsible for maintaining. Calculate your hourly rate, multiply it by actual hours spent, then decide if the forty-dollar entry price was ever cheap.
The Zero Trust Camera Protocol: Your Network Your Rules

Isolate The Pi On Its Own Network
You want this section to feel like security theater, but the real reason you care is that you don’t want to admit your home network is already compromised. Most people run their camera on the same network as their banking devices and call it fine. It isn’t. Network segmentation uses the military concept of defense in depth: each layer fails independently, so one breach doesn’t cascade through your entire system.

A VLAN (virtual local area network) is a logical partition on your physical router. Your Pi lives on VLAN 2. Your laptop lives on VLAN 1. They share hardware but not traffic. Configure this in your router’s admin panel, assign the Pi a static IP address within that VLAN range, and confirm isolation by pinging from one VLAN to the other—it should fail. The Pi can still reach the internet, but nothing on your main network can initiate contact with it unless you explicitly allow it.
Block Everything Except What Leaves
Most people think firewall rules protect against incoming threats. That’s backwards. Your Pi sits behind a home router already. Outbound rules matter because they stop your camera from phoning home to a server you didn’t authorize, or from becoming a bot in someone’s botnet. One firewall rule protects you. Two dozen rules that log everything tell you what’s actually happening.
- SSH (Port 22): Allow outbound only if you need remote access. Better: use a bastion host or VPN instead and block this entirely.
- DNS (Port 53): Allow to your router’s IP only, not to 8.8.8.8. Prevents DNS hijacking and tracks all name queries.
- NTP (Port 123): Allow outbound to one time server only for clock sync. Restrict to a single IP, not a pool of servers.
- HTTPS (Port 443): Allow only if the Pi connects to a cloud service you’ve chosen. Whitelist the exact IP range or hostname.
- HTTP (Port 80): Block entirely. No reason for a camera to use unencrypted HTTP in 2024.
Set the firewall’s default policy to DROP all outbound traffic, then explicitly allow only what the Pi needs. Test each rule. Log denials for 48 hours, then review. Any blocked traffic you don’t recognize means either the Pi is trying to phone home or a service you installed has a dependency you missed. Kill the service, don’t disable the rule.
Beyond Motion: Integrating OpenCV 3 Raspberry Pi For Real Intelligence

Custom Object Detection For Reduced False Alerts
You want this section because you’re tired of your phone blowing up when leaves move. Here’s the mechanism: generic motion detection treats all pixel changes equally. OpenCV’s YOLO (You Only Look Once) or MobileNet models run inference directly on the Pi to classify what moved before triggering an alert. The Pi 4 with 4GB RAM handles this without offloading to the cloud. You filter for humans, cars, animals, or packages. Everything else dies silent.

Standard motion detection on a Raspberry Pi uses frame differencing or background subtraction. Both fail catastrophically in changing light or weather. Custom object detection inverts this logic: instead of asking “did pixels change,” it asks “what object exists in this frame.” Load a pre-trained model like MobileNetSSD, which weighs 27MB and processes 5-10 FPS on Pi hardware. Train it on your specific environment if false alerts persist. The model learns what matters to you, not what moves.
Facial Recognition For Authorized Access Logic
Facial recognition sounds like sci-fi implementation but functions like a simple database lookup. You’re not trying to identify every face on Earth. You’re building a whitelist of people who should unlock specific responses: disarm alerts, unlock a door, log entry timestamps. This is not identity verification for security purposes. This is pattern matching against a known set. The distinction matters because the computational load drops 80% when you only match against 5-20 faces instead of millions.
Run OpenCV with dlib or use Mediapipe’s face detection, which executes on Pi 3B without frame lag. Encode authorized faces into 128-dimensional vectors at setup time. Store these vectors in a local database, never send them anywhere. During live feed, detect faces, encode them, compare against your stored vectors using Euclidean distance. Set a threshold: matches below 0.6 distance trigger your logic. Implement this comparison in a Python script that polls the camera feed every 500ms, updating an access log file that your automation layer reads.
Hardware Is Policy: Raspberry Pi Camera Wiring & Arducam Mastery
Connectors That Won’t Fail Under Pressure
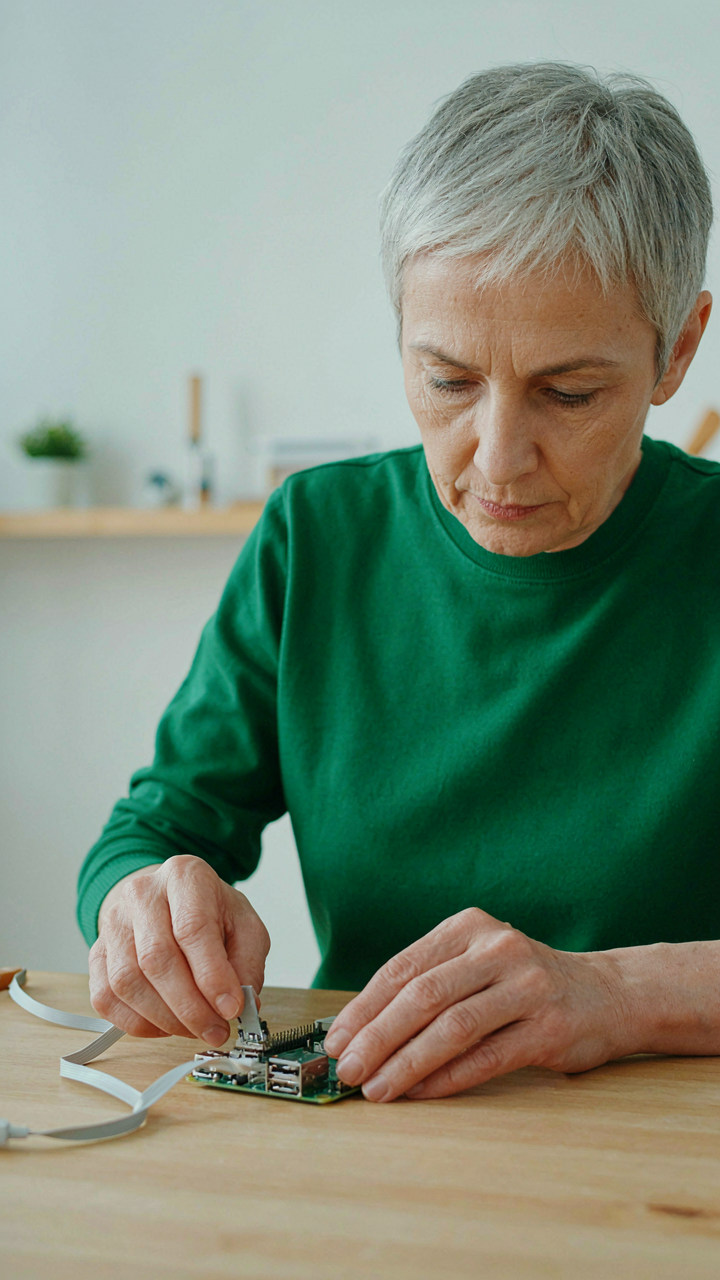
You care about this section because you’re afraid the camera will disconnect at the worst moment, leaving you blind when you need footage most. That fear is rational. The mechanism that determines reliability is contact integrity under thermal cycling and vibration. A loose ribbon cable is not a minor inconvenience. It’s a failure point that compounds with time.

The Raspberry Pi uses a 22-pin MIPI CSI-2 connector. The camera ribbon inserts into a friction-based slot, not a soldered connection. Insertion depth matters. Push until resistance stops, then verify the latch locks. Partial insertion creates intermittent dropout. Test the connection by running `vcgencmd get_camera` before mounting anything. If it returns an error, reseat the cable before proceeding. Thermal paste on the camera module also prevents heat soak that can degrade the connector over months.
When Standard Cameras Stop Working
Most guides recommend the official Raspberry Pi camera module and call it done. That recommendation solves 40 percent of use cases and fails the rest. The official module performs poorly below 100 lux, producing grainy footage in evening or interior monitoring. It has no infrared capability. Multi-camera setups require USB bandwidth juggling that wastes processing power on the Pi’s limited bus.
Arducam modules address these gaps through hardware specification, not firmware tricks. Their low-light variants use larger sensors and higher quantum efficiency, capturing usable video at 30 lux where the official module produces unusable noise. IR models integrate an infrared LED array on the same board, eliminating the need for external lighting hardware. The multi-camera variants connect via USB, freeing the CSI ribbon for a single high-quality feed while secondary streams run independent. The trade-off is complexity. You manage power distribution across multiple modules and diagnose which device disconnects when one fails. That complexity is worth the capability gain when lighting conditions demand it.
The Redundant Array Of Independent Cameras (RAIC) Strategy
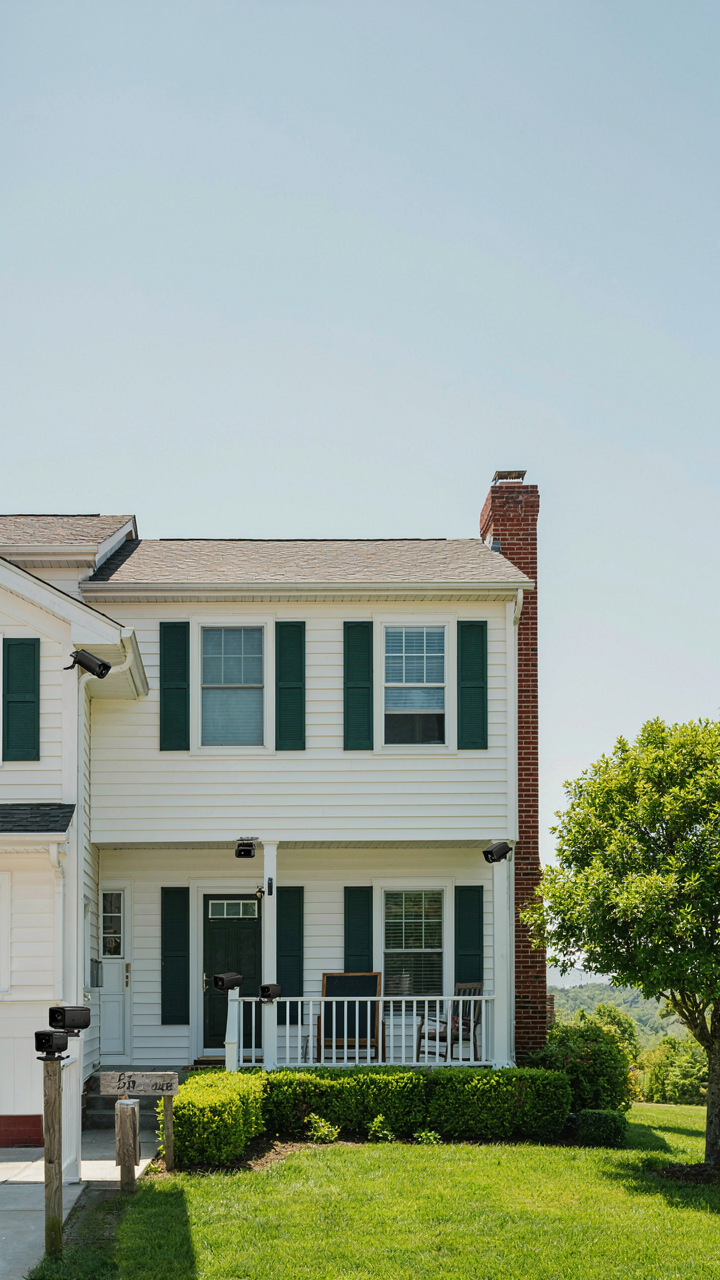
Distribute Sensors Like A Biological Nervous System
You want redundancy without admitting you’re terrified of a single point of failure. Here’s the mechanism: biology uses distributed sensing because centralized perception dies when one node fails. Apply that to your camera network. Instead of one Pi running everything, place independent Raspberry Pi units across different zones. Each operates autonomously. Each records locally. One camera’s failure doesn’t blind your entire system.

The common advice says “just add more cameras.” Wrong. Most setups create bottlenecks at the hub, not the edge. Run each Pi with its own storage, its own power supply, its own network path when possible. Network redundancy matters more than camera count. If your main router dies, a second Pi on a cellular backup or separate WiFi band keeps recording. This isn’t overkill. It’s the difference between monitoring and hope.
Centralized Processing Via Camera Multiplexer
Multiplexing collapses distributed input into unified output without losing independence. A Raspberry Pi Camera Multiplexer (typically a CSI ribbon-based expansion or GPIO relay module) lets one primary Pi ingest feeds from multiple secondary cameras without forcing each camera into a daisy-chain dependency. The secondary units keep recording regardless of whether the primary Pi processes their footage.
Set it up this way: secondary Pis handle local recording and motion detection. The primary Pi pulls feeds only when needed for review or real-time monitoring. This architecture means bandwidth doesn’t spike when all cameras trigger simultaneously. Each unit buffers its own data. The primary Pi orchestrates analysis, not throughput. When the multiplexer receives signal from a secondary Pi, it prioritizes the stream for analysis, then logs the event. The mechanism is protocol-based, not resource-based: GPIO pins or CSI connectors signal state changes, not continuous data dump.
Off Grid Resilience: Powering And Protecting Your Raspberry Pi Camera Project Ideas
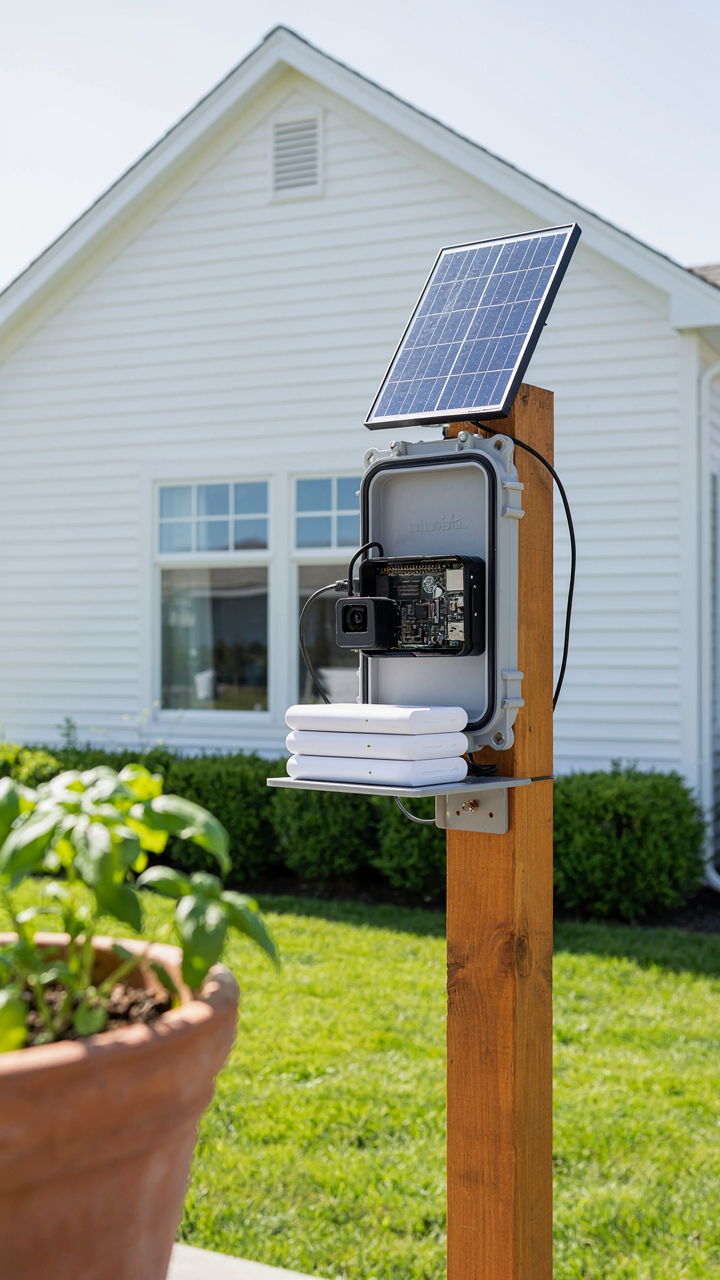
Power Redundancy When The Grid Fails
You want this system to keep running when you’re not around, not because you’re paranoid, but because a dead camera on day three of an outage defeats the entire point. The mechanism here borrows from electrical engineering’s concept of load shedding: your Pi consumes minimal power compared to traditional security systems, which means you can actually achieve true redundancy without industrial infrastructure.

A single Raspberry Pi 4 draws 2.7 watts under typical load. That’s not a typo. One 10,000 mAh power bank runs it for roughly 36 hours. Stack three power banks and you’ve covered a week. The real work happens in the switching logic, not the battery capacity.
- Uninterruptible Power Supply (UPS) HAT: Mounts directly to Pi GPIO pins, provides immediate cutover on mains failure. Models like PiSugar maintain 8 to 12 hour runtime depending on battery capacity and load.
- Solar Trickle Charging: 5 watt solar panels mounted above the camera keep batteries topped during daylight. Charge controller regulates voltage to prevent overcharging the Pi’s power inputs.
- Battery Priority Sequencing: Wire multiple power sources with diode isolation so the Pi draws from mains first, then UPS, then solar without switching overhead or voltage sag.
- Watchdog Timer Module: Forces clean shutdown if power drops unexpectedly. Prevents SD card corruption from abrupt power loss, the silent killer of these systems.
- Thermal Management During Discharge: UPS batteries generate heat under load. Mount the Pi in a ventilated enclosure to prevent thermal throttling that cuts CPU performance in half.
The common mistake here is buying a power bank designed for phones. Those cut output to trickle current after a few minutes to save energy. You need a dedicated UPS HAT or a power bank with sustained output mode enabled. The difference between “system on” and “system useless” is one setting nobody checks.
Hardening Against Physical Tampering
Stop thinking about “securing” the mount and start thinking about friction. You’re not trying to stop a determined burglar with tools. You’re trying to raise the effort threshold high enough that someone steals easier targets first. That’s the asymmetry: your Pi doesn’t need Fort Knox protection, it needs to be visibly more work than the neighbor’s unprotected doorbell.
Drill out camera screws so a standard screwdriver won’t engage. Use security fasteners, the kind with unusual head shapes that require proprietary bits. Mount the actual Pi board inside a weatherproof enclosure, not exposed where someone can unplug it in ten seconds. Run power and network cables through conduit so they can’t be cut cleanly. Position the camera to record its own mounting location so tampering appears on footage. These aren’t complications, they’re baseline protocol for any outdoor system.
Data Sovereignty: Self Hosting Your Footage

Encrypt Local Storage And Secure Remote Access
You want this section because you’re afraid of footage leaking to strangers, but the real mechanism is control. The moment your video sits on a Pi’s SD card unencrypted, any attacker with physical access or network penetration reads it raw. Encryption isn’t paranoia. It’s the difference between your camera becoming a liability and staying a tool.

Use LUKS (Linux Unified Key Setup) to encrypt the partition where footage stores. On a Raspberry Pi, this overhead is real but manageable on Pi 4 and later models. Generate a strong passphrase, not a predictable one. Boot encryption requires entering the passphrase at startup, which breaks automation unless you accept the security tradeoff. For remote access, SSH with key-based authentication replaces password login entirely. Disable root login. Use a non-standard port. These aren’t optional optimizations.
Control Your Data Stream Directly
Common advice tells you to “evaluate cloud options,” as if offloading video to Google Photos or Ring’s servers is a neutral choice. It isn’t. Every frame you send upstream becomes someone else’s training data, retention policy, and legal exposure. The mechanism here borrows from supply chain strategy: whoever holds the physical asset controls the narrative.
Run Frigate or MotionEye on your Pi. Both store footage locally and offer optional remote access through a reverse proxy you control, not a vendor’s tunnel. If you need remote viewing, set up a WireGuard VPN on a second Pi or a cheap VPS. You own the encryption keys. You own the data retention policy. You own whether footage deletes after 7 days or stays archived. The Pi isn’t the constraint anymore. Your willingness to manage infrastructure is.
Updates Aren’t Optional: The OS Patching Imperative

Set Automatic Updates And Stop Pretending You’ll Do It Manually
You want to believe you’ll SSH in every month and run apt update religiously. You won’t. The real mechanism here comes from systems theory: entropy. Your Pi deteriorates the moment you stop actively maintaining it. Every unpatched vulnerability becomes a door. Raspbian exposes kernel bugs and library flaws constantly. You need to remove the decision entirely by automating the process. Set unattended-upgrades to run critical security patches on a fixed schedule, typically 2 AM on Sundays. Configure apt to handle library updates automatically too. The moment you make patching optional, it becomes optional forever.

The installation takes 15 minutes. Run sudo apt install unattended-upgrades, then edit /etc/apt/apt.conf.d/50unattended-upgrades to specify which packages get automatic treatment. Set Unattended-Upgrade::Mail to your email so you receive logs of what installed. Test the configuration with sudo unattended-upgrade -d in dry-run mode first. This isn’t extra credit. It’s the baseline for running anything connected to your network.
Read Your Logs Before Attackers Teach You To
Nobody reads security logs until something breaks. By then the attacker is already inside. Forensic analysis requires evidence, and logs are your only evidence. SSH brute force attempts, failed authentication, port scans, and privilege escalation attempts all leave traces. Enable rsyslog or journald to capture system and application events. Check /var/log/auth.log for SSH access attempts. Monitor /var/log/syslog for kernel and service errors. Look for repeated failed login attempts from unfamiliar IPs, sudden increases in CPU or memory usage, or unexpected network connections. These patterns expose compromise before damage spreads.
Use fail2ban to automatically block IPs after repeated SSH failures, then check the logs weekly to spot reconnaissance activity targeting your camera feed. Run journalctl -u motion -n 50 to review the last 50 motion detection logs if you’re using motion or similar software. Set a calendar reminder for Sunday mornings to scan auth.log for anomalies. If you see 50 failed SSH attempts from a single IP in one hour, that’s active reconnaissance. Document the timestamp, block the range, and verify no other systems were touched.
The Real Threat Isn’t External Intrusion; It’s Your Own Complacency In System Upkeep
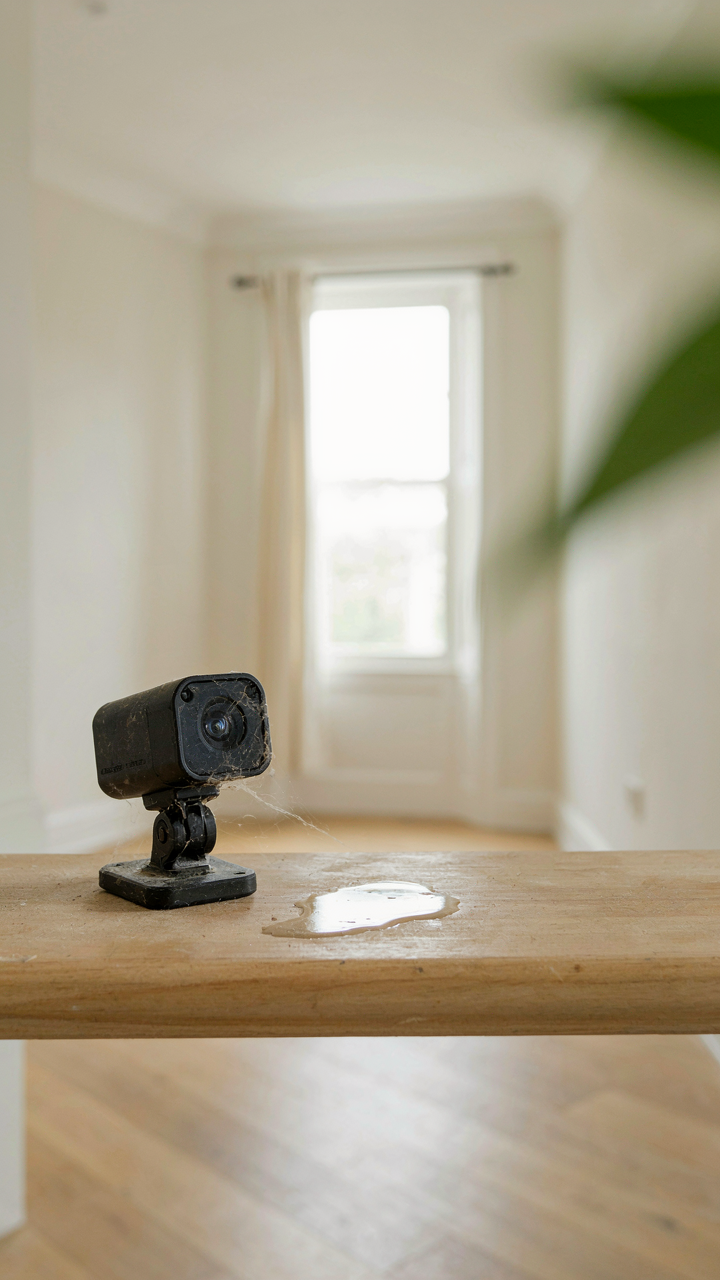
You’ll buy the camera, set it up, forget about it for six months, then wonder why it stopped recording. That’s where most people fail. Your Raspberry Pi security camera only works if you update the software, rotate the storage, and actually check the logs. The hackers aren’t your real enemy. Your laziness is. Set a calendar reminder right now to audit your system every thirty days, or accept that you’re just recording footage for thieves to review later.



