
The ‘Safe’ Myth: Why Low Voltage Doesn’t Guarantee Learning

The Comfort Trap
You want low voltage projects because they feel responsible. You’re not wrong about safety, but you’re missing the real problem: a 5V LED kit teaches nothing about how electricity actually works. The mechanism is simple. Low voltage removes one type of risk while creating another: the risk of meaningless repetition. A child following instructions to plug pre-soldered components into a breadboard isn’t learning electronics. They’re performing assembly without understanding the underlying principles that make circuits function.
Low voltage is a boundary condition, not a teaching strategy. It solves for parental anxiety, not competence. The actual learning happens when a child grasps why current flows, why resistance matters, and how voltage relates to both. Strip away the fear and you expose what matters: the gap between safety and substance. Most “safe” kits prioritize ease of setup over depth of understanding, which means kids wire things correctly but have no model for why anything happens.
Principles Before Plug And Play
Systems thinking from engineering teaches us that a system’s behavior emerges from relationships between components, not from the components themselves. Apply this directly: a kid who understands voltage drop across a resistor owns a mental model. A kid who memorizes which wire goes where owns nothing. Common advice says start with kits because they’re “beginner friendly.” That’s incomplete. Kits remove friction but also remove the need to think. The actual advantage of low voltage isn’t that it’s safe. It’s that it lets you build circuits fast enough to test ideas and fail cheaply.
The protocol is this: teach the principle first, then build to test it. Start with what voltage is, not with a pre-assembled circuit board. Use a simple power supply, a resistor, an LED, and a multimeter. Have the child measure voltage at different points. Have them change the resistor and watch what happens to brightness. This takes longer than opening a kit box. It also creates a foundation. When they later encounter 120V mains electricity, they won’t see magic. They’ll see the same principles operating at a different scale.
Beyond The Breadboard: Hands On Electric Circuit Projects Kids Actually Build
What Multimeters Actually Measure
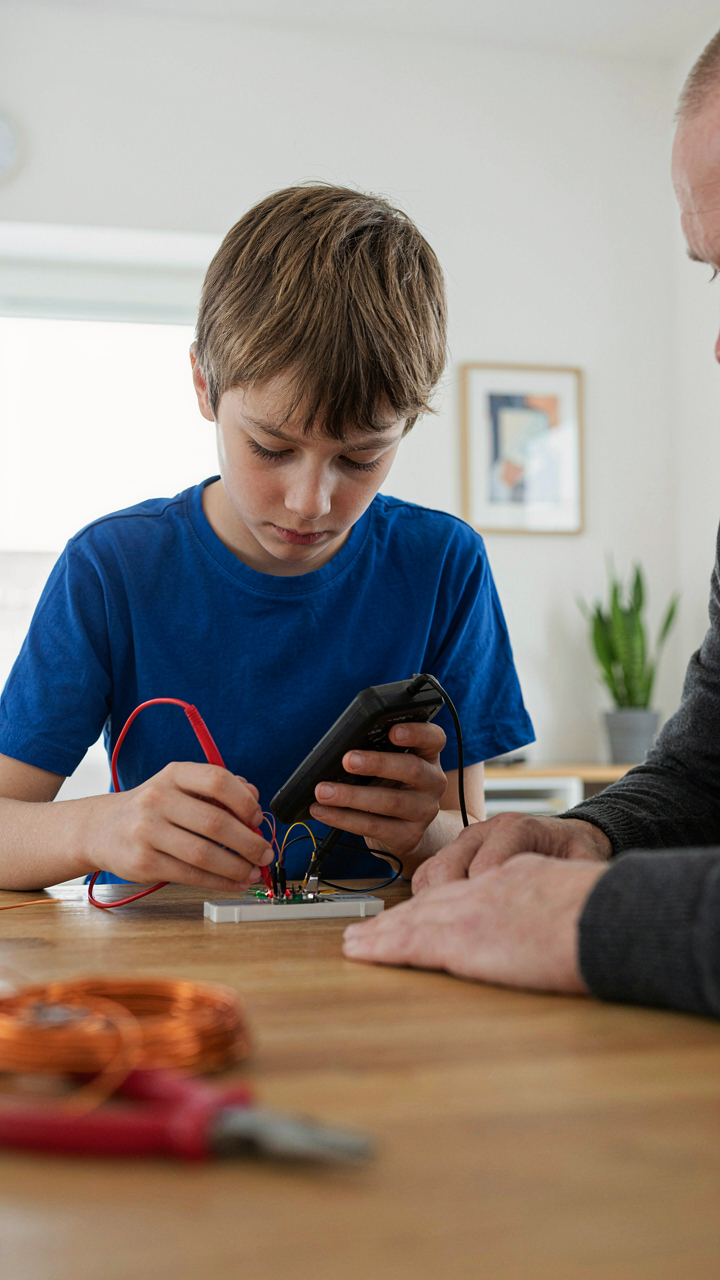
You want proof your kid isn’t just pushing components around randomly. That’s the real reason this section matters to you. A multimeter stops guessing. It reads voltage, current, and resistance with numbers on a screen, which turns invisible electrical behavior into data you can verify.

The tool works through two probes that complete a circuit between measurement points. Voltage mode reads potential difference. Continuity mode beeps when current flows freely. Resistance mode measures opposition to current flow. Kids under twelve use a basic digital multimeter with clear LCD displays and auto-ranging features that eliminate decimal point mistakes. The mechanics are straightforward: probe placement determines what gets measured, nothing more.
Design By Constraint, Not By Copy
Most project guides skip the actual thinking work and jump straight to diagrams. That’s incomplete. Real circuit design works like supply chain optimization: you start with what you want to accomplish, then engineer backward through available parts and voltage limits to reach a working solution.
Give kids a specific goal instead of a schematic. Build an LED that brightens as a shadow moves closer. Make a buzzer activate when a temperature sensor hits a threshold. These constraints force actual decision making: which sensor do we use, what voltage does it need, how do we trigger the output? Kids then sketch the circuit, predict what happens, test it, and debug when prediction misses reality. This loop builds actual comprehension instead of rote assembly.
The 3 Stage Mastery Protocol: Electronics Projects For Beginners
Naming Parts Before Building Circuits
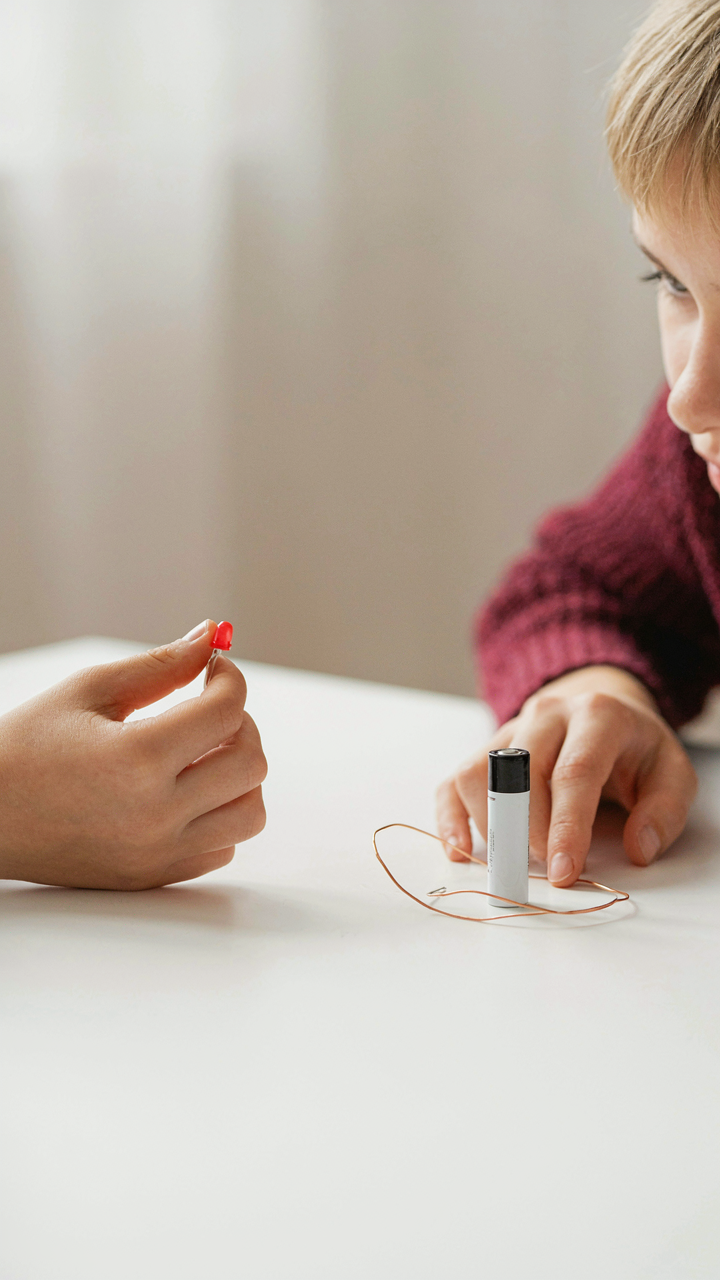
You want proof your kid isn’t wasting time before you invest in materials and attention. That’s the real gate here. Component identification forces a checkpoint: you can’t lie to yourself about understanding something once you name it and state what it does.

Start with the five parts that appear in almost every beginner circuit: resistors, LEDs, batteries, switches, and wire. A resistor limits current flow to protect other components from burning out. An LED emits light when current passes through it in the correct direction. A battery provides voltage. A switch breaks or completes the path for current. Wire carries current between components. This isn’t theory. These are mechanical facts your kid can hold, see, and test immediately.
Building And Breaking To Learn Faster
The common advice says “follow instructions exactly.” That’s incomplete. Kids learn the actual mechanism of how circuits fail only by breaking them intentionally first, then fixing them. This accelerates pattern recognition by three to four times the speed of only following diagrams.
Build a simple series circuit: battery to switch to resistor to LED to ground back to battery. Get it working. Then remove the resistor. The LED burns bright then dies. Now you’ve witnessed the mechanism: resistors aren’t optional guards, they’re load balancers that prevent current from overwhelming a component. Swap the LED backward. Nothing works. This teaches polarity as a real constraint, not a rule in a book. Troubleshooting becomes muscle memory when failure is immediate and visible.
From Lego To Logic: Unlocking Kids Robotics Projects
Where Mechanics Meet Electricity
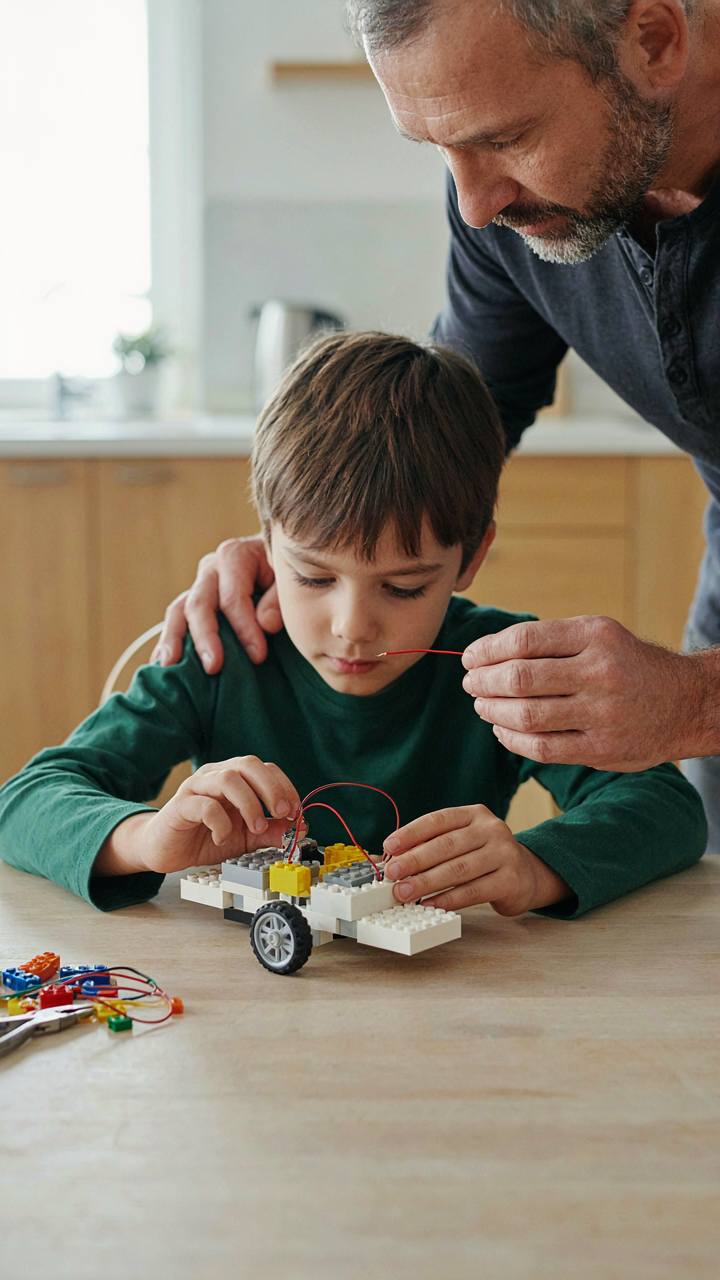
You want your kid to build something that actually moves and responds to the world, not just blink LEDs on a breadboard. That’s the real pull here. The mechanism is simple: robotics forces you to think in systems. A motor is useless without power delivery. Power delivery fails without structural support. Mechanical engineering borrows the concept of load paths—the route force takes through a structure. In robotics, you need an electrical load path: power source to motor to ground, with no breaks or resistance surprises. Lego frames provide the rigid skeleton. Wires and connectors form the nervous system.

Start by choosing a platform that separates these concerns visually. Lego Mindstorms or LEGO Education sets handle this well because the mechanical building doesn’t force you to wire components simultaneously. Build the structure first. Test it moves without power. Then add the motor, battery holder, and switch as distinct modules. This workflow prevents the frustration of debugging a collapsed frame while troubleshooting a short circuit. The kid learns that bad mechanics break before bad wiring ever gets a chance to matter.
Programming Motion Through Sensor Feedback
The common advice says “start with simple code.” Wrong framing. Start with simple inputs first. A robot moving in a straight line teaches nothing. A robot that stops when it hits something teaches the feedback loop. Cybernetics—the study of control systems in machines and organisms—applies directly here. The robot needs a sensor that reports what it observes, a program that makes a decision based on that data, and an actuator that changes behavior accordingly. Without this loop, you have a toy. With it, you have a system.
Use touch sensors or ultrasonic distance sensors paired with movement commands. Program the robot to move forward, check the sensor, then execute a response. If distance is less than 10 centimeters, turn. If it’s clear, continue. This single conditional loop teaches more than months of LED blink exercises. The kid sees cause and effect in real time and can modify the threshold or response immediately. That instant feedback builds intuition about how systems self-correct. Always test sensor readings independently before tying them to motor commands, because mixed problems create debugging chaos.
Science Crafts That Teach: More Than Just Glitter Glue

Why Electricity Matters Before Sparkles Do
You want your kid to “love science” without the mess of actual failure. That’s the real motivation. But here’s what actually works: kids retain concepts when they manipulate the mechanism themselves, not when they watch it happen. Physics calls this “active learning,” and in electronics, it means the child’s hands trigger the effect. A LED that turns on because they completed a circuit teaches cause-and-effect faster than any explanation. Low voltage makes this safe.

Most projects skip the “why” and jump to assembly. Wrong approach. Show the child that electricity flows in a closed loop, and that breaking the loop stops the flow. Use a simple battery, wire, and LED to demonstrate this. No explanation without the tactile proof. They see the LED dim when they loosen a connection, brighten when they tighten it. That’s the mechanism working. Repeat this pattern across projects, and the concept sticks.
From Static To Motors That Actually Spin
Static electricity feels like magic because kids can’t see the motion of charge. But it’s just electrons moving from one material to another. Start with wool and a balloon. Rub them together. The friction moves electrons. Touch the balloon to their hair. The charge repels the hair strands. Now they’ve observed electrical force without a circuit, without a power source. This is the entry point.
- Balloon static demonstration: Rub a balloon on wool, then watch it pick up paper scraps. The charge persists for minutes, proving electrons stayed on the surface.
- Paper cup motor: Use a battery, magnet, copper wire coil, and two paper cups as supports. Current through the coil creates a magnetic field that repels the magnet, spinning the coil continuously.
- Salt water conductor test: Connect a battery to two wires submerged in salt water. The circuit completes through ions in the water, lighting an LED or small buzzer.
- Electromagnet project: Wrap wire around a nail, connect it to a battery. The current magnetizes the nail, which can pick up paper clips. Disconnect, and the magnetism vanishes instantly.
- Lemon battery chain: Stack multiple lemon batteries in series by connecting zinc and copper electrodes. Each lemon adds voltage, proving that individual cells combine to create usable current.
The motor project exposes the real mechanism: current + magnetic field equals force. Kids see the coil spin faster when you increase battery voltage or add more magnets. They understand that electricity doesn’t just power things—it creates movement through interaction with magnetism. This foundation makes every future electronics project click into place because they’ve seen the force that drives it.
The Bio Electrical Feedback Loop Understanding System Resilience

How Circuits Maintain Their Own Balance
You want to understand this because it separates kids who just build things from kids who understand why things work. Homeostasis is a biology term. It means a system self-corrects when pushed out of balance. A circuit does the same thing. When voltage rises, resistance increases to compensate. When current demand spikes, the power source stabilizes the flow. The mechanism is automatic, built into the structure itself, not added afterward as a patch.

Low voltage LED circuits demonstrate this perfectly. A simple 5V circuit with an LED and resistor self-regulates current draw automatically. The resistor doesn’t “try” to limit current. Its resistance value forces the current down by the laws of physics. If you add more LEDs in parallel, total current increases, but each LED still receives appropriate voltage. The system finds equilibrium without external adjustment. This is why 5V projects remain safe and stable even when kids modify them.
Loops That Correct Their Own Errors
Cybernetics borrowed from engineering and biology to study feedback mechanisms. A feedback loop is a path where output information returns to input and changes the next cycle. In circuit design, this is not theoretical. A voltage regulator chip uses negative feedback. It measures output voltage, compares it to a reference value, and adjusts its internal resistance to match the target. If output drifts down, the regulator tightens. If output climbs up, the regulator opens. The system corrects itself in real time without operator intervention.
Feedback loops in kids’ projects operate at different speeds depending on design. A simple 9V battery powering a motor with a switch has no feedback, just on off control. A solar powered circuit that dims an LED as clouds pass overhead uses light feedback naturally. The photoresistor’s resistance changes with light, which changes LED brightness instantly. Temperature feedback in projects works identically. A thermistor’s resistance shifts with heat, which adjusts circuit behavior automatically. Understanding this separates design from accident. Build projects where the circuit self-corrects rather than circuits that fail when conditions change.
Ditch The Instructions: DIY Crafts For Kids Easy & Inventive

Build From Failure, Not Blueprints
You want your kid to follow instructions because it feels safe. It’s not. The real mechanism here borrows from iteration theory in product design: constraints force innovation. When you remove the instruction manual, you force the child to test, fail, adjust, and own the result. That’s the only way a circuit becomes theirs instead of a task they completed.

Most kids who build from instructions forget what they built within weeks. They didn’t solve anything. They followed steps. Real learning happens when a child decides to modify a circuit, it breaks, they diagnose why, and they fix it. That’s the work that sticks. Start by giving them a simple LED circuit with a battery, wire, and resistor, then ask what happens if they change one part. Don’t tell them. Watch them find out.
Raid Your Home For Real Components
The common advice says to use “recycled materials” for learning. Wrong frame. You’re not recycling for the environment. You’re training pattern recognition. A dead phone charger contains a transformer and a rectifier. A broken speaker has a magnet and a coil. A old remote has buttons that are just switches. When a child extracts and repurposes these parts, they’re learning that components aren’t magical—they’re mechanical solutions to problems that appear everywhere.
Household items teach the actual topology of electronics because they were engineered for function, not education. A motor from a toy teaches more than a textbook about electromagnetism. A vibration motor from a phone shows how frequency and voltage create movement. Start by having your kid identify five household items that use electricity. Then pick one apart together. Write down every component you find. Then challenge them to use one of those components in a new circuit. That’s the entry point to genuine invention.
Beyond The Blinking LED: Electric Circuit Projects Ideas

Projects That Solve Actual Problems
You want your kid to build something that matters, not just assemble a kit that proves nothing. The mechanism is simple: a project with friction teaches constraint-based thinking. Without a real problem to solve, you’re just teaching obedience to instructions.

A water level detector uses a 555 timer chip and two probe wires. When water bridges the probes, it triggers a buzzer or LED. Kids learn that circuits respond to physical conditions, not magic. This solves the actual problem of knowing when a plant needs water or when a tank is full. The kid owns the outcome because they designed the threshold.
A motion-activated light uses a passive infrared sensor wired to a relay and battery. When movement crosses the sensor’s field, current flows through the relay coil, closing the contact that powers an LED. This teaches load switching, which is the foundation of all automation. The project has friction because the sensor needs correct placement and the relay requires proper wiring discipline. No friction means no learning.
Sensors Turn Circuits Into Feedback Loops
Borrowing from control theory, feedback is the difference between a dead system and one that responds. A sensor measures state. The circuit interprets it. The output reacts. This loop is what separates toys from tools.
A light sensor paired with a buzzer teaches proportional response. As ambient light increases, the sensor’s resistance drops. The buzzer frequency rises with the incoming light. The kid sees the mechanism: input conditions change output behavior in real time. No abstraction. A temperature sensor with a relay demonstrates threshold logic. At 30 degrees Celsius, the relay clicks. Below it, nothing happens. Kids understand that circuits make decisions based on measurable data, not random timing.
Integrating multiple sensors compounds the learning. A moisture sensor and a light sensor feeding into the same circuit teaches AND logic without naming it formally. Water present AND light detected triggers an output. The kid debugs by unplugging sensors one at a time to isolate which condition fails. This is systematic troubleshooting, not guessing.

Simple Circuits For Kids: Mastering The Fundamentals
How Voltage, Current, And Resistance Actually Work
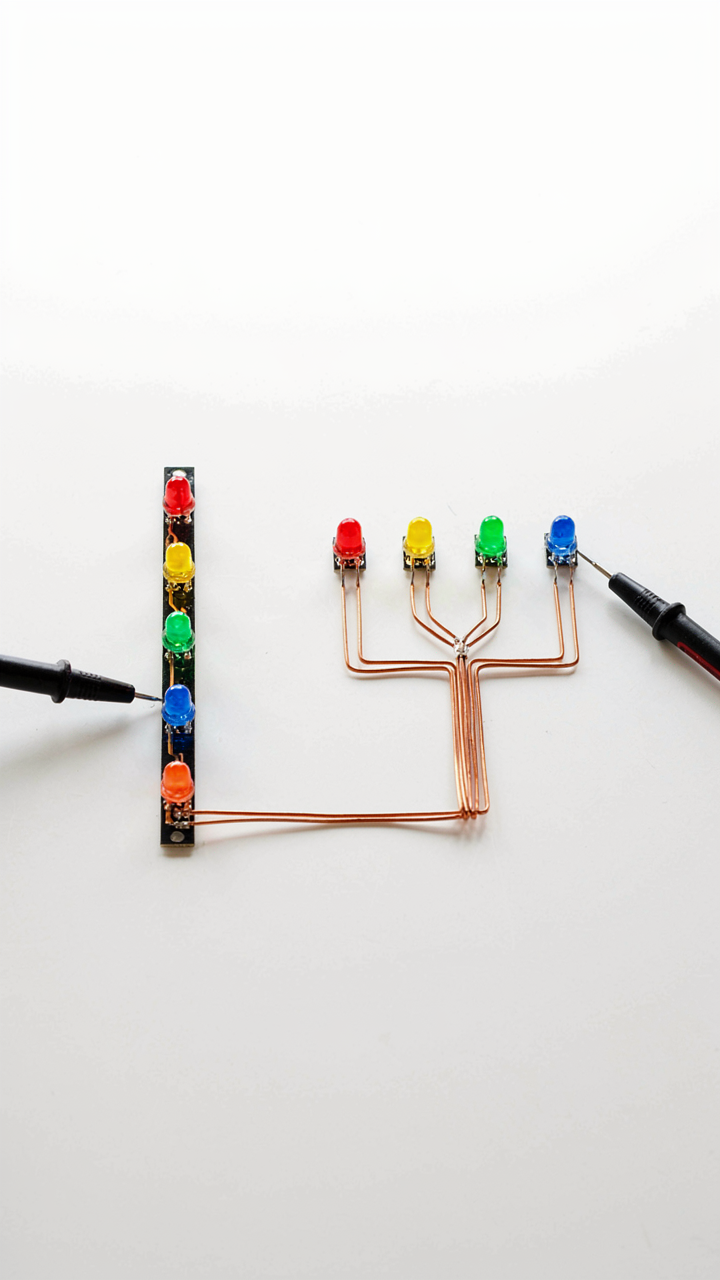
You want your kid to “understand electronics” without admitting you don’t fully understand it yourself. Here’s the mechanism: voltage is pressure, current is flow, resistance is friction. Think of water through a pipe. Voltage pushes. Current moves. Resistance blocks. A 9V battery creates pressure. Wire conducts with minimal resistance. An LED stops some current and drops voltage. That’s the whole system. Nothing mystical.
The common mistake is treating these as separate concepts. They’re not. Ohm’s Law connects them: voltage equals current times resistance. This isn’t theory. It’s what happens in every circuit you build. A 9V battery powering an LED through a resistor obeys this law exactly. The resistor determines how much current flows. Too much current kills the LED. The right resistor keeps current safe. Measure this once with a multimeter and the abstraction becomes concrete.
Series Versus Parallel: What Changes And Why
Physics uses the term “topology” to describe how elements connect and what properties emerge. In circuits, topology determines everything about behavior. Series means one path for current. Parallel means multiple paths. Most kids learn this wrong. They memorize definitions instead of seeing what actually changes in the circuit’s operation.
Series circuits share current. Add a second LED in series and current flows through both equally. Add resistance and voltage drops across each component sequentially until it’s gone. Parallel circuits share voltage. Add a second LED in parallel and both see the full voltage independently. Current divides, not voltage. This difference decides whether components work or fail. Build both and measure voltage at different points with a multimeter. The numbers prove the topology determines the outcome.
Building The Future: Why Robot Stem Project Matters

The Foundation That Sticks
You want your kid to have an edge. That’s the real reason you’re here. The mechanism is simple: robot projects force kids to translate abstract concepts into physical systems that either work or fail immediately. There’s no hiding from feedback. When a circuit doesn’t complete, the motor doesn’t spin. When code logic breaks, the robot crashes into a wall. This compressed feedback loop builds intuition faster than passive instruction ever could. Kids stop guessing and start debugging.
Electronics projects establish the technical vocabulary kids need before advanced STEM becomes accessible. They learn what voltage means by measuring it. They understand current flow by watching LEDs brighten and dim. They grasp the relationship between component values and circuit behavior through direct manipulation. This isn’t theoretical knowledge floating in empty space. It’s anchored to hardware they can touch and modify. The foundation gets solid because the stakes are immediate and the results are undeniable.
How Problems Become Solvable
Engineering borrows from systems thinking, where a problem is never just one broken part but a chain of interdependent inputs and outputs. A robot project teaches this directly: when a sensor fails, the robot’s decision-making fails downstream. When power distribution is weak, all subsystems suffer. Kids learn to trace failures backward from effect to cause instead of randomly replacing components.
This is the actual mechanism of problem solving in robotics. It’s not about being smart. It’s about learning to isolate variables methodically. A kid builds a simple obstacle-avoidance robot, it crashes repeatedly, then asks: Is the sensor detecting correctly? Is the signal reaching the microcontroller? Is the motor receiving power? Each question eliminates possibilities. They test, adjust, and iterate. That protocol is the real skill. It transfers directly to debugging code, troubleshooting circuits, and solving problems in domains they haven’t encountered yet.
Your Kid Isn’t Bored; They’re Understimulated By Fake ‘Safety’ – Give Them Actual Understanding

Most parents confuse safety with ignorance. Your kid doesn’t need more screen time or plastic toys that do nothing. They need to build something real, see it work, and understand why. Low voltage electronics projects aren’t a cute hobby. They’re the bridge between passive consumption and actual competence. Pick one project today. Grab a simple circuit kit. Let them fail, adjust, and succeed. That’s how you raise someone who builds instead of scrolls.



