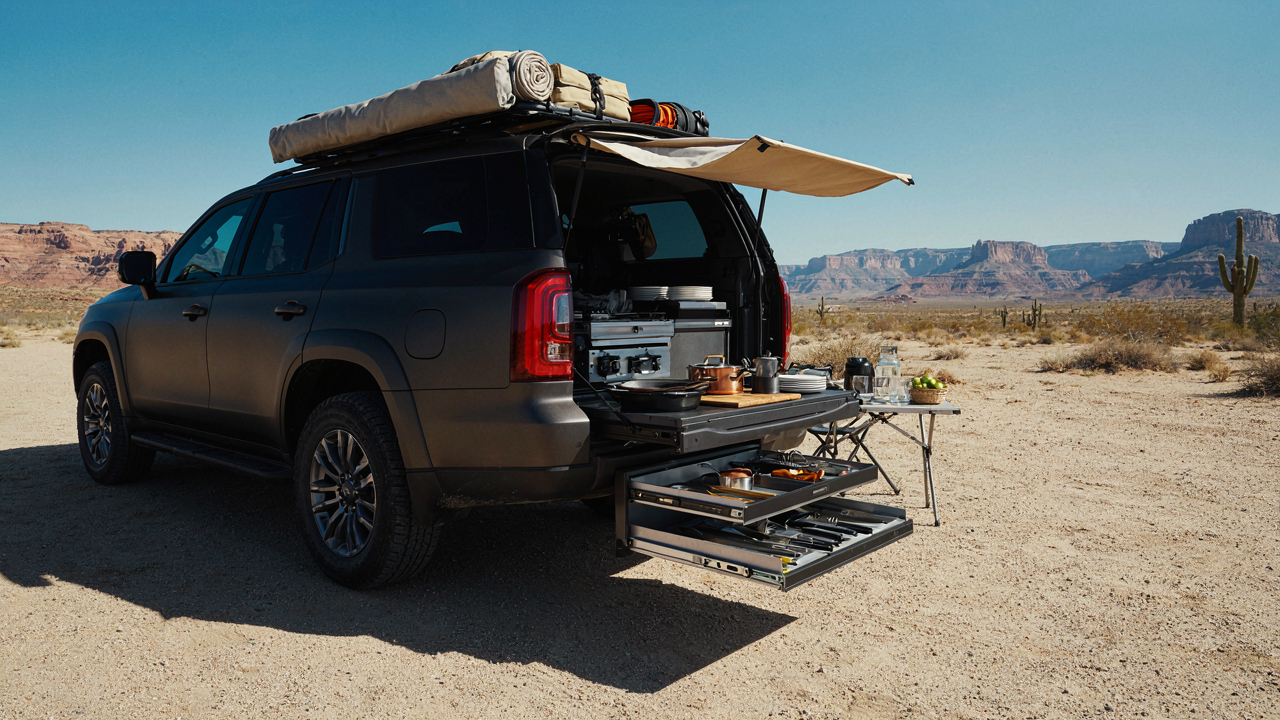
The Minimalist Overland Kitchen Ethos: Less Is Not Just More, It’s Faster
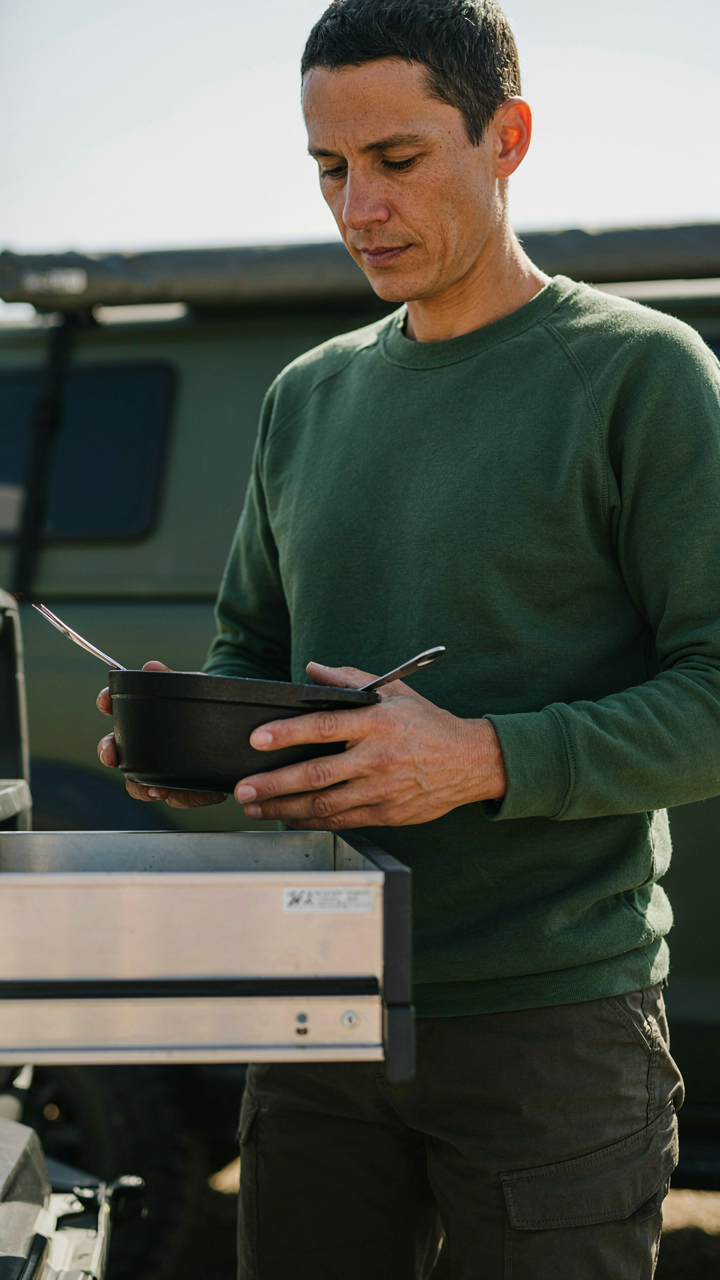
Functions Over Feelings
You want your overland kitchen to look intentional, like you’ve optimized something. The real reason you care is that you’re terrified of forgetting something essential and looking unprepared. Here’s what actually matters: a kitchen serves three functions—heat food, hold food, serve food. Everything else is theater. Start there. Most people buy gear they think they should own instead of gear that solves the specific problem of cooking in a moving vehicle with limited space and unreliable conditions.
Strip your setup to these three functions and stop. A single stove solves heat. A cooler solves hold. A plate and utensil solve serve. Anything beyond that is weight you carry for a scenario that probably won’t happen. The mechanism is constraint, not abundance. Less equipment means faster decisions, faster prep, faster cleanup. You move on sooner.
Multi Use Before Single Purpose
Borrow a term from industrial engineering: load factor. Every piece of gear should pull multiple loads. A stainless steel bowl functions as mixing vessel, serving dish, and washing basin. A cast iron skillet cooks, stores seasoning, doubles as a heat spreader for simmering. A collapsible water jug pours, mixes, stores. The common advice says buy specialized tools—separate mixing bowls, prep boards, measuring cups. That’s wrong. It fragments your system and bloats your load.
Evaluate each item by counting what it does. If something does one job only, it doesn’t belong. A cutting board that only cuts is dead weight. A board that cuts and serves and stores flat is carrying its weight. This is where real minimalism lives—not in having less stuff, but in making each piece of stuff work harder. Before you pack anything, answer this: what are the three jobs this performs? If you can’t name three, leave it behind.
The “No Box” Overland Kitchen Setup: Freeing Your Vehicle From Clutter
Built In Beats Bolted On
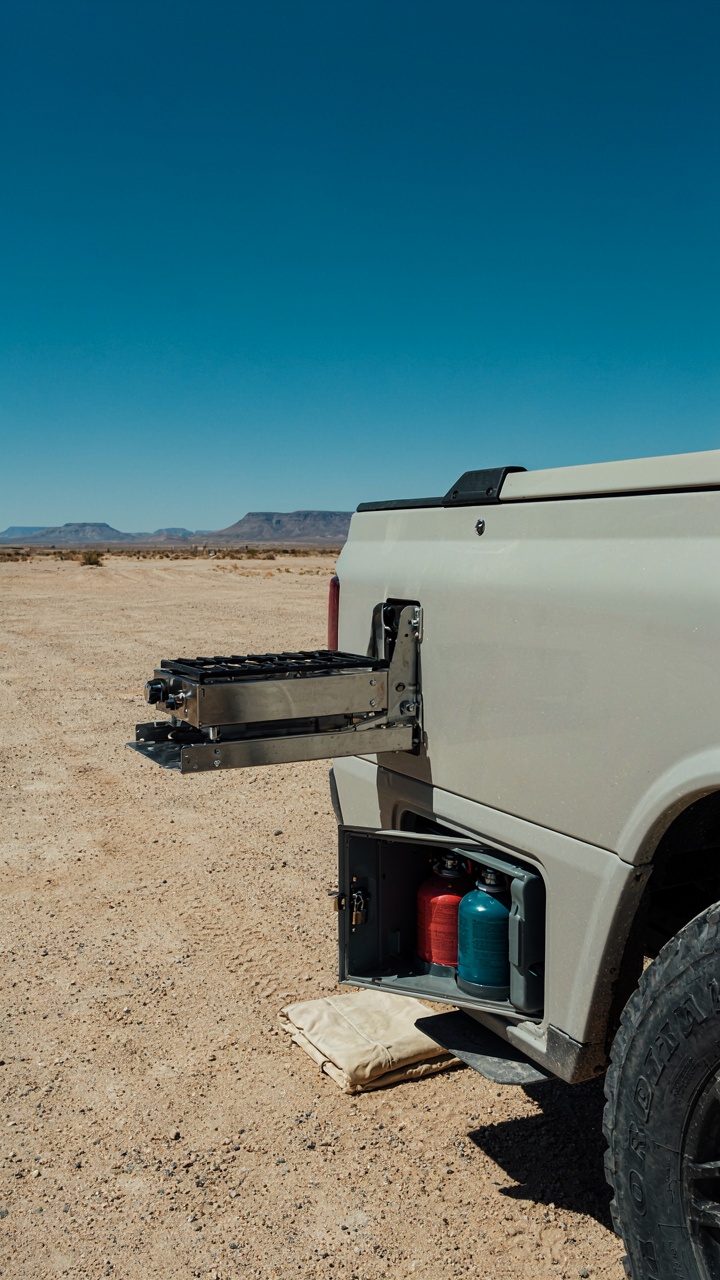
You want the setup that looks intentional, not like you’re running a mobile restaurant supply depot. The real mechanism here is cognitive load: every time you unpack a box, you’re burning mental cycles on logistics instead of cooking. Integrated storage solutions eliminate that friction. Built-in drawers, pull-out shelves, and mounted racks distribute your gear into the vehicle’s existing structure instead of creating a separate kitchen box that demands unpacking and repacking every trip.
The dedicated camp kitchen box is the default advice because it’s simple to recommend and simple to buy. It’s wrong for serious overlanding. Boxes create decision paralysis (do I take the full box or just part of it?), they waste cubic space with rigid walls, and they guarantee you’ll forget half your ingredients because they’re buried under items you pulled out last. Integrated solutions let you grab what you need in one motion, keep everything visible, and eliminate the ritual that burns time every morning.
Grab What You Need Without The Theater
Accessible components mean your cooking gear lives where your hands naturally reach, not buried in a truck bed under water jugs and recovery equipment. This borrows from manufacturing’s principle of “line balancing”: every step in your cooking process should require the same minimal effort. If your stove sits three feet lower than your prep surface, or your fuel lives in a different compartment than your pans, you’ve created wasted motion.
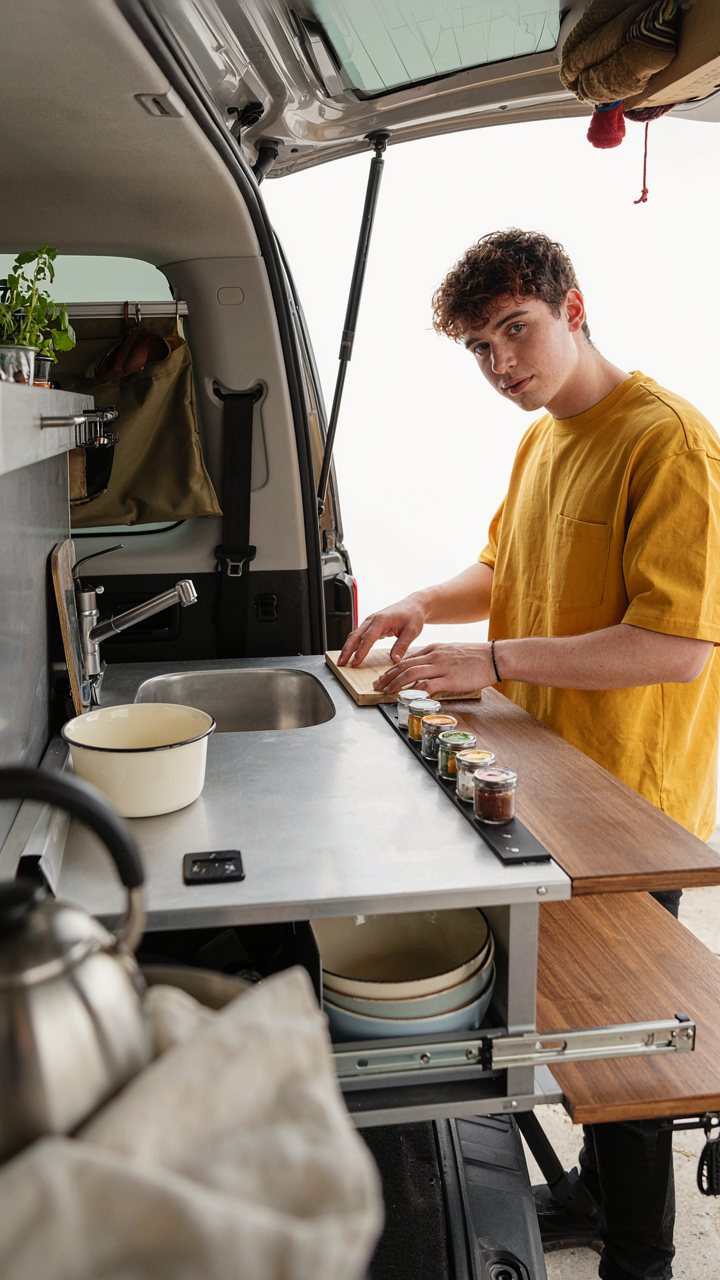
The common setup fails here: people pack everything in one box, then spend twenty minutes extracting items in the wrong order. You need your most-used pieces (stove, fuel, basic pans) mounted or stored at waist height within arm’s reach of your prep area. Secondary items (spices, utensils, plates) go in drawers directly adjacent. This matters because meal prep speed directly correlates with whether you’ll actually cook versus defaulting to instant noodles. Mount your stove on a pull-out bracket; store fuel in a locked cabinet directly below; keep your cutting board on a vertical rack beside your prep surface.
Beyond The Cooler: Advanced Food Preservation For True Trail Freedom
Vacuum Sealing And Dehydration For Real Space Economy
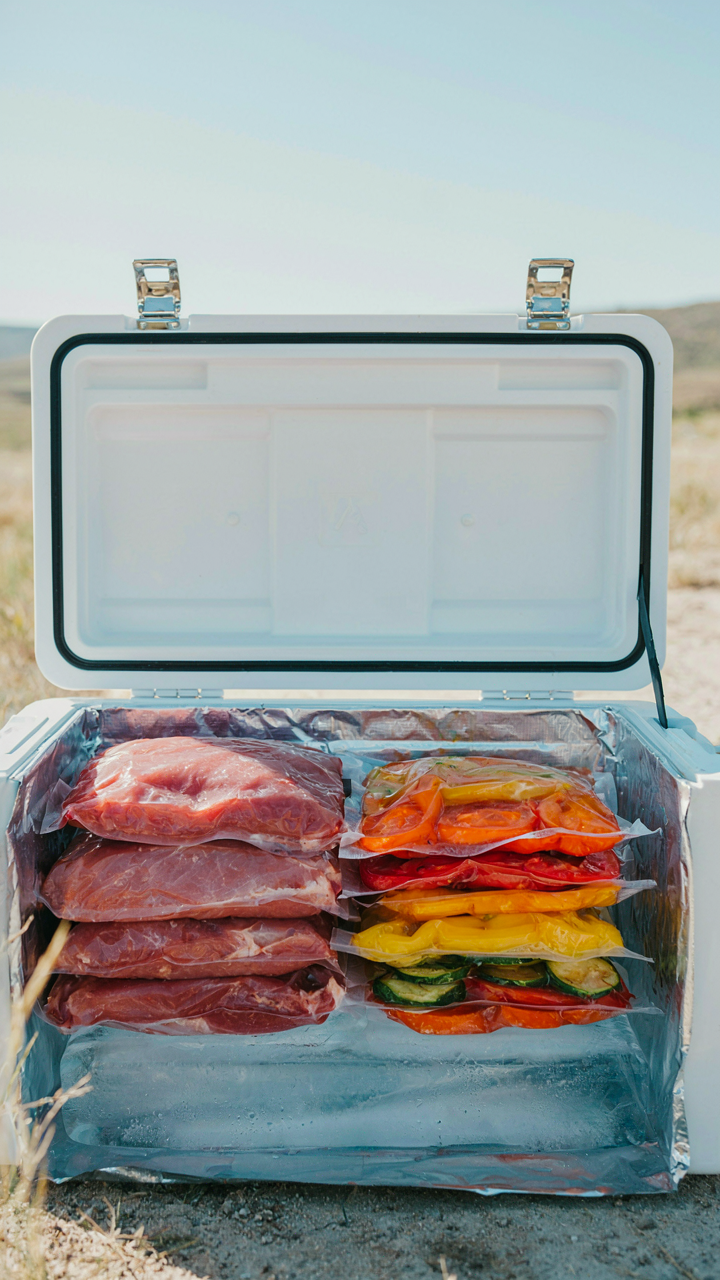
You want to believe a cooler solves your food problem because it’s simple and requires no skill. It doesn’t. A cooler is a heat transfer liability that demands constant ice replacement and eats half your vehicle payload. Vacuum sealing removes air, which kills the bacterial growth vector that spoils food. Dehydration removes water, which removes the medium bacteria and mold need to multiply. Both are mechanical, not chemical shortcuts.
Vacuum seal proteins before departure. Strip marinades off, pat dry, seal flat in portion sizes you’ll actually cook. A small vacuum sealer costs under 30 dollars and pays for itself in reduced waste on the first trip. Dehydrate vegetables and fruit at home using an oven set to 170 degrees Fahrenheit or a cheap food dehydrator. Layer parchment paper on trays, spread thin, and run for six to twelve hours depending on moisture content. This work happens before you leave your kitchen, not at a trailhead.
Thermal Mass Logic: Pre Chill Strategy Over Constant Cooling
Thermal mass is a physics term describing an object’s resistance to temperature change. Your cooler becomes a thermal mass battery when you pre chill it for twelve hours before packing. This forces the cooler to absorb heat energy from food instead of bleeding cold immediately. Most people load a warm cooler with ice and wonder why food spoils by day three.
Start the night before you leave. Pack your cooler full of ice or frozen water bottles and close the lid. The ice melts inside an empty cooler, conditioning the walls and air space. When you pack food the next morning, that pre chilled cooler fights temperature swings for twice as long. Wrap frozen items in newspaper or towels to slow melt. Block ice lasts longer than cubed ice because surface area determines melt rate. Position it directly under perishables that need the most protection, not scattered throughout.
The “Single Flame” Cooking Protocol: Mastering Simplicity In Camp Cooking
Cook Everything In One Vessel
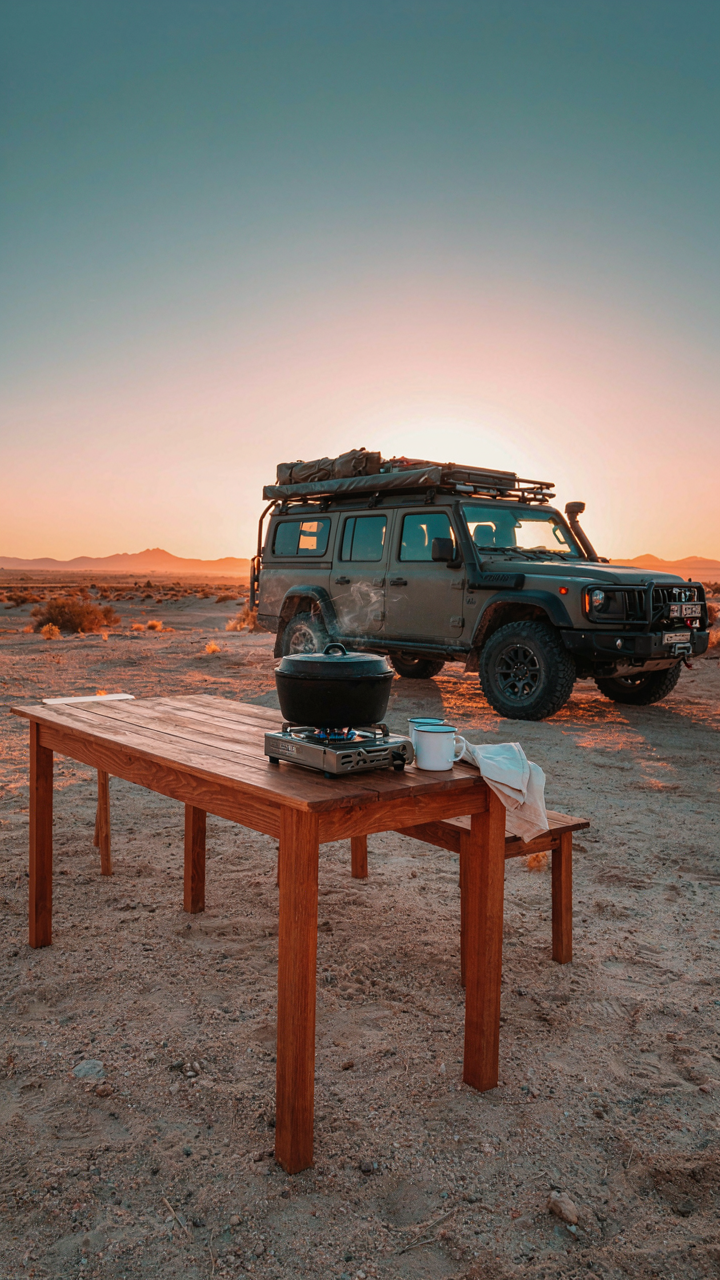
You want this section because you’re tired of carrying extra gear and cleaning up after yourself in the field. The real mechanism is thermal mass: one pot absorbs and retains heat from a single flame, then distributes that energy to cook multiple components sequentially or simultaneously. This is basic physics applied to meal prep.
A Dutch oven or heavy-bottomed pot becomes your only cooking tool. You sear protein first, remove it, build aromatics in the residual fat, add grains or pasta, then reintroduce the protein at the end. The vessel’s mass means you can kill the flame and let carryover heat finish cooking while you handle camp tasks. One pot. One cleaning cycle. No negotiation.
Fuel Efficiency Over Burner Count
The common advice says “bring multiple burners for speed.” Wrong. Multiple burners demand more fuel weight, more complexity, and more failure points. Thermodynamic efficiency lives in concentration: a single flame focused on one thermal mass cooks faster than diffused heat spread across three burners. You’re optimizing watts per unit weight.
A single quality stove burns hotter and more consistently than budget multi-burners. Fuel consumption drops because you’re not heating air around multiple pots. Your single flame adapts to prep sequence, not the other way around. Bring a reliable single-burner stove and fuel matching your trip length. Stop carrying backup burners you’ll never use.
Ergonomics Of The Improvised Overland Kitchen Setup: Working Smarter, Not Harder
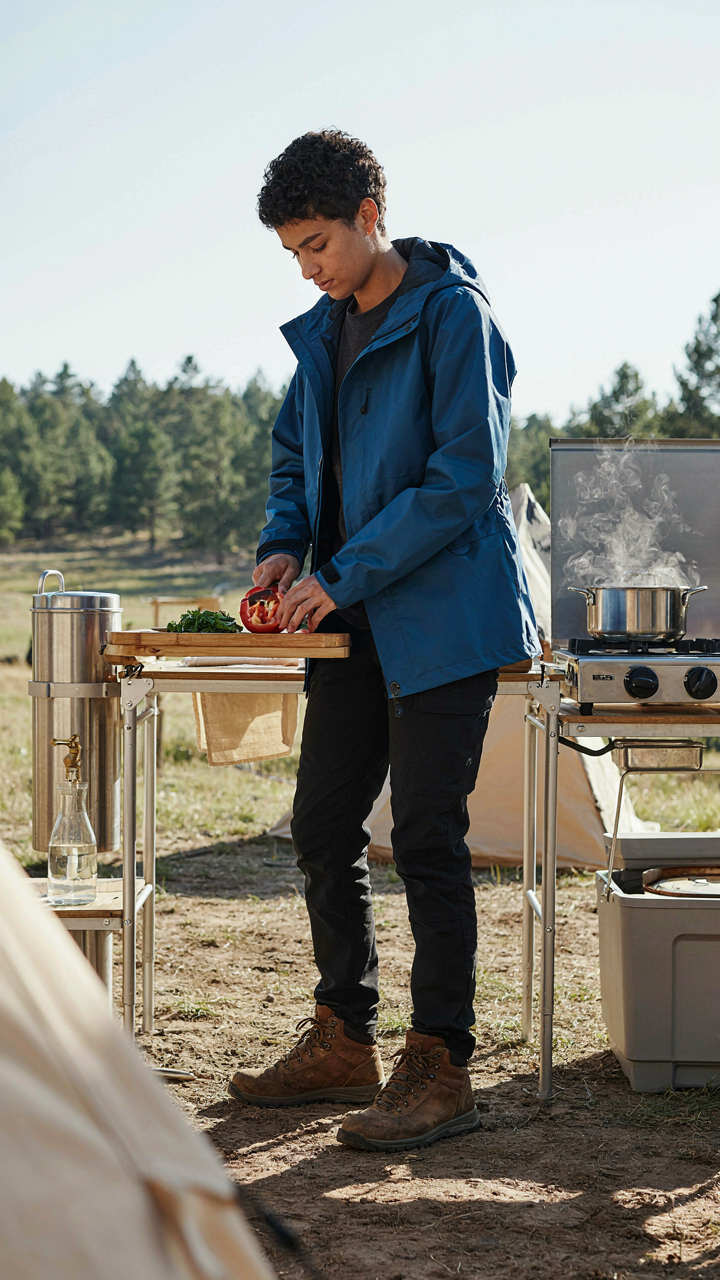
The Assembly Line Kitchen
You want this section because you’re tired of fumbling around camp and looking inefficient. Here’s the real mechanism: industrial design borrowed from factory floors works because it eliminates decision fatigue through spatial logic. Every movement you make in a camp kitchen should follow a single direction, not loop back on itself. This is called workflow optimization, and it means arranging your stations so prep, cooking, and cleanup happen in sequence, not chaos.
A proper overland kitchen mirrors a production line. Your water source sits at one end. Prep surfaces occupy the middle. Heat and cooking happen next. Cleanup anchors the far end. This isn’t arbitrary. When you reverse direction or reach across stations, you waste time and spill things. Small campsites force this constraint harder than large ones, so the principle matters more when space is scarce. Set your kitchen in a line if terrain allows. If not, arrange it in a tight triangle with the three points being prep, cook, and water.
Positioning For Zero Wasted Reach
Common advice tells you to “organize logically,” which means nothing. The real rule uses leverage: position frequently used items where your hand naturally falls when standing at your primary work surface. This comes from ergonomics, which borrowed from physics the principle of leverage. In your camp kitchen, leverage means requiring minimal muscular effort to access what you need next.
Your stove sits at elbow height on a stable surface. Your utensils hang within arm’s reach, not in a box. Salt and oil live at the same height as your cutting board, not on the ground or overhead. Water containers position lower so gravity does work for you during the pour, not your shoulder. The three-point rule applies: eye level for frequently checked items, waist level for active work, below waist for heavy items or reserves. Rearrange until you complete a full meal prep without bending, reaching up, or twisting your torso twice.
The “Zero Waste” Camping Kitchen Ideas: Ditching The Disposable Mindset
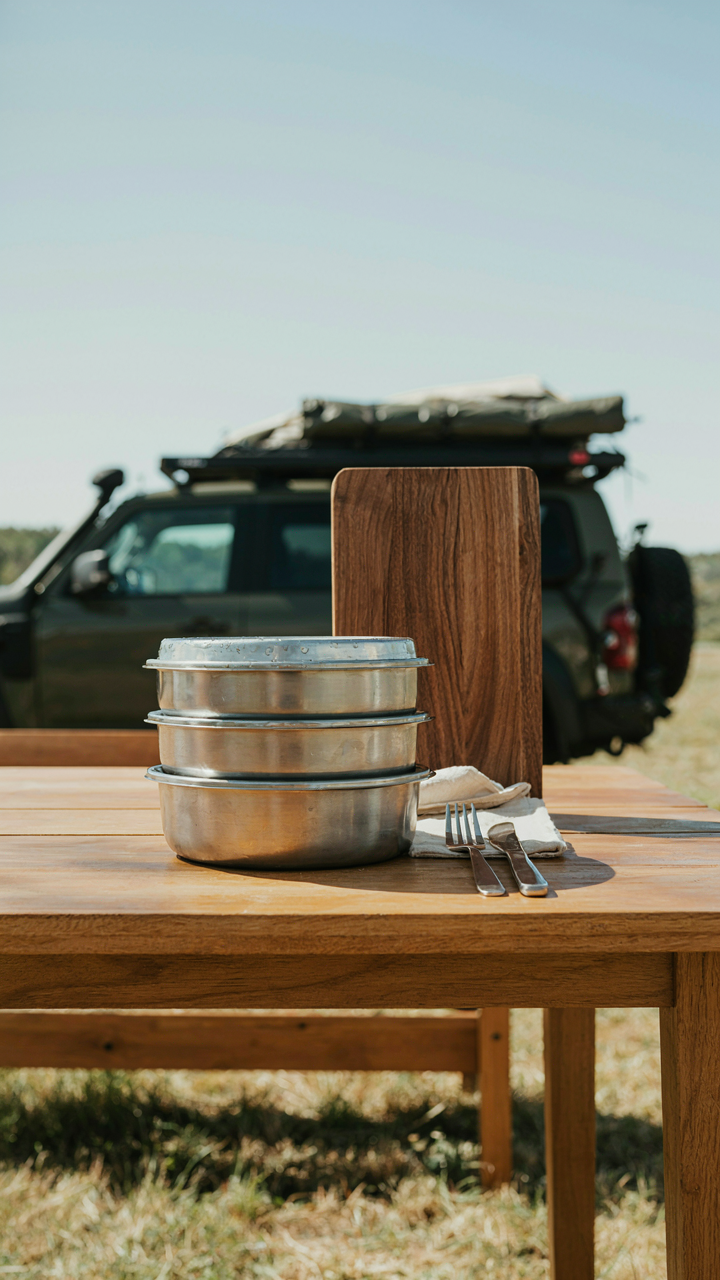
Reusable Food Storage And Utensil Systems
You want this section to feel virtuous. The real mechanism is simpler: disposables create decision fatigue and cost more over time. Every paper plate, plastic fork, and aluminum pan liner is a small tax on your trip budget and mental load. Reusable systems eliminate both. Steel containers, titanium utensils, and glass jars don’t degrade, don’t require replacement mid-trip, and reduce the cognitive overhead of rationing supplies you’ll run out of anyway.
The overland camp kitchen demands durability over aesthetics. Stainless steel food containers with gasket seals handle temperature swings and rough handling without warping. Titanium sporks and spoons weigh almost nothing compared to carrying redundant utensils. One heavy-duty cutting board, one knife, and one set of nesting mixing bowls handle prep work that would normally require ten single-use items. The system compounds: fewer items packed means more food capacity, which means fewer resupply stops.
Composting And Greywater Management On The Trail
Food waste disposal follows the same principle as load optimization in logistics: reduce what leaves your system before it becomes a problem. Most overland camps treat greywater and compost as afterthoughts, but they’re load multipliers. Every gram of food scraps you pack out is dead weight on the return. Compost separation cuts that burden by half.
- Sealed compost container: A metal or rigid plastic bin with a gasket lid contains food scraps and organic waste without attracting animals or releasing odor. Place it away from sleeping areas each night.
- Greywater filtration system: A simple gravity filter using cheesecloth and sand removes large particles from dish water before disposal, allowing you to spread filtered water over bare ground safely.
- Burn pit protocol: Establish a designated burn area away from camp for food-soaked paper towels and cardboard packaging. Check local fire regulations and weather conditions before igniting anything.
- Buried compost method: In extended base camps, dig a pit at least 200 feet from water sources and mark it clearly. Layer food scraps with soil or leaves to speed decomposition and reduce odor.
- Leave-no-trace disposal: If composting isn’t viable, pack all organic waste in airtight bags. Inspect them daily for leaks or fermentation and seal them tight between meals.
The discipline compounds when you cook systematically. Plan meals that use whole ingredients with minimal scraps. Prep vegetables and proteins at home when possible. Use every part of what you bring: vegetable scraps become broth bases, leftover grains feed the next meal’s starter. Stop composting as virtue and start treating it as load engineering: the less you carry out, the more food capacity you create for the next trip.
Beyond Instagram: Real World Overland Kitchen Durability And Repair
Material Selection Over Visual Appeal
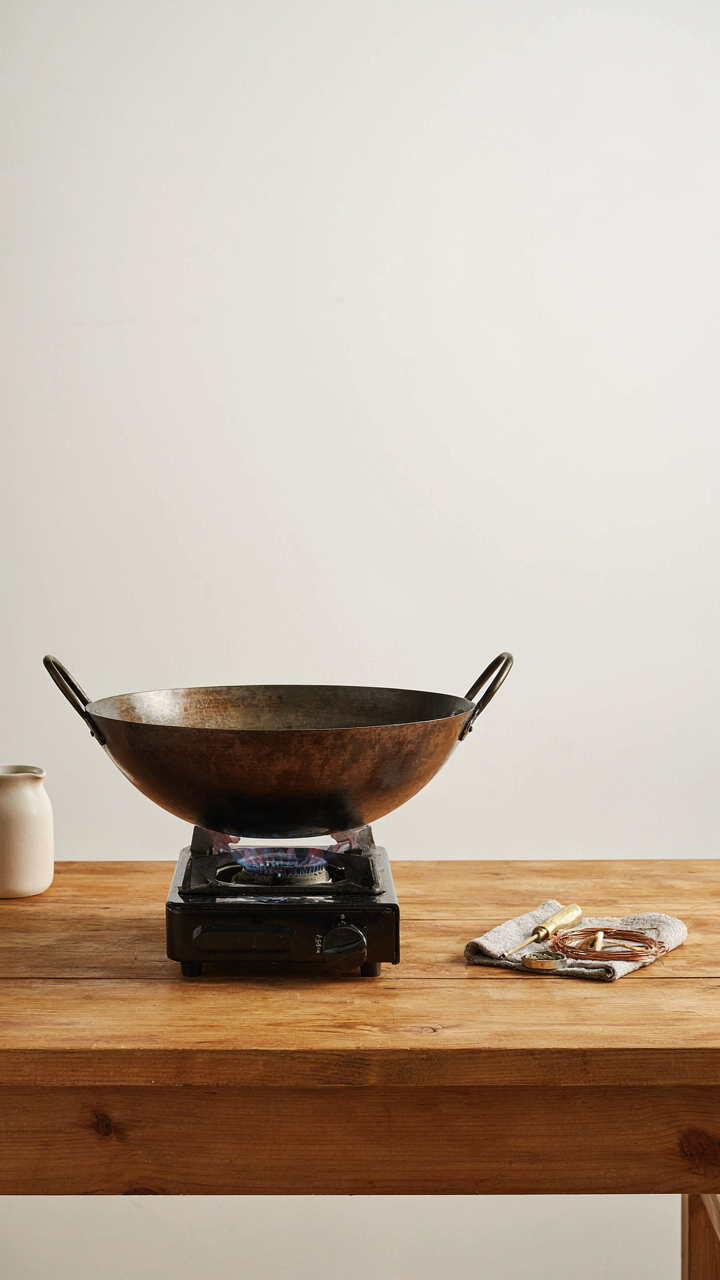
You want your setup to look intentional because it signals competence to observers. That’s the real reason most people chase aesthetics over durability. But here’s the mechanism: materials fail under stress cycles, not under static display. Stainless steel corrodes faster than bare steel in salt environments because of galvanic action. Aluminum expands and contracts differently than cast iron. Wood warps. Silicone degrades under UV. Choose materials that handle repeated heating, cooling, and exposure, not materials that photograph well.
Cast iron dominates overland kitchens for one reason: it strengthens with use instead of weakening. Carbon steel cookware handles the expansion-contraction cycle without micro-fracturing like ceramic coatings do. Stainless steel’s corrosion resistance matters less than its poor heat distribution in field cooking. Titanium is expensive for what it provides. Mild steel, when oiled properly, becomes more seasoned each trip. Your fasteners matter equally: stainless bolts seize in salt air, but plated carbon steel bolts with proper washers outlast the equipment they hold together.
Repair Readiness Before Failure Occurs
Field repair kits fail because people assemble them after a problem appears, not before. You need the kit before you need it. A loose hinge doesn’t strand you if you carry redundant hardware and a basic wrench set. A cracked weld on a grate becomes manageable with high-temperature epoxy rated for cooking surfaces. A split handle requires cordage and nothing else.
Stock these items in a dedicated container: metric and SAE wrenches, stainless and carbon steel bolts in common sizes, lock washers, high-temperature epoxy, food-grade silicone sealant, welding tape, heavy cordage, and hose clamps. Carry a hammer and cold chisel. Test every repair method at home before you’re miles from resupply. When your camp stove fails, you execute the protocol you already practiced, not improvise under stress.
The “Mobile Hub” Car Camp Kitchen: Integrating Vehicle And Culinary Operations
How Your Vehicle Already Holds Kitchen Real Estate
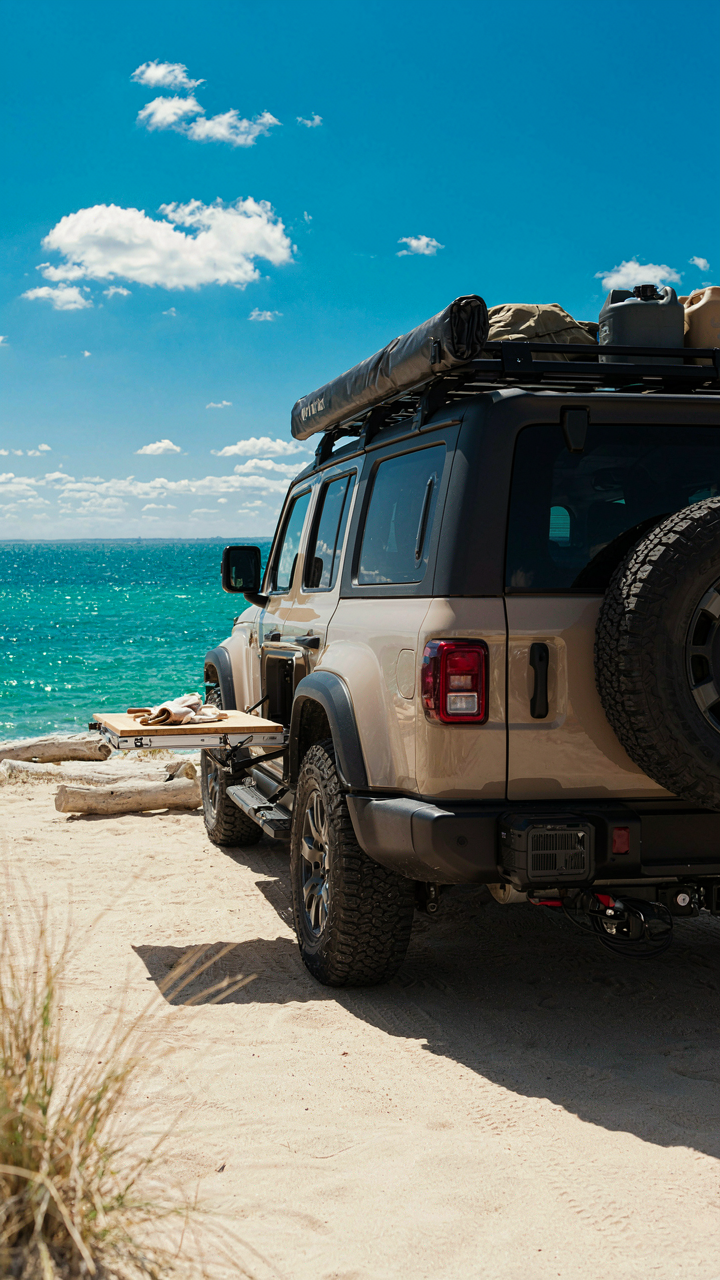
You want to believe your camp kitchen is separate from your vehicle, but it isn’t, and that’s the actual advantage you’re missing. Your vehicle is already the infrastructure. A vehicle’s existing architecture—wheel wells, roof load capacity, undercarriage space, electrical system—is borrowed military logistics. The military calls this “integrated supply.” You’re just applying it to food prep instead of ammunition storage.

Your vehicle’s frame and suspension tell you exactly where weight must go and where it shouldn’t. A roof rack holds gear, but a roof rack also tells you what load distribution works. Wheel wells constrain depth for side-mounted storage. The tow hitch becomes a power source anchor point if wired correctly. The undercarriage clearance determines whether a belly-mounted water tank survives terrain. Stop treating your vehicle and kitchen as two separate systems. Map your rig’s actual geometry first, then build the kitchen into the spaces that already exist.
Staging Water, Power, And Heat In Sequence
Most camp kitchen setups waste 40 percent of their efficiency by placing water, power, and cooking zones without spatial logic. This is poor workflow design. In professional kitchens, stations move in one direction for a reason. Your overland kitchen must flow the same way: water arrives, power reaches the prep zone, cooking heat sits downstream from both so steam and smoke don’t travel backward toward your water supply or electronics.
Position your water source—whether jerry cans, tanks, or gravity systems—at the highest point of your cooking area. Gravity does the work. Your power source, whether a battery or portable generator, sits central but away from water splash zones and heat sources. Your cooking surface sits lowest, furthest from wind direction, positioned so exhaust moves away from where you’ll be standing and where your vehicle sits. This isn’t preference. It’s the only arrangement that prevents water from contaminating fuel systems, electricity from meeting moisture, and smoke from cooking your next meal’s ingredients before they hit the pan.
DIY Camping Kitchen: The Strategic Advantage Of Custom Built Systems
What You Actually Need, Not What Sells
You want the pre-built system because it feels safer—like someone else already solved the problem for you. They didn’t. The mechanism is simple: manufacturers design for the widest possible market, which means they optimize for nobody. Your rig, your terrain, your cooking style, and your payload capacity are specific. A generic box handles all of them poorly.
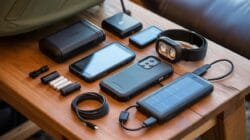
Start by auditing what you actually cook. Not what you think you should cook. Not camping Instagram meals. Real food you prepare at home, adapted for fire or stove. If you make coffee, eggs, and rice at home, build around those. If you never bake, don’t buy an oven box. The constraint forces clarity. Pre-fabricated systems bury this step under marketing.
Modular Stacking For Real Adaptability
Military logistics borrowed the concept of modularity from manufacturing decades ago, and the principle transfers directly: each component must serve one function well and connect predictably to others. Your camp kitchen needs the same architecture. Instead of one integrated unit, you build stations that stack, nest, or attach independently. A cutting board connects to a storage box. A stove sits on its own stand. A water system mounts separately. This isn’t complexity for its own sake. It’s the difference between being locked into one configuration and being able to reconfigure in minutes based on your actual needs that day.
The scalability comes from knowing your connection points in advance. Use standardized attachment methods: bolt holes, quick-release pins, or magnetic strips. Document them. When you add a new component—a hanging dry-goods storage, a raised work surface—it integrates without redesign. You modify by addition, not replacement. Each piece remains useful even if you swap out others. This is how systems survive years of real use instead of becoming outdated plastic donations.
The Efficiency Matrix For Suv Camping: Unlocking Hidden Kitchen Potential
Space Allocation Beats Storage Volume
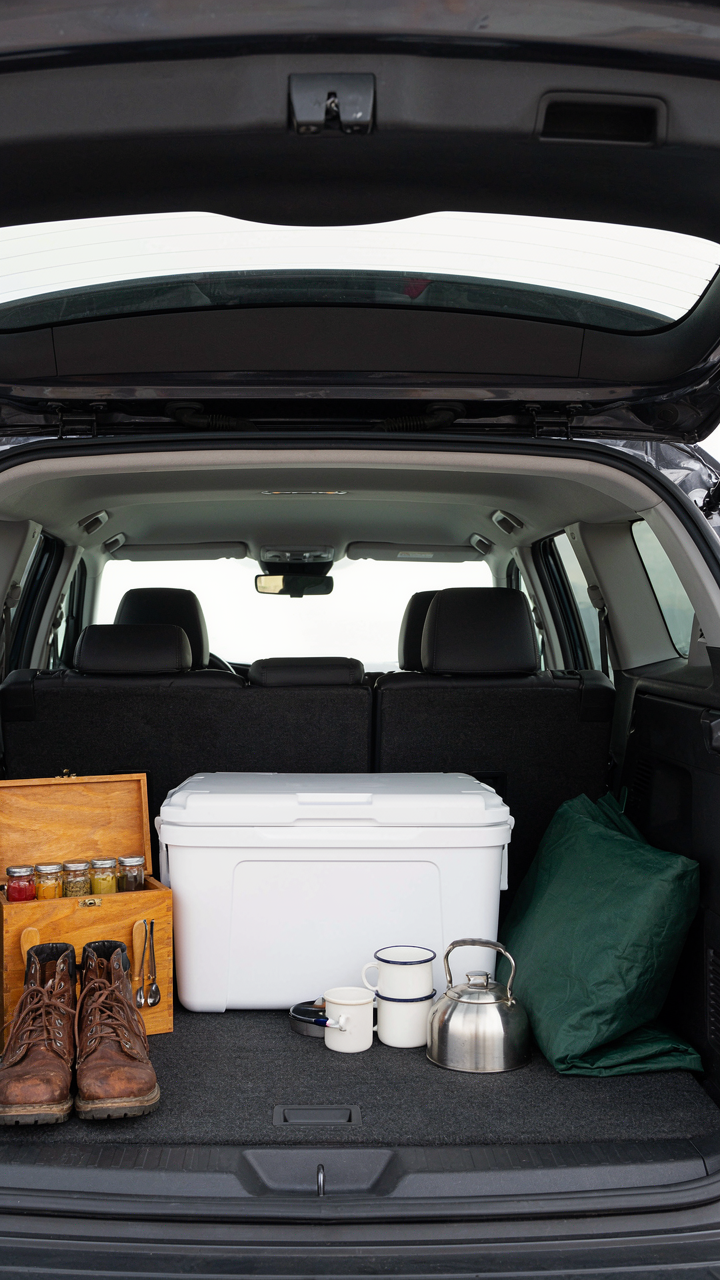
You want to feel like you’ve optimized something without actually changing how you cook. That’s the real draw here. But the mechanism is this: vehicles have dead zones. A cube of empty space in your cargo area isn’t useful. A specific zone designated for prep, a specific zone for heat, a specific zone for storage, and a specific zone for cleanup transforms a truck bed into a functional kitchen. Borrow from manufacturing’s concept of process flow: the movement of materials through stations, not just the stations themselves. Your overland kitchen succeeds or fails on adjacency and reach, not cubic footage.
Most rigs fail because people stack gear like a storage unit instead of mapping workflow. You need the cooler positioned so you reach it without stepping around your stove. Your cutting board must sit at hip height, accessible from both sides. Your water storage belongs near the cooler and far from the fire. Draw a rectangle on paper showing your vehicle’s rear footprint. Mark where gear lives. Then cook a meal standing in that space. If you move more than two steps between stations, redesign it.
Dual Purpose Defeats Dead Weight
Every item competes for space against everything else. A cast iron skillet works as cookware and as a heat distributor for your cooler at night. A plastic tote becomes a cutting board surface by laying it flat. A collapsible water jug functions as both storage and a base for your camp stove. A stainless steel bowl serves as a mixing vessel, a wash basin, and a reflector for heat. Stop buying single-function gear. Stop pretending you need seventeen specialized camping tools. A quality knife, a quality pan, a quality container, and a quality heat source accomplish 90 percent of camp cooking.
The rule is simple: if an item does one thing only, it doesn’t travel. Weigh the second function into your purchase decision before you buy. A cutting board with storage underneath. A cooler with a flat top that becomes a work surface. A spice kit that also holds utensils. A water jug with measurement markings for cooking ratios. This discipline forces you to own less and use more. Your vehicle space opens up. Your setup time drops. Your kitchen becomes automatic because every surface and every container already knows its job.
The Real Problem Isn’t Your Kitchen Setup; It’s Your Over-reliance On External Solutions For Internal Shortcomings
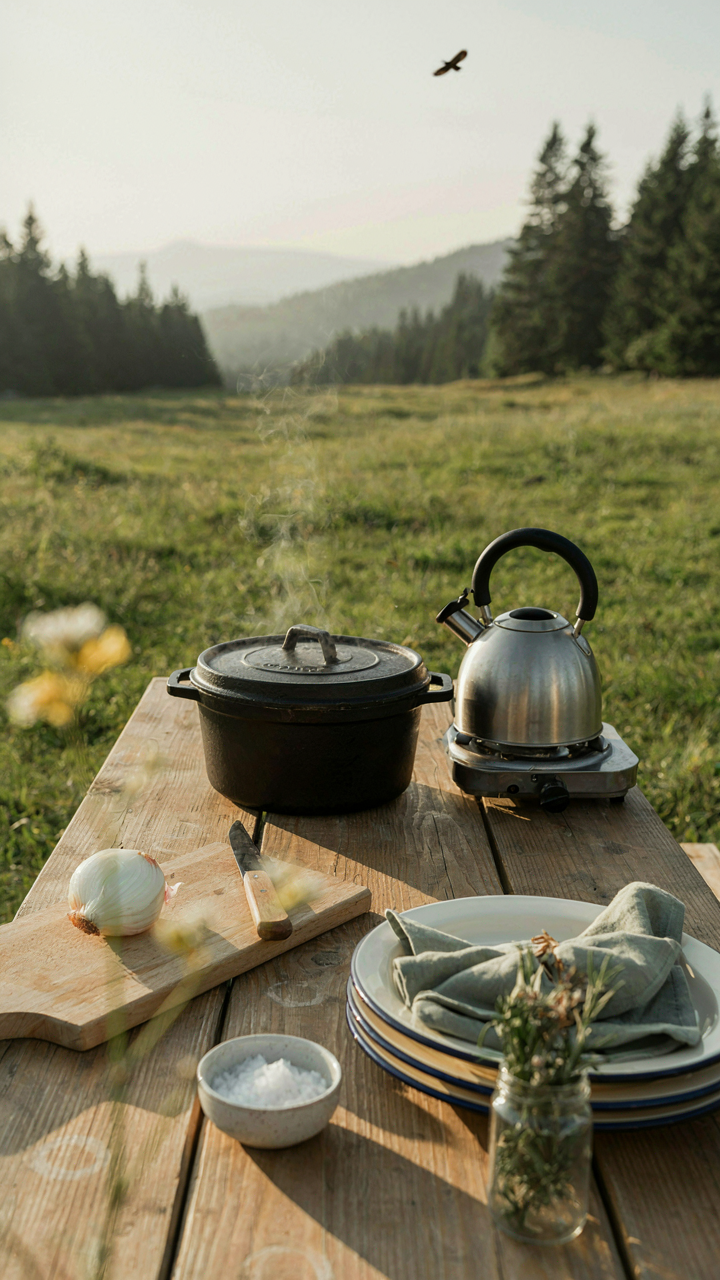
You’re buying gear to avoid deciding what matters. A better overland camp kitchen isn’t the answer. Your willingness to eat simple food, adapt on the fly, and stop treating meals like home cooking is. Start tonight: plan tomorrow’s trail meal using three ingredients you already own. The quality of your adventures depends on your tolerance for discomfort, not your equipment catalog.



