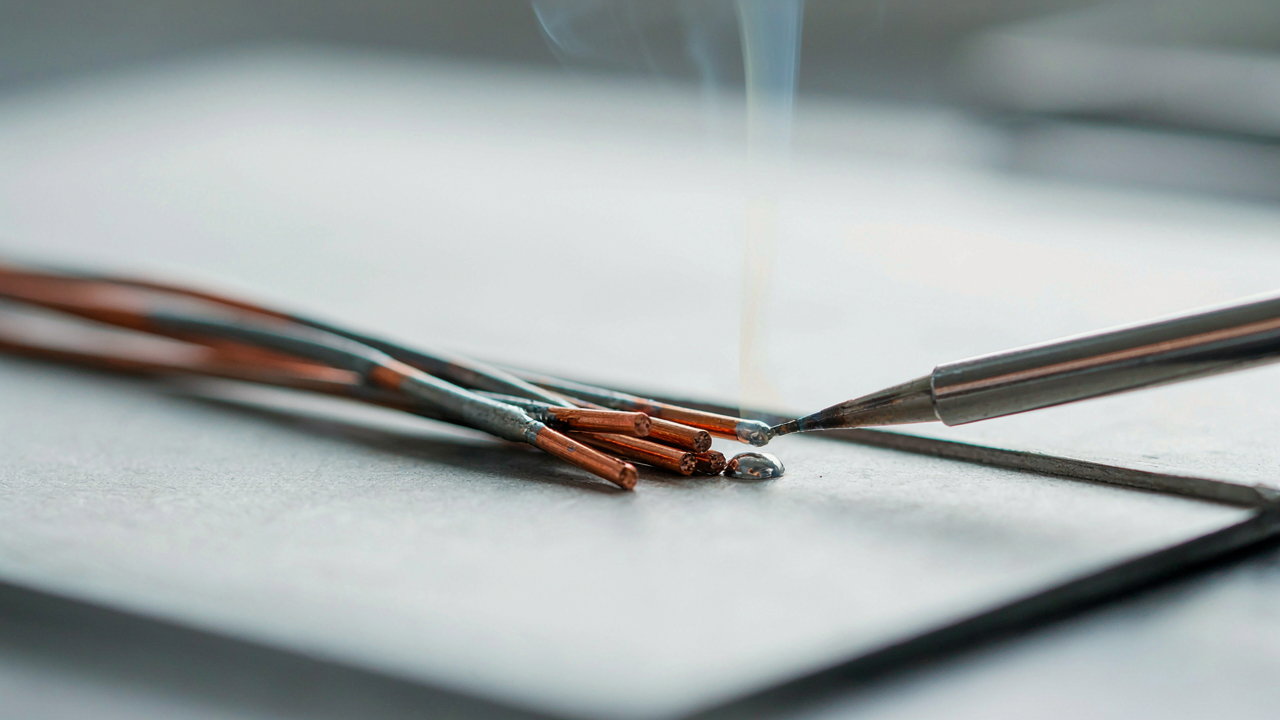
The Myth Of More Solder: Why Less Is More For Strong Joints
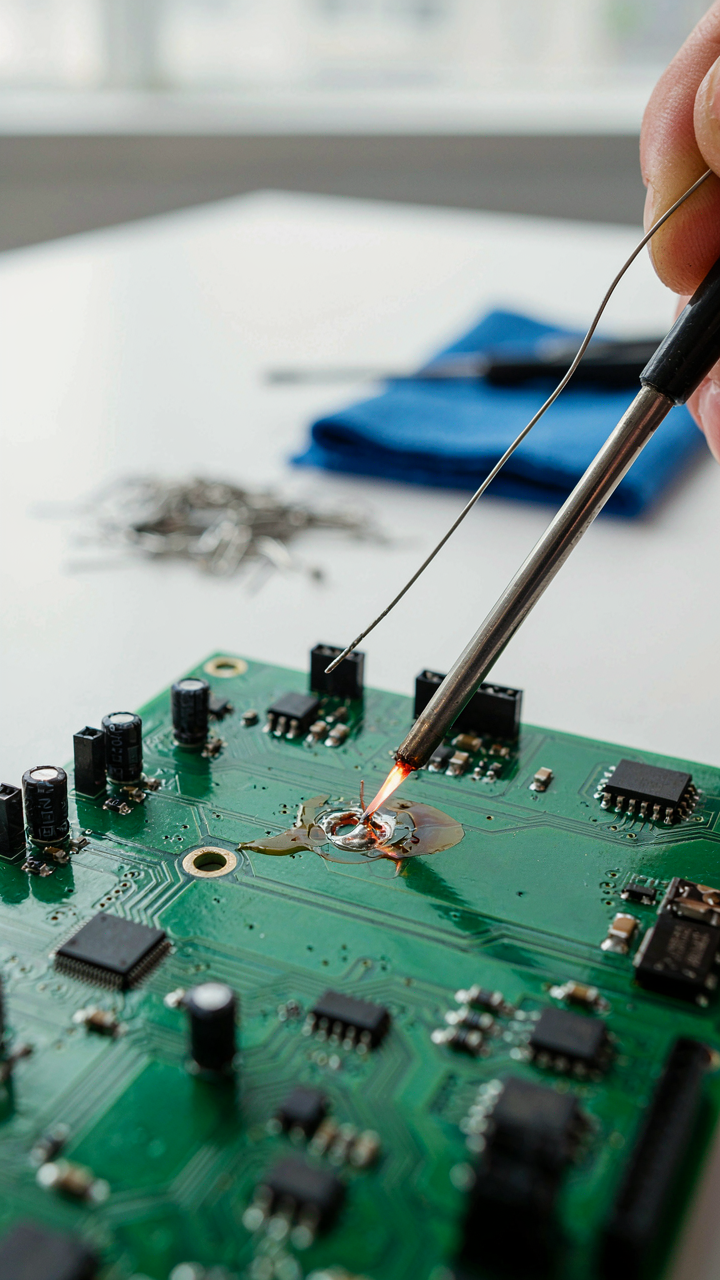
Solder Isn’t Glue, It’s A Conductor
You want the joint to look professional because you think that means it’s strong. The real mechanism is different. Solder conducts electricity and heat, not load. The wire itself carries the mechanical strength. When you heap solder onto a joint like it’s adhesive, you’re actually weakening the connection by trapping heat, creating brittle intermetallic compounds, and obscuring cold joints hiding underneath the blob.
The best joints use just enough solder to wet both surfaces completely. Think of solder like a capillary system in engineering, not a filler. Surface tension pulls the molten metal into the microscopic gaps between wires and pad. Too much solder fights this wetting action and cools unevenly, producing stress points. The joint fails not because there’s insufficient material, but because the metallurgical bond never formed properly under that excess mass.
Feed Solder To The Heat, Not The Iron
Most people touch solder to the iron tip, melt it there, then push it onto the joint. That’s backwards. The iron heats the joint. The joint melts the solder. This distinction determines whether you get a cold joint or a proper one. Feed solder to the heated wires and pad, not to the iron itself.
Use the minimum amount needed to see solder flow completely around the joint. For two 24-gauge wires, that’s roughly the diameter of the solder wire itself, maybe slightly more. For larger gauge, scale up incrementally. The solder wicks into the joint through capillary action when heat is present at the right temperature. Once solder flows, stop adding it. Excess solder that pools on the joint after removal cools slowly and creates the voids and brittleness that cause failure under vibration or thermal cycling.
Thermal Dynamics: How Heat Management Dictates Connection Strength

Heat As The Mechanism, Not The Weapon
You want a joint that won’t fail under stress because you know a cold solder joint looks identical to a good one until it betrays you. Thermodynamics teaches us about energy transfer and phase transitions. Soldering exploits both. Heat doesn’t force the solder into the joint—it enables the metal atoms to rearrange and bond at the molecular level. Without sufficient heat, the solder sits on top of the wire like a coating. With correct heat, it melts completely and wicks into the stranded copper, fusing at the atomic boundary.

Most people think “more heat equals stronger joint.” Wrong. The goal is uniform heat distribution across both the wire and the connection point, not maximum temperature. A 40-watt iron held for three seconds at the right spot outperforms a 100-watt iron jabbed randomly. The solder should melt from the heat of the wire itself, not directly from the iron. This distinction separates mediocre joints from reliable ones that handle vibration and thermal cycling.
Cold Joints Form When Heat Never Reaches The Wire Core
Everyone mentions “cold joints” but nobody explains the actual failure mechanism. Cold joints happen when the outer strands heat up enough to melt solder, but the inner copper strands stay below the melting point of solder. The result looks complete—shiny, smooth—but the solder never actually fused to the inner wire. Mechanical stress or thermal expansion pulls it apart.
The fix requires deliberate timing and iron placement. Position the iron tip to contact both the wire and the joint simultaneously, holding it there for a full two to four seconds depending on wire gauge. Larger gauge wire needs longer contact time because copper conducts heat away faster. Apply solder only after the wire itself is hot enough to melt it on contact. If the solder melts only from touching the iron, remove the iron and reheat the joint. Proper solder joints happen when the wire does the melting, not the iron.
The Flux Protocol: Unseen Power Of Chemical Preparation

Why Flux Actually Works
You care about flux because you’re hoping technique alone carries the load. It doesn’t. Flux operates on a physics principle: surface tension. Metal oxides form instantly on copper and tin when exposed to air. These oxides repel solder like water beads on wax. Flux dissolves those oxides and lowers the surface tension between the wire and molten solder. Without it, you get cold joints that look soldered but conduct poorly or fail under vibration.

The mechanism is chemical, not mechanical. Rosin-based flux (the standard for electrical work) activates around 350 degrees Fahrenheit and becomes most aggressive between 400 and 450 degrees. It chemically reduces oxides in real time as your iron approaches. This is why flux must be fresh and why applying it directly to the joint before heat matters. Old flux loses potency because the reactive compounds evaporate or degrade over months.
Residue Decisions That Kill Conductivity
Most advice on flux residue is incomplete. You don’t clean it because it looks bad. You clean it because leftover flux is hygroscopic—it absorbs moisture from air and becomes a weak electrolyte that corrodes connections over time. The residue itself isn’t conductive enough to help and active enough to harm.
After soldering cools, clean the joint with either isopropyl alcohol and a brush or a damp sponge while the joint is still warm (not hot). Alcohol is more thorough. Remove all visible brown or amber residue. If you leave it, you extend the joint’s vulnerability to humidity and temperature cycling by months or years. The cleaned joint stays bright, and conductivity stays stable.
Wire Preparation: The Unsung Hero Of How To Solder Wires Together

Strip And Tin For Optimal Contact
You’re here because you’ve watched a joint fail and wondered why. The real reason most solder joints crack or separate isn’t the solder itself—it’s that the wire surface oxidizes the moment you expose bare copper to air. Stripping removes the insulation. Tinning pre-coats that exposed copper with solder before you make the final joint, blocking oxidation and creating a surface the new solder bonds to chemically, not just mechanically.

Strip only the amount of wire you need—typically a quarter inch. Use a wire stripper sized to your gauge so you cut insulation without nicking the conductor. Immediately tin that exposed section by heating it with your iron and flowing a thin solder coat across it. This takes five seconds. The solder cools into a dull gray shell that won’t oxidize further.
Mechanical Connection Before Heat
Electricity textbooks call this the principle of constraint: two objects behave predictably only when their relationship is physically fixed before external forces act on them. In soldering, this means you twist or wrap the wires together before applying heat. A joint held mechanically can handle vibration, thermal cycling, and mechanical stress that a gravity-dependent solder bridge cannot.
Twist the two tinned wires together in a tight helical pattern or wrap one wire around the other. The twist should be snug enough to hold under moderate tension. Only then do you apply heat and solder. The mechanical connection carries the load. The solder seals it against corrosion and oxidation. If you rely on solder alone to hold wires in place, you’ve built a joint that fails.
How To Pick Solder: Matching Alloy To Application
Lead Vs. Lead Free: Properties And Limitations
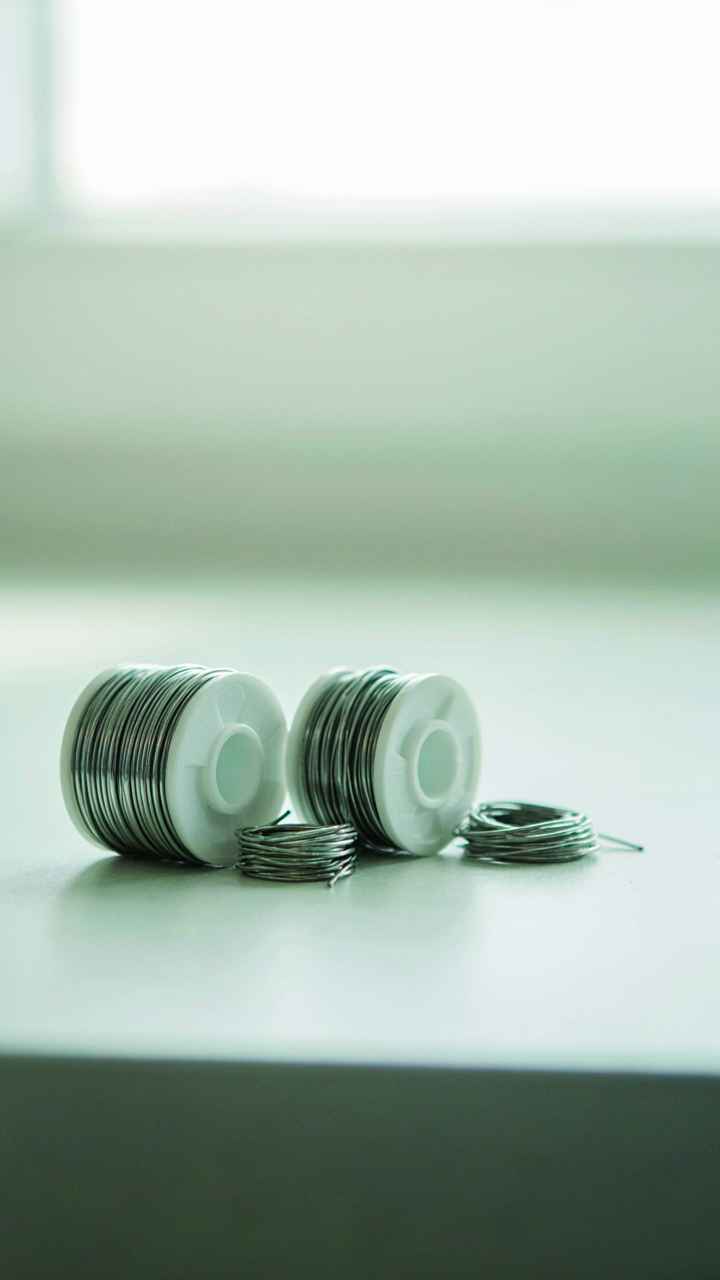
You want lead-free solder because it sounds responsible, but that’s not why you should use it. The real mechanism is melting point. Lead-based solder melts at 183°C. Lead-free melts between 217-227°C. Higher temperature means more heat stress on components, more oxidation risk, and a narrower window for getting it right. The tradeoff is real: lead-free joints are mechanically stronger when done correctly, but they punish poor technique harder.

Lead solder still works better for hand soldering on sensitive electronics because the lower temperature keeps heat damage minimal. But regulations banned it from consumer electronics in most markets. If you’re working on vintage gear or need maximum forgiveness, lead is still superior. For everything else produced after 2006, lead-free is the standard. Pick your solder based on what you’re actually repairing, not on what feels virtuous.
Rosin Core Vs. Solid: When To Use Each
Rosin core solder has flux built in. Solid solder requires you to add flux separately. The common advice stops there, which is lazy. The mechanism is chemical: flux removes oxides from metal surfaces so solder actually bonds instead of beading up. Rosin core is convenient for small jobs where you control the heat and timing. You flow the solder, the rosin flux does its job, and you’re done.
Solid solder plus separate flux is the move when you need precision or when you’re working in harsh conditions. Higher-quality flux lets you control the amount, clean it away intentionally, and reflow joints without the rosin carbonizing. If you’re doing production work or joints that matter, use solid solder with liquid or paste flux. Measure out exactly what you need, apply it to the joint first, then feed in the solder.
The “Contact Point” Strategy: Precision Soldering Techniques
Tip Geometry And Heat Transfer Efficiency
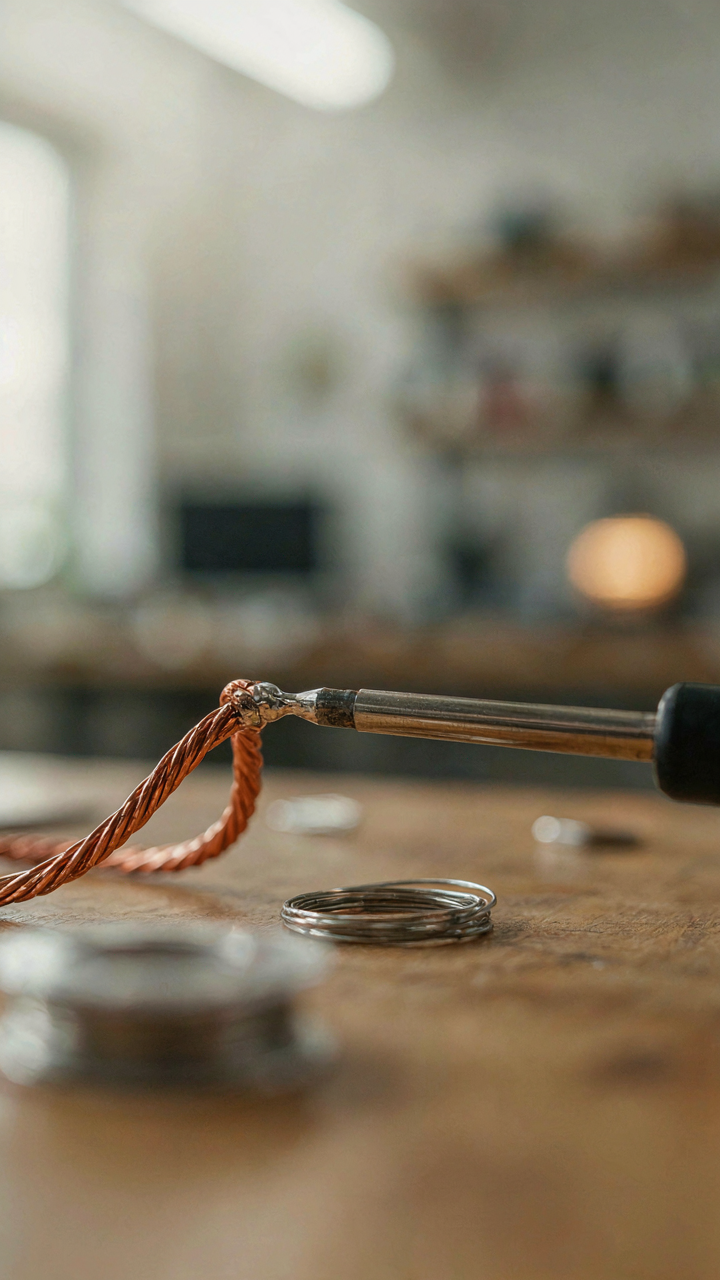
You want a perfect joint without the sweating. The real issue isn’t your soldering iron—it’s that you’re using the wrong part of it. Heat transfer operates on surface area and contact pressure, the same physics that makes a knife cut better than a club. A chisel tip concentrates thermal energy into a smaller area than a conical one, forcing heat into your work faster instead of bleeding into the air around it.

The shape of your soldering iron tip determines how efficiently energy moves from the element to the joint. A worn, rounded tip loses contact with small wire connections and dissipates heat into space. Replace your tip when the geometry flattens or oxidizes. A flat or slightly chisel-shaped tip sitting flush against both wires transfers heat in seconds rather than minutes, which means less time heating the surrounding insulation and less risk of damage to components nearby.
Apply Heat To The Work, Not The Solder
Most people get this backwards. They jam the iron against the solder and wonder why it balls up instead of flowing. You heat the wires themselves, not the filler metal. The wires reach temperature, then the solder melts on contact with them, not on contact with your iron tip. This distinction determines whether you get a cold joint or a metallurgical bond.
Position your iron tip so it touches both wires simultaneously at the point where they meet. Hold it there for two to three seconds until both pieces reach melting point. Then introduce solder to the joint where the iron meets the wires, not to the iron tip itself. The heated copper conducts the solder into the connection through capillary action. Remove the solder first, then remove the iron, and let the joint cool without moving it.
Post Solder Inspection: The “Flaw Detection” Mindset
What A Perfect Joint Actually Looks For
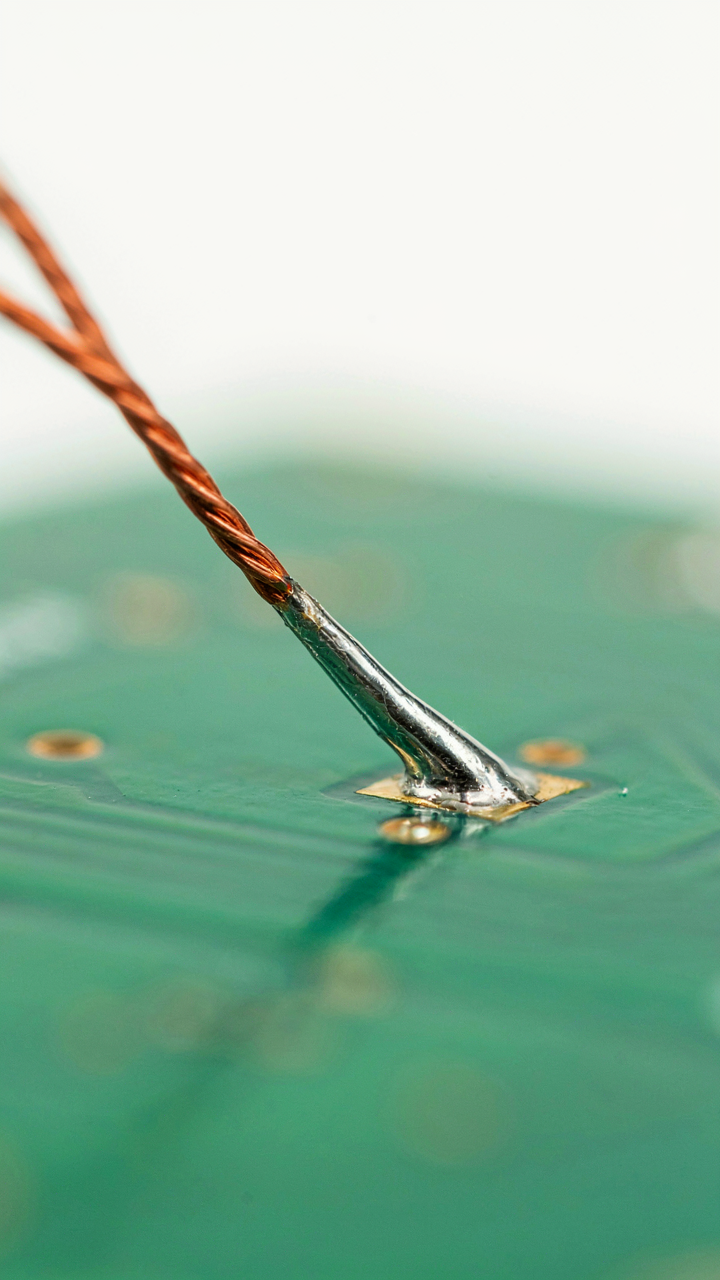
You want certainty that your joint won’t fail in six months. That’s the real reason you’re inspecting. Here’s the physics: a solder joint succeeds through metallurgical bonding, not just surface coverage. The solder must wet the base metals completely, creating a continuous bridge of alloyed material. This happens only when heat penetrates deep enough to dissolve the copper surface into the molten solder pool.

Look for a shiny, smooth cone shape flowing from the wire into the pad or terminal. The surface should have a uniform metallic luster, never dull or grainy. If you see a sharp edge where solder meets wire, or a thin line of separation, the joint cooled too fast or didn’t reach proper temperature. The fillet—that triangular area where solder meets the base metal—should have a 45-degree angle, not steep walls. Run your eye along the perimeter. Any gap means cold solder or insufficient heat application.
Where Joints Actually Fail And Why
Most advice stops at “shiny equals good.” That’s incomplete. The real failure modes are thermal cycling cracking and cold solder joints that oxidize internally over time. Thermal cycling happens because copper and solder expand at different rates when temperatures shift. A joint that looks perfect initially can micro-crack inside after weeks of heating and cooling. Cold solder joints look dull because the tin and lead didn’t fully melt together—they just stuck. These fail electrically first, then mechanically.
The root cause is always one thing: inadequate heat to the joint itself, not the iron. Your iron can be 800 degrees, but if you don’t hold it against the connection long enough, the copper doesn’t reach melting temperature. Inspect by touching the joint with a multimeter probe—if it feels cool, heat was insufficient. A correct joint holds a probe firmly and feels warm for ten seconds after you remove the iron. Check solder flow around the entire perimeter. Any spotty coverage or isolated peaks means you moved the iron away too soon or at the wrong angle.
Soldering Tips For Electronics: Essential Tools And Setup
Iron Wattage And Temperature Control
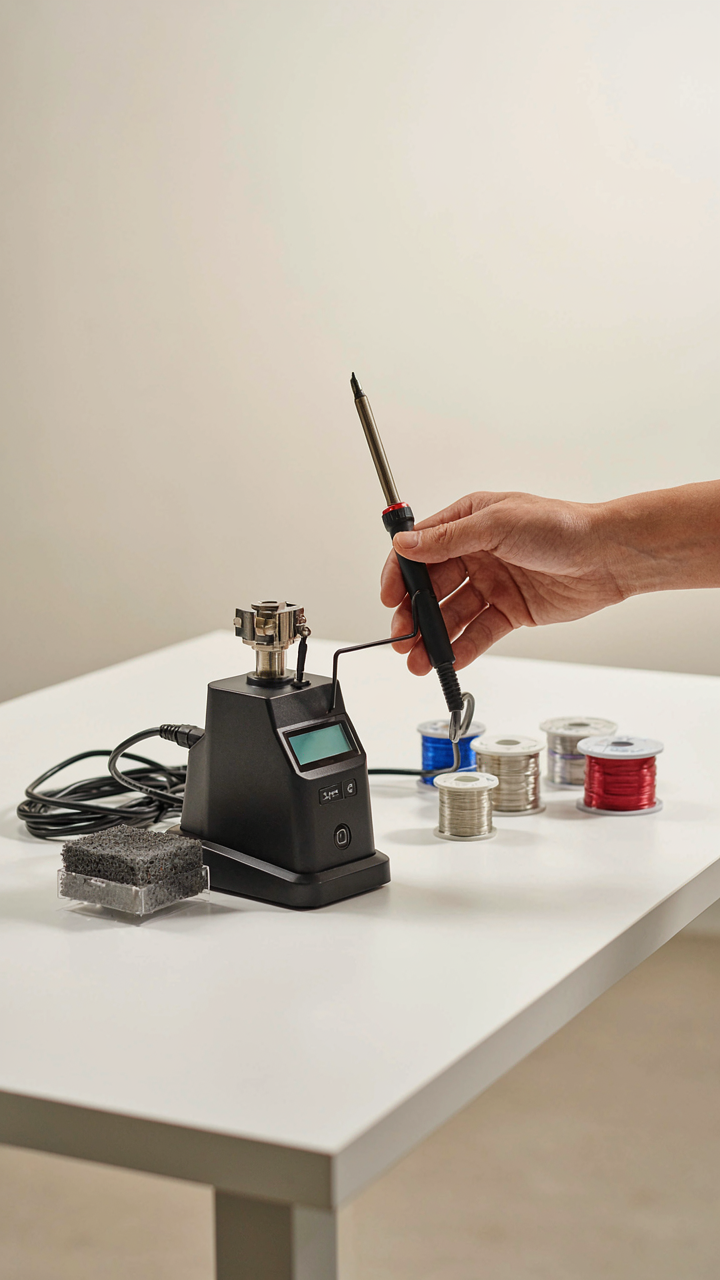
You want the right tool so you don’t look incompetent in front of someone who actually knows what they’re doing. Here’s the mechanism: wattage determines heat recovery speed, not peak temperature. A 40-watt iron heats slower between joints. A 60-watt iron bounces back faster. Temperature control matters because solder melts at 188°C minimum, but most joints need 250°C at the tip to transfer heat into the wire fast enough before damaging components.

Buy a soldering iron between 40 and 80 watts with adjustable temperature. Most electronics work at 350°C tip temperature. Cheaper irons run hotter to compensate for poor heat transfer. Digital readout irons cost more but hold temperature steady, which matters when you’re joining different wire gauges or working near temperature-sensitive parts. Analog dials drift. The real play: match wattage to your typical joint size, not your ego.
Safe Setup And Workspace Basics
Your station layout determines whether you finish 20 joints or burn yourself on the third one. Ergonomics here is pure thermodynamics: position the iron so your hand reaches it without rotating your shoulder, keep the solder spool within arm’s reach, and mount the iron on a stand that positions the tip at eye level when seated. This removes fumbling.
- Ventilation or fume extractor: Solder flux releases organic compounds when heated. A small desktop extractor pulls fumes away from your face without needing an entire shop exhaust system.
- Heat-resistant mat or ceramic tile: Protects your workbench from tip burns and gives you a clear zone for laying out wires and components without scorching wood or plastic.
- Wet sponge or brass wire cleaner: Cleans oxidized tip buildup every 2-3 joints. Brass wool works better than sponge because it doesn’t cool the tip as drastically, keeping temperature stable between passes.
- Helping hands or PCB vise: Holds wires steady so you use both hands, one for iron and one for solder. Fumbling with tweezers while holding a hot iron burns fingers or creates cold joints.
- Lead-free or leaded solder in 60/40 or 63/37 ratio: Lead-free melts hotter and flows slower. Leaded solder flows faster and sticks better. Choose based on your iron’s capability, not trends.
Position your iron stand to your dominant side, solder on the other. This keeps your flow consistent and prevents reaching across the joint where you might knock something loose. Check your tip temperature before starting each session by letting a small solder ball form and melt smoothly into the joint without beading up or cooling instantly.
Advanced Soldering: When Wires Become Systems, Not Just Connections

Protecting Components From Heat Damage
You’re reading this because you’ve killed something expensive and want to look competent next time. The real issue: heat doesn’t travel in a line from your iron to the joint. It radiates outward in all directions, and delicate components fail long before the solder melts. Think of it like a blast radius in physics where energy disperses spherically from a point source. Your job is to absorb that energy before it reaches the component.

Heat sinks attach to component leads using copper or aluminum clamps. They work by offering a lower-resistance thermal pathway than the component itself, pulling heat away from the silicon or circuitry inside. Clip a heat sink onto a resistor lead or diode leg while soldering within two inches of the component. The mass of the sink absorbs heat energy faster than the component can transfer it internally. For extremely sensitive work, wet a natural sponge and place it near the joint to create an evaporative cooling zone. The solder must flow cleanly while the component survives untouched.
Removing Bad Joints Without Destroying Everything
Most desoldering advice is incomplete trash. People tell you to use solder wick or a solder sucker and act like that’s the whole strategy. It’s not. The mechanism is force balance: you need enough heat to melt the joint, but not enough to cook surrounding material. Conventional wisdom skips the actual protocol that separates rework from wreckage.
Desoldering requires a two-stage approach. First, heat the joint with your iron set to normal working temperature for eight to twelve seconds until the solder flows freely. Second, use either a desoldering pump or wick to extract the molten solder immediately while it’s still liquid. The common mistake is heating the joint, then waiting, then trying to remove cold solder that won’t budge. You have a five-second window after melting to remove it completely. If the joint resists, reheat and extract again rather than forcing it. Multiple gentle passes preserve traces and pads better than one violent attempt.
The Real Obstacle To Soldering Mastery: Your Fear Of The Unseen Connection
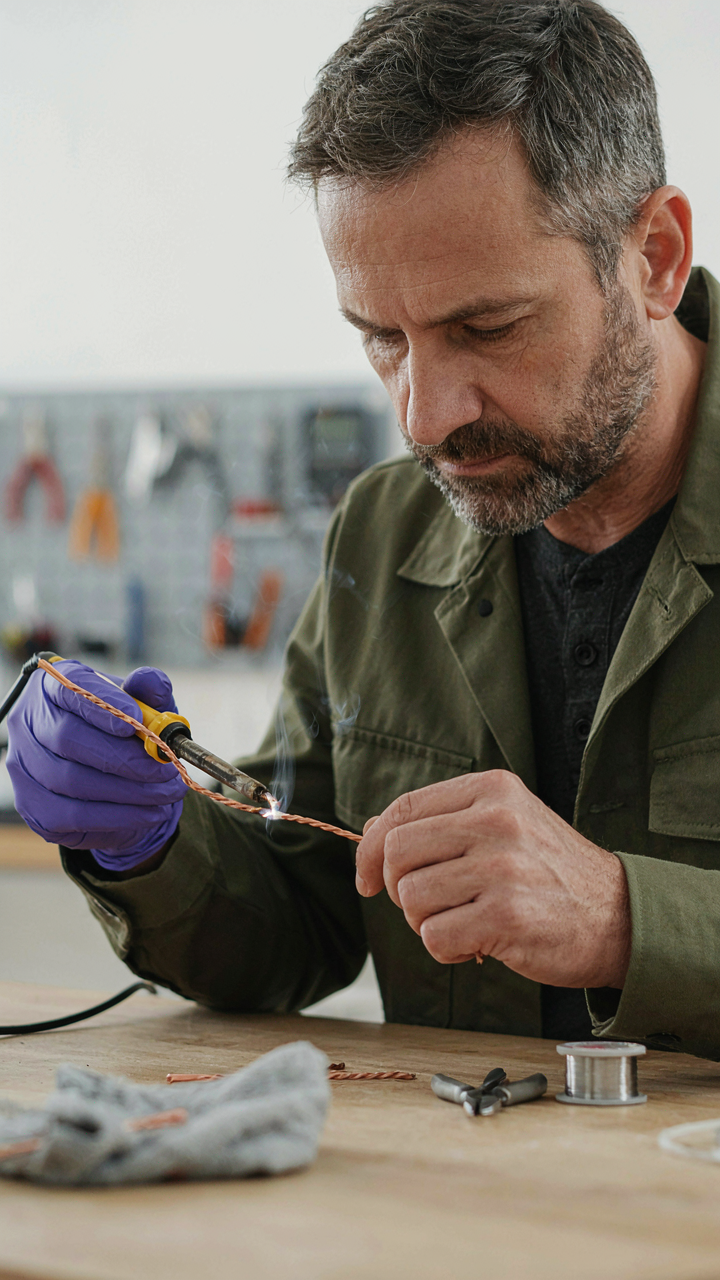
Most people never master soldering because they refuse to trust the invisible. You can’t see the solder flowing into the joint. You can’t measure when the connection becomes permanent. This uncertainty terrifies you into either pulling away too soon or obsessing over perfection. Stop. Heat the joint to temperature, apply solder, watch it flow, then walk away. Your skill grows the moment you accept that good joints feel right before you understand why. Confidence in the invisible separates competent solderers from people who dabble.



