The Illusion Of Endless Options: Why More Emulators Break Your Retro Experience
Bloated Retropie Setups Kill The Experience
You want to feel like you built something comprehensive. The mechanism is simple: RetroPie lets you install every emulator available, and you mistake quantity for quality. A stock Pi4 with all emulators enabled runs hot, crashes mid-game, and forces you to troubleshoot instead of play. You’ve optimized for collection, not function.
The real move is ruthless subtraction. Install only the systems you’ll actually use. NES, SNES, Genesis, arcade—that’s your core four on most Pis. Each emulator you add taxes CPU, memory, and stability. Remove the clutter. Your setup works better when it does less.
The Paradox That Freezes Your Decision
Economics calls this the paradox of choice—more options decrease satisfaction and increase decision paralysis. Apply that to Raspberry Pi emulation: you can run Dreamcast, N64, PSX, and Saturn on a Pi4, but the second you try running all of them, performance tanks on the demanding ones. You end up choosing nothing, tweaking everything, playing nothing.
Stop optimizing for theoretical capability. Pick the three systems that matter to you and dial those in properly. Test actual gameplay, not just menu load times. Set your emulator config once, verify it works, then move forward. Anything beyond that is procrastination wearing the mask of preparation.
The “Perfect” Raspberry Pi Zero Retro Gaming Myth: Power Vs. Practicality
When Zero Isn’t Enough
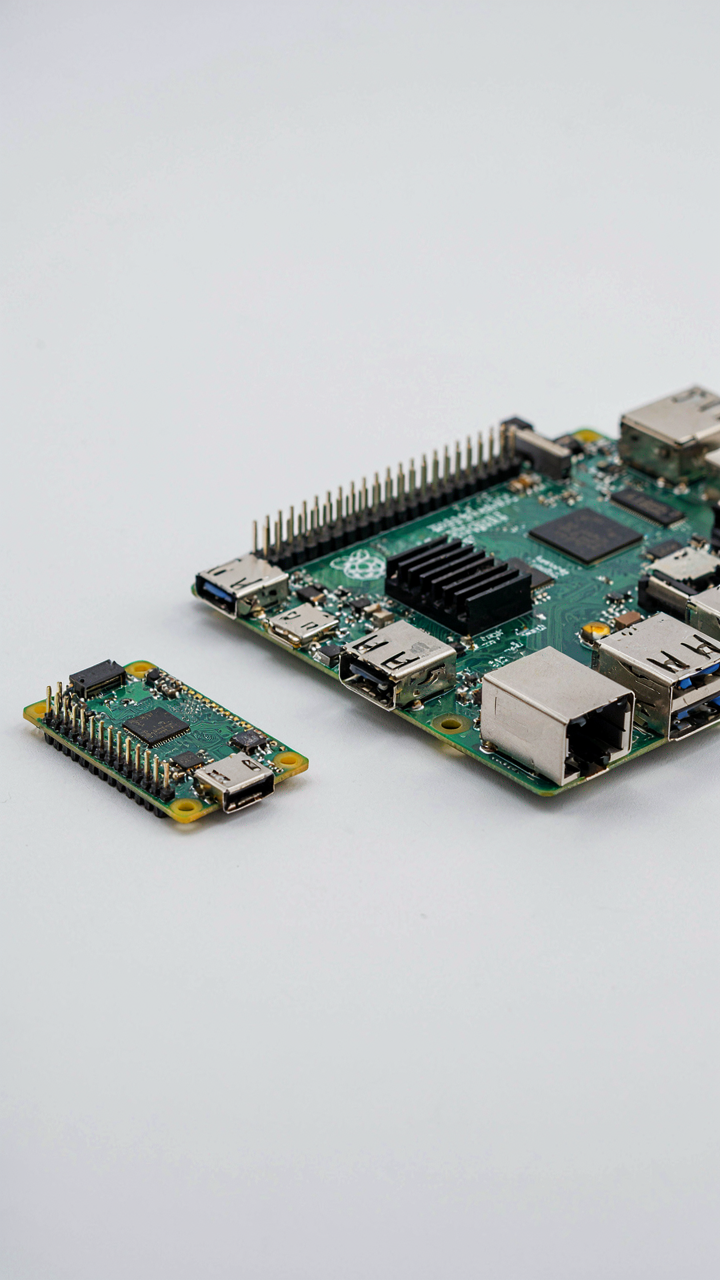
You want the Pi Zero because it’s cheap and it feels smart to optimize. That’s not the real reason you’re reading this. You’re scared you’ll waste money on the wrong board. Here’s the mechanism: the Zero’s single-core ARM processor throttles under load, not because it lacks raw MHz, but because thermal management fails when you stack emulation layers. NES and Game Boy run fine. Anything demanding sprite scaling or advanced palette effects drops frames. The Zero also limits you to one USB port, forcing hub purchases anyway, which erases the cost advantage.

The Pi Zero works for targeted systems only. SNES emulation hits walls at higher resolutions. N64 becomes unplayable past 480p. Sega Genesis runs adequately because the original hardware was modest, but you’re trading convenience for frugality. If you’re building this to actually use it, not just to own the cheapest option, the Zero’s limitations cost you more in frustration than a Pi 4 costs in dollars. You’ll abandon the project or hack around problems instead of solving them.
Board Choice By System Demand
The engineering principle here is load distribution. A system with high sprite count or z-buffer calculations requires different thermal and clock headroom than one running simple tile-based rendering. Match your emulator’s demand curve to the board’s sustained performance ceiling, not its peak.
Pi 3B handles everything up to Dreamcast adequately if you accept 720p caps. Pi 4 with 4GB RAM runs N64 at 1080p and emulates PSX at playable frame rates consistently. Pi 5 is overkill for retro gaming unless you’re also running a media center or second emulation instance. The real trap is buying more board than you need, which generates heat and wastes power without improving your experience. PSOne, Game Boy Advance, and Sega Saturn emulation all hit their practical ceiling on a Pi 3B. Spend the Pi 4 money only if you’re chasing N64 accuracy or running multiple concurrent systems. Otherwise you’re financing convenience that doesn’t exist yet.
Beyond The Buzz: Real World MAME On Raspberry Pi Setup

Setting Up MAME On Raspberry Pi
You want to know if a Raspberry Pi can actually run arcade games without stuttering or looking like garbage. Here’s the hard truth: most people skip the actual setup work and blame the hardware when their rom collection runs like molasses. The mechanism is simple. MAME on Pi works through CPU emulation of 1970s and 1980s arcade boards, but the Pi’s ARM processor hits a wall with demanding games. RetroPie bundles MAME into a precompiled package, but you need to understand the version mismatch problem first.

MAME has fractured into multiple versions. MAME 0.139 runs older arcade titles efficiently on Pi hardware. Newer MAME versions demand more CPU cycles and choke on anything below a Pi 4 with 4GB RAM. Most Pi setups ship with a recent MAME build that struggles with everything except Pac Man clones. Install MAME 0.139 explicitly through RetroPie’s setup script, point it to your rom directory, and verify the rom filename matches the MAME database exactly or the emulator won’t recognize it.
Bridging MAME RetroArch And Cross Device Setup
This is where people introduce friction that didn’t exist. RetroArch is an emulator frontend that runs MAME cores, but it’s not the same as running standalone MAME. On a Raspberry Pi, RetroArch handles multiple emulator cores through one interface, which saves configuration headaches but costs CPU performance compared to dedicated emulators. The engineering principle at work is resource allocation, like military logistics: spreading your supply lines thin works until it doesn’t.
The actual problem emerges when you transfer saves or configs between a PC running RetroArch and your Pi. RetroArch stores save states, controller mappings, and game configs in different directories on each system. Sync those manually or you’ll lose progress and spend hours remapping controls on the Pi after testing games on your PC. Set up one canonical rom directory on your network using Samba share, point both systems to it, and keep RetroArch config files local to each device instead of trying to mirror them.
The Latency Lie: Debunking Input Lag In Raspberry Pi Retro Gaming
Where Input Delay Actually Lives
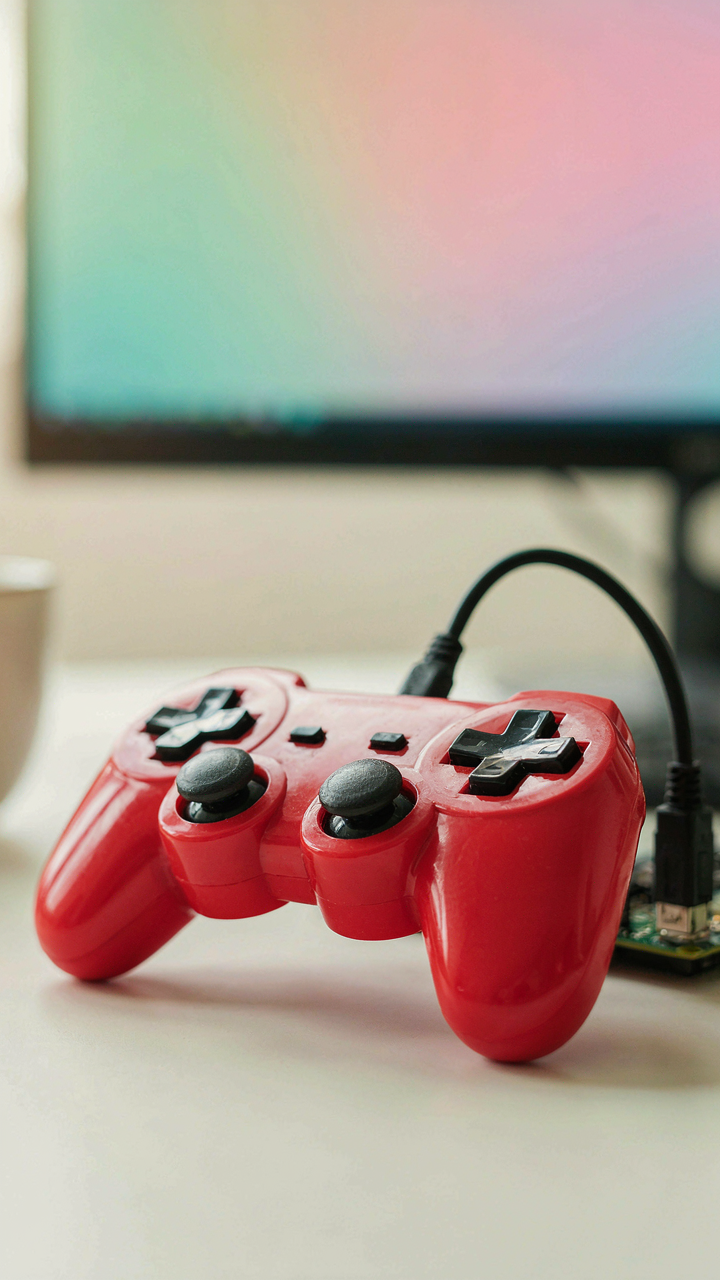
You care about this because you’re afraid your setup will feel sluggish and you’ll look like you wasted money on a worse experience than original hardware. Here’s the mechanism: input latency is a feedback loop problem, borrowed from cybernetics. In control systems, lag between action and response destroys the operator’s ability to correct course. On a Raspberry Pi, you’re not fighting a network bottleneck like online gaming. You’re fighting the round trip from controller input through the emulator’s frame buffer to your display output. Each stage adds delay independently.

The common advice says “just use a good USB controller.” That’s incomplete. The real culprit sits between the emulator and your monitor. RetroArch and most Pi emulators push frames into a buffer that syncs to your display’s refresh rate. A 60Hz monitor refreshes every 16.7 milliseconds. If your emulator’s frame lands just after the monitor scans, you’re waiting a full refresh cycle before seeing it. Original hardware bypassed this entirely. An NES controller signal reached the PPU in microseconds, not milliseconds.
Squeeze Response Time From Your Setup
Lower latency on a Raspberry Pi retro gaming setup requires attacking the display pipeline, not the CPU. Set your RetroArch core to disable frame delay and turn off vsync if your display can’t handle tearing. Most modern monitors tolerate 1-2 frames of tearing at 60Hz without visible artifacts. Your eye stops noticing it below 8 milliseconds of additional lag. Boot your Pi in 720p, not 1080p. Smaller resolution means fewer pixels to push, shorter time spent in the GPU’s rendering queue.
Use a wired USB controller, not wireless. Wireless adds 4-8 milliseconds of transmission delay through the 2.4GHz band. Connect directly to the Pi’s USB port, never through a hub. USB hubs introduce additional latency through the controller polling cycle. Test with games that have frame-by-frame response requirements, like Mega Man or Castlevania. If you can reliably land jumps on the first frame of input, your latency sits below 50 milliseconds total. Adjust your display settings in the Pi’s config until that threshold breaks.
The “Easy” Button Fallacy: Why Pre Built Raspberry Pi Retro Box Images Fail

Bloat And Instability Hide Behind Convenience
You want the setup to work immediately so you don’t feel stupid for buying hardware you don’t understand. Here’s the mechanism: pre-built images bundle every emulator, every ROM set, every theme, and every configuration option into a single bloated file. This creates technical debt you inherit the moment you flash it.

Most pre-built images run 8 to 15 emulators simultaneously resident in memory, massive theme packs eating storage, and dozens of scripts running on boot that conflict with each other. You get crashes during controller configuration, stuttering mid-game, and update incompatibilities because the maintainer stopped supporting it. The convenience is an illusion built on someone else’s guess about what you need.
Control Requires Building From Scratch
Building your own Raspberry Pi retro setup applies the principle of constraint optimization from systems design: remove every variable you don’t directly control. Start with Raspberry Pi OS Lite, install only RetroPie or Batocera, add one emulator at a time, test it fully, then move forward.
This approach takes four to six hours instead of five minutes, but you own every decision. You know which emulator handles which game. You control RAM allocation, override settings, and debug problems because you built the layers yourself. When something breaks, you fix it in minutes instead of reinstalling the whole image. The mechanism is ownership through deliberate scarcity.
The Spartan Controller Protocol: Less Is More For Authentic Play
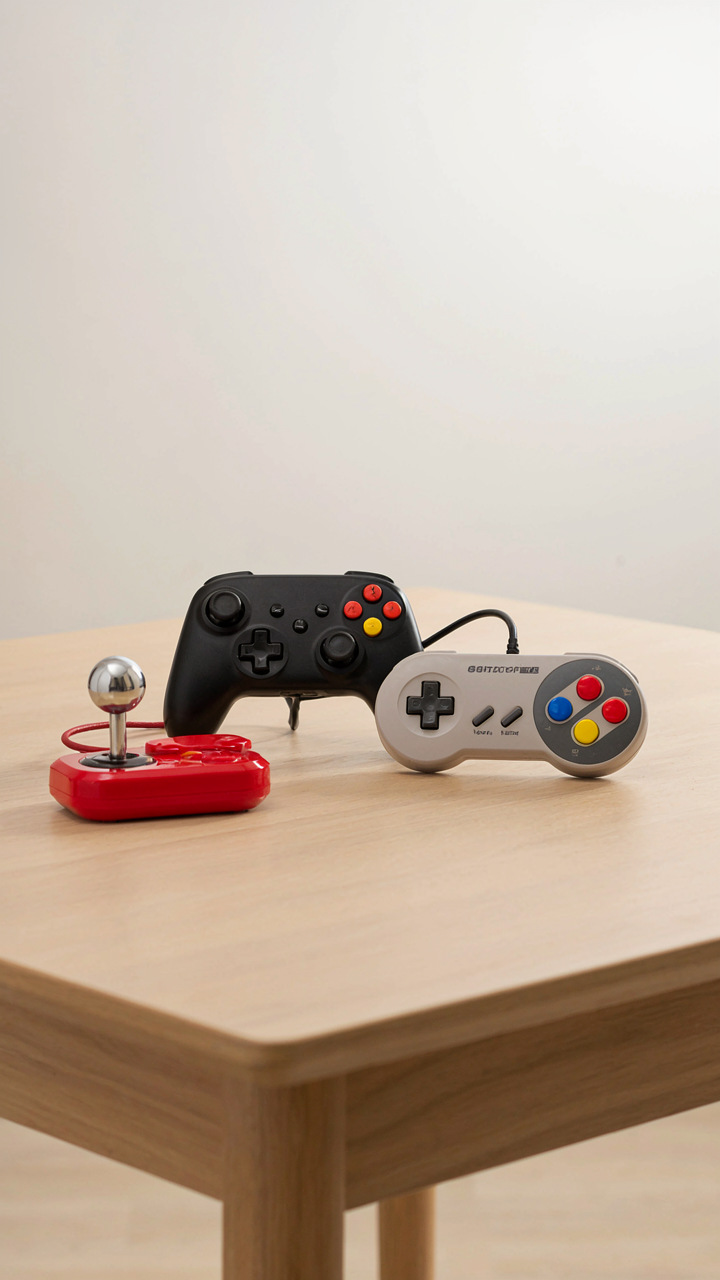
Which Controllers Actually Work
You want the setup to feel legitimate without dropping money on ten different pads. Here’s the mechanism: the Raspberry Pi’s controller compatibility layer (primarily through RetroPie’s input mapper) works best when you match the controller to the emulator’s native expectations rather than forcing universal compatibility across everything.
- 8BitDo Pro 2: Wireless, remappable buttons, works across emulators without lag. Native support in RetroPie via Bluetooth pairing.
- Original USB SNES Controller Clones: Plug and play on day one. Two button rows, D-pad layout matches actual SNES games without remapping friction.
- Wired Xbox 360 Controller: Standardized button layout recognized immediately by most emulators. Reliable but overkill for pre-1995 systems.
- Wireless NES Classic Controller: Authentic button count and feel. Pairs via Bluetooth to Pi 4 and above without additional adapters.
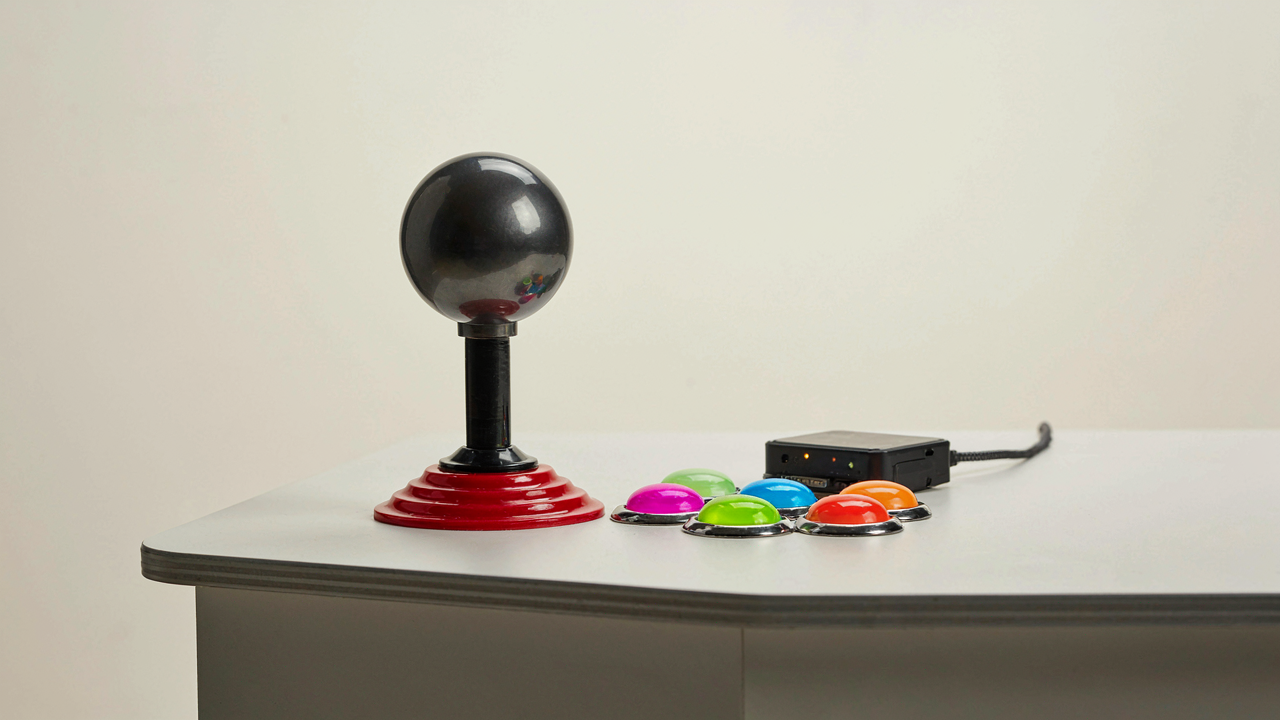
- Arcade Stick (USB): Solves control problems for fighting games and shoot-em-ups. Direct button mapping prevents the dead zone issues that pad layouts create.

The actual win here is matching input device to game architecture. A six-button controller on a two-button NES game creates mapping bloat that your brain registers as wrong even if you never name it. Start with what the system originally shipped with, then add specific peripherals only when you hit a game that needs it.
The Single Controller Doctrine
Forget the advice about building a controller arsenal. Most people stock five pads then use one because switching controllers mid-session breaks immersion and eats setup time. The mechanism is pure economics: cognitive load multiplies when you have to remember which pad works best for which era of games.
Pick your primary controller based on the libraries you’ll actually play most. If you’re running heavy NES and SNES rotation, the eight-bit layout wins. If arcade games and early fighting titles matter more, the arcade stick becomes your anchor. One reliable controller beats six mediocre ones because consistency trains muscle memory, and muscle memory is what makes retro games feel like they used to feel. Plug it in once, configure the button map in RetroPie’s input settings, then leave it alone.
The “Just Add ROMs” Delusion: Curating Your Game Library With Intent
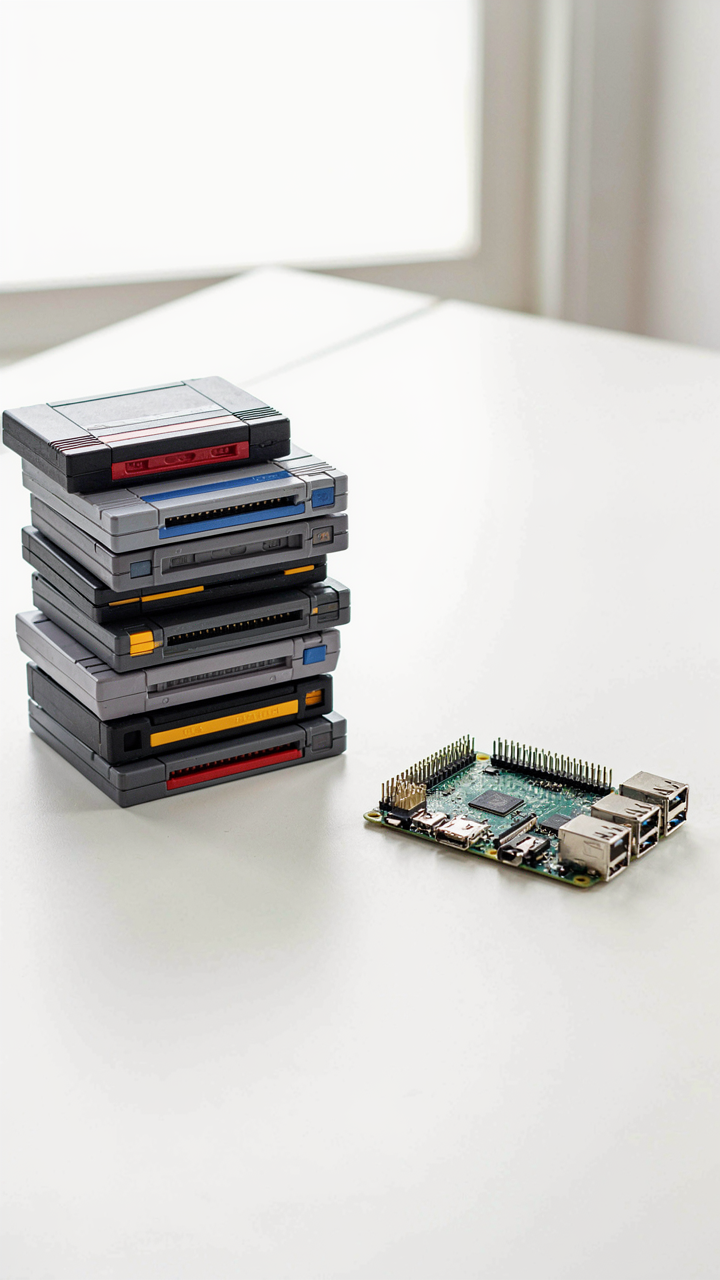
Collection Over Quantity
You want to feel like you’ve “won” by downloading ten thousand games. The mechanism is simple: your brain mistakes archive size for accomplishment. A Pi’s storage fills fast, but most collections sit unplayed. The real constraint isn’t space. It’s attention. You’ll play maybe thirty to fifty games across all systems. Everything else is noise you’re maintaining.

Start by identifying the systems you actually want to engage with. Not the ones that sound cool. The ones you’ll boot into at midnight when you have thirty minutes free. NES, SNES, Genesis, Arcade, Game Boy. Most people stop there. Load fifty high-quality titles per system instead of five hundred mediocre ones. Every game in your collection should pass a single test: would you recommend it to someone else, or are you keeping it for ego.
The Legal Angle Nobody States
Copyright exists whether you acknowledge it or not. Dumping ROM files is legal in most jurisdictions if you own the cartridge or arcade board you’re copying from. Downloading ROMs you don’t own is copyright infringement in most countries. That’s the line. Not gray, not negotiable. The retro gaming community pretends this doesn’t matter. It does, and not for the reason you think.
Your Raspberry Pi setup is disposable hardware running files. If you need to rebuild it, move it, or troubleshoot it, every ROM you don’t own creates a legal vulnerability you don’t need. More practically: the sites hosting ten-thousand ROM packs are unstable. They get seized. Your collection vanishes. The smarter move is slower. Buy physical cartridges for games you want to preserve, dump them yourself with a device like a Retrode, and build a ROM library you actually own. You retain everything regardless of what happens to download sites.
The “Future Proofing” Trap: Why Obsessing Over Tomorrow Kills Today’s Play
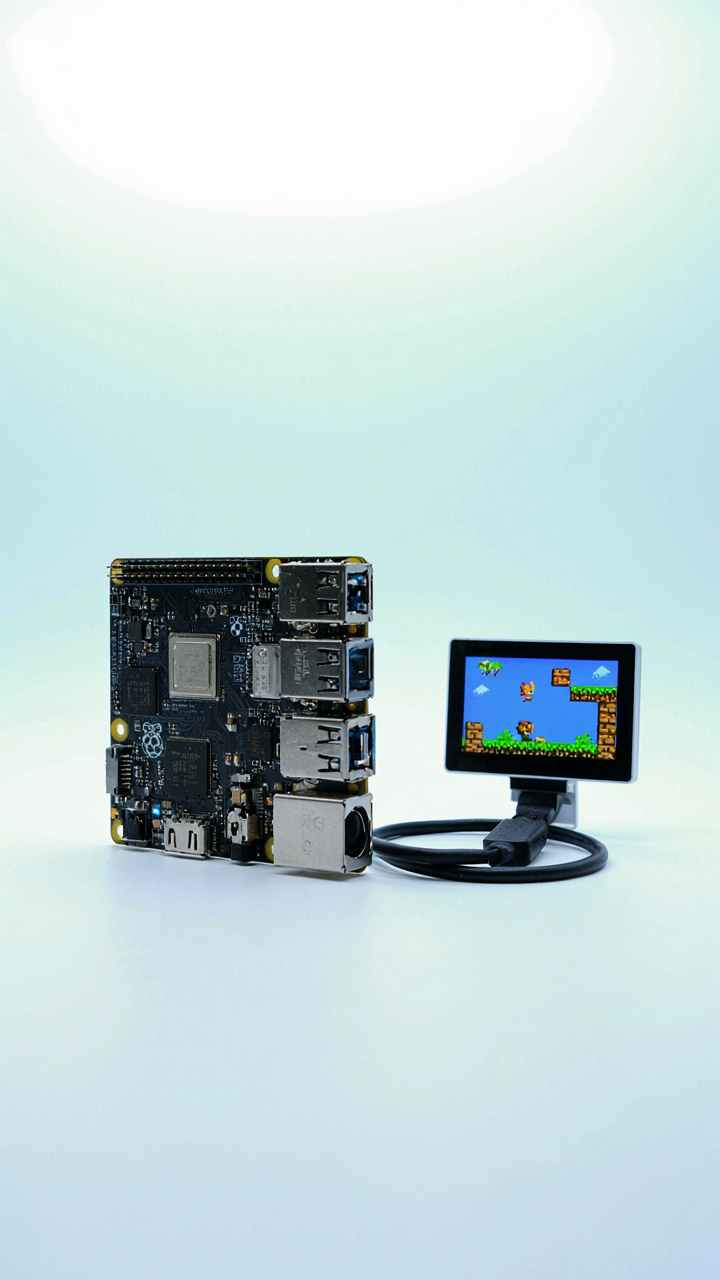
Compatibility Theater Never Ends
You want to build something that won’t break in five years because admitting that tech obsolescence is inevitable feels like failure. Here’s the mechanism: future proofing is a moving target that kills momentum. You chase the Pi 5 because the Pi 4 “might” not run future emulators, but emulator development for retro systems stops. RetroPie, EmulationStation, and the core emulators like Mesen and PPSSPP target hardware that already exists. Waiting for perfect compatibility means you never press start. The systems you’re emulating stopped production decades ago. Their software won’t change. A Pi 4 runs NES, SNES, Genesis, and N64 without compromise today. Spending months researching whether a Pi 5’s GPU handles hypothetical Dreamcast improvements is analysis paralysis disguised as preparation.

The technical reality is blunt: emulators don’t require new hardware because the original games have fixed specifications. A Pi 4 with 8GB RAM handles everything from the 8-bit era through early 2000s systems at full accuracy. Retroarch and standalone emulators like Dolphin already run optimally on this hardware. The software layer stabilized years ago. You’re not waiting for a driver update or a compiler fix. You’re manufacturing reasons to delay building something that works perfectly right now.
Start Now, Upgrade When Friction Appears
Build your Pi 4 setup today. Play games. Experience the actual friction points instead of imagining them. Real problems are sparse: a specific game running slow in Dolphin, upscaling shaders you want to enable, storage space for a massive ROM library. These are solvable and rare. You’ll discover them through use, not research. Then you upgrade specific components, not the entire stack. Add storage. Increase RAM if VRAM demands it. Move to a Pi 5 only when a game you want to play doesn’t work.
This is the protocol: build, play for weeks, document what actually breaks, fix one thing, continue. Most users never hit a real ceiling because the Pi 4 handles the 98 percent of the library flawlessly. The 2 percent of demanding cases get solved by one of three fixes: a performance tweak in emulator settings, disabling a graphical feature, or swapping to a different emulator. You don’t need the perfect machine before you start. You need a working one and the discipline to play instead of plan.
The Real Obstacle Is Not Hardware; It Is Your Inability To Commit To Focused Curation

Most people drown their Pi in 500 games and play none of them. You don’t need more ROMs. You need ten games you actually want to beat. Delete everything else today. Pick your era, pick your genre, stick with it. The friction between decision and action kills more projects than broken hardware ever will. Your setup doesn’t fail because the emulator crashes. It fails because you never decided what you wanted to play in the first place.




