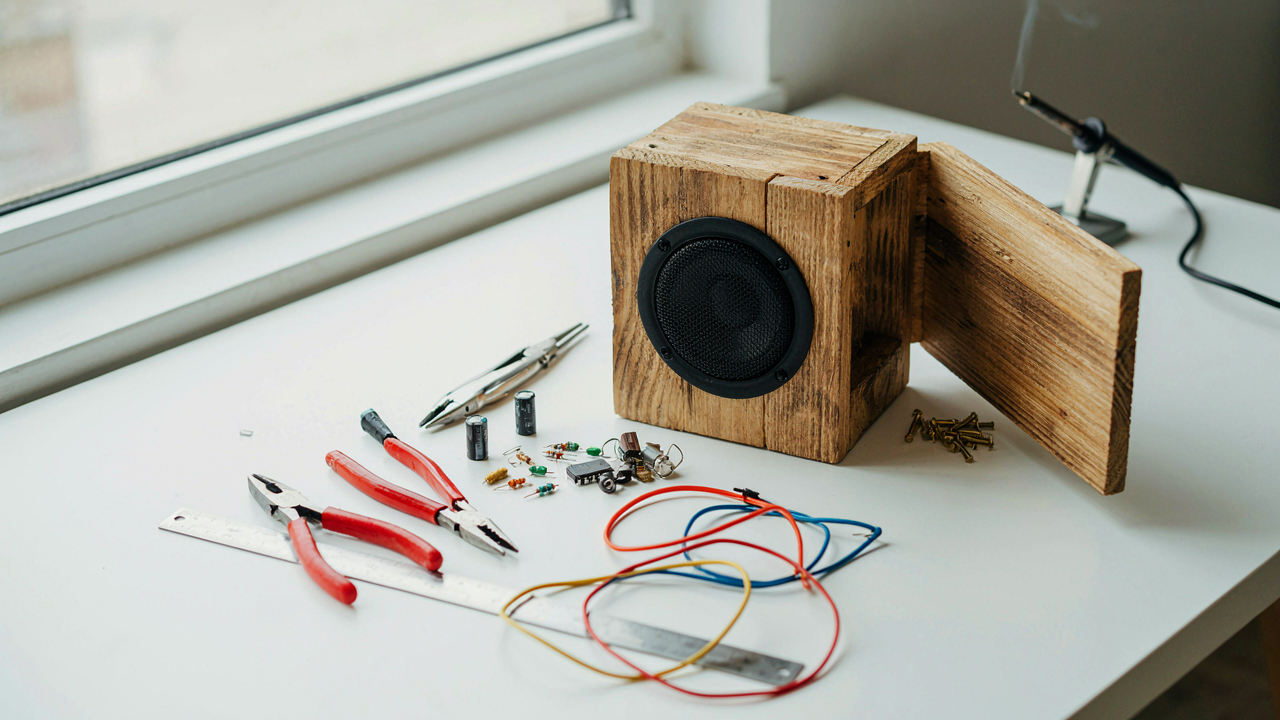
The Myth Of Pristine Parts: Why Scarcity Breeds Innovation
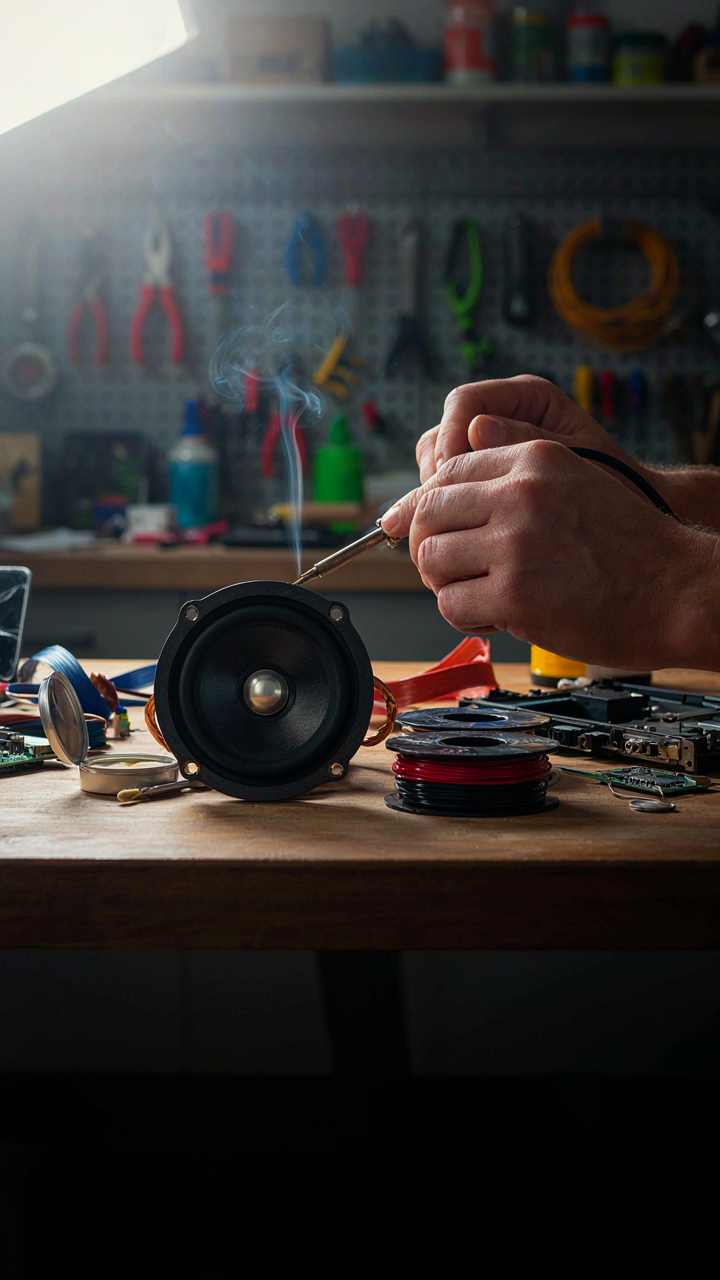
New Components Trap Your Wallet, Not Your Speaker
You want permission to buy new parts because it feels safer. Here’s the mechanism: scarcity forces constraint, and constraint forces elegance. Economics calls this the substitution effect. In portable speaker design, substitution means you stop buying the expensive driver and instead engineer around what you actually have. A salvaged tweeter from a car door speaker forces you to design a crossover network that works with its real impedance curve, not some imaginary ideal. This produces a working speaker faster than scrolling through component catalogs waiting for the perfect spec sheet that doesn’t exist.
New components carry hidden friction you don’t see until you’re halfway through assembly. Datasheets lie about real-world performance. Suppliers discontinue stock. You end up with perfectly spec’d parts that don’t integrate because nobody tested them together before manufacture. Salvaged electronics come with combat history. They already survived assembly, heat cycles, and actual use. A recovered neodymium magnet from a dead hard drive has proof it functions under stress. You’re not guessing. You’re building on what worked before.
Where The Real Speaker Parts Live
Discarded electronics contain engineered components that cost manufacturers real money to source. A broken computer monitor contains a power supply with a transformer rated for sustained current, capacitors selected for stability, and a chassis designed for thermal management. Strip it down and you have the electrical backbone of a portable speaker already built. Salvage yards and electronics recycling centers stock entire bins of devices nobody wants because the external plastic cracked or the firmware outdated. The internals stay functional.
The hidden value isn’t in finding a perfect component. It’s in accepting component constraints and designing backward from them. A dead laptop contains a lithium battery pack with cell balancing circuitry already integrated. You don’t rebuild this. You interface with it. A car speaker from a junkyard comes with a magnet assembly and voice coil already manufactured to tight tolerance. The cone material and suspension may be worn, but the electromagnetic core still moves air with predictable force. Extract what works. Discard what doesn’t. Build the enclosure around the parts you found, not around parts you wish existed.
The Salvage Protocol: Sourcing Smarter, Not Harder

Where To Extract Usable Parts
You want to feel resourceful without actually doing the work. That’s the real reason you’re reading this. The mechanism is simple: most people throw away devices with intact components because they don’t know what’s salvageable. You need a systematic extraction protocol, not random scavenging.

Old smartphones, laptops, and battery-powered toys contain the exact parts a DIY portable speaker demands. Phones have decent drivers and lithium cells. Laptops house larger drivers and power management circuits. Toys often pack small motors that work as drivers. The key is knowing which device type yields which component without destroying it in extraction.
- Smartphones: Contain small dynamic drivers, lithium polymer batteries rated 3000-4000mAh, and audio amplifier chips. Remove the speaker module by prying the back panel and desoldering connections carefully.
- Laptops and Tablets: House larger 2-4 inch drivers, high-capacity batteries 20-50Wh, and sometimes discrete amplifier boards. These are worth the extra disassembly time.
- Wireless Mice and Keyboards: Pack small but efficient motors that function as tweeters. Batteries inside are usually still viable if the device powered on recently.
- Portable Chargers: Already contain battery cells, protection circuits, and USB charging infrastructure you can repurpose directly into your speaker build.
- Bluetooth Headphones: Deliver driver units tuned for audio and small lithium cells. The battery connector types are standard across most consumer electronics.
Extraction requires patience, not force. Use a heat gun to soften adhesive before prying. Desolder rather than clip wires when possible. You preserve the component lifespan and maintain connection integrity for your speaker circuit.
Recognizing What Actually Works
The common advice says test everything first. That’s incomplete. You need to identify which components will function in your specific speaker design before you extract them. This saves hours of failed assembly.
A driver’s impedance and frequency response matter more than its size. Most phone and toy drivers run 8 ohms or 16 ohms. Measure impedance with a multimeter if the component has no markings. Frequency response you can estimate by listening to a test tone through an amplifier. Drivers designed for speech (phones, toys) compress the midrange. Drivers from laptops or portable speakers flatten the response curve. Battery capacity matters, but condition matters more. A 5-year-old lithium cell at 70 percent capacity delivers more reliable runtime than a new cell with internal corrosion. Use a battery tester or power supply to confirm voltage and amperage output before integration. Amplifier chips require the most scrutiny. They need voltage matching your battery pack and low quiescent current draw. Datasheet verification prevents building a speaker that drains its battery in two hours.
Beyond The Blueprint: Organic Speaker Box Design Diy

Reclaiming Materials As Acoustic Vessels
You want to feel resourceful without actually doing the hard math on whether your salvaged enclosure will work. Here’s the mechanism: most DIY builders treat the box as a container instead of a tuned acoustic component, then blame the speaker for sounding flat. The box is the amplifier of the driver’s worst frequencies and the killer of its best ones.

Wood, plastic, and metal all move air differently. Reclaimed wood from furniture or pallets works because it’s already seasoned and won’t warp unpredictably like fresh lumber. Density matters more than material type. A rigid enclosure stops vibration from bleeding into the sound; a loose one turns your speaker into a percussion instrument. Test by hand: tap the material and listen for ringing. If it rings, it resonates at a frequency that will muddy your output. Thick-walled plastic containers and old ammunition boxes outperform hollow frameworks because they damp internal reflections instead of amplifying them.
How Box Shape Controls What You Actually Hear
Physics calls this modal behavior, and your speaker enclosure is a resonator first, a box second. The shape determines which frequencies pile up and which ones cancel. Rectangular boxes create standing waves at predictable intervals. A cube is the worst shape because all dimensions equal, creating identical resonance modes stacked on top of each other. That’s not opinion, that’s mathematics.
Irregular dimensions break up resonance patterns. A golden ratio proportion (roughly 1.6 to 1 across length to width) scatters reflections enough to smooth frequency response without needing expensive internal dampening. Internal bracing that doesn’t create parallel surfaces stops the box itself from resonating at driver frequency. The air volume inside must match your driver’s Thiele-Small parameters or you neutralize the bass port entirely. Measure your enclosure volume, cross-reference your driver’s specs, and adjust internal dimensions accordingly, not after you’ve already sealed it shut.
The Amplification Paradox: More Power, Less Clutter With Diy Bluetooth Speaker 40w
What Actually Limits Your Volume
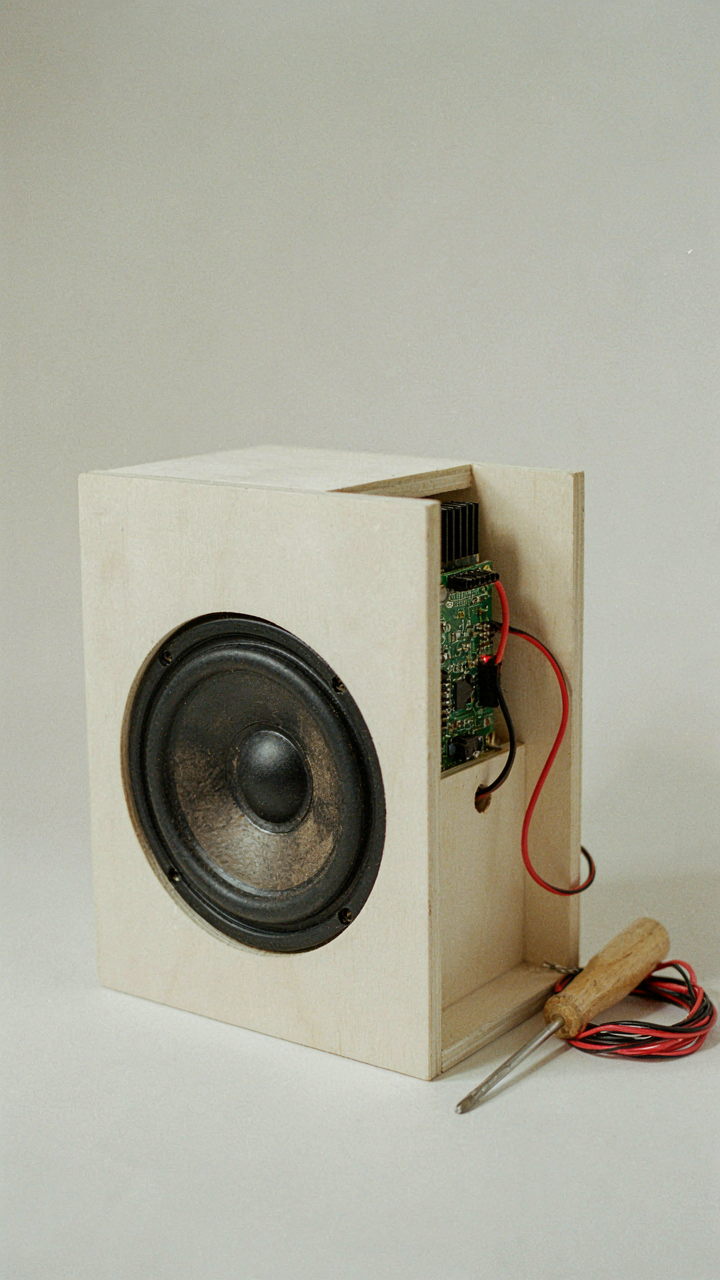
You want 40 watts because you think it means your speaker won’t sound weak at parties. That’s not the real constraint. The bottleneck isn’t wattage—it’s how efficiently you move air with the parts you have. From thermodynamics: a system’s output depends on energy conversion efficiency, not raw input. A DIY portable speaker’s loudness lives or dies by driver selection and enclosure tuning, not amplifier overkill.

Most builders add watts to compensate for poor driver pairing and dead cabinet space. They waste power as heat instead of sound. A quality 8-inch woofer in a tuned enclosure with 25 clean watts outperforms a cheap 6-inch driver with 50 watts of distortion. The math is simple: driver surface area and acoustic design move air. Everything else is noise.
Class D Modules Beat Everything Else
Class D amplifiers are the only rational choice for portable builds because they generate minimal heat while delivering usable power. This topology uses switching to convert DC power efficiently, not linear amplification that bleeds energy as warmth. Recycled smartphone chargers and power banks contain the exact power supplies these modules need.
Real portable builds use modules rated 30-50 watts with integrated protection circuits. TPA3255 or similar chipsets deliver clean output without requiring massive heatsinks that kill your weight budget. Stop looking for vintage tube amps or linear Class AB boards—they’re dead weight in a portable context. Mount the module directly to the enclosure with thermal paste, skip the heatsink entirely, and let convection handle the minimal waste heat that Class D produces.
Wiring For Resilience: Connections That Endure
Redundant Paths Beat Single Points Of Failure
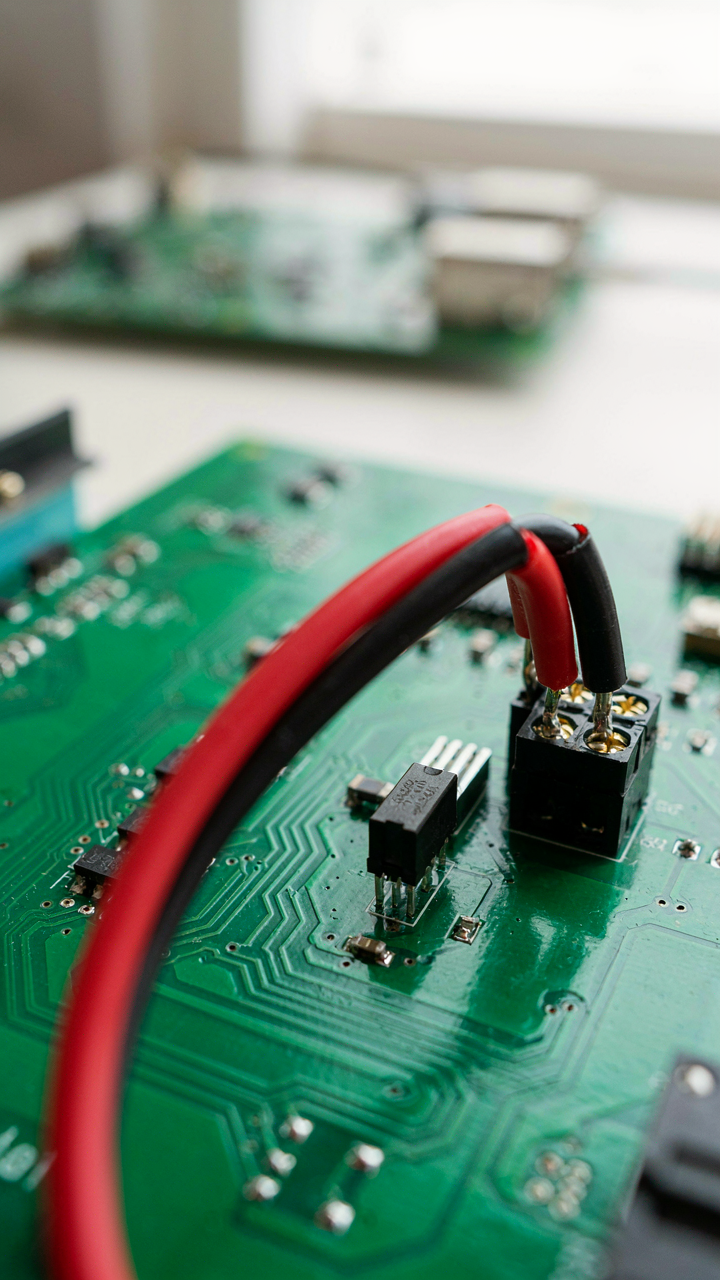
You want your speaker to work tomorrow. That’s not idealism, that’s fear of wasted effort. Military strategy calls this redundancy, and it maps directly onto your power delivery circuit. One wire from battery to amplifier means one failure point kills everything. Two parallel paths mean one can fail and your speaker still operates.

Run dual positive and negative power lines from your battery to the amplifier. Use different gauges if recycling forces it, but keep both active. Solder both lines into the same amplifier input pads. If one joint cracks or corrodes, current flows through the backup path. Your speaker doesn’t die mid-song because a single connection cracked.
Joint Integrity Under Temperature Stress
Most DIY builders treat soldering like assembly line work, not like structural engineering. Bad solder joints fail under thermal cycling, which happens inside a speaker enclosure as the amplifier heats and cools. Use 60/40 or 63/37 tin-lead solder, not lead-free. Lead-free solder requires higher temperatures and creates weaker crystalline structures on recycled boards. Heat your iron to 350 degrees Celsius minimum. Touch the iron to both the pad and the wire for three full seconds before applying solder. Solder flows into the joint, not onto the iron. The joint should look shiny and smooth, like a small cone. A dull, blobby joint is a cold joint. Cold joints fracture under vibration and temperature change.
Apply heat shrink tubing over every connection after soldering cools. This prevents corrosion from moisture and mechanical stress from flexing wires. Strain relief matters more than cosmetics. Route power wires away from signal cables to prevent noise coupling. Keep power wires short and direct. Every inch of wire adds resistance and heat loss. Measure twice, solder once. Check continuity with a multimeter before powering on. A failed connection caught before power-up saves you from burning out your recycled amplifier board.
Powering The Portable Speaker Diy: Energy Scavenging
Repurposing Laptop And Phone Batteries For Longevity
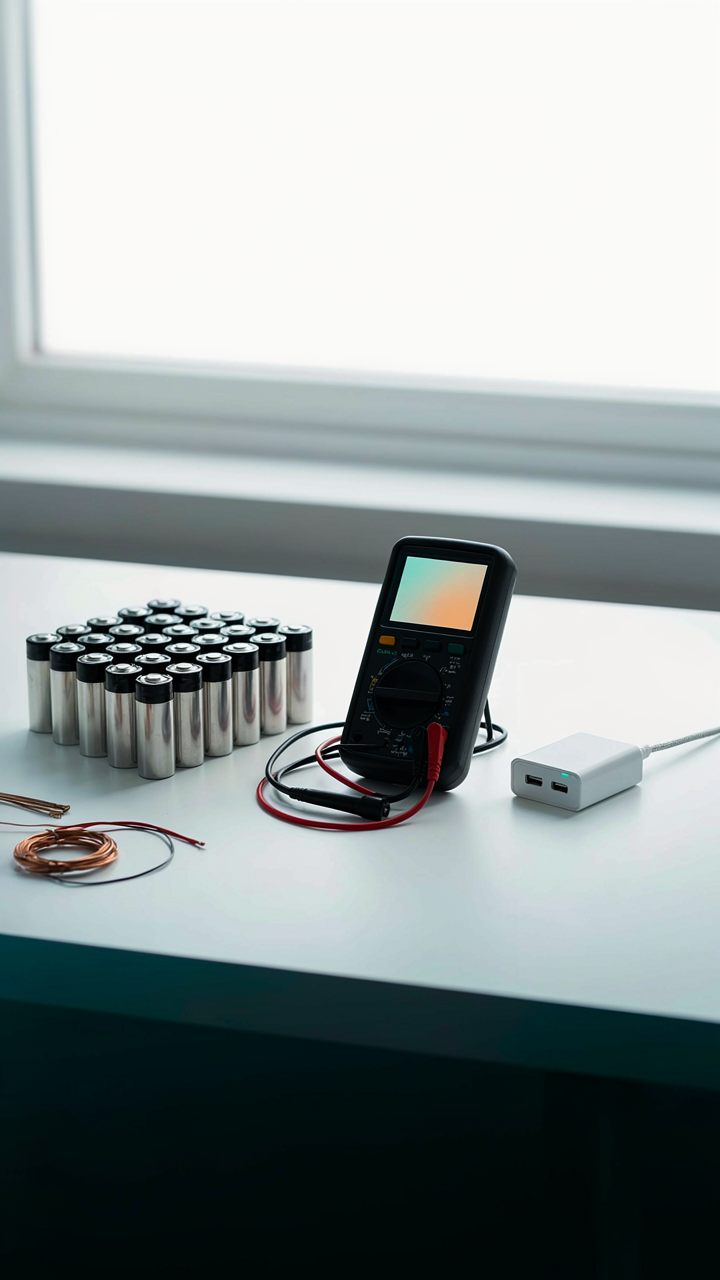
You want to feel smart about salvaging dead tech instead of admitting you’re just trying to avoid buying new cells. Here’s the mechanism: lithium cells don’t actually die at rated capacity. They hit 80 percent and stop triggering the device’s safety logic. That remaining 20 percent still works. A dead laptop battery pack contains four to eight 18650 cells wired in series and parallel. Extract them carefully with a heat gun and solder. Test each cell individually with a multimeter to verify voltage. Cells above 3.0 volts are usable for audio amplification loads.

Phone batteries are smaller but follow the same principle. A typical smartphone pack holds 3000 to 4500 milliamp hours at 3.7 volts nominal. Wire phone batteries in parallel to increase capacity without changing voltage. Never mix old and new cells in the same pack. Old cells charge faster than new ones and create internal current loops that generate heat and reduce overall runtime. Match cells by age and source. Use a basic 18650 battery management system module to handle charging cutoffs and prevent over-discharge. The BMS costs under fifteen dollars and prevents your speaker from dying mid-song because one cell drained completely.
Solar Integration Or Usb C Charging
Borrowing from energy harvesting in embedded systems, the real constraint isn’t available solar power. It’s the conversion efficiency bottleneck. Most cheap solar panels quote peak output under lab conditions. Real-world outdoor use delivers thirty to forty percent of rated wattage. A five-watt panel generates roughly one to two watts in typical conditions. That charges a 5000 milliamp hour battery in eight to twelve hours. USB-C integration bypasses this weakness entirely. A modern phone charger delivers twenty to sixty watts. That same five-thousand milliamp hour battery charges in ninety minutes instead of a full day. The trade-off is obvious: solar eliminates cable dependency but demands passive patience.
USB-C charging requires a DC-DC converter rated for your battery voltage and speaker amplifier draw. Amplifiers pull between five and twenty watts depending on volume and efficiency. A cheap twenty-watt USB-C power delivery module costs eight to twelve dollars. Wire it directly to your battery pack’s charging input through the BMS. Solar panels work best as auxiliary charging on long trips where grid access is impossible. Most portable speaker builds get eighty percent of real-world use near outlets or car chargers. Choose USB-C first, add solar as redundancy, not as your primary strategy.
The Bluetooth Brain: Integrating Wireless Audio
Cheap Bluetooth Modules Effective Integration
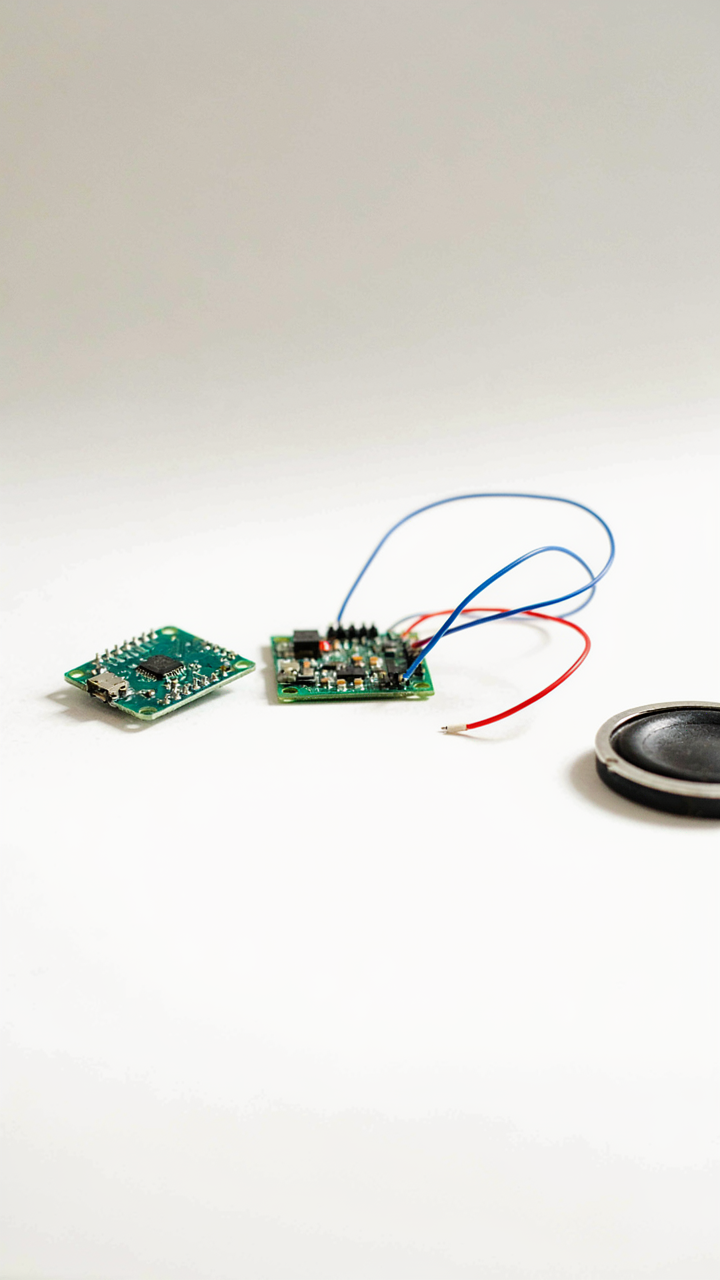
You want wireless audio without paying for branded components because you’re afraid cheap parts will expose your build as amateur hour. Here’s the mechanism: Bluetooth modules are commodity silicon now. The difference between a $3 module and a $30 branded solution is marketing and support, not performance.

The HC-05 and HC-06 dominate DIY portable speaker builds because they handle pairing reliably and accept serial commands from microcontrollers. Both operate at 2.4 GHz, consume minimal power from a portable battery, and pair with phones without drivers. The HC-05 acts as master or slave. The HC-06 works slave-only but costs less. Neither requires external amplification for their signal path. For recycled builds, either module strips into an existing enclosure without modification.
- HC-05 Bluetooth Module: Master/slave capable, handles multiple device pairing, draws 30-40mA when connected, solders to standard pin headers without complications.
- HC-06 Bluetooth Module: Slave mode only, simplified pairing protocol, draws slightly less power than HC-05, better for single-device scenarios in portable setups.
- RN4870 Bluetooth Module: More recent option, lower power draw under 10mA idle, supports Bluetooth Low Energy, requires micro USB or UART configuration.
- CSR8645 Bluetooth Module: Standalone chipset, integrates amplifier functions, accepts analog audio input directly, eliminates need for separate Bluetooth controller.
- JDY-31S Bluetooth Module: Compact form factor, configurable via AT commands, 5V tolerant, supports stereo output pairing with dual modules for distributed speaker builds.
Wiring matters more than module choice. Connect VCC to your power rail (3.3V regulated if the module specifies it), GND to ground, TX from the module to RX on your microcontroller or audio processor, and RX to TX with a voltage divider if your controller outputs 5V. Audio output from the module goes directly to your amplifier input. Verify input impedance on your amp before connecting. Mismatched impedance kills volume and introduces distortion immediately.
Troubleshooting Connectivity Common Pitfalls
Most connection failures stem from power supply instability, not the module itself. When a Bluetooth speaker pairs once then disconnects randomly, the voltage supplying the module is dropping during audio playback. This happens because your recycled power source has high impedance or insufficient capacitance. The module draws current spikes during transmission, and the voltage collapses below its minimum operating threshold.
Add a 47-100 microfarad capacitor directly across the module’s power pins. This absorbs the current spikes and stabilizes the rail. If pairing never happens, check that your module is configured for the correct baud rate. HC-05 ships at 9600 baud, not 115200. Send the AT command “AT” through a serial monitor at 9600 baud, no line ending. If you get “OK” back, the module responds correctly. If nothing appears, your TX/RX wires are reversed or your serial connection is broken. The audio cuts out during playback but the connection stays active when your ground loop exists between the Bluetooth module and your amplifier. Run all audio grounds through a single point, not multiple paths. Verify your antenna connection if the module has an external one. A loose antenna connector reduces range to a few feet.
Aesthetic Brutalism: Form Follows Function With Diy Speakers
Raw Salvage Beats Designer Pretense
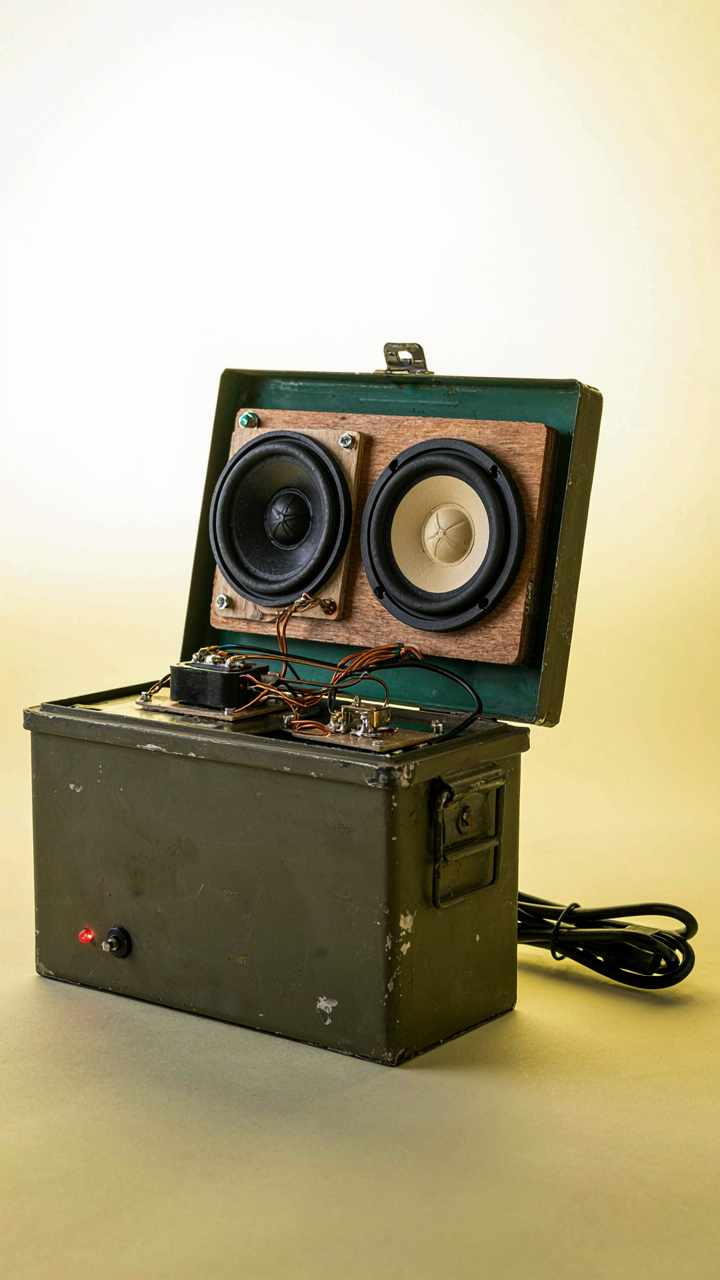
You want people to think you’re clever, not that you’re cheap. That’s why “brutalism” sounds better than “I found this stuff in a dumpster.” The mechanism is simple: constraint forces honest design. When you build a diy portable speaker from salvaged parts, you can’t hide behind expensive finishes. Every choice becomes visible. The plastic housing, the exposed solder joints, the mismatched wood—they all communicate. This isn’t a flaw. It’s the only honest path forward when you have no budget for marketing your taste.

Brutalism emerged in architecture when concrete became abundant but architects refused to apologize for it. They showed the material as-is. Your diy portable speaker works the same way. You use what’s available: reclaimed wood from pallets, aluminum cans cut and shaped, old metal casings from broken electronics. The speaker doesn’t look designed by committee. It looks like it was built to work. That directness is harder to achieve than a polished facade, which is precisely why it commands attention from anyone who actually understands craft.
Materials Speak Without Decoration
Minimalism isn’t empty space. It’s removing every element that doesn’t earn its place. Most speaker designs fail here by adding vents that don’t vent, cosmetic panels that add weight, or paint that chips. Your diy portable speaker avoids this trap by letting materials do their job without disguise. A wooden enclosure shows grain because wood disperses sound naturally. Exposed wiring exists because it connects components—not because you wanted visual complexity. Bolt heads remain visible because they hold the structure together. Each element justifies itself functionally.
The real work happens during design, not during decoration. You choose materials based on acoustic properties and durability, not aesthetics. Plywood sounds different than MDF because of density and fiber structure. Bare metal reflects sound differently than fabric-covered frames. Thin aluminum cones transmit vibrations at different frequencies than plastic. When you build without a finishing budget, you’re forced to understand these mechanisms instead of hiding them. Document your material choices openly. Write down why you selected each component. That documentation becomes the only aesthetic the speaker needs.
The Build Your Own Bluetooth Speaker Workflow: Iterate, Don’t Perfect

Start With Broken Parts, Not Blueprints
You want permission to skip the perfect design phase because you’re afraid shipping a mediocre speaker means you wasted time. The mechanism is simple: iteration beats planning when you’re working with salvaged components because every recovered driver, enclosure, and amplifier has different acoustic properties. You learn those properties by building first, not theorizing. Grab a defunct Bluetooth speaker, old computer monitor speakers, or car door panels. The goal is a functioning prototype in days, not weeks optimizing on paper.

Rapid prototyping with found objects teaches you what matters. A recycled 2-inch driver paired with a mismatched passive radiator will sound wrong immediately. That wrongness is data. You’ll hear the port resonance peak, the lack of low-end extension, the midrange honk. A speaker designed on CAD software never gives you that feedback until you’ve wasted forty hours. Your first build doesn’t need to sound good. It needs to sound like something.
Listen, Measure, Change One Variable
Testing reveals what matters because you’re running real acoustic experiments, not borrowing someone else’s crossover design. In acoustics, impedance matching determines energy transfer between components. With your DIY portable speaker, impedance mismatch between your amplifier and driver wastes power and creates distortion. You test this by playing a sine wave sweep through your prototype and listening at different volumes for breakup points or phase cancellation.
Refinement means changing one element at a time. Swap the driver. Listen. Swap the amplifier. Listen. Add internal bracing to the enclosure. Listen. Move the port location. Record the sound on your phone each iteration. Within five builds you’ll understand which variables shift the character most. Common advice says “use a frequency analyzer.” That’s incomplete. Analyzers tell you what the graph says. Your ears tell you if it’s listenable. Real optimization happens when both align.
Uncommon Sense: Instructions Beyond The Manual
When The Manual Becomes A Liability
You want permission to trust yourself instead of doubting every decision. Here’s the mechanism: manuals are written for liability, not optimization. They document the safest path, not the best one. Electronics don’t care about the manual’s order. What matters is understanding the actual function each component performs. A crossover network filters frequencies. A driver converts electrical current into physical movement. An amplifier increases voltage. Once you grasp what each part does, the sequence becomes negotiable. You start making faster, smarter choices.
Intuition builds from pattern recognition, not from memorizing steps. You’ll notice which solder joints fail first, which connections rattle loose, which capacitors ring in certain temperature ranges. This feedback loop trains your hands faster than any checklist. Build five speakers, not one. Document what breaks and why. Your next build becomes preventative, not reactive. The manual was written by someone who built one reference unit. You’re building something that works under real conditions.
Finding The Problem Without Instructions
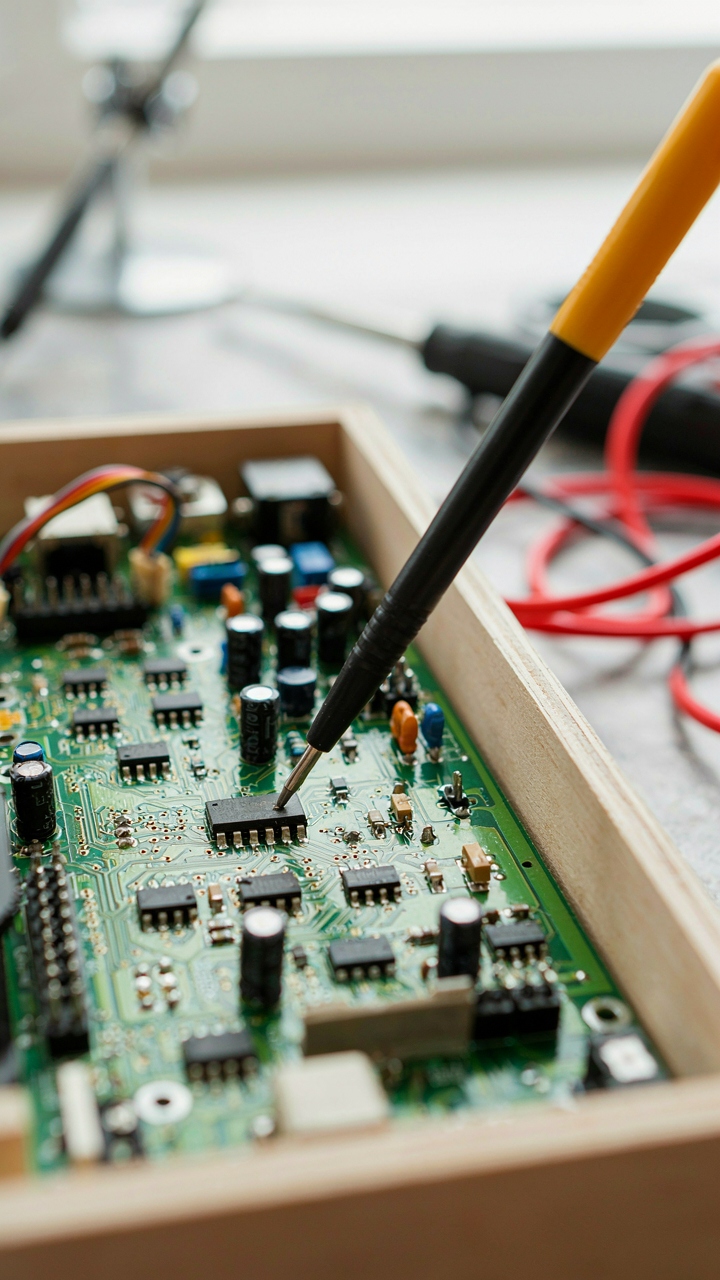
Most troubleshooting advice assumes you have a schematic, a multimeter, and someone to call. You don’t. What you have is physics and the ability to isolate variables. Treat fault isolation like signal processing itself. You narrow bandwidth until you locate the noise source. Does sound come out of the speaker at all? If yes, the amplification chain works. Does it sound distorted? The driver or crossover is suspect. Is one channel silent? Trace backward from the output. Does the problem exist at the input or only after amplification? That single answer cuts your search space in half.
The real skill is systematic elimination without equipment. Swap components between left and right channels. If the problem moves, the component is bad. If it stays on one side, it’s likely a solder joint or loose connection. Tap the speaker while powered on. Does it crackle? Bad contact. Does it stay quiet? The connection is solid. Reflow every joint under the crossover network and amplification stage. Heat and time fix sixty percent of speaker failures that appear electronic. Your hands and listening ear often outpace a meter for portable speaker diagnostics.
The Only Real Limit Is Your Perceived Scarcity, Not Material Lack

You already have the parts sitting in your closet. The speaker you build today won’t come from buying components. It comes from seeing what you’ve ignored as worthless. Most people fail at DIY projects because they wait for permission, funding, or the perfect setup. You don’t need any of that. Pull out an old driver, strip some wire, and spend three hours this weekend building something that works. The barrier was never material. It was belief.



