
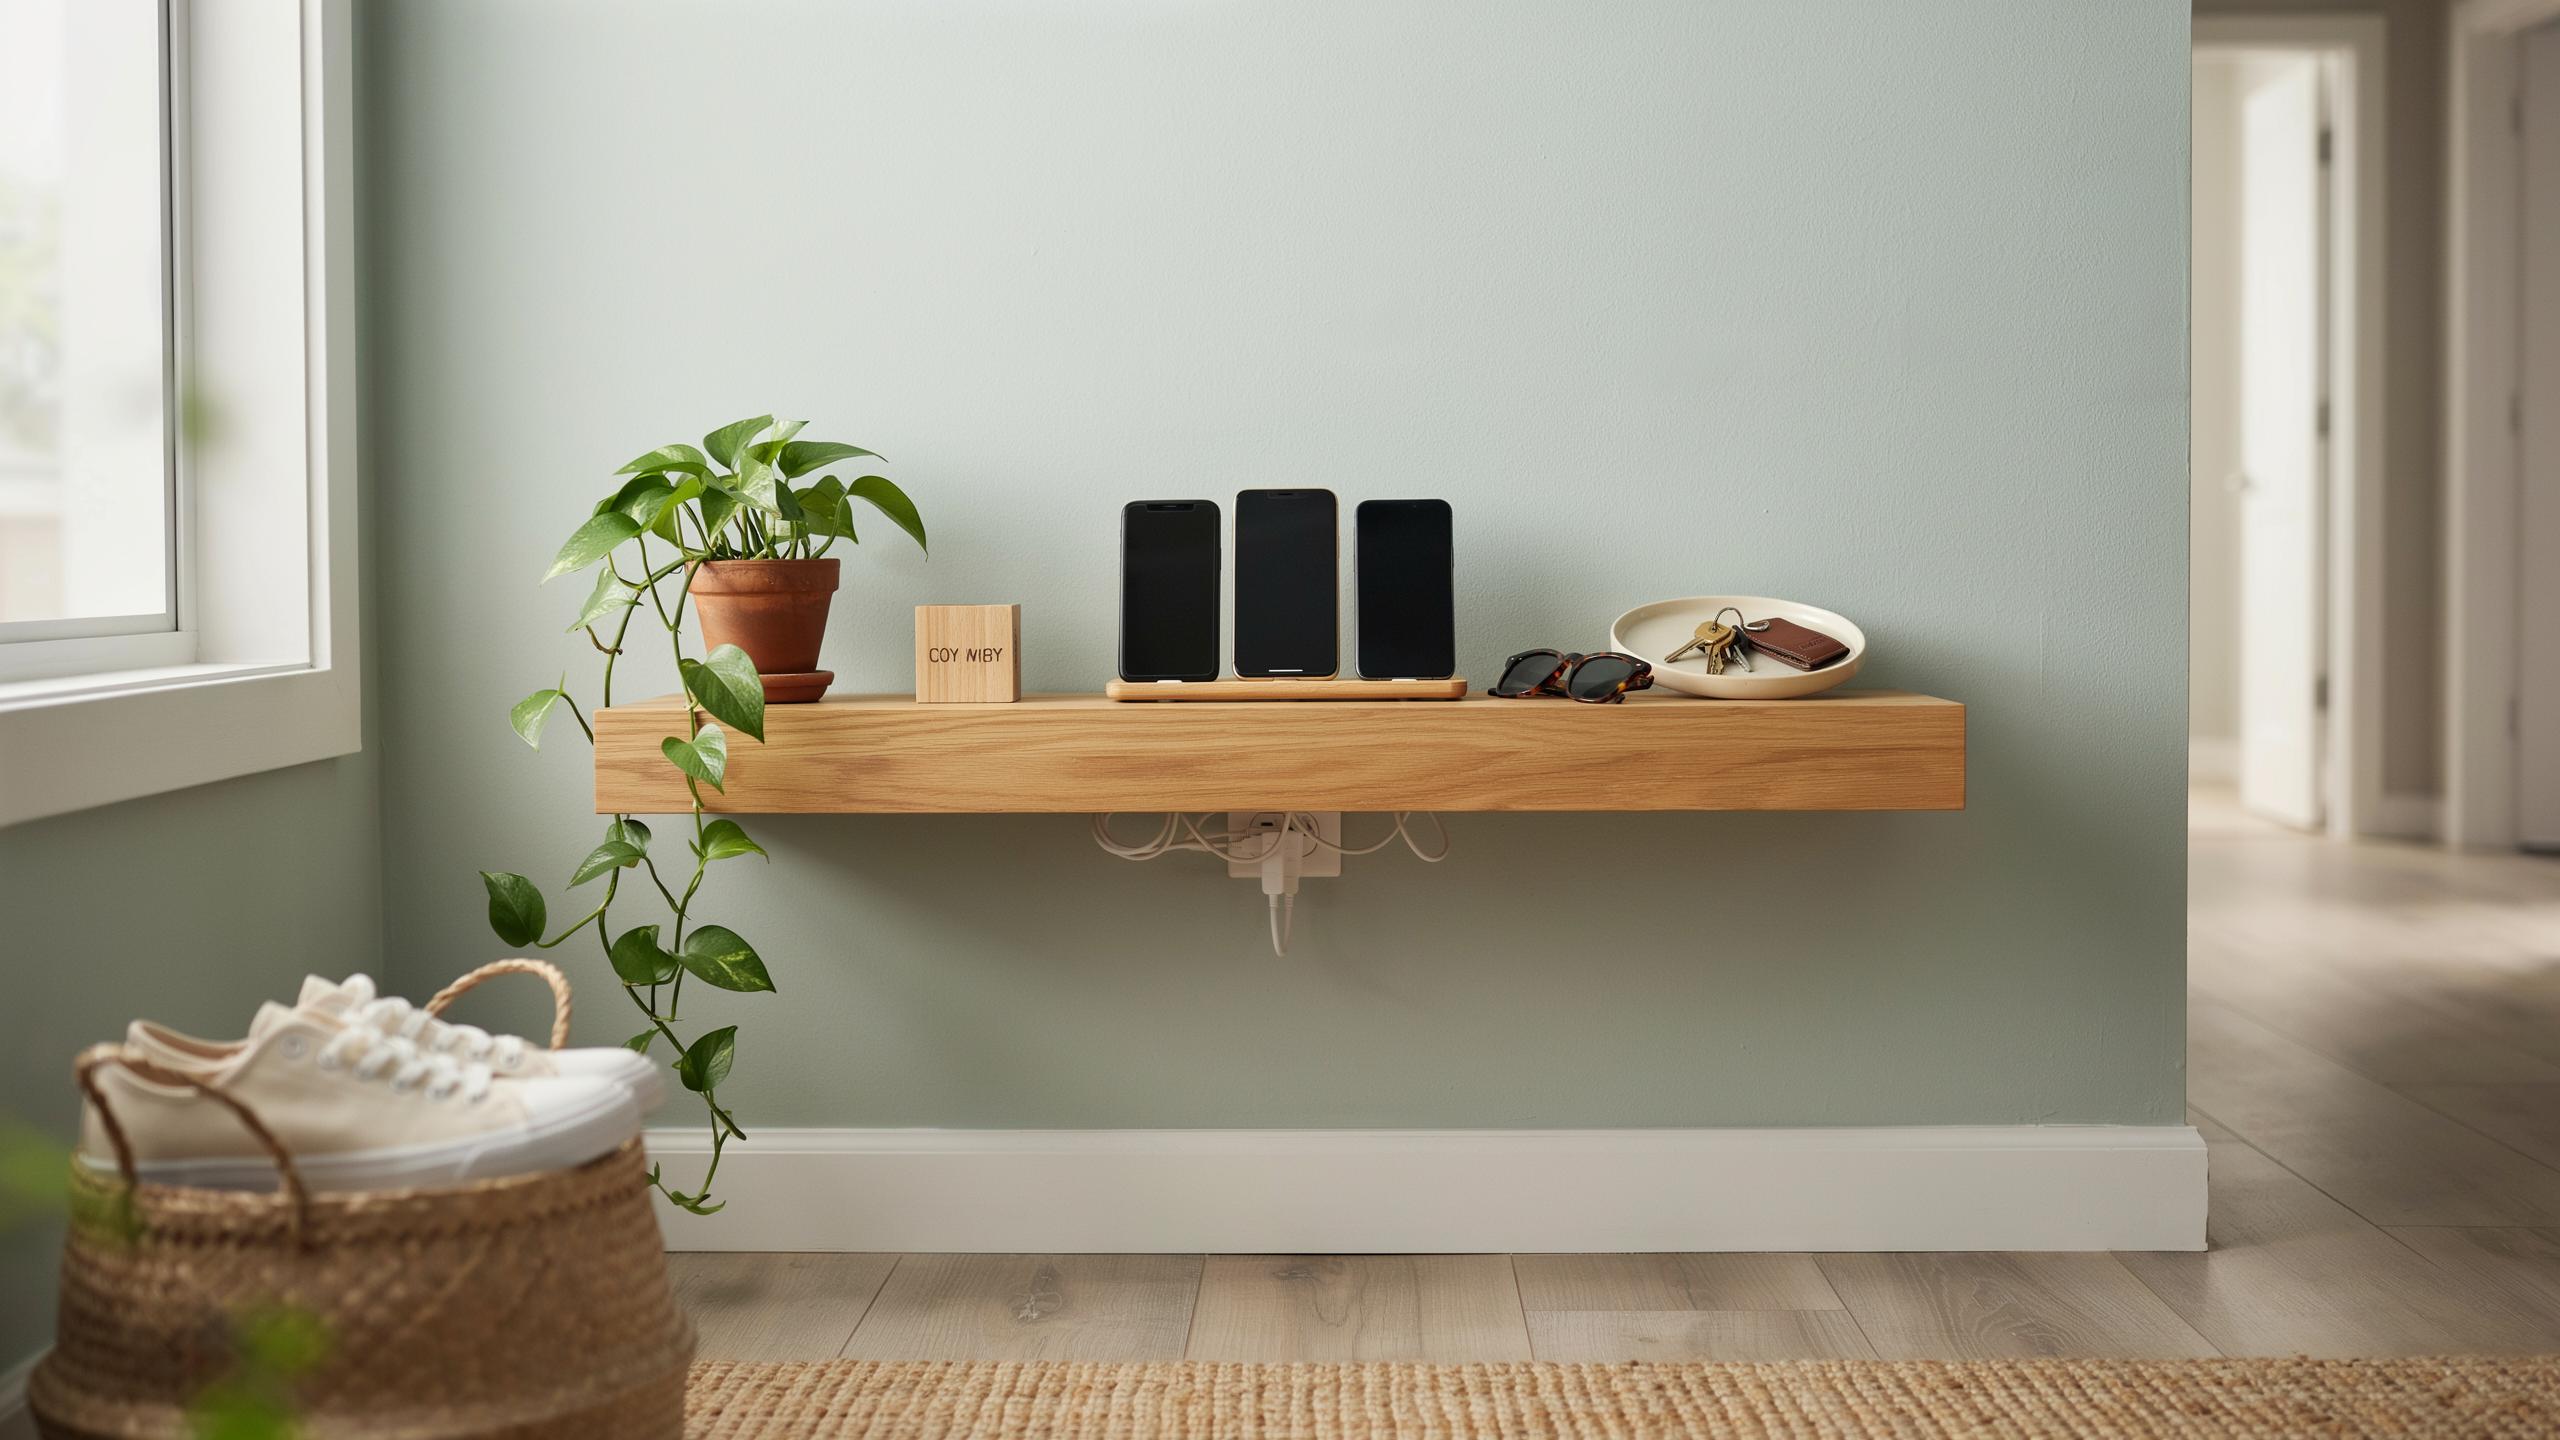
Why A DIY Phone Charging Station Is A Must Have
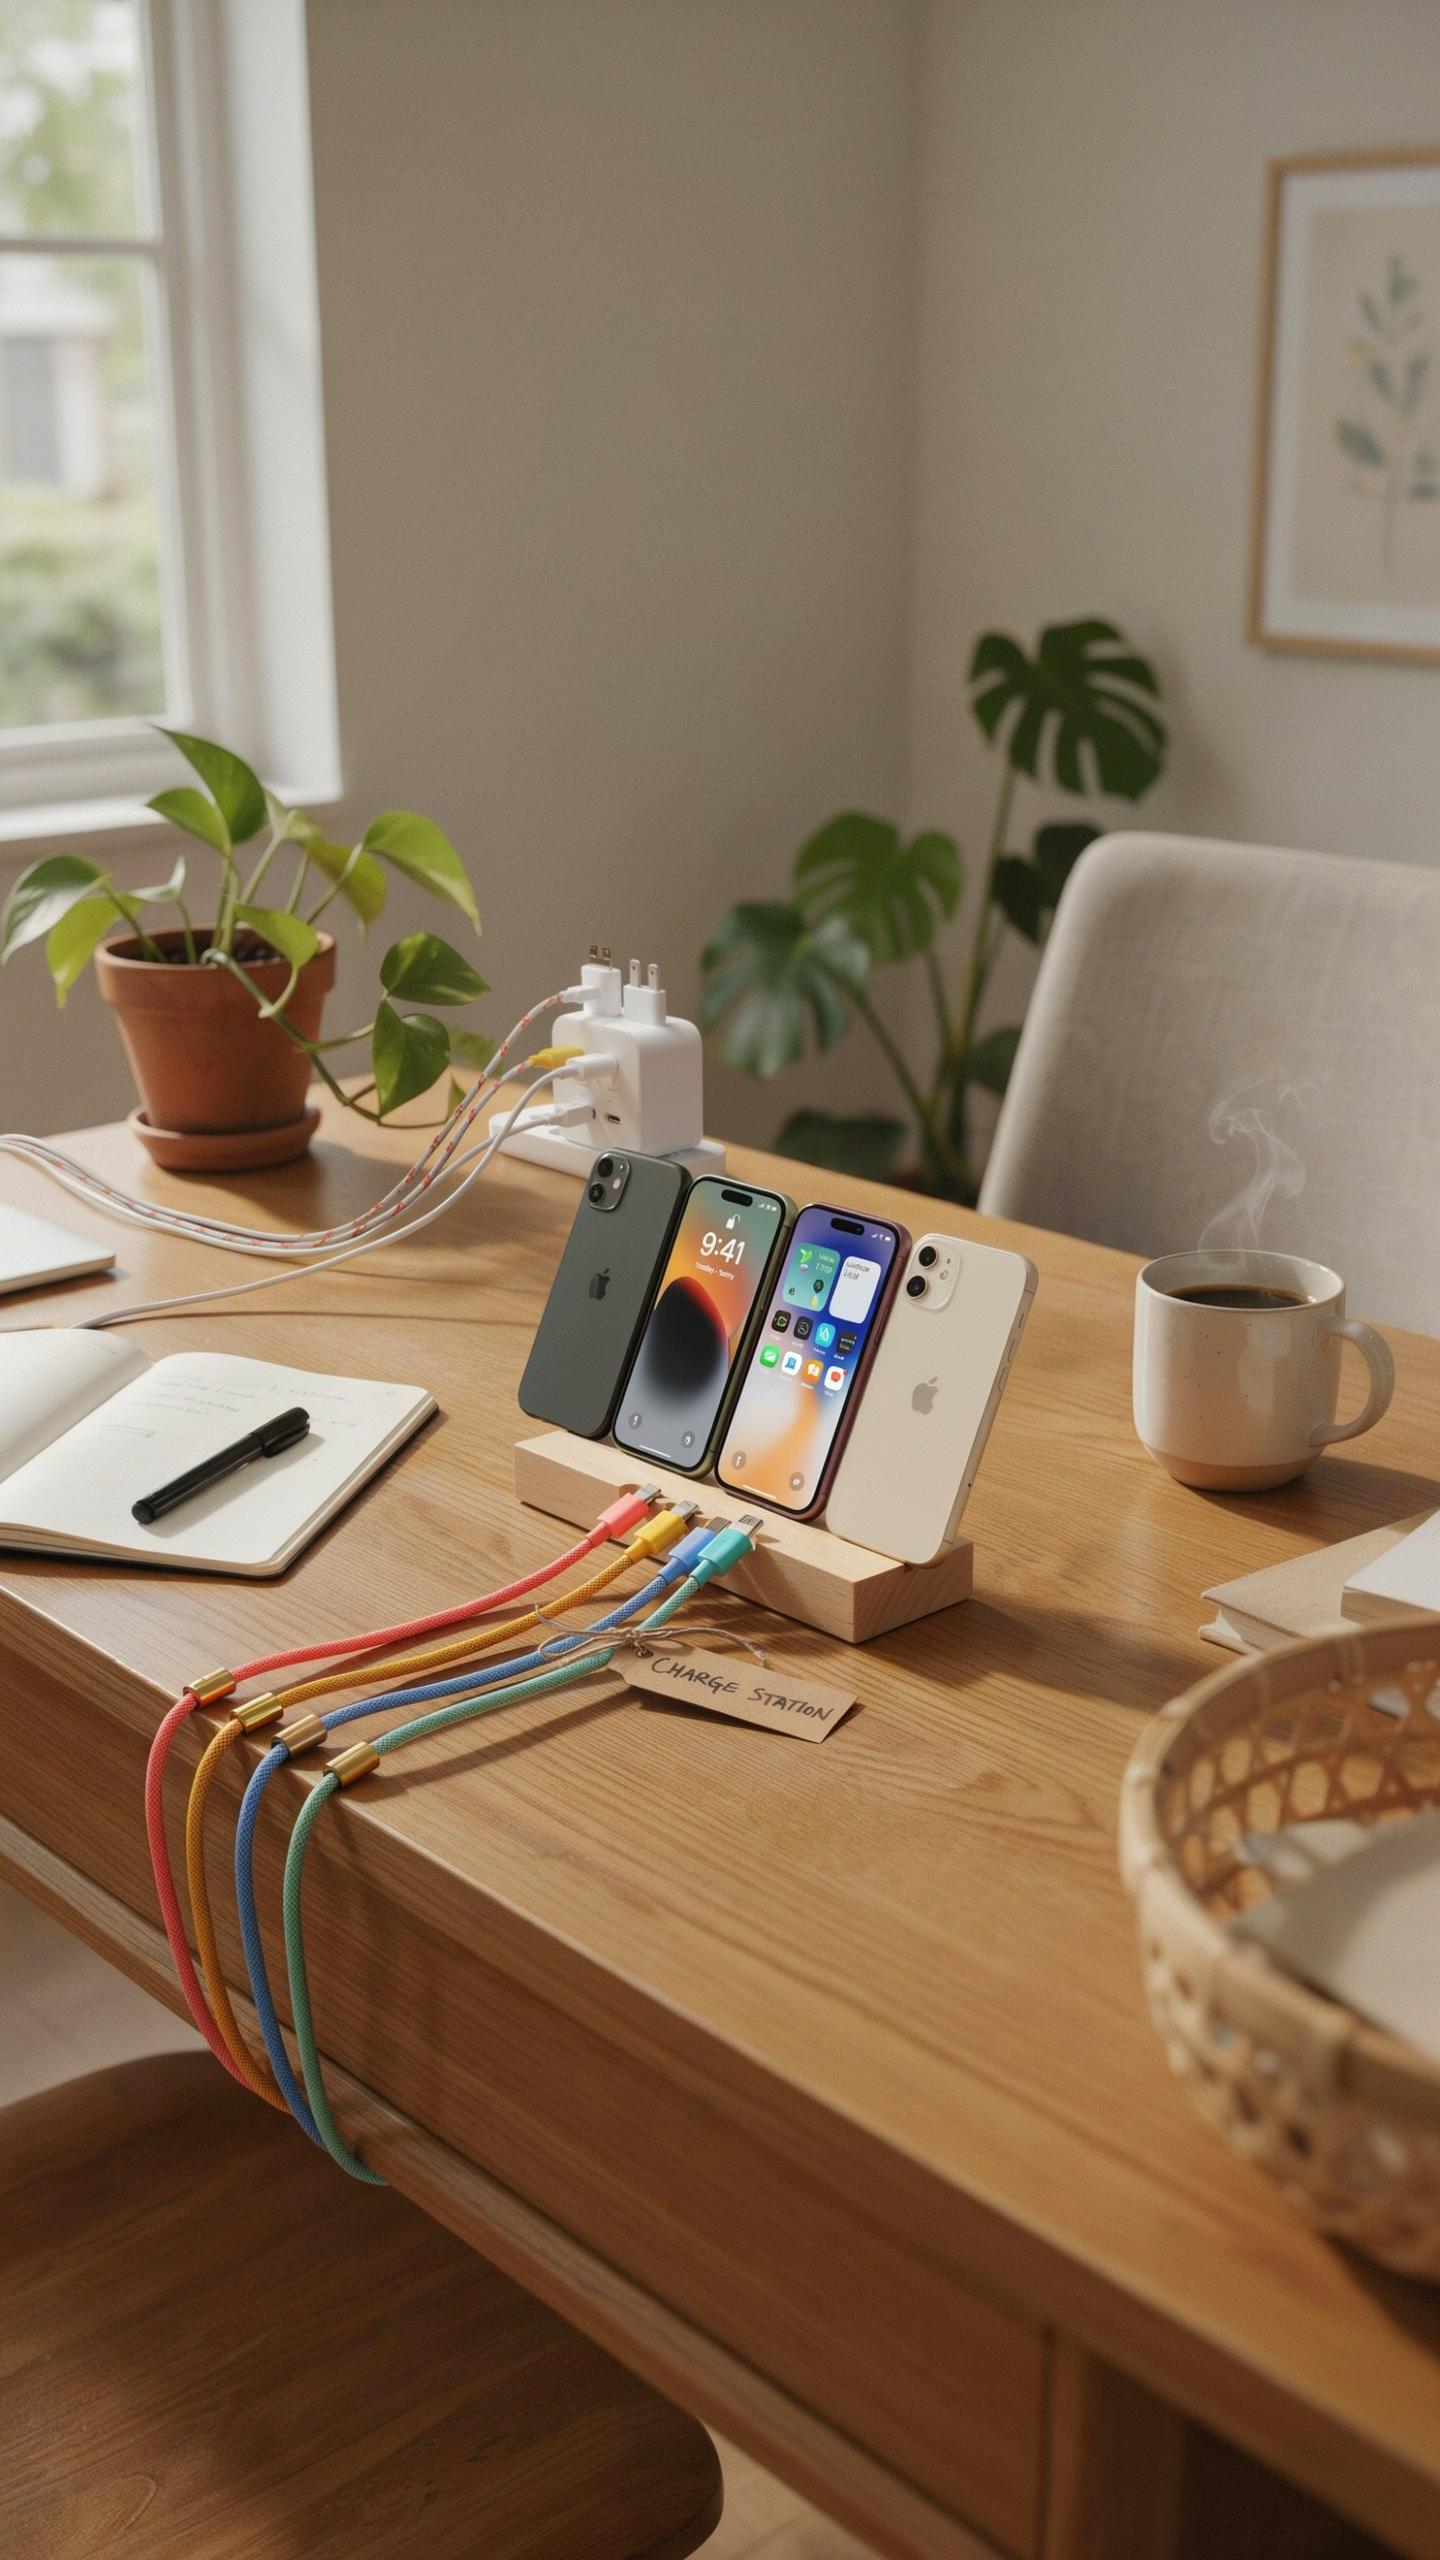
Benefits Of Organization
An organized entryway reduces daily friction. You know where your phone charging cable is. You grab your device without searching. This saves time during your morning routine. Clear spaces lower cortisol levels and reduce mental clutter. Your brain stops processing visual chaos and focuses on tasks ahead.
Aesthetics matter in functional spaces. A dedicated charging station eliminates cable sprawl across countertops and tables. Your entryway looks intentional and controlled. Visitors form immediate impressions based on how you manage your space. Organization signals competence and reduces the feeling that your home is out of control.
Common Charging Challenges
Tangled cords waste time and damage cable integrity. Multiple devices create competing demands for outlet space. Cables fray when twisted together or bent sharply. You struggle to identify which cable belongs to which device. This friction compounds every single day.
Misplaced devices happen when you lack a dedicated charging zone. Your phone ends up in different rooms each evening. You search for it when you need it most. Battery anxiety increases when devices charge randomly across your home. A diy phone charging station project solves these problems by creating one designated location for all charging activities.

Simple Diy Charging Station Ideas To Get You Started
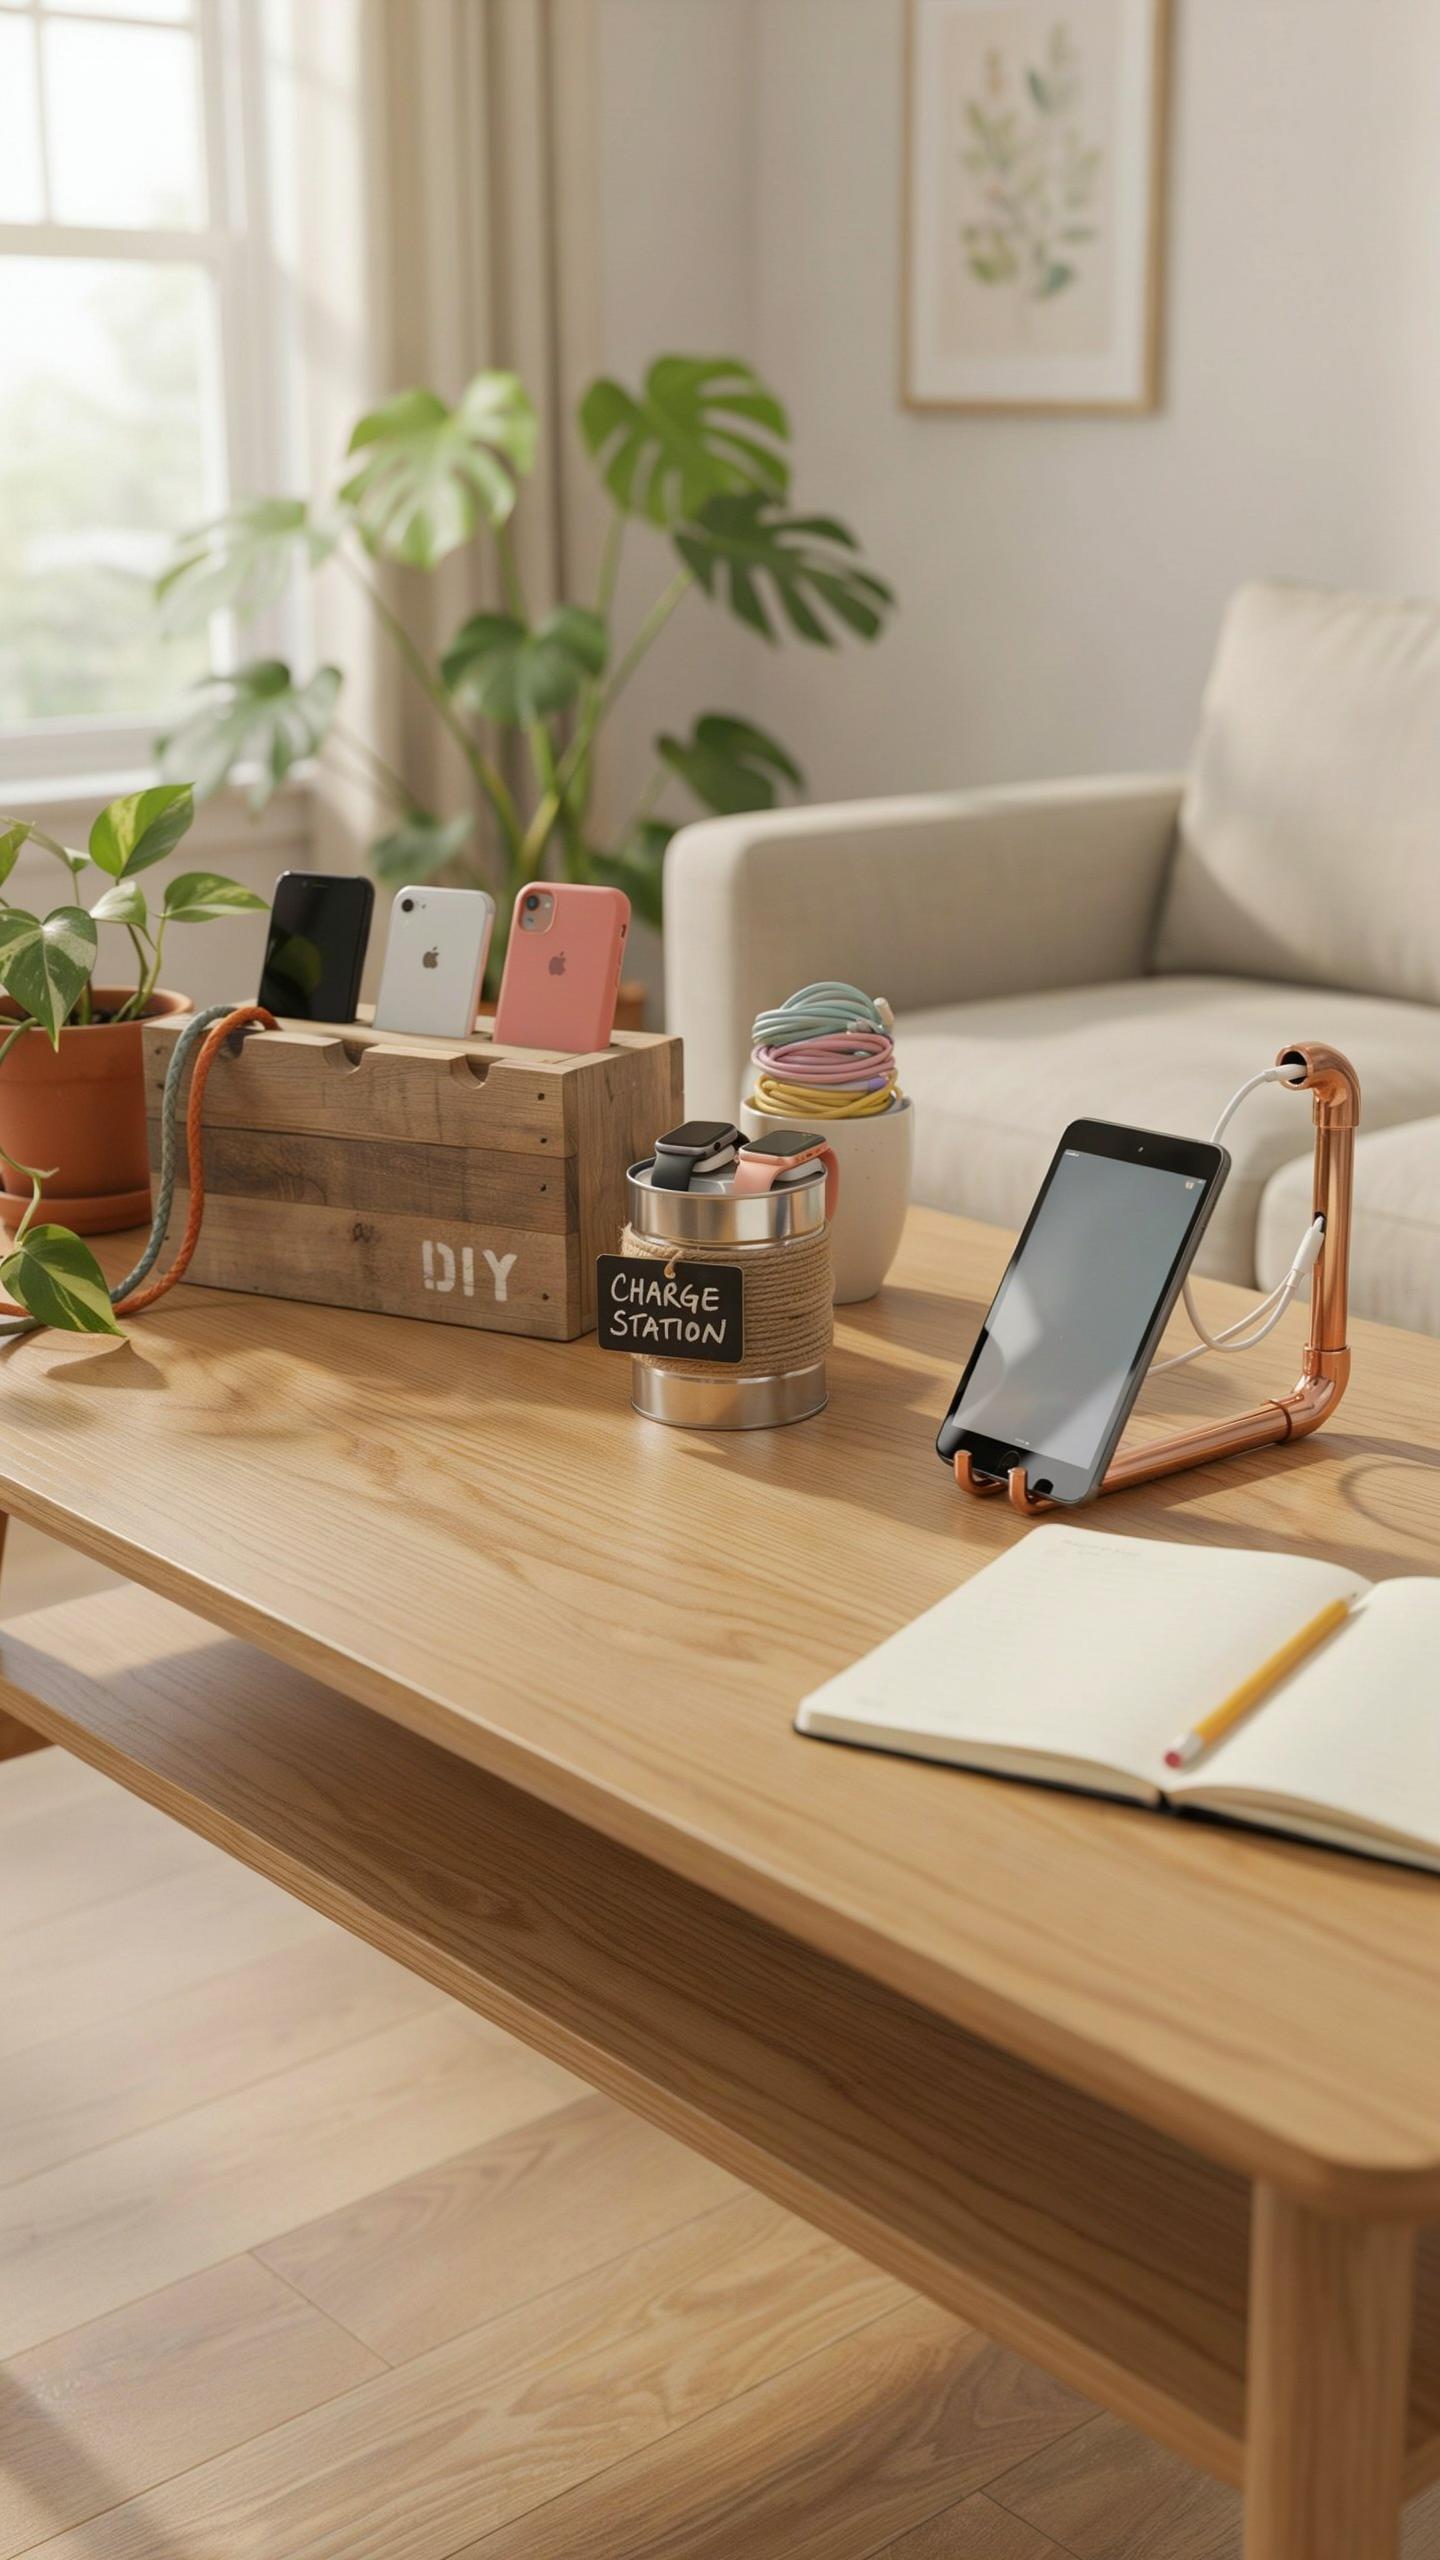
Minimalist Designs
A minimalist charging station removes everything except function. You need a power source, cable management, and a designated spot. That’s it. The design approach comes from the modernist movement, which stripped away ornament to expose pure utility. Apply this logic: mount a power strip on the wall, route cables behind a thin wooden frame, and you have a station that occupies minimal visual space while delivering maximum utility.
The entryway benefits from restraint. A simple wooden box with a cable exit hole keeps cords hidden and surfaces clear. Paint it to match your wall or leave natural wood exposed. Cord clutter destroys the minimalist goal, so invest in adhesive cable clips to route wires along the frame edge. This approach works in any entryway because it demands no aesthetic commitment beyond order.
Budget Friendly Options
Building a charging station costs nothing if you use materials already in your home. A cardboard box, wooden crate, or plastic organizer becomes functional infrastructure with zero spending. The key is selecting a container with vertical space for cable routing and horizontal surface for device placement. This tactic lets you test the concept before buying finished products.
- Cardboard box method: Cut cable holes in the sides, place a power strip inside, and route wires through. Replace when damaged.
- Wooden crate approach: Stack crates vertically for tiered storage, thread cables through gaps, costs five to fifteen dollars depending on source.
- Plastic organizer repurpose: Desk organizers with compartments work as charging stations when you add a compact power strip to one section.
- Pallet wood construction: Free pallets from loading docks become wall-mounted charging stations with minimal tools and effort required.
- Magazine holder conversion: Mount a magazine holder on the wall, run cables through the back, and use the front slot for device placement.

Real savings come from using what you own first, then buying only power management components. A quality power strip costs ten to twenty dollars and handles most charging needs. Avoid buying decorative housings until your setup proves itself in your entryway.
Planning Your Creative Diy Phone Charging Station
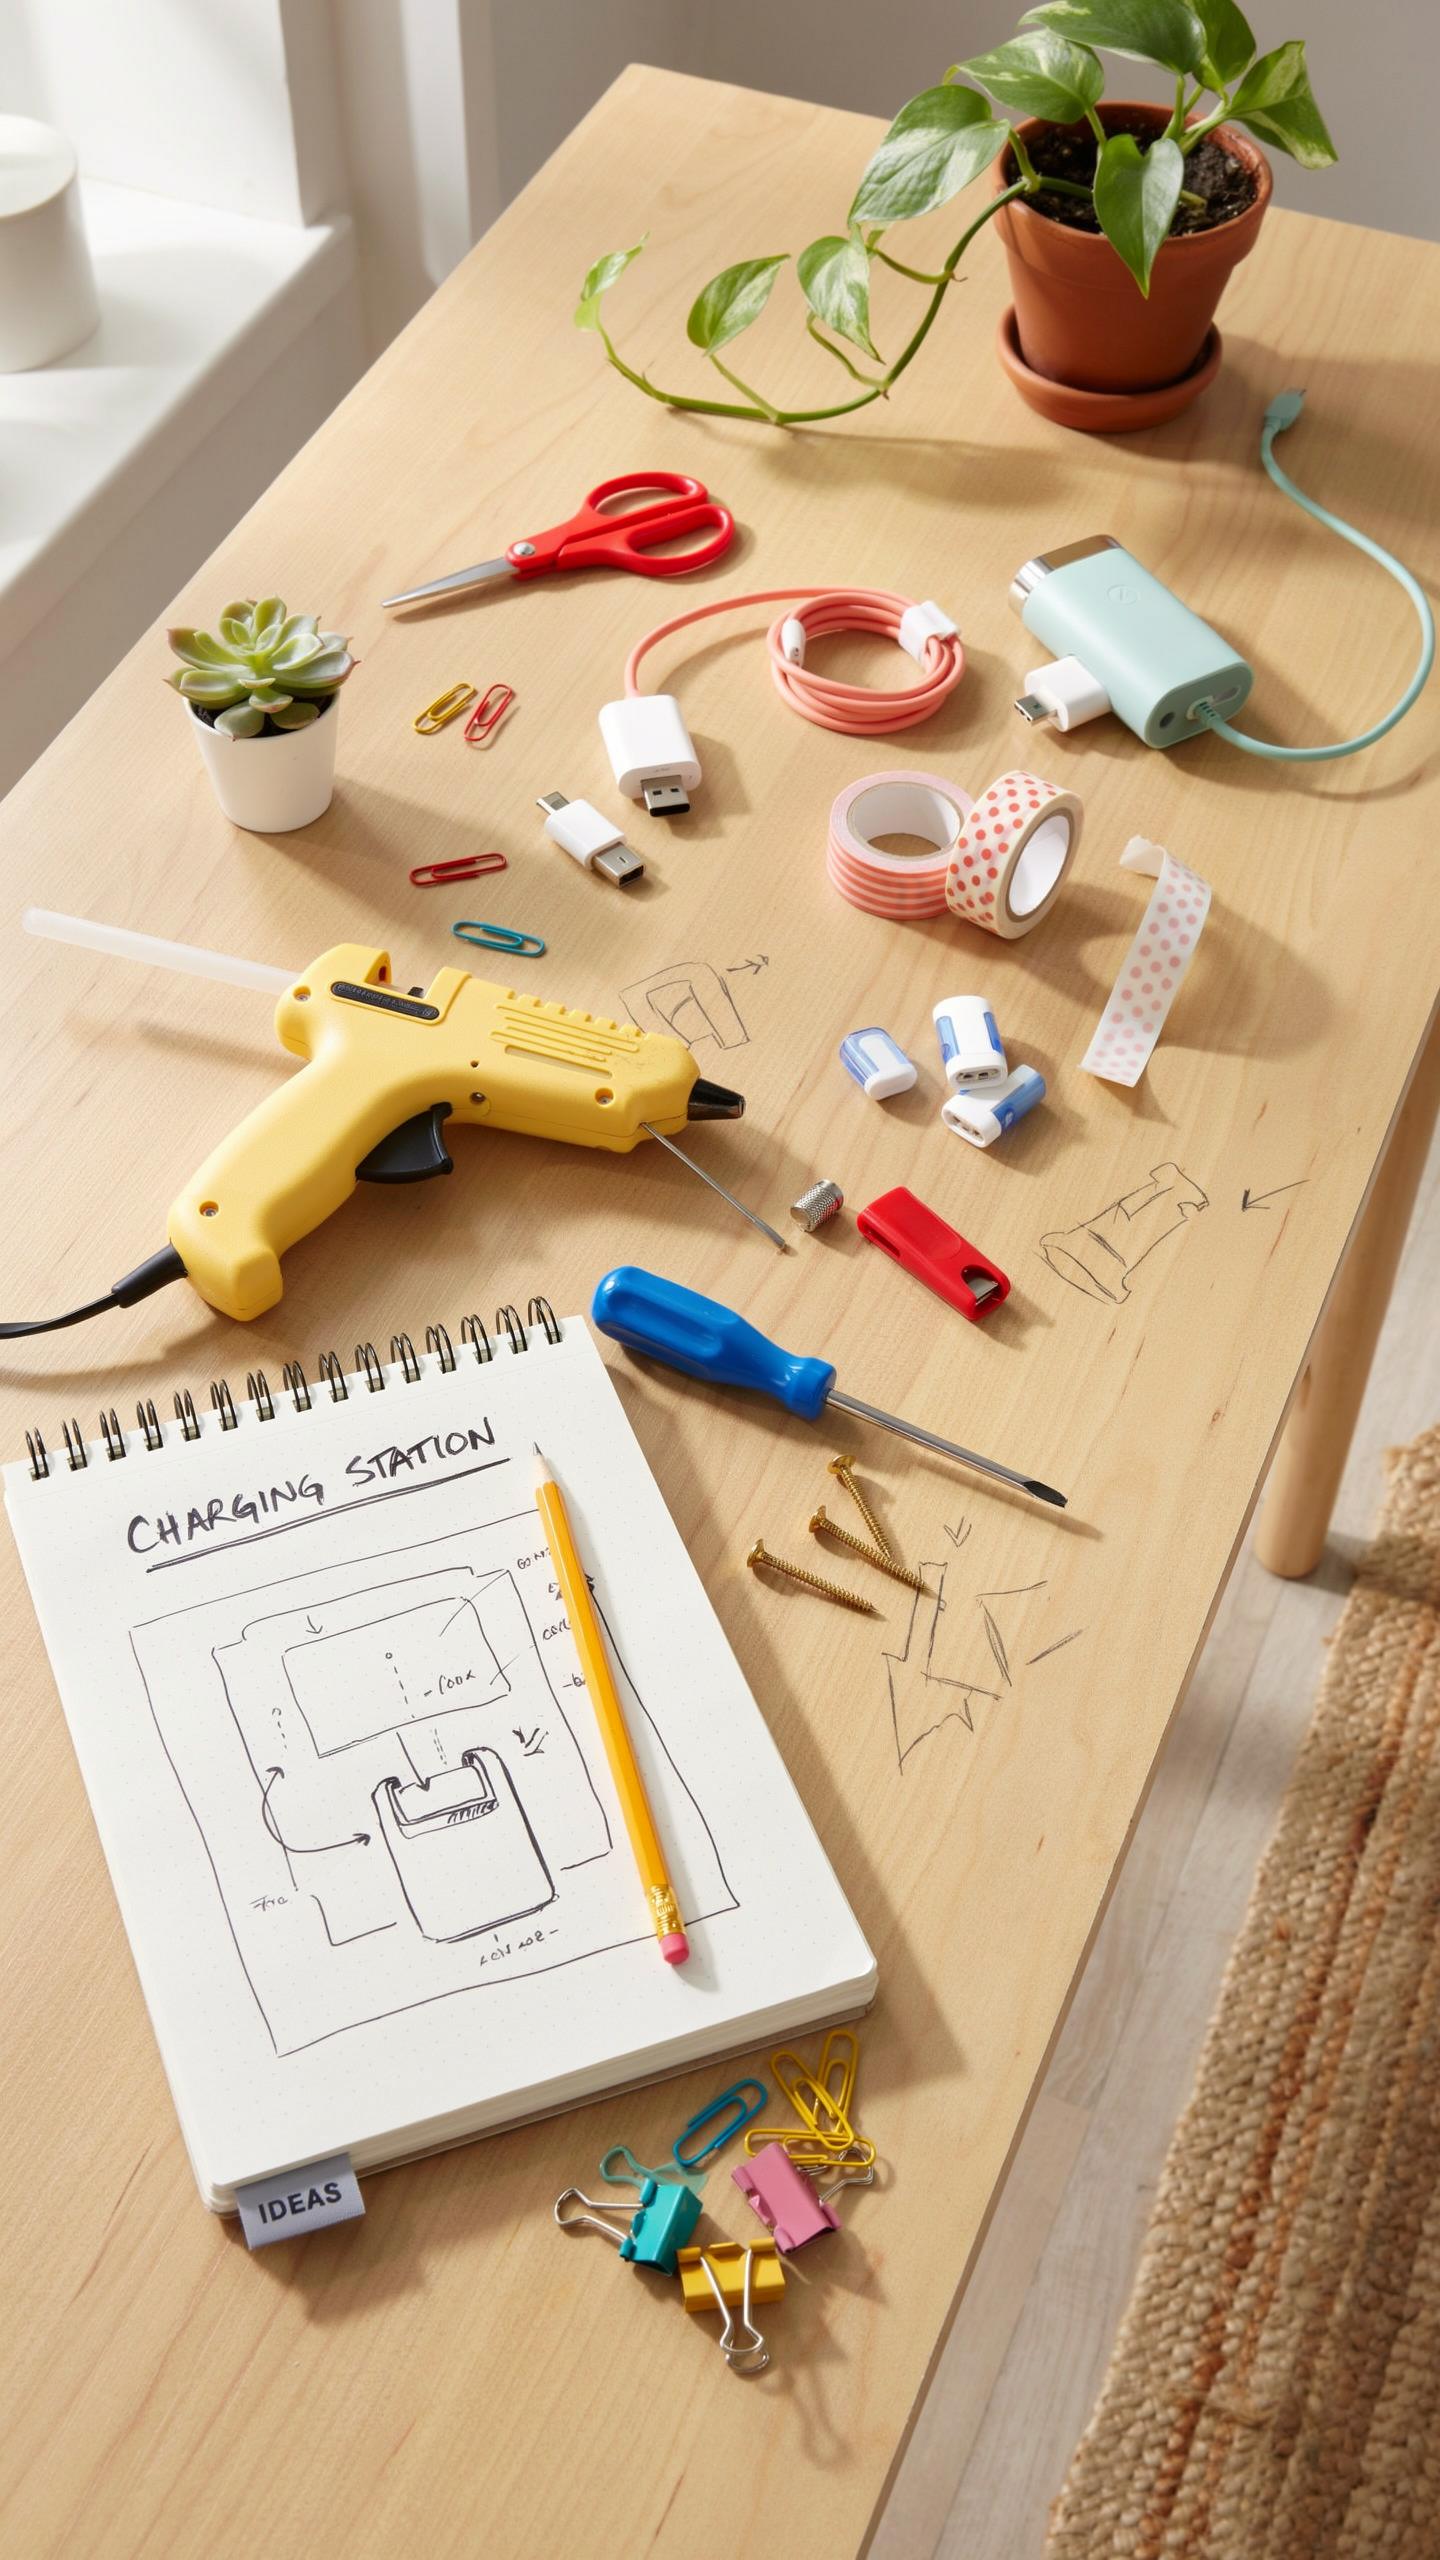
Assessing Your Needs
Count every device that needs charging in your household. Smartphones, tablets, smartwatches, and earbuds each demand different power levels. Most modern phones charge between 5 to 20 watts. Tablets require 10 to 30 watts. Document what you own now and what you plan to add within the next year.
Charging speed depends on both the power adapter and the device’s battery capacity. A standard 5-watt charger takes longer than a 20-watt fast charger. Match your power supply to your devices’ actual requirements. Overbuying wattage wastes money and space. Underbuying creates bottlenecks during peak charging times, typically mornings and evenings.
Choosing The Right Location
Your entryway serves as the first impression and the last checkpoint before leaving. Place your charging station near an outlet that doesn’t create trip hazards with cables. Avoid high-traffic zones where people bump into devices. Consider sightlines from your front door and living areas. Aesthetics matter because clutter signals disorganization to visitors and household members alike.

Measure the wall or surface space available before purchasing materials. Sunlight exposure degrades plastic and battery components over time, so avoid direct windows. Temperature matters too. Charging stations near heating vents or air conditioning units experience temperature fluctuations that reduce battery lifespan. Choose spots with stable ambient temperatures between 60 and 75 degrees Fahrenheit for optimal charging conditions.
Materials To Make A Charging Station For Home
Essential Tools And Supplies
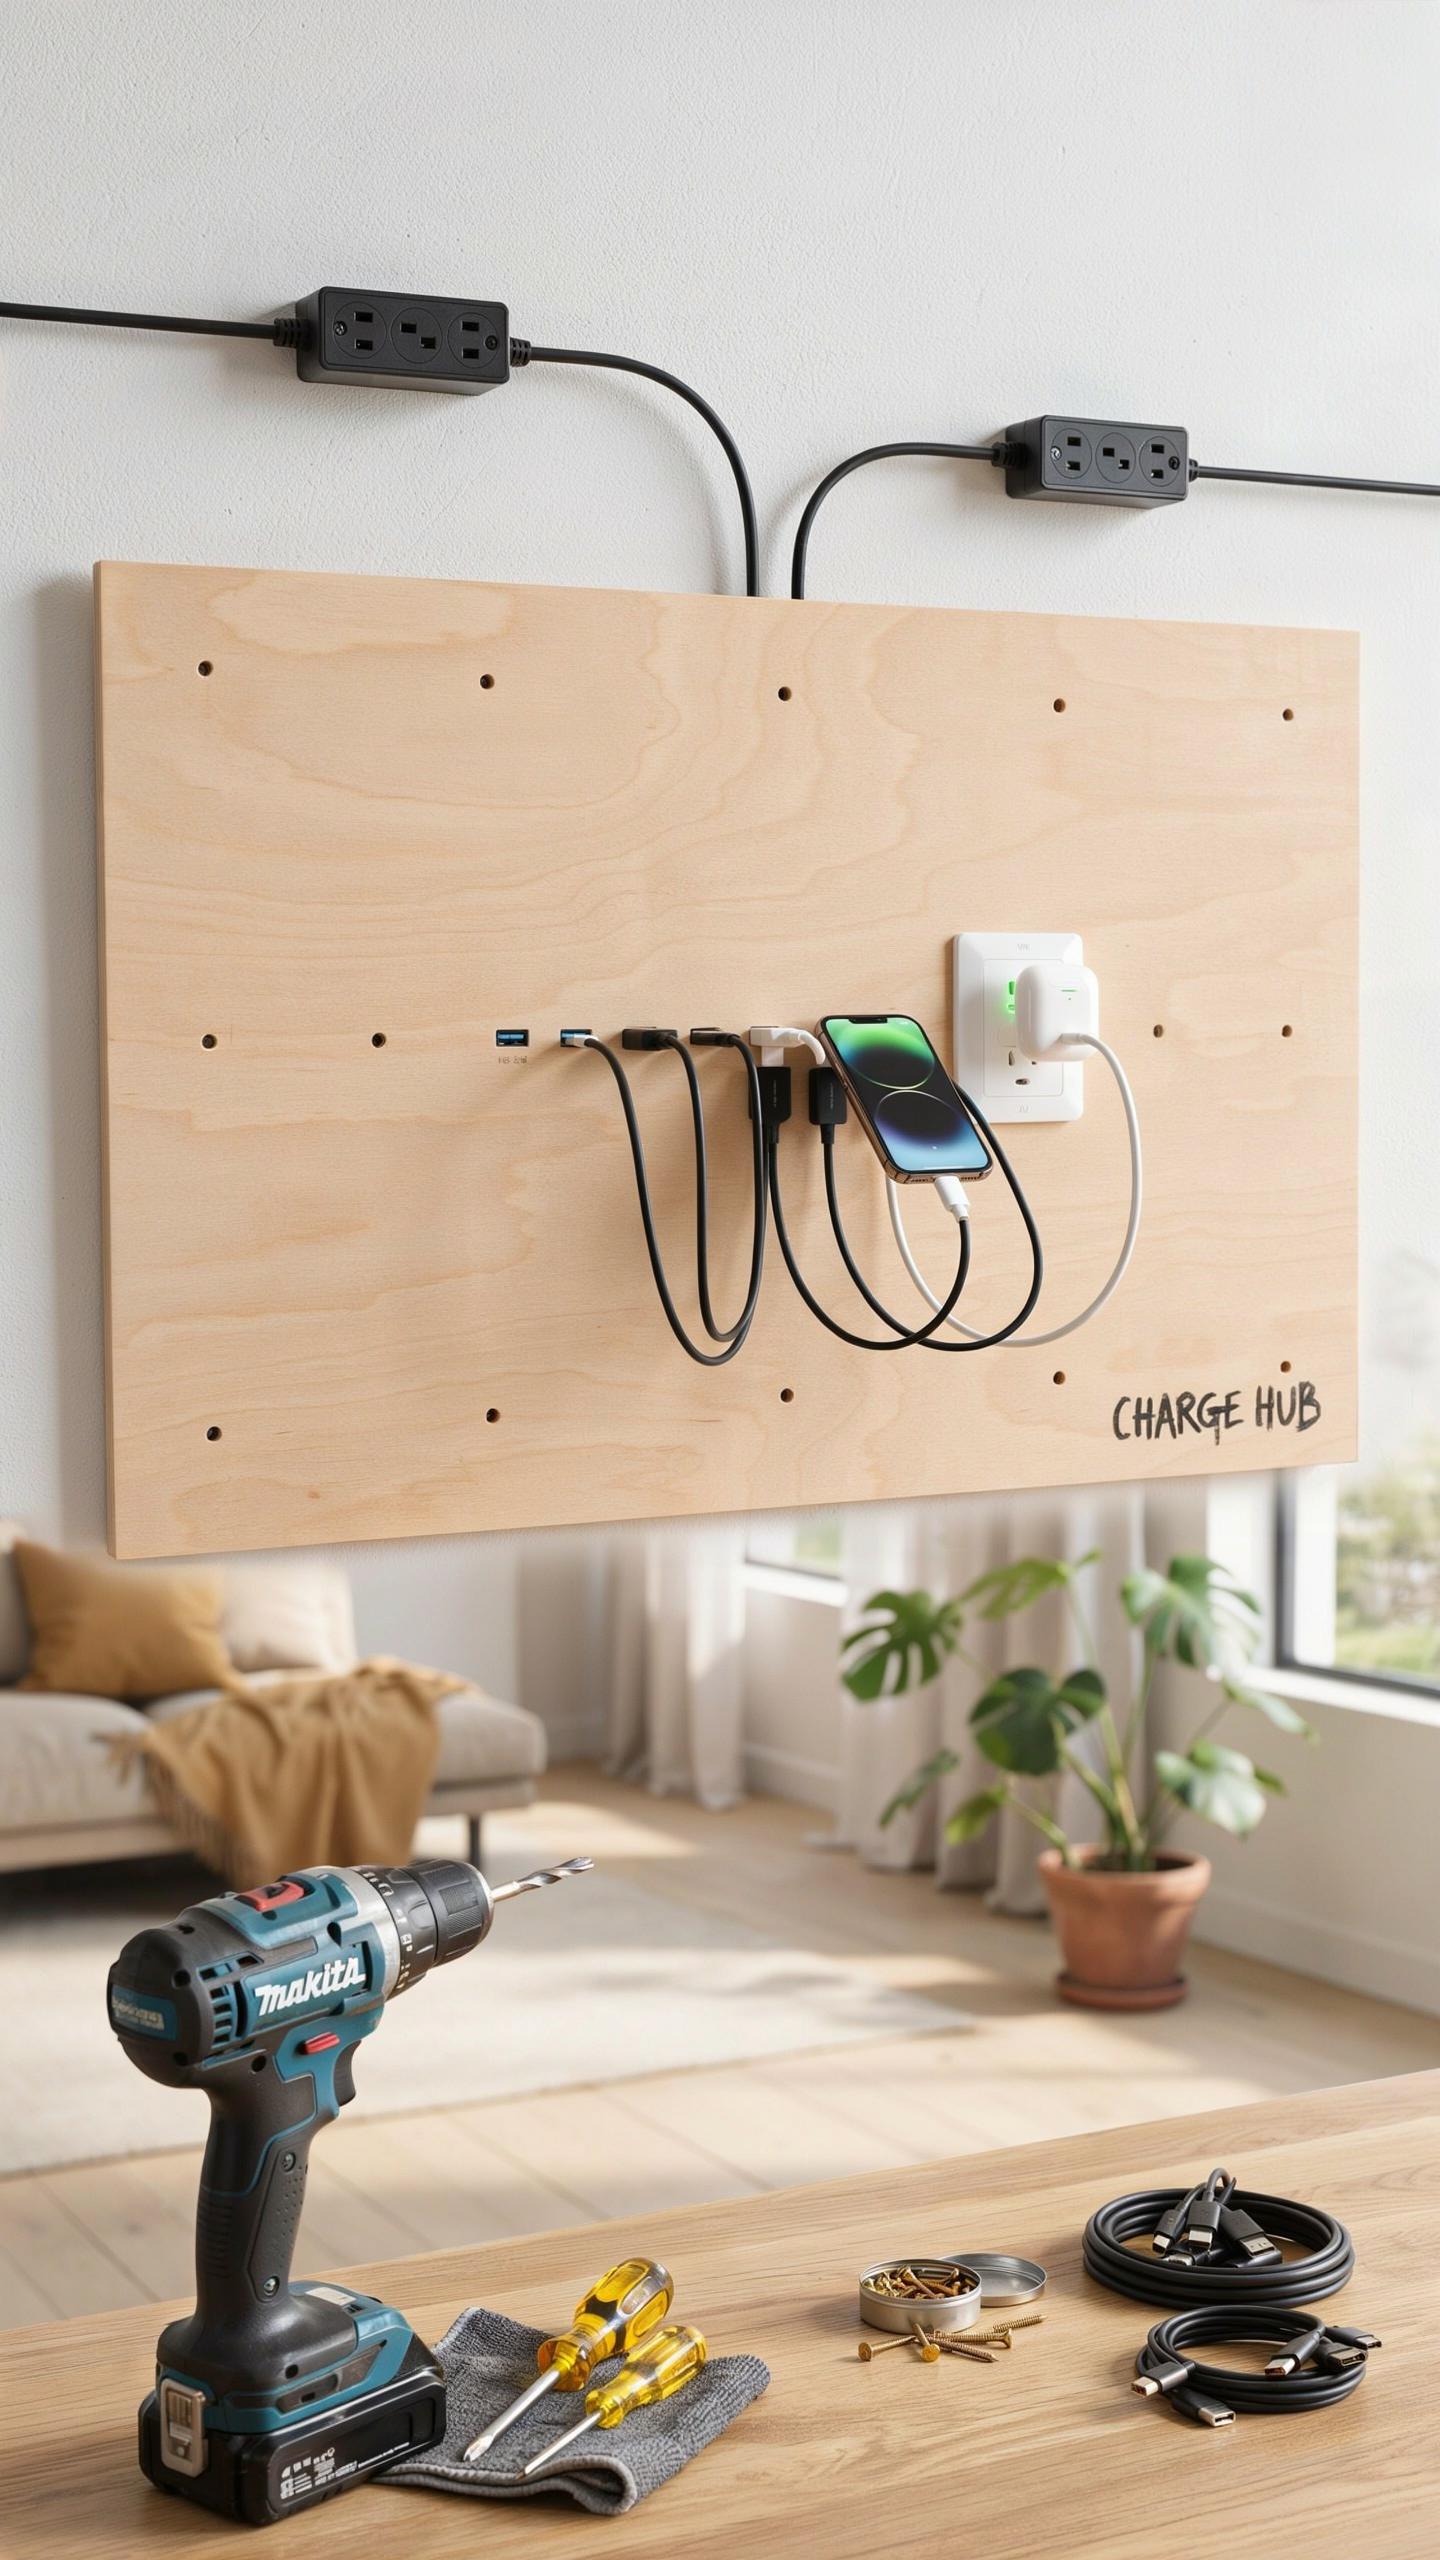
You need specific tools and materials to build a functional charging station. Most projects require basic hand tools, fasteners, and a surface to mount everything. Start with what you have, then purchase only what’s missing. This approach saves money and time.
- Power strip or multi-outlet adapter: Provides multiple charging ports for devices. Choose one with surge protection to safeguard phones and tablets from electrical spikes.
- USB charging cables: Gather cables for the devices you own. Keep extra Lightning, USB-C, and micro-USB cables on hand for visitors with different phone models.
- Wood, metal, or plastic base material: Forms the structural foundation of your station. Choose material based on your entryway style and durability requirements.
- Screws, nails, or wood glue: Fastens components together securely. Select fasteners appropriate for your base material to prevent failure under weight.
- Drill with bits: Creates holes for cable routing and component attachment. A cordless drill handles most DIY charging station projects efficiently.
- Cable management clips or sleeves: Organizes cables and prevents tangling. These keep your station looking clean and make cables easy to locate.
You don’t need expensive equipment or professional-grade tools. A basic drill, screwdriver set, and measuring tape cover most builds. Level the surface before mounting to ensure stability and prevent devices from sliding.
A tidy entryway, a charged phone, and a heart full of the joy of creation – it all starts with a little DIY magic, like the stations our grandfathers built to keep their tools organized.
Repurposed Items For Sustainability
Using existing materials cuts costs and reduces waste. Old wooden pallets, reclaimed shelving, or broken furniture pieces become functional charging stations. This approach works because these materials already have structural integrity and require minimal processing.

Check your garage, attic, or local donation centers for usable items. Old wooden cutting boards, magazine racks, or desk organizers function as bases. Broken phone stands can be repurposed to hold devices while they charge. Fabric scraps or old cloths wrap around cables for cushioning. Tin cans hold charging cables upright. This method keeps materials out of landfills while delivering a unique station tailored to your space.
Building Your Phone Charging Station Diy

Step By Step Assembly Guide
Start by selecting your base material. Plywood, reclaimed wood, or medium-density fiberboard work well for stability. Cut your base to dimensions between 12 to 18 inches wide and 8 to 12 inches deep. This size accommodates multiple devices without consuming excessive entryway space. Sand all edges smooth to prevent splinters and improve aesthetics.
Attach vertical supports to your base using wood glue and screws. Install supports 2 to 3 inches from the back edge. Mount your power strip to the back vertical support at a height that allows cables to reach down to devices sitting on the base. Drill holes in the base to thread cables through, keeping them separated by device type.
Cable Management Techniques
Route charging cables through drilled holes in your base to hide them from view. Keep cables separated by type: USB-A, USB-C, and Lightning cables should occupy different channels. Use adhesive-backed cable clips mounted along the back support to bundle wires together. This approach prevents tangling and simplifies troubleshooting when issues arise with specific chargers.

Create cable sleeves using PVC tubing or fabric cord covers for the visible portions. Measure cable lengths and trim sleeves accordingly to avoid excess material cluttering your entryway. Label each cable at both ends using small adhesive tags with device names. This simple step saves time when grabbing the correct charger and prevents accidentally yanking wrong cables during device removal.
How To Make A Charging Station For Home Advanced Tips

Integrating Smart Features
USB hubs consolidate multiple charging ports into a single connection point. This eliminates the need for multiple wall outlets and reduces cable clutter. Choose hubs with adequate wattage ratings to handle simultaneous charging. Power strips with surge protection safeguard your devices from electrical spikes. Mount the hub or strip securely to prevent accidental disconnection or damage during daily use.
Smart power strips add automation to your charging routine. These strips detect when devices reach full charge and cut power automatically, reducing energy waste. Some models let you control outlets remotely via smartphone apps or voice commands. Timer functions schedule charging during off-peak hours if your utility company offers lower rates. Integration with home automation systems creates a cohesive smart home ecosystem.
Personalization And Decor
Match your charging station materials to existing entryway elements. Wood finishes coordinate with traditional or rustic decor. Metal frames suit contemporary spaces. Concrete or stone bases work for industrial aesthetics. Select finishes that complement flooring, wall color, and furniture already in your entryway. Consistency in material choices prevents the station from looking like an afterthought.

Cable management directly impacts visual appeal. Use matching cable organizers, clips, or sleeves to bundle wires neatly. Hide excess cable length behind the station structure or in designated channels. Conceal power strips and hubs when possible by positioning them at the rear or underneath. Label cables clearly so household members find the right charger without creating tangles. Organized cables make the entire setup appear intentional and designed rather than hastily assembled.
Hanging Phone Charging Station Diy Space Saving Solutions
Vertical Storage Ideas
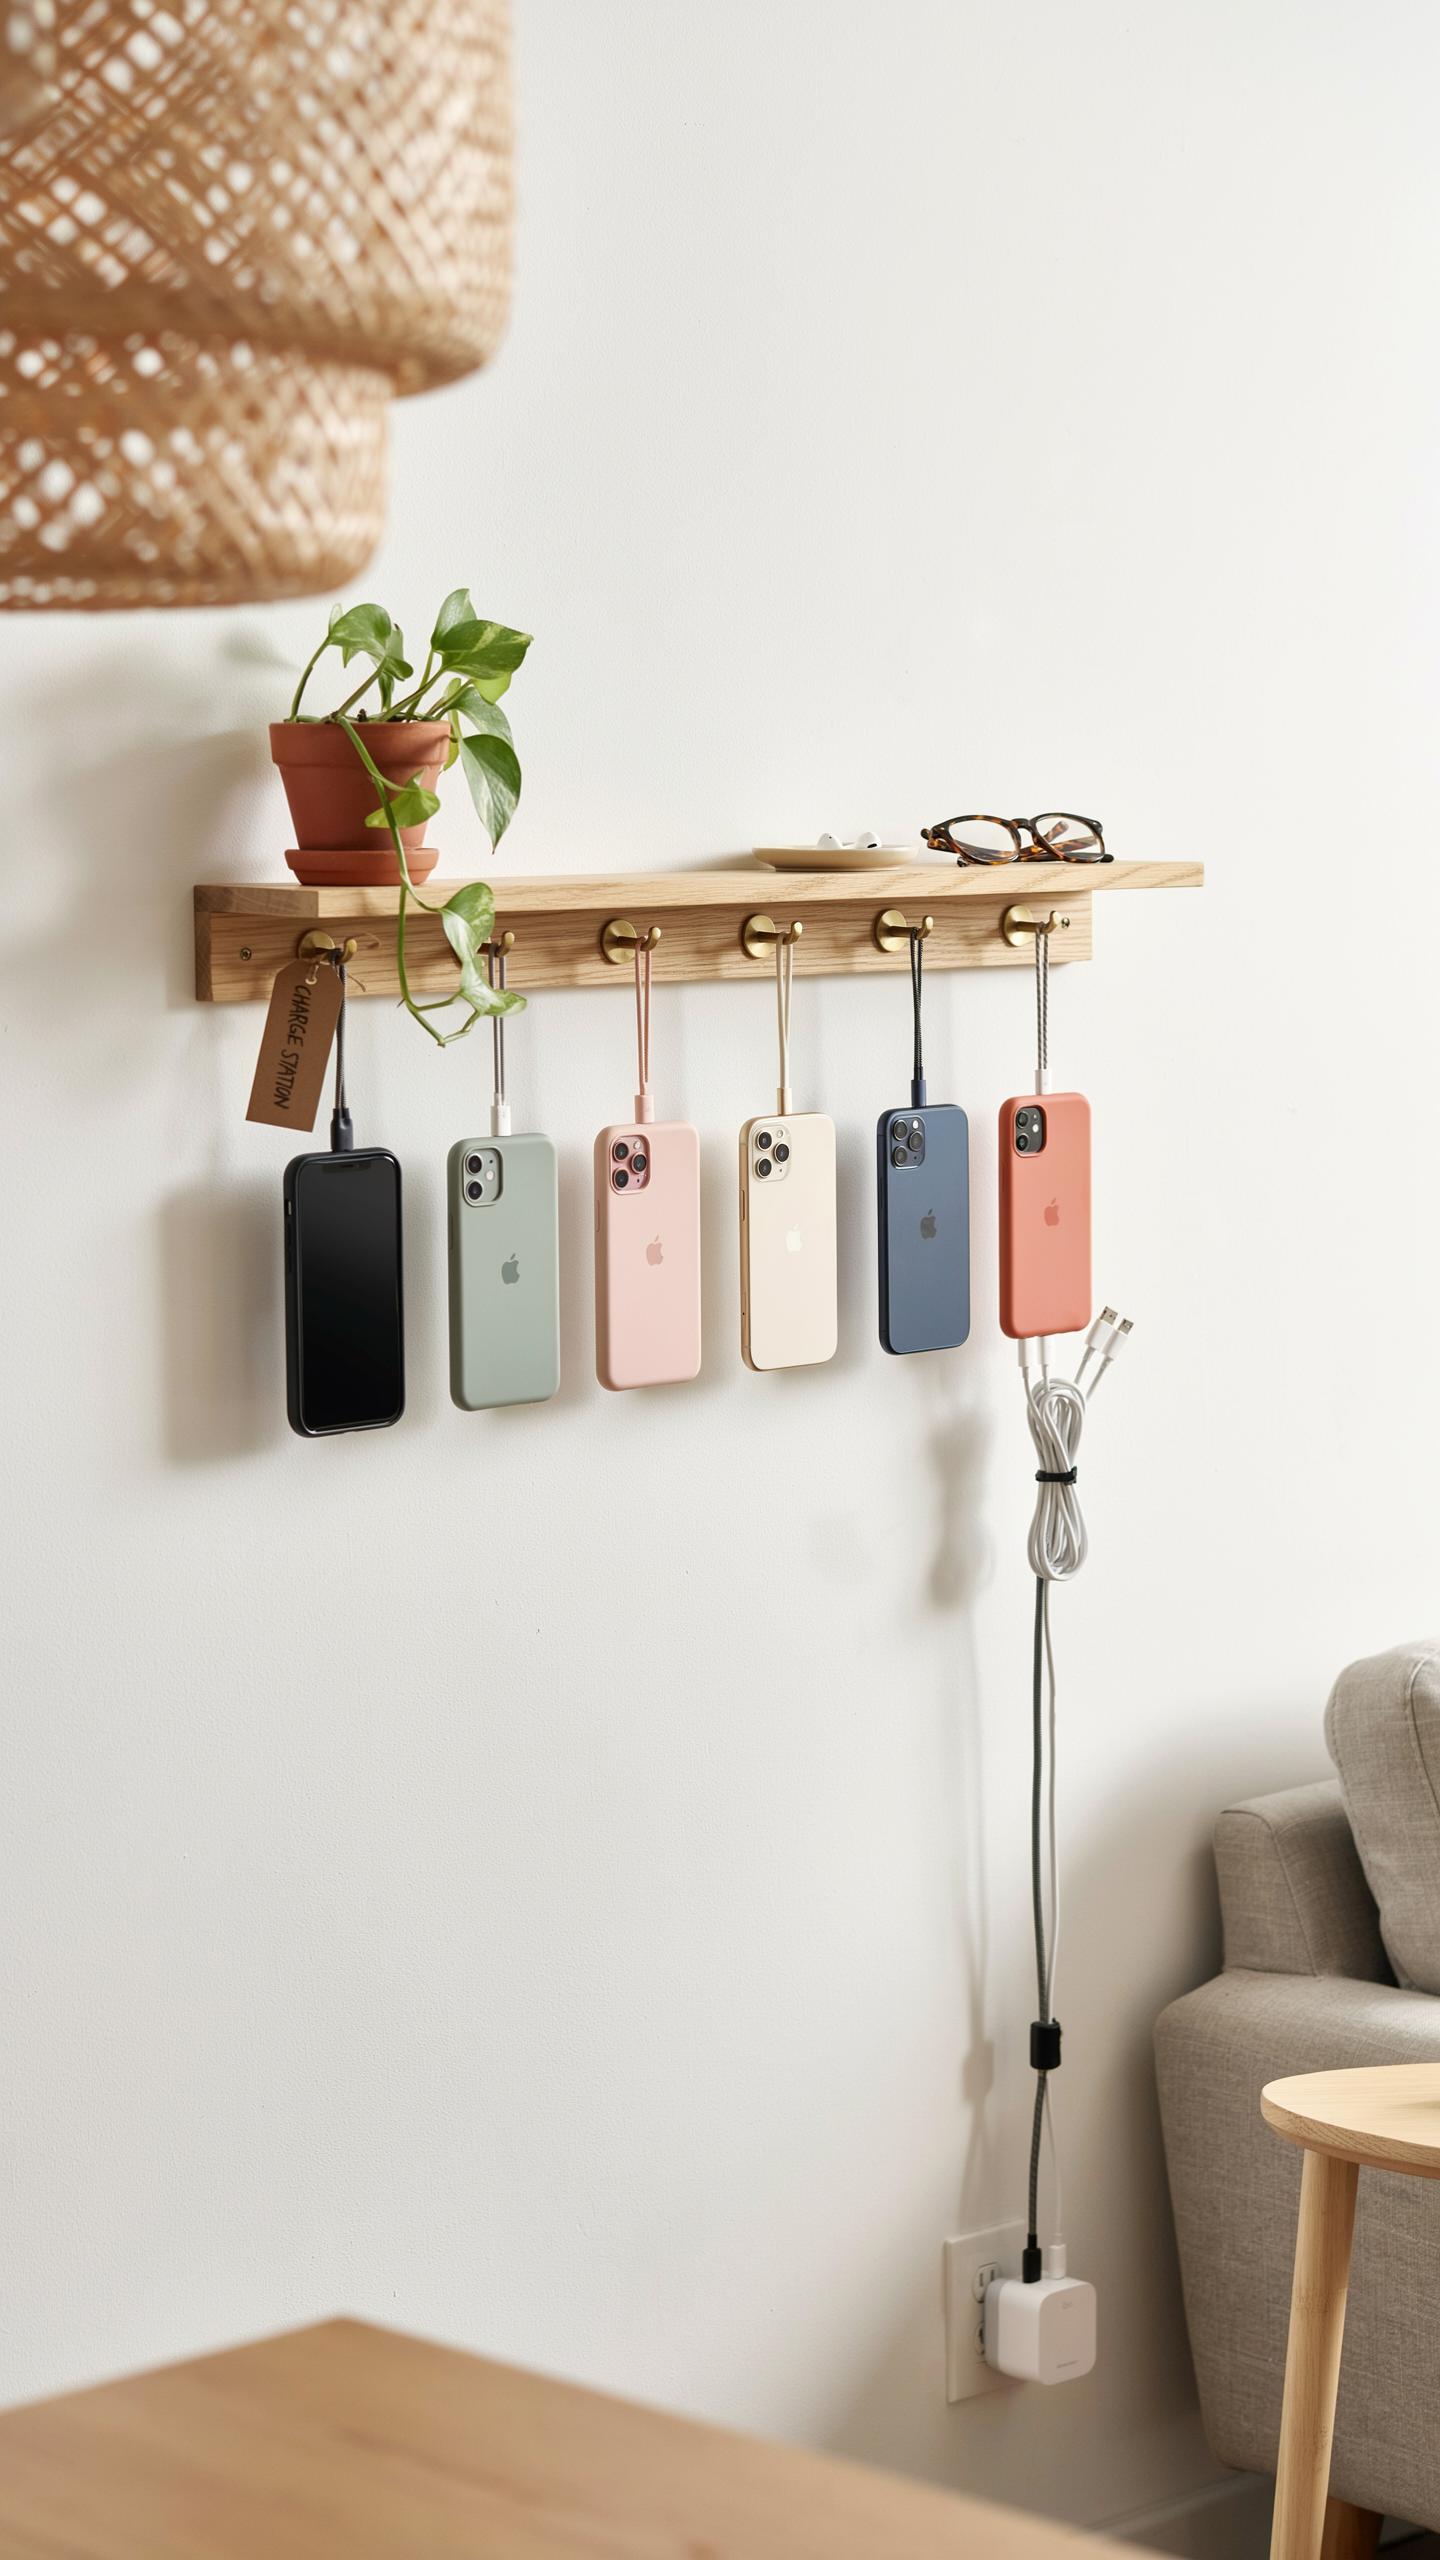
Wall mounted charging stations eliminate clutter on horizontal surfaces. Your entryway needs functional storage without sacrificing floor space. Vertical mounting uses the dead space above tables, shelves, or console surfaces. This approach keeps cables organized and devices accessible without consuming valuable real estate. A wall mounted design reduces tripping hazards and makes the entryway look intentional rather than cluttered.
Consider the wall material before installation. Drywall requires anchors rated for the combined weight of your station plus devices. Concrete or brick walls need masonry fasteners. Plaster walls demand special consideration since they crumble easily under standard anchors. Know your wall type before you drill. This determines which fastening hardware actually holds your investment.
Mounting And Installation
Install your charging station at eye level or slightly above. This placement reduces reaching and keeps cables out of foot traffic. Standard electrical outlets near entryways work best for power routing. Measure twice, drill once. Use a stud finder to locate wall studs when possible, as studs provide the strongest anchor points for heavier stations holding multiple devices simultaneously.

Secure all fasteners appropriately for your wall type. Drywall toggle bolts hold more weight than standard anchors. Masonry fasteners expand inside concrete and brick. Use fasteners rated for at least double the expected weight to maintain a safety margin. Tighten all bolts and screws fully before loading devices. Check connections monthly for loosening caused by vibration from daily use.
Maintenance And Care For Your Cell Phone Charging Station Diy
Cleaning And Dusting
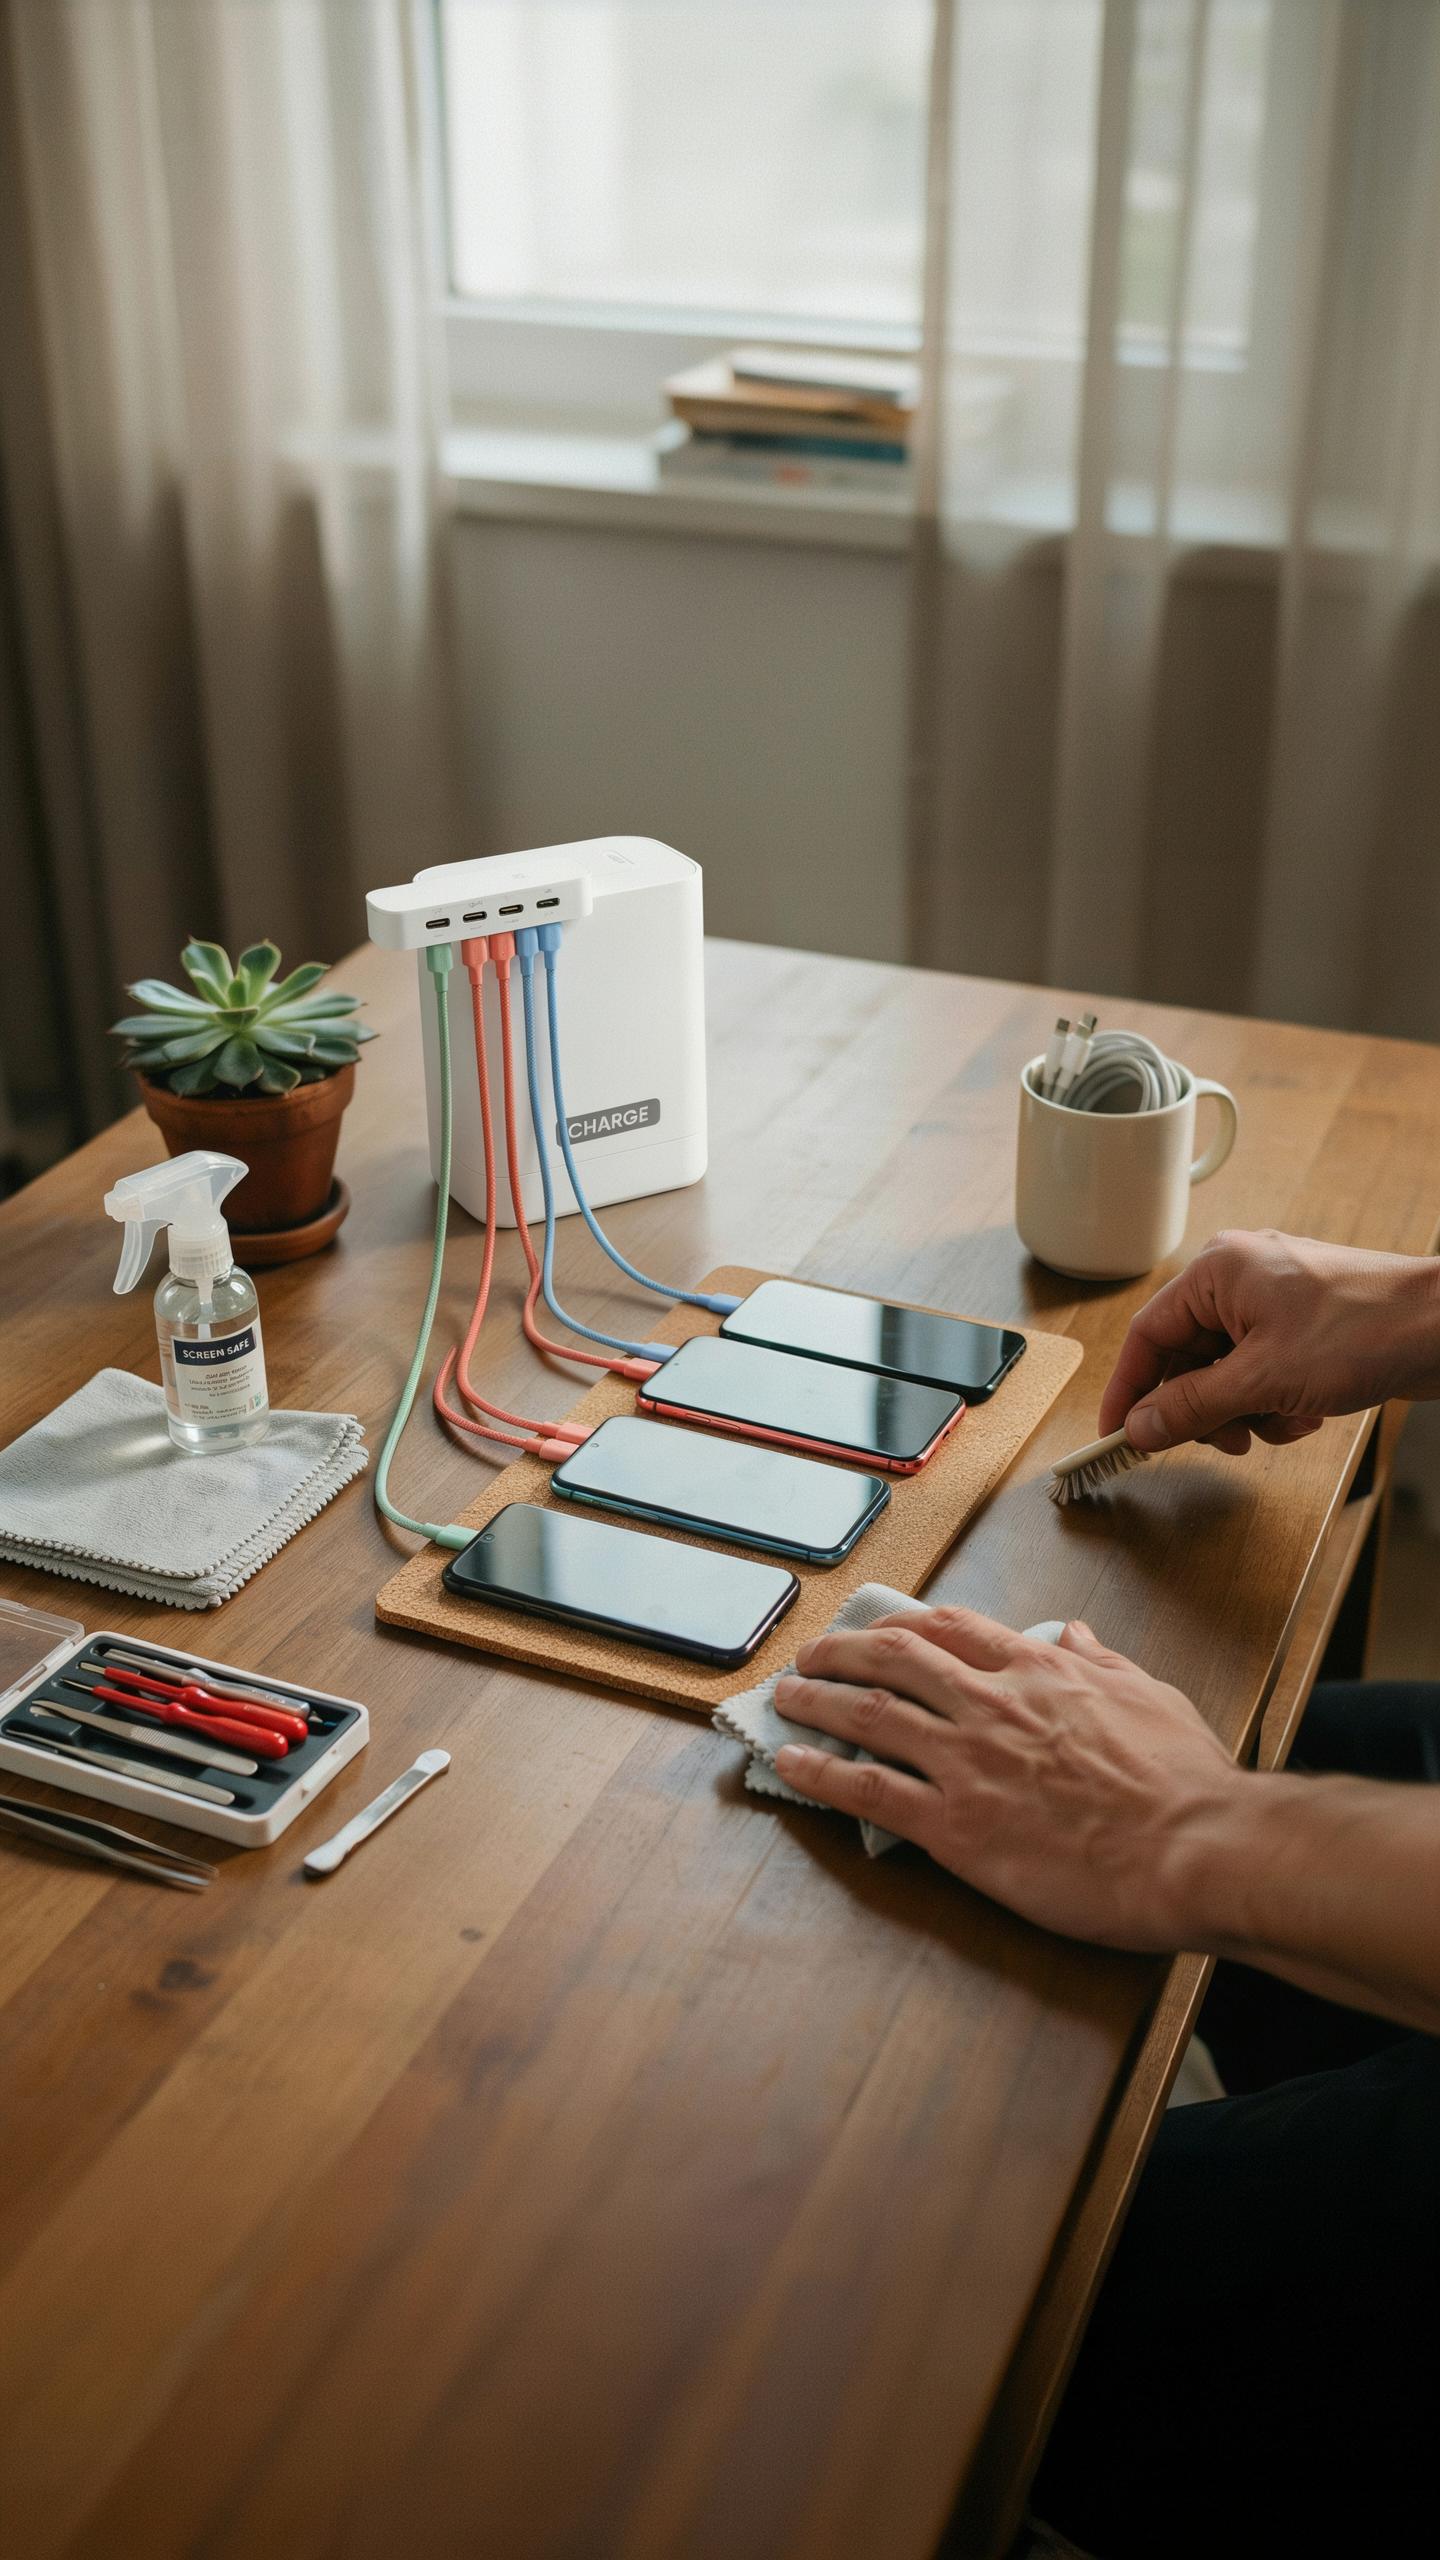
Dust accumulates on charging stations and degrades performance. Unplug the station before cleaning anything. Use a dry microfiber cloth to wipe down surfaces weekly. For cable connections, gently brush away debris with a soft brush. Never use water or liquid cleaners on electrical components or ports.
Check charging ports monthly for lint and dust buildup. Use compressed air to blow out port interiors. Hold the can upright and use short bursts to avoid moisture damage. If ports have stubborn debris, use a wooden toothpick to gently dislodge material. Never insert metal objects into ports as this creates short circuits.
Troubleshooting Common Issues
Phones stop charging for specific reasons. First, inspect all cable connections for loose connections at both ends. Swap in a different charging cable to isolate whether the cable or station failed. Test the power outlet by plugging in another device to verify the outlet works. Restart your phone if charging stops mid-session as software glitches cause detection failures.

Heat buildup signals a problem that demands immediate action. Unplug the station and let it cool for 30 minutes. Check that vents or air gaps are not blocked by objects or debris. If overheating persists, the power adapter may be failing and requires replacement. Never operate a hot charging station as fire risk increases significantly.
Easy Charging Station Upgrades And Customizations
Adding Storage Compartments
Drawers and shelves solve the cable clutter problem that kills any charging station’s functionality. Mount shallow drawers below the charging surface to store USB cables, adapters, and phone cases. Use adjustable shelving above the station for headphones, power banks, and daily accessories. This approach keeps items accessible without creating visual chaos on your entryway table.
Install drawer dividers to separate cable types and prevent tangling. Small bins work well for organizing different connector types like USB-C, Lightning, and micro-USB. Shelves work best when spaced 8 to 12 inches apart for ergonomic reach. Label everything clearly so household members return items to the correct spot every time.
Future Proofing Your Station
Wireless charging technology is now standard on most flagship phones, so building capacity for it is essential. Install a wireless charging pad into the station’s top surface using recessed mounting to keep the surface flat. Wire the pad through your existing power management system rather than running separate cords. This reduces clutter while accommodating phones with and without wireless capability.
Plan for USB ports with higher wattage capacity now. Modern devices charge faster with 30W and 65W USB-C power delivery compared to older 5W standards. Purchase a power strip or charging hub rated for at least 100W total output. Future phones will demand faster charging speeds, so oversizing your power infrastructure today prevents costly upgrades later.
Showcasing Your DIY Charging Station Project
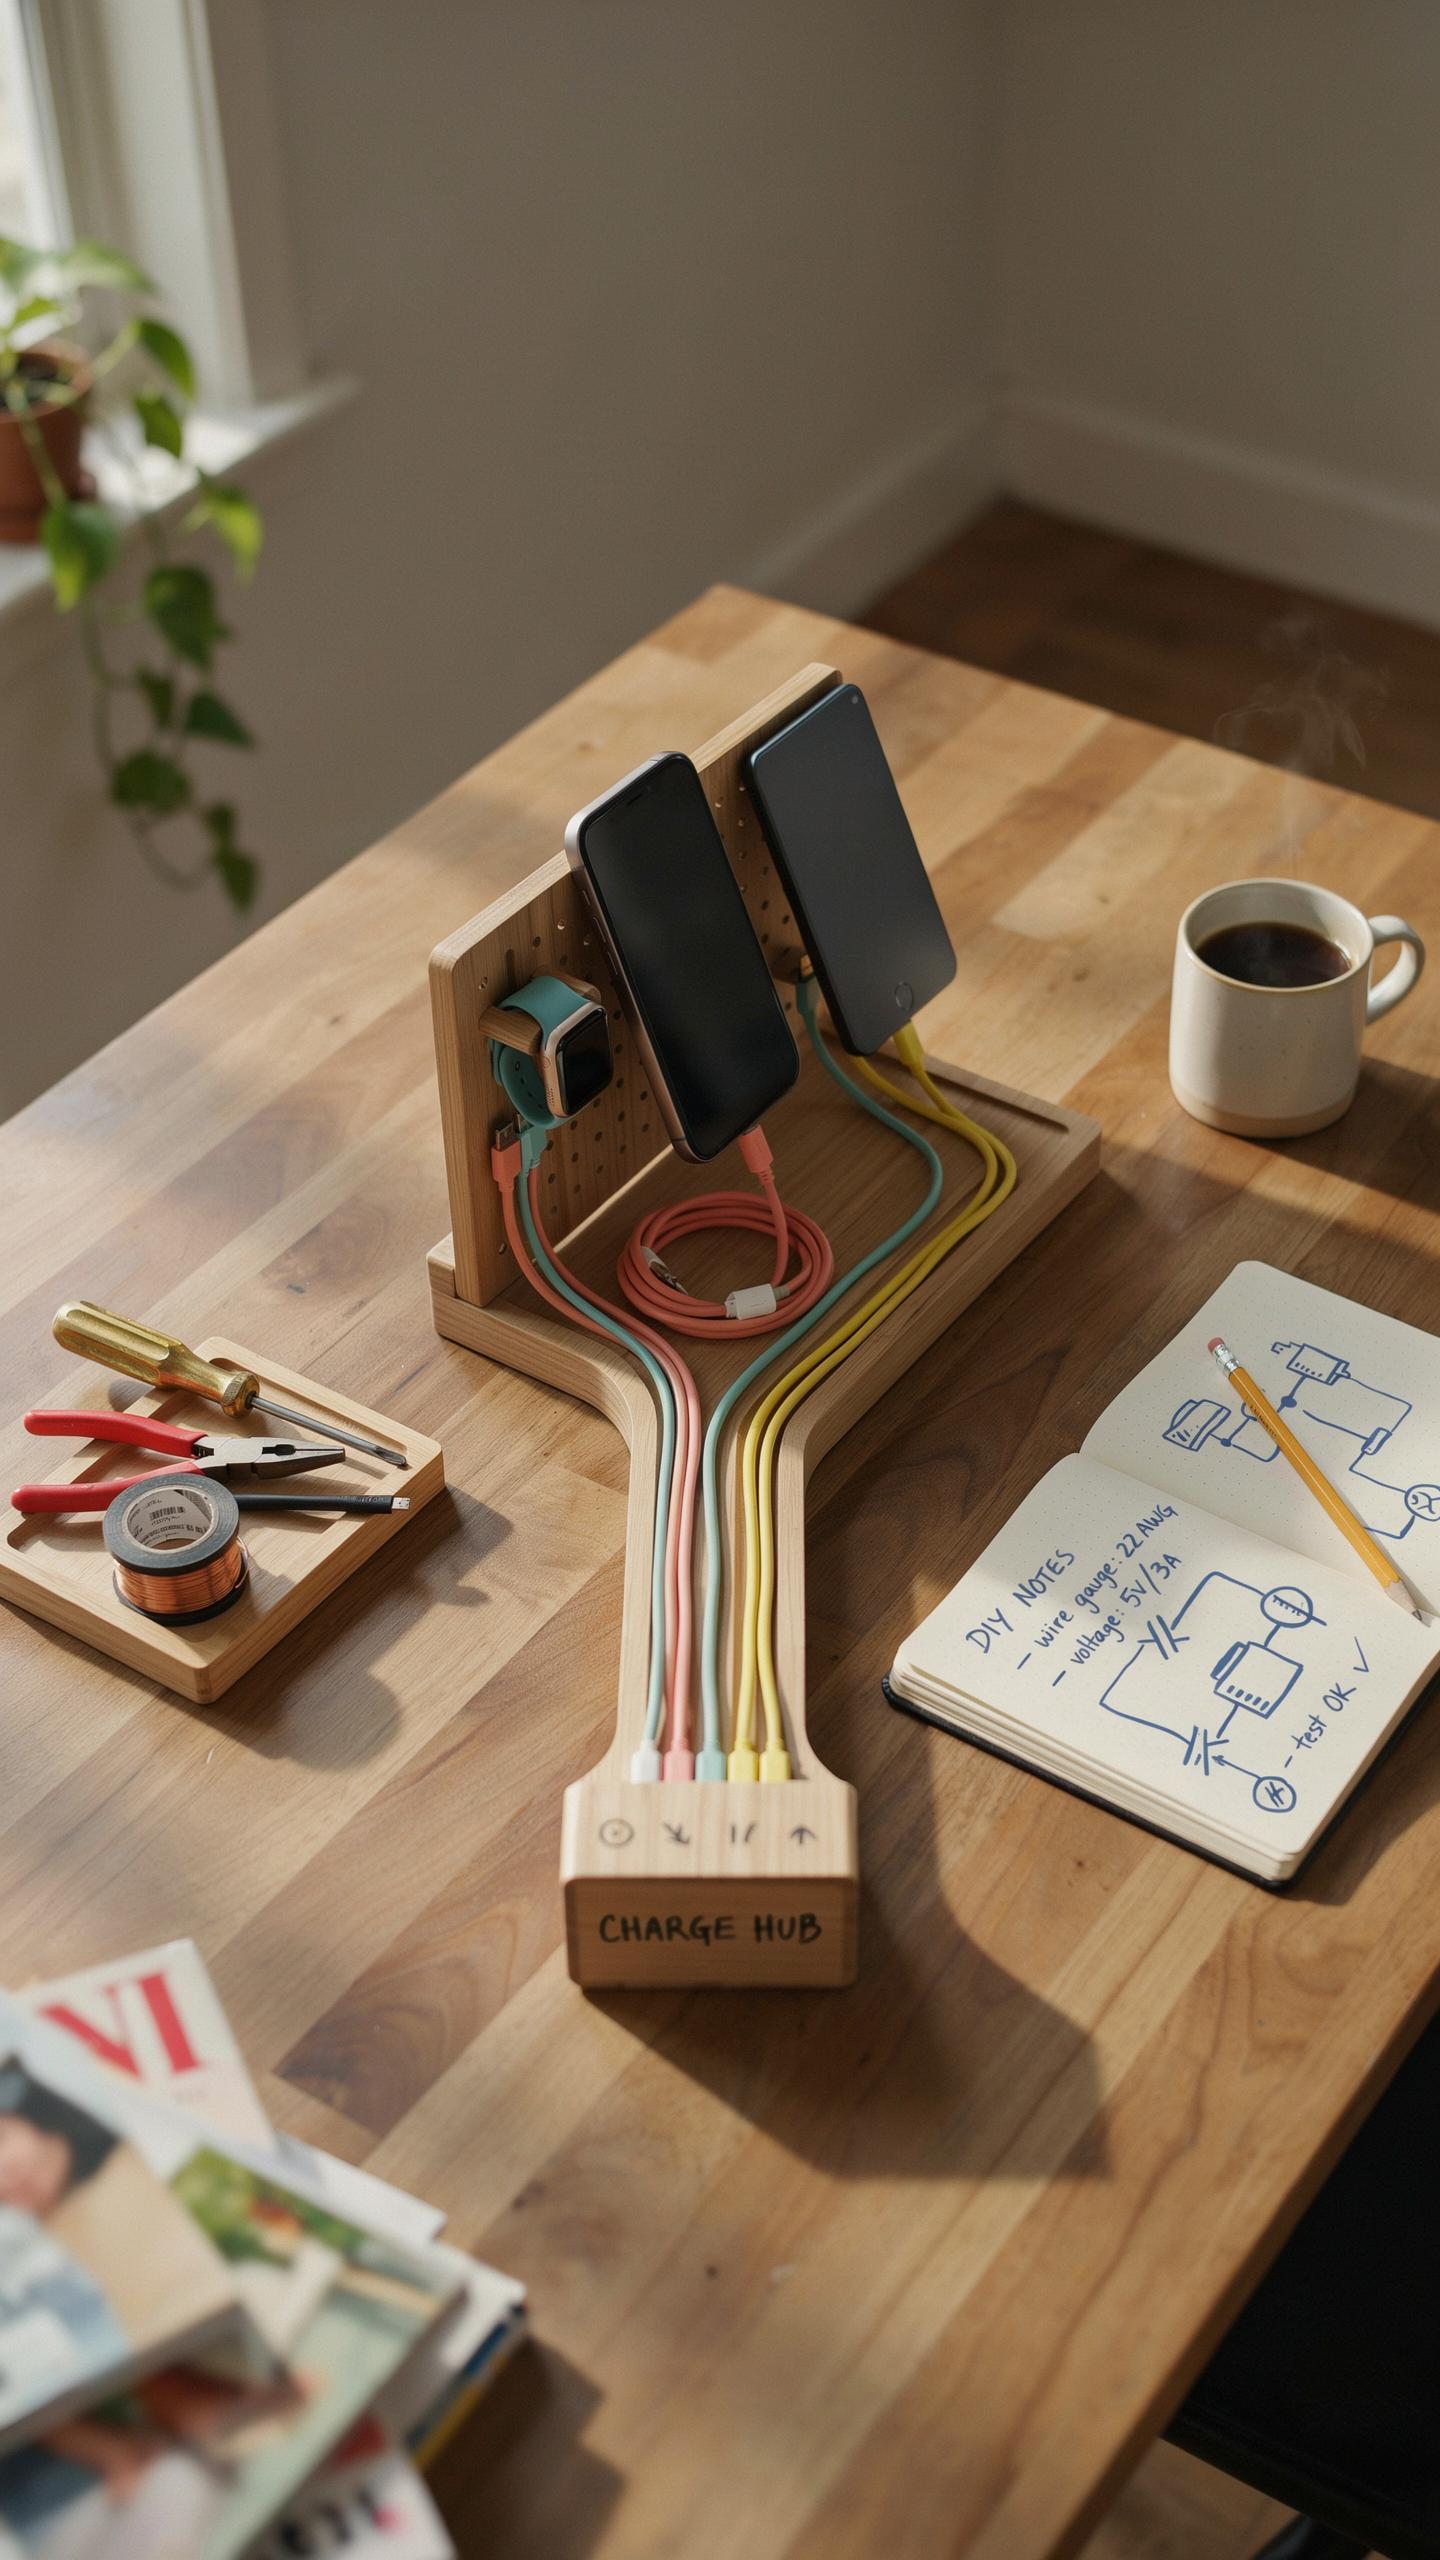
Sharing Your Creation
Your completed charging station solves a real problem. Share it to help others tackle the same issue. Document the before and after states of your entryway. Post photos on social media or home improvement forums where people actively seek solutions. Include the materials you used and time investment required. This practical documentation helps others replicate your approach without guesswork.
People appreciate seeing functional solutions over inspiration that never gets built. Your project proves the concept works in a real home environment. Describe what surprised you during construction and what you’d change next time. This honesty makes your guidance more valuable than polished marketing content. Others will recognize themselves in your experience and feel confident attempting their own version.
The Impact Of A Tidy Entryway
An organized entryway changes how people experience your home from the moment they walk through the door. No more phone cables scattered across surfaces. No more hunting for charging outlets or cables. This functional clarity makes the space work harder for you. Your entryway becomes a staging ground where devices charge automatically instead of creating visual chaos.
The ripple effect extends beyond aesthetics into daily behavior. Family members adopt the charging station habit immediately because the infrastructure exists. Guests notice the deliberate organization and form impressions based on this intentional design. A managed entryway signals that the rest of your home operates with similar intention. This foundation of order makes maintaining cleanliness easier throughout the space and reinforces systematic habits you’ve established.
Frequently Asked Questions

I’m new to DIY projects. Is creating a phone charging station something a beginner can handle?
Absolutely! Many DIY phone charging station project ideas are perfect for beginners, requiring minimal tools and basic crafting skills. You can start with simple designs like repurposing a small box or basket, adding dividers, and neatly tucking away cords. It’s a great entry point into home organization DIYs.
How can I hide all the unsightly charging cables and power strips in my DIY phone charging station project?
Effective cable management is key! Consider drilling small holes in the back or bottom of your station for cords to pass through. Utilize cable ties, clips, or even a power strip with built-in surge protection that fits snugly inside. This helps maintain a clean, organized look in your entryway’s new charging hub.
What are some cost-effective materials I can use for a DIY phone charging station?
You can create a fantastic charging station on a budget! Repurposing items like old wooden boxes, decorative bins, or even a shoebox covered in attractive contact paper are excellent options. Simple craft store wood panels, PVC pipe scraps, or even sturdy cardboard can also be transformed into a functional and stylish charging spot.



