
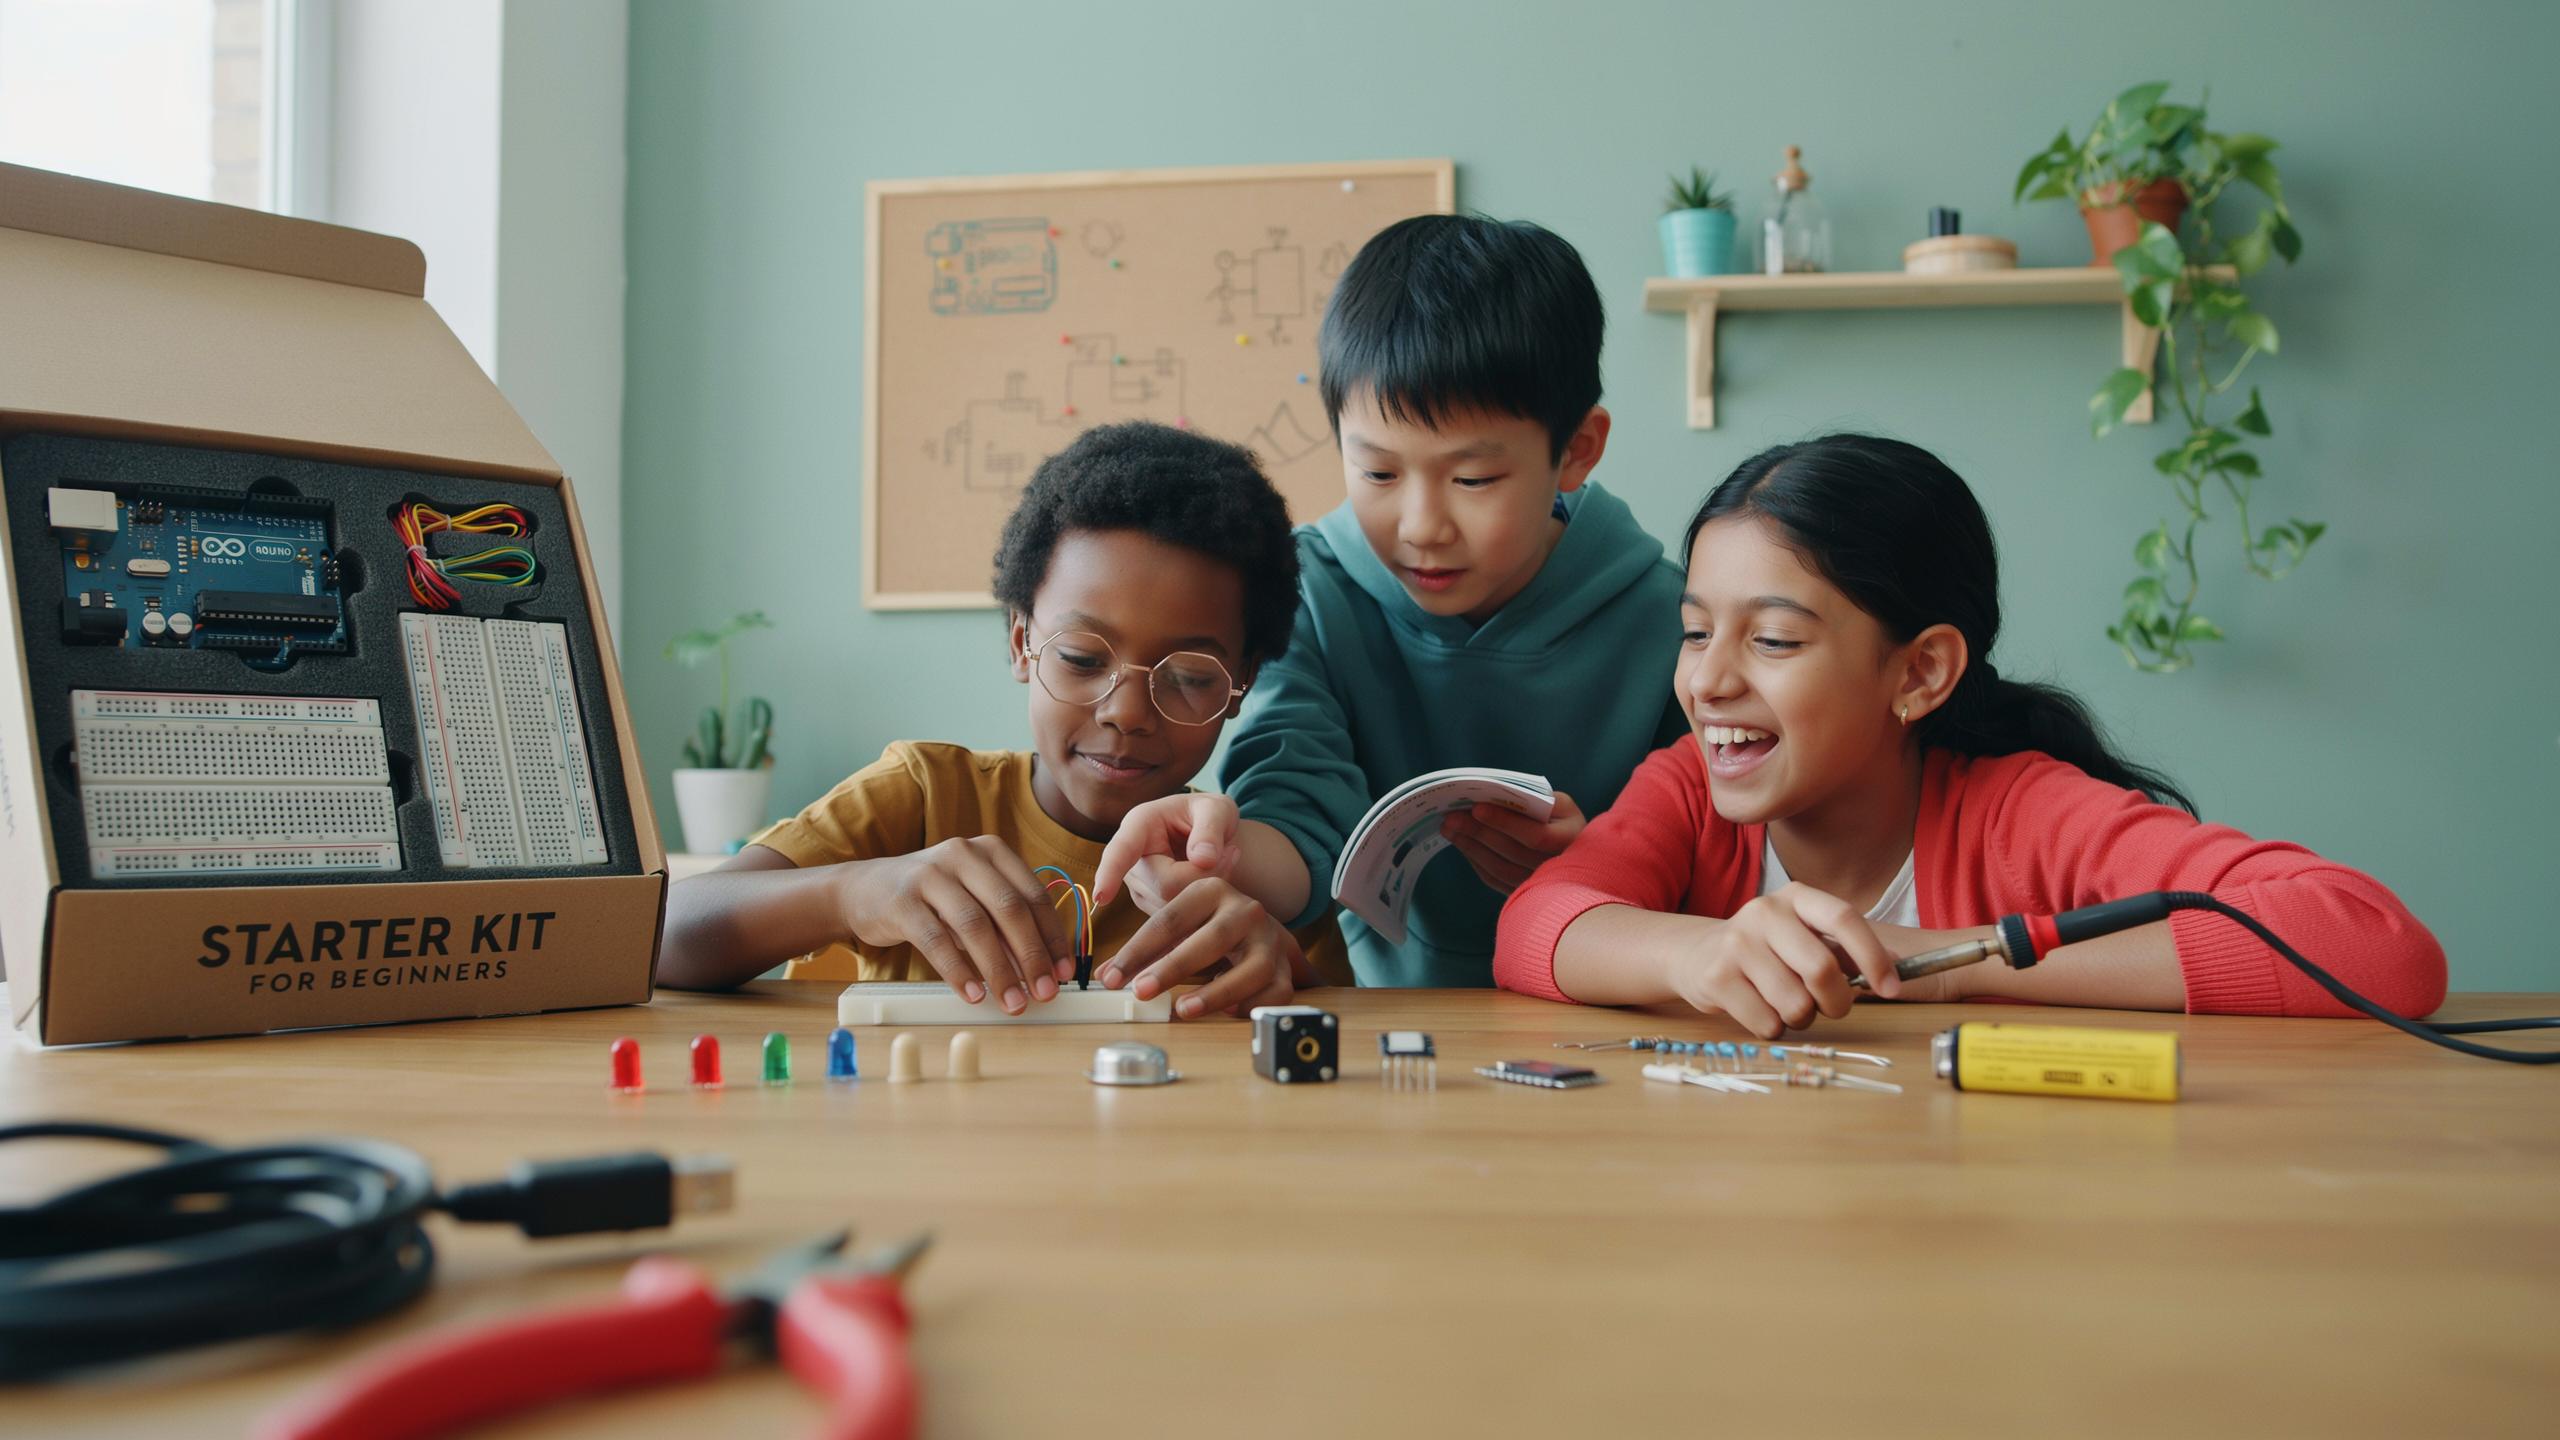
Why Choose An Arduino Kit For Your First Builds
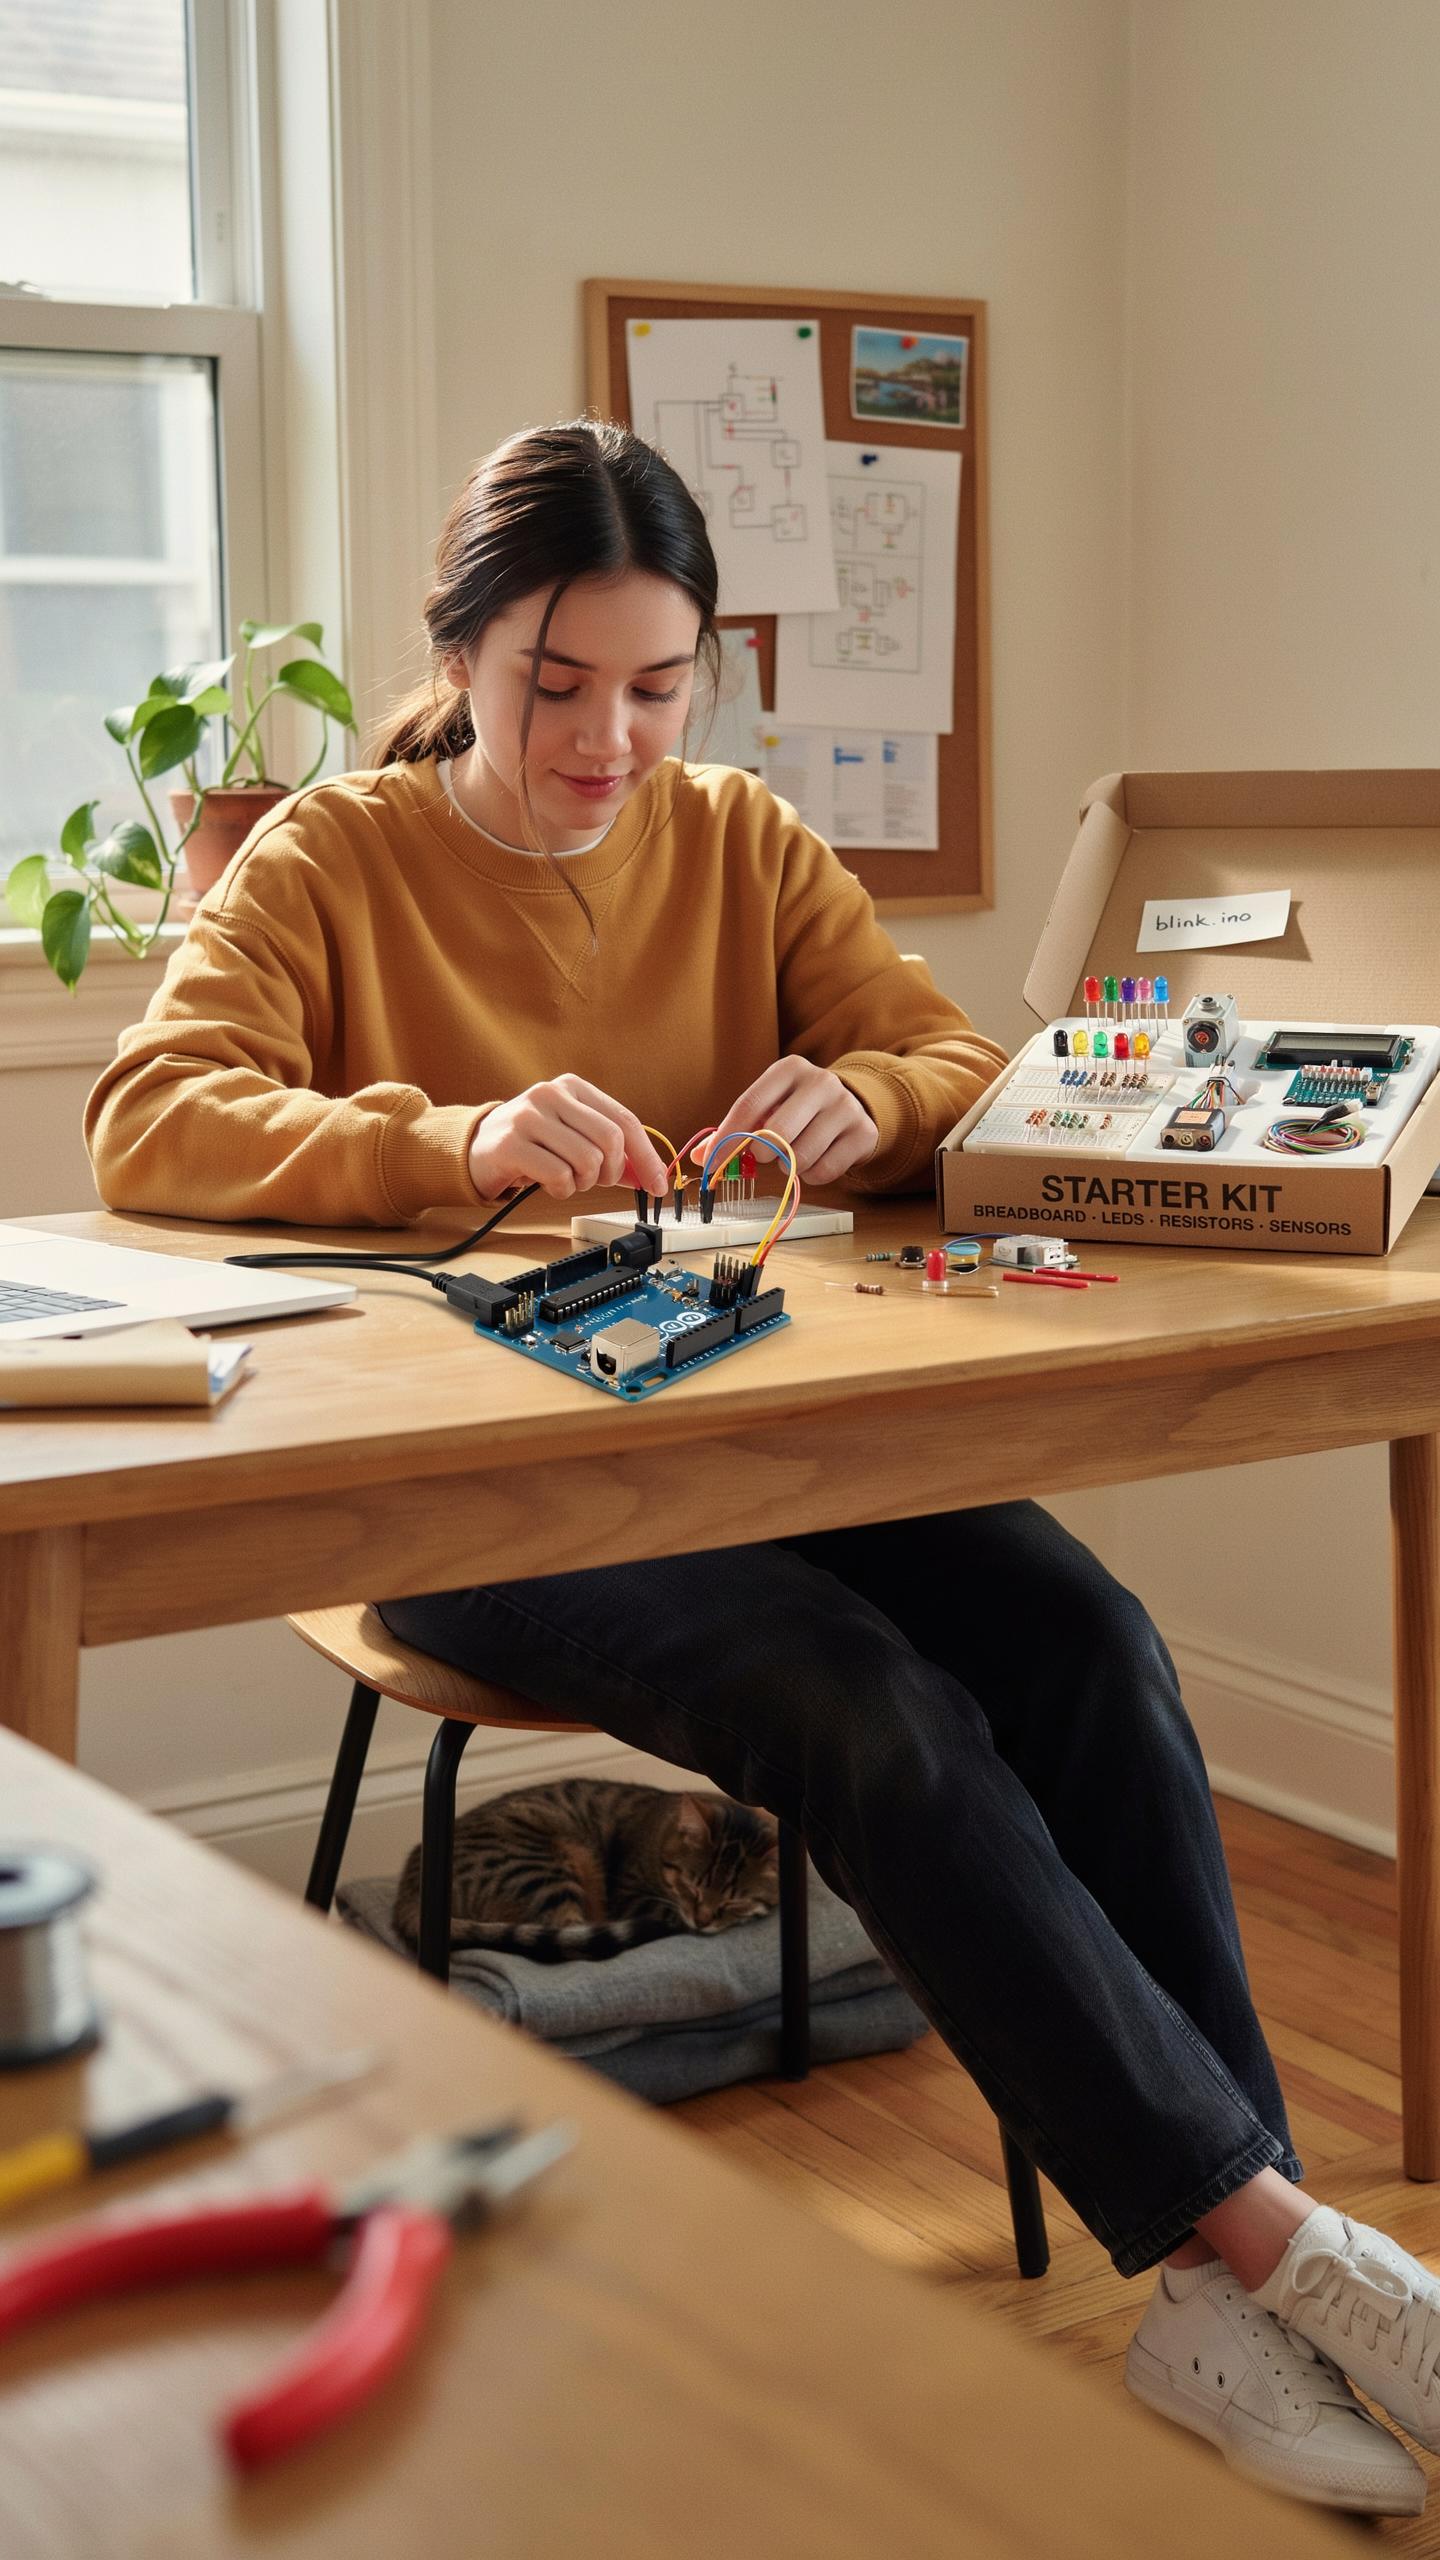
Arduino Accessibility
Arduino started as an open-source hardware platform designed specifically for accessibility. The software is free. The hardware costs between 20 and 100 dollars depending on the board model. No licensing fees exist. No proprietary restrictions block you from modifying or sharing your work. This openness means you can learn from existing projects and community code without barriers.
The ecosystem exists across multiple platforms. Windows, macOS, and Linux all run the Arduino IDE without compatibility issues. Thousands of compatible sensors, shields, and components integrate directly with Arduino boards. Libraries written by the community handle complex tasks, so you write less code yourself. This removes friction from your early projects.
Learning Benefits
Hands-on circuit building teaches electronics fundamentals faster than theory alone. You connect components physically, see immediate results, and troubleshoot problems directly. Mistakes produce instant feedback. Broken circuits fail loudly. This direct cause-and-effect relationship embeds learning into memory more effectively than reading documentation.
Arduino projects span from simple LED blinks to environmental monitoring systems. Each project level teaches new skills without overwhelming complexity. You progress from controlling single components to managing multiple sensors and actuators. This scaffolded approach builds competence systematically. You develop problem-solving habits that transfer to professional engineering work and other technical disciplines beyond Arduino specifically.
Essential Hardware Kit For Projects What To Look For
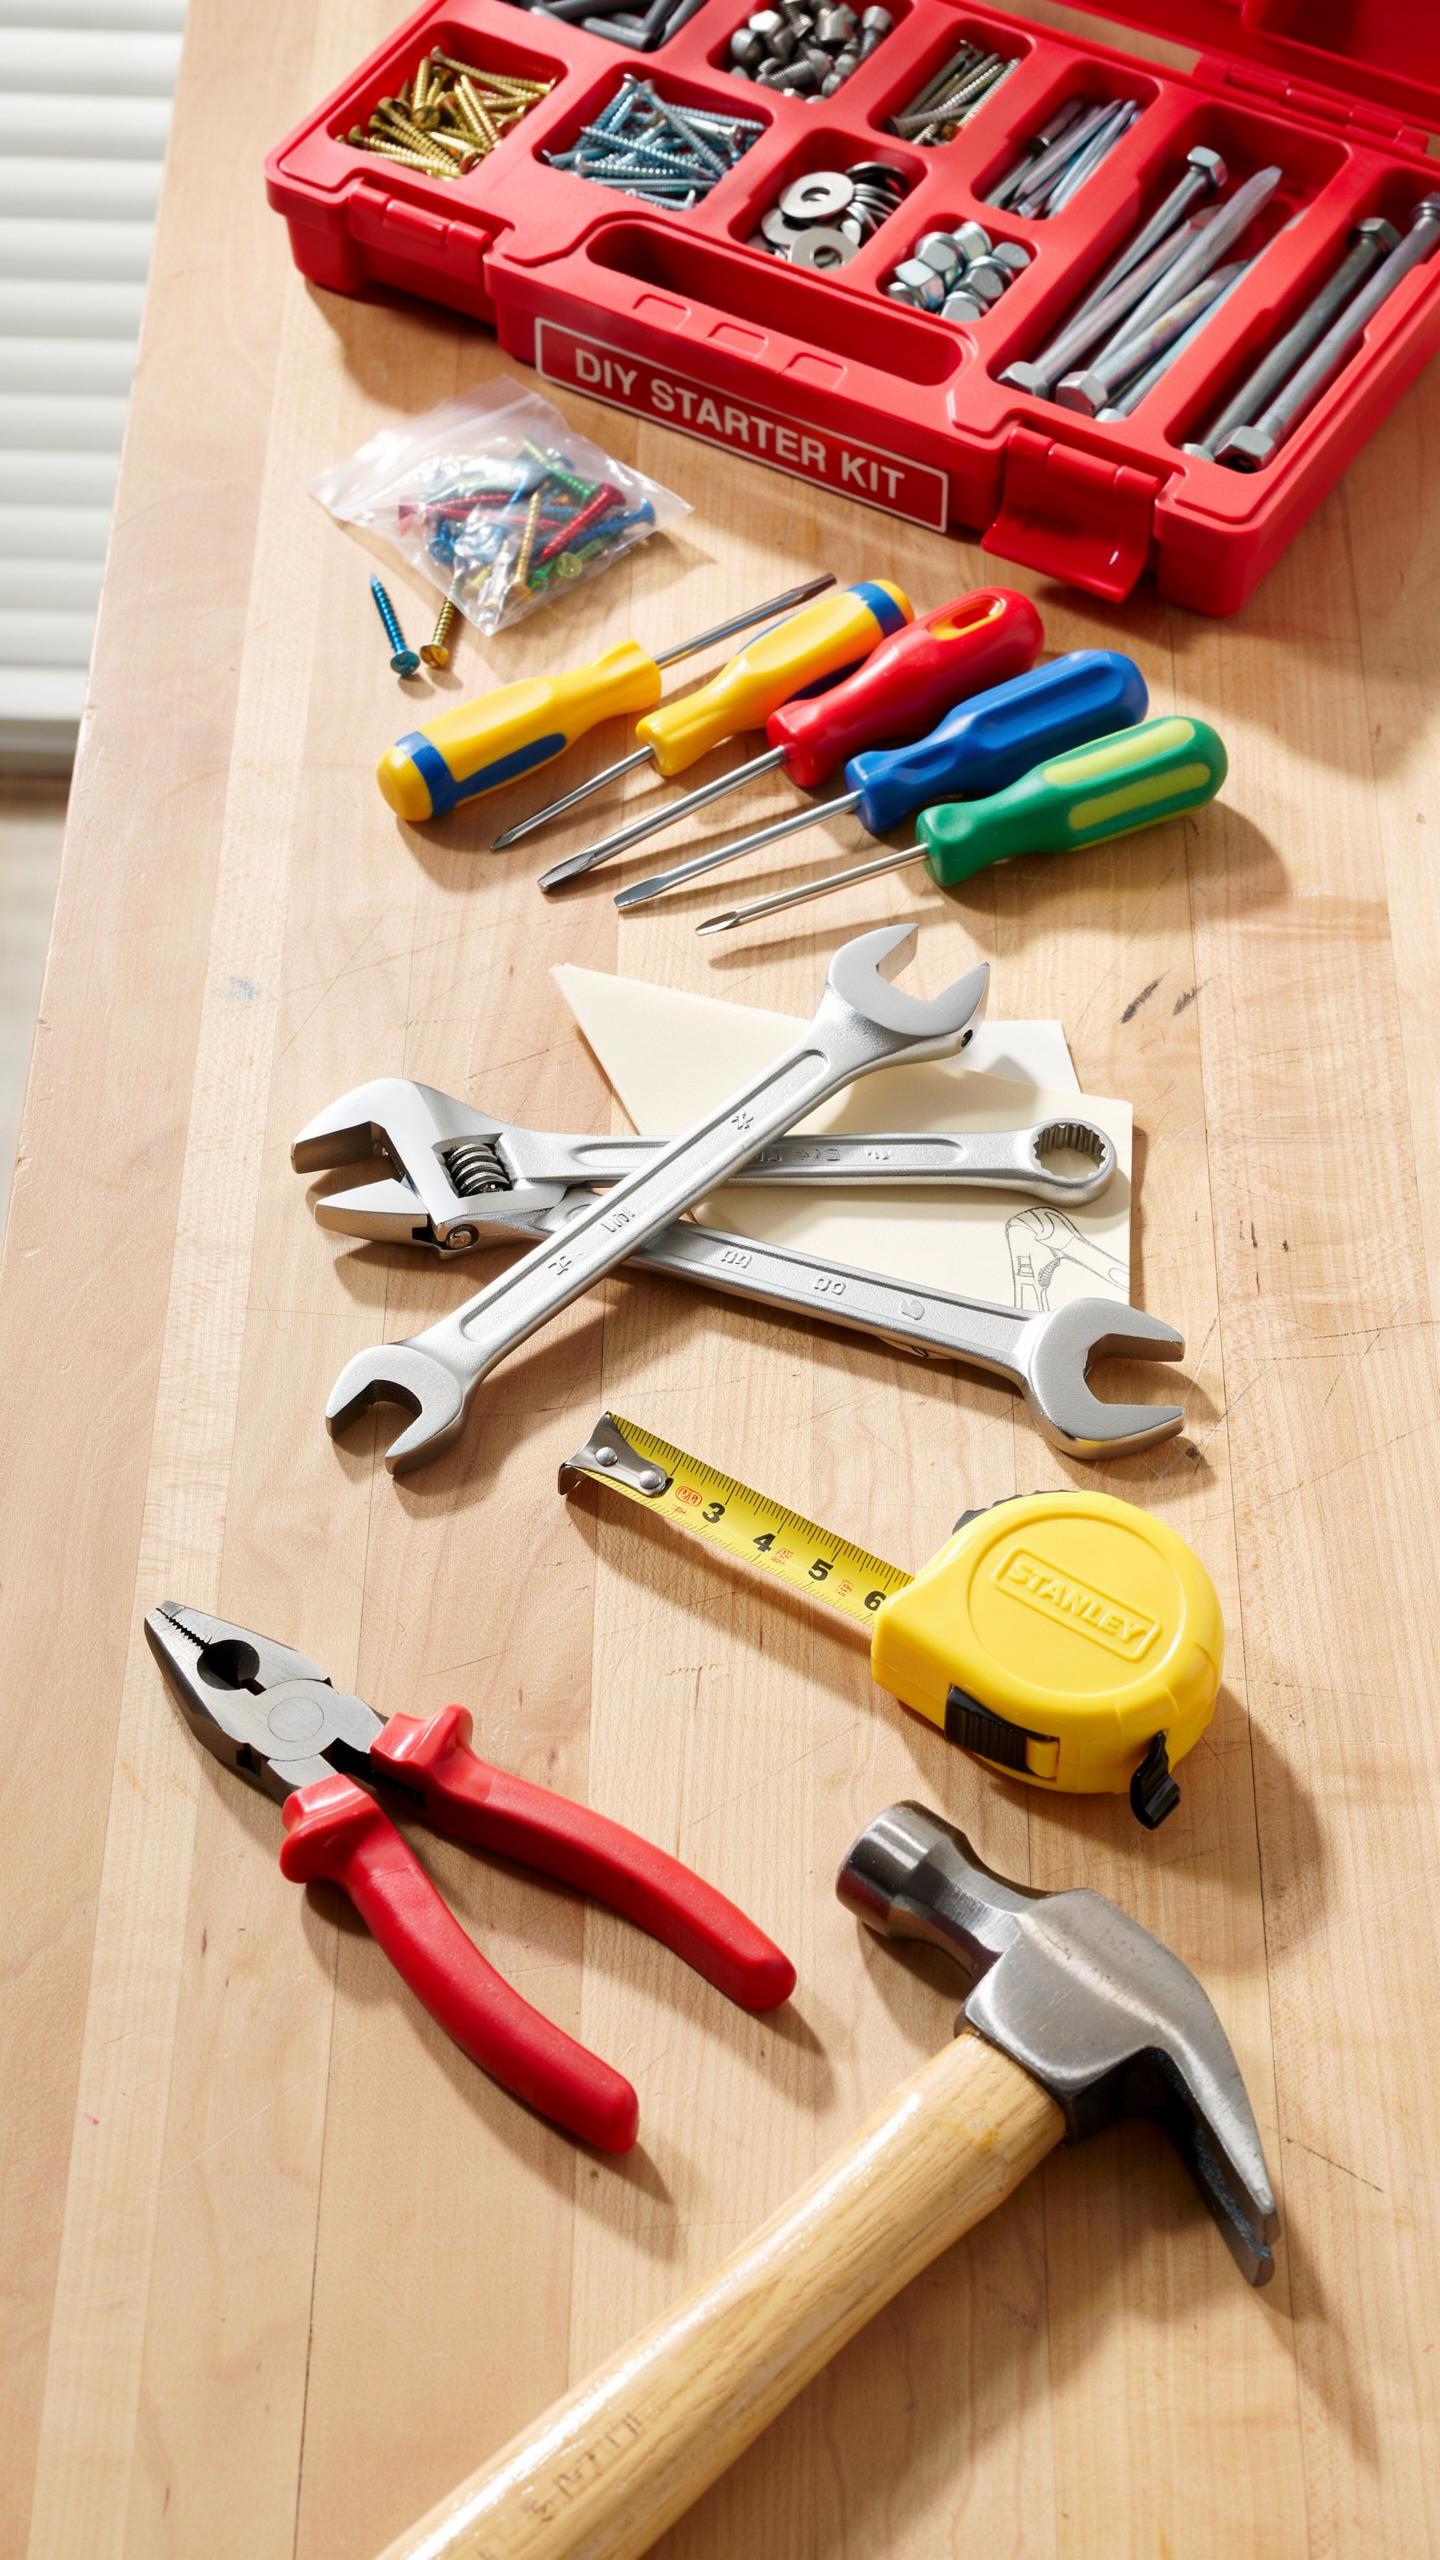
Core Components
A microcontroller serves as the brain of your projects. The Arduino Uno remains the industry standard for beginners because it uses the ATmega328P chip, offers straightforward programming, and connects to most shields and sensors. Breadboards let you test circuits without soldering, saving time and reducing errors during learning phases. Sensors detect environmental changes like temperature, light, and motion.
Jumper wires connect components on the breadboard. Resistors and LEDs control current flow and provide visual feedback. Capacitors store electrical charge temporarily. Start with assorted resistor values and a variety pack of LEDs in different colors. These foundational parts appear in nearly every beginner project, so quality matters less than having reliable units that actually work.
Kit Variations
Basic starter kits contain an Arduino board, breadboard, jumper wires, resistors, LEDs, and a USB cable for programming. These kits cost between 20 and 40 dollars and cover fundamental concepts like digital output, input reading, and basic circuits. They work for learning core skills but lack advanced sensors for more complex projects.

Advanced kits add multiple sensors including ultrasonic distance sensors, temperature and humidity modules, motion detectors, and sound sensors. These kits run 60 to 120 dollars and enable projects like robotics, home automation, and environmental monitoring. Specialized kits focus on specific applications like robotics, weather stations, or IoT devices, typically costing 80 to 200 dollars depending on included components and documentation quality.
Beginner Arduino Electronics Project Ideas To Get Started
Simple Circuits
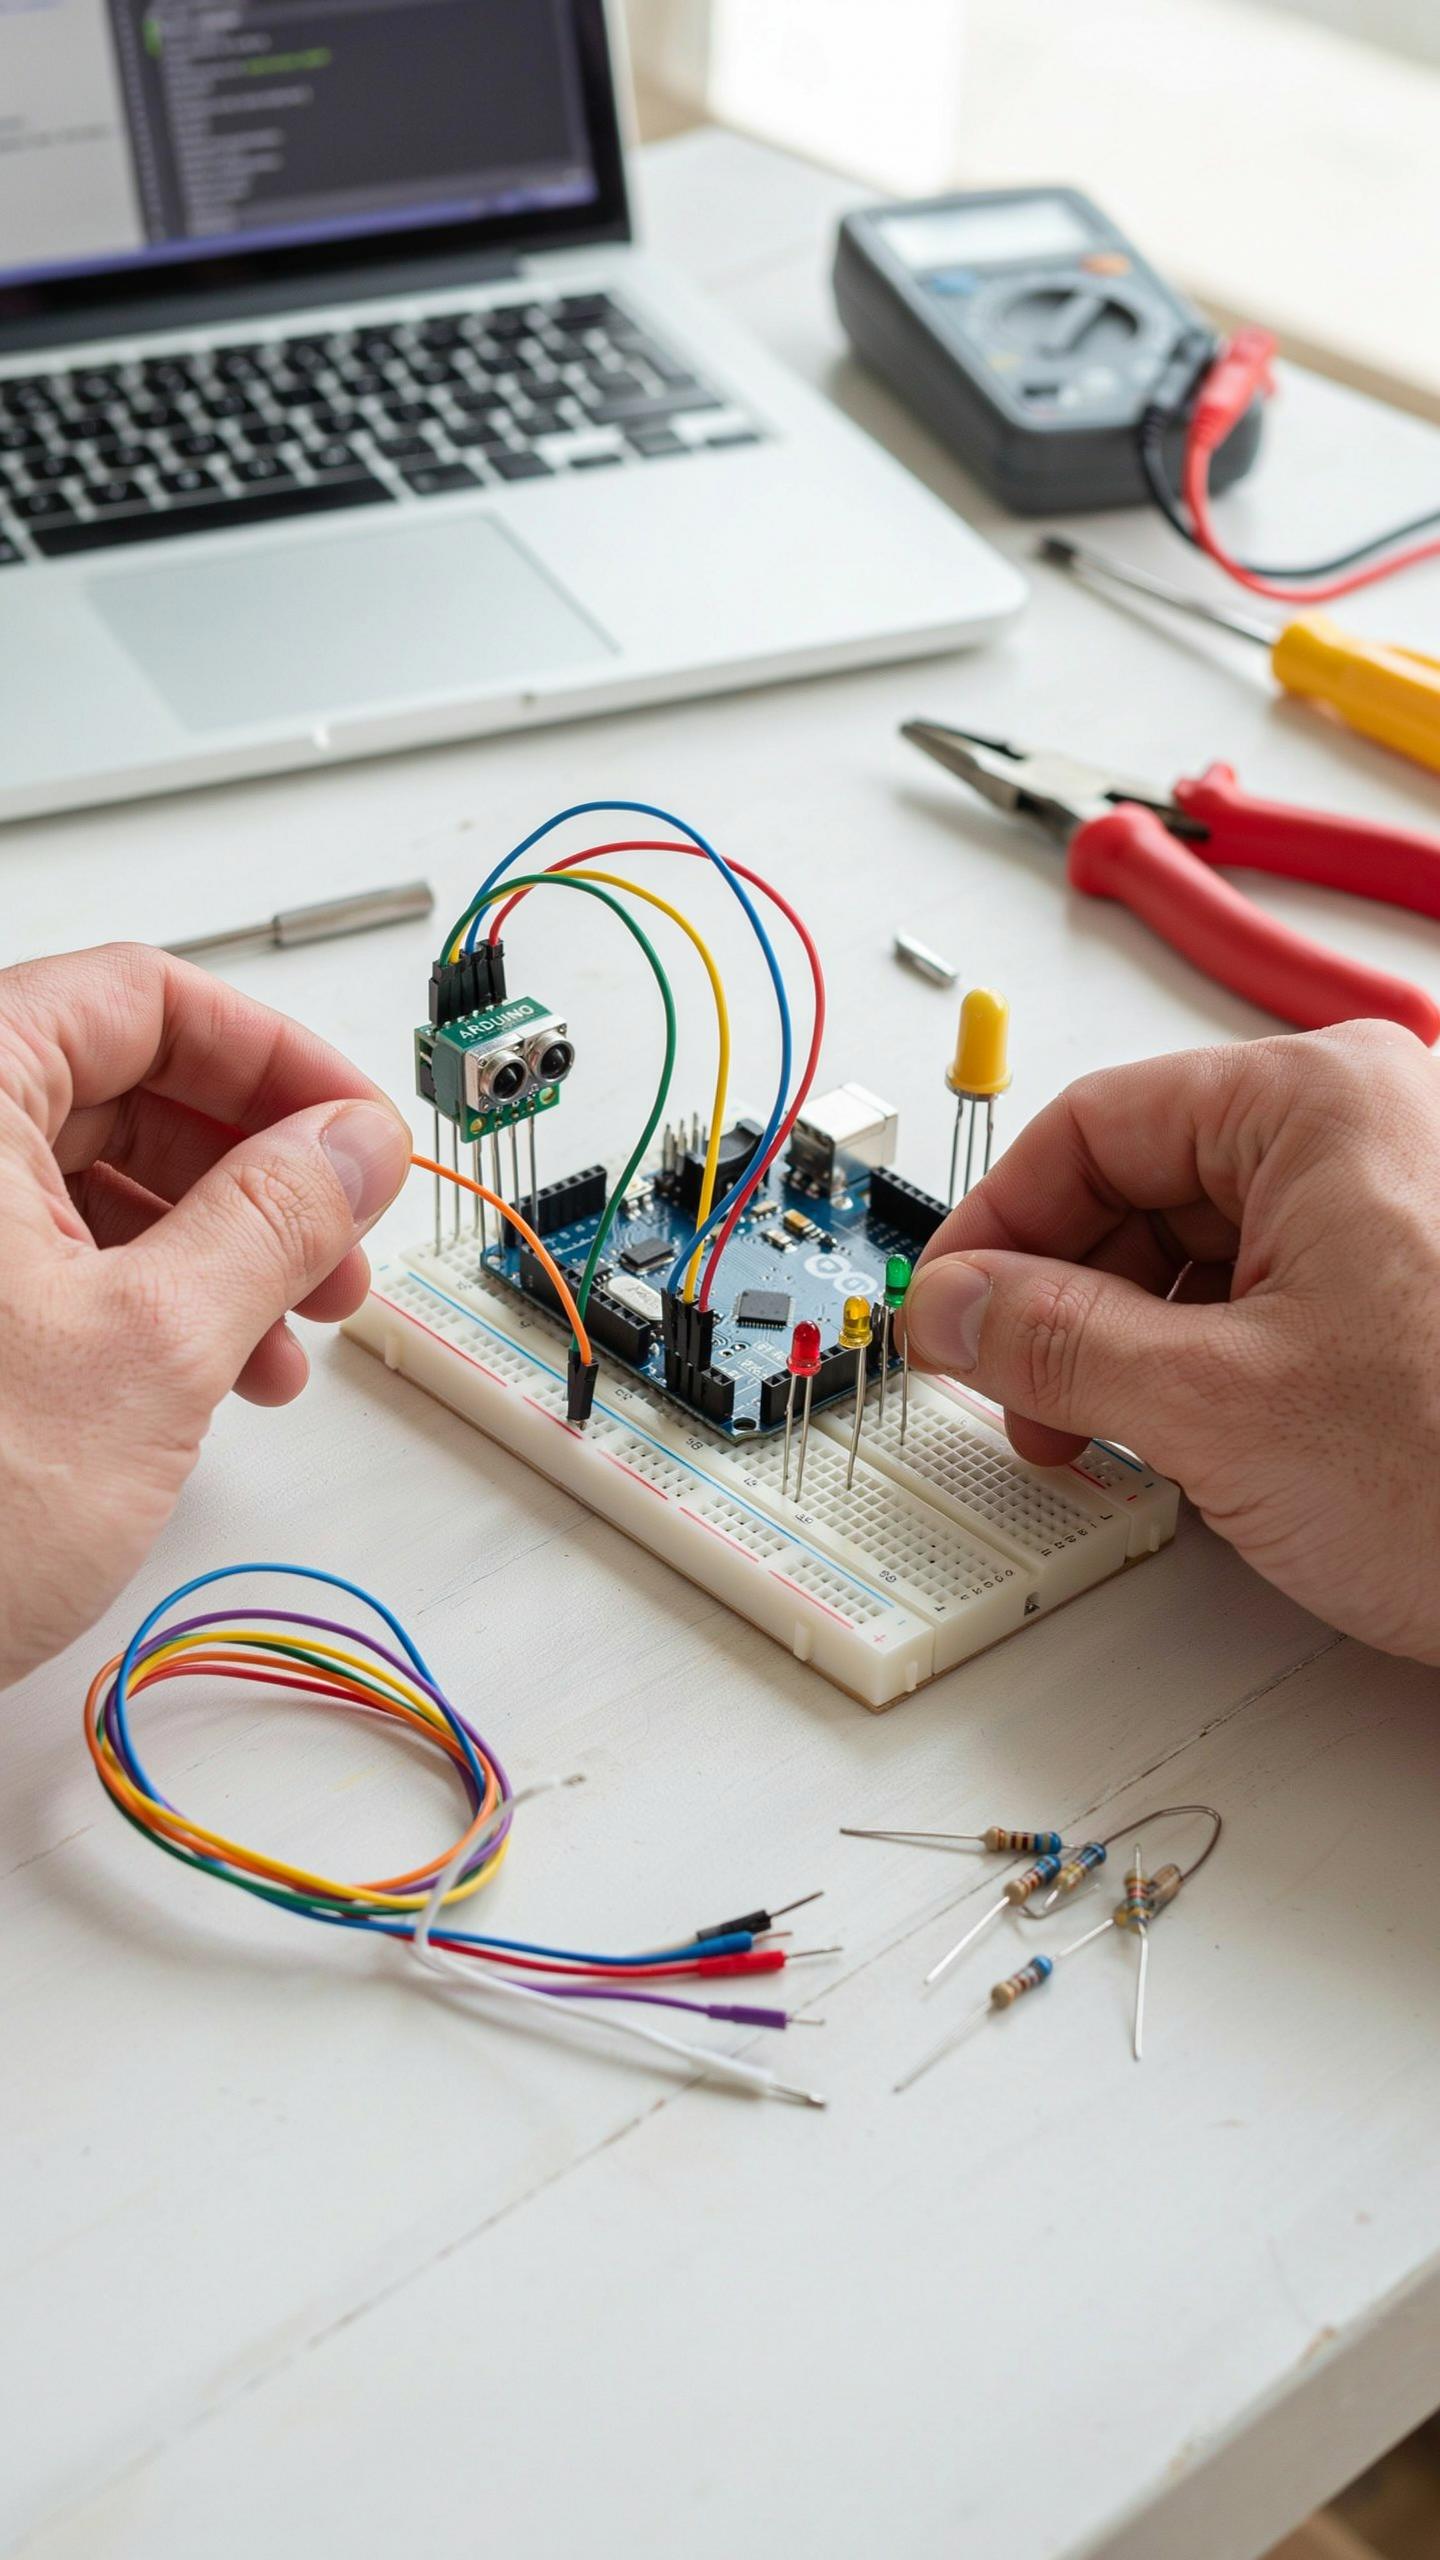
Building simple circuits teaches you how electricity flows and how components work together. Start with projects that use basic components from your kit. These projects take minutes to assemble and show results immediately. You learn by doing, not by reading theory. Simple circuits build confidence before you tackle complex projects.
- LED Blinker: Program an LED to turn on and off at set intervals. This teaches you digitalWrite commands and basic programming loops. Most kits include an LED and resistor needed for this project.
- Push Button Control: Connect a button to control an LED. You learn digitalRead to detect button presses and respond with actions. This introduces conditional logic in a practical way.
- Buzzer Alarm: Create a buzzer that activates based on a condition you program. Combines digital output with sound feedback. Builds understanding of how Arduino controls different component types.
- Potentiometer Brightness Control: Use a variable resistor to adjust LED brightness with analogRead. Introduces analog inputs and PWM output concepts. Shows how to map sensor values to control intensity.
- Temperature Sensor Display: Read a temperature sensor and display values on the Serial Monitor. Teaches analog reading and data interpretation. Foundation for sensor-based projects.
These projects work with the components included in most beginner kits. You complete them in under an hour each. They establish the core skills you need for advanced projects later.
Interactive Projects
Interactive projects respond to their environment and user input. Light-sensitive switches detect ambient brightness and trigger actions. Motion sensors activate outputs when movement occurs. Sound-triggered devices respond to noise levels. These projects teach you how sensors feed information into decision-making code.
Building interactive projects requires understanding both hardware connections and programming logic. You write conditional statements that check sensor values and execute commands. Timing becomes important when you want delays or repeated actions. Troubleshooting teaches you to test each component separately before combining them into systems. This approach prevents frustration and speeds up your learning.
Arduino Projects Beginner From Concept To Creation

Project Planning
Start by defining what you want to build. Write down the specific outcome you need. Do you want to control an LED? Read a sensor? Display data on a screen? This clarity prevents wasted time and failed attempts. Next, identify which components you actually need. Cross-reference your goal against what comes in your starter kit. Most beginner kits include LEDs, resistors, buttons, and sensors. Check your kit’s documentation to avoid buying duplicates.
Create a simple schematic before wiring anything. Draw circles for components and lines for connections. This step catches mistakes on paper instead of on your breadboard. Test each component individually first. Verify your LED works. Confirm your sensor reads values. Then combine them step by step. Document what works at each stage. This approach isolates problems and saves hours of debugging.
Before you can do anything, you must first get to know your tools. This starter kit remembers that spark of wonder, inviting you to connect with the very essence of creation.
Troubleshooting Basics
Your code uploads but nothing happens. Start here: verify your USB cable works with your computer. Check that you selected the correct board type and COM port in the Arduino IDE. These settings live in Tools menu. Wrong selections prevent code from reaching your microcontroller. Next, inspect your wiring. Follow each connection from your Arduino pin to your component. Look for loose jumper wires and bent pins. Loose connections break circuits completely.
Your sketch won’t compile. Read the error message carefully. The IDE tells you the line number and the problem. Most beginner errors involve missing brackets, semicolons, or typos in variable names. Use the IDE’s built-in syntax highlighting to spot issues. If a component doesn’t respond, test it independently with a simple blink sketch. Swap in a new component if available. Faulty parts do happen, especially in cheaper kits. Keep a multimeter handy to test continuity and voltage across connections.
Expanding Your Skills Beyond The Basic Arduino Starter Kit Projects
Advanced Sensors
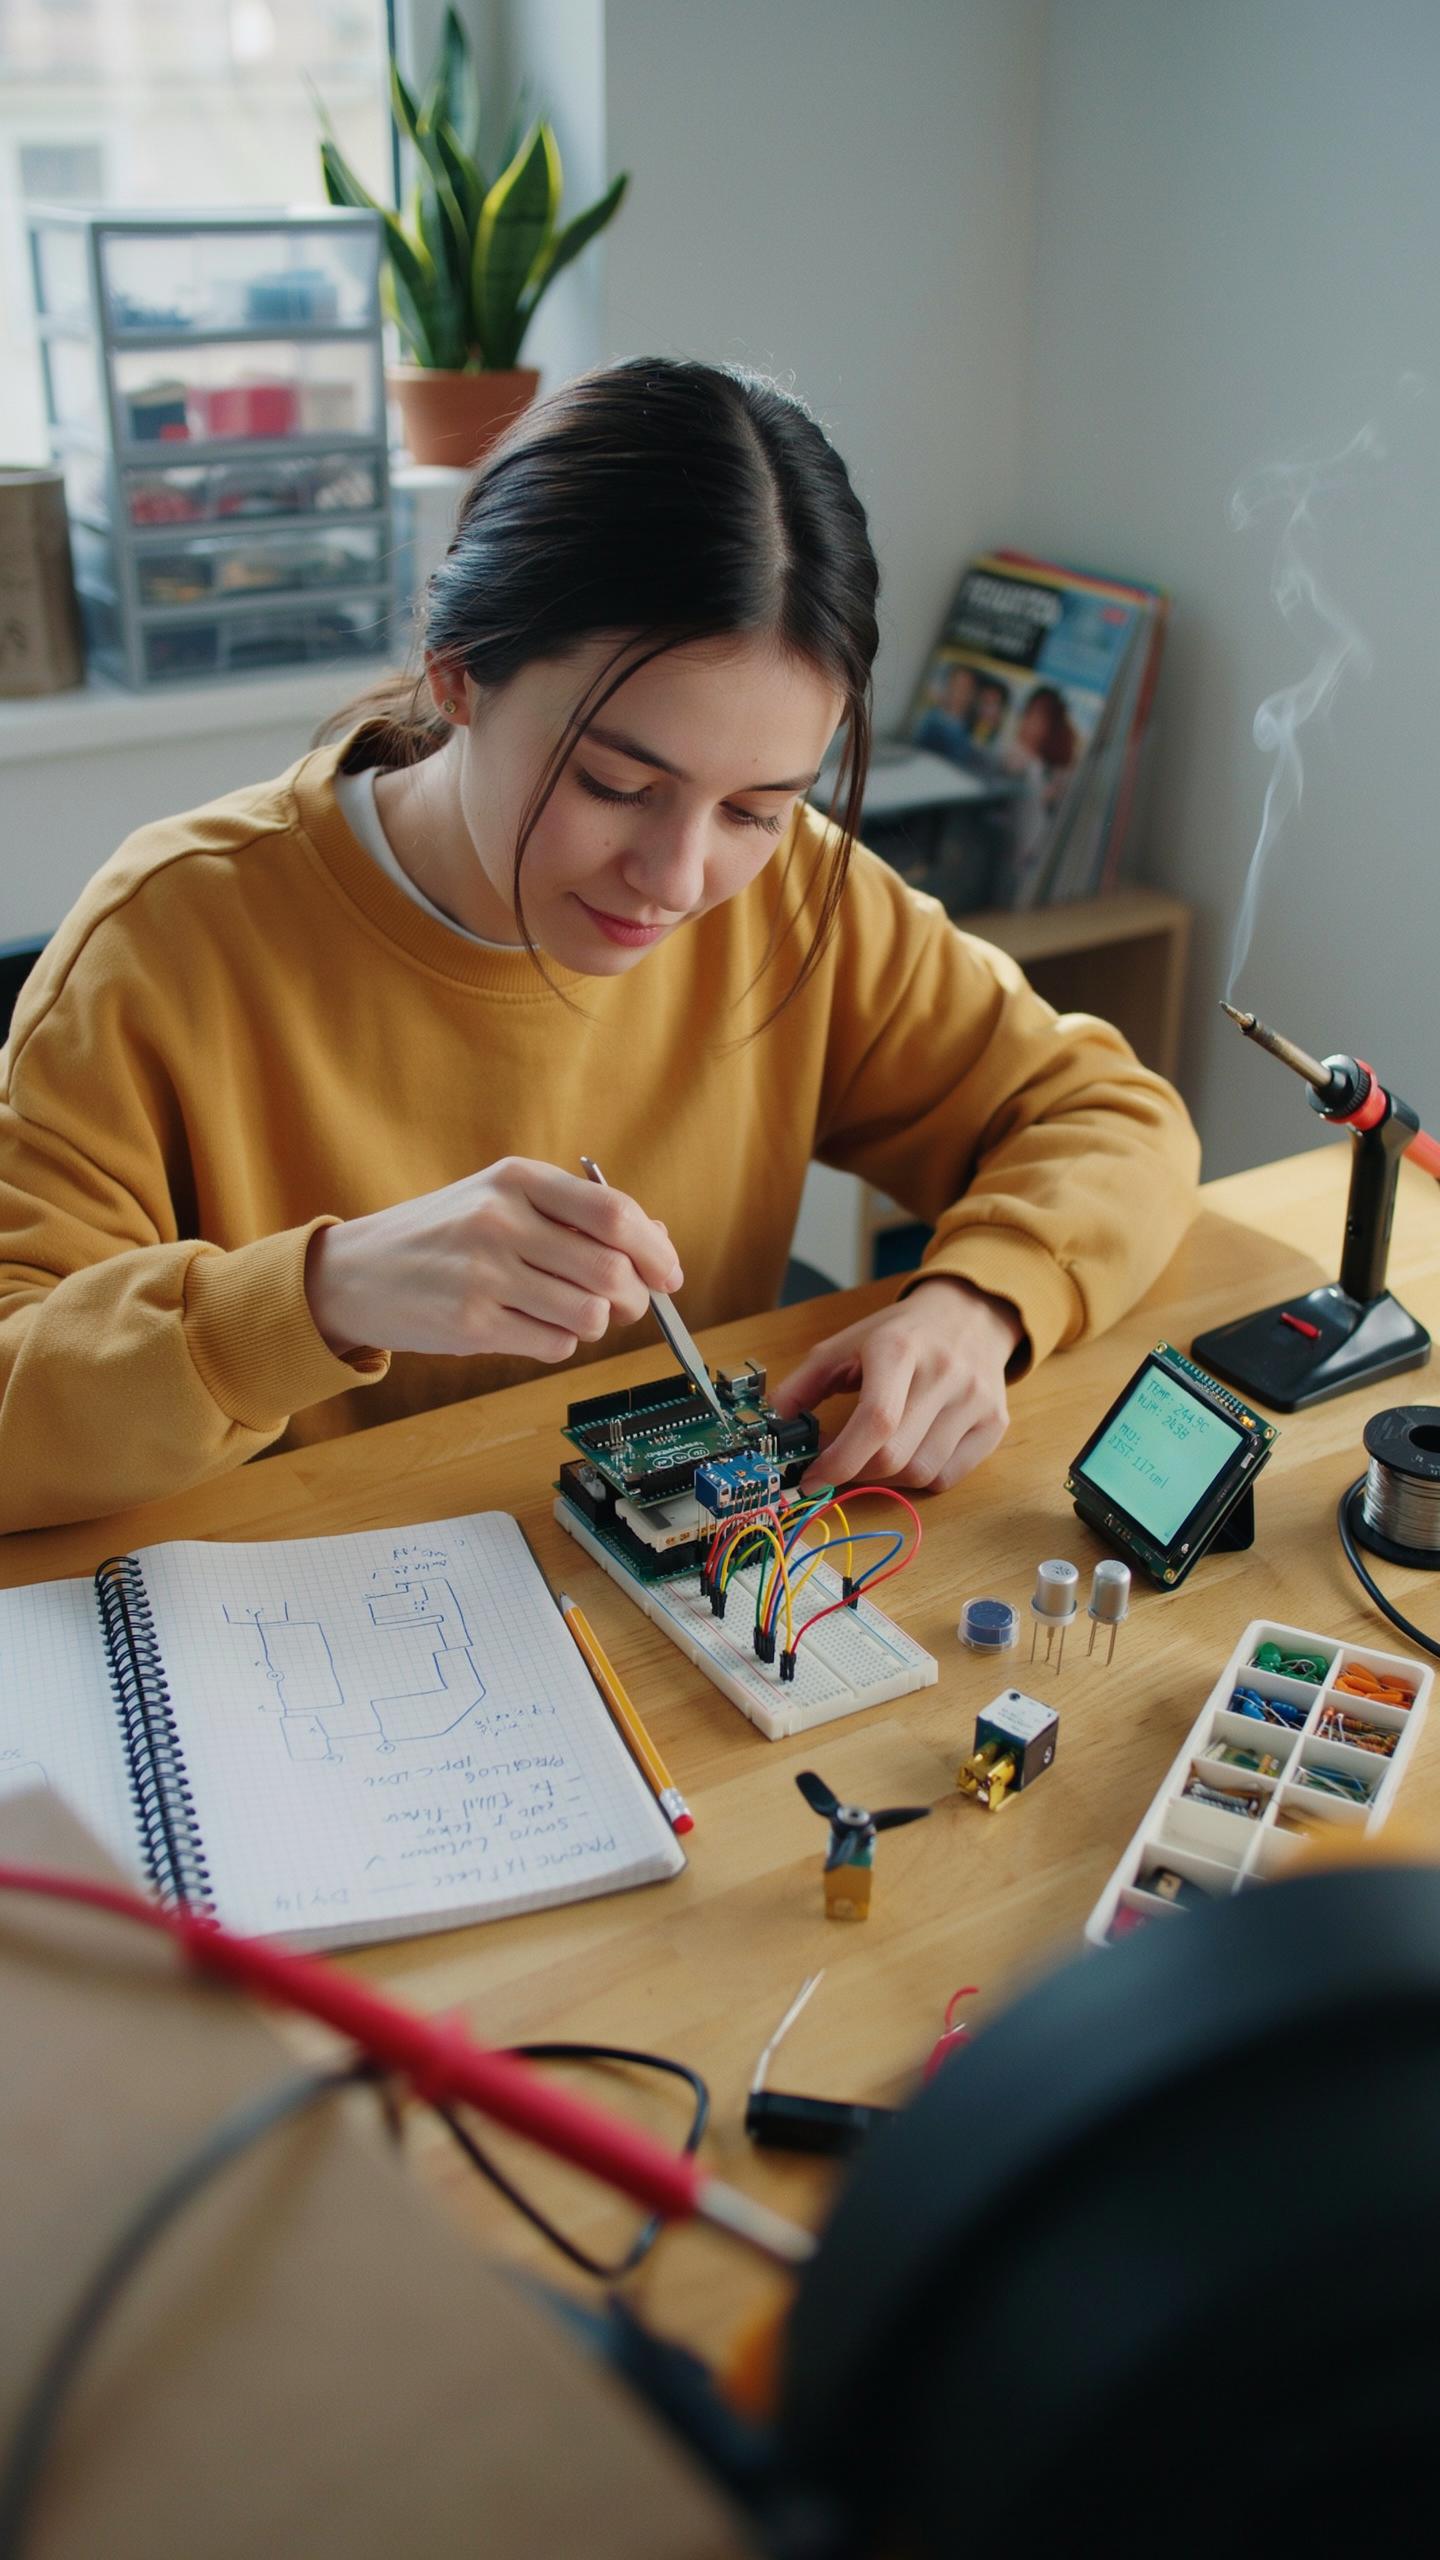
Moving past basic light and temperature sensors requires understanding sensor specifications and integration patterns. Advanced sensors like ultrasonic distance modules, air quality sensors, and accelerometers demand proper power management and signal conditioning. You’ll need to read datasheets to identify voltage requirements, output types, and sampling rates. Most advanced sensors connect through analog or digital pins, but some require specific libraries to interpret raw data correctly.
Start with sensors that match your project goals rather than experimenting randomly. A soil moisture sensor integrates easily if you already understand analog input reading. Gyroscopes and magnetometers introduce complexity through three-axis data and calibration requirements. Build one sensor at a time and verify output through Serial Monitor before combining multiple sensors in a single project.
Communication Protocols
Serial communication forms the foundation for debugging and sending data from Arduino to computers or other devices. You’ll use Serial.begin(), Serial.print(), and Serial.println() functions constantly to monitor sensor readings and troubleshoot code. I2C and SPI protocols enable communication with multiple devices on the same bus, reducing the number of pins required on your microcontroller.

I2C uses two wires for bidirectional communication and works well for sensors and real-time clocks on starter kits. SPI uses four wires and operates faster than I2C, making it ideal for SD card modules and displays. Learning these protocols early prevents wiring mistakes and saves debugging time. Most Arduino libraries handle protocol details automatically, so focus on understanding when to use each protocol rather than implementing from scratch.
Robotics Projects Arduino Projects Ideas

Motor Control
Arduino controls motors through PWM (Pulse Width Modulation) signals. You send digital signals that turn on and off rapidly. The ratio of on-time to off-time controls motor speed. A motor driver module sits between Arduino and the motor. It handles the power requirements that Arduino pins cannot deliver alone. This setup prevents damage to your microcontroller.
Start with a DC motor and a basic motor driver like the L298N. Connect the driver’s input pins to Arduino digital outputs. Adjust PWM values from 0 to 255 to change speed smoothly. Test with a simple loop that accelerates and decelerates the motor. This teaches you timing and power management fundamentals needed for robotics.
Simple Robotics
A two-wheeled robot represents the easiest entry point into robotics. You need two DC motors, two wheels, a caster wheel, a chassis, and an Arduino. Mount motors on the sides of the chassis. Wire each motor to a separate motor driver channel. Program Arduino to control both motors independently for movement and turns.
Build a robotic arm using servo motors instead of DC motors. Servos hold specific angles rather than spinning continuously. Stack servo motors vertically to create joints. Each joint requires one servo and one control wire to Arduino. A simple three-joint arm performs basic pick-and-place tasks with minimal programming complexity.
Learning From Data How To Read From Eeprom In Arduino
Eeprom Fundamentals
EEPROM stands for Electrically Erasable Programmable Read-Only Memory. It stores data permanently on your Arduino board even after power shuts off. Unlike RAM, which clears when you disconnect power, EEPROM retains information indefinitely. Most Arduino boards have between 1024 bytes and 4096 bytes of EEPROM storage available for your sketches.
EEPROM serves one critical function: preserving settings and sensor data between power cycles. Your Arduino can write to EEPROM, read from it, and update stored values. This capacity makes EEPROM essential for projects that need to remember configuration changes, calibration values, or historical sensor readings without external storage devices.
Practical Eeprom Use
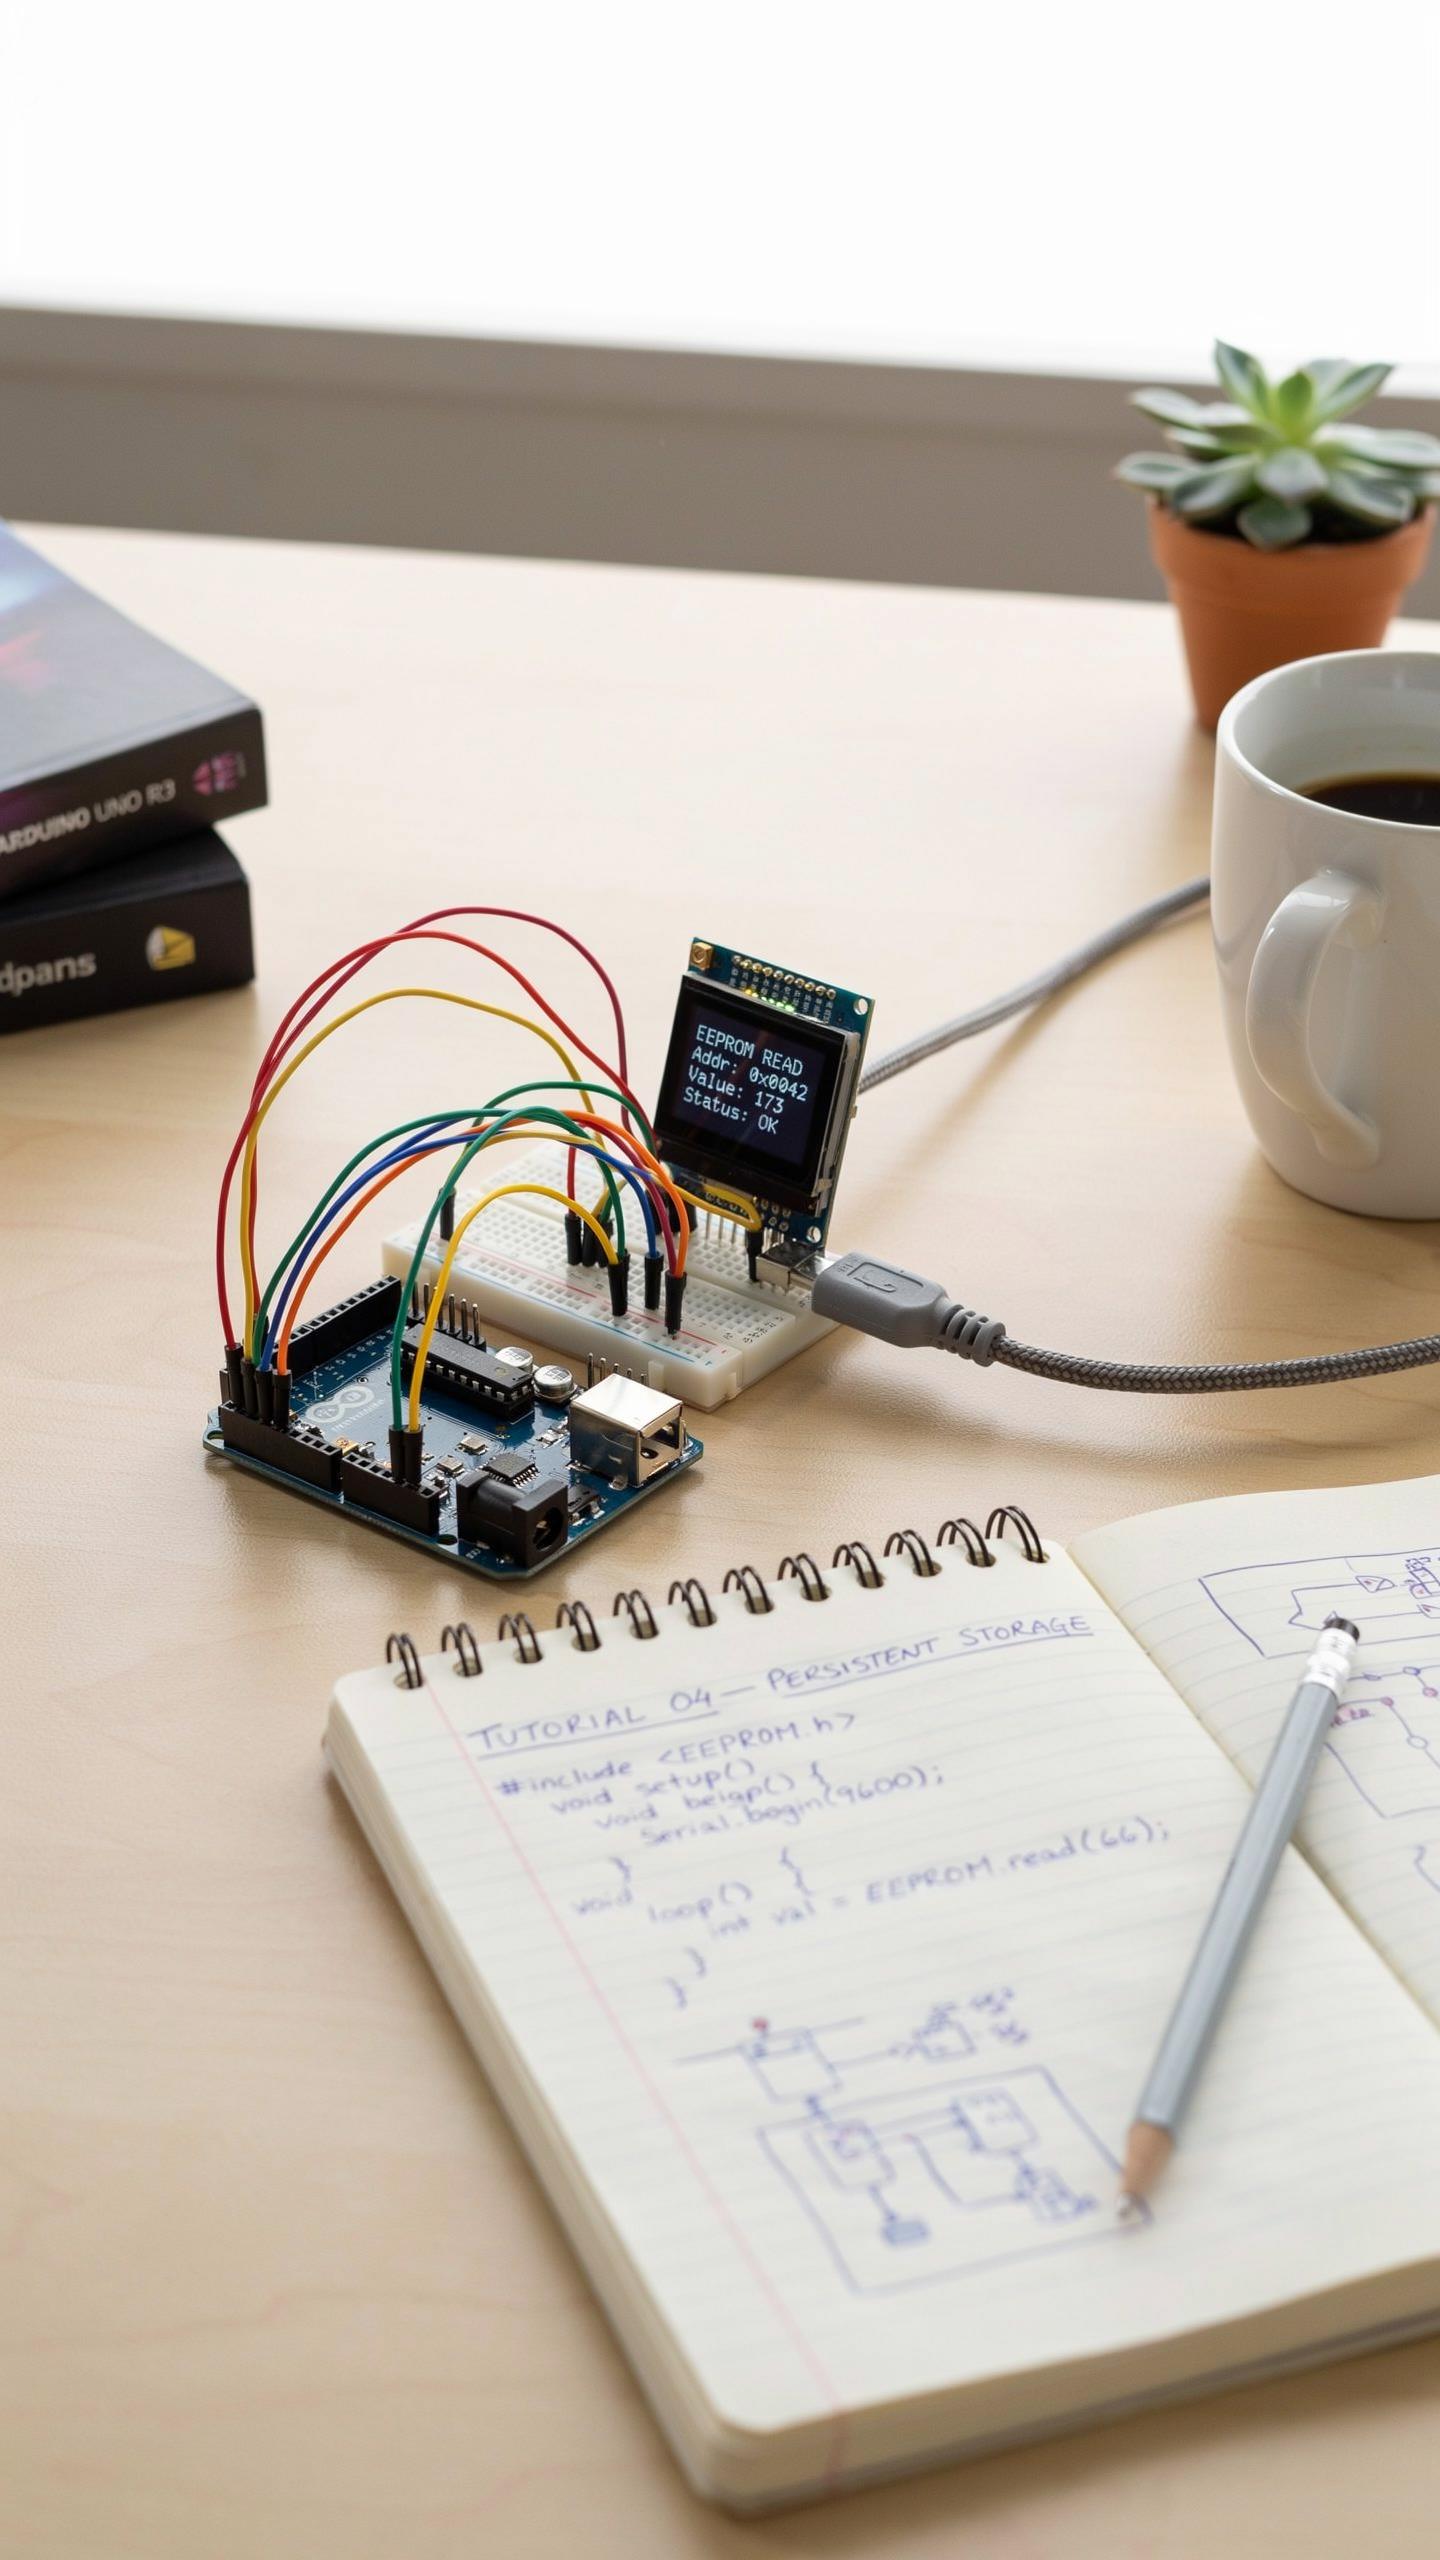
Reading from EEPROM requires the EEPROM library, included with the Arduino IDE. You specify a memory address and retrieve the byte stored there using simple commands. The EEPROM.read() function pulls data from a specific location. You can read single bytes or loop through multiple addresses to retrieve larger data sets sequentially.

Saving data to EEPROM follows the same logic in reverse. Use EEPROM.write() to store a byte at a chosen address. Your sketch can capture sensor readings, user inputs, or system states and preserve them permanently. Always track which addresses hold what data to avoid overwriting important information and corrupting your stored values.
Building A Foundation For Future Arduino Projects
Community Resources
Arduino’s ecosystem thrives on shared knowledge. Arduino.cc hosts official forums where you find answers from experienced builders and Arduino staff. Stack Overflow tags thousands of Arduino problems with working solutions. GitHub repositories contain real project code you can study and modify. Reddit’s r/arduino community answers beginner questions daily without gatekeeping.
These platforms matter because isolation kills progress. You hit roadblocks. Others hit them first. They documented solutions. You access those solutions instantly. This saves weeks of troubleshooting. Start by searching your specific problem before posting. Most questions already have answers. When you do post, include your code and error messages. Specificity gets faster responses.
Future Explorations
Your first Arduino kit opens doors beyond blinking LEDs. IoT projects connect Arduino boards to the internet via WiFi shields or cellular modules. Smart home automation controls lights, temperature, and security. Environmental monitoring collects real sensor data for analysis. Robotics combines multiple boards with motors and mechanical systems. Wearable tech embeds Arduino into clothing and accessories.

The path forward depends on what interests you. Build incrementally. Master one concept before adding complexity. Document everything you create. Share your work online. Teaching others reinforces your own understanding. The Arduino community rewards builders who contribute back. Your first project is the foundation. Your tenth project shows genuine capability.
Frequently Asked Questions

What exactly is an Arduino, and why is it a great starting point for creative projects?
An Arduino is an open-source electronics platform based on easy-to-use hardware and software. It’s fantastic for first-time builders because its simplified programming and clear instructions make learning about circuits, coding, and bringing your creative ideas to life incredibly accessible and fun.
How do I choose the right arduino kit for first time builders, and what should I look for to ensure I have everything I need?
When selecting an arduino kit for first time builders, prioritize kits that include a variety of components like LEDs, buttons, sensors, and a clear, step-by-step project guide. Look for well-organized packaging and online resources to support your learning journey and ensure a smooth start.
Are Arduino kits expensive, and are there affordable options for those on a tight budget?
Thankfully, Arduino kits are quite budget-friendly, and there are many affordable options perfect for beginners. While feature-rich kits exist, you can find excellent starter kits at competitive prices, making this exciting hobby accessible to almost everyone without breaking the bank.



