
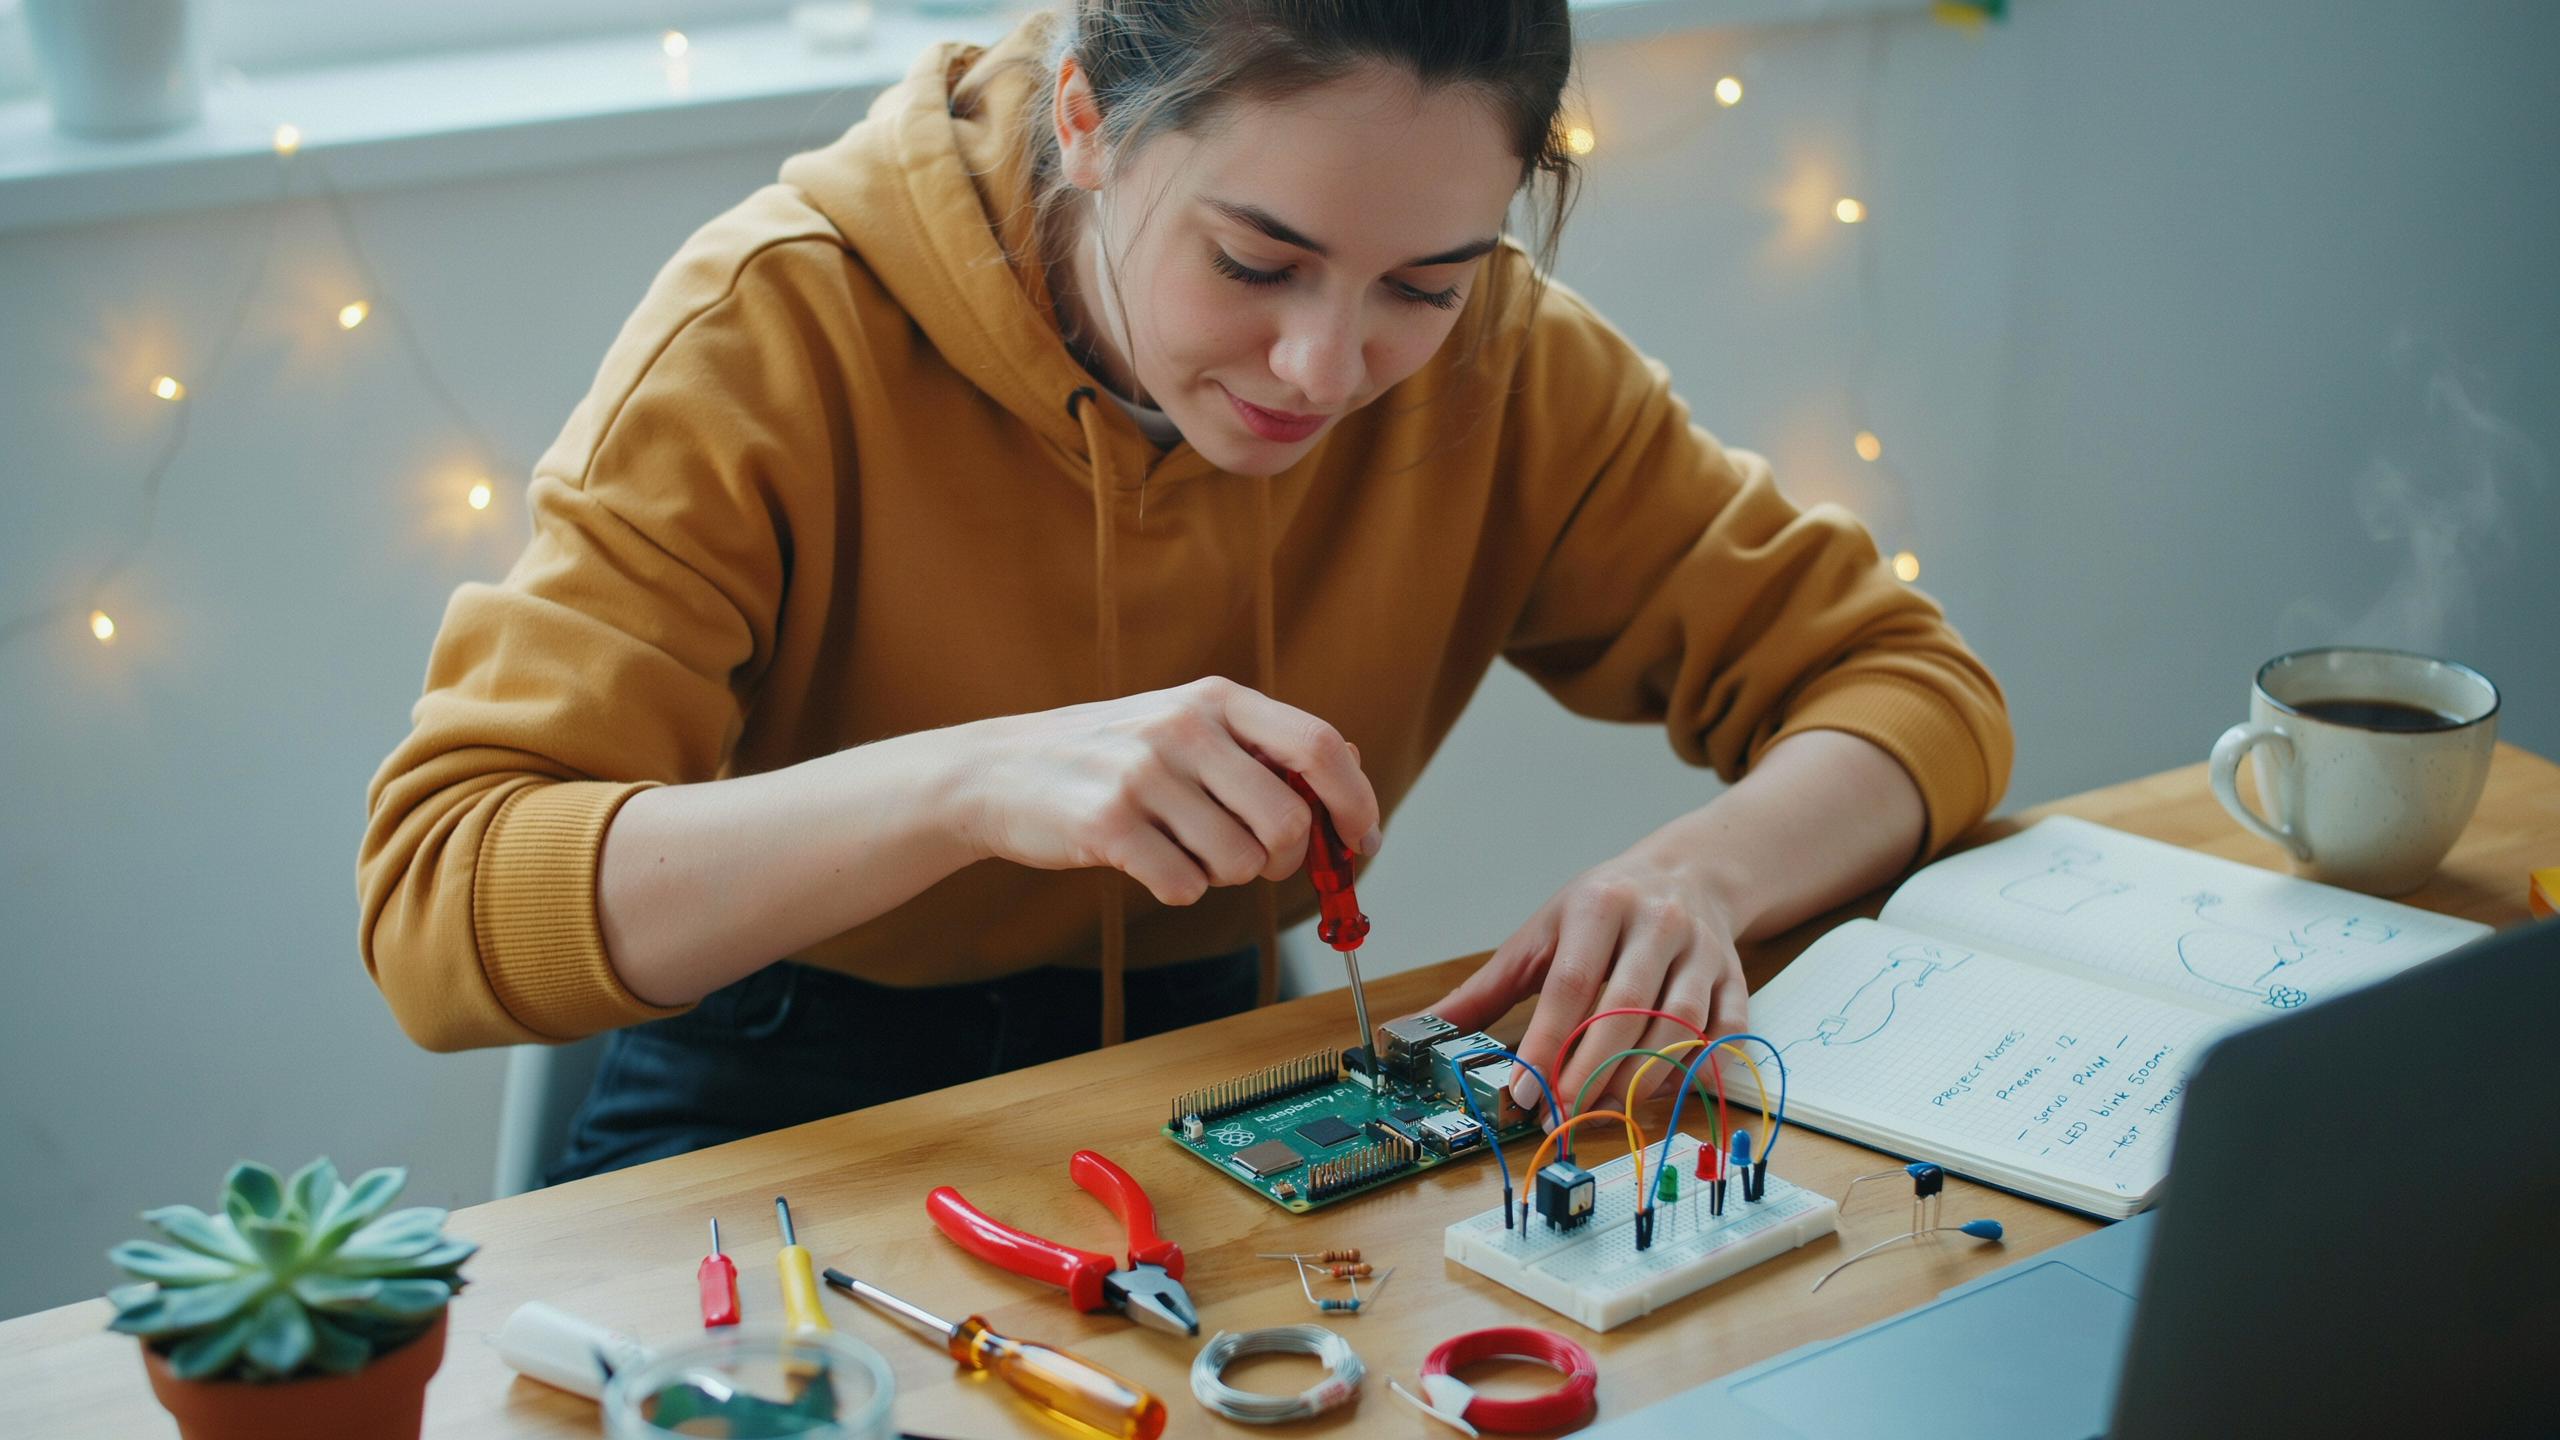
Getting Started With Raspberry Pi Your First Steps

Setting Up Your Raspberry Pi For Beginners
You need four things to power on a Raspberry Pi: the board itself, a power supply rated for your model, a microSD card with an operating system, and an HDMI cable for display output. Insert the microSD card into the slot on the board’s underside, connect the HDMI cable to a monitor, plug in the power supply, and the system boots automatically. No power button exists on most models.
The Raspberry Pi Foundation provides Raspberry Pi Imager software that handles OS installation on your microSD card. Download it to a computer, select your Pi model, choose Raspberry Pi OS as your operating system, and write it to the card. This process takes minutes and eliminates manual configuration steps. Once complete, insert the card into your Pi and you are ready to boot.
Essential Tools And Software For Raspberry Pi Projects
You operate a Raspberry Pi through Raspberry Pi OS, a Linux-based operating system built on Debian. The system includes a desktop environment, file manager, and terminal for command-line access. Most starter projects run directly on this OS without additional software installation. A USB mouse and keyboard connect to the board’s USB ports for input control.
Project work typically demands a text editor and Python programming environment. Thonny IDE comes pre-installed on Raspberry Pi OS and handles Python code editing and execution without configuration overhead. Git version control and package managers like apt handle additional software installation from the command line. A power bank or reliable AC adapter matters more than any other tool because unexpected shutdowns corrupt your microSD card and halt progress immediately.

Building A Retro Gaming Console With Raspberry Pi Ideas
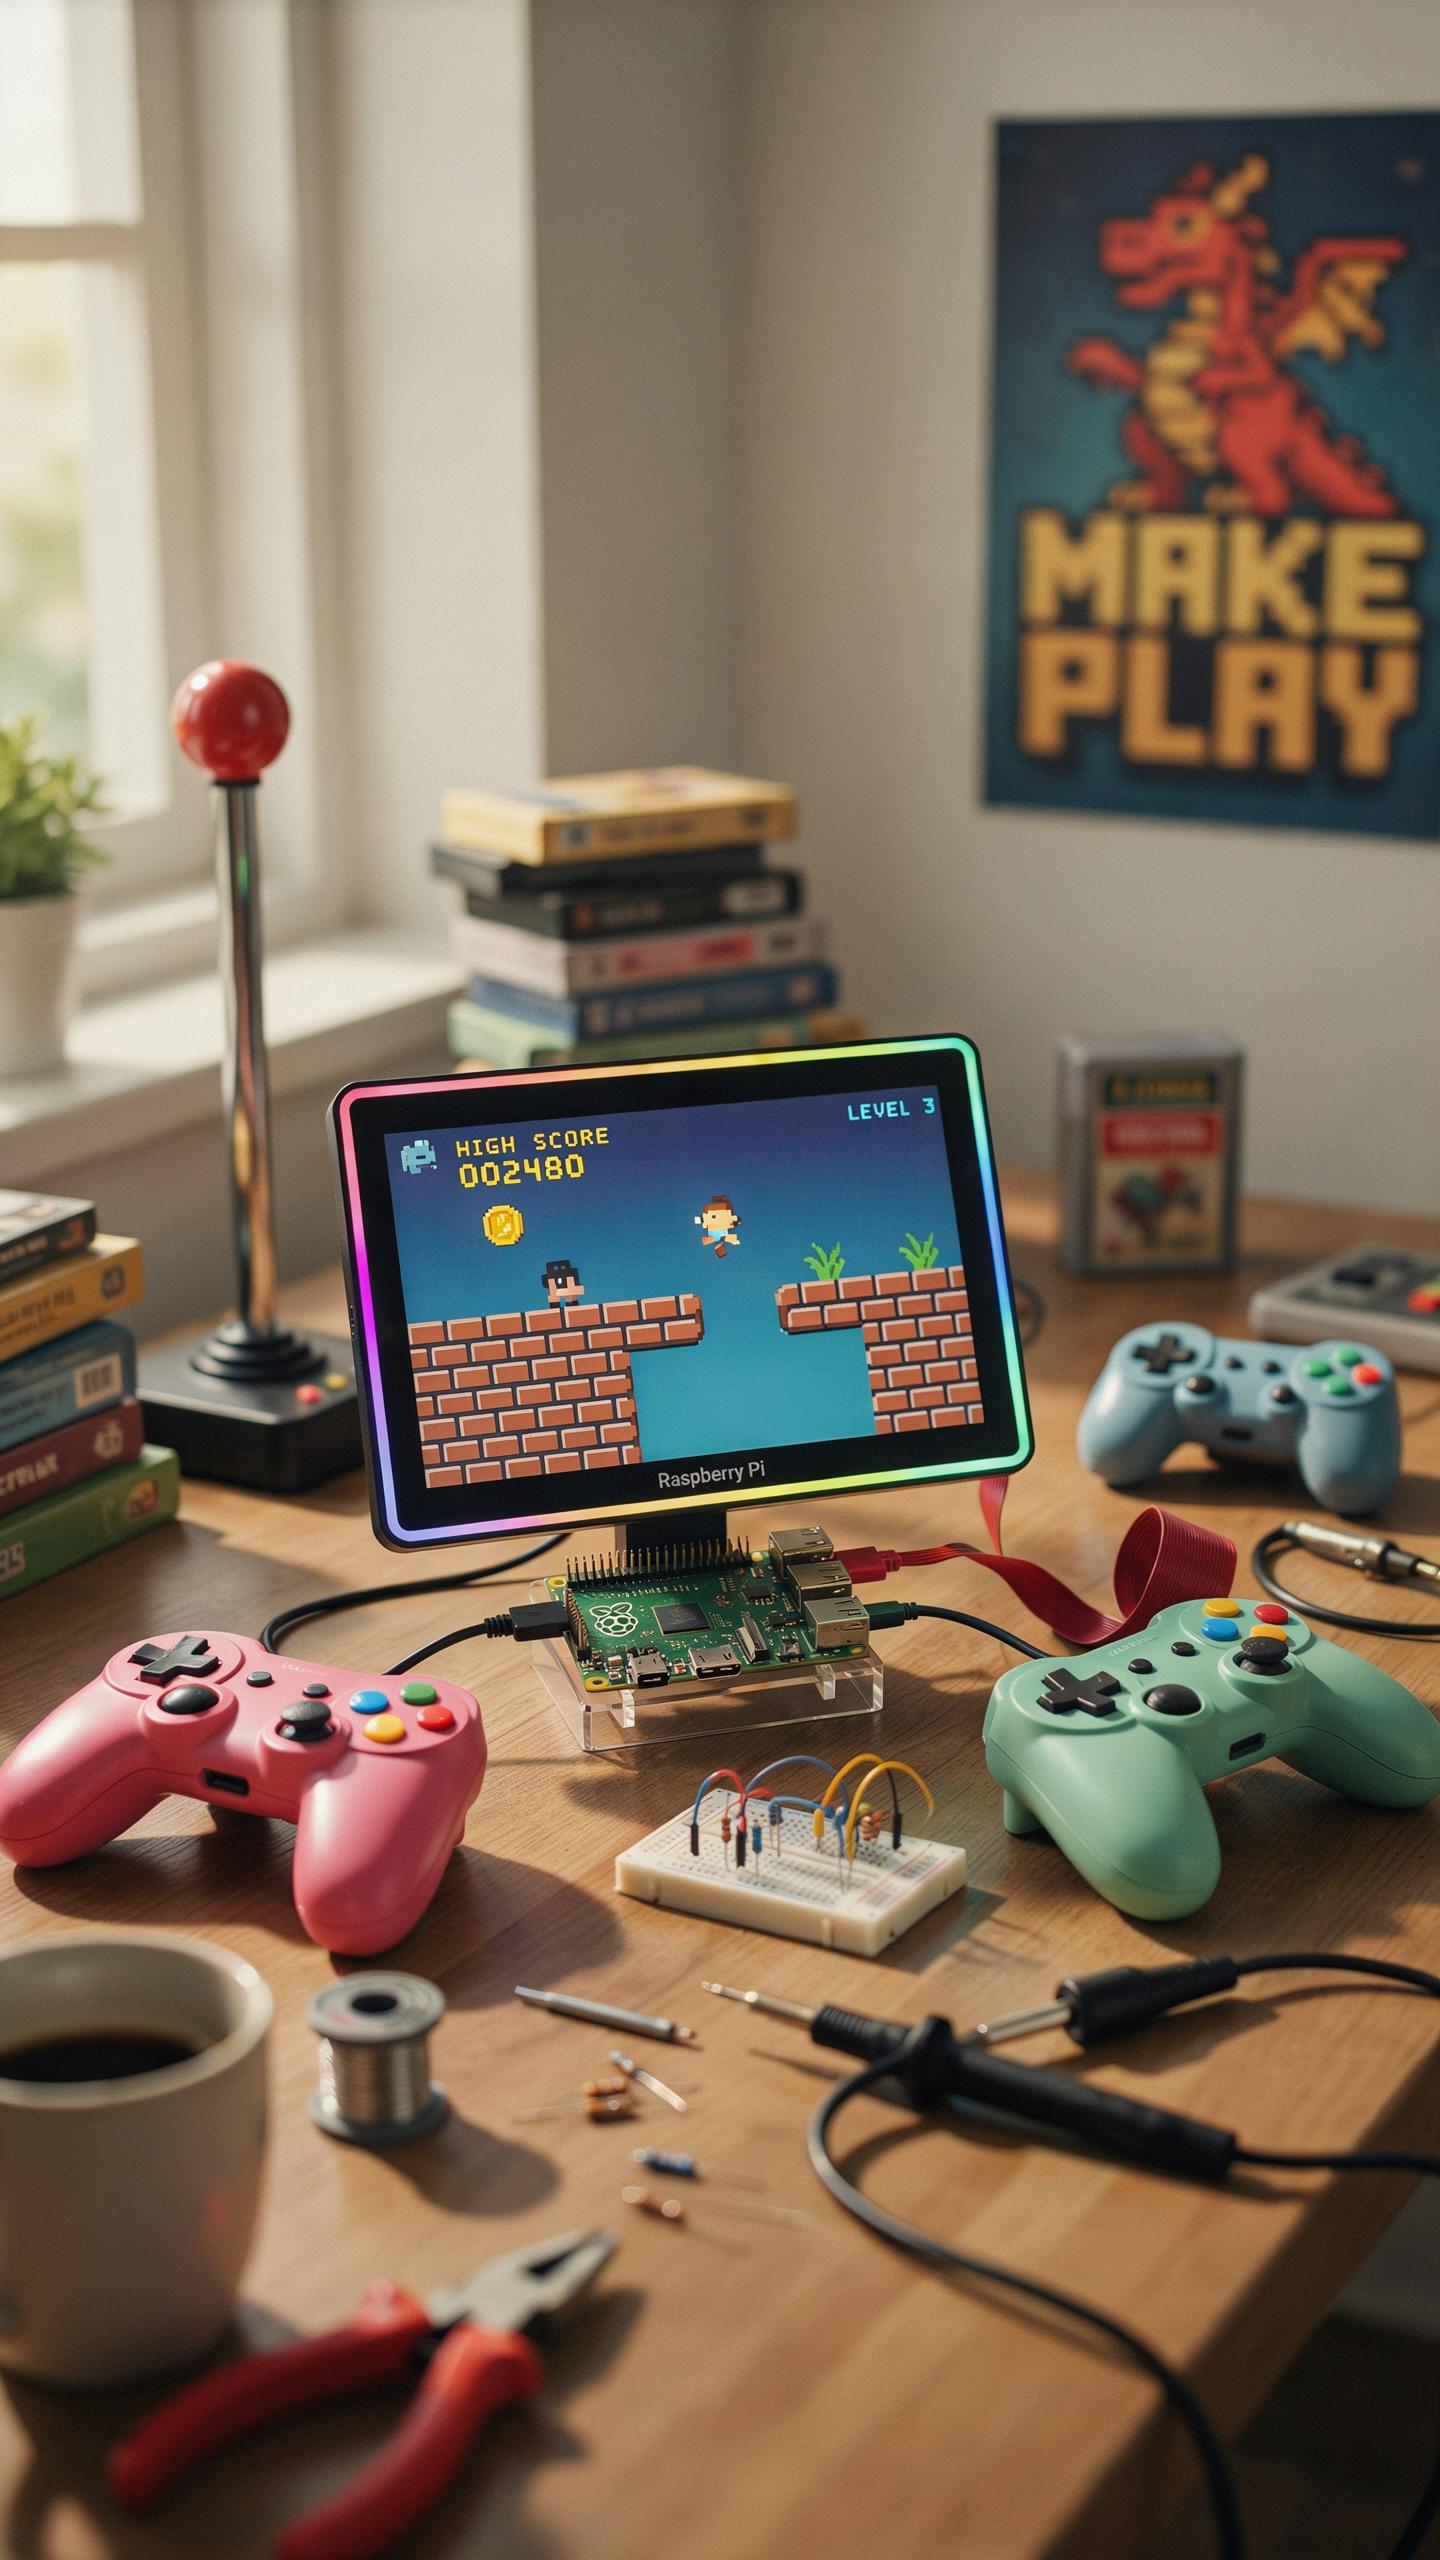
Emulation Software
RetroPie dominates the retro gaming space on Raspberry Pi. This distribution bundles multiple emulators into one package, eliminating the need to configure each emulator separately. RetroPie supports systems from the NES through PlayStation One. It handles ROM management automatically and provides a clean interface for organizing your game library.
Emulation Station serves as the frontend for RetroPie, displaying your games in a unified menu structure. The software recognizes ROM files and pulls metadata like cover art and game descriptions. You can run RetroPie on any Raspberry Pi model, though newer boards like the Pi 4 handle demanding systems faster. The installation process involves downloading the image file and writing it to a microSD card.
Controller Setup
Connect USB controllers directly to your Raspberry Pi or use wireless adapters for flexibility. The system auto-detects most standard controllers, including Xbox and PlayStation gamepads. RetroPie maps buttons automatically during initial setup, asking you to press specific buttons on your controller. This process takes two minutes and covers all necessary inputs for gaming.

HDMI cables connect your Pi to any modern monitor or television. Audio routes through the HDMI cable by default, though you can use headphones via the 3.5mm jack if needed. Resolution adapts to your display automatically. For older CRT televisions, composite video cables work if your Pi model includes the component. Cable management matters less on a gaming console than aesthetics, so plan your setup accordingly.
Smart Home Automation Useful Raspberry Pi Projects
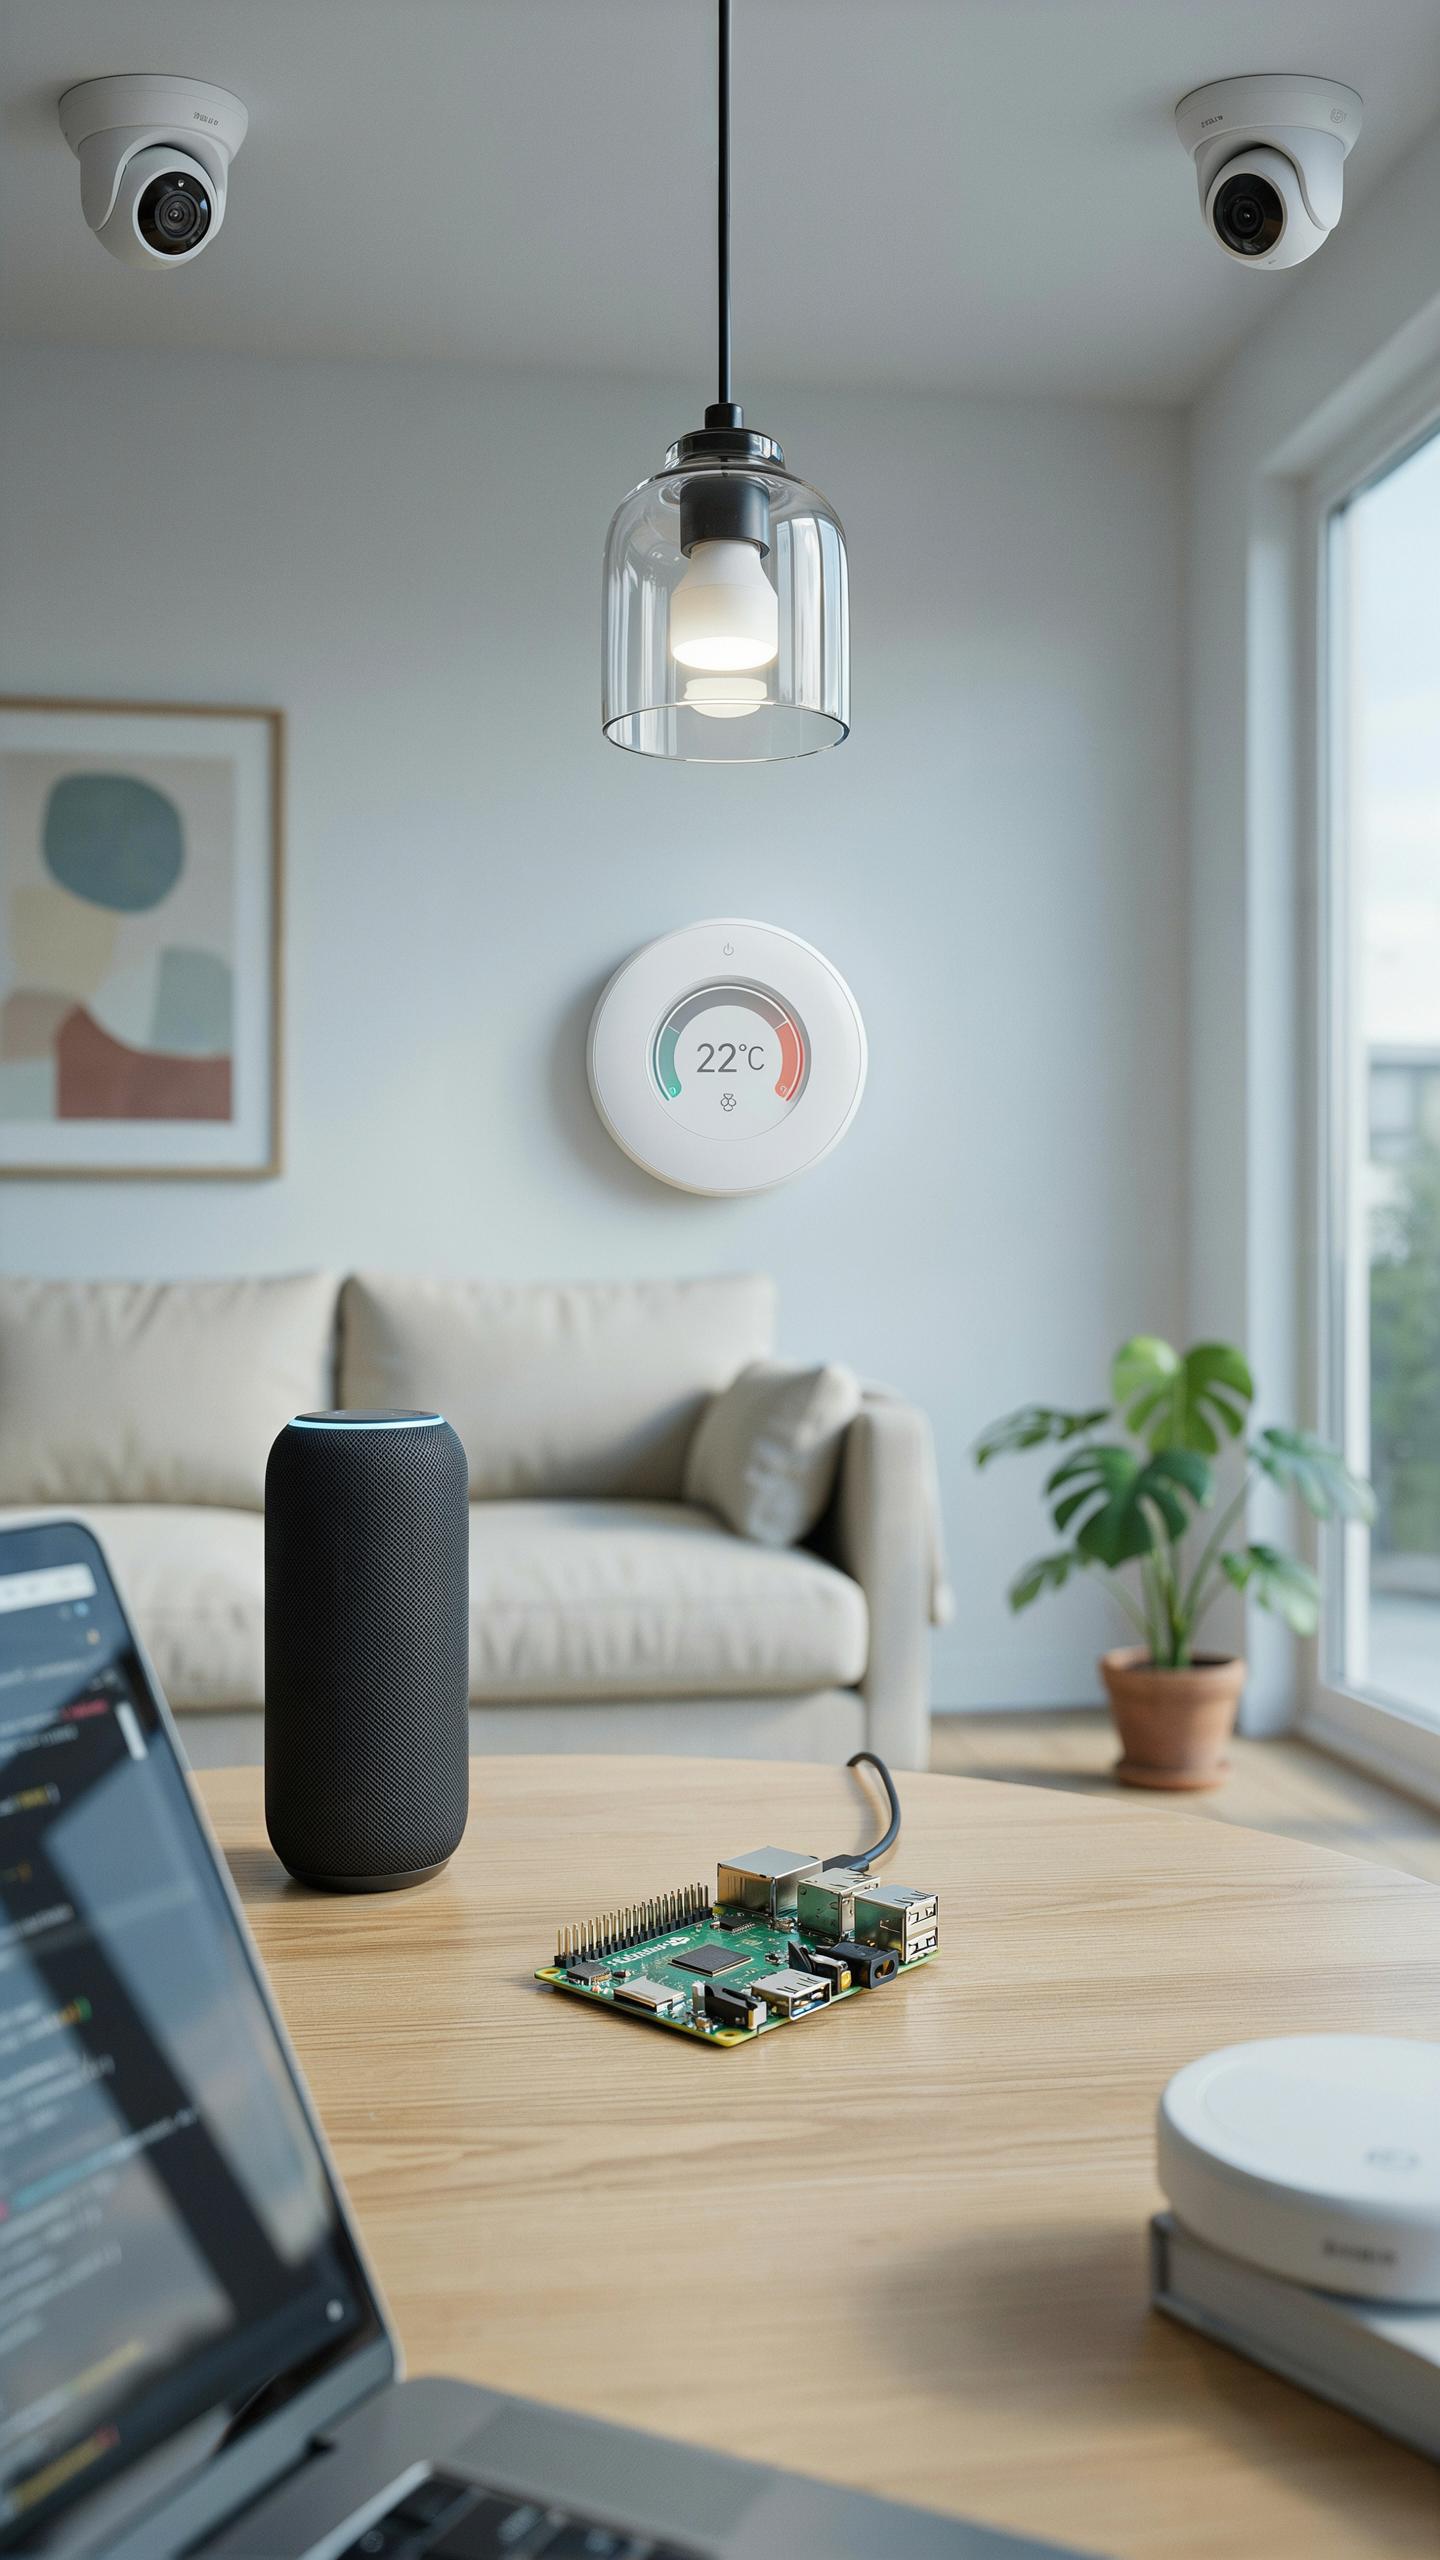
Home Assistant
Home Assistant runs on Raspberry Pi and centralizes control of smart devices. You install it on a Pi 4 or Pi 5 with at least 4GB RAM. The software communicates with lights, sensors, thermostats, and cameras through standard protocols like Zigbee and Z-Wave. Setup takes two to three hours for basic functionality.
Home Assistant uses YAML configuration files to define automations and integrations. You write rules that trigger actions based on time, sensor data, or user input. The web interface lets you monitor and control devices from any browser. Most integrations require no coding knowledge, making this accessible for beginners.
Lighting Control
Automate lights with Philips Hue, LIFX, or Zigbee bulbs connected through your Raspberry Pi hub. You schedule lights to turn on at sunset and off at bedtime. Motion sensors trigger lights in rooms when people enter. This reduces manual switching and cuts electricity use by automating what you forget to turn off.
Control brightness and color temperature based on time of day or room occupancy. Your Pi processes sensor data locally without relying on cloud services. Scenes let you set multiple lights to specific states with one command. Build automation rules that coordinate lights with other devices like door locks or thermostats.
Media Center Powerhouse Raspberry Pi 4 Projects
Kodi Setup
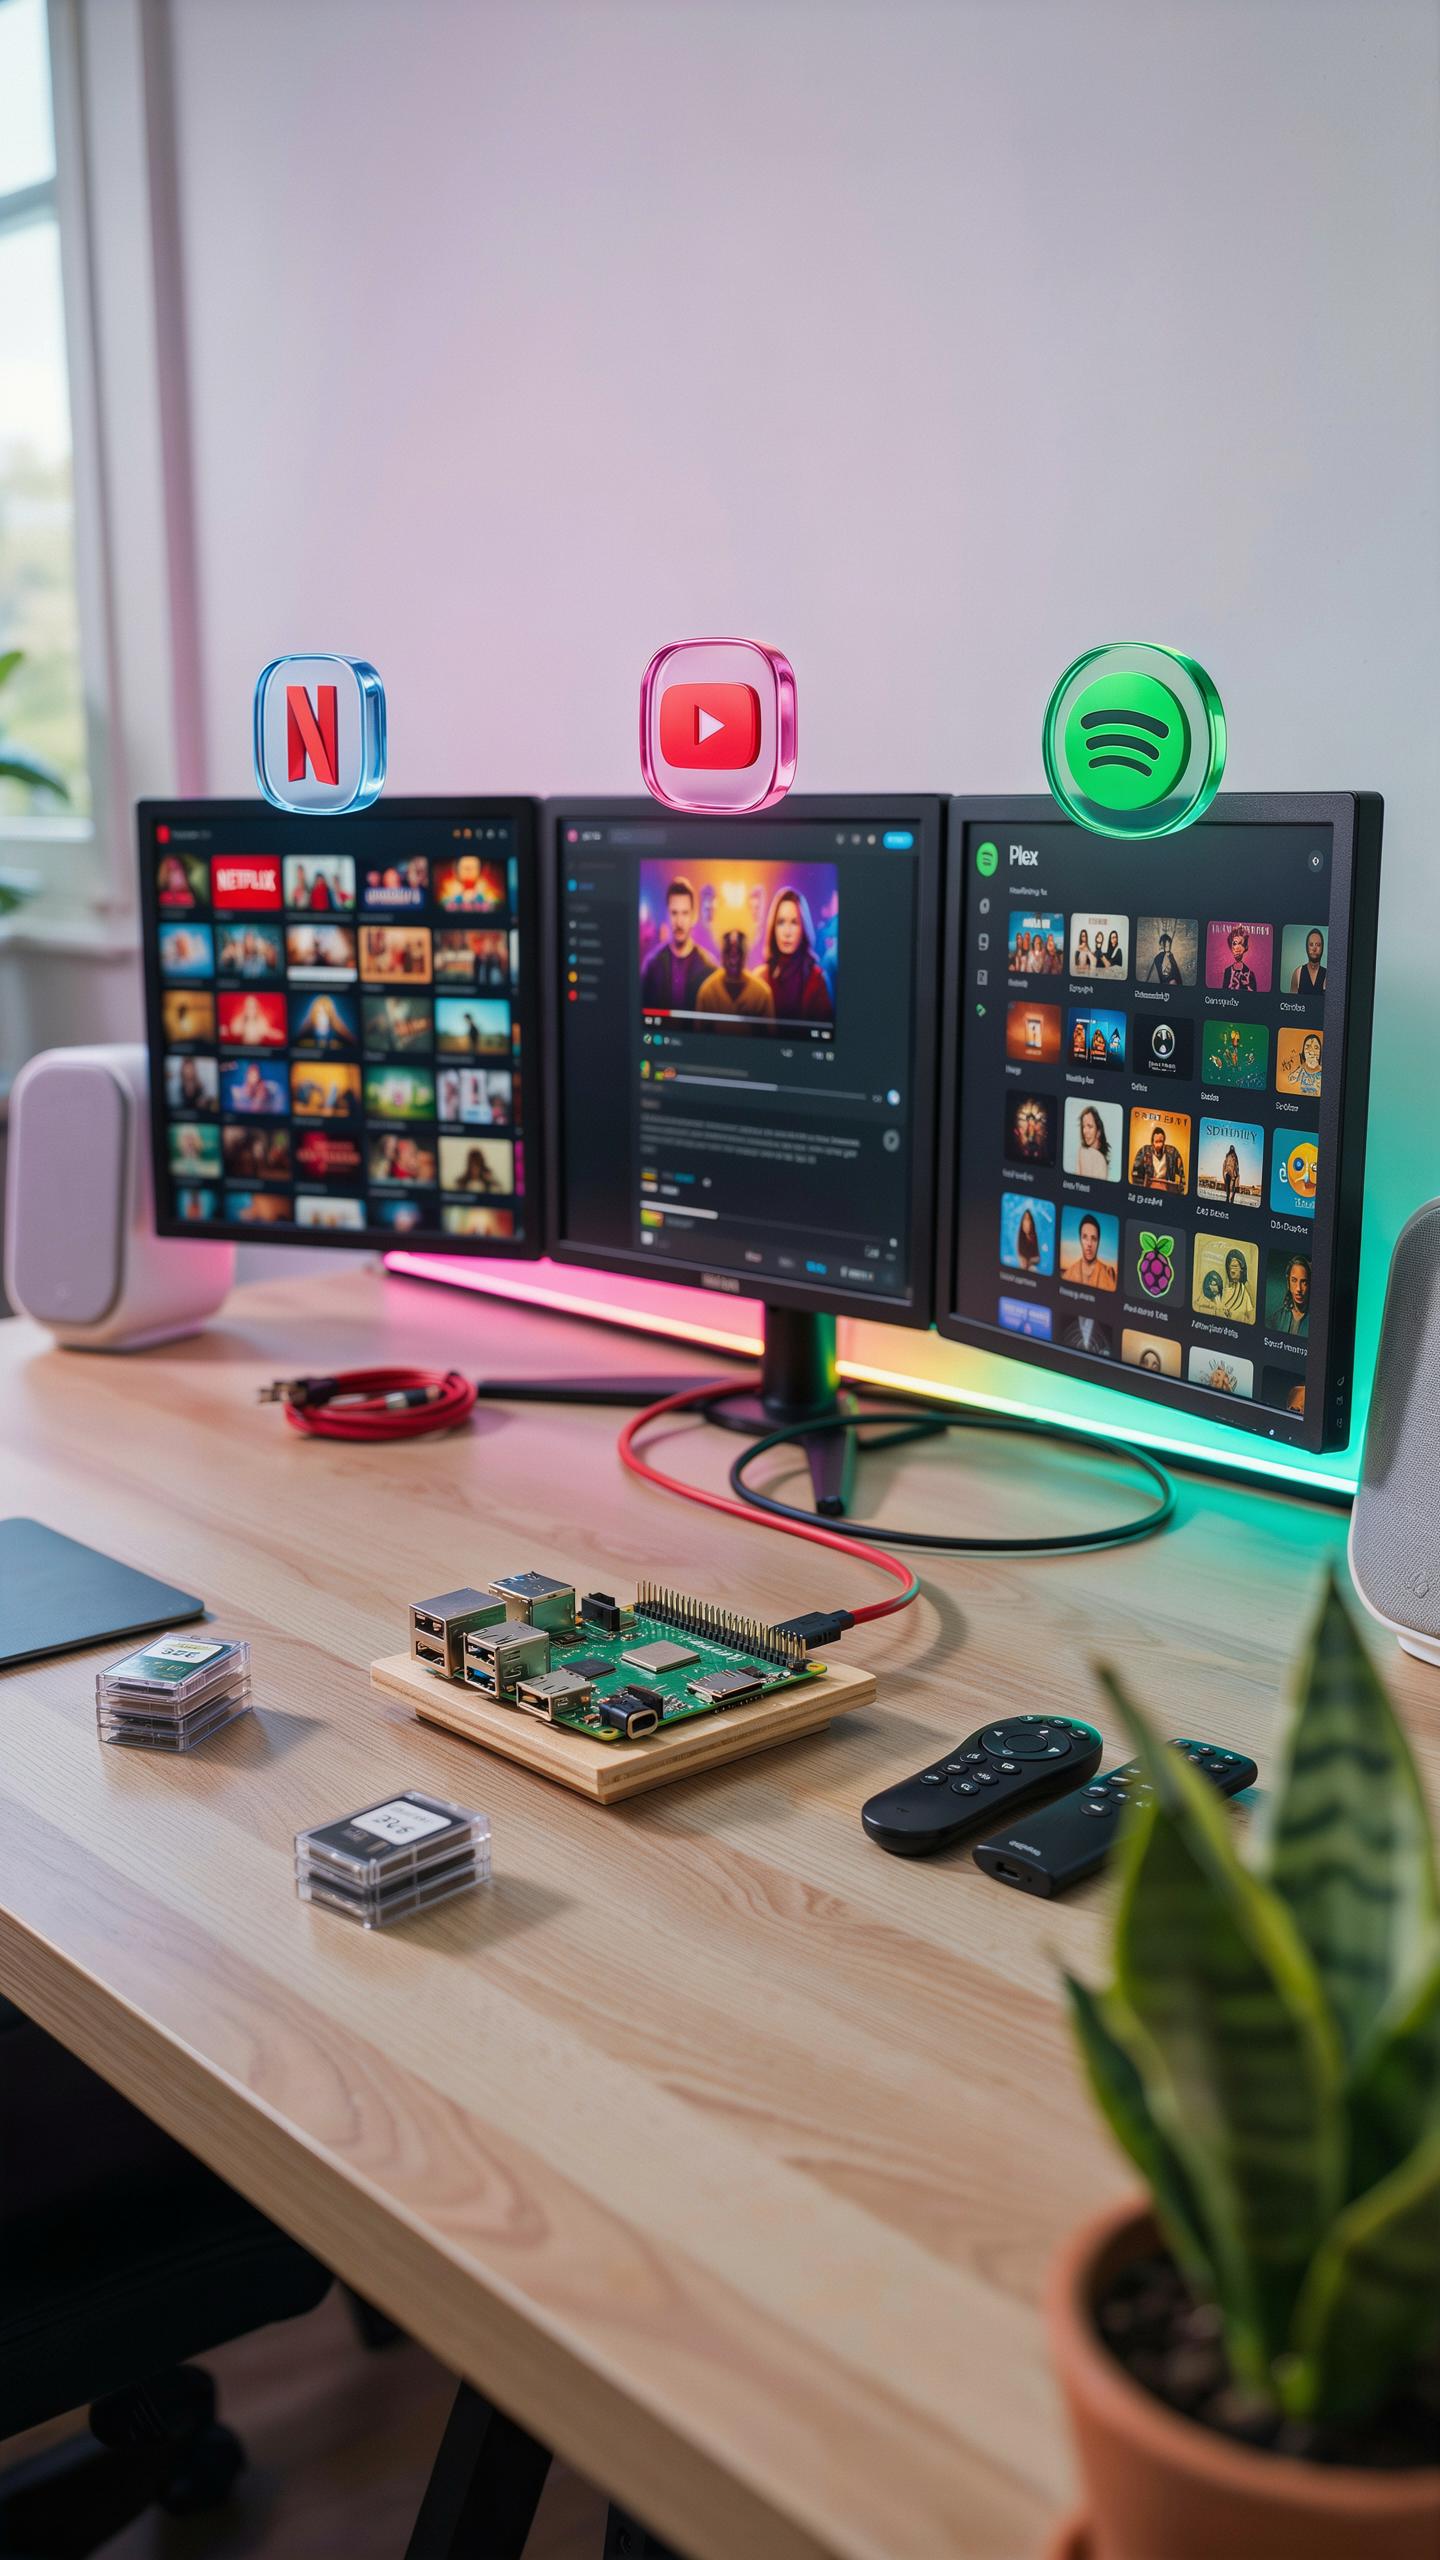
Kodi runs efficiently on Raspberry Pi 4 with 4GB RAM or higher. Install LibreELEC or OSMC as your operating system. Both distributions boot Kodi directly without a desktop layer, maximizing performance. Connect your Pi to your television via HDMI. Configure your remote through Kodi’s settings to control playback and navigation seamlessly.
Kodi organizes your media library automatically once you point it to your storage location. The software scrapes metadata from online databases to display cover art and descriptions. You can stream content from local storage, network shares, or add-ons for online sources. Most add-ons require manual installation through Kodi’s interface. Start with official repositories to avoid compatibility issues with your Pi hardware.
Network Storage
A Raspberry Pi 4 with external USB storage becomes a functional NAS for your home network. Install Samba to share folders across Windows, Mac, and Linux devices. Attach a hard drive via USB 3.0 for faster transfer speeds than the Gigabit Ethernet port. Format the drive as ext4 for Linux optimization. Assign static IP addresses to ensure consistent network access to your storage.
Configure user accounts and permissions in Samba to control who accesses specific folders. Backup your critical files to this storage to protect against device failures. A Pi NAS consumes minimal power compared to traditional server hardware. Monitor temperatures when running continuous workloads since external drives generate heat. Most users achieve reliable performance with drives under 4TB capacity on Pi 4 hardware.
Portable Computing Raspberry Pi Carputer Project
In Car Entertainment
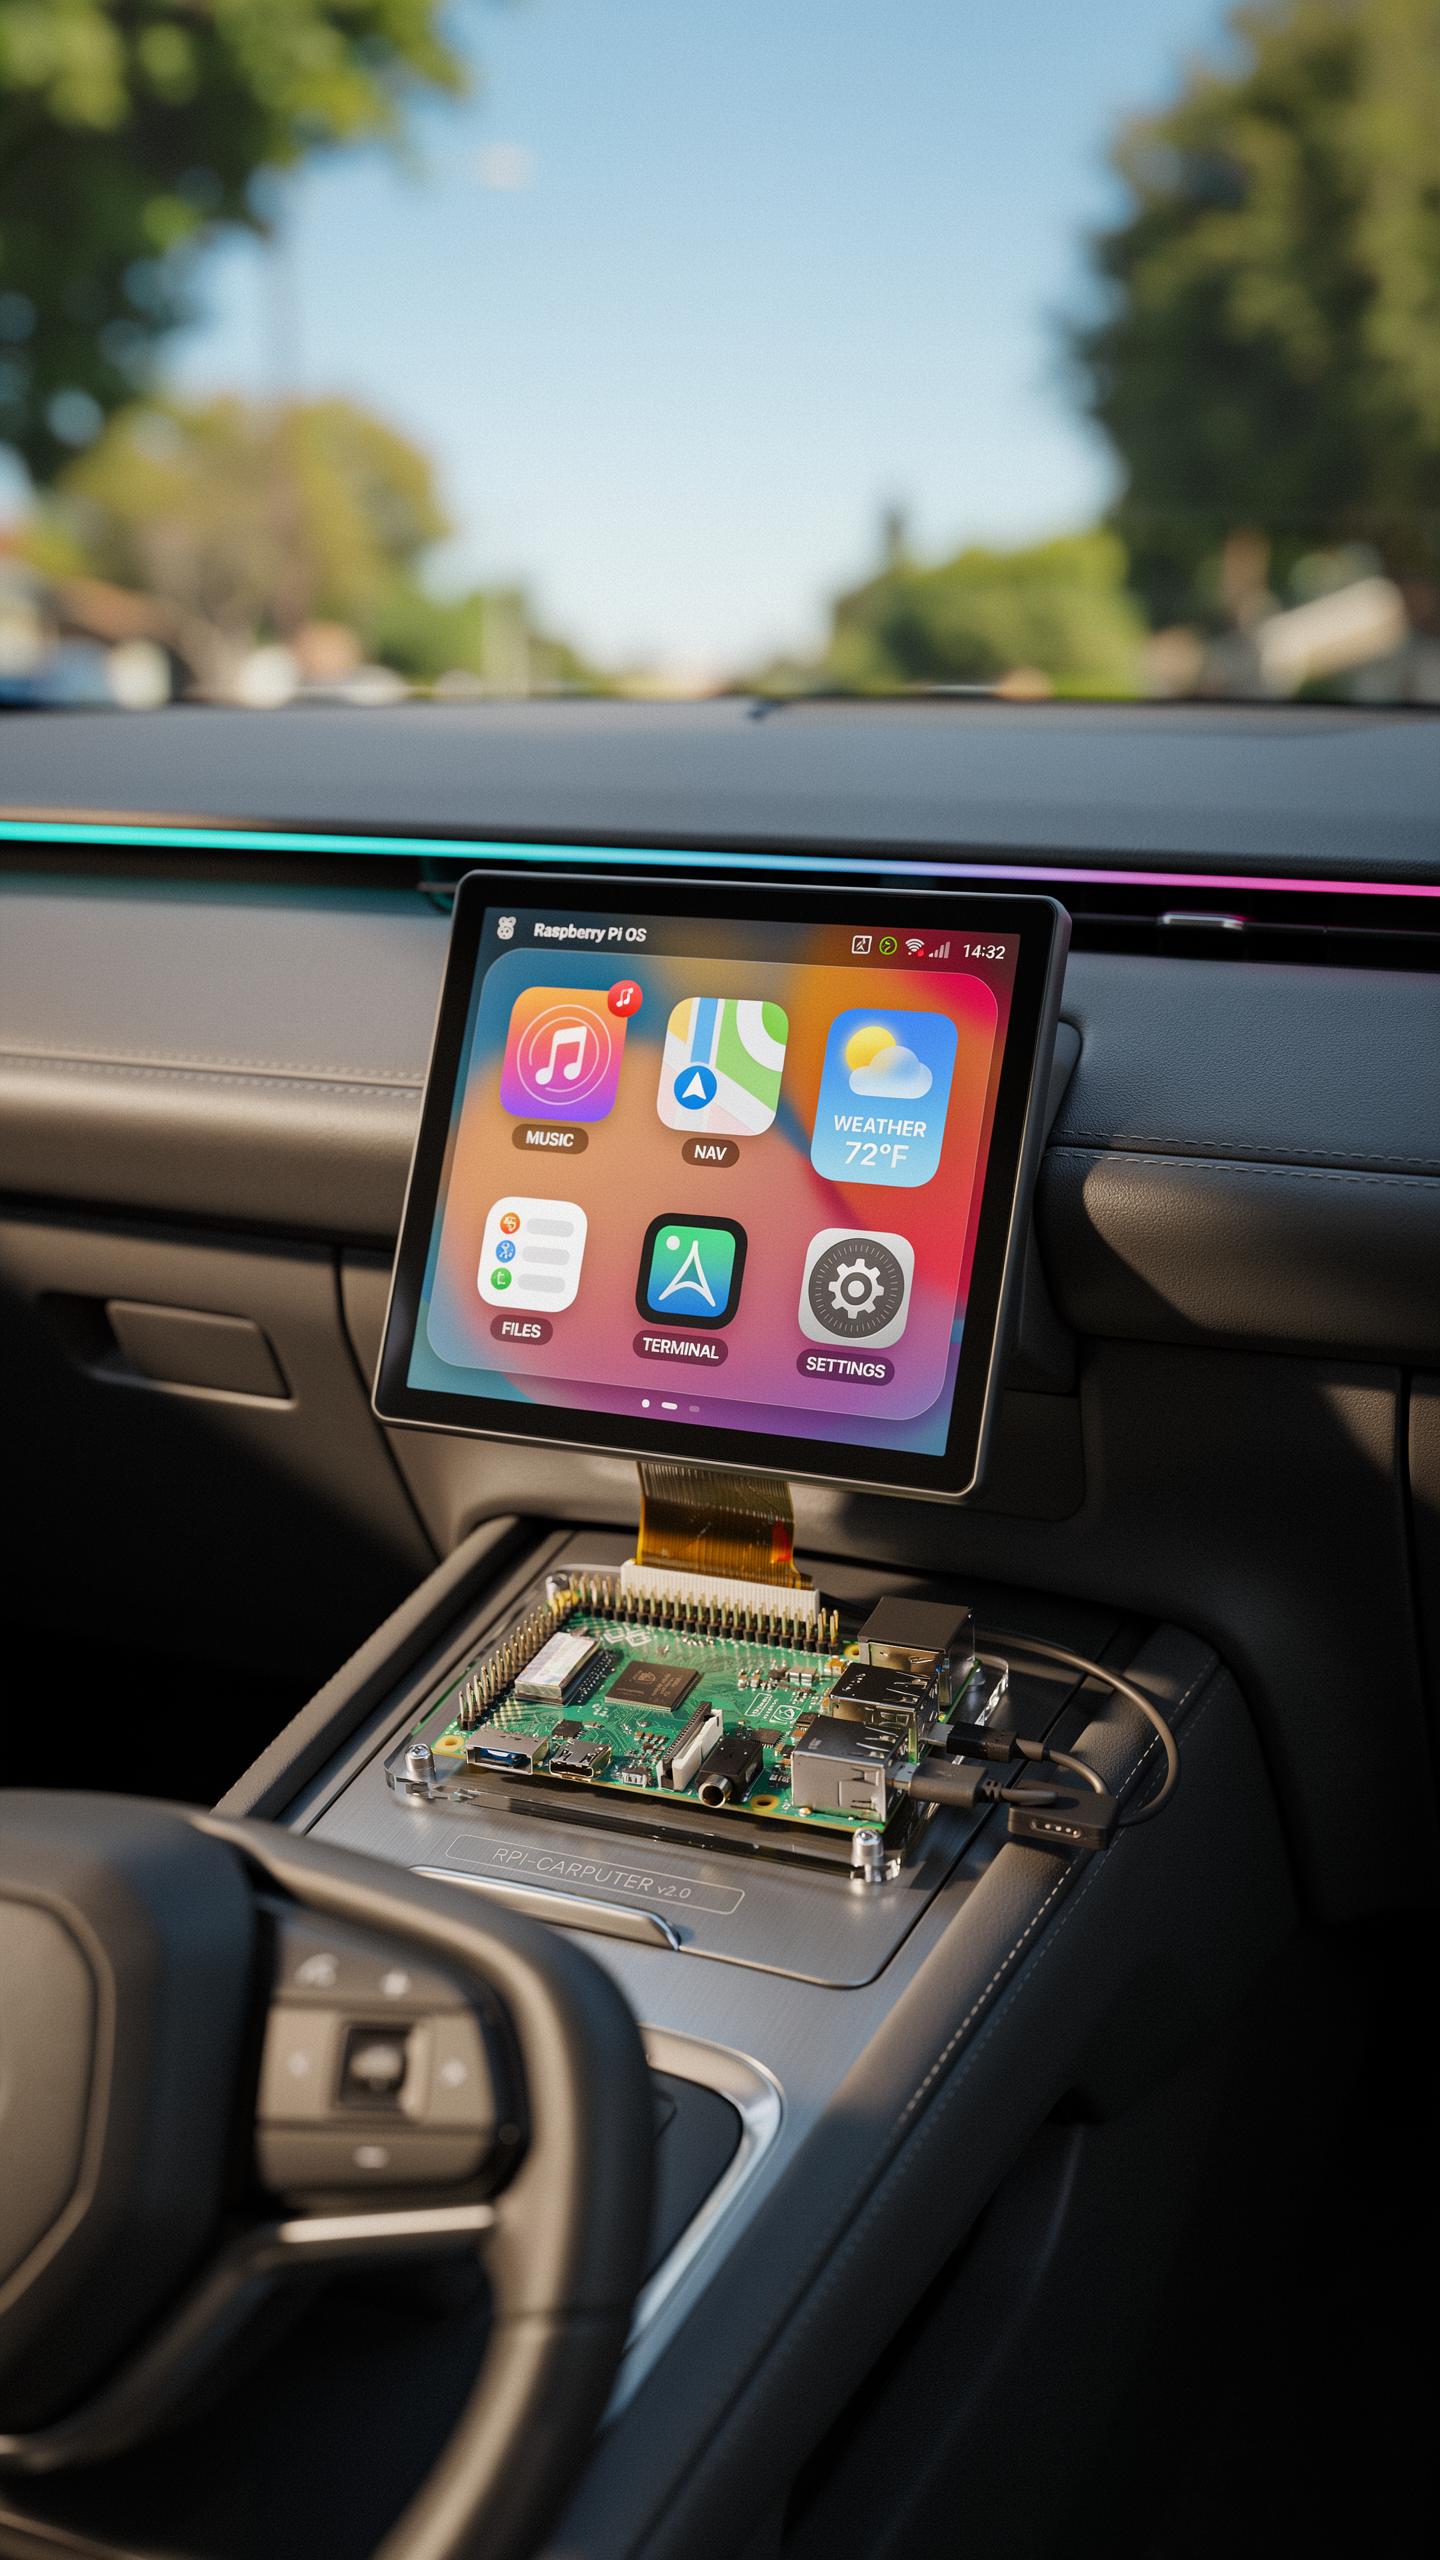
A Raspberry Pi carputer runs media playback directly through your vehicle’s stereo system. You need a touchscreen display, amplifier, and storage for music or video files. The Pi handles audio decoding and video streaming without lag. Mount the Pi under the dashboard or in the glove compartment to keep it hidden. Power it through the vehicle’s 12V system using a step-down converter rated for consistent 5V output.
Software options include Kodi, which offers a complete media center interface designed for car use. Kodi organizes music libraries, podcasts, and video content in a single dashboard. The touchscreen lets you browse and play tracks without taking eyes off the road for extended periods. Customize the interface to show album art, metadata, and playback controls prominently. Integrate Bluetooth to stream from your phone as a fallback when the Pi’s storage doesn’t have what you need.
Navigation Integrations
Raspberry Pi carputers integrate GPS modules to enable real-time navigation and route planning. Use a USB GPS receiver or HAT module connected directly to the Pi’s GPIO pins. NaviGator and other open-source mapping software display turn-by-turn directions on your touchscreen. The Pi calculates routes using offline maps, eliminating the need for constant data connectivity. This approach works in areas with poor cellular coverage, which matters for rural driving.

OBD2 adapters plug into your vehicle’s diagnostic port to pull engine data directly into the Pi’s interface. You monitor fuel efficiency, engine temperature, and diagnostic trouble codes on a single display. Combine this data with trip logs to track maintenance intervals and vehicle health over time. The Pi records this information locally so you build a complete history of your car’s performance. This setup replaces bulky aftermarket head units while giving you full control over the system.
IoT Innovations Raspberry Pi And Arduino Projects
Sensor Monitoring
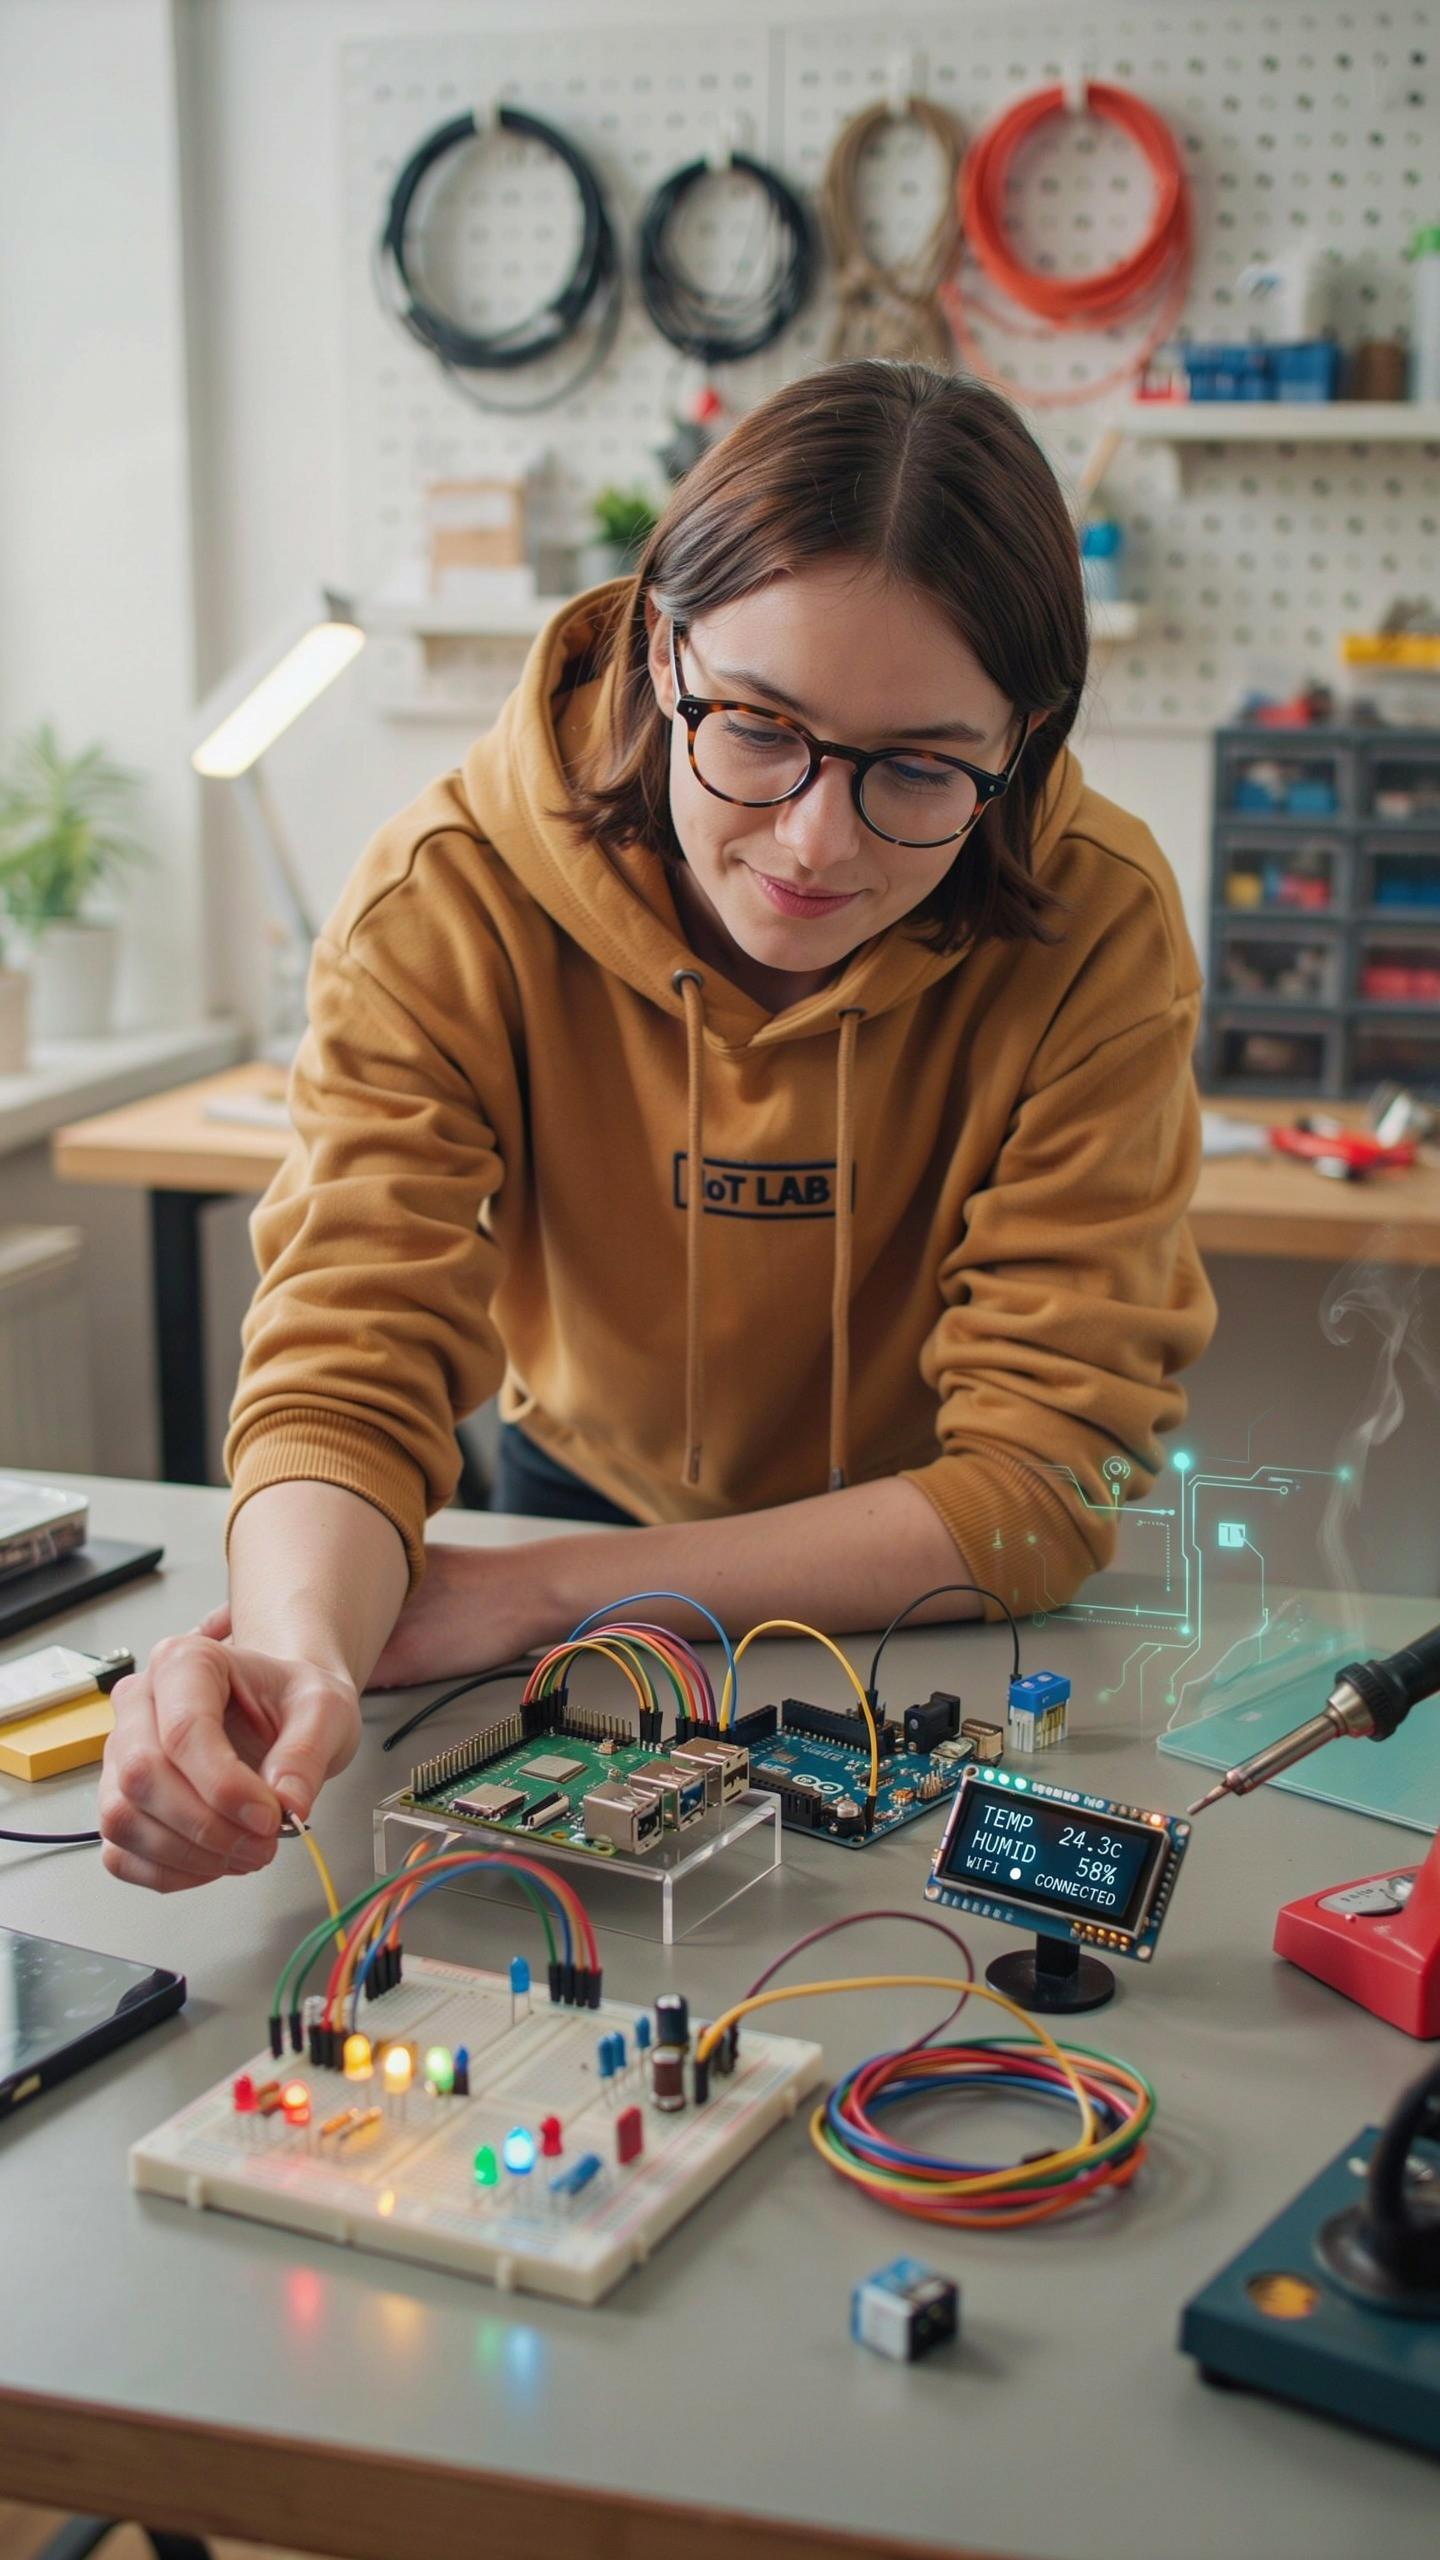
Collecting data requires picking the right sensor for your problem. Temperature, humidity, motion, and light sensors connect directly to GPIO pins on your Raspberry Pi or through analog-to-digital converters. You read sensor values using Python libraries like RPi.GPIO or gpiozero. Store the data locally or send it elsewhere for analysis. This approach scales from simple single-sensor projects to multi-sensor arrays.
Actuators let you respond to sensor data by controlling physical devices. Relays switch power on and off. Servos position mechanical arms. Motors drive wheels or fans. Connect actuators through transistors or relay modules to avoid overloading GPIO pins. Your code reads sensor inputs, makes decisions, then triggers actuators. This feedback loop forms the core of automated systems.
Cloud Integration
Pushing data to the cloud requires choosing a platform and protocol. MQTT brokers like Mosquitto handle lightweight pub-sub messaging. HTTP REST APIs work for sporadic data uploads. Services like AWS IoT Core, Google Cloud IoT, or open platforms like ThingSpeak accept data from Raspberry Pi devices. Your Pi sends JSON payloads over internet connection. Cloud storage preserves data indefinitely and enables remote monitoring.

Authentication protects your devices and data from unauthorized access. Use API keys, certificates, or username-password combinations. Most cloud platforms require TLS encryption for data in transit. Store credentials securely on your Pi using environment variables or dedicated credential files. Test your connection locally before deploying to production. Monitor API usage to catch unexpected traffic or compromised devices early.
Wearable Tech Robotics Raspberry Pi Pico Projects
Mini Robotics
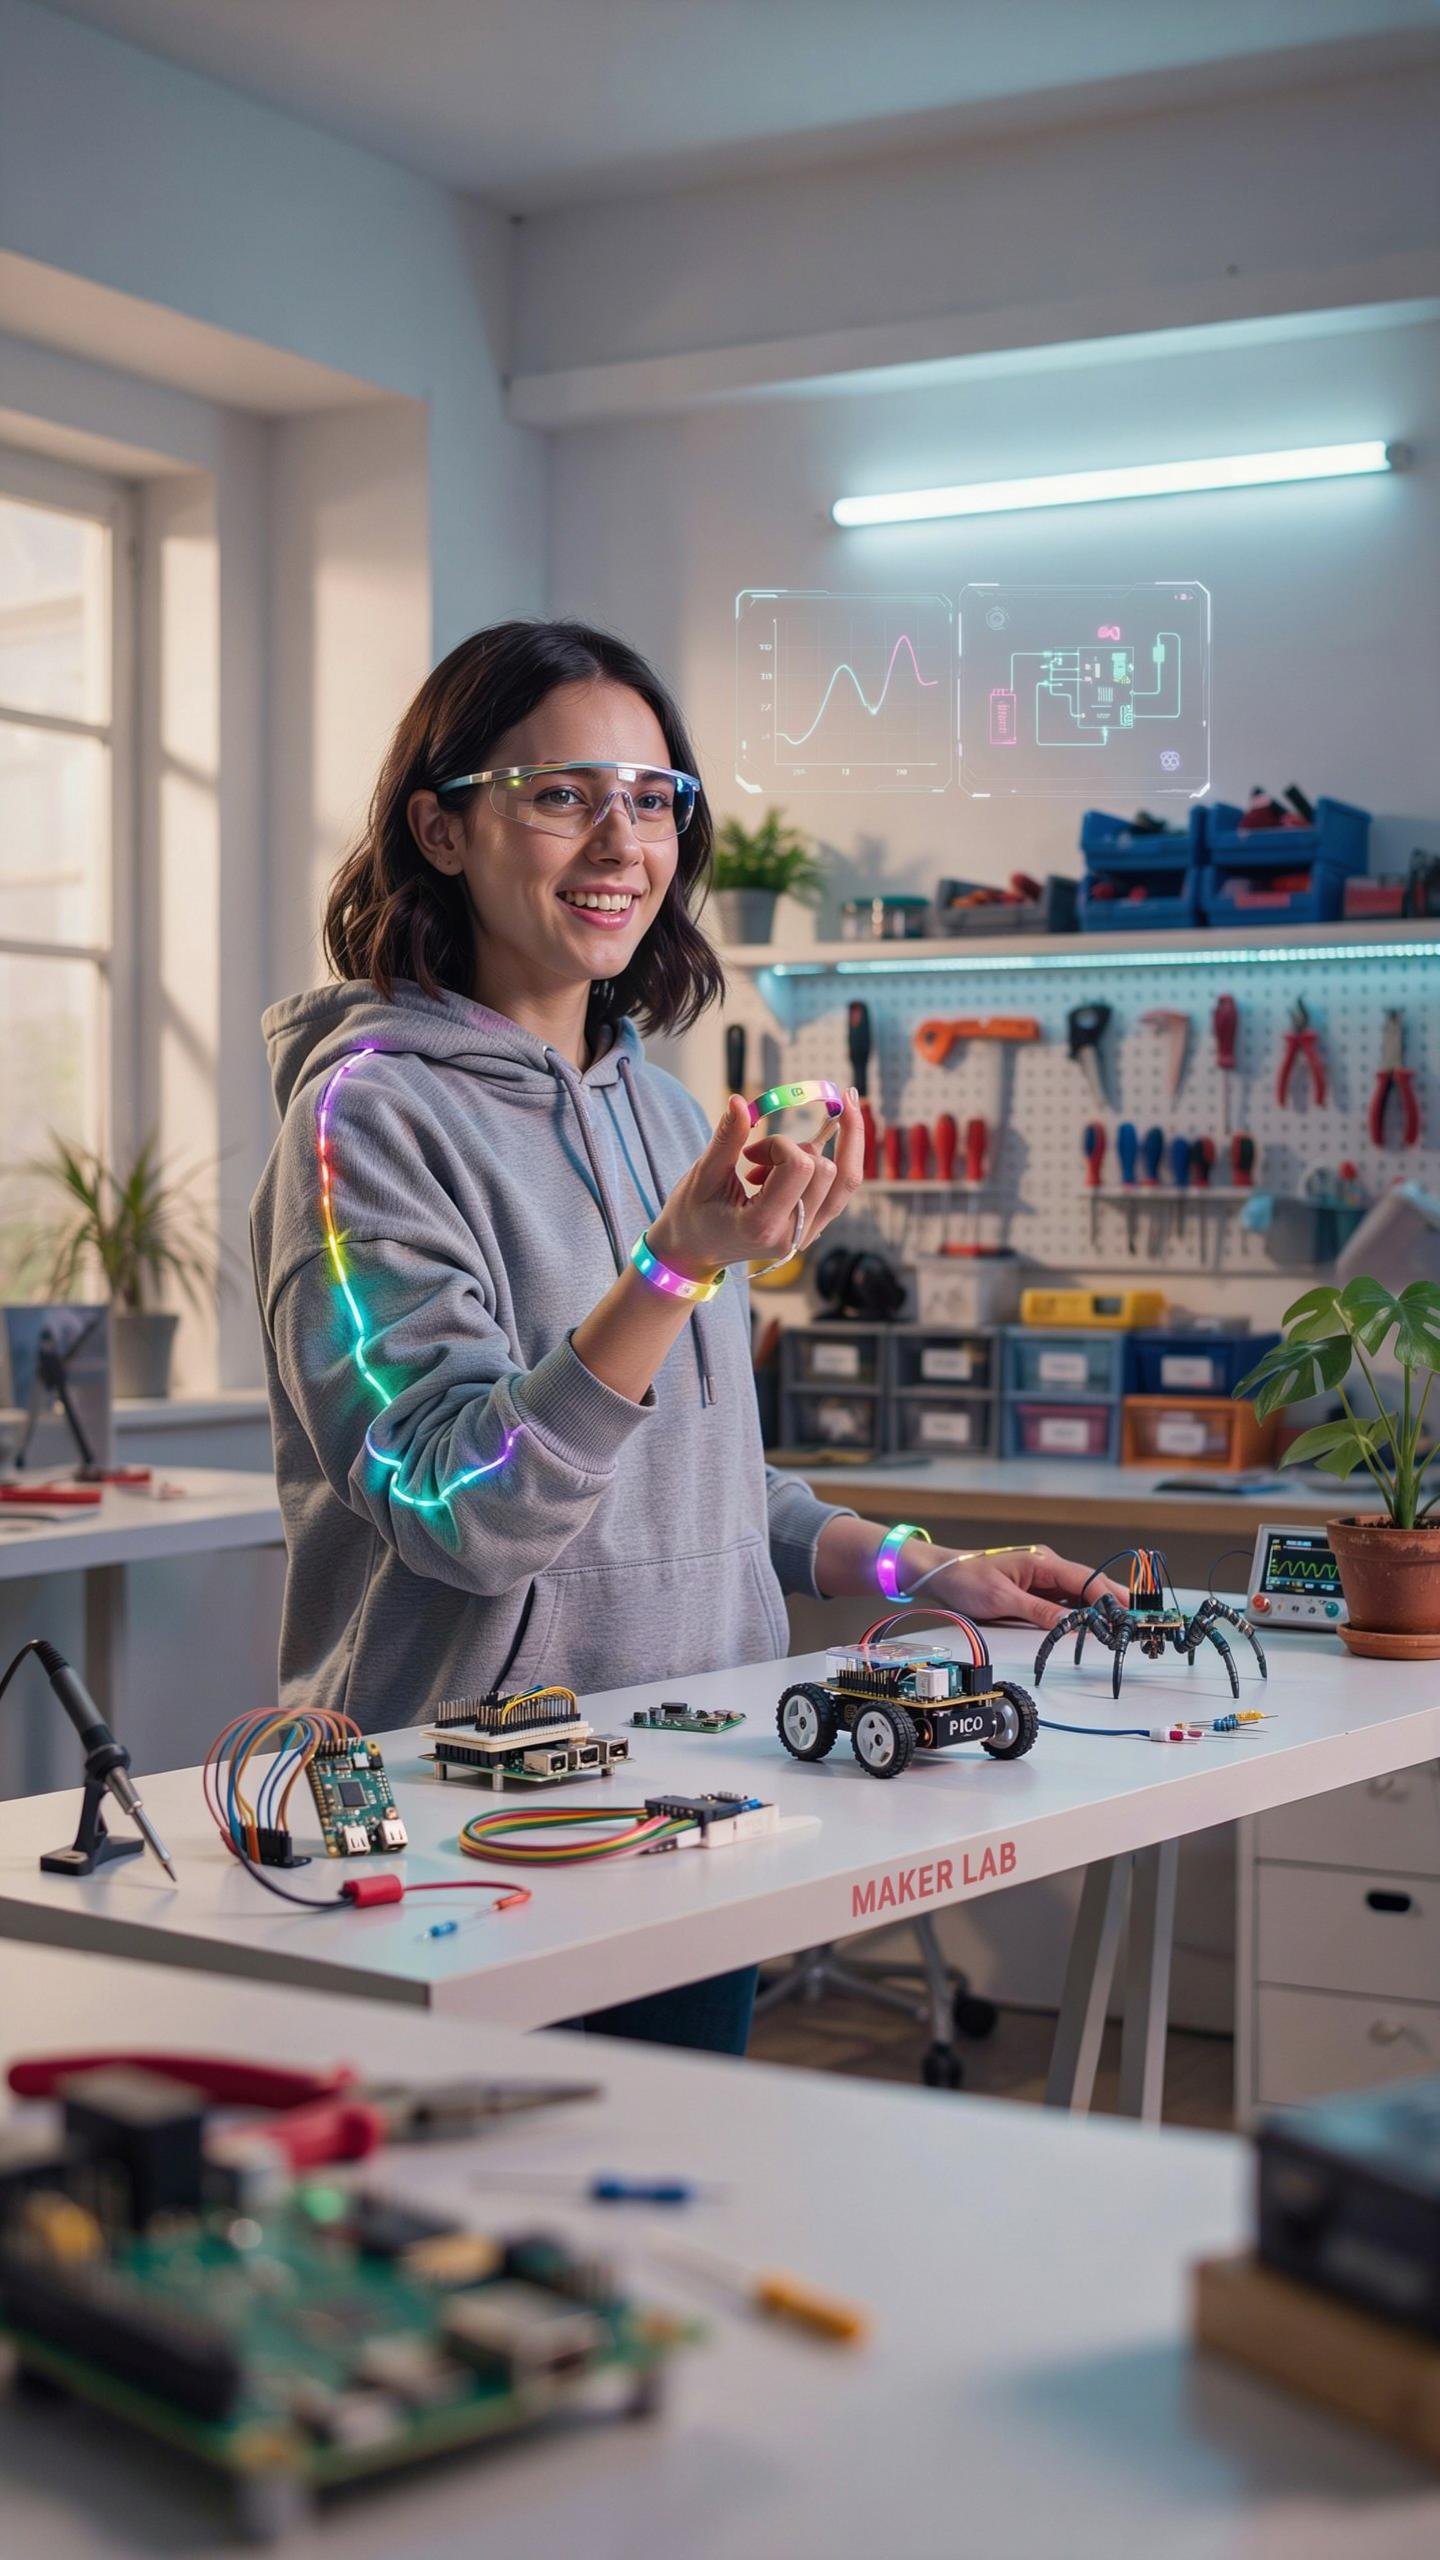
The Raspberry Pi Pico handles real-time control tasks that standard Raspberry Pi boards cannot execute efficiently. Its dual-core ARM Cortex-M0+ processor runs at 133 MHz and manages motor commands, sensor feedback, and navigation logic without lag. You program it in MicroPython or C, both of which execute fast enough for autonomous movement and obstacle detection in small robots.
Building a basic two-wheeled robot requires the Pico, two DC motors, a motor driver module, wheels, and a chassis. Connect motors to GPIO pins through the driver, write code to read ultrasonic sensor data, and implement logic to move forward, turn, or reverse. This setup teaches motor control, sensor integration, and closed-loop feedback within a weekend.
Wearable Displays
The Pico pairs with small OLED or LCD screens to create wearable displays that fit on clothing or accessories. These displays consume minimal power, run from the Pico’s GPIO pins, and communicate via I2C or SPI protocols. You can show real-time data like temperature, step count, or system status on a wrist-mounted device or chest panel.

Program the Pico to pull sensor data and push formatted text to the display using MicroPython libraries. Update refresh rates based on power constraints and information priority. Wearable projects teach display protocols, power management, and how to present data in constrained physical spaces.
Creative Coding Cool Raspberry Pi Projects
Python Games
Python runs natively on Raspberry Pi through the Raspbian operating system. You write code directly on the Pi using text editors like Nano or Thonyx. The Pygame library handles graphics, sound, and input for game development. Simple games teach core programming concepts without requiring external tools or compilation steps.
Start with Pong or Snake to understand game loops and collision detection. These projects need minimal code, typically under 100 lines for a working version. Pygame documentation covers sprite handling and event management clearly. Your Raspberry Pi handles 2D games smoothly, making it ideal for learning game development fundamentals.
Let’s build something wonderful with those little raspberry wonders. The joy of connection and creation awaits this weekend.
Art Installations
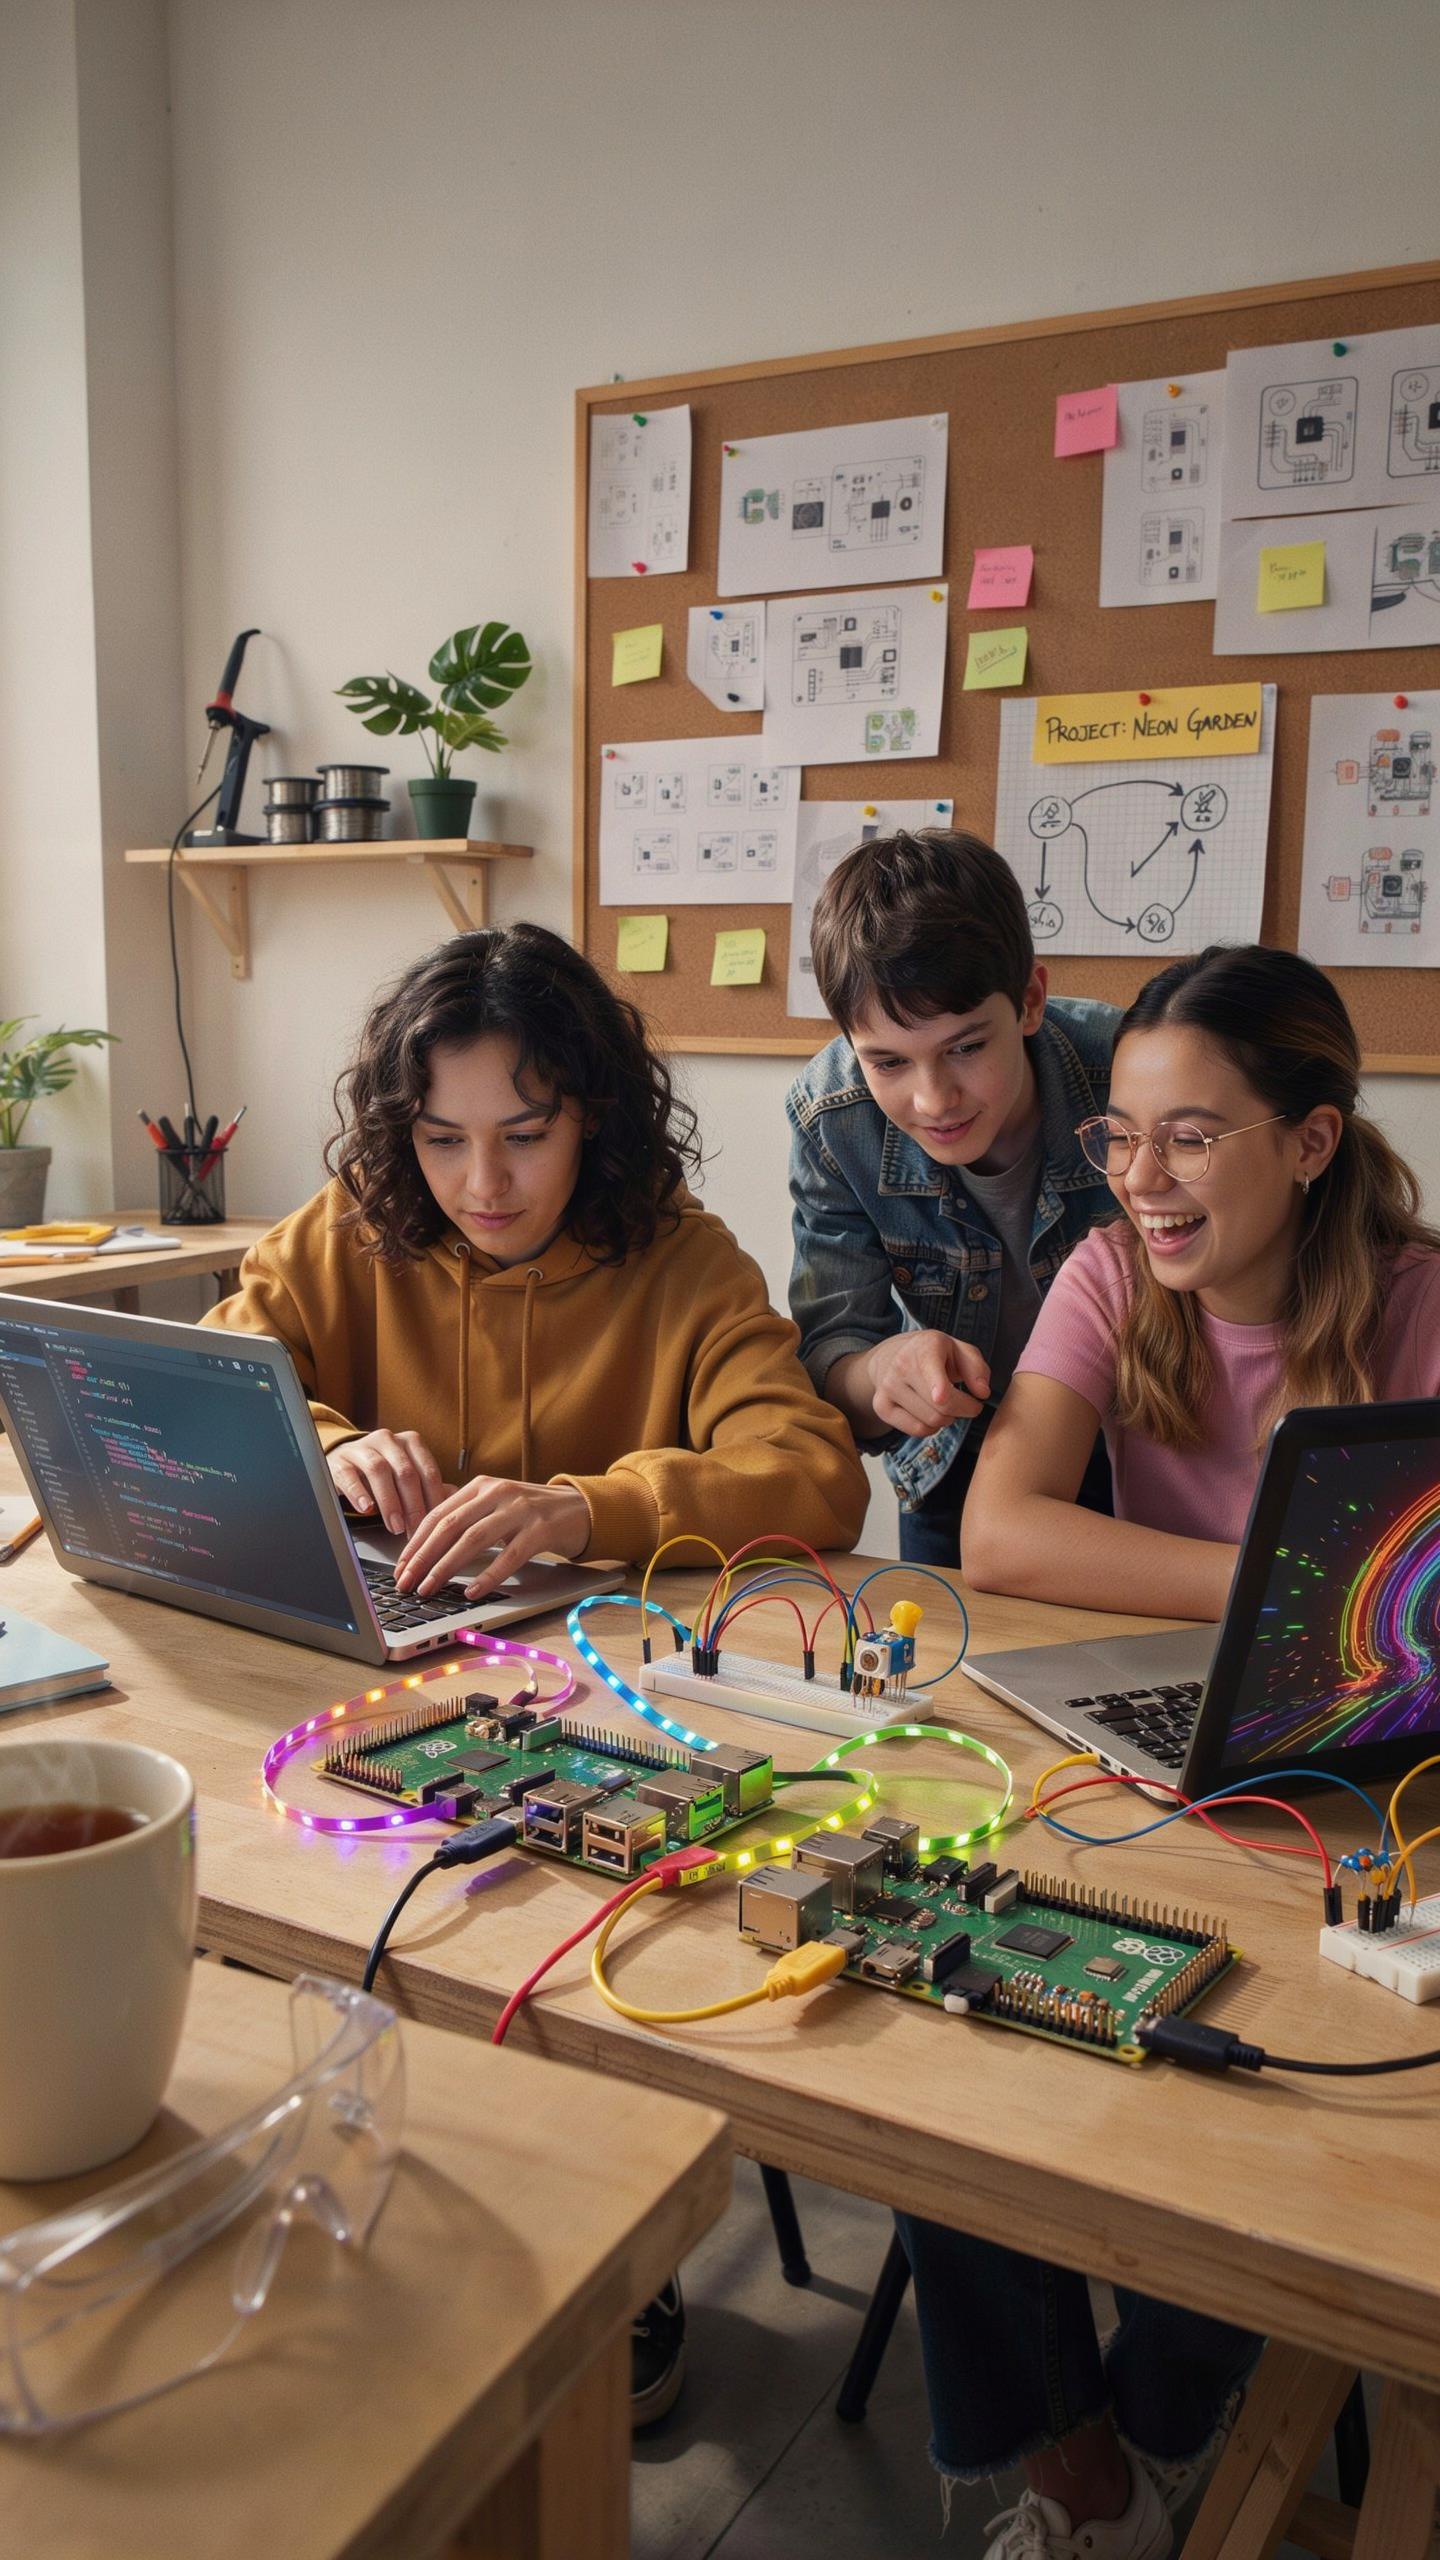
Raspberry Pi connects to LED strips, motors, and sensors to create interactive displays. Python scripts control timing and responses to environmental inputs like motion or sound. Museums and galleries use Pi-based installations because they cost less than dedicated systems while delivering professional results. The Pi’s GPIO pins interface directly with hardware, eliminating middleman controllers.

Build a light-reactive wall using addressable LEDs and a sound sensor. The Pi processes audio input and adjusts LED colors in real time. Motion-sensing sculptures that change when people approach demonstrate practical sensor integration. These installations teach hardware interfacing while creating tangible outputs that engage viewers directly.
Advanced Networking How To Add PCIe To Raspberry Pi
NVMe Storage
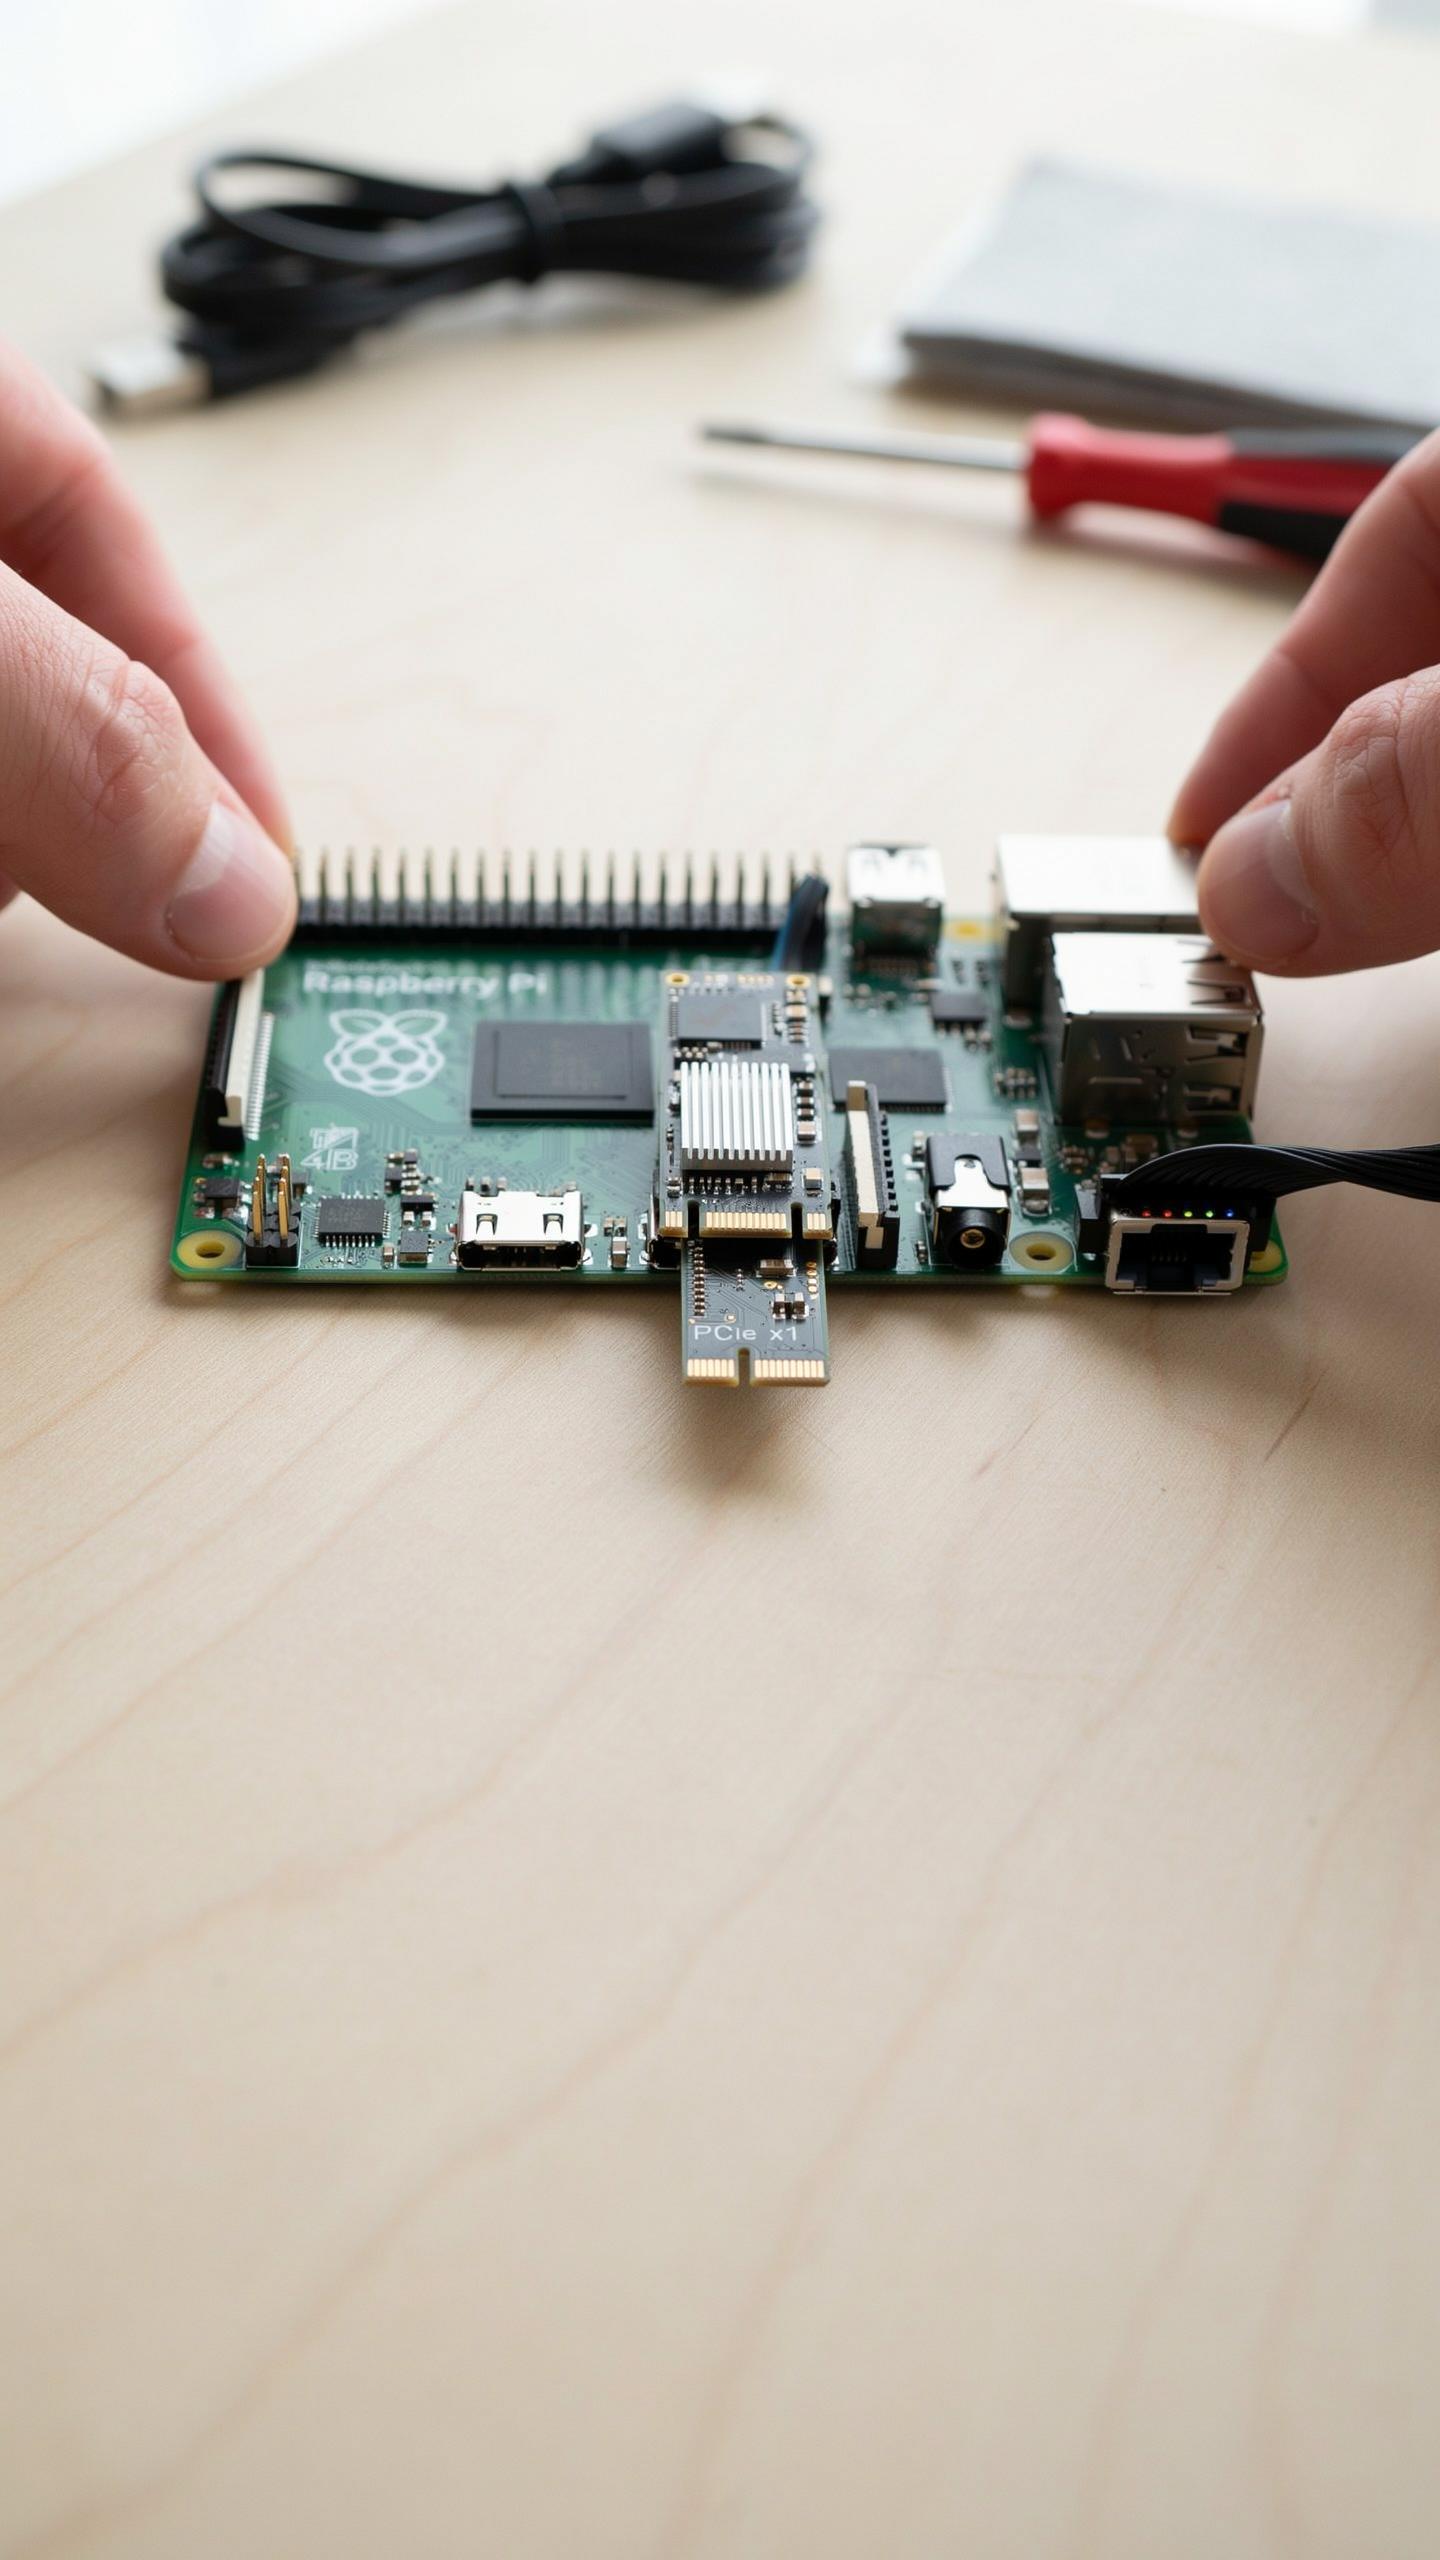
The Raspberry Pi 5 introduced PCIe support through a dedicated connector, enabling direct attachment of NVMe drives. This bypasses the USB bottleneck that limited earlier models to 480 Mbps. NVMe drives connect via the M.2 slot using an adapter board. Read and write speeds jump to 1 GB/s or higher depending on the drive and controller used. This matters for projects requiring fast disk access, like media servers or databases.
You need the official Raspberry Pi M.2 HAT or third-party alternatives. Installation requires removing the heatspreader from the Raspberry Pi 5 to access the PCIe connector. The adapter seats into this connector with the NVMe drive mounted perpendicular to the board. Thermal management becomes critical since NVMe drives generate heat during sustained operations. Proper airflow or active cooling prevents throttling and extends drive lifespan.
High Speed Networking
PCIe unlocks networking capabilities beyond the standard Gigabit Ethernet port. You can add 2.5 Gbps or 10 Gbps network adapters to dramatically increase throughput. This transforms the Raspberry Pi into a viable tool for network-intensive tasks like video streaming or large file transfers. The PCIe lane carries far more bandwidth than USB connections, making this a genuine performance leap.
- PCIe Gigabit Adapters: Add multiple Ethernet ports for network redundancy or bonding configurations.
- 2.5 Gbps Adapters: Increase bandwidth to 2.5 times standard Gigabit speed for modest cost and power draw.
- 10 Gbps Adapters: Jump to enterprise-grade speeds for serious networking projects and data center applications.
- Dual-Port Configurations: Stack two adapters for load balancing or separate network segments within one device.
- Power Considerations: Higher-speed adapters draw more current, requiring adequate power supply sizing above standard Raspberry Pi requirements.
Adapter selection depends on your budget and throughput needs. 2.5 Gbps adapters offer the best balance for most tinkerers, avoiding overkill while providing real speed gains. Driver support matters too, so verify Linux kernel compatibility before purchasing. Proper cooling becomes essential with multiple devices on one PCIe bus sharing thermal headroom.
Troubleshooting And Community Support For Raspberry Pi Projects

Common Issues
Most Raspberry Pi failures stem from power supply problems, SD card corruption, or GPIO pin misconfiguration. A 5V power adapter rated for at least 2.5 amps prevents voltage drops that crash the system. Bad SD cards cause boot failures or file system errors. Test cards with official imaging tools before deployment. Check pin voltage with a multimeter when circuits malfunction.
Heat buildup degrades performance and causes random shutdowns. Install a heatsink on the CPU and ensure airflow around the board. Software conflicts arise when mixing incompatible library versions or Python 2 versus Python 3 code. Pin conflicts happen when multiple projects share GPIO pins without proper multiplexing. Read error messages in terminal output instead of guessing.
Online Resources
The official Raspberry Pi Foundation documentation covers every board model, OS release, and supported interface. GitHub repositories host code from thousands of completed projects with working examples. Stack Overflow answers specific technical questions faster than trial and error. Search by error message to find solutions other users already debugged.
Reddit communities like r/raspberry_pi provide peer support from experienced tinkerers who solve problems daily. The Raspberry Pi Forum remains the official gathering place for announcements and detailed troubleshooting threads. YouTube channels demonstrate hardware assembly and code debugging visually. Discord servers offer real time chat with makers solving identical issues right now.
Frequently Asked Questions

I’m completely new to Raspberry Pi. What are some good raspberry pi starter project ideas that are easy to tackle in a weekend?
For beginners, try creating a simple retro game console using RetroPie, building a basic weather station, or setting up a personal media server with Plex. These projects have excellent online tutorials and active communities, making them ideal raspberry pi starter project ideas for learning the ropes and enjoying quick results. You’ll gain valuable experience without getting overwhelmed.
How do I actually get started with a Raspberry Pi project once I have the board? What software do I need to install?
First, you’ll need to flash an operating system (like Raspberry Pi OS) onto an SD card. Use a tool like Raspberry Pi Imager. Once that’s done, insert the SD card, connect power, and follow the on-screen prompts for initial setup. Most raspberry pi starter project ideas will then guide you through installing specific software packages or libraries using the command line.
What additional hardware do I need beyond the Raspberry Pi board itself?
At minimum, you’ll need a microSD card for the operating system, a reliable power supply matching your Pi model’s voltage requirements, and a case to protect the board from dust and accidental shorts. For most weekend projects, a basic heatsink or small fan helps prevent thermal throttling during longer tasks. Beyond that, specific projects may call for extras like a camera module, GPIO breakout board, or Wi-Fi dongle depending on what you’re building.



