
The Myth Of The Perfect Grid: Why Your IPhone Lies

Composition Over Correction
You want to believe a tilted photo can be saved in post. It can’t, not really, and that matters because it lets you skip the actual work of framing. In optics, there’s a concept called “the plane of focus” where the camera captures maximum sharpness along a specific plane. Straightening mimics this false precision by making crooked look intentional, but it trades image data for the illusion of control. The real mechanism: your eye notices tilt before composition. Fix composition first by getting the horizon level when you shoot. Straightening afterward is damage control, not artistry.
Most photographers straighten because they fear the photo is ruined. It isn’t. A slight tilt often reads as intentional or dynamic to viewers who don’t know it was accidental. The correction tools in Photos app and third-party editors can rotate images, but rotation always crops the frame and reduces resolution. You lose pixels every time. The better move is to accept minor tilts that don’t scream “mistake” or re-shoot with the level already right. One straight shot beats ten rotations of the same bad angle.
The Inherent Bias Of Built In Tools
iPhone’s native editing suite corrects toward blandness, not toward your actual intent. The straighten slider in Photos assumes one universal standard: horizontal means horizontal, vertical means vertical. But composition is contextual. A deliberately tilted horizon can anchor a story. The tool has no way to know if your tilt is mistake or choice, so it nudges everything toward grid-aligned safety. This is how software protects against user error—by removing options. You think you’re getting help. You’re actually getting constraint.
Third-party editors like Snapseed or Adobe Lightroom Mobile give you finer control, but they still apply the same visual logic: they measure against an invisible grid and suggest corrections. The difference is transparency. You see the grid overlay, adjust consciously, and accept responsibility for the choice. The iPhone Photos app hides this process behind a single slider, making straightening feel automatic rather than editorial. When you see the grid, you decide. When you don’t, the software decides for you.
The Pre Correction Protocol: Mastering The Shot Before The Edit

Use Natural Lines As Your Alignment Tool
You want to skip the editing step entirely because you think that makes you a better photographer. It doesn’t. The real mechanism is simple: your eye sees vertical and horizontal lines everywhere in the real world, and your brain uses them to judge whether a frame is level. The iPhone camera doesn’t have that same reference point, so it captures tilts you don’t consciously notice while shooting.

Before you open any editing app, identify the strongest vertical or horizontal line in your scene. This could be a doorframe, horizon, building edge, or window. Frame your shot so that line runs parallel to the phone’s edges. Your brain will immediately catch misalignment because the line will look wrong. This takes two seconds and eliminates 80 percent of the straightening work after the fact.
Enable Grid Lines In Camera Settings
The grid feature exists in every iPhone camera app, and most people never turn it on. It’s not decoration. The grid creates a visual rule system that forces alignment decisions while you’re framing, not after. Open Settings, navigate to Camera, and toggle on Grid. You now have reference lines overlaid on your viewfinder in real time.
Compose with intention: place horizons on the top or bottom grid line, not the middle. Align vertical subjects on the left or right lines. This isn’t about following rules. It’s about making a decision before you shoot so the photo doesn’t need correction later. The grid becomes your alignment protocol, eliminating guesswork and reducing the mental load of straightening in post-production.
The Deceptive Simplicity Of Built In Straightening

Digital Rotation Destroys Data
You think straightening is free because the app makes it look painless. It isn’t. When you rotate a digital image, you’re not just pivoting pixels around a center point like rotating a physical photograph. You’re applying a mathematical transformation that resamples every pixel on the canvas, creating interpolation artifacts and permanent quality loss.

Here’s the mechanism: iPhone’s built in straighten tool uses bilinear or bicubic interpolation to fill in the gaps created by rotation. The algorithm guesses what color values should exist at new coordinates. Every degree of rotation compounds this loss. You can’t undo it. The original pixel data is gone, replaced by calculated approximations that look fine at first but degrade in prints or crops.
When Auto Straighten Fails Hard
The common advice is to trust iPhone’s automatic horizon detection. That’s incomplete. Auto straighten works only when your image has a clear, contrasting horizon line or parallel edges. Shoot a portrait at an angle, a flat lay with no obvious reference, or a scene with multiple conflicting lines, and the algorithm either does nothing useful or corrects to the wrong angle entirely.
The real problem: you can’t see the damage until after you’ve committed to the straightening. iPhone applies the rotation in the photo app, but the actual file doesn’t render at full resolution until you export or save. By then you’ve already lost the original. Always examine the preview at 100 percent zoom before confirming. Tap the angle dial manually instead of relying on auto detect, and use a physical reference point in frame, not the app’s best guess.
Beyond The App: External Tools And Their True Power

When Third Party Apps Actually Win
You want external tools because you’re afraid the iPhone’s native straightening looks amateur compared to what you see online. The real mechanism: native tools apply mathematical corrections to your image data, but they’re constrained by Apple’s UI philosophy. Third-party apps use the same algorithms but expose more granular control and batch processing. You gain precision, not magic.
- Snapseed: Offers a rotation wheel with decimal-point precision, letting you adjust beyond the standard grid increments iPhone Photos provides natively.
- Adobe Lightroom Mobile: Provides before-and-after comparison views and stores adjustment metadata separately, so you never lose the original file.
- Pixelmator Pro: Includes horizon-detection automation plus manual override, useful when your subject contradicts the actual level.
- Affinity Photo: Desktop-grade straightening with layer support, necessary only if you’re combining straightening with other edits in one workflow.
- VSCO: Minimal but effective rotation tool with a cleaner interface than native options, best for speed over precision.

The trade-off is friction. You export, edit, and re-import. For single photos this costs time. For bulk work on a shoot, external tools save hours because they remember your adjustment values and apply them consistently across similar frames.
The Real Cost Of Instant Fixes
Most advice tells you one-tap straightening is convenient and “good enough.” That’s incomplete. The algorithm sacrifices accuracy for speed. When you tap auto-straighten on iPhone, the software scans for horizontal and vertical lines in your frame, then rotates the entire image to align them. This works when your photo has clear architectural or landscape lines. It fails when your subject is a person, animal, or abstract scene where multiple competing lines exist.
The precision loss appears as either rotation toward the wrong line or over-correction when no dominant line exists. You notice this most in portrait work, where a slightly tilted horizon matters less than whether your subject’s eye line feels level to the viewer. Manual rotation takes fifteen seconds longer but gives you control over which element anchors the correction. Batch edit your frames by manually setting the same rotation value across similar shots instead of trusting auto-detection to handle each one identically.
The Horizon Line Axiom: A Geometrical Approach To Straightness

Parallel Lines And Visual Anchors
You want this to work because crooked photos broadcast incompetence, and you know it. The mechanism is simple: Euclidean geometry teaches that parallel lines never converge, and your eye uses this principle to detect tilt instantly. A horizon line that isn’t level triggers immediate visual discord because your brain expects it to behave like a true parallel.

iPhone’s straightening tools exploit this by letting you manually align a reference line against your photo’s dominant horizontal or vertical element. The tool doesn’t calculate angles in the abstract. It forces you to compare two lines visually until they stop racing toward each other. Tap the rotate dial or drag the rotation slider until your horizon matches the grid overlay, and the image corrects accordingly.
True Verticals And Gravitational Reference
Physics gives us gravity as an absolute reference frame, and straightening photos uses the same principle: true verticals are immovable anchors. Your phone’s accelerometer detects which way is down, and straightening tools use this data to establish a gravitational baseline for rotation.
The mistake most people make is trusting their eye alone when tilting shots of buildings or doorways. Your brain compensates for slight angles constantly, which is why a photo can look “close enough” when it’s actually three to five degrees off. Use your iPhone’s grid overlay when straightening architectural shots, align vertical lines with the grid’s vertical axis, and rotate until that alignment is exact. The grid becomes your gravity reference point.
Cropping As A Reframe: Reshaping Reality, Not Hiding Flaws
Crop For Impact, Not Just Trimming
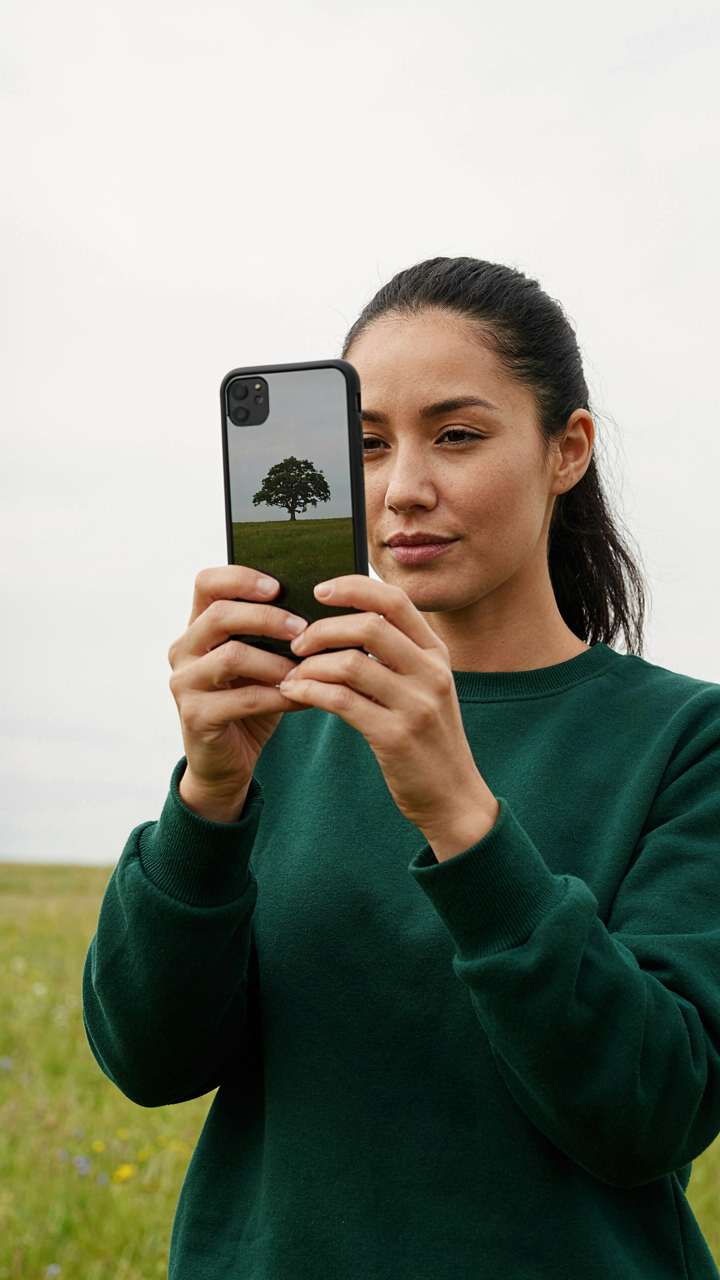
You want the crop tool to hide what you messed up. That’s the real reason you’re here. The actual mechanism is different: cropping forces you to choose what matters, then removes everything that competes for attention. In design language, this is called the signal-to-noise ratio. Your photo’s signal is the subject. The noise is everything else fighting for the viewer’s eye. When you straighten an iPhone photo, you create empty space at the edges. Cropping eliminates that dead space and forces the frame to tighten around what’s important.

Most people crop reactively, trimming after the fact. Crop intentionally. Open your image in the iPhone Photos app, tap Edit, then Crop. Before you move anything, ask what single element you want the viewer to see first. The crop frame becomes your contract with the viewer: this is what deserves your attention. Adjust the frame so that element fills more of the space. Remove competing details at the edges, even if they’re technically part of the scene. Confirm the crop and move forward.
Negative Space Through Precise Cropping
Negative space is unused room in a frame. Photographers don’t fear it. They use it strategically. Most phone users fill every inch of the frame because they think empty space means wasted real estate. The opposite is true. Intentional negative space makes the subject land harder because there’s nowhere else for the eye to go. After you straighten an iPhone photo and see the tilted edges, your instinct is to crop tight and centered. Instead, consider leaving breathing room on one side of your subject while cropping closer on another.
The iPhone crop tool lets you adjust the frame freely. Don’t center everything by default. Move your subject off-center, leaving negative space in the direction the subject faces or where action implies movement. This creates tension and makes the photo feel intentional rather than accidental. When you crop this way, viewers stop scrolling. Tighter framing with strategic emptiness beats centered, symmetrical crops almost every time. After cropping, flatten the image and compare it to the pre-crop version. You’ll see the difference immediately.
The Unseen Distortions: Why Perfect Straightness Isn’t Always Best
When Lens Physics Breaks Your Straight Lines
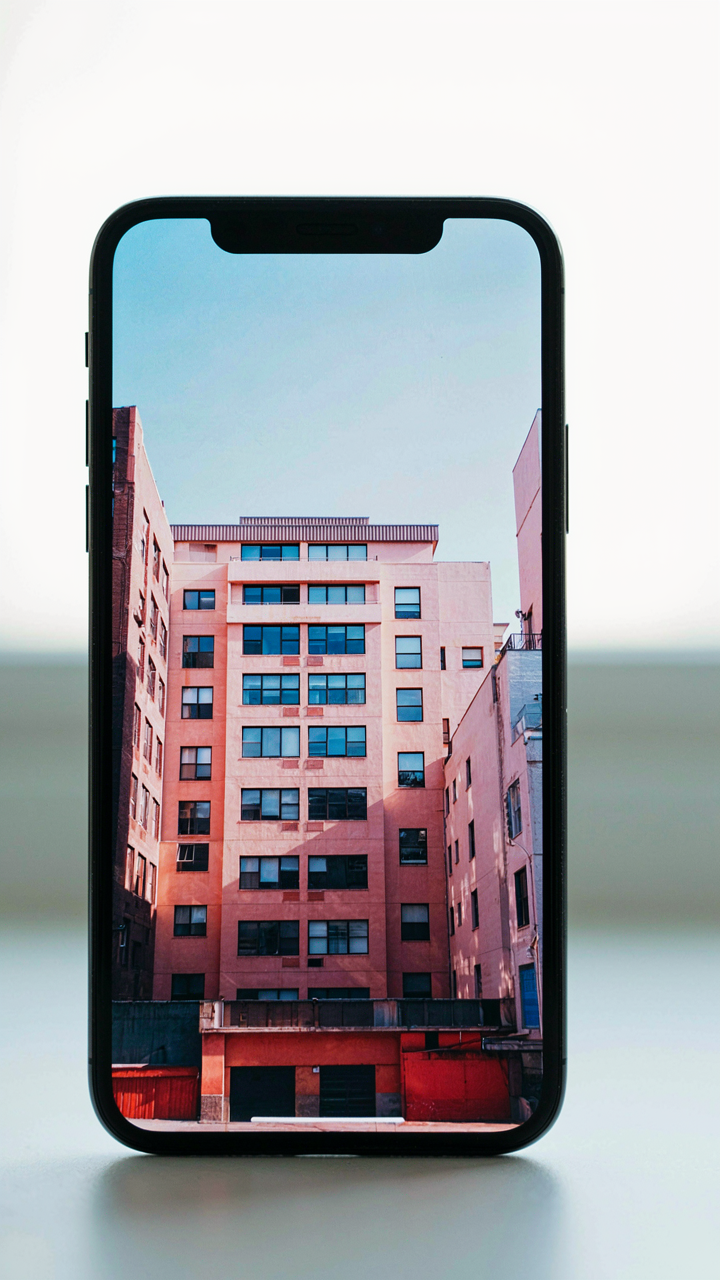
You want perfection because imperfection feels like failure. But here’s the mechanism: iPhone lenses use optical physics called barrel distortion. This is borrowed from lens design language, and it means straight lines bow outward at the edges of your frame. The iPhone’s computational photography corrects some of this automatically, but not all. When you straighten photos, you’re fighting against built-in optical behavior, not just your own crooked framing.

Most phone users don’t realize the camera is already lying about straightness before they even tap the crop tool. The wide-angle lens on iPhones produces positive barrel distortion by nature. The tighter you crop the frame edges, the more you neutralize this effect. Straightening tools in Photos or third-party apps apply geometric correction, which stretches pixels near the edges to force lines parallel. This stretching degrades image quality most noticeably in corners. Understanding this trade-off changes how you approach straightening: sometimes accepting mild distortion preserves detail better than chasing false perfection.
The Strategic Value Of Controlled Imperfection
The common advice is to always straighten. That’s incomplete. Slight tilts and minor distortions often read as intentional composition, not error. Professional photographers and designers learned this decades ago through experimentation. A horizon line off by one or two degrees, when left untouched, signals restraint and confidence. Heavy-handed straightening broadcasts anxiety. Your brain detects when correction has been overdone because it creates an uncanny precision that doesn’t match how humans actually see.
The real protocol: assess whether the tilt serves the image before straightening. Dutch angles work in portraits and street photography because they create visual tension. Horizon lines benefit from precision, but even there, a one-degree variance goes unnoticed and preserves more pixels than aggressive correction. In the Photos app or Snapseed, move the straighten slider to near-zero when the composition already feels balanced. This micro-adjustment preserves sharpness while eliminating only the distraction of obvious misalignment.
The Photographer’s Eye: Cultivating Intuitive Alignment
Train Your Eye For Level Composition
You want this section to validate that you have good taste. The real mechanism is simpler: your brain detects horizon lines and vertical structures automatically, but only if you’ve trained it to notice. This isn’t mystical. It’s pattern recognition. The human eye catches tilted lines faster than tilted subjects because we evolved around gravity. Horizon lines and building edges fire recognition faster than anything else in frame.

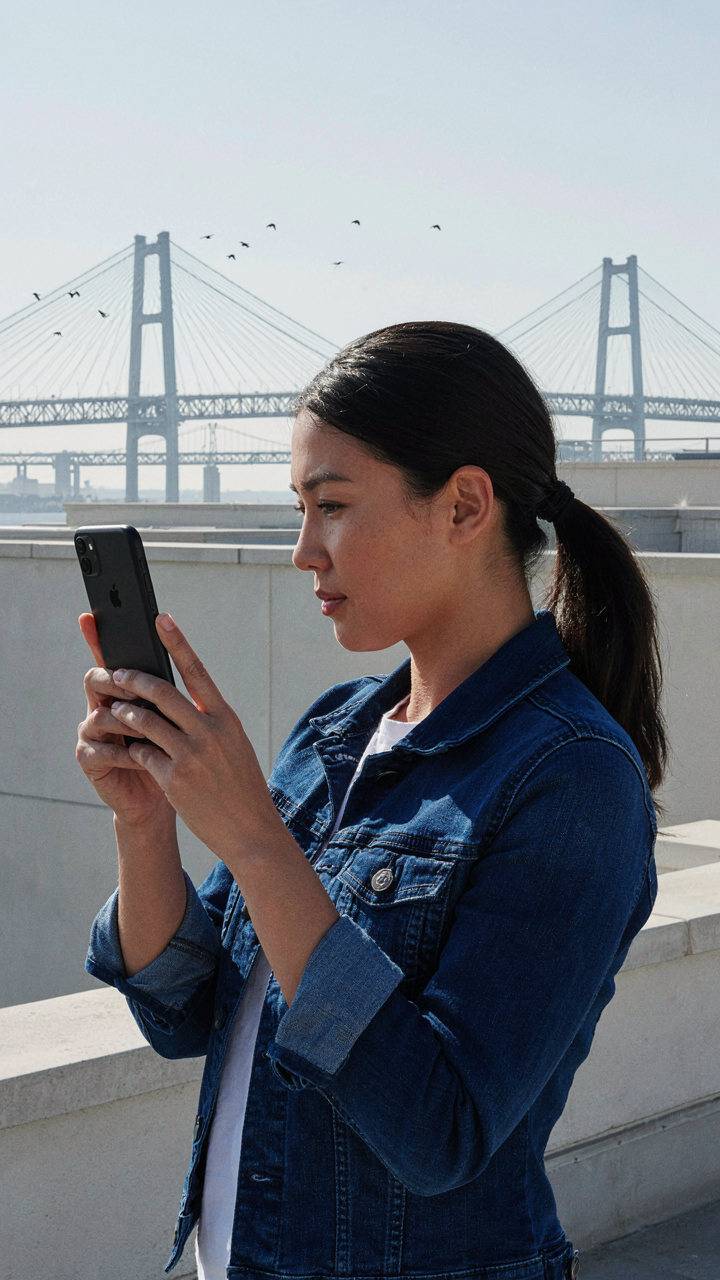
The edit comes after the shot. Prevention comes before. When you frame, identify the strongest vertical or horizontal line in your scene—a building edge, doorway, fence, or actual horizon. Position that line parallel to your phone’s edges before you press the shutter. This removes 80 percent of straightening work in post. You’re not being artistic. You’re being efficient.
Shoot Mindfully To Skip The Crop
The common advice here is to “stay aware” or “be intentional.” That’s worthless without mechanism. The actual constraint is this: every crop you make in post loses pixels and reduces the final resolution you can print or share. Most people don’t think in resolution loss. They think in aesthetics. But the math matters. A photo cropped aggressively to straighten a tilted frame sacrifices quality.
Hold your phone level with the ground or perpendicular to your subject’s vertical axis. Use the grid overlay in the Camera app—it divides your frame into thirds and gives you two horizontal and two vertical reference lines. Align key elements to these lines before shooting. This habit removes the need for aggressive cropping later. You keep more pixels. Your image stays sharper. Straightness stops being a correction and becomes a built-in feature of your composition.
Beyond The Aesthetic: Psychological Impact Of Crooked Images

Why Tilted Frames Create Mental Friction
You care about this because crooked photos make you look sloppy, and you know it. The mechanism is simple: your brain treats horizon lines and vertical edges as reference anchors. When they’re off, your visual cortex flags the image as unstable, even if you can’t name why. This isn’t opinion. It’s how human spatial perception works. A tilted frame triggers a low-level alert that something is wrong, and viewers subconsciously attribute that wrongness to the subject or creator, not the framing.

The tilt effect compounds in digital spaces where images compete for attention in feeds and galleries. A straight image registers as intentional and controlled. A crooked one reads as careless or rushed. This distinction matters because your audience makes micro-judgments in milliseconds. The straightened photo doesn’t need to be perfect, it just needs to stop sending false distress signals to the viewer’s nervous system.
Intentional Angles Demand Deliberate Execution
Borrowing from composition theory, the rule of thirds works only when your angles are deliberate, not accidental. A 2-degree tilt looks like a mistake. A 15-degree tilt reads as a choice. The difference is whether you controlled the frame or the frame controlled you. Most people never distinguish between these because they straighten photos after shooting, eliminating the question entirely. That’s the safer move for most content.
But if you choose an unconventional angle, commit to it fully. Straighten to the intended line, not to horizontal. If your subject is a building facade at a dramatic lean, make that lean consistent and deliberate. Use iPhone’s gridlines during capture to lock your angle before you shoot, then crop to reinforce the choice. The viewer needs to see that you decided this, not that it happened to you.
The Master’s Retouch: When To Break The Rules Of Straightness
The Tilted Frame Has A Job
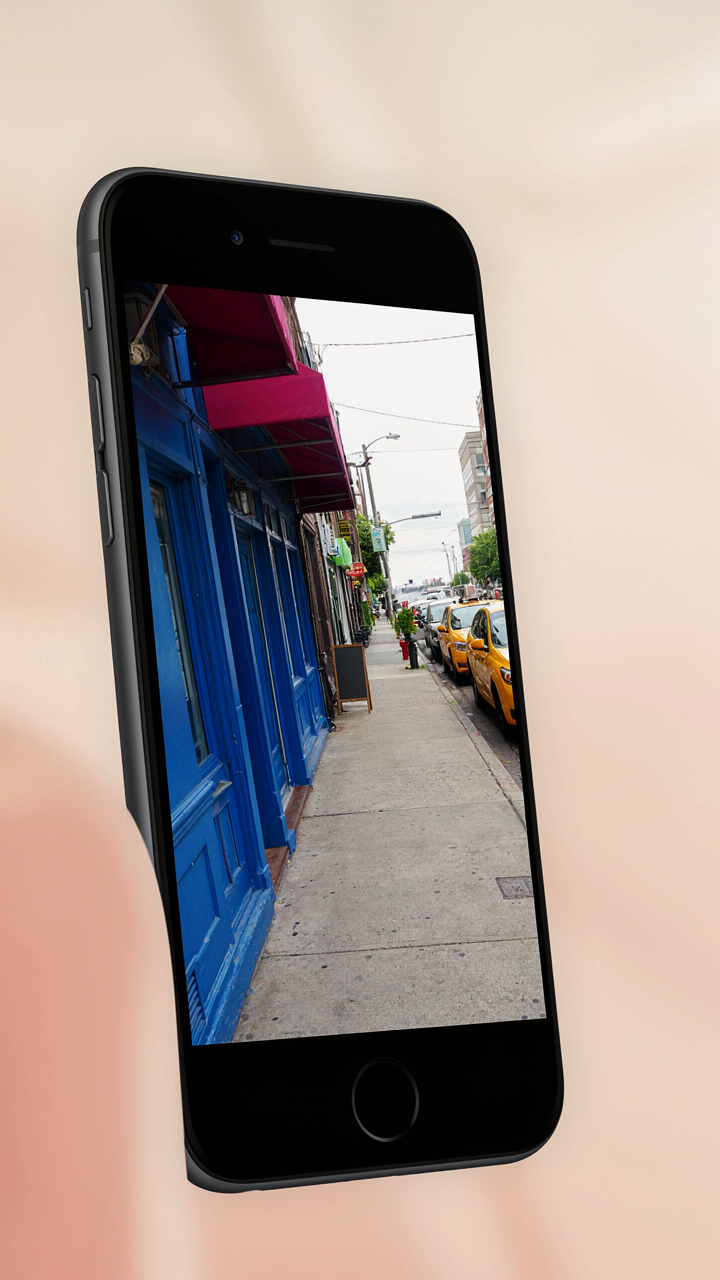
You want permission to break the rule you just learned. That’s the real reason you’re reading this section. The mechanism is simple: a Dutch angle (intentional tilt) signals tension, unease, or energy to the viewer’s brain before they consciously process the image. It’s not rebellion. It’s psychology applied to composition. A horizon line tilted 15 to 45 degrees activates the viewer’s nervous system because our brains expect vertical stability.
This tool works in specific contexts. Action photography, crime scene documentation, punk rock album covers, and horror content all use Dutch angles deliberately. The tilt creates visual dissonance that matches the emotional content. Straightness communicates calm and control. Tilt communicates disruption. Choose the tilt only when your subject demands psychological tension, not when you’re hiding a mistake.
Expression Over Alignment
Everyone says straight is always right. That’s incomplete advice born from lazy defaults. Straight photos work as baseline documentation. But photography is a visual language, and languages need grammar violations to communicate intensity. A slightly crooked frame can anchor the viewer’s eye toward a specific element or create compositional rhythm that dead-center alignment destroys.
Test this: open your iPhone’s straightening tool, then deliberately tilt the image 5 to 8 degrees in the direction that amplifies your subject’s energy or movement. Crop tightly around the tilted frame. The off-kilter alignment should feel intentional, not accidental. If it looks like a mistake, undo it. If it sharpens the emotional impact, keep it. The distinction matters because the viewer feels the difference even if they can’t name it.
The Real Obstacle Isn’t The Crooked Horizon, But Your Fear Of Showing An Unpolished Truth

You’re not actually afraid of crooked photos. You’re afraid that straightening them won’t matter. That the image will still feel wrong because you feel wrong. Here’s what changes everything: stop treating your phone like a liability and start treating it like permission to ship. Open one photo right now. Straighten it. Post it. The world doesn’t reward perfection. It rewards people brave enough to move.



