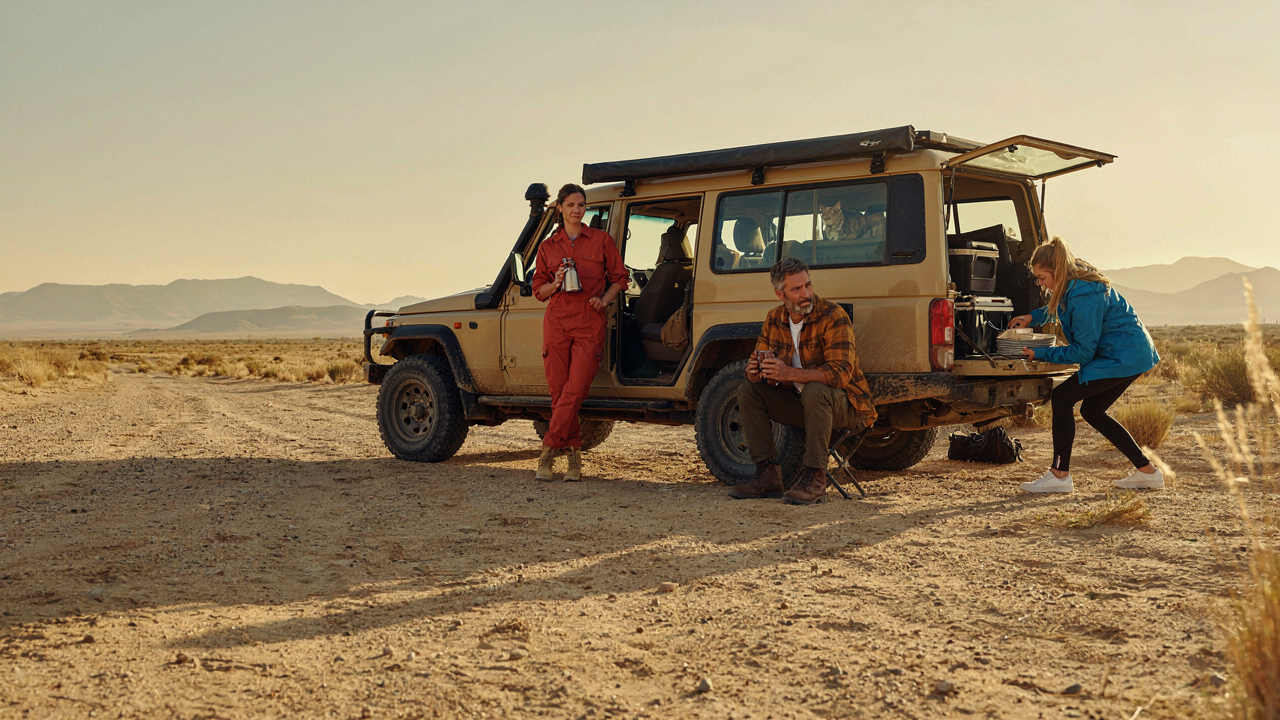
The “Best Rooftop Tents” Illusion: Why More Isn’t Better
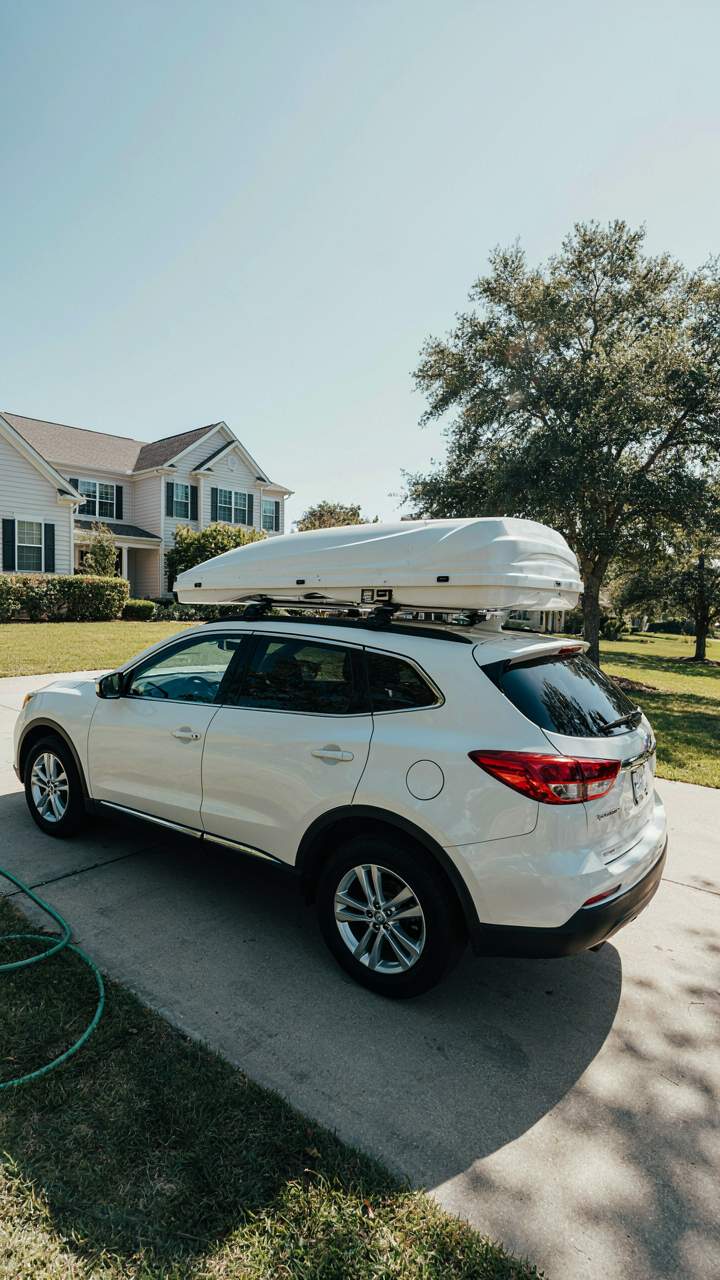
What You Actually Need To Sleep
You want the best tent because you think it signals you’re serious about this. The mechanism is simpler: a rooftop tent solves one problem—keeping you dry and off the ground at height. Everything beyond that is noise. A tent needs a functional rain fly, secure attachment points, and mattress that doesn’t trap moisture. That’s the constraint. Most first-timers buy features they’ll never activate because reviewers list specs instead of naming what they’ll actually use.
The market floods you with three-season ratings, ventilation systems, and built-in annex options. You don’t need these yet. A single-wall or double-wall design that sheds water and seals against wind handles 90 percent of real conditions. Capacity matters only if you’re sleeping two people—otherwise you’re paying for square footage you’ll never occupy. Start by asking what you’ll actually do inside the tent: sleep, or also store gear during rain?
Spending More Buys Guilt, Not Utility
Economics teaches diminishing marginal returns: each additional dollar spent delivers less value than the last. A $2,000 tent isn’t twice as good as a $1,000 one. You pay for brand reputation, exotic materials, and features that solve problems you haven’t encountered. Premium tents use aluminum frames instead of steel, add integrated skylights, or include heating compatibility. These matter if you’re camping in winter or expeditioning for months. For weekend trips, they’re expensive insurance against scenarios that won’t happen.
The tell: you’ll see first-timers with high-end tents that stay perfectly maintained in driveways. The tent didn’t change their behavior because they bought capability, not experience. Spend $1,200 to $1,600 on a reputable brand with proven seals and hardware, then spend the money you saved on gas and trips. You’ll learn what you actually need after five trips, not before. Start minimal and upgrade when you hit a real constraint, not when a spec sheet tempts you.
Mastering The Setup: Beyond The Brochure
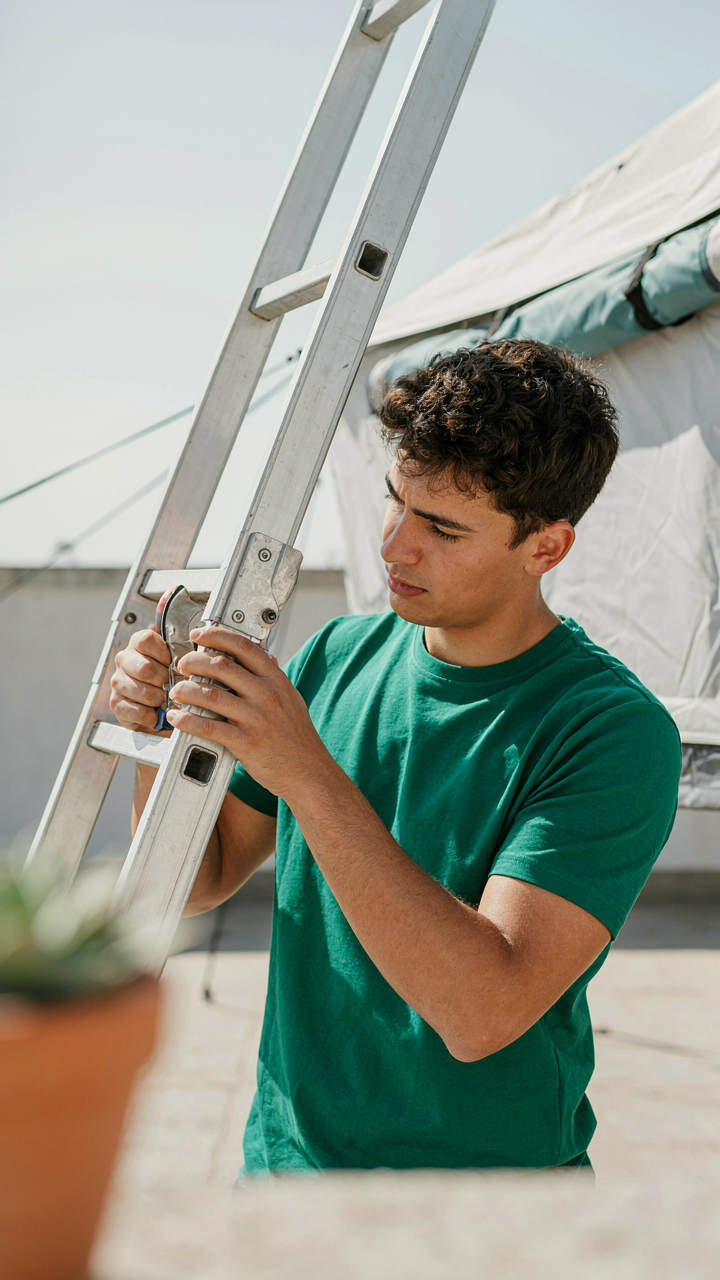
The Sequence That Saves Your Night
You want to look competent in front of your friends. That’s why you care about this. The real mechanism is that deployment order determines whether you fight physics or work with it. Deploy the tent before the ladder, and you’re jamming fabric into open space while gravity works against you. Deploy the ladder first, then open the tent, and the hinge mechanics unfold downward into clear air. Every rooftop tent manufacturer designs the sequence into the hardware, but nobody reads it because the manual looks like a JPEG of a JPEG.

The correct order is ladder down, tent lid propped open to full height, then fabric deployment. This takes 90 seconds instead of five minutes of cursing. Secure the lid in the fully open position before pulling any fabric toward you. Verify the hinge pins seat completely before trusting body weight. This isn’t optional theater. The difference between smooth setup and a collapsed tent wall in wind is whether you respected the designed sequence.
Sealing Against What Actually Happens
Rain doesn’t wait for your tent to stop being damp. Most advice says “keep your seams sealed” like you’re buying a product instead of managing a system. The mechanism is vapor pressure: moisture moves from high pressure (inside the tent) to low pressure (outside air), regardless of where water visibly pools. Gaskets fail because overlanders skip the verification step before each trip, not because the gasket was bad initially.
Inspect every seal, zipper, and weather strip while the tent is closed but before deploying it. If you see discoloration or stiffness, that gasket is already compromised. Apply silicone-based sealant to any hairline gaps where canvas meets metal frame, not to the seams themselves. Test this by hosing down the closed tent from six feet away at different angles. Water finding a path inside means you’ve identified the problem while parked at home, not inside a tent at midnight.
The Overnight Overlander Protocol
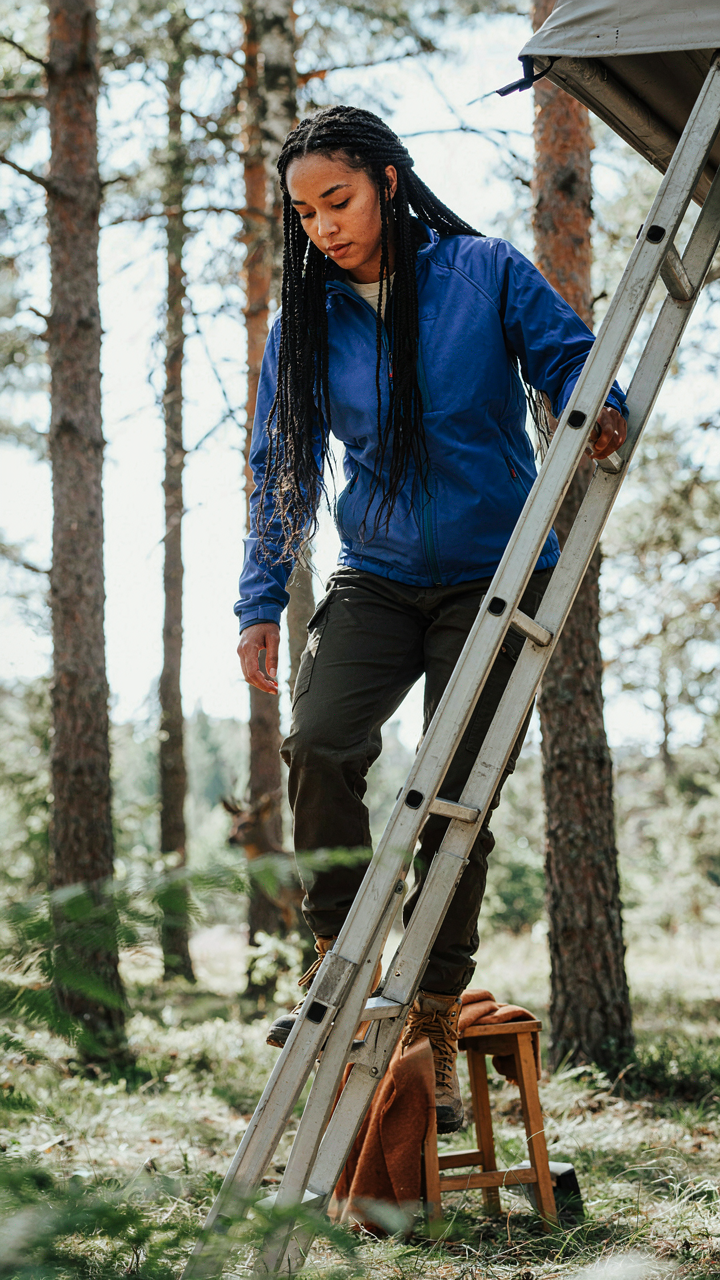
Pre Sleep Checks Hierarchy Of Needs
You want to feel like you’ve got this handled so you can sleep without running through mental checklists at 2 AM. The mechanism is simple: physical security beats comfort, comfort beats convenience. Maslow’s pyramid applies here, except you’re building from the ground up on a metal platform eight feet above solid earth.

Start with the tent’s structural integrity. Check that all four corners sit flush against your roof rack. A single loose corner creates flex. Flex creates noise. Noise kills sleep and signals to your unconscious that something’s wrong. Test the ladder rungs by putting your full weight on each one, top to bottom. A cracked rung fails at midnight, not in daylight when you can assess it. Then verify your mattress sits level without gaps where it meets the tent walls. Air leaks from those gaps. Cold follows air.
Next, confirm your descent path is clear. You need a straight shot from your bed to the ground without obstacles, rope, or gear in the way. An emergency descent in darkness should take twelve seconds maximum. Check your power source: battery level, connections to any heated blankets or fans, USB ports accessible without moving equipment. Finally, inspect tent seals and zippers for debris. Sand in a zipper track means a stuck tent at dawn when you need to pack out.
Morning Pack Down Efficiency Hacks
Most people reverse their setup process and waste fifteen minutes hunting for straps they didn’t use. Pack down only works if you establish a sequence and repeat it verbatim every morning. The goal is moving from fully deployed to road-ready in under eight minutes.
Start with mattress deflation before you leave the tent. A fully inflated mattress takes up dead space during pack-down and forces awkward angles when folding the tent. Deflate it completely while you’re still in bed, then use your body weight to compress it into its storage bag while horizontal. This cuts folding time in half. Next, break down the tent frame in the exact reverse order you assembled it. If you went corner one, two, three, four on setup, do four, three, two, one on breakdown. This prevents confusion and cross-threading bolts.
Stow all hardware in one dedicated pouch before you touch the tent fabric itself. Zippers, bolts, ladder brackets, and connectors scatter in morning darkness. Losing a single bolt means a loose tent on the highway. Once hardware is contained, collapse the tent and bag it damp if needed. Drying happens at camp that night or at home. Do not delay departure to dry the tent in the field. Roll your mattress and tent bag together, strap them to the rack in the same orientation every trip, then do a final visual walk around the vehicle checking all four sides for loose gear before you drive away.

Site Selection Strategy: Beyond The Scenic View
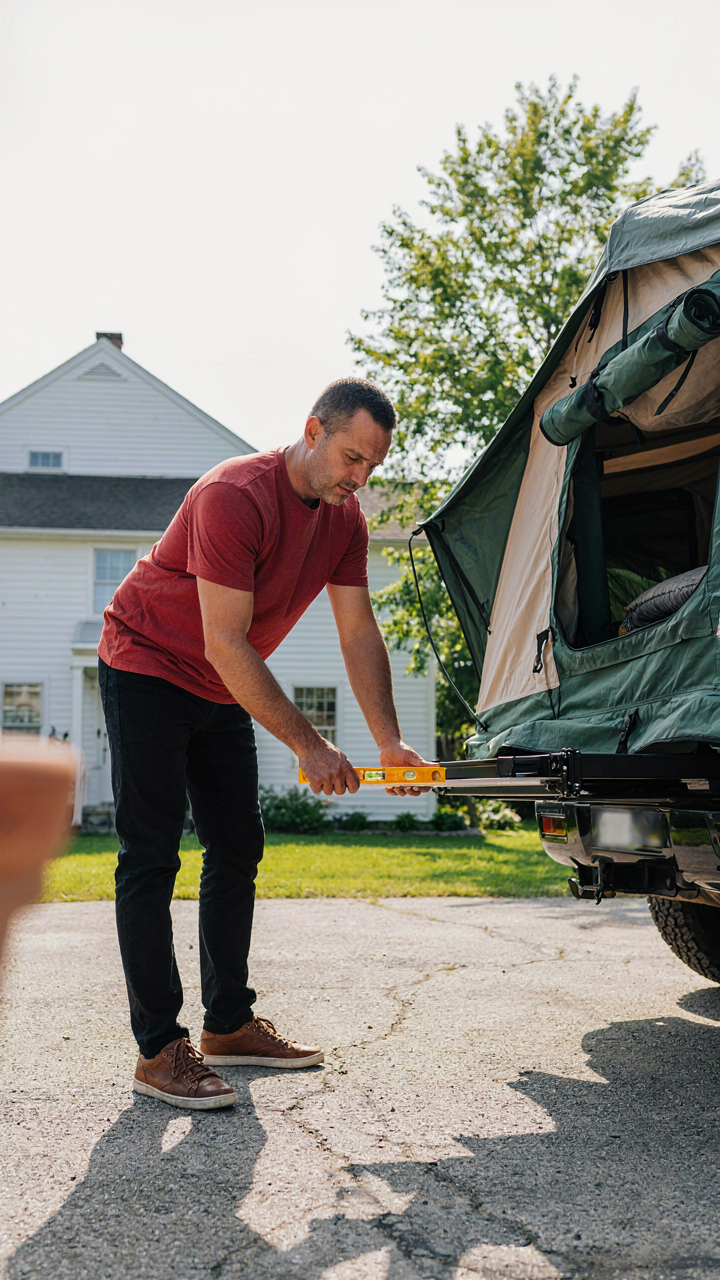
Flat Ground Beats The View Every Time
You want the Instagram spot. That’s the real reason you’re reading this section. But a rooftop tent on uneven terrain becomes a physics problem that ruins sleep and strains your mounting system. The principle borrowed from structural engineering: load distribution only works when force meets resistance at a perpendicular angle. Pitch matters.
Start by testing the ground with your body weight before deploying the tent. Walk the perimeter slowly. Your feet find micro-slopes your eyes miss. Use a level on the tent’s base platform after setup, or better yet, carry a bubble level and check during site selection. Most overlanders skip this step and spend the night fighting gravity instead of fighting whatever actually keeps them awake.
Wind Patterns And Sun Exposure
Wind doesn’t just feel cold. It creates aerodynamic pressure against your tent’s fabric that translates directly into stress on mounting bolts and seams. Scout your site by observing vegetation. Trees lean in prevailing wind direction. Position your tent perpendicular to that flow, not facing into it. Sun exposure determines interior temperature from dawn onward. A western-facing tent in summer climates bakes by midday before you’ve even unzipped the ladder.
Privacy comes last because it matters least to function but most to your mindset. Vegetation, rock formations, and distance from established roads block sightlines. Nomad camps cluster in obvious places. Choose a position 200 yards minimum from where others naturally settle. Elevation shifts the calculus: higher ground offers both visibility and defensibility while creating better airflow for temperature regulation. Scout during the golden hour before you commit stakes.
Rooftop Tent Camping: Sleep Systems, Not Just Sleeping Bags

Your Layers Are A Thermostat, Not Fashion
You want to feel tough sleeping outside, but your body doesn’t care about that story. Biology treats sleep as a heat management problem: you generate warmth, lose it to air and ground, and your nervous system either relaxes or stays alert based on whether core temperature stays stable. The mechanism here is simple. A sleeping bag alone doesn’t work in a rooftop tent because you’re losing heat downward into the tent floor and sideways through canvas. You need barriers below, around, and above simultaneously.
The real mistake most first-timers make is stacking too much insulation at once, then sweating through the night and waking cold. Your system needs adjustment points. Start with a quality sleeping pad under your bag—this stops ground loss, which accounts for roughly half your heat escape. Use a mid-weight bag rated for 10-15 degrees below your expected low. Add a liner inside the bag, not for warmth primarily, but for sweat management and extending bag lifespan. Wear a base layer that wicks, not cotton, and keep a fleece in reach to add or remove within seconds. The goal isn’t maximum warmth; it’s stable warmth you can tune without breaking sleep.
Condensation Wins If You Play Passive
Physics says this clearly: warm air holds more moisture than cold air. When your breath and body heat hit the cold canvas roof inches above your face, that moisture condenses into liquid. People blame the tent. The tent isn’t the problem—your management of vapor pressure is. Most advice says “crack the vents and hope,” which is lazy and incomplete.
Set up the tent with a deliberate airflow pattern before sleep. Position your head toward the vent that lets moist air escape, your feet toward the opposite side. Open both vents fully, even when cold. The air movement, not the gap size, prevents pooling. Wipe down the interior canvas roof with a microfiber cloth in the morning before packing—this removes condensation before it soaks the fabric. If you wake to dripping, you waited too long to ventilate or your sleeping pad is blocking airflow underneath. Adjust pad position, not your sleep schedule.

Security And Stealth: How To Camp With A Rooftop Tent Unnoticed
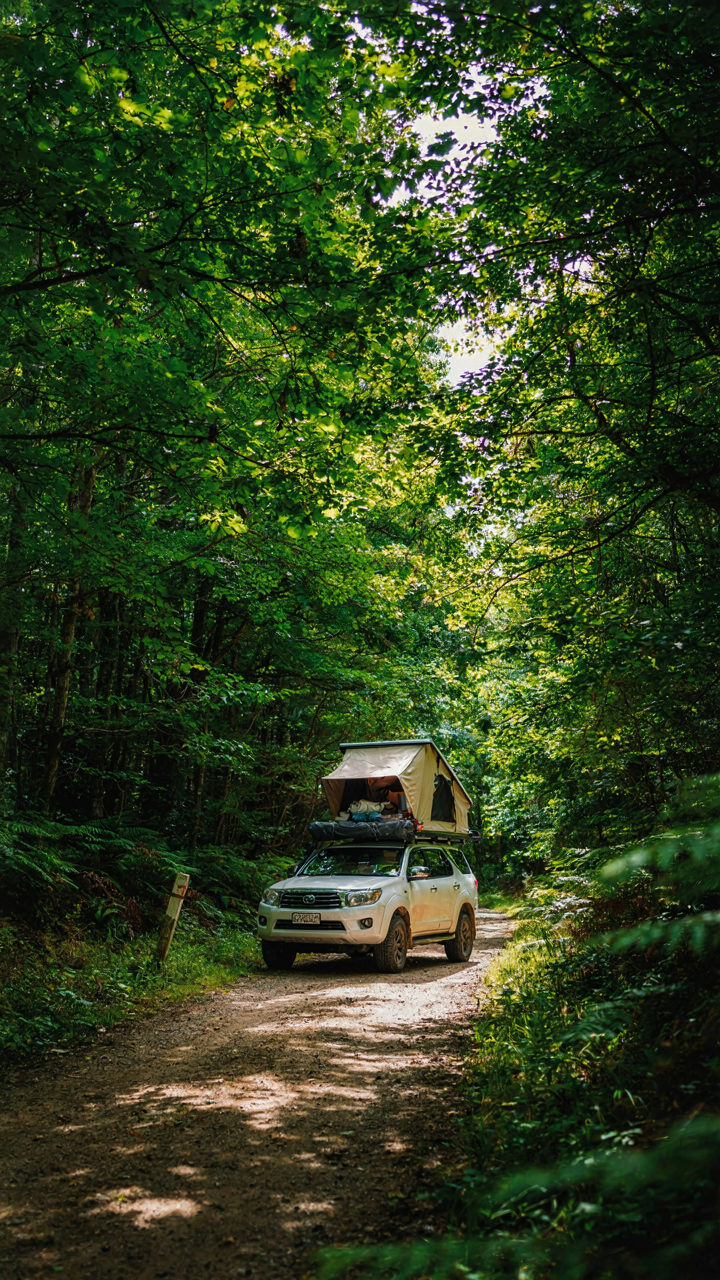
Where You Park Matters More Than How You Hide
You want people to forget your truck exists. That’s the real fear here, masked as a technical question about positioning. The mechanism is simple: a rooftop tent makes your vehicle impossible to ignore visually, so positioning becomes your only defense. Park in shadow or dead space, not in the open where every passing eye catalogs you as the camping target. Dense tree cover breaks your silhouette. A vehicle perpendicular to the road disappears faster than one parallel to traffic. Distance from the main thoroughfare buys you anonymity.
The tactical principle comes from military camouflage doctrine, where concealment relies on disrupting outline and reducing detectability by contrast. Your truck against open sky has zero contrast advantage. Your truck under a canopy of branches regains it. Park where a person’s eye needs to work to notice you. This means accepting that the “perfect” scenic overlook is actually the worst spot. Choose incomplete concealment and obscurity over drama every time.
Eliminating Your Signature At Night
Most advice on this is incomplete. People tell you to use low-lume lights and avoid flashlights. They miss the sound layer entirely. Your tent ladder, your footsteps on the roof, your door slam, your external fan running all broadcast occupation to anyone within earshot. Light discipline means nothing if you announce yourself every thirty seconds. Use a headlamp with red-light mode set to the lowest setting. Step carefully on the roof when the tent is occupied. Avoid running roof vents or fans during evening entry hours.
Sound discipline requires the same rigor as light discipline. Close vehicle doors slowly and deliberately rather than letting them latch naturally. Communicate with your travel partner using hand signals or texts during setup in unfamiliar territory. Store gear so nothing rattles during wind gusts or driving. The protocol is simple: treat every movement and sound like it’s being monitored. This isn’t paranoia, it’s recognition that visibility comes in multiple forms. Eliminate both simultaneously, and you become unworthy of investigation.
Maintenance Myths: Extending Your Rooftop Tent’s Life

Clean It Right After Every Trip
You’re afraid your tent will rot if you don’t baby it immediately. That’s partly true, but the real mechanism is osmotic pressure: moisture trapped between fabric layers creates conditions for mold and material breakdown. Most people hose down their tent and call it done. Wrong. You need to address what’s inside the fabric itself, not just the surface.
Let the tent dry completely before packing it away. Open it fully, leave it pitched if possible, and give it 24 to 48 hours in open air with low humidity. Wipe down the interior canvas with a dry cloth to pull moisture from the seams and corners. Remove any debris, leaves, or dirt that collects in the mattress or floor. Spray the exterior with a garden hose using low pressure, never high pressure that forces water into seams. Dry the zippers and tracks with a cloth afterward.
Store It Loose And Elevated
Long-term storage kills more tents than actual use. The common advice is “keep it clean and dry,” which is incomplete. The real problem is compression and stagnant air. Folding a tent tight and stacking weight on it for months forces moisture deeper into fibers and creates pressure points where fabric fails prematurely.
Store your tent pitched or loosely folded in a climate-controlled space, never compressed into a bag. Elevation matters: place it on a shelf or pallet, not directly on concrete that wicks moisture from the ground. If you must keep it partially folded, rotate the fold lines every two months to prevent permanent creasing. Ensure airflow around the entire structure. Before the next trip, unpack it three days early and let it breathe indoors or in shade. This single protocol step prevents ninety percent of off-season degradation.

Emergency Preparedness: What Real Overlanders Pack
Medical Gear Beyond Bandages
You want the safety net because you’re worried about looking unprepared if something goes wrong. The real mechanism is this: remote travel removes you from immediate medical infrastructure, so your kit must handle the gap between injury and hospital. A standard first-aid kit addresses minor cuts. You need escalation tools.
- Tourniquets: Carry two quality tourniquets rated for limb hemorrhage control. Standard first-aid kits skip these because they’re specialized, but blood loss is the actual killer in remote settings.
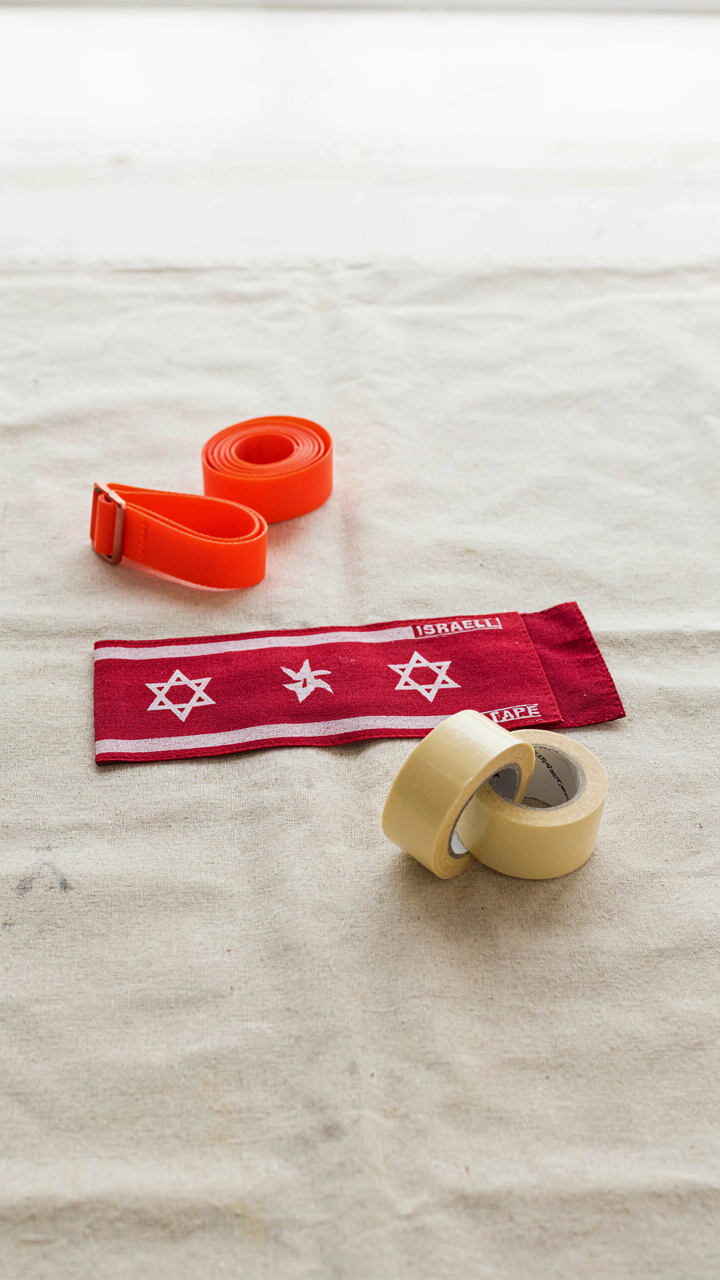
- Pressure dressings: Israeli bandages or equivalent trauma dressings handle deep wounds and punctures that tape cannot manage. They stay put under movement and dust.
- Medications beyond pain relief: Antihistamines for allergic reaction, antidiarrheal agents for contaminated water exposure, and anti-inflammatory tablets address common overlanding issues not solved by ibuprofen alone.
- Blister prevention and repair: Moleskin, athletic tape, and hydrocolloid patches prevent foot failure on multi-day trips. Blisters end trips faster than injuries most overlanders expect.
- Tweezers and needle: Thorn removal and splinter extraction matter in desert and scrub environments where infection becomes dangerous without proper drainage.
Your rooftop tent puts you hours from help. Store medical gear in a waterproof container mounted inside the tent or within arm’s reach of your sleeping position. Accessibility speed matters more than organization aesthetics when you’re bleeding in the dark.
Communication And Recovery Tools
Vehicle recovery from a rooftop tent setup follows supply chain logic: your stuck vehicle is only as recoverable as your tools and ability to signal for help. Isolation amplifies every problem. You cannot rely on cell signal, so mechanical redundancy becomes your actual network.
A recovery strap, shackles, and basic traction boards stay mounted to your vehicle frame, not packed in your tent. You need them deployed in minutes, not dug from storage. A satellite communicator or personal locator beacon transmits your position when cellular fails. This is not optional in dead zones. A CB radio or two-way radio system lets you coordinate with other vehicles and access emergency frequencies. Paper maps of the region, with your planned route marked, survive battery failure and provide navigation when electronics quit. A basic repair kit including spare belts, radiator hose, jumper cables, and a tire plug kit handles the failures that actually strand overlanders. Know how to use each item before you need it. Your rooftop tent adds weight and shifts your center of gravity, so recovery angles and strap attachment points require planning specific to your setup before you’re stuck.
The Mental Game Of How To Camp In A Rooftop Tent
Discomfort Is The Training Ground
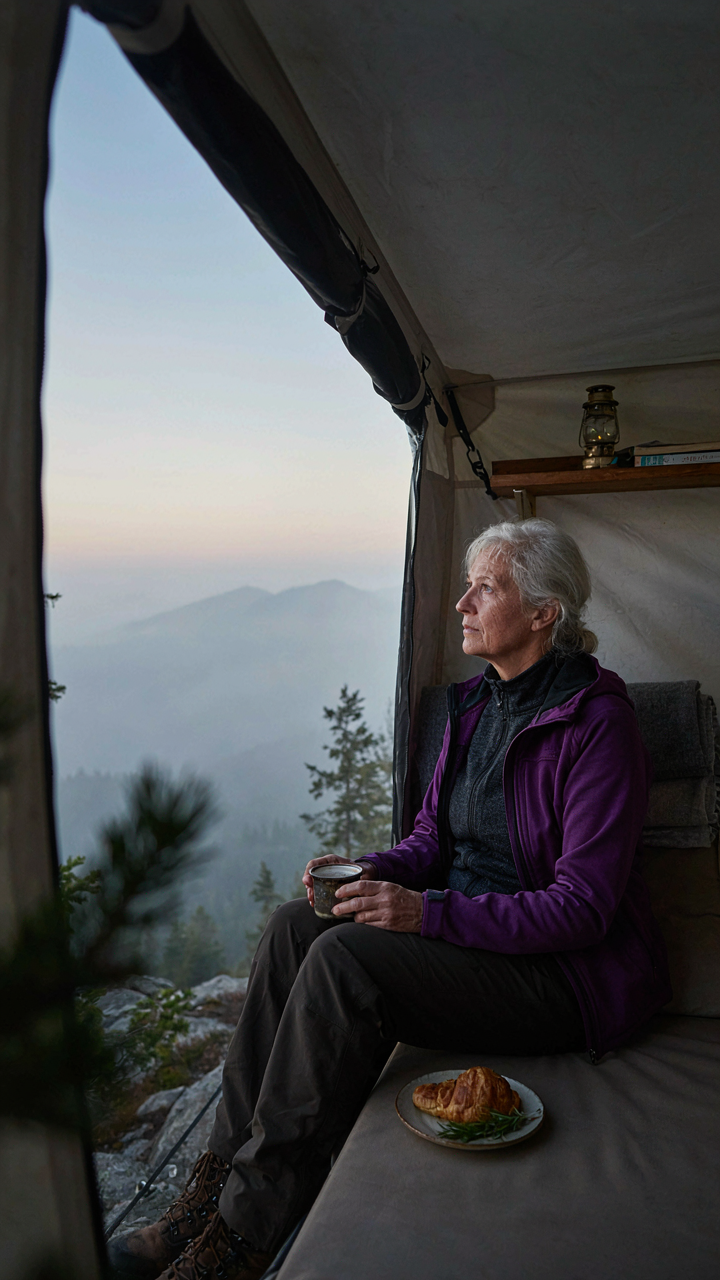
You’re reading this because you want to believe rooftop tent camping is an upgrade—cleaner, safer, more civilized. It’s not. It’s a constraint that forces you to solve problems you’ve never faced. The mechanism is simple: physical limitation builds decision-making speed. When your bed moves in wind, when condensation pools on fabric inches from your face, when you’re trapped in a box at 4 AM, you stop overthinking and start executing.
Most advice tells you to “get comfortable with being uncomfortable.” That’s meaningless. What matters is the specific discomfort—cold that wakes you at 2 AM, gear that won’t fit, rain that sounds louder than expected—because each one teaches you something about your setup that mattress shopping never will. You either adapt your tent position, your bedding layers, your weight distribution, or you fail the next trip. That’s the actual skill.
Deciding When Conditions Turn
Military doctrine calls this “decision-making under degraded conditions.” Your rooftop tent version: weather changes fast, visibility drops, road conditions shift—and you’re fifteen feet off the ground with limited exit options. The common advice is “check the forecast.” That misses the point. Forecasts are wrong. What matters is the threshold where you stop driving and pull over to set up, versus the threshold where you leave camp and find shelter elsewhere.
Build a personal decision tree before you trip, not during it. At what wind speed do you secure additional guy lines? At what temperature does condensation become a threat? At what rain intensity do you close all vents? Write these down. Run through them in calm conditions so your brain doesn’t have to invent rules while tired or stressed. This turns panic into protocol. Your first uncomfortable night becomes data. Your second becomes skill.
Maximizing Value: How To Choose Rooftop Tent For Travel
Know Your Trip Length Before You Buy
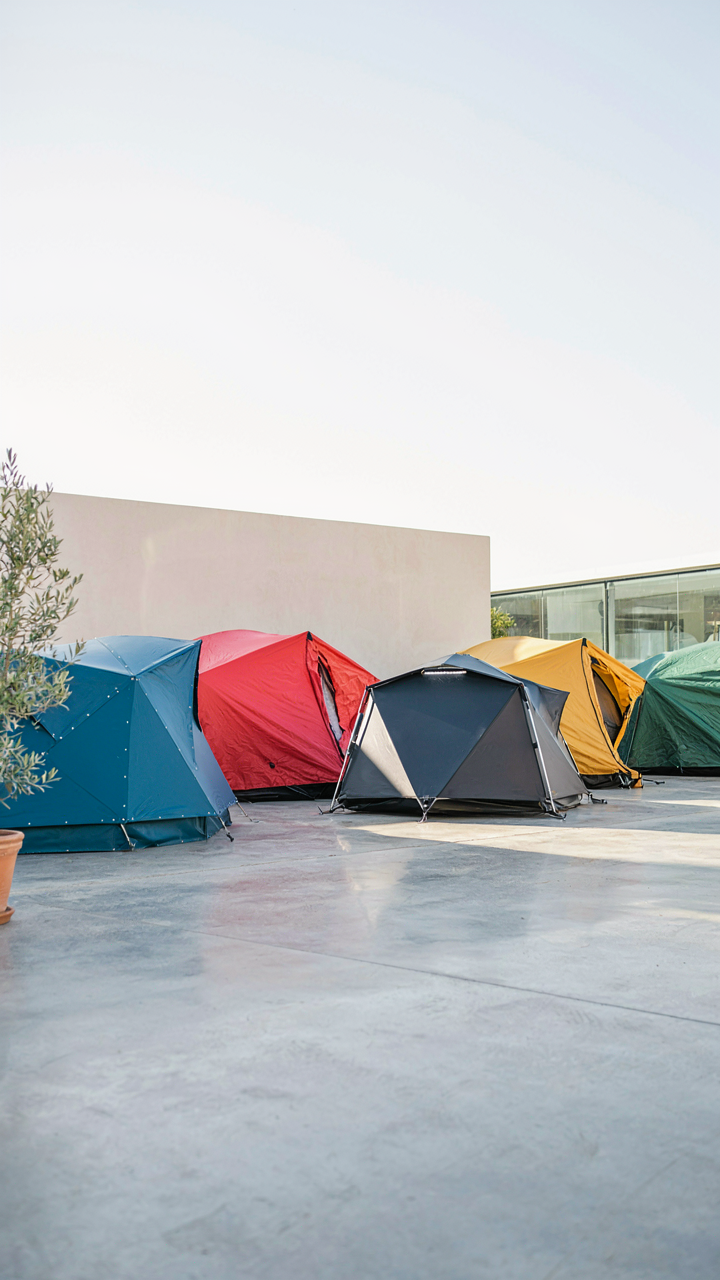
You’re worried you’ll waste money on the wrong tent. The mechanism is simple: tent choice tracks trip duration, not preference. A two-week vacation demands different specs than six months of nomadic travel. Long-term users need durable fabrics that withstand UV exposure, reliable zippers rated for thousands of open-close cycles, and ventilation that prevents mold during extended moisture exposure. Short-term renters can tolerate compromises that compound over months.
Assess your realistic travel window first, then work backward to tent specifications. A hardshell tent lasts longer under constant use but costs more upfront. Soft-shell models weigh less and pack easier but fabric degrades faster in direct sun. If you’re testing overlanding for three months, softshell makes sense. If you’re committing to two years, hardshell absorbs the cost difference through longevity. Map your trip duration to material lifespan before opening your wallet.
Resale Recovers 40 To 60 Percent
The used rooftop tent market is elastic. Major brands like Tepui, iKamper, and Smittybilt hold value predictably because buyers recognize quality markers and availability of replacement parts. A tent purchased at 2500 dollars typically sells for 1200 to 1500 dollars after two years of regular use, assuming no damage to fabric or frame. Condition matters more than age. Stains, UV damage, or broken zippers tank resale value faster than mileage alone.
Upgrades fall into two categories: those that transfer and those that don’t. A roof rack upgrade stays with your vehicle. A tent itself doesn’t justify an upgrade unless the original model becomes obsolete or fails. Before buying premium add-ons like heated mattresses or blackout fabrics, check whether previous owners actually recovered that cost in resale listings. Most don’t. Stick to core specifications that appeal to the broadest buyer pool: weatherproofing, fabric quality, and mechanical reliability. Sell after one season if the tent doesn’t match your actual travel pattern.
The Real Obstacle Isn’t The Tent; It’s Your Unexamined Expectation Of Ease
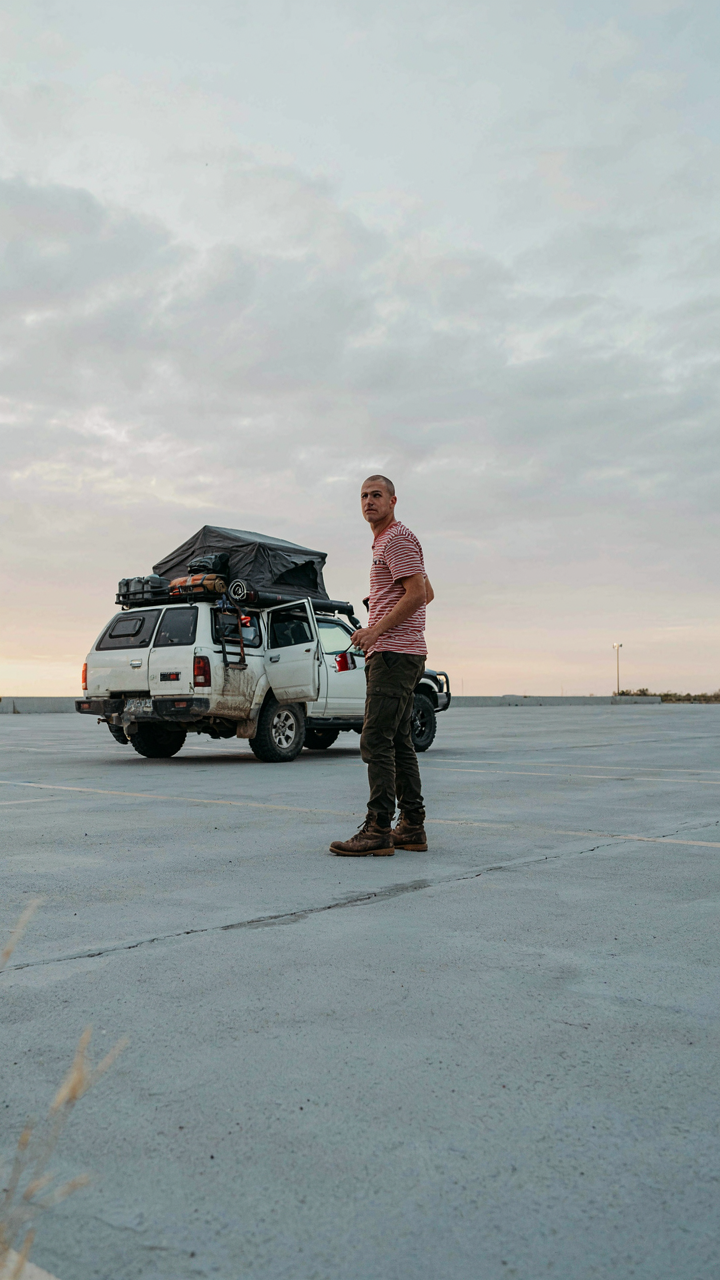
You’ll fail at rooftop tent camping not because you bought the wrong gear, but because you expected it to feel comfortable immediately. Your body needs two trips minimum to adjust. Your setup skills need three. Stop waiting for perfection and book your first trip this month, even if it’s just one night in a parking lot thirty minutes away. The only way through discomfort is straight into it.