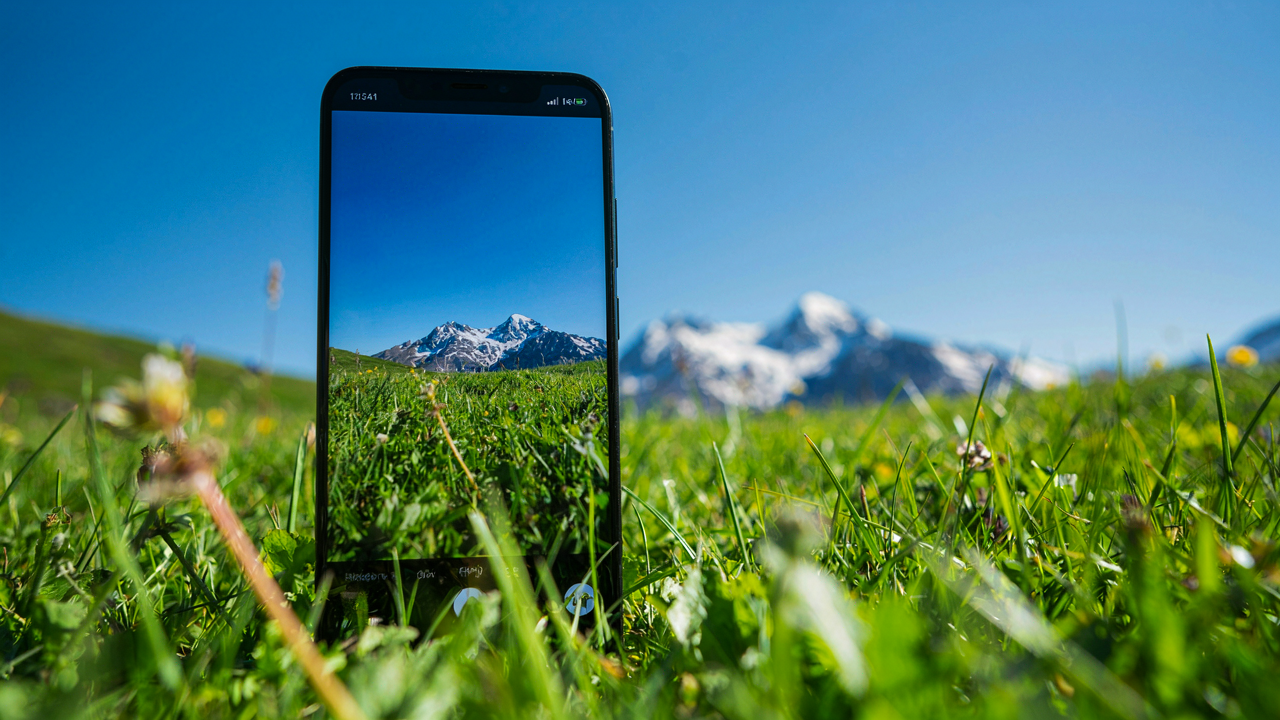
The Optical Illusion: Why Digital Zoom Fails Every Time
When Zoom Doesn’t Mean Closer
You want the shot without moving. That’s the real reason you’re reading this. Here’s what happens: your iPhone captures data at a fixed resolution. When you pinch to zoom digitally, the processor doesn’t gather new information. It enlarges existing pixels. In signal processing terms, this is interpolation: the system guesses what missing data should be between known points. The result is always softer than the original.
Your iPhone’s sensor collects a finite number of photons per shot. Digital zoom doesn’t change that physical reality. It crops the image and stretches it to fill your screen. Each pixel spreads across more screen space, revealing pixelation and loss of edge definition. This happens on every iPhone model. The only variable is how gracefully the degradation appears at different zoom levels.
Lossless Zoom Is Marketing Language
Every phone company claims their zoom is different. None of it is. The term “computational zoom” or “smart zoom” repackages the same mechanical process in different language. Apple’s Smart HDR and Deep Fusion process the image after capture, not during zoom. That improves overall quality, but it doesn’t create information that wasn’t there. You’re still working with the original pixel count.
Some iPhones offer optical zoom through multiple lens hardware. That is genuinely different because the telephoto lens captures actual new data from the subject. But once you exceed the optical range and hit digital zoom, you’re back to interpolation. Anything marketed as lossless beyond the optical limit is incomplete truth. The mechanism remains: stretching existing pixels to fill more space on screen.
The Native Lens Advantage: Your IPhone’s True Zoom Power
When Your IPhone Decides To Zoom
You want zoom that doesn’t trash your photos. That’s the real fear underneath this section. Your iPhone has multiple lenses built in, and switching between them is the only way to zoom without the computational damage that comes with digital enlargement. Think of lens selection like ammunition choice in ballistics: you pick the right tool for the distance, not hope the wrong tool works harder.

Most iPhones come standard with a main wide lens, an ultra-wide lens, and a telephoto lens on Pro models. When you manually tap the 1x, 2x, or 3x buttons at the bottom of your camera app, you’re not zooming digitally. You’re switching to a different physical lens designed for that focal length. Automatic switching happens too, but it’s reactive, not strategic.
Focal Length Matters More Than The Number
The actual focal lengths are what determine sharpness, not the marketing labels stamped on your phone. Your main sensor is roughly 26mm equivalent, the ultra-wide is around 13mm, and the telephoto sits around 77-120mm depending on model and generation. Crisp images come from shooting at the telephoto’s native focal length, not by starting there and cropping further.
The mistake everyone makes: they zoom to 3x, then pinch-zoom the screen to get closer. You just converted a sharp native lens into a digital crop, which is the same destructive process you were trying to avoid. Shoot at native focal lengths only. Switch lenses. Accept the framing your chosen lens gives you. If you need closer than the telephoto offers, move your body forward instead.
The “Crop And Compose” Protocol For Mobile Photography

Capture More, Zoom Later
You want to zoom because you’re afraid of missing the shot. The real mechanic here comes from film photography’s original constraint: you physically couldn’t zoom after capture. Digital changed that. Your iPhone captures a full frame. Zoom in post-production preserves detail because you’re working with actual pixel data rather than interpolation guessing at what should fill the gaps. Shoot wide. Tighten the frame in editing.

The common advice says “zoom in for composition.” Wrong. Zooming in-camera before you shoot forces your phone to use digital zoom, which crops the sensor data and then enlarges it mathematically. You lose information the moment you press the shutter. Instead, frame loose and let the full sensor capture everything. You keep options in post. Cropping after the fact means you’re subtracting from what you actually captured, not filling in blanks.
Crop In Post For Sharper Results
Post-production cropping wins because you control which pixels survive. When you crop a photo in Lightroom or Photos, you’re selecting a region of pixels the camera already captured. No interpolation. No guessing. The detail stays intact because it was always there. Compare this to in-camera zoom, where the processor estimates new pixels to fill space the sensor never recorded. One preserves what exists. The other manufactures what doesn’t.
The workflow is simple: shoot at 1x, compose loosely, import into your editing app, and tighten the crop to your intended frame. You’ll notice sharpness holds even at aggressive crops because you’re working with real sensor data. Save the edited version as your final image. This approach also forces you to commit to framing decisions thoughtfully rather than spray and pray with zoom.
External Lens Systems: Beyond The IPhone Camera Limit
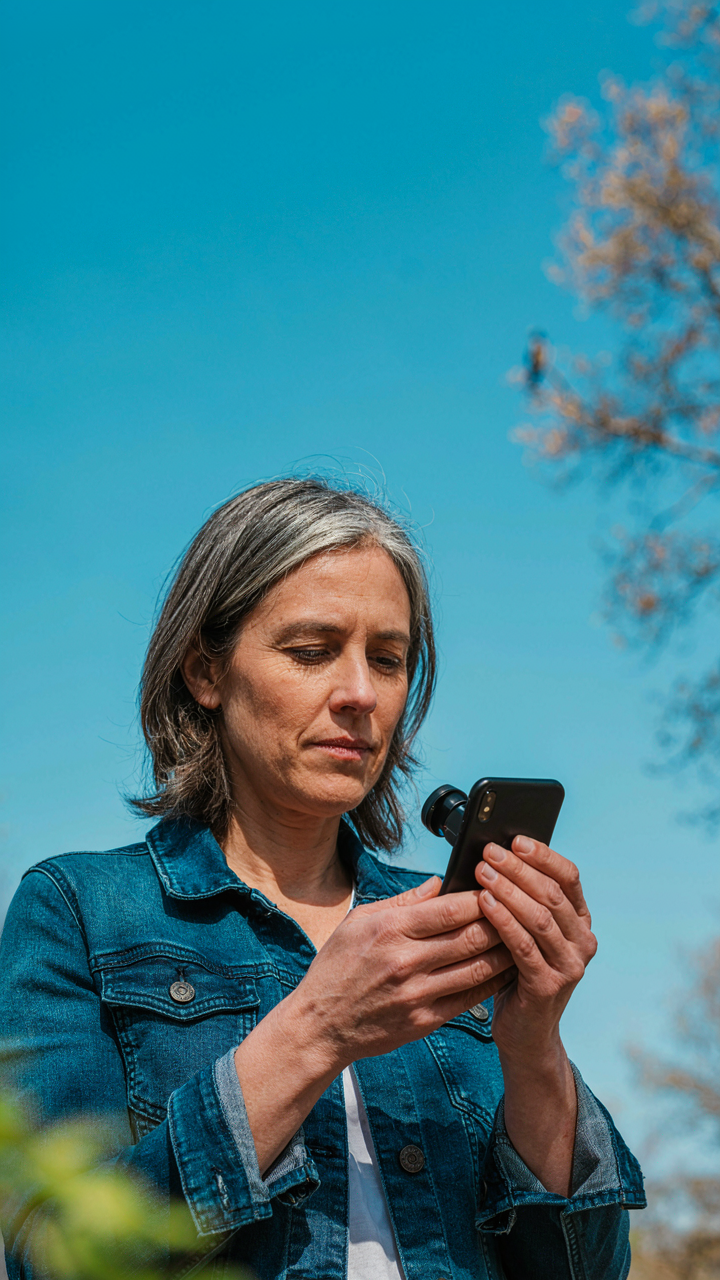
Telephoto Attachments: Optical Magnification
You want external lenses because the iPhone’s digital zoom feels like a lie, and it is. In optics, magnification is the ratio of image size to object size—the mechanism that separates real zoom from computational guessing. External telephoto attachments use glass to bend light before it hits your sensor, creating actual magnification instead of cropping pixels.

Digital zoom on iPhones crops the image and enlarges it. Optical attachments work differently. They add focal length to your setup, pulling distant subjects closer without degradation. The trade-off is real: you lose field of view and light gathering, but you gain resolution preservation. This matters if your shot depends on detail staying intact.
- 2x to 3x telephoto clips: Screw onto existing iPhone lenses. Ideal for portraits and mid-range subjects. Budget-friendly entry point with acceptable build quality from brands like Moment or Olloclip.
- 4x to 6x lens attachments: Heavier optical systems requiring stabilization mounts. Suited for wildlife or sports where subject distance is fixed. Noticeable quality jump over 2x options.
- Anamorphic lens attachments: Compress horizontal field of view for cinematic framing. Not primarily for zoom, but increases perceived focal length while adding creative distortion.
- Macro lens adapters: Reverse the optical function to magnify close subjects. Typically 10x to 15x magnification. Useful for detail work, not distance zoom.
- Phone case mounting systems: Stabilize lens attachments and prevent rotation during shooting. Brands like Peak Design and Moment make compatible rigs that reduce hand shake at longer focal lengths.
The real advantage emerges in post-production. When you zoom optically, you preserve pixel density. When you zoom digitally, you throw data away. Crop a digitally zoomed photo and detail vanishes. Crop an optically zoomed photo and you still have room to work.
Lens Compatibility And Quality Considerations
Most lens attachments clip over your iPhone’s camera housing or screw into a separate bracket. Compatibility matters because not every attachment works with every iPhone model. The lens diameter, camera layout, and housing depth change yearly. Buying the wrong generation means wasted money and frustration.
Quality separates usable from disposable. Cheap glass introduces chromatic aberration, soft edges, and color fringing. Mid-range optics from established brands minimize these issues. You’re paying for glass coating, lens grinding precision, and materials that don’t degrade under sun exposure. Moment, Olloclip, and Neewer make attachments that hold resale value and produce consistent results.
Test the attachment before committing to a full kit. Many retailers allow returns. Mount it, shoot test frames in different light, and inspect edges for distortion. Check whether the attachment vignettes—darkens corners—because some designs inherently do. The attachment’s optical quality degrades fast if internal elements misalign, so avoid dropping it or forcing it onto your phone. Store it in a protective case between shoots to keep coatings clean.

Stability And Light: The Unsung Heroes Of Sharpness
Tripods And Gimbals: Eliminating Micro Shakes
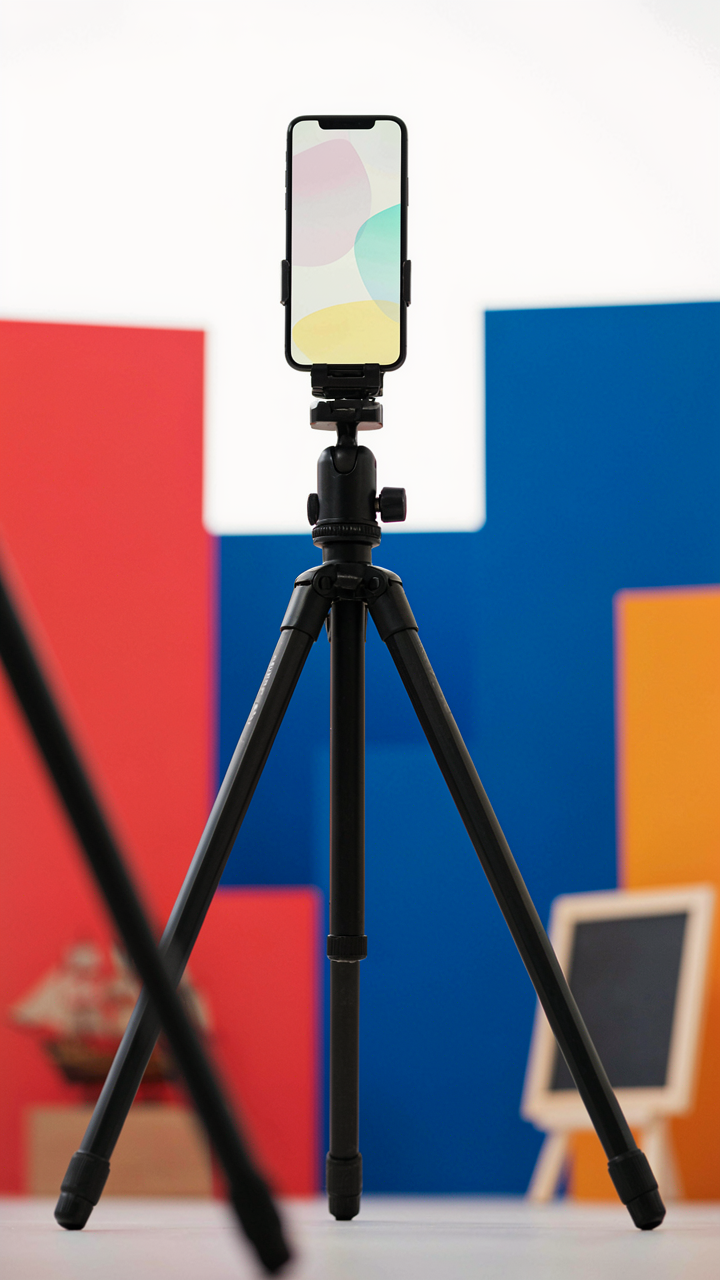
You want zoom shots that don’t look like you filmed them drunk because you’re terrified people will judge your technical incompetence. Here’s the mechanism: physics calls it mechanical advantage. With digital zoom on iPhone, every tremor in your hand gets amplified by the magnification factor. A two-millimeter hand shake becomes four millimeters at 2x zoom, eight at 4x. A tripod or gimbal removes that variable entirely by anchoring the phone’s position in space.
The common advice says “just hold your phone steady.” Wrong. Your hands contain involuntary micro-tremors from blood flow and muscle fatigue. No amount of willpower kills them. A rigid tripod transfers the phone’s weight directly to the ground, eliminating the shake cascade entirely. When zooming past 2x magnification, use one. When you can’t use one, a gimbal with electronic stabilization compensates in real time by moving the phone’s position to counteract your movement. Both cost less than a mediocre lunch.
Natural Light Preservation: Keeping Detail Intact
Zoom + low light is how your iPhone abandons you. When you zoom digitally, the camera crops a smaller section of the sensor and enlarges it. If that smaller section has less light, the processor either boosts ISO or reduces shutter speed. Both destroy detail through noise or motion blur. Natural light solves this by giving the sensor enough photons to work with before zoom happens.
Position yourself so light hits the subject directly, never backlighting it. Backlighting forces the camera to underexpose the zoomed area, which triggers noise amplification. Shoot during golden hour or overcast days, never midday harsh sun or dusk. Harsh sun creates contrast that compresses detail into pure shadow or blown highlights. Overcast light scatters evenly across the frame, letting zoom preserve texture and definition. Your light position determines whether zoom captures detail or manufactures artifacts.

The Field Of View Doctrine: Military Strategy For Iphone Photography

Reconnaissance Phase: Assessing Scene Depth
You care about this because bad zoom makes you look amateur, and amateurs don’t get taken seriously. Here’s the actual mechanism: military reconnaissance relies on understanding terrain depth before engagement. iPhone zoom works the same way. Before you pinch, walk the scene. Identify what sits close, what sits far, what creates visual layers. Your iPhone’s sensor has fixed depth capability. Zooming digitally doesn’t change that fact. It just crops what already exists. Understanding depth first lets you position yourself where the layers already separate subjects naturally.
The common advice is “get closer physically instead of using zoom.” Partially true, but incomplete. You need both strategies working together. Assess how deep your scene actually is. If your subject sits fifty feet away with nothing between you and them, walking closer handles it better than zoom. If the scene has natural depth layers already stacked, zoom into those existing planes. This distinction changes everything about your shot success rate.
Target Acquisition: Minimizing Unnecessary Elements
Zoom isn’t about magnification. It’s about exclusion. You’re removing visual noise from the frame, not pulling distant things closer. Most people miss this. They zoom to see something better when they should zoom to hide everything else. Before you zoom, identify exactly what doesn’t belong in your shot. The crowded background. The hand in the corner. The reflective surface that distracts. Then zoom to the point where those elements disappear naturally. Your focal length becomes a culling tool, not a reaching tool.
Precision here beats cropping later in editing. iPhone zoom eliminates distracting elements before the sensor captures them, preserving image quality and intent. Tighten your framing at capture time by deciding what stays and what goes. Use the zoom slider in the camera app to test thresholds. Stop when the frame holds only what matters. This forces deliberate composition instead of hoping editing fixes it later.

Advanced Camera App Settings: Unlocking Hidden Potential

Capture Raw Files For Maximum Edit Range
You want this section to prove you’re serious about photography. Here’s the mechanism: RAW files contain all sensor data before processing, giving you vastly more latitude in post-production than compressed JPEGs. When you zoom digitally, you’re already losing information. RAW capture preserves what remains so you can recover shadow detail, adjust white balance, and control contrast without introducing artifacts that screaming through compressed formats creates.
iPhone’s ProRAW format (available on Pro models via the Camera app) captures 12-bit data instead of 8-bit. This means 68 billion possible values per pixel versus 16 million. The file size jumps to 25-75MB per image, but the edit ceiling rises dramatically. When your zoom crop looks flat or blown out in real time, RAW gives you actual recovery options instead of damage control. Enable it in Settings, then toggle it on in the Camera app before shooting.
Lock Exposure And Focus Separately
The standard advice says tap to focus and expose simultaneously. That’s incomplete. You can tap and hold on your subject to lock focus, then swipe up or down on the screen to adjust exposure independently. This matters for zoom because digital magnification amplifies exposure errors. If your locked exposure is off by half a stop at 1x, it’s obviously wrong at 3x magnification. The mechanism is simple: focus is spatial, exposure is tonal. They’re independent systems. Treat them that way.
When you zoom in, atmospheric haze and distance increase exposure variance. Lock your focus on the subject first. Then meter off a neutral midtone area nearby, not the subject itself. This prevents the camera from overexposing bright objects or crushing shadows trying to expose for them. The exposure lock persists across zoom levels, so you set it once at your intended framing and magnification stays consistent tonally as you recompose.

Post Processing Mastery: The Editing Bay Advantage

When Sharpening Backfires
You want the zoomed shot to look crisp because you think that proves you captured something real. Here’s the actual mechanism: sharpening and noise reduction operate in direct opposition on your iPhone’s processor. Sharpening amplifies edge contrast. Noise reduction smooths variation. Push both hard and you destroy detail instead of revealing it. Most people enable both defaults and wonder why their zoomed photos look processed and flat.
The move is triage. Open your zoomed image in Photos or Lightbox. Zoom to 100% on your iPhone screen and inspect the shadow areas first, not the highlights. If you see grain, noise reduction matters more than sharpening. If edges look soft, sharpening becomes the priority. Never apply both at full strength. Reduce one, apply the other moderately, then reassess at actual size.
Isolating What Actually Matters
Selective adjustment tools let you sharpen only the subject while leaving the background untouched. This solves the core problem with digital zoom: the entire frame gets processed uniformly, including blur you want to keep. Use your editing app’s masking or selective focus features to apply sharpening only to the area you zoomed into. Leave the periphery alone.
In Photos app, use the Selective tool if available, or leverage third-party apps like Snapseed or Pixelmator Pro for precision control. Apply sharpening only to your subject’s eyes or product detail. Reduce clarity uniformly instead of sharpening everything. This keeps your image from looking over-processed while maintaining the illusion of quality that zooming sacrificed.

Mastering The Iphone Screen: Previewing For Perfection
Pinch To Zoom For Real Composition Control
You want to look like you know what you’re doing before you hit share. The real mechanism here is that pinch-to-zoom lets you preview exactly what the final crop will be before you commit to the shot. Most people skip this step entirely. They zoom with the volume buttons or the slider, then guess at framing. That’s backwards.
Pinch-to-zoom on the iPhone camera screen uses the same gesture language as every other app you use, which means your muscle memory is already there. Place two fingers on the screen and drag outward to magnify the preview. This isn’t cosmetic. You see the actual pixels that will land in your frame at that magnification level. Adjust your position or angle based on what you see, not what you think you see.
Adjust Exposure Before You Shoot
Exposure compensation on screen solves a problem that most iPhone users don’t realize they have: they’re shooting underexposed or blown-out images without knowing it until later. Tap the screen to lock focus, then swipe up or down on the brightness slider that appears next to the focus point. This adjusts exposure in real time on your preview.
The slider moves in one-third stop increments. Drag up to brighten, down to darken. What you see on screen is what you’ll get in the saved image, which means you stop guessing about whether your subject will be a silhouette or washed out. Make the adjustment before you press the shutter button, not after in editing.
The Real Limitation Isn’t Your IPhone; It’s Your Refusal To Master The Fundamentals
Most people blame their phone when their zoomed photos look like garbage. They don’t. You do. You’re zooming mindlessly instead of understanding light, distance, and composition first. Stop hunting for the perfect app. Open your camera right now and shoot something at 3x zoom with your subject backlit by natural light. You’ll see the difference immediately. Master the tool before you blame it.



