
The Exposure Time Fallacy: Why Longer Isn’t Always Better For Iphone Camera Settings

Manual Control Beats Automatic Guesswork
You want Night mode to feel like magic so you don’t have to think about it. The mechanism: iPhone’s Night mode uses computational photography, borrowing from signal processing the concept of integration time—how long the sensor collects light. Automatic exposure lets the phone decide this duration, typically three to ten seconds depending on available light. The problem is the phone optimizes for brightness, not your actual shot.
Manual control through ProRAW or third-party apps gives you the lever. You set exposure time based on your specific situation: subject movement, camera stability, and desired output. The phone’s algorithm can’t know if your subject is still or moving, if you’re on a tripod or handheld. You do. Shorter exposure times sacrifice some light but preserve sharpness when the trade-off matters more than maximum brightness.
When Movement Demands Shorter Exposure
Motion blur isn’t just an aesthetic problem—it’s information loss you cannot recover in post. Every frame of exposure time compounds motion: handheld camera shake, subject movement, even breathing shifts the entire image. The common advice says “use a tripod and let Night mode run long.” That’s incomplete. Even on a tripod, your subject might move. A person shifting weight, a hand gesture, a passing car—any motion during a three-second exposure creates trails instead of sharpness.
Shorten exposure time when motion is present, even if the final image reads darker. You can lift exposure in post-processing with minimal quality loss using RAW files. You cannot remove motion blur once it’s captured. The protocol: enable Night mode, observe your subject for movement patterns, reduce exposure duration to half the automatic recommendation, then bracket exposures to compare. This isolates motion as the variable you’re actually controlling.
ISO Vs. Noise: The Low Light Photography Trade Off You Ignore

When Higher ISO Destroys Detail
You want the shot to look clean, like you didn’t struggle to capture it. That’s the real reason you’re reading this. Here’s the mechanism: ISO amplifies the sensor’s electrical signal to brighten underexposed frames. Think of it like a sound amplifier in acoustics—turn the volume too high and you amplify the noise along with the signal. iPhone Night Mode uses computational photography to manage this, but the trade-off remains physical. Push ISO above 1600 and the camera starts sacrificing fine detail to smooth grain, producing what looks like a blurry smear instead of texture.

The common advice says “just use Night Mode and forget about it.” Wrong. Night Mode does adjust ISO automatically, but it also applies aggressive noise reduction that softens edges and collapses small details into blocks of flat color. On an iPhone 13 or later, you can manually control ISO in Pro Raw mode, letting you see exactly where detail breaks down. At ISO 3200 and above, facial features flatten, fabric texture disappears, and hair becomes a featureless mass. The algorithm prioritizes smoothness over fidelity because grain reads as failure to most viewers. Your image looks fake instead of just dark.
Matching ISO To Your Scene Type
Different lighting conditions demand different ISO ceilings. A dimly lit interior with some ambient light lets you stay under 800 ISO and maintain crisp edges. A near-total darkness scenario—no streetlights, no moonlight—forces Night Mode to dial ISO up to 2000 or higher, accepting the detail loss as a necessary cost. Exterior night shots with any available light (parking lots, neon signs, moonlight) hit the sweet spot around 400 to 1200 ISO. Indoor scenes with warm tungsten bulbs tolerate higher ISO better because the grain pattern matches the warm, grain-friendly color palette.
The protocol: unlock your camera app, swipe left to Night Mode, and observe how many seconds the timer shows. More seconds means higher ISO and longer exposure. Anything under 3 seconds uses lower ISO and preserves detail. Between 3-5 seconds, ISO climbs but remains recoverable in post. Above 5 seconds, the camera is pushing computational power to its limit, and you’re trading resolution for brightness. If your scene requires more than 7 seconds in Night Mode, you need actual light, not a faster phone. Use Night Mode’s ISO floor, not its ceiling.
The Stability Protocol: Unlocking Sharpness In Night Photos
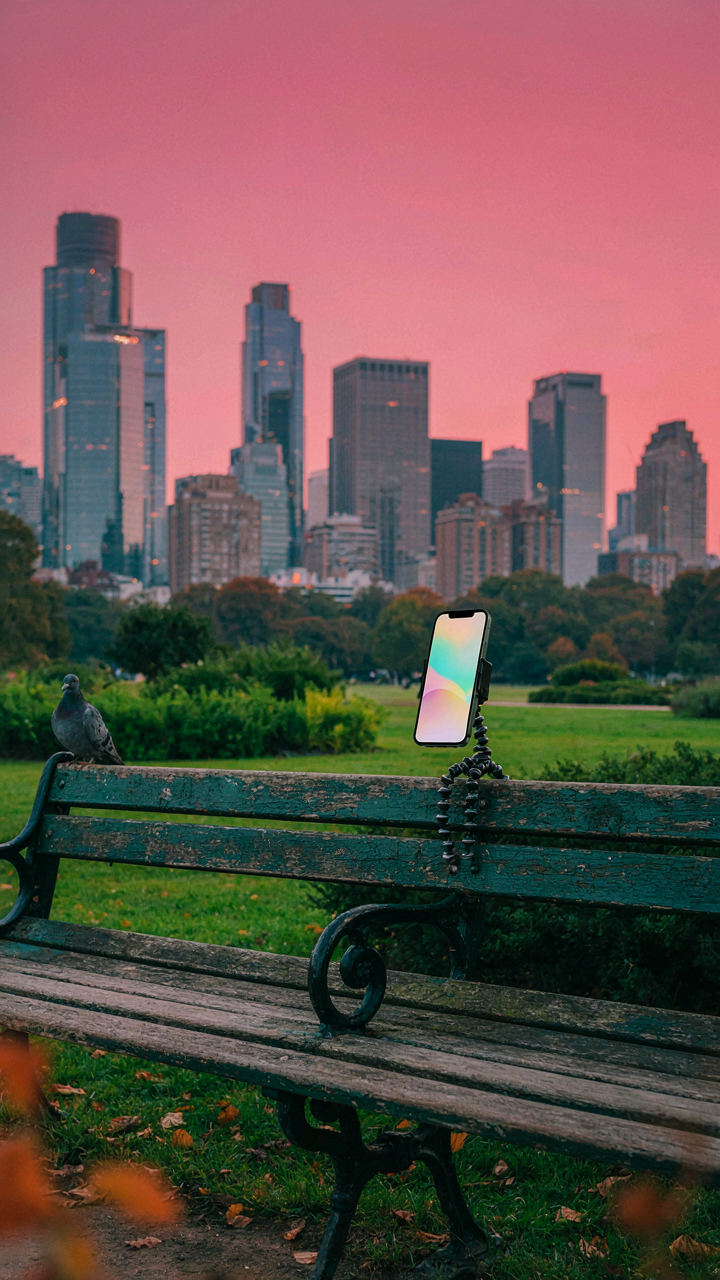
Physical Support Systems Matter More Than You Think
You want sharp night photos without looking like you’re struggling with gear. The real problem isn’t your phone’s capability—it’s that your hands introduce motion blur the moment available light drops. This is a physics problem: longer exposures require zero movement. Night mode extends exposure time to gather light, which means any shake gets recorded as blur. A tripod or stable surface isn’t optional. It’s the foundation everything else depends on.
- Tripod with phone mount: Rigid stand eliminates hand shake completely. Ball head mounts let you angle without re-leveling. Start here if investing in one tool.
- Beanbag or sand-filled pouch: Molds to any surface. Props phone at angles tripods can’t reach. Cheap and works against railings, rocks, or uneven ground.
- Gorilla Pod or flexible tripod: Wraps around branches, poles, fencing. Grips securely without slipping. Best for environmental shooting where standard tripods won’t position correctly.
- Stacked books or makeshift wedge: Free stabilization using what’s available. Prop phone between books angled toward subject. Not elegant but eliminates shake in a pinch.
- Fence post, tree trunk, or wall lean: Press phone against vertical surface to lock position. Steady but limited to available structures and angles.

When you lack dedicated gear, forget improvisation that keeps your hand involved. Any contact between your grip and the phone transfers micro-movements to the sensor. Rest the device against something external and immovable. The camera stays locked. Light gathers cleanly. Blur vanishes.
The Delay Between Command And Capture
Generic advice says “use the volume button instead of the on-screen shutter.” That’s incomplete and misses the real mechanism. Here’s what actually happens: tapping the screen creates vibration that travels through the phone’s frame. Even milliseconds of physical movement during exposure capture motion as blur. The volume button reduces this by a fraction, but self-timer discipline eliminates it entirely.
Set the timer to 3 or 10 seconds. This forces a gap between your finger leaving the phone and the shutter firing. Zero contact during exposure. The sensor captures only light, no shake. Most night mode failures aren’t light problems—they’re timing problems. You’re introducing motion right when the phone needs total stillness. Remove yourself from the equation. Put the phone down, step back, let the timer handle the trigger. That discipline turns blurry night shots into sharp ones.
Computational Photography: Your Co Pilot, Not Your Pilot For Iphone Pictures

Deep Fusion’s Limits: When Smarts Fail Realism
You want Night Mode to make you look like a professional without doing the work. Here’s the mechanism: Deep Fusion uses signal processing borrowed from medical imaging, where multiple exposures get fused into one to reduce noise. The problem is that Deep Fusion prioritizes detail recovery over truth. It hallucinates texture where none exists, smoothing skin unnaturally and inventing shadow detail that wasn’t there.

Deep Fusion works best between 1 and 3 lux, but it actively degrades your shot if you treat it as a magic fix. The algorithm trades noise for artificiality. Your iPhone combines eight exposures, aligns them, then synthesizes a result. The output looks clean until you zoom in and see the computational artifacts. Disable Deep Fusion when the scene has mixed lighting or moving subjects, because the fusion process breaks down under those conditions.
Smart HDR In Darkness: Taming Extreme Contrast
Everyone says Smart HDR balances shadows and highlights. That’s incomplete. Smart HDR actually uses a tone-mapping algorithm that compresses dynamic range by measuring local contrast across the frame and pulling highlights down while lifting shadows. In low light, this creates a false sense of detail where the sensor captured nothing.
Smart HDR in Night Mode produces muddy midtones because it’s designed for daytime exposure rescue. Turn it off when you want actual darkness to read as dark. The algorithm cannot distinguish between shadow detail and pure black, so it invents tone where it shouldn’t exist. Your shot loses mood and presence. Disable Smart HDR, lock exposure manually by tapping and holding, then shoot. The constraint forces you to frame intentionally.
Focus Point Precision: Your Only Real “Turn Ons” For Night Shots

Manual Focus Override: Pinpointing Light Sources
You want this section because you’re tired of your iPhone hunting for focus in the dark and landing on the wrong subject. Here’s the mechanism: night mode uses computational photography to stack multiple exposures, but it can only process what it locks onto first. In low light, autofocus searches for contrast edges that barely exist, so it often grabs background light instead of your intended subject. Manual focus cuts through that noise by letting you decide the distance plane before the camera starts its exposure stack.

Press and hold on your subject until the yellow focus box locks. Slide your finger up or down to fine-tune the focal distance without lifting your tap. This matters because night mode’s exposure fusion works backward from your focus point. If focus drifts to a streetlight behind your subject, the computational stack prioritizes that plane. Manual override forces the algorithm to stack frames locked on what you actually want sharp. The moment you release, night mode begins its multi-frame capture on your chosen depth.
Tap To Focus And AE/AF Lock Advantages
The common advice is to just tap and shoot. That misses the real power: lock separates focus decision from exposure decision, which night mode desperately needs. In bright conditions this doesn’t matter much. In low light, exposure and focus compete for the camera’s attention, and night mode can’t optimize both simultaneously without you directing it first.
Tap your subject to lock focus, then tap and hold for two seconds to engage AE/AF lock. A small lock icon appears. Now reframe without losing either setting. This prevents the camera from re-evaluating focus and exposure as you compose. For night shots with uneven light, lock on your main subject first, lock the values, then position it where you want in frame. The exposure stack that follows uses your locked focus plane, not a new autofocus search that might choose the nearest light source instead.
White Balance: The Color Temperature Deception In Night Photography
Kelvin: When Urban Light Pollution Becomes Your Enemy
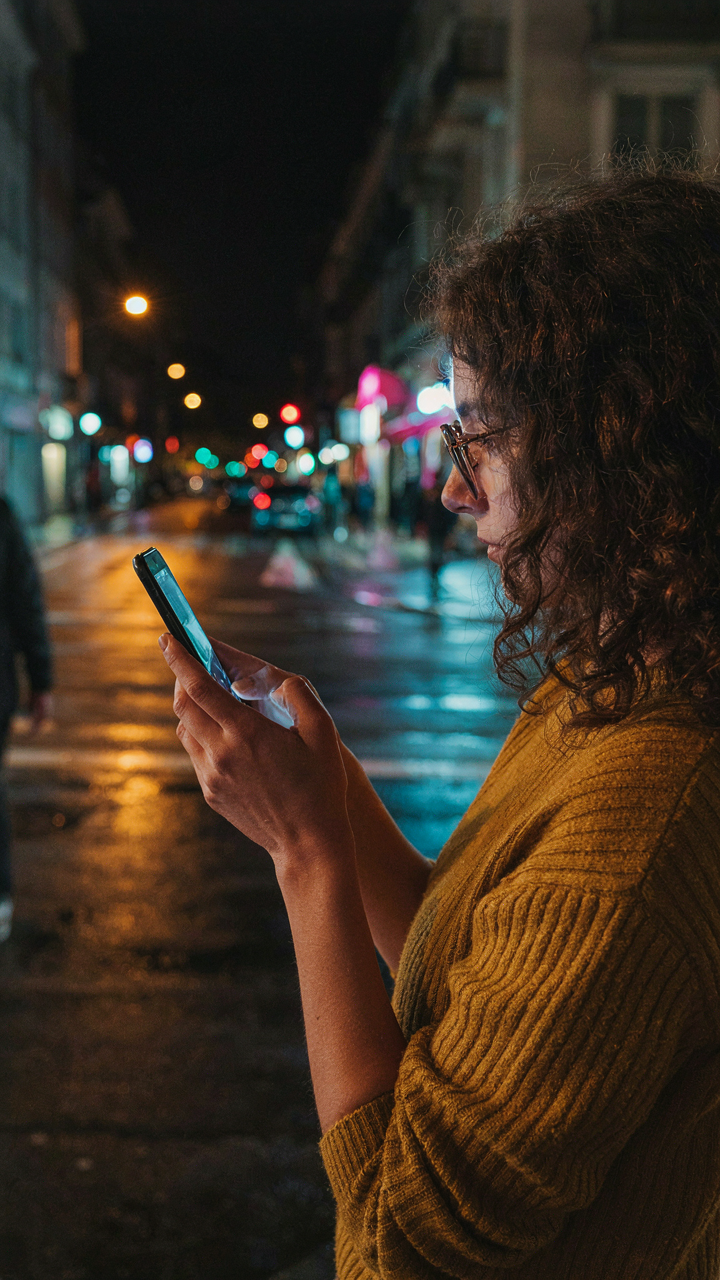
You want night photos that look “natural” because you’re afraid your audience will judge the image as amateur if the colors seem off. That fear is rational but misplaced. Borrowing from color science, white balance operates on the same principle as calibration in laboratory instruments: you’re setting a reference point so the camera knows what “neutral” means under specific light. Urban night photography breaks this entirely because the light itself is broken. Street lamps, neon, storefronts, and car lights don’t emit the same spectrum your phone expects.

iPhone Night Mode defaults to around 3000 to 4500 Kelvin depending on available light. This range assumes tungsten or warm indoor lighting. But cities flood you with 5500K daylight LEDs mixed with 2700K sodium vapor. Your phone tries to average these conflicting signals. The result: color noise and an uncontrollable cyan or orange cast that no amount of post-processing fixes cleanly. You need to lock white balance before Night Mode processes the frame, not after. Open the Camera app, tap and hold on your subject, then swipe up or down to manually set Kelvin. Test at 3500K first in dense urban areas. Adjust down if you want warmth, up if the scene feels sickly.
Pre Setting White Balance For Natural Tones
Forget the generic advice about “waiting for your eyes to adjust.” That’s about human perception, not camera mechanics. Pre-setting white balance means you control the anchor point before computational photography runs. Night Mode stacks multiple exposures and applies tone mapping. If you lock white balance first, every exposure in that stack uses the same color reference. Without locking it, each frame recalculates independently, creating temporal inconsistency in the final composite.
Open Camera, tap the white balance icon (it looks like a thermometer), and hold your phone at the exact angle you’ll shoot from. Point at a neutral surface: a gray wall, pavement, or even your palm held flat to catch ambient light. Set Kelvin manually between 3200K and 4200K for most night scenes outdoors. Lock it by tapping the lock icon that appears. Now engage Night Mode. The computational stacking will respect your preset, holding color consistent across all exposures. This single step eliminates the green or magenta shifts that plague night photography.
Dynamic Range Management: The “Economic Scarcity” Of Light
Highlight And Shadow Recovery
You want perfect detail everywhere because you think that’s what separates good photographers from mediocre ones. It’s not. Economics calls this the scarcity problem: you have a finite resource and infinite demand for it. Light is your resource. iPhone Night Mode allocates that scarcity by choosing what gets detail and what gets crushed. The camera’s sensor captures limited photons in darkness. It must decide whether to preserve bright areas or dark areas, not both. This is triage, not perfection.

The real constraint isn’t the iPhone’s processing power. It’s the physics of the scene. When you expose for shadows, highlights blow out. When you expose for highlights, shadows disappear into black. Night Mode’s computational photography tries to recover both through image stacking and tone mapping, but the input data only contains so much information. You can’t create detail that wasn’t captured. Your job is to expose for the element that matters most to your shot, then accept the trade-off.
Strategic Exposure For Key Elements
Forget the idea that exposure compensation is just a brightness dial. That’s incomplete thinking. Exposure compensation in Night Mode is a priority statement: you’re telling the algorithm which part of the frame deserves the finite light budget. Tap on a face, the camera exposes for skin tones and lets the background fall darker. Tap on a skyline, highlights hold and foreground detail recedes. The camera commits resources there.
This mechanic works because Night Mode stacks multiple exposures in the background. Each tap or lock point guides which exposure range gets the most computational recovery passes. You’re not adjusting one image. You’re redirecting the algorithm’s attention across the stack. Set your exposure lock on your subject before the camera finishes processing. This prevents Night Mode from rebalancing mid-capture. The concrete step: tap and hold on your key element until the AE/AF Lock indicator appears, then hold the device steady while the capture completes.
Post Processing With VSCO: The Unsung Hero Of Clear Night Shots

Noise Reduction Tactics: Preserving Detail, Removing Grain
You want to fix your night shots without them looking processed. Here’s the mechanism: noise reduction works like signal filtering in electrical engineering. The software separates luminance noise (brightness grain) from chrominance noise (color grain), then removes each differently to keep edge detail intact while killing the visible speckle.

VSCO’s noise reduction slider operates on the luminance channel first because that’s where human eyes detect grain most aggressively. Start at 3 to 5 on the scale. Watch your phone’s preview closely. Anything above 8 flattens texture and kills fine detail in shadows. The trade-off isn’t mysterious: more noise removal always costs some edge definition. You’re choosing where to spend that cost.
Contrast And Clarity Adjustments For Impact
Don’t confuse clarity with contrast. Contrast pushes the full tonal range apart. Clarity adds localized edge definition and makes midtones pop. Night mode shots need both but in the right order. Increase clarity first by 15 to 25 points. This restores the separation that low light compression removes.
Then adjust contrast in smaller increments. A +10 to +15 increase is usually enough. Go beyond that and blacks crush into a featureless void. The real win lives in the shadows: a slight clarity bump there separates foreground from background without needing artificial lighting. Lock in these settings as a preset so every night shot gets consistent treatment without thinking.
Beyond Gear: The Visionary’s Edge In Low Light

Composition Wins When Light Loses
You want permission to skip the technical stuff and just “feel” your way through a shot. That’s not how this works. In military strategy, terrain dictates tactics before the battle starts. With Night Mode, your frame’s geometry dictates what the sensor can actually recover. Leading lines, frame edges, and negative space aren’t aesthetic choices—they’re signal-to-noise decisions.

Night Mode’s computational power works harder when you give it contrast to work with. A dark subject against a marginally lighter background forces the algorithm to distinguish between them. Tight framing eliminates wasted pixels spent on pure black. Position your subject where light actually exists, even if that light is ambient and faint. This isn’t composition theory. This is physics translated into pixels.
See The Shot Before The Sensor Does
Pre-visualization separates people who get keepers from people who get blurry accidents. Before you tap the shutter, identify where available light actually sits in your scene. Street lamps, windows, neon signs, car headlights—these aren’t decorative. They’re the actual data your Night Mode sensor will process. Anticipate how the algorithm will interpret those light sources relative to your subject’s position.
Night Mode holds exposure for several seconds during capture. This means movement ruins the shot, not just blur. Plan your shot assuming you have maybe one attempt before someone moves or light changes. Position yourself where your subject’s face catches side light, not full shadow. Compose for the final image as if you’re working with a long exposure in daylight. Your discipline during preview determines whether you get a clear shot or a failed gamble.
Your True Obstacle Isn’t The IPhone’s Camera, It’s Your Refusal To Abandon Automatic Reliance

Night mode works because you stop letting the phone decide. Manual control beats automatic every single time when light disappears. Your next shot: disable auto and lock exposure yourself. Watch what happens. The camera doesn’t change. Your intention does. People with blurry night photos aren’t limited by hardware. They’re limited by the decision to stay passive.



