The Focal Length Fallacy: Why Wide Isn’t Always Grand

What Your Phone Actually Sees
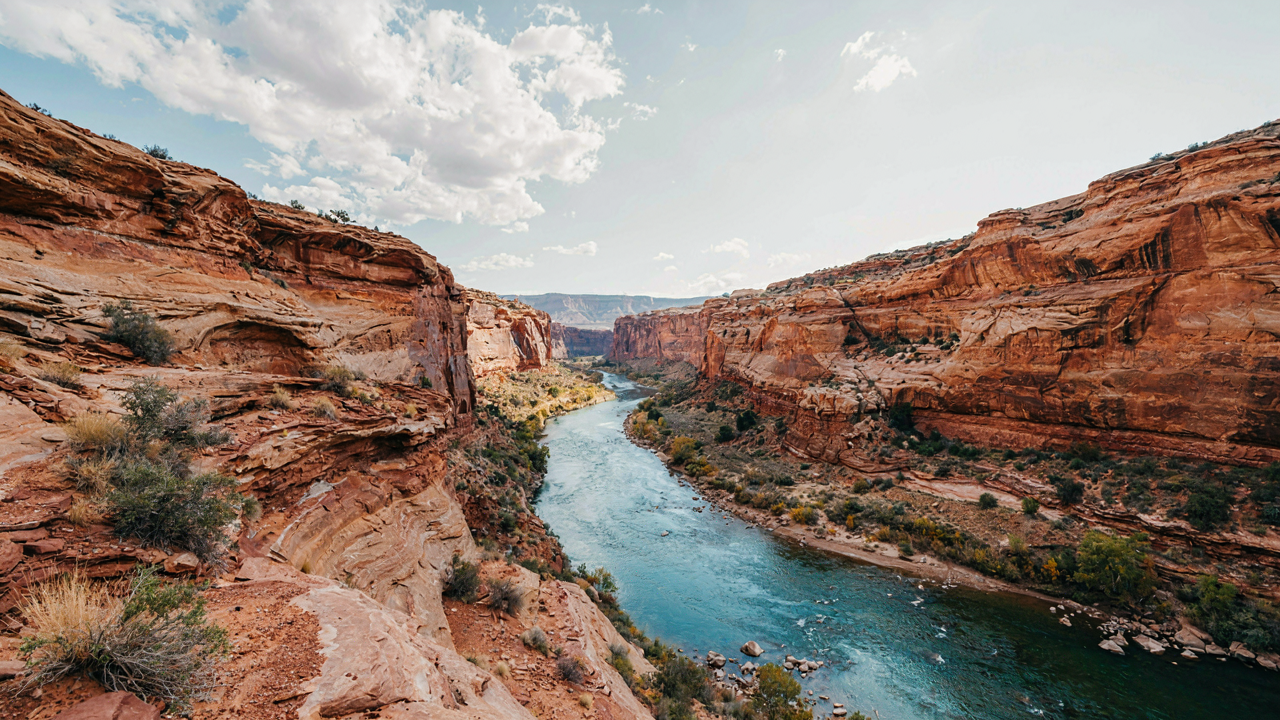
You think wide is impressive because it feels like power. It isn’t. The iPhone’s main camera sits around 24-28mm equivalent, which sounds expansive until you understand what physics actually does with that field of view. Telephoto compression is an optics term—when distance between objects appears collapsed. Wide angles do the opposite: they stretch space and push subjects away from each other, killing visual weight.
Most landscape shots fail because photographers default to wide, believing bigger frame equals better composition. The ultra-wide camera on newer iPhones (14-16mm equivalent) makes this worse. That extra width doesn’t add drama. It adds confusion. Objects flatten into the background. Depth vanishes. You end up with a postcard nobody remembers.
Frame Depth, Not Just Distance
Zoom in. Counter to every generic tip floating around, your strongest landscapes often come from the 1x or 2x focal length, not the ultra-wide. Here’s why: compression naturally stacks visual layers. A distant mountain stops looking like a flat backdrop and starts having mass. Foreground elements—rocks, trees, water—gain separation from the sky instead of melting into it.
The real move is framing for depth intentionally. Find a subject that works at 1x or 2x first. Then step back and ask whether width actually improves the shot or just dilutes it. Most of the time, stepping sideways and reframing beats switching lenses. Shoot multiple focal lengths on the same subject before you decide which one holds the composition together.
The “Golden Hour” Trap: Light Beyond The Obvious

Midday Light Creates Contrast Most Photographers Avoid
You chase golden hour because you believe soft light is always better. It’s not. The real mechanism here borrows from physics: contrast ratio. Midday sun creates extreme shadows and highlights on landscape features, which your iPhone sensor interprets as distinct texture. Cliffs, rock formations, water ripples, and vegetation all separate visually because the light carves them into three-dimensional relief. This happens zero times during golden hour.

Position your iPhone so the sun hits surfaces at an angle that emphasizes texture rather than washes them flat. Shoot into shadows cast by terrain to frame bright sky or water behind them. Use the iPhone’s exposure slider to hold detail in either highlights or shadows, then let the other blow or crush. The contrast ratio becomes your compositional tool, not your enemy.
Overcast Creates The Mood You Actually Want
Everyone says overcast light is flat and boring. That advice is lazy and wrong. Overcast conditions deliver diffused illumination with no directional shadow, which means your landscape holds tonal gradation across the entire frame without harsh breaks. This is ideal for moody, atmospheric shots where weather and atmosphere matter more than technical clarity.
On overcast days, increase saturation in post-processing because the light already compressed color information. The iPhone’s metering system will underexpose slightly due to cloud cover, so open your exposure slider by 0.5 to 1.0 stops to recover tone. Shoot when clouds are thick enough to eliminate the sun disk but still permit defined foreground shapes. Frame composition to emphasize depth rather than surface detail, since texture disappears under diffusion.
Beyond The Horizon: The Composition Matrix
Foreground Stops Shallow Photos Dead
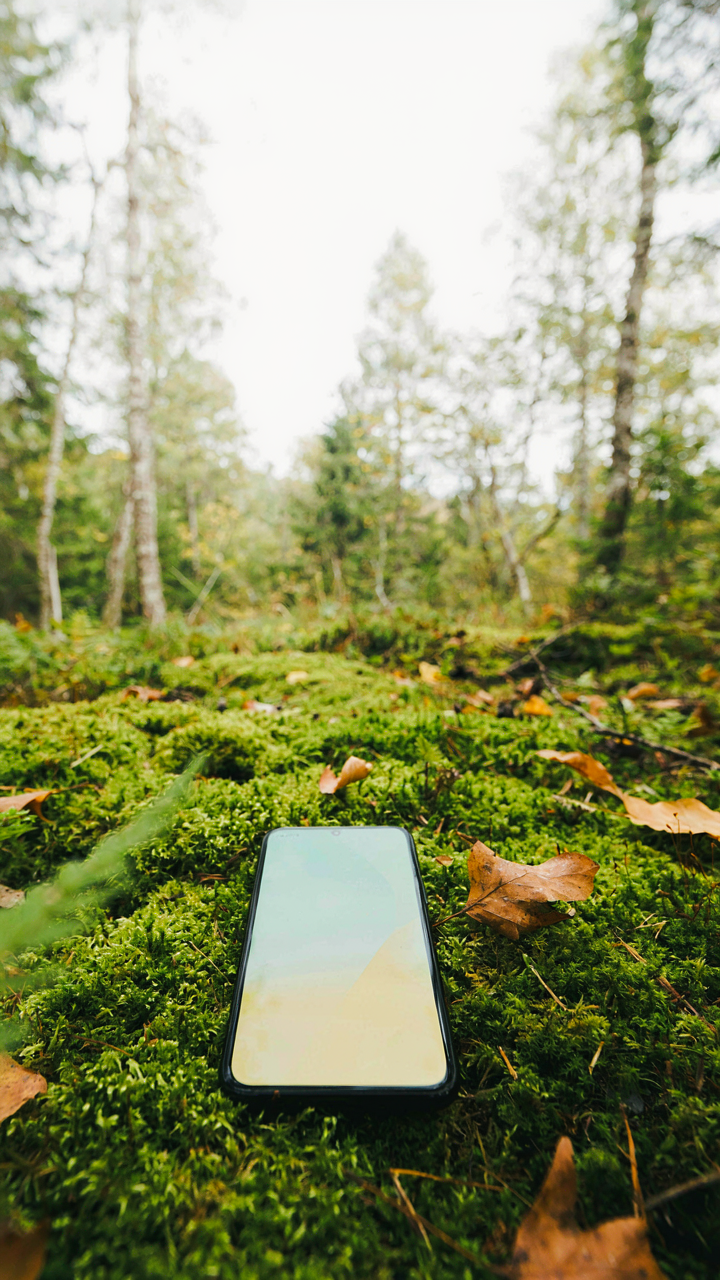
You want people to think you know what you’re doing. That’s why you’re reading this. The real mechanism: your iPhone’s default lens is around 28mm equivalent, which means depth compression happens naturally. Without foreground interest, your landscape collapses into a flat postcard. The camera sensor doesn’t perceive distance the way your eye does. It stacks everything toward the middle planes. A rock, branch, or textured ground in the immediate foreground forces the viewer’s eye to travel through the frame instead of stopping at the horizon.

Most landscape shots fail because photographers frame from standing height and expect the middle distance to carry weight. It won’t. Position yourself lower. Get the iPhone three feet from something textured on the ground—moss, sand, weathered wood. Shoot so that foreground element occupies roughly the bottom third of the frame. The iPhone’s computational photography stacks detail well when you’re close to subjects, so the foreground stays sharp while depth gradation toward the background tells the story your eye wants to see.
The Real Line That Works
Leading lines are taught wrong in every beginner course. The advice treats them as decoration, something to add if convenient. They’re not. They’re a vector that controls where attention moves and how long it stays there. Think of it like military strategy: a leading line is your supply route. Without it, the viewer’s eye wanders and leaves your frame. A road, creek, or ridge line creates a path from foreground to background that the human brain automatically follows.
The iPhone shoots at a fixed angle. Your leading line only works if it actually leads somewhere. Don’t put a creek in the frame just because it’s there. Angle your position so the creek enters from the bottom corner and moves toward a peak or focal point. The rule of thirds suggests placing key elements on the intersection points. Breaking that rule works when you break it deliberately—not when you don’t know the rule exists. Shoot the line off-center if it strengthens the journey through the frame. Evaluate each shot by asking: where does my eye stop?
The Unseen Subject: Capturing The Atmosphere
Weather As Compositional Material
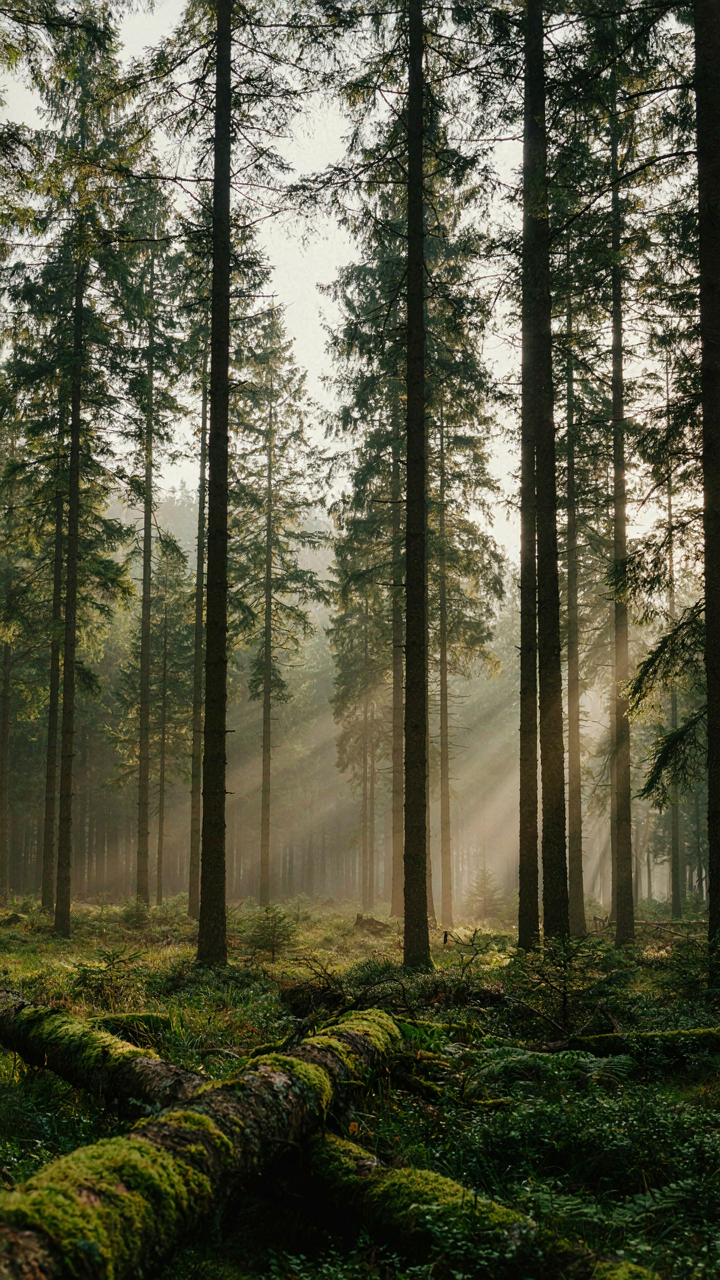
You want atmospheric shots because they feel rare and sell the idea that you found something special. The real mechanism is this: weather elements aren’t decoration. In meteorology, we call the interaction between light and suspended particles “optical depth.” On your iPhone, fog, rain, and snow function as optical filters that compress depth and flatten distance. They become the subject itself, not the backdrop.

Most landscape advice tells you to shoot in clear conditions. That’s incomplete. Fog reduces contrast and creates tonal separation between foreground, midground, and background without you doing anything. Rain on the lens creates refraction that softens edges naturally. Snow reflects light and lifts shadows. Each weather condition is a lens filter you don’t buy. Recognize the condition, position yourself where it creates depth separation, and shoot into it rather than away from it.
The Narrative Layer
Landscape photographs fail when they show only what exists, not what happened or what persists. The difference between a postcard and a photograph that stays with someone is presence of implication. A landscape with storm clouds breaking overhead tells a story of weather passing through. Morning mist suggests isolation. Rain-soaked earth implies recent storm and renewal.
Your iPhone captures this through the relationships it forces you to create. You can’t zoom into irrelevance like larger cameras can, so you must include the conditions around your subject. This limitation becomes your advantage. Shoot the landscape as a moment in time, not as a static object. Include the weather, the light quality, the season’s evidence. The viewer reads these elements as narrative, and narrative is what creates emotional weight that makes someone stop scrolling.
The Edited Lie: Mastering Post Processing With Purpose

Know When To Stop
You want your edited photos to look “professional” so people think you actually know what you’re doing. Here’s the mechanism: editing is a confidence game, and most people lose because they can’t distinguish between enhancement and evidence of panic. Subtle work on iPhone happens in Lightroom or Snapseed, where you move single sliders one or two stops instead of cranking them. The real skill is restraint. You’re not fixing a bad shot. You’re clarifying what was already there.

The common advice says “enhance what you saw.” That’s incomplete. You need to enhance what the sensor actually captured, which is different from what your eye perceived. Your eye compensates for light in real time. The iPhone sensor doesn’t. So you’re bringing the image closer to your actual memory, not closer to fantasy. Exposure, shadow recovery, and highlight management come first. Everything else is decoration that fails when the foundation is weak.
Color Grade For Tone, Not Status
This isn’t about making your image look like a preset somebody else designed. Color grading in landscape work operates like a photographer’s darkroom chemistry, where each change in solution temperature altered the final print’s mood. On iPhone, you control the same outcome through Lightroom’s color wheels or HSL sliders. Shift the temperature slightly to match the time of day you shot in. Adjust saturation by specific color channel, not globally. A landscape at golden hour doesn’t need crushed blues. It needs selective warmth in the midtones and cooler shadows to maintain depth.
Contrast and sharpening follow a single rule: if you notice them, you’ve overdone them. Raise contrast until the midtones separate from the darks, then back off five percent. Sharpening on iPhone at normal viewing distance needs maybe 0.8 to 1.2 intensity in Lightroom. Beyond that, you’re adding artifacts that show up in prints. Your edit should survive a full-screen view on a MacBook without screaming “filter.” The moment someone says “nice filter,” you’ve failed the edit.
The Tourist Gaze: Finding Unique Vantage Points
Where Everyone Else Isn’t Standing
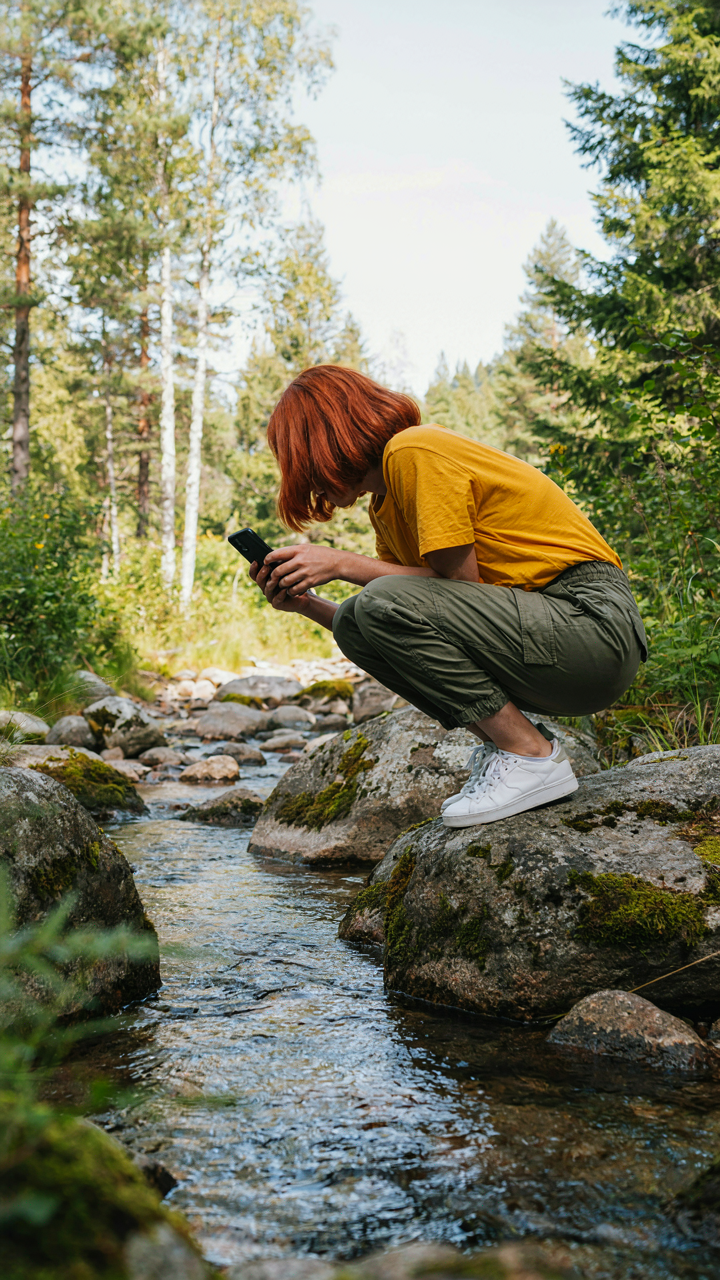
You want to believe your iPhone shots look different because you have a better eye. The truth is simpler: you’re standing where the last thousand people stood. The mechanism is basic. Your brain defaults to obvious framing because it requires no risk. You see the postcard angle and shoot it. Your phone’s wide lens makes this worse—it makes mediocre composition forgivable. Stop accepting that trade-off.

Most landscape photographers solve this by moving. Not to new locations, but to different positions within the same location. The iPhone’s 28mm equivalent focal length forces you to get close to foreground detail or step back to compress depth. This constraint is your edge. Use it by changing elevation, approaching from the side, or reversing your angle entirely to shoot into the light source instead of away from it.
- Shoot from below looking up: Reverses the natural eye level most photographers use, making ordinary subjects feel monumental and emphasizing sky drama over land mass.
- Work the edges of the frame: Stand at the perimeter of a landscape, not its center. This creates leading lines and breaks symmetry that flattens most phone shots.
- Use foreground objects for scale: Place a near object in the lower third to create depth separation. Your iPhone’s depth of field naturally softens distant layers.
- Shoot during crowd transitions: Visit known spots at dawn or dusk when foot traffic drops. Same location, zero human clutter in your frame.
- Mirror the approach: If the standard view faces north, walk around and frame from the opposite direction to reveal unfamiliar light and shadow relationships.
Your phone’s sensor processes light differently than human eyes. It holds highlights better than shadows. This means side-lit and backlit angles that look washed out to your eye often render as layered and dimensional on screen. Scout locations during golden hour, not midday. Your position relative to the sun determines whether you capture depth or flatten it.
Elevation Changes The Entire Composition
High ground and low angles aren’t stylistic choices—they’re different vantage points that reveal different information about a landscape. Military strategists use elevation to control sight lines. Photographers use it to control what the frame contains and what it excludes. The iPhone’s sensors perform better when you control what fills the frame deliberately rather than by accident.
Climbing ten feet higher eliminates foreground clutter and pulls distant layers into view. Shooting from ground level does the opposite: it magnifies foreground texture and compresses background elements. Neither is inherently better. Your job is matching the elevation to what the location actually reveals. If you’re photographing a valley, get high to show the topography. If you’re photographing texture in rock faces or water, get low. The iPhone’s lens doesn’t discriminate—you do, through position.
Unexpected composition stems from asking one question before you shoot: what does this location look like from the angle nobody bothers to occupy? That angle solves your uniqueness problem faster than gear shopping ever will. Move first. Adjust settings second.

The “Panoramas Are Cheating” Manifesto: When To Stitch, When To Crop
Where Panoramas Break Down
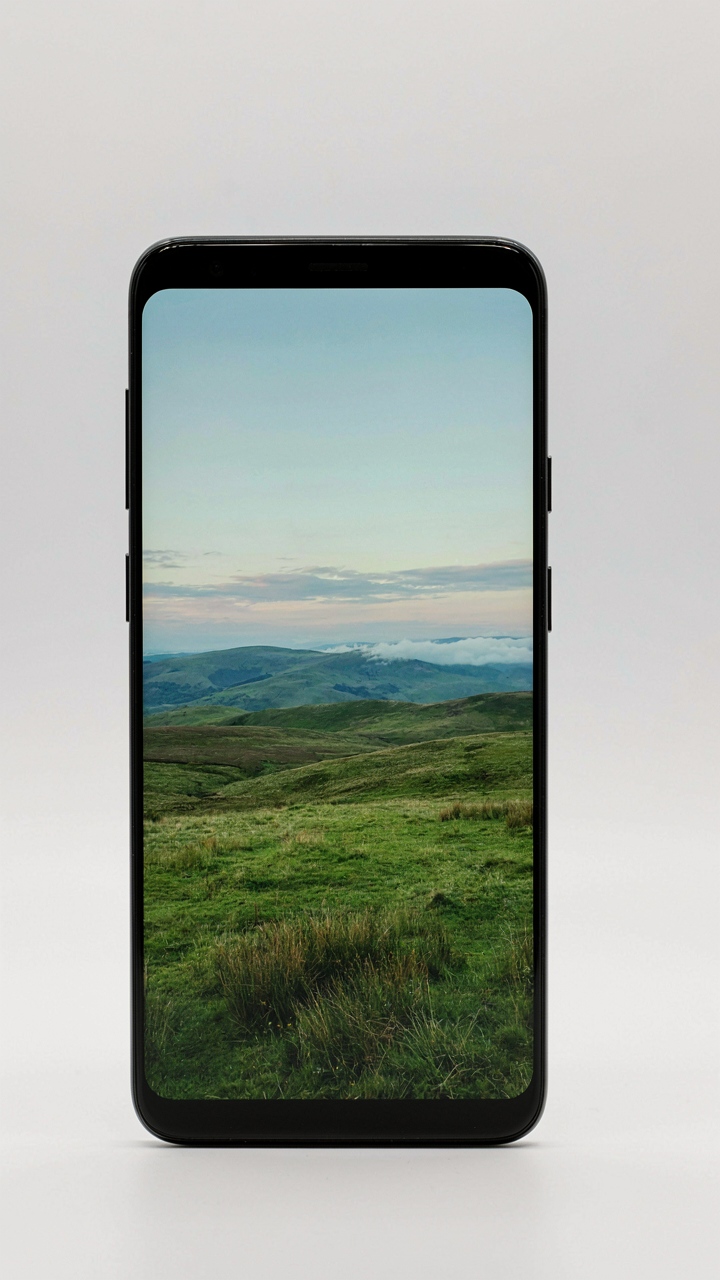
You want the panorama option because it feels like you’re capturing more without compromise. You’re not. The iPhone’s panorama mode stitches multiple frames together, and that process introduces real problems nobody talks about. Borrowing from optics, the iPhone treats each frame as a separate perspective, but your eye moves continuously across the scene—the camera cannot replicate this without geometric distortion. Objects at the edges shift in scale and position relative to each other. The algorithm pulls pixels together in ways that create visible seams, color banding, and warped horizontals that should stay straight.
The practical limit: panoramas work only when the scene contains minimal depth variation and no moving elements. A flat mountain ridge, calm water, a static cityscape—these cooperate with stitching. Anything with foreground objects, rolling terrain, or clouds that shift between frames becomes a liability. The iPhone compresses your focal length artificially, and you lose the clean optical rendering you get from a single frame. Distortion amplifies toward the edges. If you need the width, shoot multiple frames and compose them in post. Don’t pretend the automatic stitch is giving you something clean.
Crop For Clarity, Not Coverage
Cropping isn’t defeat. It’s the opposite—it’s the only editing move that removes decision fatigue from your frame. The real constraint isn’t your iPhone’s sensor; it’s your ability to exclude what doesn’t belong. Most iPhone landscape shots fail because the photographer tried to show too much, trusting that width equals impact. A tighter crop removes that temptation. You commit to a specific ratio and composition. Distraction dies. The eye lands where you point it.
Start by shooting the full frame and cropping after. This reverses the panic-shooting reflex where you zoom out to capture everything. Instead, you select the strongest composition from what you already captured. Use the rule of thirds grid, but ignore it once you see the final image—the grid is a training tool, not a law. Crop until the frame contains only essential elements and one point of tension. When you remove a confused background or eliminate horizon ambiguity, the landscape becomes legible. Your job is done when nothing else can come out without collapsing the image.

Beyond Exposure: The Dynamic Range Dilemma
When The Sky Blows Out
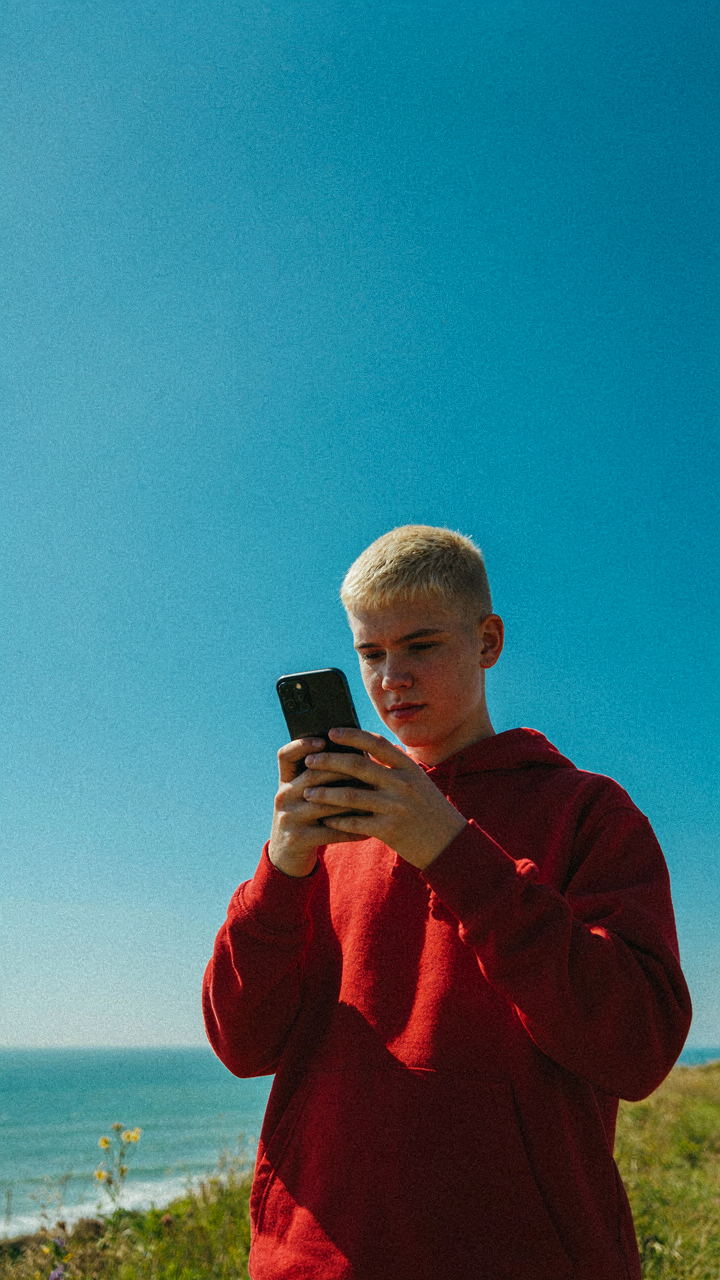
You want the shot to look professional because you’re tired of your photos looking like everyone else’s. Here’s the mechanism: your iPhone sensor captures about 10 to 12 stops of dynamic range, but your scene often contains 14 to 16 stops between shadow and highlight. The gap isn’t small. Smart HDR tries to fill it by merging multiple exposures, but it operates on fixed logic that doesn’t know what you actually want preserved. You either lose detail in the clouds or crush the foreground into darkness.
The real move is understanding that Smart HDR works best when you expose for the mid-tones, not for recovery. Tap on the brightest part of your landscape that matters—usually the sky—then slide the exposure down slightly. This tells the algorithm where your priority sits. Don’t expect it to save a completely blown sky and a pitch-black valley. It can’t. Smart HDR performs best when the scene’s dynamic range sits closer to your sensor’s native capability, not when you’re asking it to perform miracles on a 18-stop difference between sunrise and foreground rock.
Stacking Light In Code
Computational photography isn’t magic—it’s physics translated into algorithms. Think of it like military signal processing: you’re taking multiple weak signals and combining them to create one strong signal with less noise. Each frame your iPhone captures contains the same scene rendered slightly differently due to sensor noise and exposure variance. The A16 processor aligns and merges these frames, effectively extending your dynamic range and sharpening detail without the motion blur that would result from a long shutter speed.
The constraint most people miss: computational photography requires stability. Handheld shots work, but movement between frames degrades the merge. Brace your phone against your body or use a basic tripod. The processor can only correct so much drift before misalignment ruins the result. On newer iPhones with Photonic Engine, this stacking happens in real-time during capture, which is why the resulting images hold more shadow detail and less grain than older models. To maximize this, shoot in conditions with adequate light and minimize camera shake during the three-second capture window.

The Biological Imperative Of Novelty: Capture What Others Miss

Pattern Recognition Over Perfection
You want to stand out because standing out feels like proof you see things others don’t. That’s the real driver here. Evolutionary psychology explains this: human brains evolved to spot anomalies in their environment because anomalies signal opportunity or threat. In iPhone landscape photography, this translates directly. Your brain categorizes compositions the same way it categorizes predators in tall grass. Familiarity registers as safe noise. Deviation registers as signal. Capture the deviation.
Most landscape advice tells you to follow composition rules. That’s incomplete. Rules create the baseline expectation your audience’s brain dismisses in milliseconds. The iPhone’s limited dynamic range and sensor size actually force you toward this advantage. You cannot compete on technical perfection with a full-frame camera. You compete by showing your viewer something their pattern-matching system hasn’t filed away yet. Shoot the familiar location from an angle that breaks the mental template of it. Shift your perspective ten feet sideways. Include the element everyone crops out. The mechanism is simple: deviation from expected pattern creates cognitive friction, which creates attention.
Visual Ideas Spread Through Constraint, Not Clarity
Memetics is the study of how ideas replicate and spread through populations. One memetic principle applies here: ideas with built-in constraint spread faster than ideas with infinite flexibility. Your iPhone is a constraint engine. It forces you to choose. The camera picks one focal length. You cannot adjust it. You cannot bracket exposures like a DSLR. You cannot tweak sensor settings mid-shoot. This constraint becomes your strongest creative filter.
The reason your photos won’t spread isn’t because they lack quality. It’s because they lack recognizable constraint. Viewers don’t consciously see your phone’s limitations as a style. They see inconsistency. Pick one lens focal length. One time of day. One color temperature range. Shoot under these same rules every time. Your work develops a visual signature because your signature is built into your method. When people see your landscape, they recognize the constraint system before they recognize the subject. That recognition is what makes the image replicable in their mind, and replicable ideas spread.
The Gear Obsession: Why Your IPhone Is Enough (Or Too Much)

When Accessories Become Excuses
You want permission to buy something because buying feels like progress. Here’s the mechanism: accessories exploit the gap between effort and results. You think a filter or lens will close it. They won’t. Every accessory adds friction, weight, and complexity to a shot you could already nail with native tools.
The real problem with most iPhone landscape accessories is they solve problems that don’t exist. Wide-angle lenses clip onto your phone to expand the frame, but your iPhone 14 Pro already shoots at 24mm equivalent. ND filters promise better long exposures, but landscapes don’t need motion blur. Tripods are fine, but they lock you into one angle while landscape composition rewards moving five feet left to change foreground.
Master What You Already Own
Mastering native features works like signal processing in telecommunications: you amplify the strongest information and filter the noise. On your iPhone, your strongest information is the native camera app’s exposure and focus separation. Your noise is tapping around in third-party apps hoping for magic.
ProRAW and exposure compensation are your actual tools. Shoot in ProRAW when the scene has high contrast or large shadow areas. Tap to lock exposure on the sky, slide the exposure slider up to recover ground detail, and lock focus on the foreground. This single protocol beats every ND filter and most accessories. The iPhone’s computational photography already handles wide dynamic range better than most dedicated cameras. Stop treating it like a limitation and use it like the engineered system it is.
The Myth Of The Perfect Landscape: Your Lens Is Fine, Your Eye Isn’t

You don’t need a better camera. You need to stop shooting what you think landscapes should look like. Most iPhone landscape photography fails because you’re chasing postcards instead of moments. Your phone captures light perfectly. You just refuse to see what’s actually in front of you. Open your camera today and shoot the boring angle. The one that makes you uncomfortable. That’s where your actual vision lives.



