The Macro Illusion: Why “Close Up” Isn’t Enough For Iphone Photography

What Macro Mode Actually Does
You want macro mode because you think it solves the problem of getting sharp detail when nothing else will, and that matters to you because it signals technical competence to an audience. Here’s the mechanism: macro mode on iPhone switches the primary camera to autofocus on objects between 4-8 centimeters away instead of its normal minimum focusing distance of about 25 centimeters. It’s a constraint, not a feature. The phone doesn’t gain magnification power. It trades away depth of field and requires you to sit uncomfortably close to your subject. Most people frame this as “getting closer” when the real cost is losing control over what stays sharp around your subject.
The limitation people skip over: macro mode on modern iPhones (iPhone 13 Pro and later) activates only in specific lighting. In dim conditions, the system refuses to engage it, defaulting to standard close focus. You cannot force macro mode. The camera makes the decision. This means your reliable close-up setup in your studio might fail in natural window light because the phone’s sensor judges the scene too dark for the macro lens to function. You’re not getting macro when you need it most.
Magnification Without The Trap
Physics distinguishes between optical magnification and digital magnification, and iPhone macro mode relies on neither in the way most photographers assume. The ultra-wide lens on iPhone Pro models has a shorter focal length, which geometrically puts objects larger in the frame when close. That’s it. No magnification glass. No digital zoom. Just physics. The trap is believing that closer equals better. Closer means shallower depth of field, harder to hold steady, and less forgiveness on focus placement. You trade sharpness across the frame for the appearance of detail.
Most advice tells you to get as close as the phone allows and adjust lighting. That’s backwards. Start by deciding how much of your subject you need sharp, then work backward to the distance that gives you that depth of field. If you need the entire texture of a coin visible, macro mode destroys you because nothing behind the first millimeter stays in focus. Zoom out, use standard focus, and crop in post-production instead. The image quality stays higher because you’ve avoided the depth of field penalty.
Deconstructing Light: The Unsung Hero Of Iphone Macro Photography

Where Light Comes From Matters More Than Equipment
You want macro shots that look professional because blurry phone photos feel like failure. The real mechanism is this: macro mode collapses your depth of field to millimeters, which means light direction becomes your primary tool for separation and detail. Borrowed from cinematography, think of light as your “key” in macro work—the dominant source that shapes what the camera sees. Natural light and artificial light behave differently at close distances, and choosing wrong kills the shot before you press the shutter.

Natural light changes angle throughout the day. Side-lit natural light from a window reveals texture because it rakes across surfaces. Backlit natural light creates rim definition on translucent objects. Direct overhead sun flattens macro subjects into nothing. Artificial light stays consistent but demands positioning—phone flashlights and ring lights sit too close to macro subjects and wash out detail. The mechanic is simple: position your light source perpendicular to your subject’s surface, not parallel to your camera’s lens.
The Shadow Problem Nobody Explains Correctly
Harsh shadows in macro work aren’t actually caused by strong light—they’re caused by having only one light source. Your phone creates shadow where light doesn’t reach, and macro’s shallow depth field means those shadows occupy a significant portion of your frame. Everyone says “diffuse your light” or “add fill,” which is incomplete advice. The real fix is repositioning: move your light source farther away, angle it lower, and use the environment to bounce light into shadow areas.
When you shoot macro outdoors, position your subject so ambient light fills shadows naturally. Indoors, use a secondary reflector—white paper, foam board, even a phone screen displaying a white page works. Place your primary light at 45 degrees to your subject. Place your reflector opposite the light source to bounce illumination into shadows. This creates dimension without requiring multiple flashlights. Test the setup by checking your phone’s live preview, then adjust before shooting. The mechanism: light separation creates depth; depth makes macro photography read as intentional rather than accidental.
The Proximity Paradox: Optimal Distance For How To Do Macro Photography On Iphone
The Sweet Spot Distance
You want to feel like you’ve mastered something technical without actually understanding the physics that makes it work. Here’s what nobody tells you: iPhone macro mode uses optical physics borrowed from microscopy, where depth of field functions as your constraint, not your feature. The closer you move to a subject, the narrower your plane of focus becomes, which sounds like a problem until you realize it’s the entire mechanism that separates macro from regular photography.

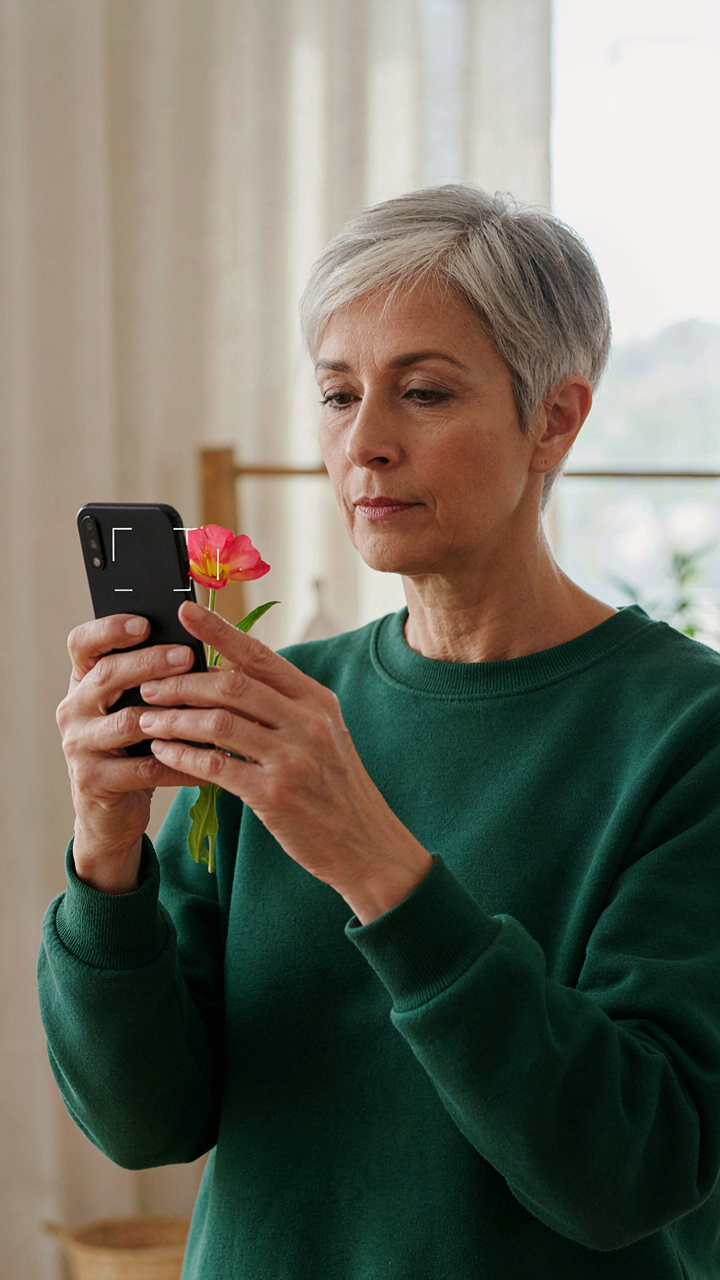
The optimal distance on iPhone 14 Pro and newer sits between 4 and 8 centimeters from your subject. Move closer than 4 centimeters and the camera hunts endlessly for focus. Move farther than 8 centimeters and you lose the shallow depth of field that makes macro compelling. The ultra-wide lens that enables macro mode has a fixed focal length, so distance isn’t adjustable through software. You control the depth of field effect by controlling your physical distance.
Stopping The Focus Hunt
The common advice here is garbage: people tell you to tap the screen to focus, as if your finger matters more than physics. Tapping doesn’t reduce focus hunting. The hunt happens because the sensor struggles to lock onto texture or contrast at extreme proximity. You eliminate hunting by pre-positioning your camera at the correct distance, then moving your entire body forward or backward as a single unit until the image snaps sharp. Hold steady for one full second after the image sharpens. The camera needs time to confirm the lock before you take the shot.
Use a physical prop or reference point to train your hand’s muscle memory for that 4-8 centimeter range. A pencil, your thumb, or the edge of your phone case can serve as a distance gauge during your first twenty attempts. Once your hand recognizes the distance, you’ll position correctly without thinking. The focus lock appears in the viewfinder as a steady yellow box rather than a pulsing one. Shoot the instant the box stops pulsing.
The Stability Protocol: Sharpness In Iphone Macro Photos
Hold Your Phone Like You Mean It
You want sharp macro shots because blurry detail photos look like failure, and you know it. Here’s what actually matters: macro mode demands zero tolerance for camera shake. Physics applies here the same way it applies to rifle shooting. In ballistics, even microscopic movement during trigger pull ruins accuracy. Your iPhone’s sensor works the same way. Micro-movements you don’t feel destroy sharpness at macro distances.

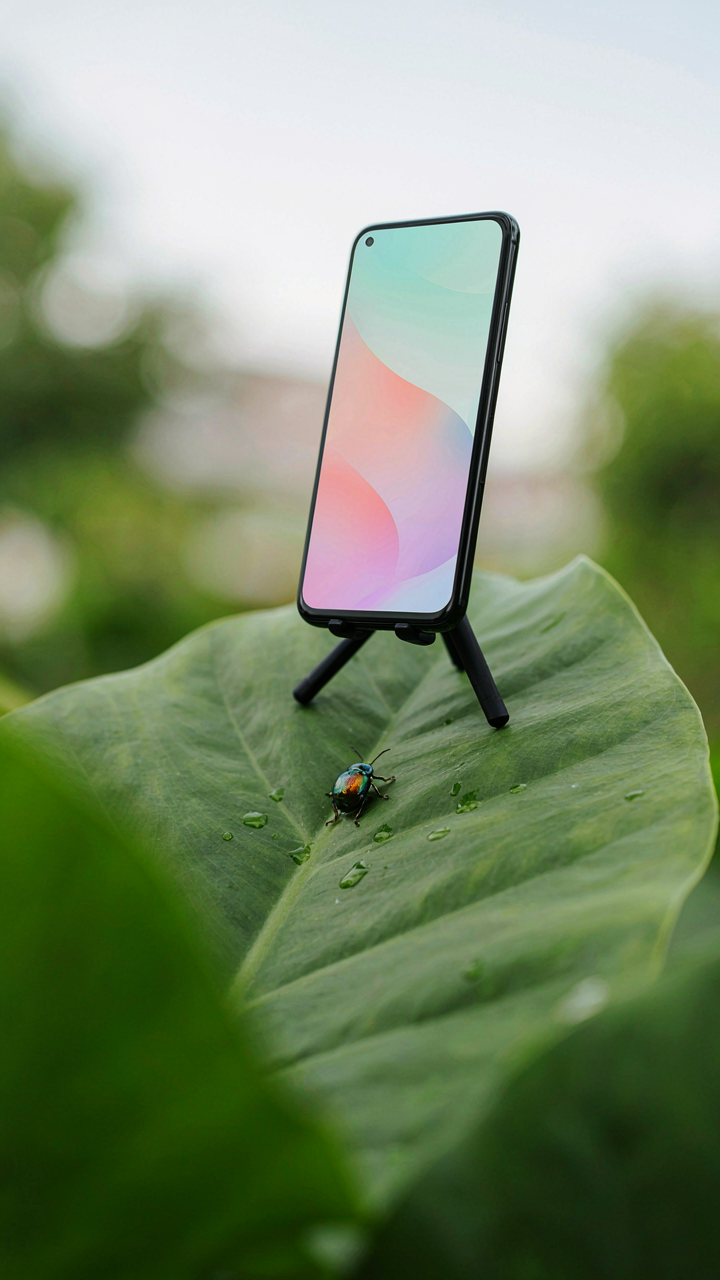
Your hands are not stable enough alone. The closer you focus, the narrower your depth of field becomes, and the margin for error shrinks to nothing. A tremor you wouldn’t notice at normal distance becomes a blurred mess in macro. Stop pretending steady hands work. Use a tripod, a phone grip, or brace yourself against a fixed object every single time. The cost of skipping this step is every single frame you shoot.
Shutter Speed Trumps Everything Else
Most macro advice gets this backwards: people obsess over aperture and ISO while ignoring the one variable that actually controls sharpness. Shutter speed is your primary weapon against motion blur. In macro mode, your iPhone uses computational photography to stack multiple exposures. If any of those exposures moves, the algorithm fails. Slower shutter speeds mean longer capture windows and higher odds of movement ruining the stack.
The real play is forcing faster shutter speeds by flooding the scene with light. More light lets your phone use higher speeds without raising ISO into noise territory. Position your subject in direct sunlight or use a desk lamp pointed at the target. Watch your shutter speed indicator in Pro Raw mode if your iPhone supports it. When you see the shutter speed holding at 1/500th or faster, you’ve locked in the conditions for sharp output. Anything slower than 1/200th is gambling with your image.
Composition For Impact: Beyond Just Seeing Detail In Best Macro Photos On Iphone

How Painters Trap The Eye
You want people to see what you saw. That’s the real reason you care about composition in macro—not because it sounds sophisticated, but because a sharp detail means nothing if the viewer’s attention lands somewhere else. Painters solved this centuries ago. They didn’t just render objects. They directed where the eye traveled through the frame. You apply this in macro by treating your phone’s frame like a canvas where every element either guides attention or competes for it. The difference between a snapshot and a shot is intention about where the eye moves first.

Your iPhone’s macro mode isolates subjects aggressively. The shallow depth of field does half the work. But composition completes it. Place your subject off-center. Use surrounding texture or blur to create a visual path that leads into what matters. Avoid symmetry unless you’re deliberately using it as a statement. The frame is small and tight in macro—waste no space on accident.
Balance Through Opposition
The rule of thirds isn’t wisdom. It’s a pattern humans recognize, which makes it useful. In macro, this pattern does tactical work. Divide your frame into nine sections mentally. Place your subject or its most important detail where lines intersect, not dead center. Leading lines—a vein in a leaf, a fiber in fabric, a crack in stone—become your directional tools. These lines should pull the eye toward your focal point, not away from it.
Tension happens when competing elements fight for dominance. In macro composition, use this deliberately. A sharp detail on one side of the frame needs visual balance on the other. This doesn’t mean mirroring. It means mass, tone, or texture that gives the eye a reason to scan the whole frame instead of fixating. When you frame your shot, pause before capturing. Ask yourself what path your eye takes through the image. If you can’t describe that path in one sentence, adjust the frame until you can.
The Focus Stacking Fallacy: When To Bypass In Camera Macro Photos

Why Your Sensor Gets Shallow
You want the sharp macro shot because you think it proves you own technique. Here’s the mechanism: physics is the problem, not your camera settings. In optics, focal length and aperture size determine depth of field, the zone where your subject stays acceptably sharp. On iPhone macro mode, the system uses a tight aperture and extreme magnification, which collapses your depth of field to millimeters. You cannot outrun this law with willpower or settings alone.

The macro mode on iPhone 13 Pro and later physically splits the telephoto lens to achieve closer focus distances than standard wide capture. This design choice forces a trade-off: you gain magnification but sacrifice the distance over which focus holds. At macro distances, even stopping down the aperture does not solve the problem. The depth of field shrinks further. No single frame captures the entire subject in focus when that subject has three-dimensional depth.
Solving Sharpness In Post Production
Focus stacking is the workaround everyone mentions and almost nobody executes correctly. The real move is understanding when post-processing beats in-camera capture entirely. Instead of chasing perfect focus in macro mode, shoot a series and rebuild sharpness computationally. Your phone already does computational photography for everything else, so this is not cheating, it is the standard workflow.
- Capture multiple frames at different focus distances: Shoot 5-10 frames in quick succession, letting the subject or your hand shift slightly between each shot. iPhone’s Live Photo mode captures this automatically if you hold steady.
- Use Lightroom or Photoshop to blend layers manually: Import your sequence, align them in Lightroom’s mobile version, and use layer masks to select the sharp portions of each frame. This takes 10 minutes but produces results macro mode alone cannot deliver.
- Test apps like Stacked or Focus Stacking Pro: These apps automate frame alignment and blending. They work better on stationary subjects like insects or product details where movement between frames stays minimal.
- Export as RAW first if your workflow allows it: RAW files retain more data for processing. Shoot in RAW via a third-party app like Halide to preserve highlight detail and shadow information before stacking.
- Recognize when to accept single-frame limits: If your subject moves or you are shooting handheld in changing light, focus stacking introduces more problems than it solves. Accept the shallow plane and compose around it instead.
The decision point is simple: is your subject static and are you willing to spend post-processing time? If yes, stack. If no, shoot single frames and accept the depth limit as a compositional constraint, not a failure.
Manual Control Mastery: Unlocking True Iphone Macro Photography Tips

Third Party Camera Apps Unlock What Apple Won’t
You want manual control because the stock camera app treats you like a tourist. The mechanism is simple: Apple’s native camera prioritizes speed and consistency over precision. Third-party apps expose the actual variables the phone’s sensor responds to—focus distance, ISO, shutter speed, color temperature—letting you override Apple’s automated decisions and shoot exactly what you see.

Halide, ProCam, and Lightroom Mobile all let you lock focus at macro distances while the stock app hunts endlessly. Each app routes data to your sensor differently. Halide prioritizes focus peaking and manual focus wheels. ProCam gives you control over exposure compensation in finer increments. Pick one and stay with it long enough to learn where its focus breathing occurs—the slight zoom shift when focus locks. That’s the real cost of manual control on iPhone macro mode.
Exposure And White Balance Lock Before You Shoot
White balance mistakes look worse in macro than any other format because your subject fills the frame, and color casts have nowhere to hide. Use the physics term “color temperature” to understand what you’re controlling: macro shots amplify the dominant light source’s signature wavelength, so a phone that white-balances to 5500K under mixed indoor light will render your subject’s true color only if you lock that decision before the shot. Don’t let the camera recalibrate mid-frame.
Tap and hold on your subject in any camera app to lock both exposure and white balance simultaneously. Exposure lock prevents the phone from brightening or darkening the frame as you recompose. White balance lock stops color shift caused by your hand moving across different light sources during the shot. Take the locked reading from a neutral reference point—a gray card, white wall section, or the subject’s least reflective area. Recompose after locking, then shoot. This single protocol eliminates the two variables that destroy macro consistency.
The Environmental Command System: Orchestrating Your Iphone Macro Scene

Reflectors And Diffusers Shape Light, Not Mood
You want your macro shots to look professional without spending money on gear. Here’s the mechanism: light in macro mode doesn’t behave like it does in normal photography. The iPhone’s sensor sits millimeters from your subject, so every photon matters. Reflectors and diffusers aren’t accessories—they’re light architects. A reflector bounces existing light back onto shadow areas. A diffuser softens harsh light by scattering it. Both solve the same problem: macro subjects need controlled illumination because the phone’s built-in flash either overexposes or casts shadows the sensor can’t recover.

White paper, foam board, or a dedicated 5-in-1 reflector kit all work identically. Position your reflector opposite your light source to fill shadows. For diffusion, place translucent material between your light and subject—a piece of parchment paper does this for free. The goal isn’t artistic lighting. It’s even exposure across a tiny subject. Adjust reflector distance in millimeters, not inches. One inch closer changes everything. Test this: shoot the same subject, then move your reflector one inch closer and shoot again. The difference proves that proximity controls light intensity in macro mode.
Eliminate Visual Noise From The Frame
Background clutter doesn’t just distract—it competes for focus in tight macro spaces. Because your depth of field shrinks to millimeters at macro distances, anything behind your subject remains in frame and visible. The common advice is “use a blurry background.” That’s incomplete. You control what stays behind your subject by controlling what exists there. Remove competing objects before you shoot. Move your subject away from textured surfaces. Patch solid-colored paper or fabric behind it. The iPhone’s macro mode doesn’t magically erase backgrounds—your camera app shows exactly what the sensor will capture.
Decluttering is a positioning problem, not a software problem. Stand closer to isolate your subject. Angle the phone so the background simplifies. A plain wall beats a busy surface every time. Macro mode has minimal background blur compared to telephoto lenses on other phones, so your environment matters more here than anywhere else in mobile photography. Position your subject in front of nothing, and nothing competes for the viewer’s attention.
The Micro Movement Protocol: Taming Involuntary Action For Macro Photos

Breath Control From The Marksman’s Playbook
You want sharp macro shots without looking like you’re fighting the phone. That’s the real fear. Marksmanship uses breath control as the foundational stabilization tool because the human body creates continuous micro vibrations. Your heartbeat, breathing, and nervous system all transmit into your hands. When shooting macro on iPhone, these tremors magnify because the sensor crops into extreme magnification and any movement translates to blur across the entire frame.

Breathe in slowly through your nose for four counts, hold for four, then exhale for four while you tap the shutter. The hold period is when you take the shot. Your body goes still during breath suspension because your diaphragm stabilizes your core. This isn’t meditation. This is mechanical stability. Lock your elbows against your ribs and keep the phone frame centered at eye level. Take three to five shots per breath cycle because stabilization breaks the moment you inhale again.
Anchor The Subject Before Movement Starts
Most advice says to steady your hands. That misses the real problem. A moving subject defeats stabilization entirely because macro mode has zero depth of field. Any subject drift ruins focus instantly. Use physical contact to lock the subject in place before you frame the shot. Press the subject against a wall, table edge, or your own body. If it’s a flower, use your opposite hand to cup and block wind. If it’s an object, lean it against something immovable.
Frame your shot around the anchor point, then move only your phone to find focus. Never move the subject. The iPhone’s autofocus hunts for contrast when you’re this close, so lock onto a specific detail first. Tap that detail on screen and hold until focus locks green. Then adjust phone angle slightly if needed. Your hands stay braced against your own torso. The subject stays pinned.
Editing For Impact: Beyond Basic Tweaks For How To Take Macro Photos With Iphone

Contrast And Sharpness That Actually Registers
You want people to see what you shot, not doubt whether it’s actually in focus. Contrast is the signal booster here—it’s borrowed from signal processing theory, where contrast acts as the amplification layer that separates your subject from noise. In macro photography, noise is the background clutter. Raise contrast in post to cut through it. Sharpness masks hide softness rather than fix it, so shoot with proper technique first, then use selective sharpening only on the focal plane where detail matters.
The mistake most people make is cranking sharpness globally and wondering why the image looks harsh and fake. Instead, isolate your sharpening to the plane where your macro subject sits. Use the masking slider in Lightroom or the detail panel in Capture One to ensure you’re sharpening texture, not boosting noise in the background. This is the difference between an image that holds up under scrutiny and one that collapses when someone zooms in.
Color Grading For Mood And Context
Macro mode flattens depth perception, so color becomes your depth cue. Warm tones push forward, cool tones recede—use this to guide the viewer’s eye toward your subject, not away from it. The common advice to “add warmth for intimacy” is lazy. What actually works is grading based on the dominant color family already in your frame, then pushing saturation selectively on complementary colors to create separation. Your macro shot of a flower doesn’t need universal warmth; it needs the background desaturated and cooler while your subject holds saturation and warmth.
Color grading in macro requires restraint because magnification exposes every mistake. If you shift the white balance, you shift the perceived material of everything in frame—a petal becomes plastic, a surface becomes synthetic. Adjust white balance first by what the light source actually was, then use hue and saturation brushes to isolate specific color ranges. Grade the background separately from the subject, and commit to one color direction per image rather than chasing multiple moods.
The Real Obstacle Isn’t Your IPhone; It’s Your Unwillingness To Control The Uncontrollable
Most people blame their phone when their macro shots fail. They blame the light, the distance, the tremor in their hands. The real problem is simpler: they won’t accept that macro mode demands obsessive control. You must kill the variables one by one. Pick up your phone right now and shoot the same object three times from different angles with different light sources. Don’t think about it. Just do it and notice what changes. Most photographers never do this exercise because controlling your environment feels tedious, but tedium is where mastery lives.