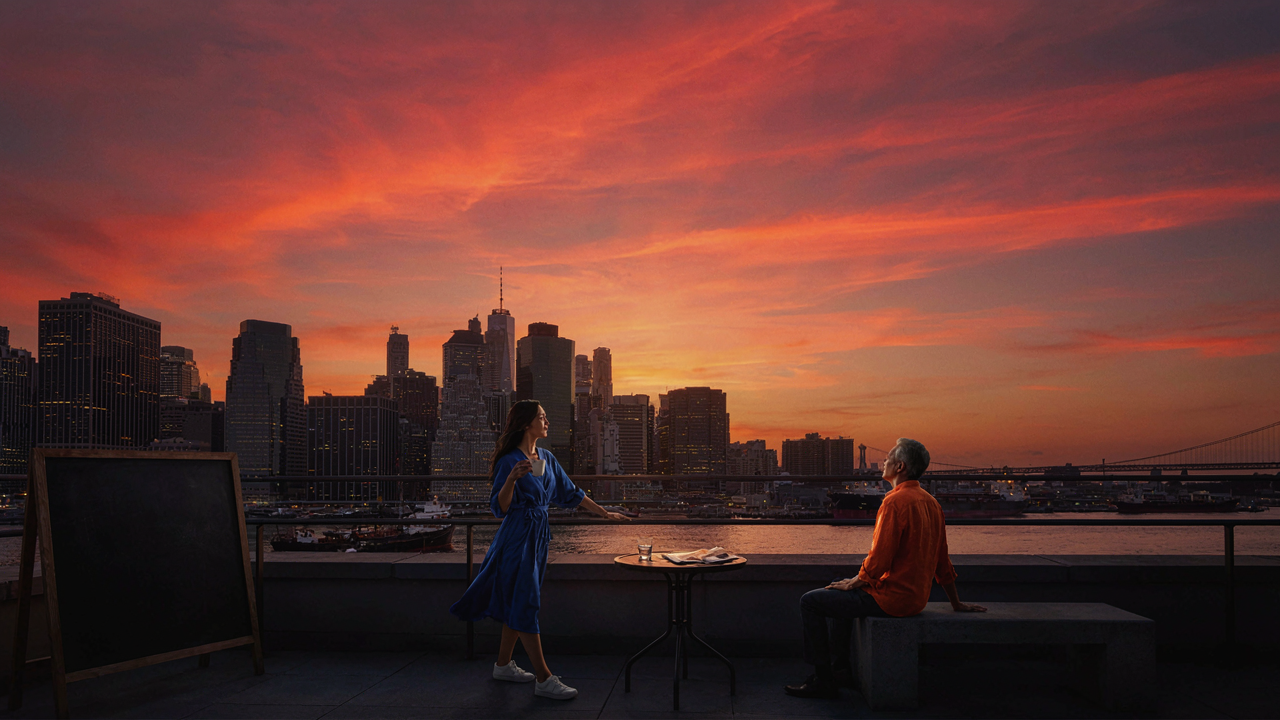
The Lie Of Effortless Balance: Why HDR Isn’t A Magic Bullet

What Apple Doesn’t Tell You About The Algorithm
You want to believe your phone does the hard work so you don’t have to. That’s the real reason you’re here. But HDR on iPhone isn’t magic—it’s exposure bracketing dressed in marketing language. Your phone captures multiple exposures at different settings, then merges them into one frame. The algorithm decides which parts of the image get which exposure data. You don’t control that decision. Apple’s computational photography solves a technical problem, not an artistic one.
The camera takes three to five images in rapid succession: one exposed for shadows, one for midtones, one for highlights. The processor then aligns these frames and blends them, pulling detail from dark areas and crushing blown highlights. This happens in seconds. But the result depends entirely on the scene’s dynamic range and the algorithm’s priorities, which shift based on what the camera’s AI detects. You’re not balancing light and shadow. A black box is. That’s the mechanism nobody admits.
When Automatic HDR Destroys The Shot
The common advice says HDR always improves your photos. That’s incomplete. Automatic HDR fails hard on backlit subjects, extreme contrast, and movement. When someone stands in front of a bright window, HDR often produces a flat, desaturated image where the subject loses dimension. The algorithm tries to preserve detail in both the dark subject and bright background, but it can’t recover what wasn’t captured. You get neither good shadow detail nor good highlight recovery—just a muddy compromise.
HDR also struggles with motion. If your subject moves between the bracketed exposures, the alignment algorithm creates ghosting and halos around edges. Night scenes often trigger unwanted noise reduction that destroys texture. Faces in HDR sometimes look plastic because the algorithm smooths skin texture too aggressively. The fix is simple: turn off automatic HDR for backlit portraits, high-contrast scenes, and any shot where your subject moves. Shoot in standard mode, then assess. HDR should be a choice, not a default.
Beyond The Button: Deconstructing How To Make An Hdr Photo

Multiple Exposures Stacked Into One Frame
You want to believe your iPhone takes one magic shot and fixes everything. It doesn’t. That gap between what you want to believe and what actually happens is where your photos fail. HDR works through exposure bracketing, a photography principle borrowed directly from film: the camera captures three separate exposures in rapid sequence, then merges them into a single image.

Each exposure targets a different tonal range. The first underexposes to preserve highlights that would otherwise blow out to white. The second captures midtones at normal exposure. The third overexposes to pull detail from shadows that would otherwise disappear into black. The processor then blends these three frames, using the best information from each to construct one balanced result. This is computational photography, not magic.
How IPhone Captures Multiple Frames Without You Seeing It
The iPhone’s processor executes this entire sequence in under a second using what amounts to rapid-fire bracketing. When you press the shutter, the sensor captures images at different exposure values before you’ve even lifted your finger. The A-series chip runs the math in real-time, aligning these frames to account for camera shake, then selects the optimal pixels from each exposure to composite together.
This speed matters because movement between frames destroys the merge. If you move the phone or your subject shifts, the three exposures won’t align properly, and the final image looks ghosted or blurry. The iPhone handles this through pixel-level registration: the processor analyzes feature points across frames and warps them into alignment before blending. This is why holding steady during HDR capture, even for that invisible fraction of a second, prevents visual artifacts that make the photo unusable.
The Dynamic Range Paradox: What Your IPhone Misses
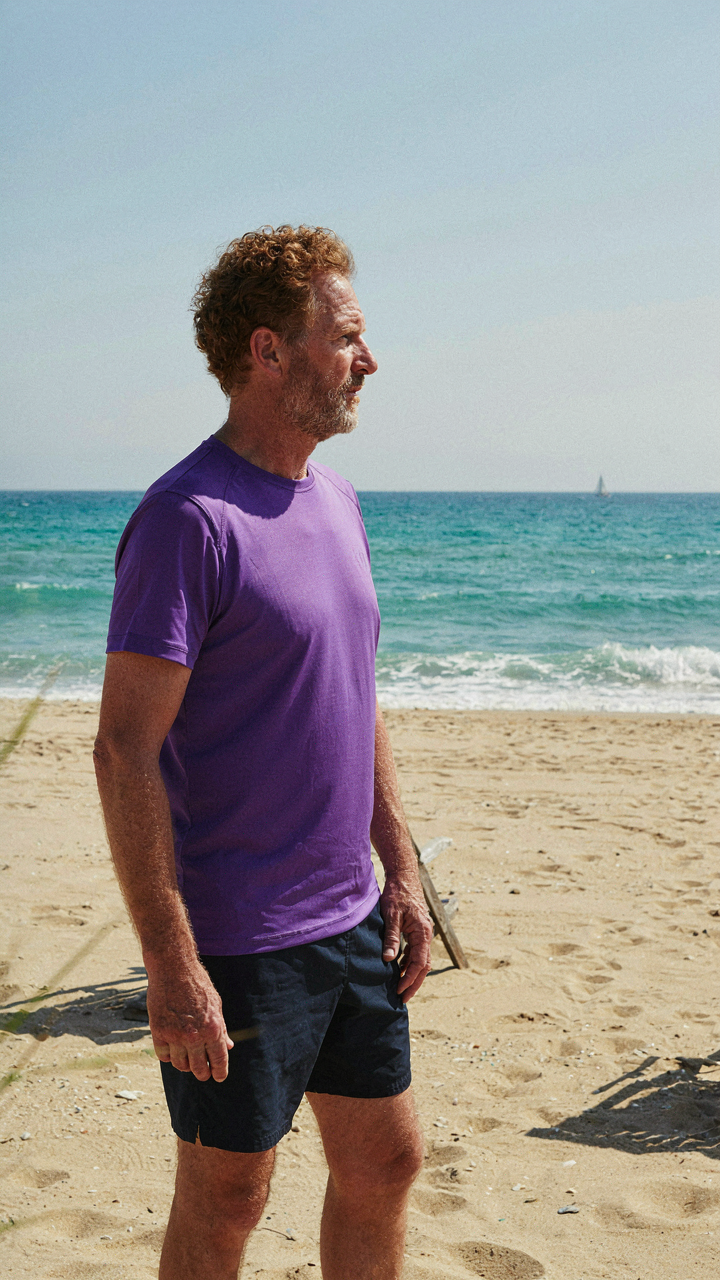
Your Eyes Capture What Your Phone Cannot
You want to believe your iPhone sees what you see, so you don’t have to learn the actual limitations. Here’s the mechanism: human vision operates across roughly 20 stops of dynamic range in optimal conditions. Your iPhone sensor captures between 10 and 12 stops depending on the model and processing pipeline. That gap is where HDR lives, but the gap also reveals the hard truth about what no algorithm fully recovers.

The human eye doesn’t just see a wider range of brightness. It moves. It refocuses. It samples different parts of a scene continuously and stitches them into a unified perception your brain constructs in real time. Your iPhone sensor captures a single frame from a single position with a single focus point. No amount of computational photography erases that fundamental constraint.
When HDR Destroys The Image It Saves
The standard advice says HDR recovers shadow detail and preserves highlights. That’s incomplete. HDR actually compresses midtones to make room for both extremes, and compressed midtones flatten the tonal separation that creates visual impact. Your brain reads contrast as depth, drama, and dimension. Flatten the middle and you kill the thing that made the scene worth photographing.
When your iPhone captures three exposures and merges them, the algorithm prioritizes visible detail in every zone. This sounds good until you realize that highly detailed shadows lose their mystery, and bright skies lose their punch. The result feels “correct” on a technical level and hollow on an emotional one. To preserve the image’s original impact, shoot in standard mode when the scene has a strong directional light source you want to emphasize.
The “Exposure Bracketing” Protocol: Master Your Light

Manual Control Over Multiple Exposure Captures
You want this because you’re tired of letting software decide what matters in your frame. The real mechanism is this: exposure bracketing forces your iPhone to capture three separate images at different exposure levels simultaneously, then combines them into one. This is the military strategy concept of redundancy applied to light. You’re building insurance against blown highlights or crushed shadows by creating multiple versions of the same moment.

iPhone’s native HDR mode does this automatically, but it locks you out of the process. When you enable HDR in Settings > Camera, your phone captures images at underexposure, normal, and overexposure, then merges them using its algorithm. You don’t control which exposures it takes or how aggressively it blends them. The camera decides the weighting. Manual bracketing through third-party apps or the ProRAW format gives you the raw files to blend yourself, or at least to choose which automatic blend matches your intent.
When To Disable Auto HDR And Take Command
The standard advice is that HDR improves every photo. That’s incomplete. Auto HDR creates problems with fast-moving subjects, high-contrast scenes with strong directional light, and situations where you need color accuracy over tonal recovery. Disable it when motion blur matters more than shadow detail, when you’re shooting text or graphics that need precise contrast, or when you’re working with strobes or off-camera flash where bracketing introduces timing problems.
Turn off auto HDR by going to Settings > Camera and toggling off HDR. Shoot once in normal exposure, then assess. If shadows crush and you can recover them in post, take that trade. If highlights blow and detail vanishes, enable HDR for the next shot. The decision hinges on this: what you can fix in post versus what the image loses forever. Crushed blacks recover in Lightroom. Blown highlights often don’t.
How To Use HDR Mode: Not All Scenes Need It

Backlit Subjects And Blown Skies
You want HDR to solve your exposure problems so you don’t have to learn lighting. The real mechanism: HDR borrows from exposure bracketing, a foundational technique in photography where the camera captures multiple exposures at different values, then blends them. Your iPhone does this in milliseconds. A backlit subject against a bright sky forces a choice between exposing for the face or the background. HDR captures both, then merges the highlights from the darker exposure with the shadows from the brighter one.

Backlit situations are where HDR actually works without apology. Your subject stands between you and a window. The camera meters off their face, blows out the window behind them. Enable HDR, and the iPhone takes three frames in rapid succession, underexposing one to preserve sky detail, overexposing one to lift shadow data on your subject’s face. The algorithm then aligns and composites them. This is the only scenario where HDR acts as a technical tool rather than a visual filter.
When HDR Crushes Midtones And Flattens Contrast
The common advice says HDR makes everything look better. That’s lazy. HDR actually destroys midtone separation in moderate-contrast scenes. The algorithm tone-maps compressed dynamic range by pulling down the highlights and lifting the shadows simultaneously. This crushes the tonal gradation your eye expects. A portrait indoors with soft window light doesn’t need HDR. The contrast is already managed. Enabling HDR forces the processor to find and “fix” dynamic range that wasn’t broken, resulting in a flat, desaturated look.
The artifact appears as halos around high-contrast edges and loss of skin tone dimensionality. Scenes with natural, balanced lighting punish HDR processing. Disable it when you shoot indoors with controlled light, during overcast days, or when your subject and background have similar brightness. Your camera’s standard exposure already handles these situations. Toggle HDR off in your camera settings, shoot, then compare the unprocessed frame to an HDR version. You’ll see the processing cost immediately.
The Inverse Square Law For IPhone Photo Tips

How Distance Controls Exposure Without Software
You want to believe processing solves your lighting problems. It doesn’t. Physics does. The inverse square law governs how light intensity drops as distance increases from a source. Double the distance from your subject to a light source, and intensity falls to one quarter. This isn’t metaphor—it’s measurable energy loss. Your iPhone’s HDR algorithm can’t override physics, only compensate for its consequences.

This mechanism explains why a phone flash washes out nearby faces but fails to reach distant backgrounds. It also shows why moving your subject closer to a window transforms shadow detail without touching a single slider. The camera captures what light actually reaches the sensor. HDR stacks exposures to recover detail in both lit and shadow areas, but it starts from light that’s already been shaped by distance and proximity. Move the subject, change the physics, change what HDR has to work with.
Positioning Beats Post Processing Every Time
You don’t solve lighting problems in Lightroom. You solve them by moving bodies and objects in real space. Light fall-off creates the separation between subject and background that HDR struggles to balance simultaneously. When your subject sits three feet from a window and ten feet from a back wall, the inverse square law guarantees the wall receives roughly ninety percent less light. HDR tries to hold both exposures together, creating that flat, processed look everyone mistakes for “bad HDR.”
Position your subject closer to your key light source. The fall-off steepens predictably. The shadow areas on the face compress into fewer stops of dynamic range. HDR now has genuine separation to work with instead of an impossible task. This is why professional phone photographers move before they shoot. The physical setup determines the exposure curve HDR will process. Adjust proximity first, then let the algorithm do its job.
How To Do HDR Photography: Post Processing Power

When The IPhone Stops Working For You
You want the edit to feel effortless, like the camera did all the work. That’s the trap. iPhone’s built-in HDR processor makes automated choices. It crushes blacks, lifts shadows uniformly, and applies tone curves that work for 80% of shots. You need control when your image falls into that remaining 20% where the algorithm fails.

External apps give you the mechanism the iPhone withholds: selective tone mapping. You can brighten the shadow detail in one region while keeping another dark. You can crush highlights in the sky without blowing out the midtones. This is the real HDR workflow. The iPhone captured the merged exposures. Now you decide which tones live where.
Controlling Contrast With Intent
Mood in photography is contrast architecture, a term borrowed from lighting design. In lighting, contrast ratio measures the relationship between your brightest and darkest elements. In iPhone HDR editing, you’re doing the same thing post-capture: you’re building the contrast ratio that determines whether the image feels tense, calm, dramatic, or flat.
Most editing advice says “increase clarity” or “boost shadows.” That’s lazy. You need to ask what story the contrast tells. A compressed contrast ratio feels intimate and calm. A wide ratio feels cinematic and aggressive. Adjust the blacks slider first to set your darkest point. Then lift the shadows to control how quickly the image transitions from dark to light. The midtone adjustment shapes the perceived brightness without changing the extremes. This protocol takes 90 seconds and changes everything.
HDR Photography Techniques: Crafting, Not Capturing

Framing For Dynamic Range Impact
You want HDR to make you look like you know what you’re doing. Here’s the mechanism: composition determines whether HDR has anything to work with. Think of framing like aperture in optics—it controls what information enters the system. Your shot’s success depends on what you include in the frame before the algorithm fires.

Most photographers frame for a single exposure and hope HDR fixes it. Wrong move. HDR combines multiple exposures, so you need scenes where the light actually spans a wide range. Backlighting, mixed indoor-outdoor scenes, and high-contrast environments are where HDR earns its place. Frame to include both the bright and dark regions you want preserved, not just the subject.
Your Visual Signature With Light
Developing a consistent approach to light is what separates functional HDR shots from work that reads as intentional. You’re not chasing realism—you’re building a point of view about how light should behave in your images. The algorithm responds to the scene; your framing and subject selection teach it what matters.
Start treating every shot as a statement about contrast tolerance. Some photographers compress shadows and highlights into near-equal brightness. Others preserve deeper blacks and brighter highlights for tension. Choose one direction and repeat it. When you process the same scene type repeatedly, your eye trains faster than any preset can teach it. The mechanism is repetition creating pattern recognition in your visual system.
HDR Photography Tips: Avoid The Common Traps

The Plastic Look Nobody Admits They’re Creating
You want your photos to look professional, not like a smartphone commercial. That’s the real fear here. The over-processed HDR look happens because the algorithm is doing exactly what it was designed to do: compress dynamic range aggressively. The iPhone stacks multiple exposures and blends them, which flattens the tonal separation between light and shadow. When Apple’s HDR mode pushes too hard, it crushes midtones and strips texture from surfaces. You end up with artificially vivid colors and zero depth.

The trap is thinking more processing equals better results. It doesn’t. When you enable HDR and the phone takes three rapid shots to blend them, it’s solving for average light conditions, not your specific scene. If your subject has natural contrast already, HDR often destroys it by pulling shadows up and capping highlights. The fix is simple: turn HDR off when the light is already balanced. Use it only when you genuinely have a backlit subject or high-contrast scene that needs rescue, not when the sun is soft and even.
Preserve Depth By Keeping Shadows Dark
Contrast creates dimension. Economics calls this scarcity, and shadow is visual scarcity. When you eliminate all shadow detail in pursuit of a “bright” image, you’ve eliminated the signal that tells your eye where things sit in space. iPhone HDR defaults to lifting shadows too high, making foreground and background read as the same plane. This is why overprocessed HDR photos feel flat and fake, no matter how sharp they are.
The mechanism is simple: darker areas need to stay dark for objects to look solid and three-dimensional. If you’re shooting in HDR mode and the preview shows crushed shadows in areas that should have depth, reject the frame and reshoot without HDR or with HDR turned to low intensity. Some scenes need their shadows intact more than they need bright details. Let your subject have its natural shadow. That darkness isn’t a flaw to fix, it’s the proof the photo has volume.
The Real Obstacle Isn’t Your IPhone; It’s Your Refusal To See Dynamic Range As A Creative Choice

Most people treat HDR as an on-off switch instead of a creative lever. You’re shooting flat because you’re afraid of what happens when you actually capture what your eye sees. Stop waiting for permission. Open your camera app today, toggle HDR on, and shoot something with harsh shadows and bright highlights. You’ll immediately see what you’ve been missing. The difference between mediocre and magnetic photos isn’t your phone—it’s whether you’re willing to work with reality instead of against it.



