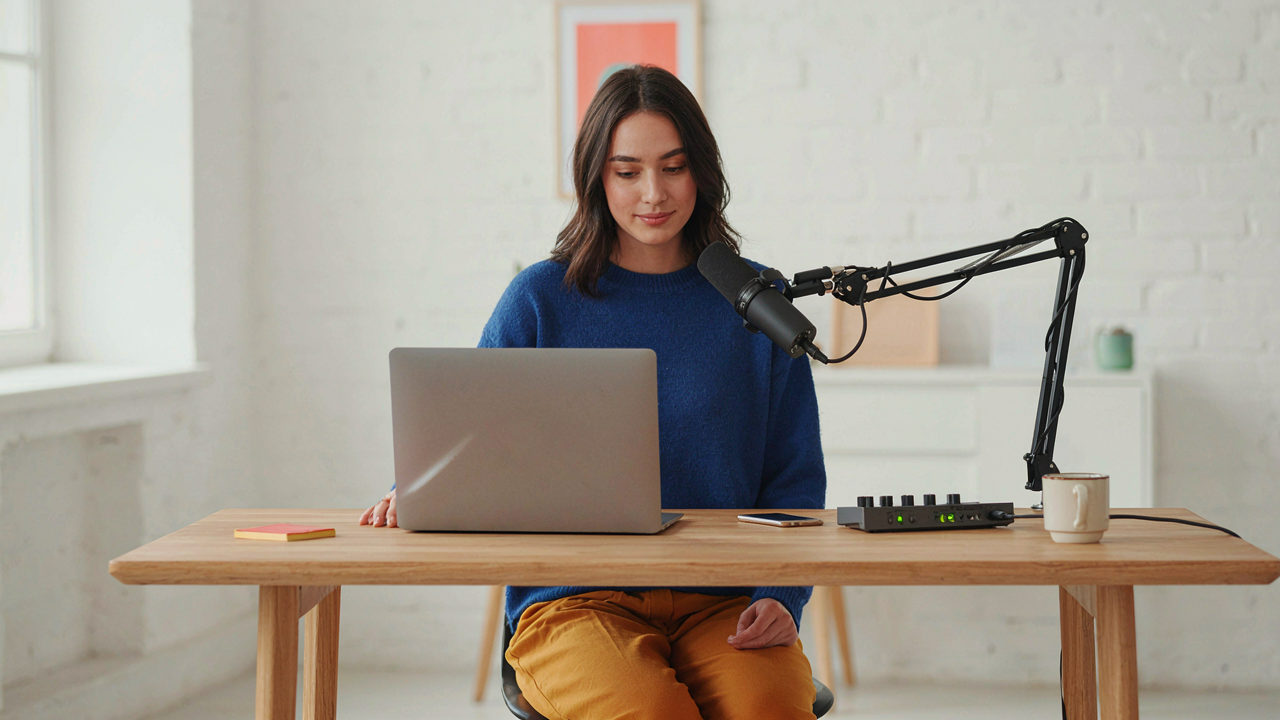
The Minimalist’s Microphone Manifesto
Dynamic Vs Condenser: The Essential Difference
You want to know which one makes you sound professional because you think the microphone determines whether people take you seriously. It doesn’t. The mechanism that matters is how each type captures sound, and that mechanism determines where you can actually record without losing money to treatment.
Dynamic microphones use a moving coil attached to a diaphragm. When sound waves hit, the coil moves through a magnetic field and generates the signal. Condenser microphones use a capacitor: a charged plate vibrates near a fixed backplate, and that vibration changes the capacitance, creating the signal. Dynamic mics reject off-axis sound and room noise by design. Condenser mics pick up everything in a room with precision. One is selective. One is honest. Your budget determines which honesty you can afford to manage.
The Microphone That Actually Works On Budget
Forget the generic “just get a USB mic” advice. That recommendation ignores a hard constraint: USB mics combine a mediocre condenser element with built-in preamps and converters, all fighting for space in a plastic housing. You pay for integration, not quality.
The Shure SM7B is overpriced for beginners. The Audio Technica AT2020 demands treated recording space you don’t have yet. The real answer for a small budget is the Shure SM58 or SM57 paired with a cheap audio interface: a dynamic microphone that rejects room noise by physics, not hope, plus external preamps that let you upgrade later. Buy the SM58 new for 100 dollars. A used Focusrite Scarlett 2i2 runs 80 to 120 dollars on the secondhand market. That pairing costs less than most USB mics and scales when your needs change. The dynamic mic survives neglect, handles proximity well, and demands no acoustic treatment to sound acceptable. Start there.
Acoustic Alchemy: Transforming Any Room
The Room Absorbs Sound Before Your Mic Does
You want your room to sound professional because you think it makes you sound professional. It doesn’t. What actually matters is preventing reflections from turning your voice into a muddied echo that listeners hate. This is basic wave physics: sound bounces off hard surfaces and returns to the microphone delayed, creating phase cancellation and mud. Your job is to kill those reflections before they happen.

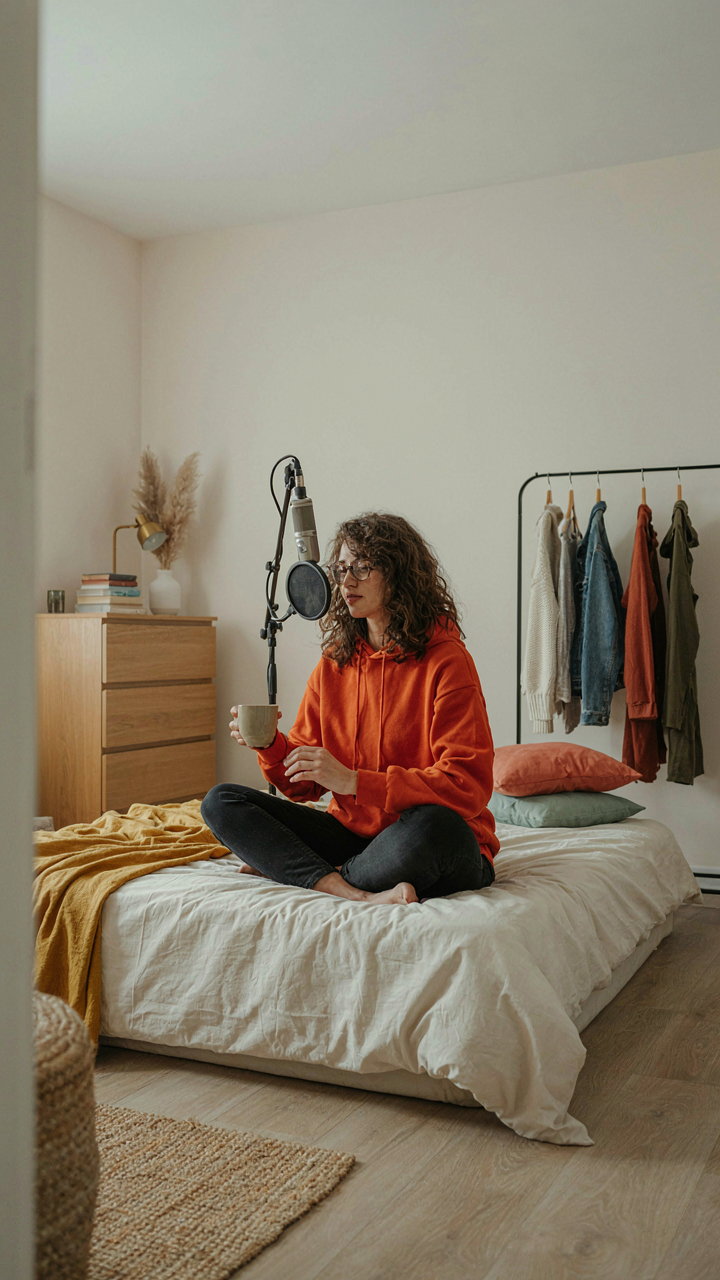
The cheapest absorption tactic is strategic mass. Clothes in a closet, books on shelves, and furniture already do this work. A bedroom with a bed, dresser, and hanging clothes absorbs more sound than a bare office. If your room is empty, you’re fighting physics with your wallet. Blankets hung on walls work because fabric breaks up reflections, but placement matters more than material cost. Put them where sound naturally bounces: behind the mic, opposite walls, and corners where bass builds up.
Position Your Mic Away From The Reflective Perimeter
Corners and hard walls amplify low frequencies through resonance, turning your voice boomy and unprofessional. Move your microphone away from walls and into the center mass of the room where reflections have time to dissipate before reaching the capsule. A cardioid mic placed one foot from a wall sounds worse than the same mic placed four feet away in open space.
Desk placement determines everything. Put your desk in the center of the room, not against a wall behind you. Your voice should travel into the room before any reflection bounces back. If you must use a wall, treat it with absorption material. Bass traps in corners using rigid fiberglass or rockwool cost under fifty dollars and work because they target the frequencies that ruin podcast audio most effectively.
The “Podcast Studio” Myth: Real Gear, Zero Hype
Your Interface Matters More Than Your Room
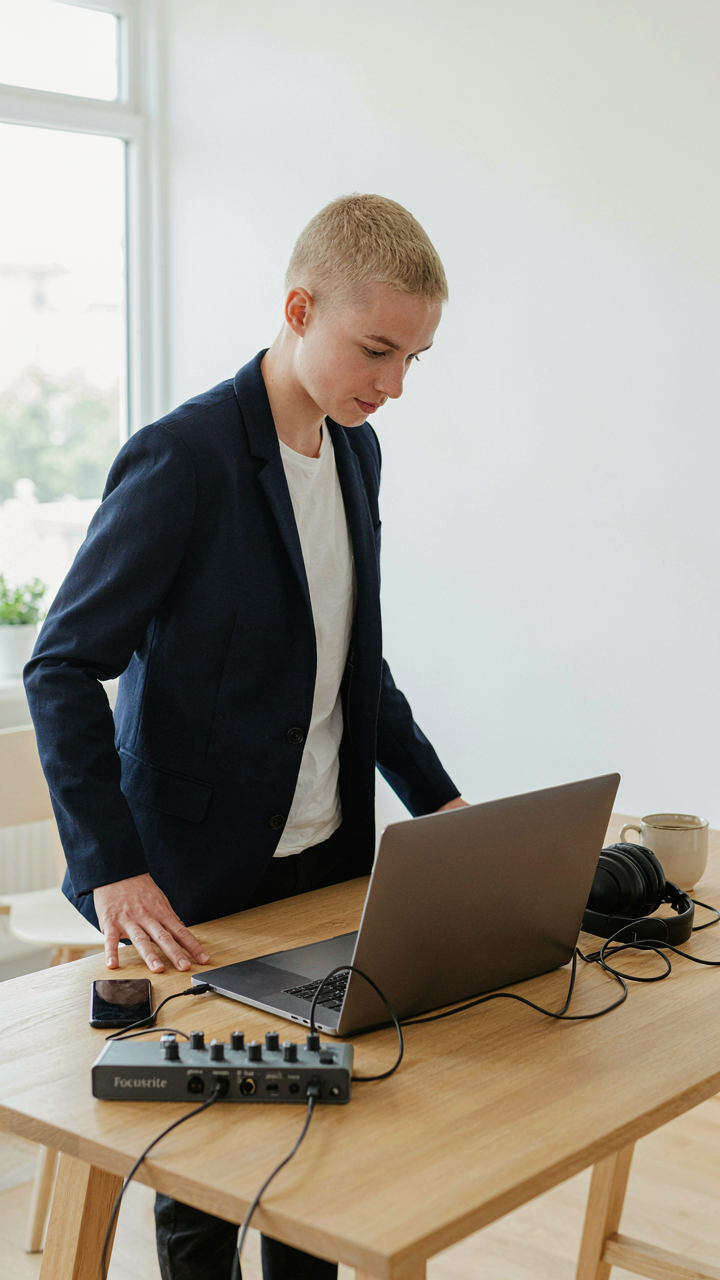
You want people to think you recorded in a professional studio. That’s the real reason you’re reading this. Here’s the mechanism: audio quality lives in signal capture, not in wall treatment. A bad interface forces you to compensate with software that degrades everything downstream. An interface is the translator between your microphone and your computer. Get the translation wrong, and no EQ, compression, or editing fixes it. You need an interface that captures clean signal at usable levels without introducing noise.
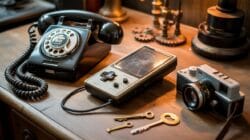
Buy an interface with at least two inputs, forty-eight volt phantom power, and a headphone output. The Focusrite Scarlett 2i2 and Behringer U-Phoria UMC202HD do exactly this at entry prices. Avoid USB hubs. Connect the interface directly to your computer. Set your buffer size to 128 or 256 samples during recording. Higher buffers introduce latency. Lower buffers tax your CPU. Hit record, speak at a consistent distance, and watch your levels stay between negative twelve and negative six decibels. That’s the protocol.
Free Software That Replaces The Paid Myth
The paid DAW market sells you a status symbol, not capability. Audacity records, edits, and exports audio without subscriptions or limitations that matter for podcasting. Reaper costs sixty dollars one time and runs indefinitely. Neither requires monthly theft from your operating budget. Both handle multitrack recording, time shifting, and noise reduction. The only reason professionals use Logic or Pro Tools is workflow speed and habit, not inherent superiority for spoken word.
Download Audacity and record a test episode. Normalize your peaks to negative one decibel. Use the noise gate to remove room tone between segments. Export as MP3 at 128 kilobits per second. That file works everywhere podcasts live. You’ve eliminated the entire “I need professional software” excuse.
The Single Operator Setup One Person Podcast Setup Protocol
Record Without Stopping To Adjust
You want solo podcasting to feel effortless so people think you’re naturally talented. The real mechanism is simple: eliminate every decision during recording. Your brain cannot talk, monitor levels, and tweak settings simultaneously without degrading audio quality or your performance. Pick your mic position, gain, and room before you hit record. One inch of mic movement changes proximity effect. One decibel of gain creates phase issues later. Lock everything down.

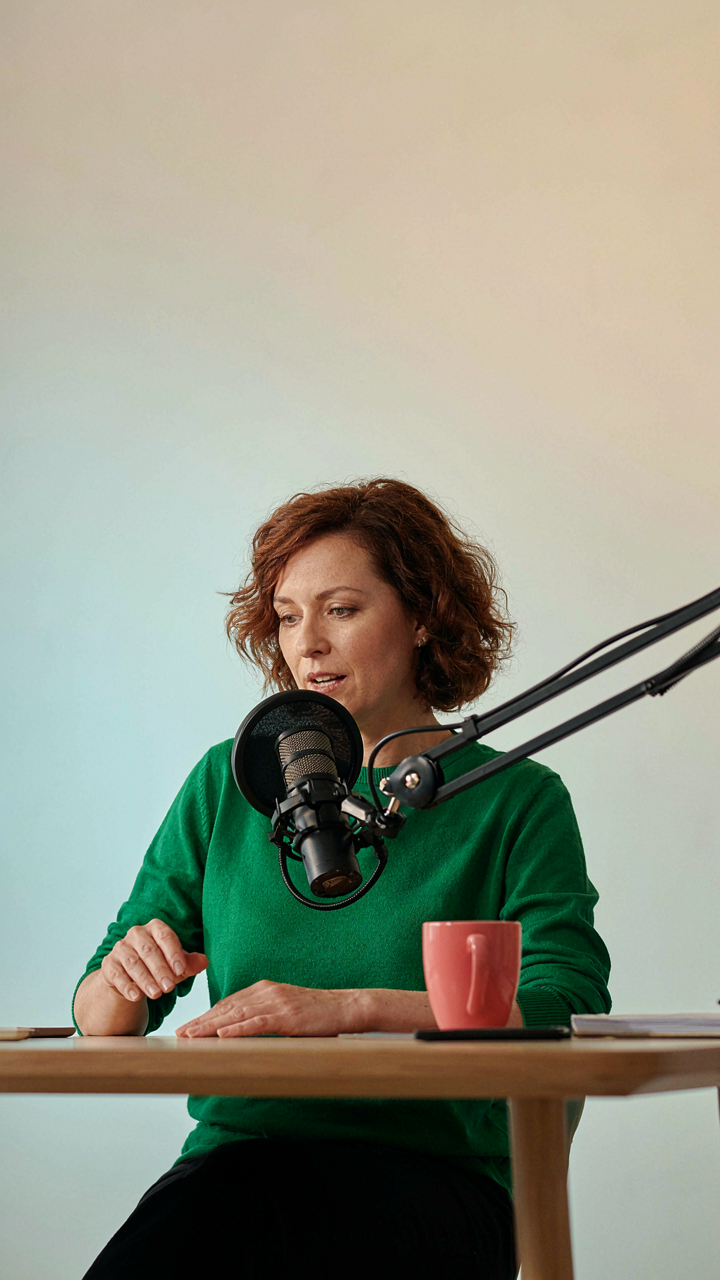
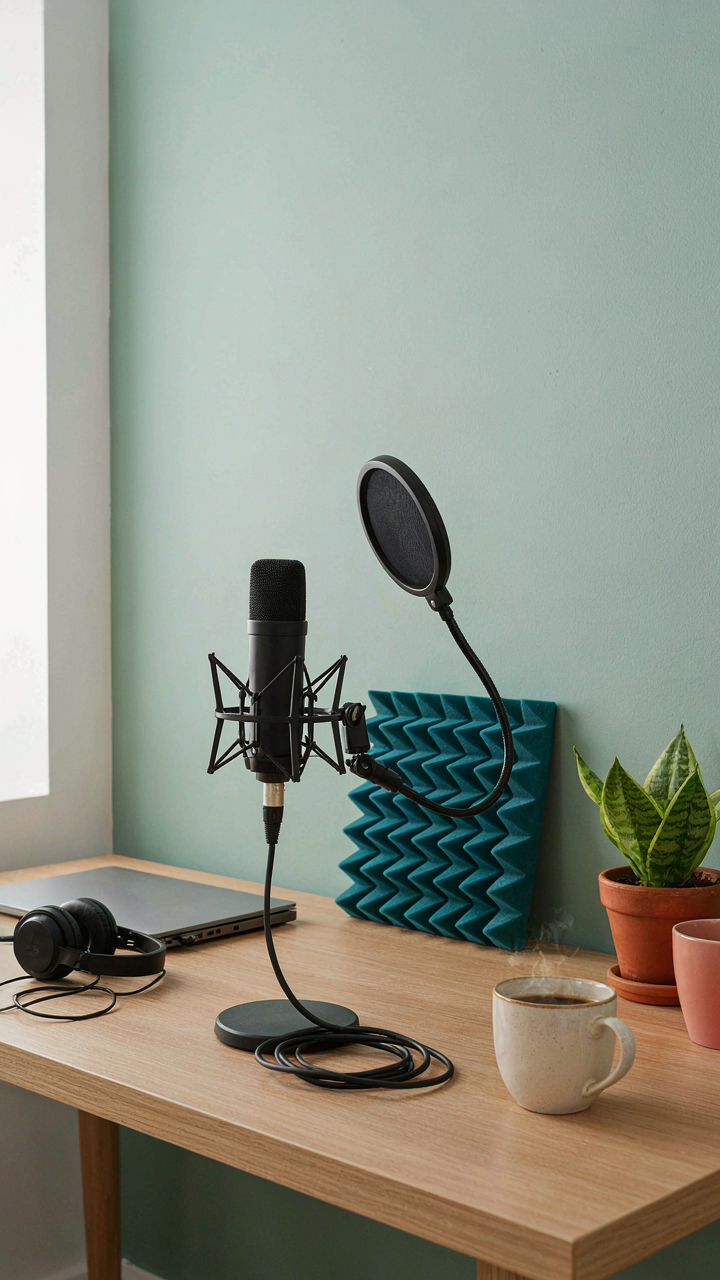
Use a mic arm with a shock mount. Position the mic at mouth level, roughly six inches away. Test this position three times before recording your first episode. Clamp the arm to your desk so it cannot move. Place a pop filter between your mouth and the mic. Set your gain so peaks hit around negative six decibels on your audio interface. Do not touch anything once you start speaking.
Levels Are Physics Not Preference
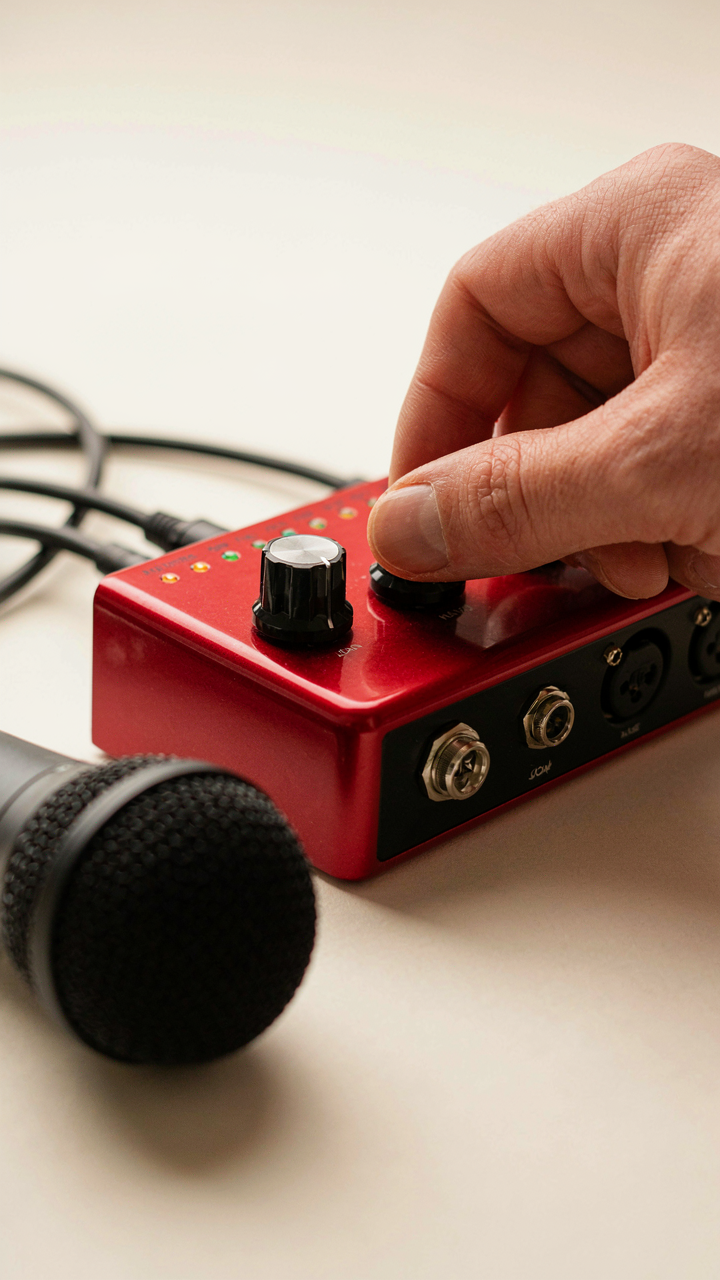
Sound engineering borrows from electrical signal flow: input signal strength determines your signal to noise ratio. Your microphone’s gain controls how loud the raw signal enters your interface. Set it too low and you amplify noise when you boost in post. Set it too high and you clip peaks that cannot recover. The common advice to “just monitor your meters” misses the point. You need a repeatable protocol, not real time guessing.
Use a hardware audio interface with a gain knob you can touch. Speak at your normal podcast volume into the mic. Adjust the gain until your loudest peaks sit between negative six and negative three decibels. Record a two minute test. Play it back. If you hear distortion, lower gain by two decibels and test again. If the quiet sections sound noisy, raise gain by one decibel. Lock the gain and never move it for that microphone and room combination.
Your Corner Podcast Setup: Spatial Leverage
Make Your Room Work Instead Of Fighting It
You want to sound professional without renting studio space. That’s the real reason you’re reading this. Room acoustics operate on the same principle as echo chambers in architecture: sound reflects off hard surfaces and dies in soft ones. Your corner becomes a recording tool the moment you understand what it already does. Most people waste money on gear when their space is sabotaging them. Fix the space first.

Small rooms have one advantage: reflections compress faster. Sound bounces off fewer surfaces before reaching your mic. A bedroom corner is acoustically closer to a treated studio than a large open loft. The trap is thinking you need expensive panels. You don’t. You need to block reflections from the walls behind and beside your recording position. Clothes absorb sound. Books absorb sound. A couch absorbs sound. Position yourself where soft materials already exist.
Mic Stands That Don’t Fall Apart
The standard advice here is worthless: people tell you to buy a boom arm. Boom arms fail because they’re mounted to surfaces that vibrate. Your desk vibrates when you type. Your wall vibrates when your neighbor moves. The mechanism is vibration transfer, not air movement. A boom arm actually amplifies desk noise through the mic cable and shock mount. A stationary stand on a decoupled base eliminates this problem entirely.
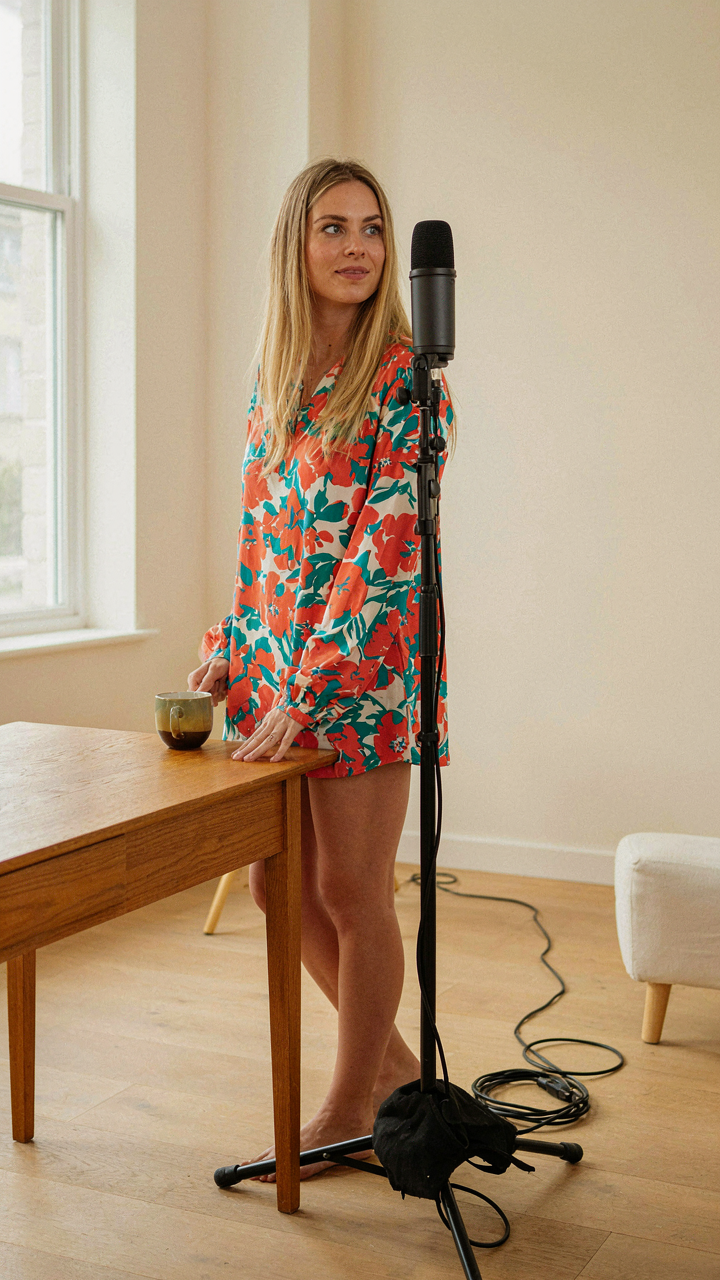
Build your stand mount on a separate mass that sits next to your desk, not on it. A weighted base or sandbag does this. Set your mic on a standard tripod stand, add a cheap shock mount, and isolate it from your working surface. The stand sits beside you, not attached to your environment. Cable management matters: run the XLR cable along the floor or suspended, never draped across your desk. This single protocol change removes more noise than any piece of gear you could buy.
The “At Home Youtube Studio” Crossover: Visuals On A Dime
Constraints Force Better Decisions
You want camera presence because you know it converts better than audio alone, but you’re afraid the gear costs will blow your budget. Here’s the mechanism: military strategy calls it “economy of force”—allocating minimal resources to achieve maximum effect in one sector while defending others. In podcasting, that means spending on the one lighting element that actually changes how you look on camera, then stealing everything else from what you already own. Skip the impulse to buy a full three-point setup. You don’t need it yet.

The real constraint isn’t money. It’s that most people don’t know what lighting actually does, so they buy equipment instead of solving the problem. A single quality key light positioned at 45 degrees to your face eliminates shadows, defines your features, and makes you look intentional on video. That’s the move that matters. Everything else—fill, background, rim lights—is refinement. Start with one light source and test it before you layer complexity.
Position And Angle Over Brightness
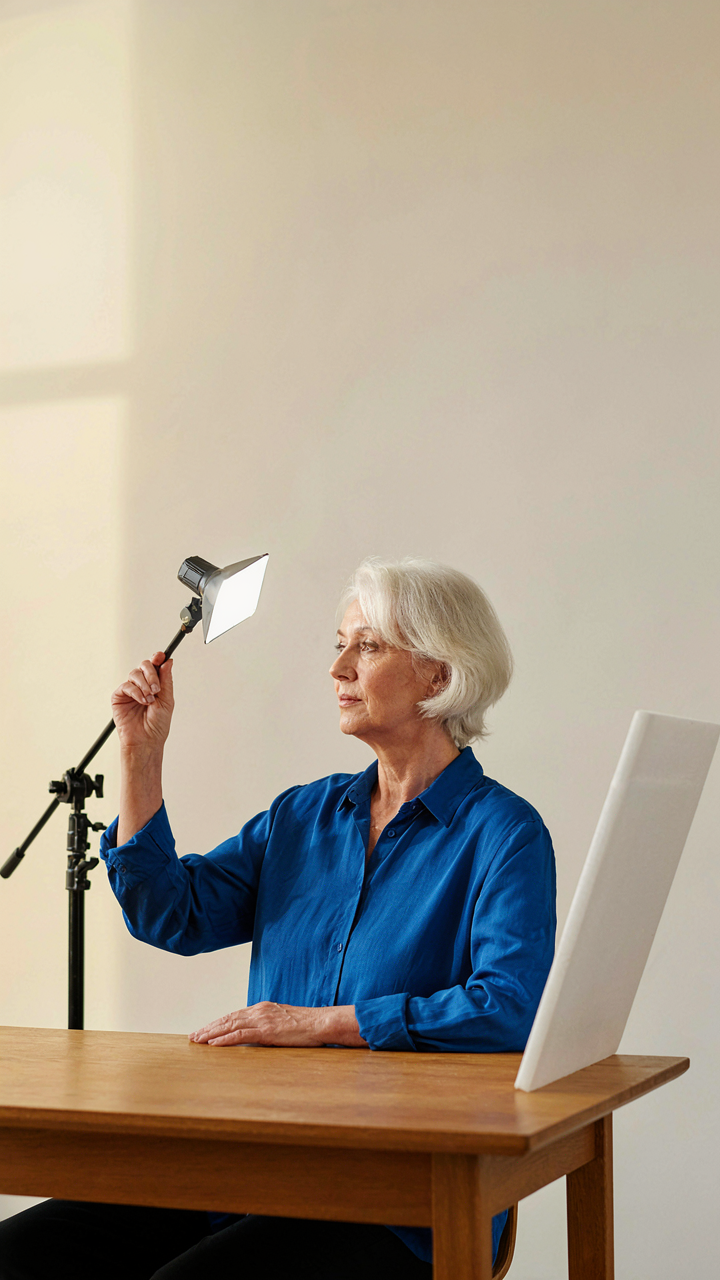
Brightness is the amateur’s metric. Position is what separates a face that looks flat and tired from one that looks present and intentional. Place your key light roughly 3 to 4 feet away at a 45-degree angle above eye level, pointing slightly down. This creates dimension without harsh shadows under your eyes. The light should make the side of your face closer to it slightly brighter than the other side. If you’re using a budget LED panel or even a work lamp with daylight bulbs, angle matters more than wattage.
Your second light source doesn’t need to be a light at all. Bounce light off a white wall, foam board, or even a poster board propped to your side. This fills shadows without adding another fixture to your setup. Set your camera position so the key light doesn’t create a glare on your lens or behind your head. Test this by recording 30 seconds and watching the playback. Adjust position by inches, not feet. The protocol: place key light, record a test clip, adjust, record again, compare.
Editing Efficiency: The Post Production Power Play
Noise Reduction Techniques That Actually Work
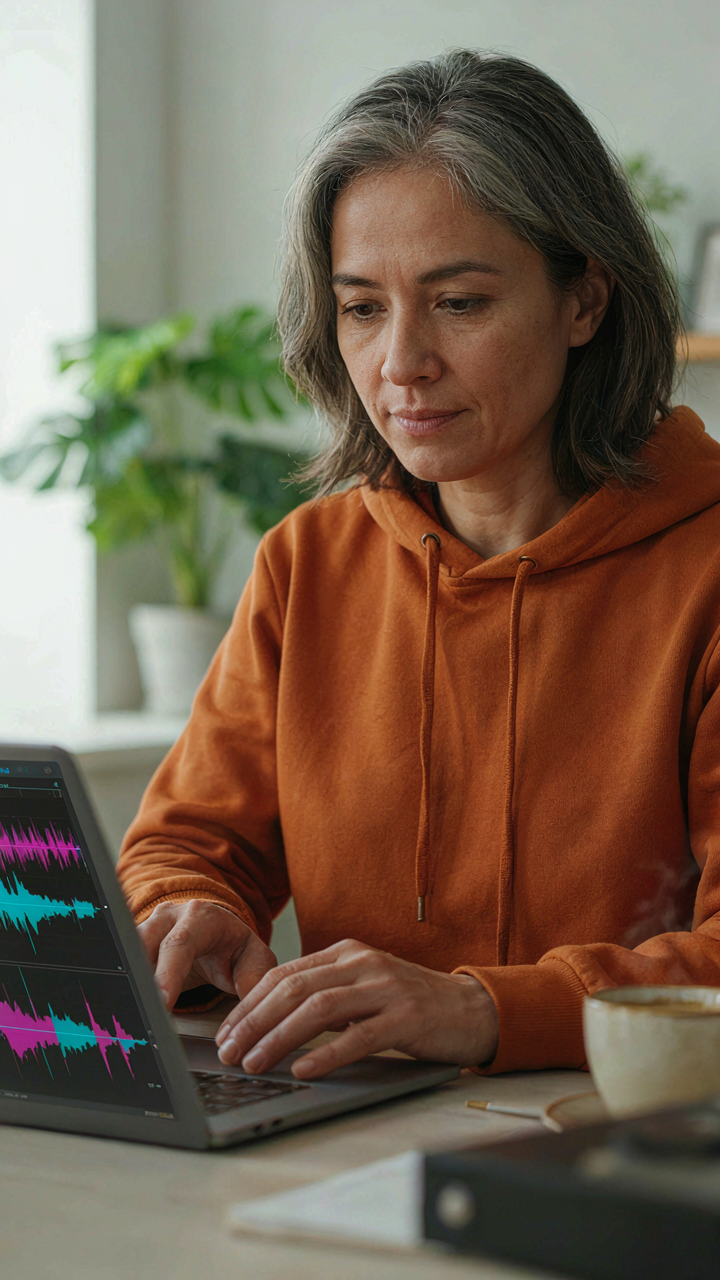
You want your podcast to sound professional without paying a studio because you’re afraid amateur audio kills credibility. The mechanism is simple: noise reduction doesn’t remove noise. It reduces the level of frequencies that exist when your voice stops talking. Gate your noise floor first, then use spectral subtraction. Most people skip gating and wonder why their noise reduction sounds like artifacts.
Gating works like a bouncer. When your voice drops below a threshold, the gate closes and kills the signal entirely. Set it aggressive in a quiet moment of your raw audio, capture that silence profile, then apply it across the episode. Audacity handles this free. Don’t waste time chasing perfect noise reduction settings. Get the gate tight enough that only your voice passes, then move forward.
Mastering Basic Audio Sweetening For Clarity
Clear audio isn’t balanced. It’s compressed, equalized, and leveled so every word lands at the same perceived volume. This borrows from mastering as a discipline: you’re using compression as a limiter to control dynamic range, the single biggest factor separating bedroom recordings from broadcast quality. Most DIY podcasters skip compression entirely and wonder why they sound inconsistent.
Compression does one job: it reduces the volume difference between your loud peaks and quiet passages. Set your ratio to 4:1, attack to 10 milliseconds, and release to 100 milliseconds. Use a soft knee so the transition feels natural. Apply this across your full mix bus, not individual tracks. After compression, add a high pass filter at 80 hertz to eliminate rumble below voice range, then use a gentle boost at 3 kilohertz for presence. Check your levels hit minus 3 decibels on peaks. That’s your target for upload.
Distribution Domination: Getting Heard For Free
Where Your Podcast Actually Lives
You want distribution to feel automatic. It won’t be. The real issue is that free hosting platforms all operate on the same economics: they need your show’s metadata to feed into directories, and directories need shows to stay relevant. You’re not the customer; advertisers and sponsors are. Understanding this flips how you choose a host.

Buzzsprout, Anchor, and Podbean all distribute to the major directories for free. The meaningful difference isn’t features—it’s upload limits and metadata control. Buzzsprout caps at 3 hours monthly on free tier but gives cleaner analytics. Anchor integrates directly with Spotify’s ecosystem, which matters if your audience skews streaming-first. Podbean’s free tier has looser restrictions but charges aggressively for growth. Pick based on where your listeners actually congregate, not feature lists.
Getting Into Directories Without Wasting Weeks
Most guides tell you to “submit to all the major platforms.” That’s incomplete. Directories work on submission hierarchies, not equality. Spotify, Apple Podcasts, and Google Podcasts form the tier-one layer—they drive 70 percent of listens across most genres. Submit to these three first through your hosting platform’s integration. Don’t do it manually; let the host handle XML feed verification and RSS syndication. Manual submission wastes hours for zero gain.
After tier-one platforms process your feed (usually 24 to 72 hours), secondary directories like Stitcher, Amazon Music, and iHeartRadio pull your show automatically. They consume your RSS feed data from the tier-one platforms. The common mistake is treating each directory as a separate project. They’re not. Your RSS feed is the mechanism—everything else is distribution theater. Verify your show appears in tier-one platforms first, then check secondary directories weekly for the next two weeks to confirm propagation.
The DIY Podcast Setup Ideas That Actually Work
Household Items That Sound Professional
You want people to think you recorded in a studio without paying for one. That’s not shallow—it’s economics. The mechanism is simple: sound quality signals investment and competence. Cheap audio kills credibility faster than weak content saves it. But studio gear costs thousands. The hack is that acoustic treatment and isolation don’t require branded equipment.
- Blankets and comforters: Layer them on walls behind your mic to kill reflections. Thicker fabrics absorb mid and high frequencies that make rooms sound cheap. Position them at ear level, not the floor.
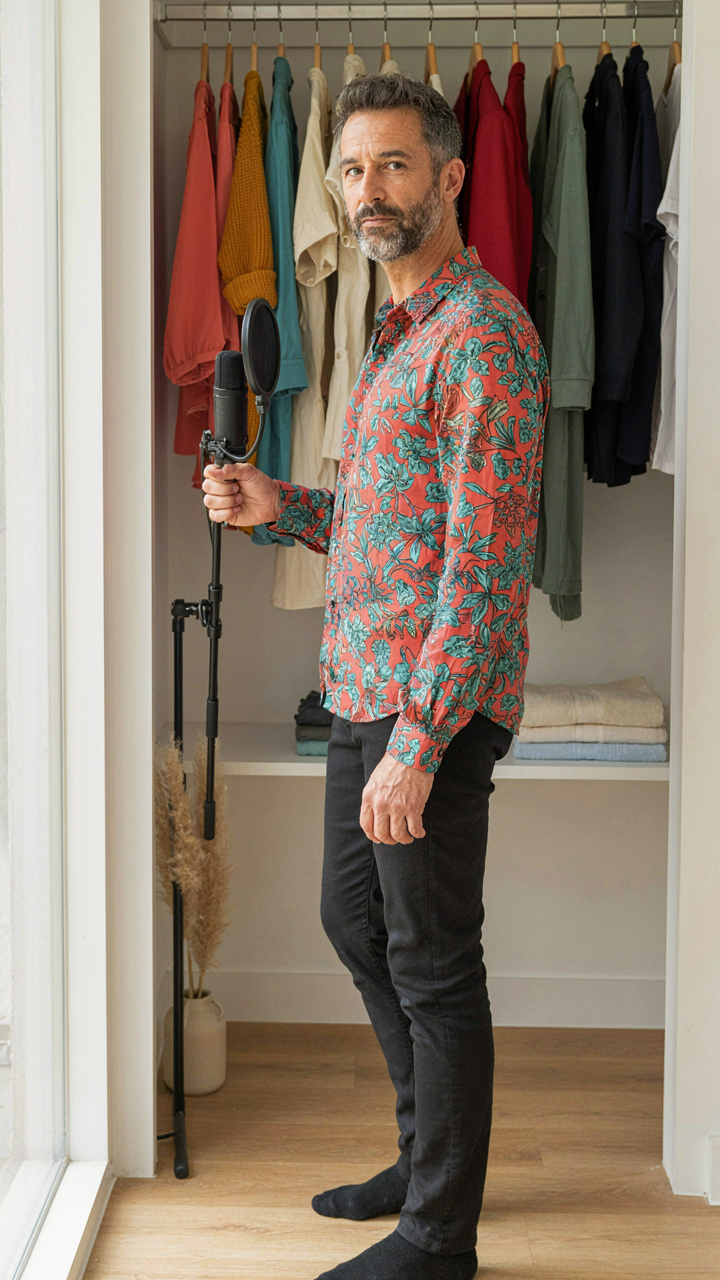
- Closets: Record inside one if space allows. Clothes on hangers act as diffusers. The confined space naturally dampens echo and room tone that ruins takes.
- Bookshelves: Fill them with actual books (not decorative). Paper and cloth absorb sound unevenly across frequencies, breaking up standing waves better than foam panels marketed as acoustic treatment.
- Bass traps from corners: Stack towels or old clothing in room corners under tables. Low frequencies pool there. This costs nothing and works because physics doesn’t care about price tags.
- Desk padding: Felt-backed desk mats under your microphone arm kill vibration transfer from keyboard clicks and arm movements to your recording.

The reason pros don’t mention these is status. Recommending blankets sounds less authoritative than selling acoustic panels. But a $15 blanket absorbs the same frequencies as a $150 panel. Start here before spending money on anything branded.
Building Growth Into Budget Constraints
Most budget setup advice assumes you’ll upgrade gear later. That’s incomplete. The real question is which components degrade fastest as your audience grows and which ones hold value through scaling.
Start with the microphone and audio interface as your anchors. These two pieces determine your audio floor permanently. A cheap mic stays cheap through 100 episodes and 100,000 listeners. Upgrade everything else around them. Your first XLR cables, pop filter, and boom arm will eventually get replaced. Your mic won’t—so spend here first and cheap everywhere else initially. This inverts the typical advice that says start with USB mics.
The growth mechanism works like this: recording software and room treatment improve over time without equipment changes. Better editing habits, quieter environments, and refined mic technique compound. A $200 microphone in a treated room with a skilled operator outperforms a $600 mic in a noisy room with sloppy technique. Invest in the permanent piece first, then layer temporary improvements around it. When revenue arrives, replace the consumables, not the core. Your original microphone becomes your backup unit—which you’ll eventually need as you scale from one recording session per week to multiple daily recordings.
The Auditory Arsenal: Essential Sound Components
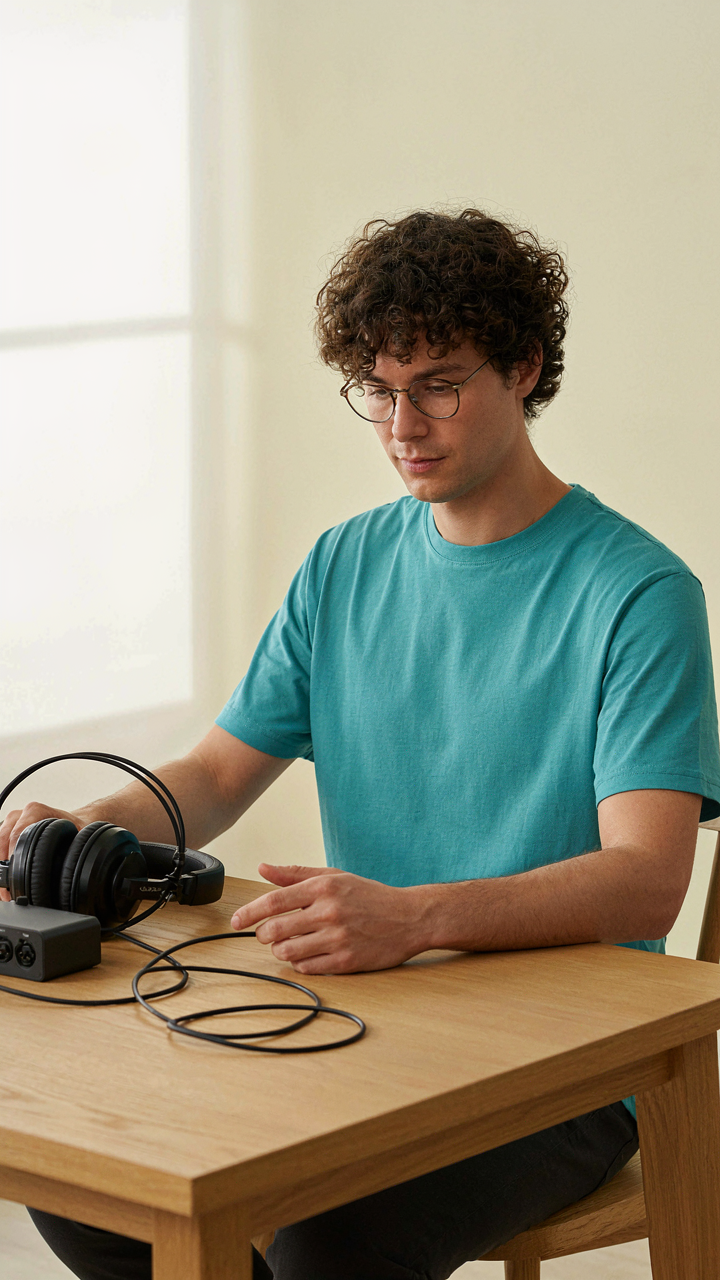
Closed Back Headphones Matter Most
You want headphones that make you sound professional without spending money you don’t have. The real mechanism: closed-back headphones isolate sound so you hear only what’s in your recording, not reflections bouncing around the room. Open-back headphones leak sound everywhere and let ambient noise color your mix decisions. When you’re monitoring during recording or editing later, closed-back designs prevent you from chasing a mix problem that doesn’t exist.
Physics calls this acoustic isolation. In podcast setups, isolation means your ears receive direct signal without room reflections interfering. Budget closed-back options like the Audio-Technica AT2020USB or Sony MDR7506 cost under 100 dollars and hold their reference quality across multiple sessions. Don’t confuse closed-back comfort with utility. You’re not wearing these for six hours straight. You’re wearing them for thirty minutes to monitor, then editing later at normal volume on your speakers.
Cables And Connectors Stop Most Problems
Everyone buys cheap XLR cables and wonders why their audio cuts out mid-recording. The problem isn’t the cable itself. It’s the connection points. XLR connectors corrode or loosen from movement. USB cables fail because devices tug them repeatedly. TRS balanced cables pick up hum from proximity to power lines. Buy quality connectors first, then cable length. A five-dollar Neutrik XLR connector outlasts a twenty-dollar budget cable with weak solder joints.
Keep cable runs short and direct. Coil excess cable loosely, never tight knots that stress the connectors. Use right-angle adapters to reduce strain on plugs. Test every connection before recording by gently wiggling connectors while monitoring audio. If sound cuts or pops, that connector is the culprit. Replace it. Don’t record a full episode, discover the failure later, and waste two hours re-recording when a fifty-cent connector swap fixes it in two minutes.
The Real Obstacle Isn’t Your Budget; It’s Your Ability To Discern Signal From Noise In A Saturated Market

Your DIY podcast setup won’t matter if you spend six months perfecting audio while your audience lives somewhere else. Most people build the wrong show for the wrong people. Today, write down three specific problems your ideal listener actually has. Not problems they should have. Problems they wake up thinking about. Record one episode solving one of them. Send it to five people who have that problem. Their feedback beats any gear upgrade you could buy. The gear becomes irrelevant when you stop making content nobody wanted in the first place.



