
The Illusion Of “Simple” DC Motor Circuits

What Everyone Gets Wrong About Basics
You want to feel competent fast, so you grab the simplest schematic and expect it to work. The real problem: basic DC motor circuits fail because people confuse electrical simplicity with mechanical reality. A circuit diagram shows current flow, not torque, bearing friction, or load resistance. The mechanism nobody states plainly is that a motor’s behavior changes the moment it spins, introducing back-EMF that collapses your voltage and crashes your current assumptions.
Most guides show a battery, switch, and motor connected in series and call it done. That setup ignores what actually happens inside the motor during operation. Back-EMF rises as RPM increases, stealing voltage from the circuit. Without accounting for this feedback loop, your motor either stalls under load or consumes erratic current that destroys components downstream. The disconnect between schematic theory and bench reality kills more projects than bad wiring.
Schematics Describe Intention, Not Behavior
A schematic is a static map of connections, not a prediction of performance. In control theory terms, a DC motor circuit operates as a system with state-dependent feedback, meaning the motor’s resistance and voltage requirements change continuously as it runs. Your schematic cannot show this dynamic behavior because it captures only the initial condition, not the motor’s response to load, speed, or current demand.
This is why identical schematics produce different results across different motors, power supplies, and mechanical loads. You need a second layer of analysis: measure the motor’s stall current, back-EMF constant, and mechanical resistance before you build anything permanent. Test the circuit with a variable power supply and an ammeter to see where current actually peaks and sags. The difference between a working project and a burning component is recognizing that your schematic is a starting assumption, not a finished design.
DC Motor Projects: The First Principles Protocol
Voltage, Current, And Resistance: The Real Trade Off
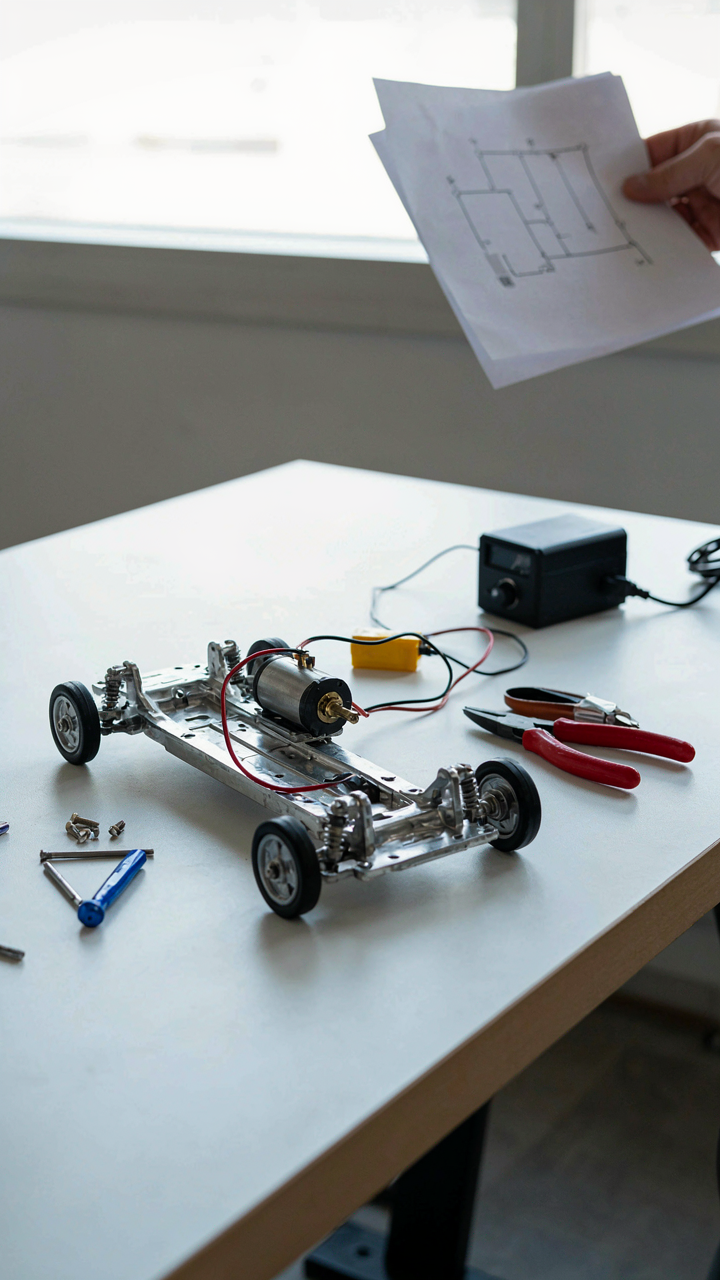
You want to build something that works without understanding why it fails. That’s the real reason you’re here. The physics field calls this Ohm’s Law: voltage equals current times resistance. In a DC motor project, this relationship decides whether your motor spins or burns out. Most builders treat voltage as “more power” and ignore current entirely. Wrong. Voltage pushes electrons through the circuit. Current is how many electrons actually move. Resistance opposes that movement and converts energy to heat.

A small motor rated for 3V will draw different current at 3V than at 6V. The resistance stays constant, but doubling voltage doubles current draw, which quadruples power consumption. Your power source must supply that current or voltage collapses under load. This is why a toy motor runs slower on a half-dead battery even though the battery still has voltage. The internal resistance of a weak battery limits current flow. Measure your motor’s resistance with a multimeter before selecting your power supply. This single step eliminates 80 percent of failed projects.
Torque And RPM: What Everyone Gets Backwards
The standard advice says faster motors have less torque. That’s incomplete. Torque and RPM are independent properties determined by motor design, not linked by physics. A motor’s torque depends on the strength of its magnetic field and the diameter of its rotor. RPM depends on how fast the magnetic field switches. You can build a slow motor with high torque or a fast motor with low torque. The confusion exists because hobby motors are usually sold as one unit, so users assume the trade-off is built in.
Your actual constraint is power, not speed or force separately. Power equals torque times RPM divided by a constant. A motor with 0.5 Newton-meters at 1000 RPM produces the same power as one with 0.25 Newton-meters at 2000 RPM. Your power supply determines the ceiling. When you load a motor down, RPM drops and current rises to maintain power output until thermal limits hit. Design your project load first, calculate the required power, then find a motor that delivers that power at your target speed.
Beyond “Science Projects”: Engineering For Purpose

When The Experiment Stops Being An Excuse
You want to feel like you’re building something real, not just repeating what YouTube told you to replicate. That’s the hidden fear: wasted time on a project that teaches nothing and goes nowhere. The mechanism is this. Most DIY motor builds live in demonstration mode. They prove a concept works, then stop. Real engineering reverses the order. You start with a specific outcome you need, then engineer the motor to deliver it. A toy car that moves fast enough to win a race is not the same problem as a toy crane that lifts a precise load. The motor selection, gearing, power delivery, and control all shift. The experiment becomes irrelevant the moment you name what the motor actually needs to do.

Engineering borrows from constraint-based design, a term from systems thinking where limitations force innovation instead of paralyzing it. Your constraint here is not “make a motor spin.” It’s “make this specific thing move this specific way under these specific conditions.” That one shift changes everything about how you select components, test them, and iterate. Most builders skip this step entirely and wonder why their projects feel hollow.
Where Real Problems Hide
The common advice says “follow your curiosity” or “build what interests you.” That’s incomplete and costs you time. Real problems emerge from friction points you already experience. A toy train that won’t climb a slight grade. A model boat that drifts in circles. A rotating display that needs variable speed without vibration. These are not invented problems. They are real outcomes you want that demand a motor solution. The difference matters because it shapes every decision downstream. A motor that works fine in isolation fails the moment you load it with actual weight or demand actual precision.
Start here: What movement do you want to exist that doesn’t now? Write it down. Not “I want to understand motors.” That’s an education goal, not an engineering goal. Something like “I want this model to traverse a 3-foot incline at steady speed without stalling.” Now the problem is specific enough to engineer against. You test not whether the motor works, but whether it solves that one problem under load, across temperature range, and across repeated cycles. Build your motor design backward from that requirement.
Physics Projects: Leverage, Not Brute Force
Mechanical Advantage Through Gear Ratios
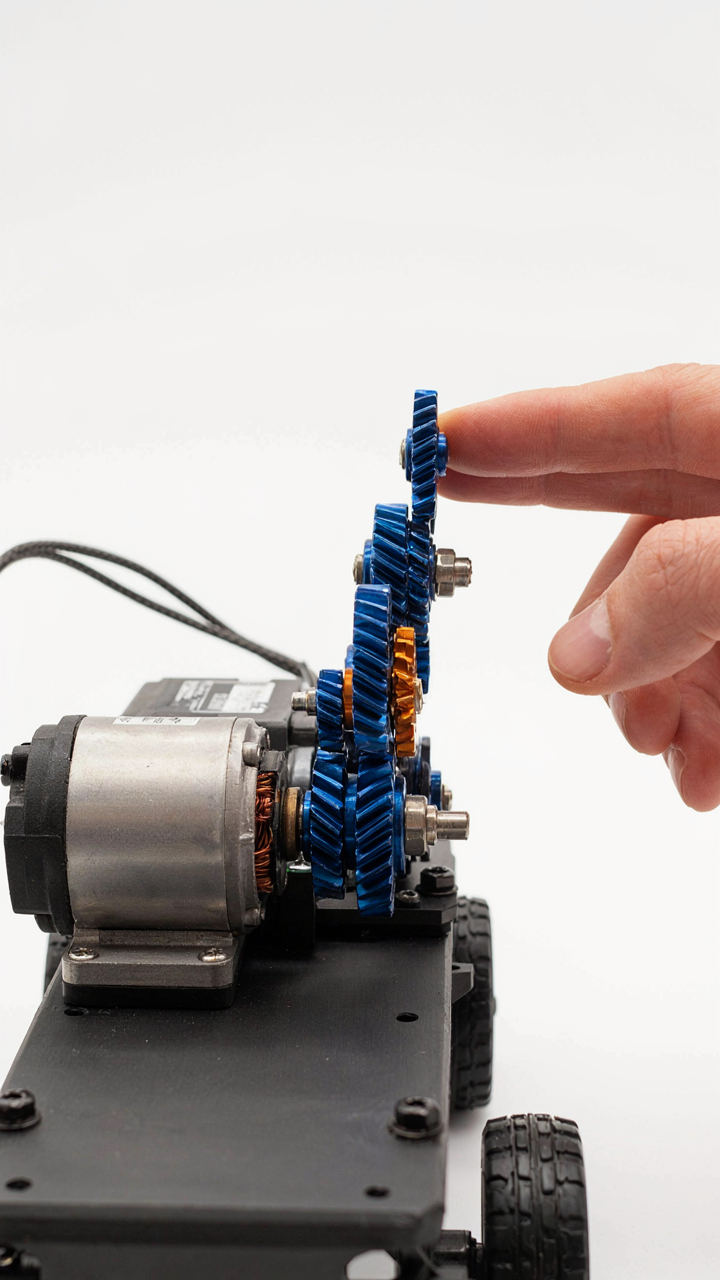
You want your toy to move fast without burning through batteries in five minutes. That’s the real problem nobody states. The mechanism is mechanical advantage from physics: the trade-off between force and speed. A gear ratio is leverage applied to rotation. A 3:1 ratio means your motor spins three times but the output shaft spins once with three times the torque. Pick the wrong ratio and your project either crawls or demands more current than your power supply delivers.

Most DIY builders skip the math and stack random gears. Wrong move. Calculate your load first. Measure the weight your motor must move and the resistance it faces. Then work backward from your power source’s current limit. A 1-amp motor with a 1:1 gear ratio delivers less useful work than a 3:1 ratio at half an amp because you’re not hitting thermal limits. The gear ratio determines whether your project actually finishes a task or just spins uselessly.
Optimizing Power For Minimal Consumption
The common advice is wrong: adding more voltage doesn’t solve power problems. Current draw solves them. A motor consumes power based on load and efficiency, not voltage alone. Voltage only sets speed. The real lever is reducing mechanical resistance and matching it to your motor’s sweet spot where torque and RPM create the work you need without excess current draw.
Test your motor under actual load before finalizing the design. Mount it with the gears and wheels you plan to use. Measure current consumption at different speeds using a multimeter in series with your power source. If it draws more than your battery can sustain, add mechanical advantage instead of voltage. Optimize first, then scale. This is the protocol that makes projects actually run for hours instead of minutes.
The “Mechanical Projects” Deception: More Than Assembly
Why Material Matters Before You Build
You think assembly is the hard part. It’s not. You’re betting your motor will survive the first week, and materials determine if that bet wins or loses. The real work happens before you turn a bolt.

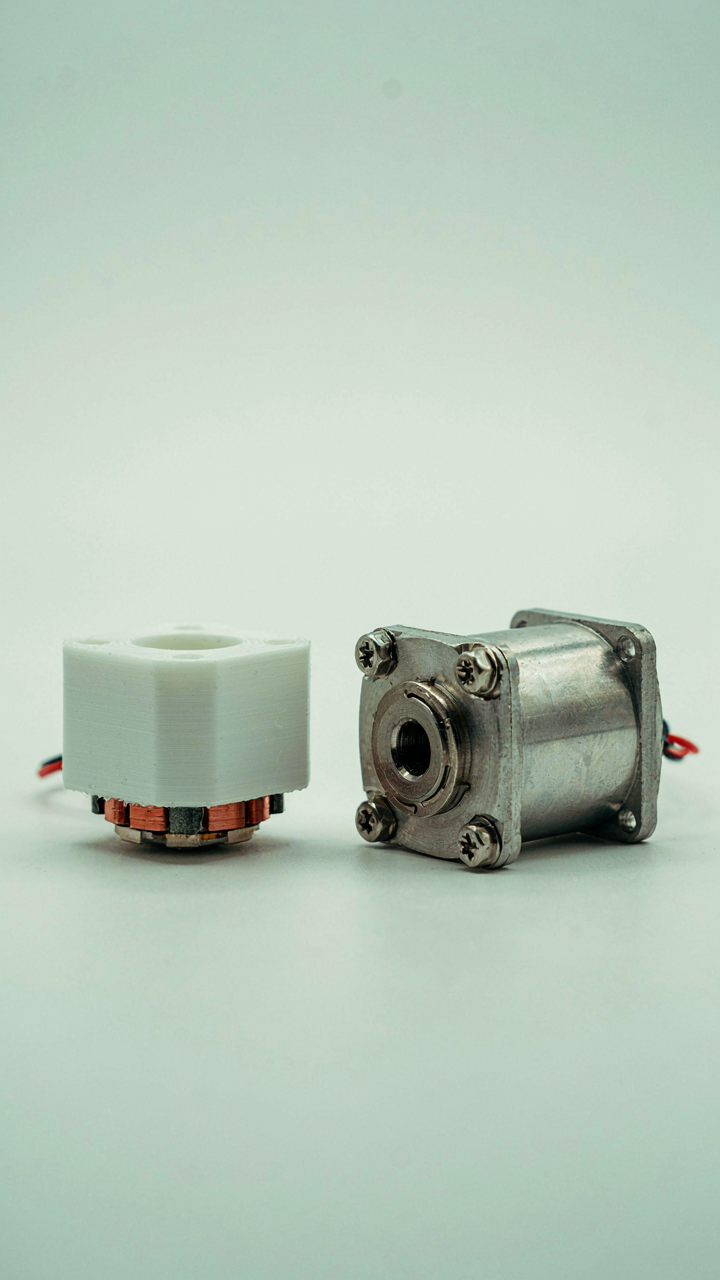
Material science splits into two demands: the motor case absorbs vibration and heat, while load-bearing parts resist fatigue. Aluminum casting handles vibration better than printed plastic because it dissipates heat faster and doesn’t crack under repeated stress cycles. PLA or ABS fails within hours under sustained load. Steel shafts cost more but run 50 times longer than brass under torque. Your toy’s lifespan depends entirely on matching material to the force it receives, not on how clean your assembly looks.
How Force Actually Travels Through Your Design
Kinetic chains are borrowed from athletics and biomechanics, but in your motor system, they’re load paths: energy flows from the spinning shaft through gears or belts, then into the wheel or arm. Each connection in that chain leaks efficiency and adds failure risk. A direct shaft connection loses less energy than a belt drive, which loses less than a geared system. Most guides skip this entirely and focus on “cool designs” instead of asking whether the design transmits force without breaking. The real test is simple: run your motor for five minutes and touch each joint. If any point gets hot, you’ve found a bottleneck where the chain is failing.
Life Hacks: Why “Good Enough” Is The Enemy Of Great

The Cost Of Shortcuts In Long Term Performance
You want to believe a cheap motor and loose tolerances will work fine because admitting otherwise means more time and money invested. Here’s the mechanism: DC motors fail not from single flaws but from tolerance stack. Each shortcut compounds. A brushed DC motor’s performance depends on commutator alignment, brush pressure, bearing play, and magnetic field consistency. Skip precision on one and you amplify wear on the next. The motor runs hot, brushes fray faster, bearings bind, and your toy stops working in weeks instead of months.
The real cost surfaces later, not upfront. A motor salvaged without checking rotor runout, paired with a frame cut on a dull saw, mounted with loose fasteners creates friction you can’t see until it’s embedded in the system. By then you’ve spent more replacing parts than you would have building it right the first time. Precision at assembly determines how long momentum stays efficient. Skip it and you’re fighting physics instead of using it.
Iterative Improvement For Robust Systems
Systems thinking comes from engineering, where feedback loops determine failure modes. Apply this to DC motor builds: each test reveals which component is the bottleneck, not which looks broken. Build a motor, run it under load for ten minutes, measure rotor temperature, check brush wear, feel for vibration. The data tells you exactly where to strengthen next. Most builders skip this and guess. They replace the wrong part, waste time, rebuild the wrong way.

Start with baseline performance metrics before you modify anything. Run time under consistent load, temperature rise, current draw, noise level. Change one variable, retest, record. This exposes which upgrades actually matter versus which sound good. A better power supply might drop temperature five degrees. Better bearings might reduce current by ten percent. You build the priority list from evidence, not assumption. Each cycle makes the motor more robust because you’re solving real problems, not imagined ones.
DIY Arduino Motor Project Ideas: The Control Mechanism

When Code Meets Torque
You want Arduino motor control because it feels like you’re finally doing “real engineering” instead of just buying finished products. Here’s the actual mechanism: Arduino boards execute instructions sequentially and output voltage through pins. A motor needs variable voltage to change speed. Arduino can’t supply enough current directly, so you route its signal through a motor driver chip, which acts as a gate controlling power from a separate battery. The driver translates your code into physical movement.
The motor driver is the critical component most DIY guides skip over. Common chips like the L298N or DRV8833 accept a logic signal from Arduino (5V or 3.3V) and switch a much larger voltage source on and off rapidly. This rapid switching is PWM, or pulse width modulation. Arduino’s analogWrite() function doesn’t actually output analog voltage. It pulses digital current at different frequencies to mimic variable power.
Signal Translation Into Motion
Cybernetics teaches us that control systems require three stages: input sensing, signal processing, and output correction. In motor control, PWM acts as your feedback mechanism’s language. You send a PWM signal from Arduino to the driver. The driver amplifies it. The motor responds proportionally. Without PWM, you’d toggle the motor fully on or fully off, giving you no speed control whatsoever.

Most Arduino projects fail because people wire the motor directly to the pin and wonder why nothing happens or the board burns out. Set your motor driver’s PWM pin to Arduino’s PWM-capable outputs (pins 3, 5, 6, 9, 10, 11 on Uno). Use analogWrite(pin, value) where value ranges from 0 to 255. At 128, the motor runs at roughly 50% speed. This simple protocol determines whether your project responds smoothly or jerks like a seized mechanism.
Advanced DC Motor Projects: The Unwritten Rules
When Factory Specs Become Your Ceiling
You want to squeeze more performance out of your motor because you’re tired of watching someone else’s design dictate what’s possible. Here’s the mechanism: factory specifications exist to protect liability and maintain consistency across production runs, not to define the actual limits of the device. The motor doesn’t know its nameplate rating.
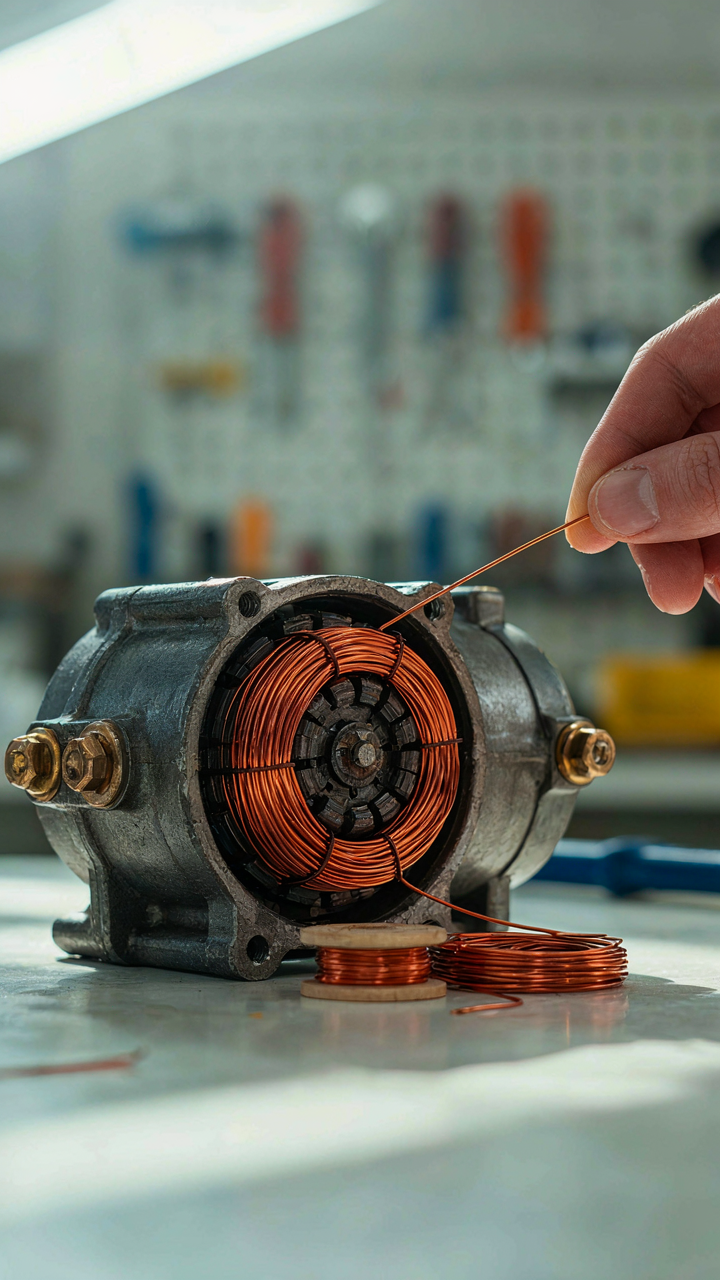
Rewinding coils is the direct path to customization. You can increase turn count to raise voltage sensitivity, decrease it for higher torque output, or adjust wire gauge to shift the power band. This changes the motor’s electrical constants without touching the frame. Many hobbyists skip rewinding entirely and miss the only lever that truly transforms performance. Start by documenting the original winding pattern before unwinding anything, then calculate new specifications using Ohm’s law and the relationship between turns and back EMF.
Magnet strength determines ceiling limits more than anything else. Swapping factory magnets for neodymium upgrades increases flux density, which amplifies torque across all operating points. The trade-off is higher current draw and faster thermal stress on windings. You’re not breaking physics here, you’re reallocating the motor’s power budget from efficiency to output. The real constraint becomes heat dissipation, not the magnet itself.

Bearing selection controls how much customization actually survives in the field. Stock ball bearings handle nominal loads fine but introduce friction and play that compound under sustained high-speed or high-torque operation. Upgrading to sealed ceramic bearings reduces friction loss and extends mechanical life, but adds cost and complexity. This is where most DIY projects fail silently: they customize everything except the bearings, then blame the motor when it dies.
When The Motor Stops Working, Not If
Bearing wear accelerates failure in a predictable sequence. The mechanism is mechanical stress concentrates at load points, and radial forces in a DC motor press the rotor against the stationary frame through bearing contact. Early-stage wear shows as increased running current for the same load, then audible grinding, then catastrophic seizure. You catch it by monitoring amp draw on fixed loads weekly, not waiting for sound or temperature to alert you.
Magnet degradation follows a different path that nobody discusses plainly. Neodymium magnets lose strength permanently when exposed to sustained heat above their Curie temperature, which varies by grade but typically sits around 80 to 150 degrees Celsius depending on the alloy. A motor running continuously at full load inside an insulated enclosure will degrade its magnet long before the coil fails. Measure magnet performance quarterly using a Hall effect sensor, or accept that your motor has a known service life and plan replacement intervals accordingly.
Winding failure starts as insulation breakdown under electrical stress, typically at high-frequency switching or sustained over-voltage. The first sign is not a catastrophic short but intermittent performance loss or inconsistent torque. This happens because localized heating softens the insulation between adjacent windings, creating micro-shorts that dissipate energy as waste heat rather than useful torque. Prevent this by running motors well below their rated voltage during long-term projects, and by using thermal monitoring to catch temperature spikes before they compound.
Commutator wear degrades gradually and predictably. Carbon brushes erode against the commutator surface, creating a groove pattern that becomes deeper with every operating hour. Once grooves exceed the brush width, contact becomes intermittent, and you see voltage ripple, arcing, and eventually missing rotations. The failure point is predictable because it’s purely mechanical: you can calculate remaining life by measuring groove depth and knowing your brush width and material hardness. Replace brushes before grooves reach critical depth, don’t wait for performance to collapse.

Mastering DIY Projects: The Independent Creator’s Manifesto

Stop Following Instructions Like They’re Gospel
You want permission to skip the tutorial because you’re afraid you’ll break something and look stupid if you deviate. Here’s the mechanism: tutorials are compressed paths designed for the average case, not your case. They flatten problems into steps because that scales. But your motor project has specific constraints—your power source, your load, your materials. The instruction is the starting assumption, not the destination.
Real progress happens when you treat tutorials as reference material, not scripture. Every motor build reveals friction points the guide didn’t mention because it wasn’t built in your environment. You’ll discover that brush wear happens faster than expected, or your supply voltage sags under load in ways the specs don’t capture. These aren’t failures. They’re data. The independent creator logs them and adjusts the next iteration based on actual conditions, not hoped-for conditions.
Build What Doesn’t Exist Yet
The consensus says to replicate proven designs first, then innovate later. This is backwards. You don’t build skills by copying what already works—you build them by solving problems nobody else has written down. Pick a constraint that bugs you: maybe you need a motor that runs on a single AA battery instead of four, or one that fits in a space half the size of standard options.
Your unique contribution isn’t a better version of what exists. It’s the answer to a question you noticed that everyone else ignored. Document what happens when you violate one assumption from the standard design. Lower the voltage. Change the wire gauge. Reduce the magnet strength. Each deviation teaches you how the system actually fails, which teaches you how to build the next thing. That’s the skill nobody can replicate from your tutorials—it’s earned through specificity.
The Only Real Obstacle Isn’t The Wiring Diagram, It’s Your Willingness To Question Established Design Doctrine

Most people treat motor projects like assembly instructions. They follow the diagram, hit the same dead end everyone else does, then blame the hobby. The real move is asking why the design exists that way in the first place. Change one variable. Break one rule. That friction you feel isn’t resistance to learning, it’s resistance to thinking differently. Stop waiting for permission to redesign. Open your toy right now and sketch one modification nobody told you to make. You already have everything you need to become the person who builds what others only buy.



