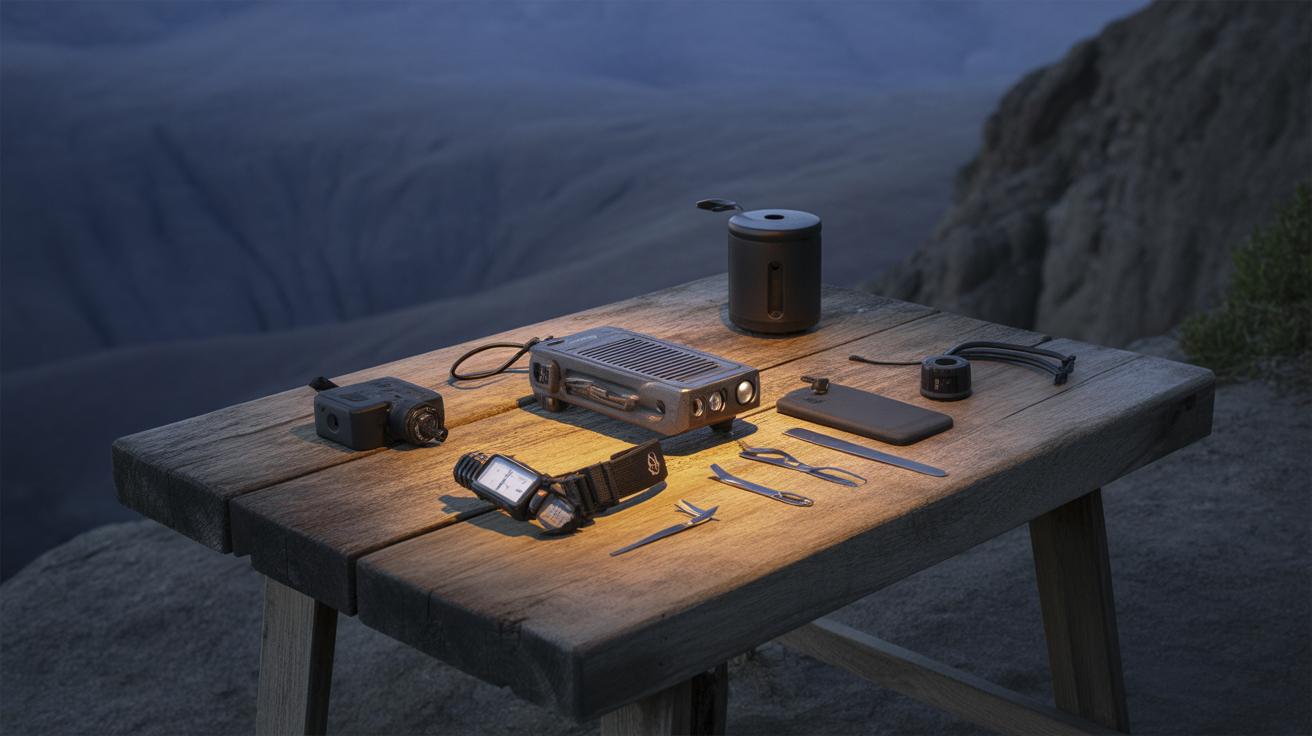
Introduction
Camping offers a great way to enjoy nature and take a break from daily life. When you camp outdoors, having reliable power and lighting is crucial. You want to keep your devices charged and your campsite well-lit for safety and comfort. This article explores practical Camping Hacks DIY Power And Lighting Fixes You Can Build that will help you solve common power and lighting challenges on your trips.
Building your own power and lighting fixes for camping means you can save money and tailor solutions to your needs. DIY fixes are often simple, using materials you may already have. As you read on, you’ll discover easy-to-follow hacks to power your gadgets and light your camping area effectively.
Understanding Your Camping Power Needs
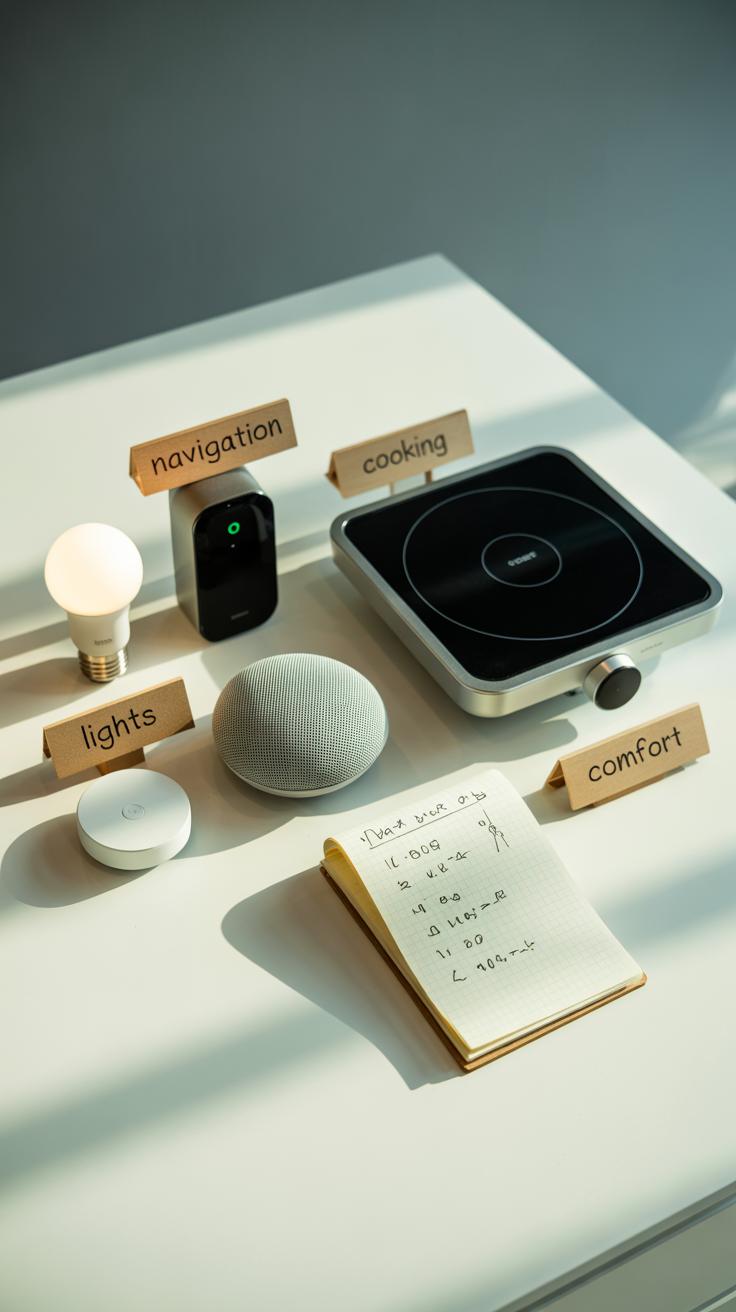
When you’re gearing up for a camping trip, figuring out what power you actually need is not always straightforward. It’s tempting to just throw in a power bank or two without thinking much, but knowing your exact needs can make a big difference in what DIY power solutions will work. Think about the devices you want to charge—phones, GPS units, maybe a small fan or a cooler. Some require more juice than others, and that can quickly add up.
If you’ve ever arrived at a campsite only to find your gadgets dead or your homemade power setup falling short, you’ll know why planning matters. Knowing what you need lets you build fixes that aren’t oversized or underpowered. It lets you avoid carrying extra weight or wasting time tinkering with equipment that doesn’t fit the bill. It’s more than convenience; it’s about getting the power balance right for your comfort and safety.
Assessing Device Power Requirements
Start by making a list of everything you want to power during your trip. Phones, flashlights, portable coolers, or even a travel kettle. Don’t forget those little things offhanded in packing, like action cameras or Bluetooth speakers.
- Check the power rating on each device or its charger. Usually, it’s in watts or amps.
- Note how often you expect to use each item daily.
- Multiply the power rating by usage time to get a rough daily consumption.
- Add it all up to see how much total power you need each day.
For instance, your phone might draw 5 watts per charge, used once daily, while a small USB cooler might use 12 watts continuously. These numbers help you see what’s realistic and if a simple battery pack or something bigger, like a solar setup, would suit you.
Planning for Backup Power
Unexpected things happen. A cloudy day can ruin solar power, or your battery bank might drain faster than you expected. That’s why pack backup options. Think extra batteries, or a small solar panel that can recharge during downtime.
Backup power isn’t just a nice-to-have—it can keep your trip smooth when the main system fails. And sometimes, it might even surprise you how little extra you need to feel secure. The key is to match your backups to your main system’s limits and your personal power demands. Keep them accessible but not bulky, so you can reach for them without hassle.
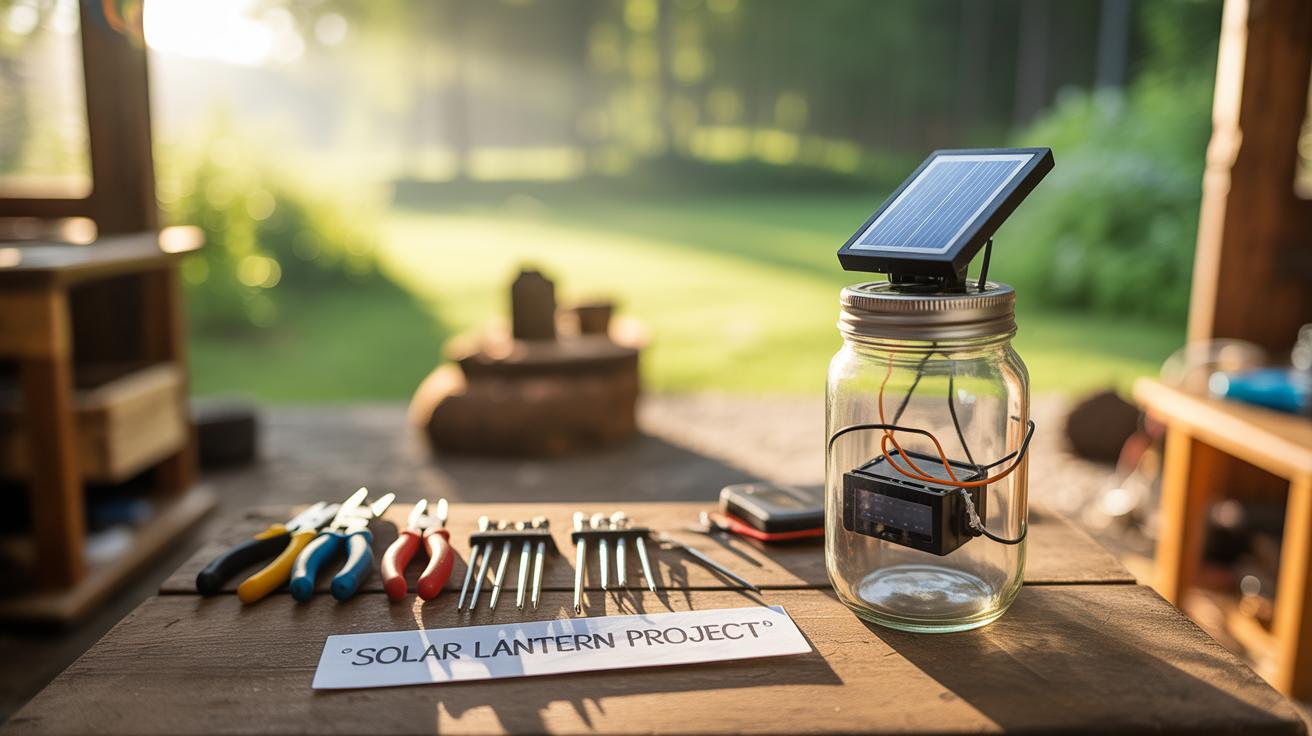
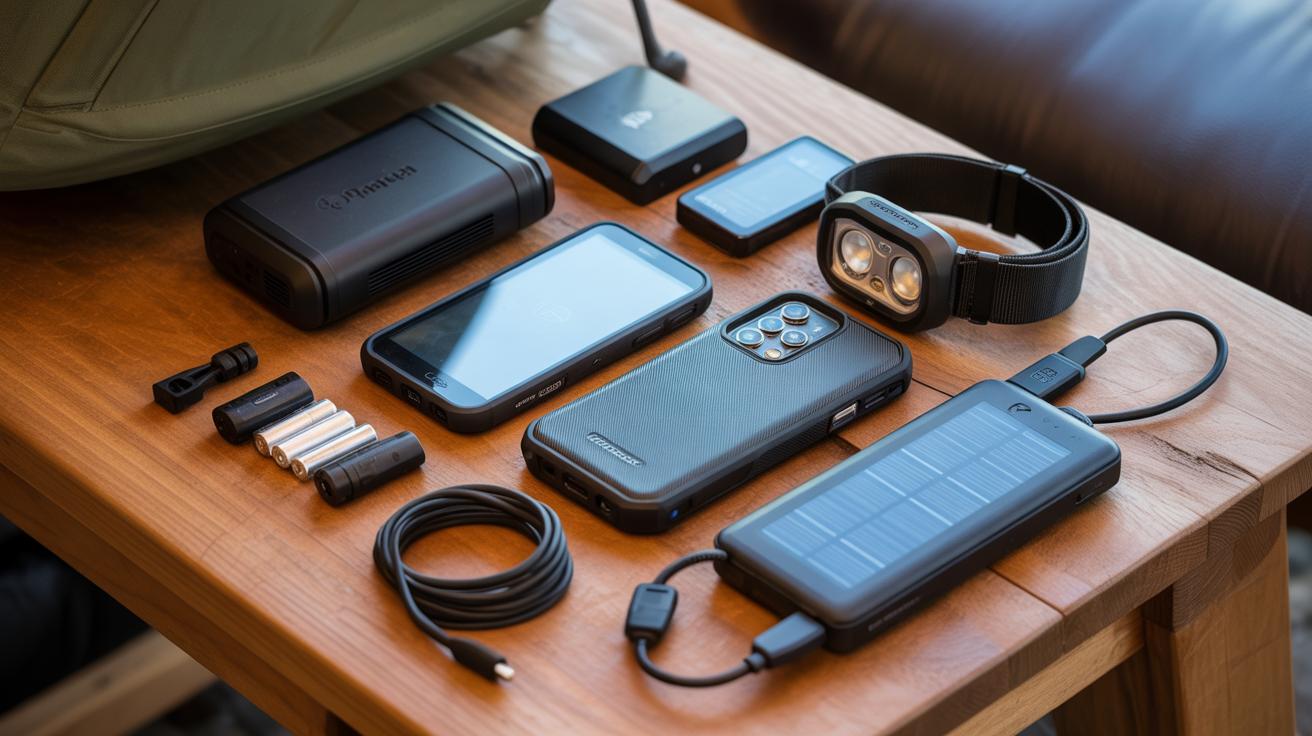
DIY Portable Solar Charger for Camping
Making your own portable solar charger isn’t as tricky as it might sound. With just a few basic materials, you can create a simple device to keep your phone or small gadgets running when you’re away from traditional power sources. It’s a handy project, and maybe a bit satisfying to build something useful yourself.
Materials Needed for Solar Charger
Start by gathering these essentials:
- A small solar panel (around 5 to 10 watts works fine for charging phones).
- A USB charging controller or a solar charge controller to regulate the power output.
- A rechargeable battery (like a 3.7V lithium-ion battery) to store energy if you want some backup charge.
- Wires and connectors to hook everything up.
- A diode to prevent energy from flowing backward into your solar panel.
- Plastic or lightweight enclosure to hold all parts safely, maybe something easy to carry around like a small box or pouch.
- Basic tools: soldering iron if you have one, electrical tape, and a multimeter to check connections.
Some campers skip the battery and just plug directly into the controller’s USB output, but then you need sun to charge in real time. That’s a bit limiting sometimes. I often wonder if having the battery complicates things unnecessarily, but it does offer some peace of mind when clouds roll in.
Step-by-Step Assembly Instructions
First, connect the solar panel to the charge controller input. Keep an eye on polarity; reversing connections can mess up the setup. Attach the diode in line here to stop reverse current at night.
If you’re using a battery, wire it to the controller’s battery terminals. Make sure everything fits well inside your enclosure to avoid loose parts, which get annoying quickly. After that, connect the USB output from the controller for your devices.
Before sealing your charger, use a multimeter to test voltage and current. You want to confirm it works as expected—no surprises on your trip. Also, try charging a device before packing it away to check it’s actually getting juice.
Keep the solar panel exposed to sunlight—preferably placed on a flat surface angled toward the sun. It might not charge fast on cloudy days, but even a little power beats none. Expect some trial and error, maybe some frustration too. But once it’s up and running, it feels like a neat little win.
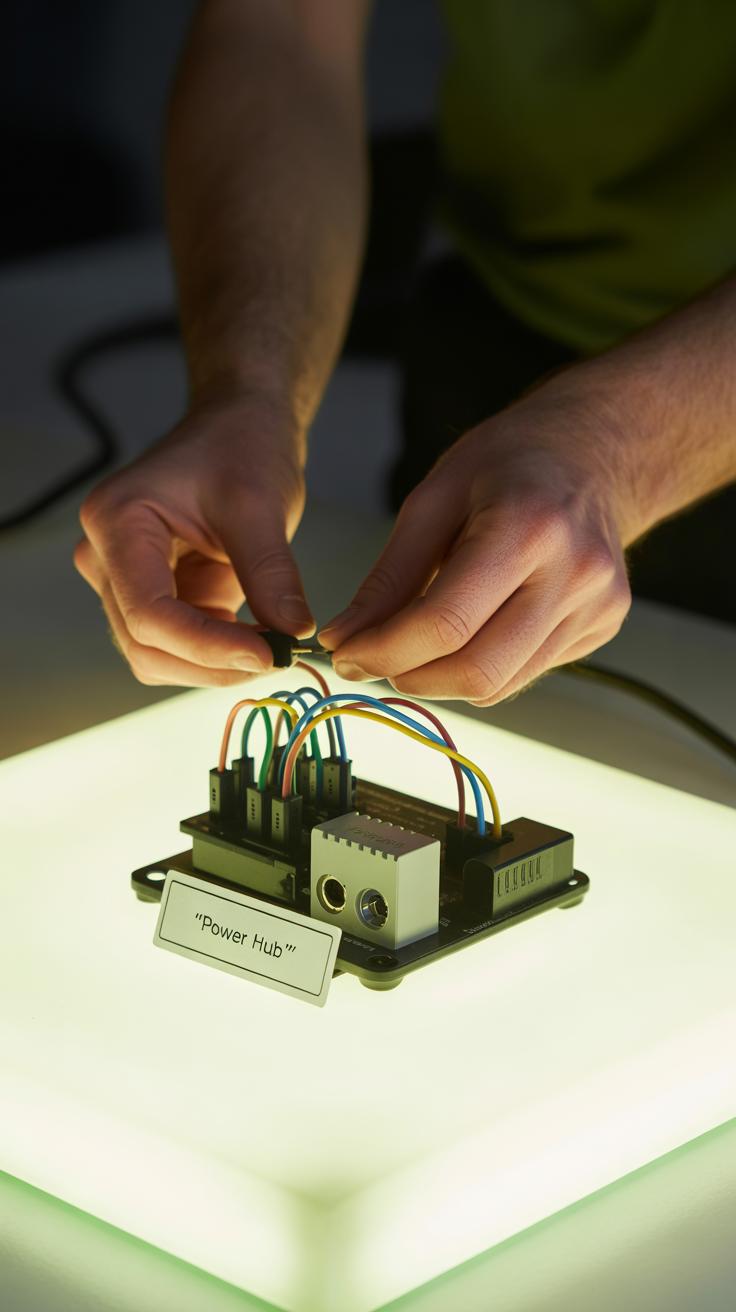
Building a Power Bank Using Rechargeable Batteries
Choosing the Right Batteries
When it comes to building a power bank for camping, picking the batteries is a big deal. Lithium-ion batteries are popular because they store a lot of energy in a small space and are relatively lightweight. But, they can be a bit fussy about how you charge and handle them. Another solid choice might be NiMH (Nickel-Metal Hydride) batteries. They’re more forgiving and usually cheaper, though they don’t hold as much charge and are heavier.
You might find old laptop batteries useful if you want to repurpose stuff—but be cautious about their condition. If you’re unsure, new battery packs designed for DIY projects are safer bets. Also, think about the voltage and capacity you need. More capacity means longer charge times—sometimes that’s no hassle, sometimes it is.
Construction and Safety Tips
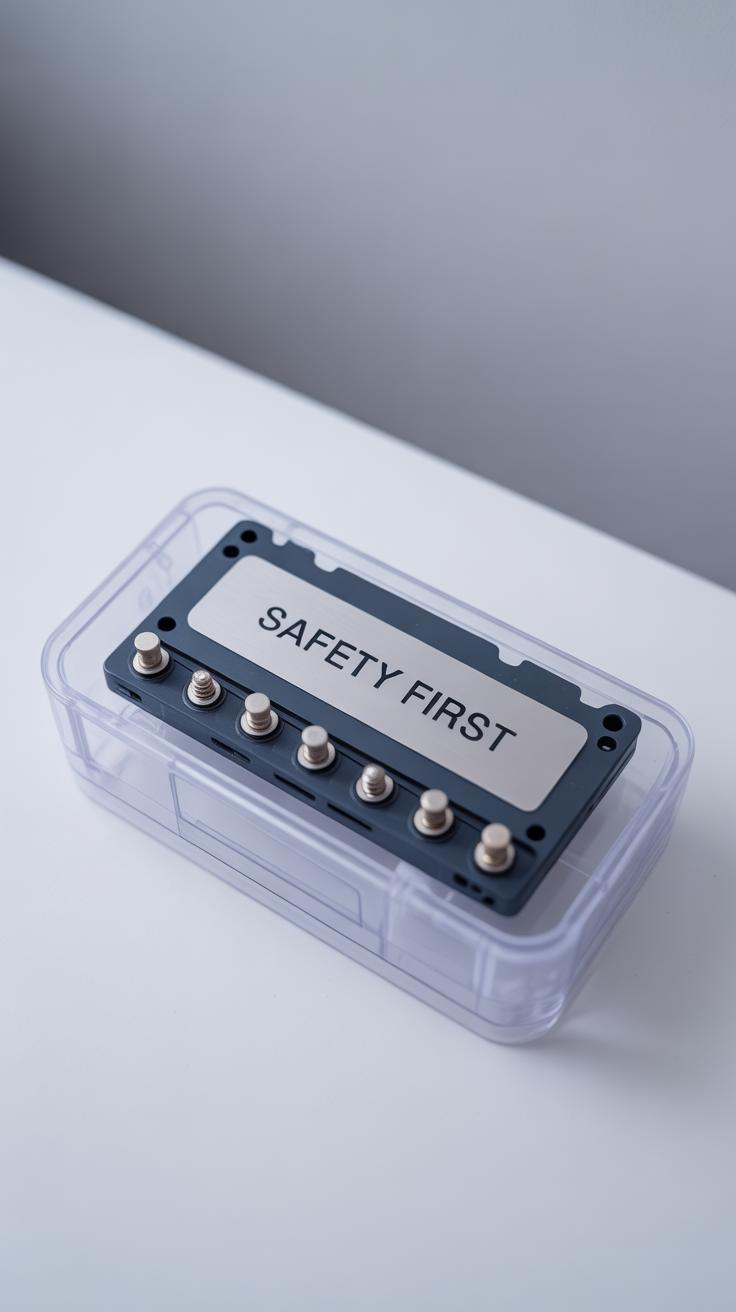
Putting the power bank together involves wiring your batteries in a way that matches your desired voltage and capacity. Typically, batteries connect in series to increase voltage and in parallel to increase capacity—mixing both if needed. Using a battery management system (BMS) is critical; it protects against overcharging, over-discharging, and short circuits. Skipping the BMS might save time initially, but it risks damage or even fire.
Make sure connections are solid but not forced. Soldering is the preferred method, but if you use holders or clips, check them regularly for corrosion or looseness. Encase the pack in a non-conductive, sturdy container and avoid exposure to moisture. While working, handle batteries gently; a punctured battery can be dangerous. This DIY project isn’t just about convenience—it’s about safety too. Don’t rush through it.
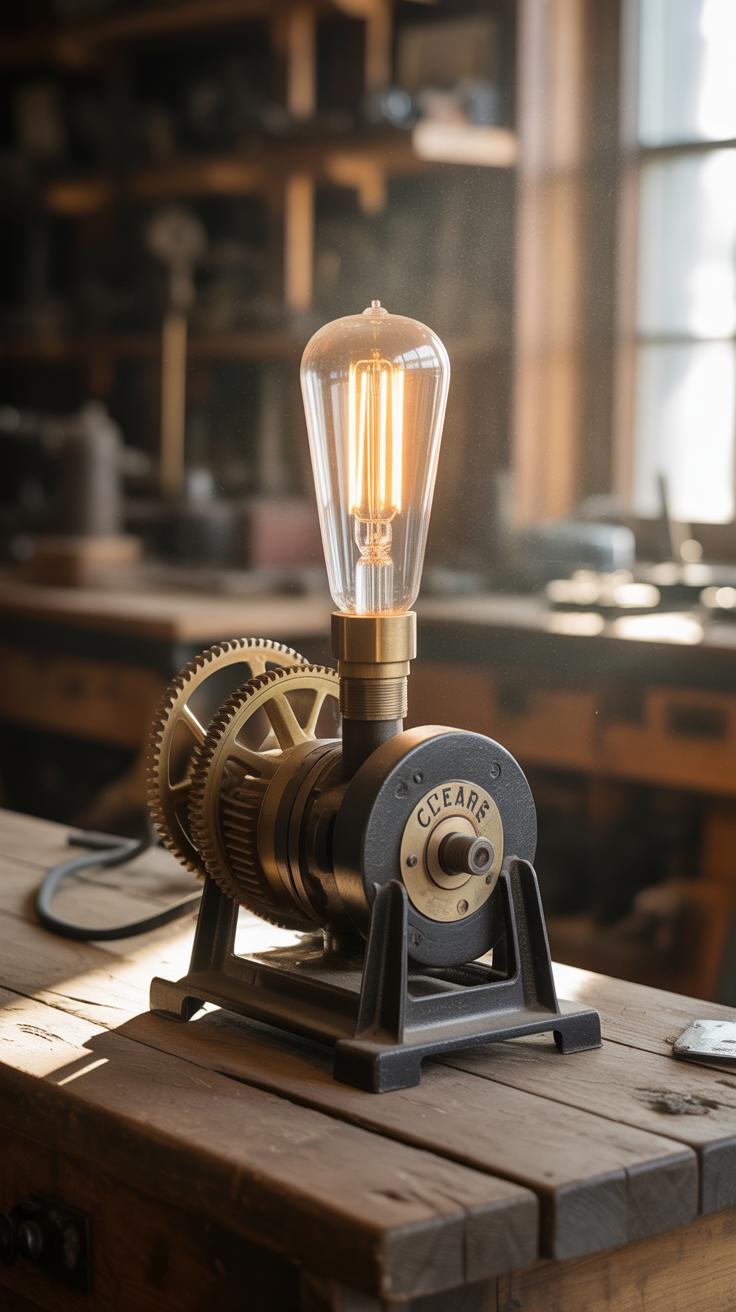
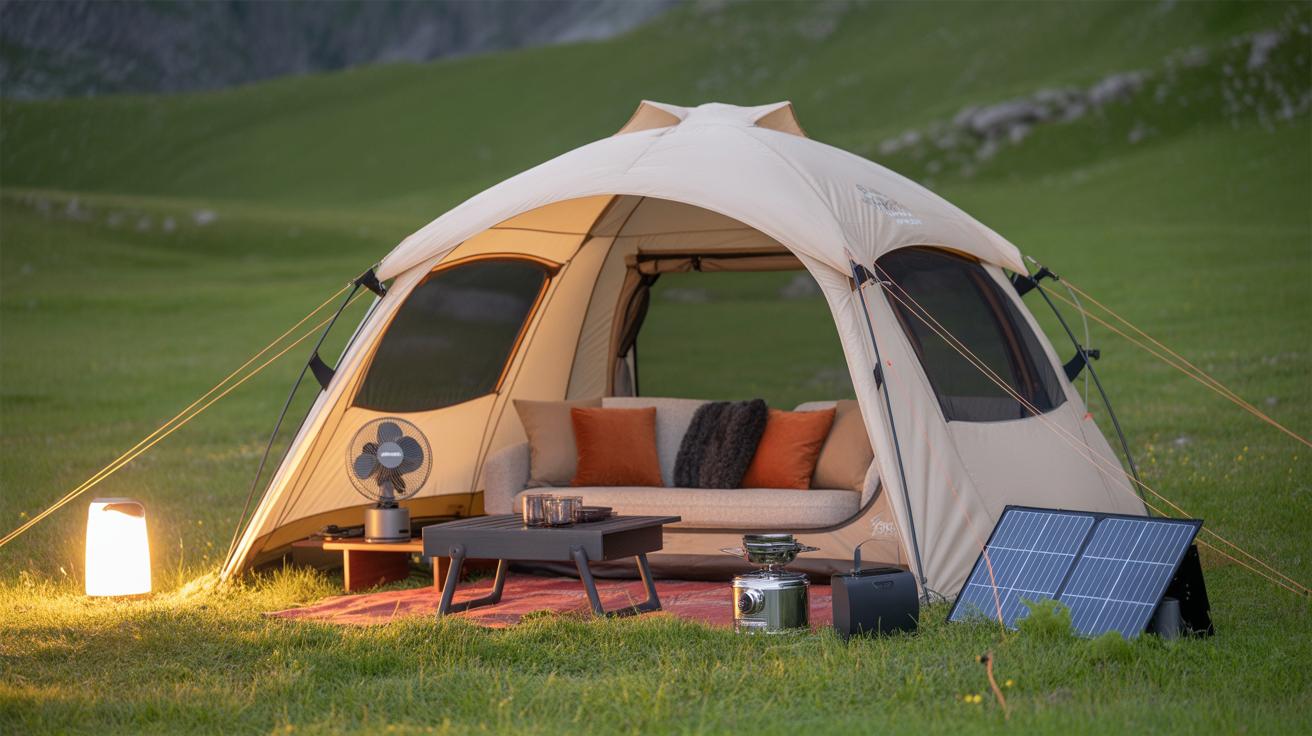
Enhancing Lighting with DIY Lanterns and Lamps
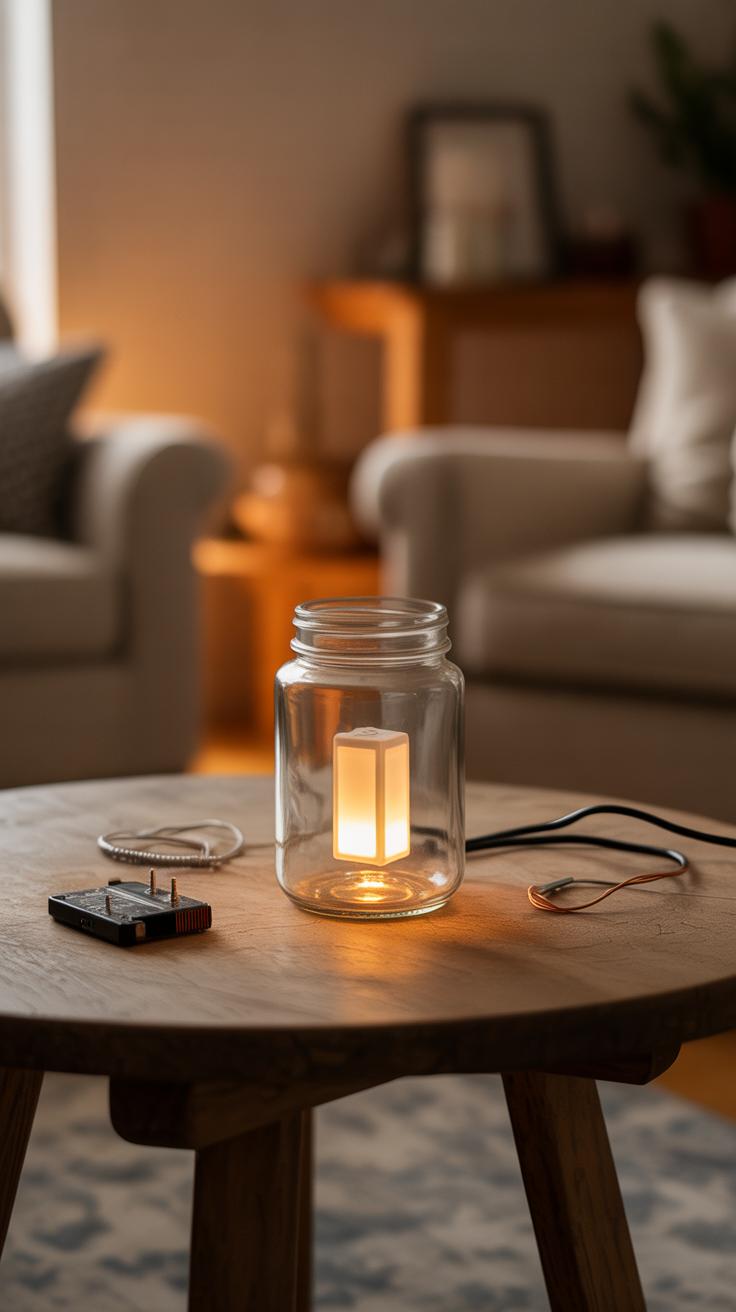
Creating a Lantern from a Jar
You can brighten your campsite pretty easily using a simple glass jar. Take any clean jar—old jam jars work fine—and drop in a small LED light or even a candle if you’re careful. The glass acts as a protective cover and diffuses the light nicely, creating a soft glow around your spot. To make it a bit more secure, you might want to poke some holes in the metal lid for airflow if you’re using a candle.
One thing I found is that LED tea lights last much longer and avoid any smoky mess inside your jar. Sometimes, I tie a string or wire around the jar’s neck to hang it from a tree branch or tent pole. It’s simple but effective—plus, it’s something you can make at the last minute with stuff around the house.
Making Camping Lamps with LED Strips
LED strips can be a game-changer for campsite lighting. They use very little power and provide a bright, even light over a larger area. You can cut them to fit the shape of your lantern or wrap them inside a translucent container to make a DIY lamp. Powering them with a battery pack—maybe the same rechargeable ones you used in your power bank—keeps things compact and portable.
The setup isn’t complicated: attach the strip inside or outside a lightweight plastic bottle or container, connect it to a 5V battery pack, and you’re good to go. This type of lamp tends to last longer than candle-lit jars and is much brighter, which might be better for eating or reading in the dark. Although it requires a bit more preparation, I think it’s worth it if you want reliable lighting without dealing with flames.
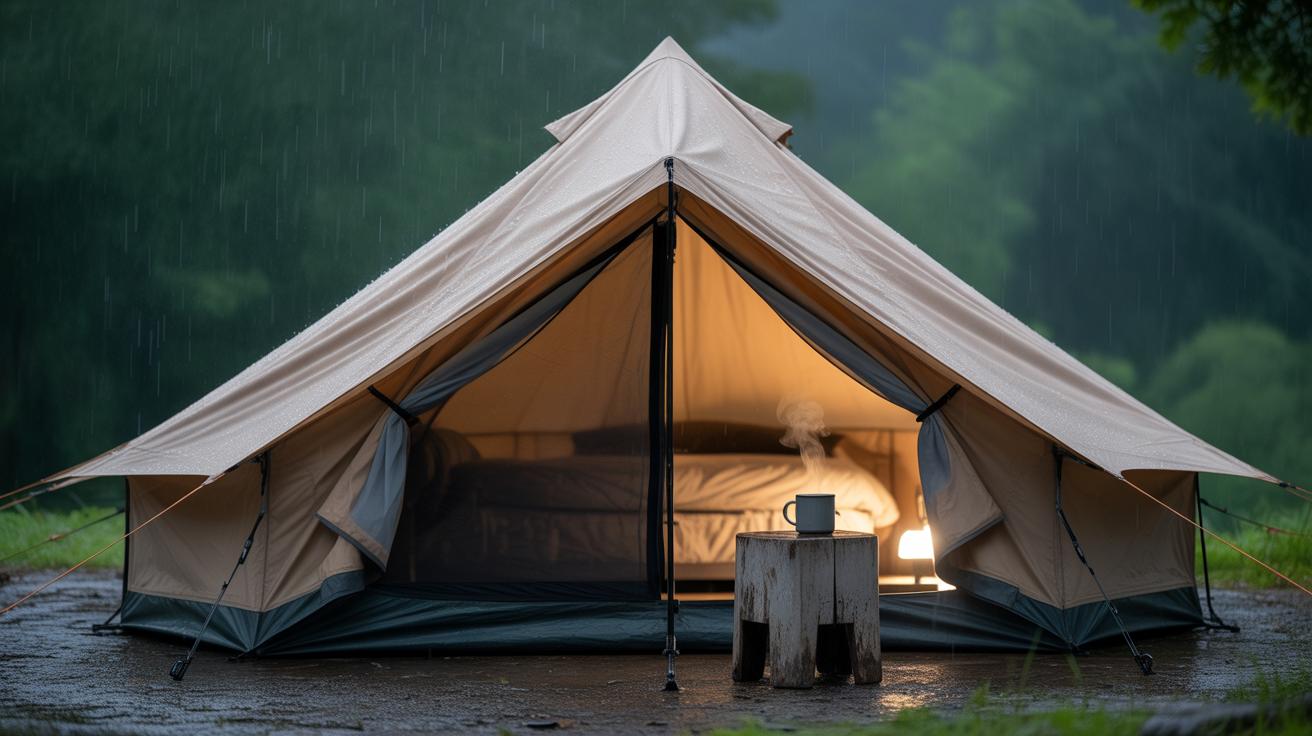
Improving Tent Lighting with Rechargeable LEDs
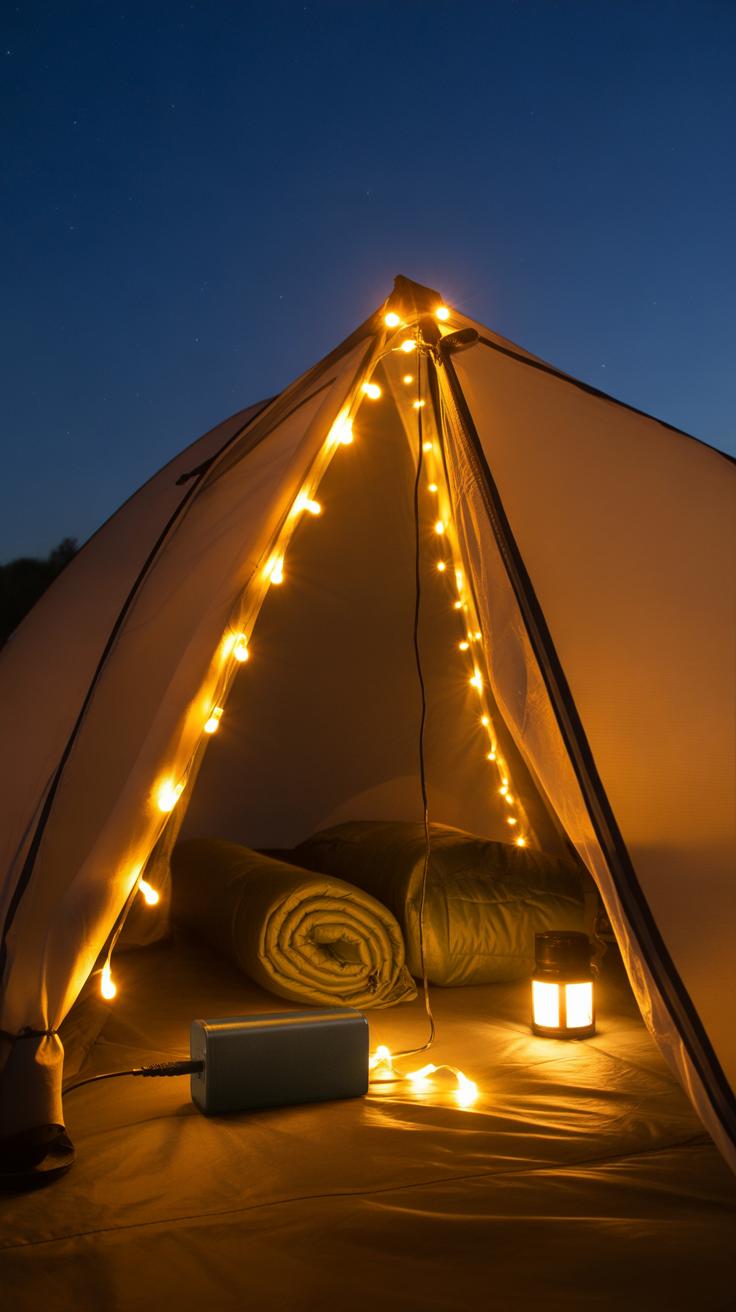
When you think about lighting inside a tent, bulky flashlights or single overhead bulbs might come to mind—but small rechargeable LED lights can really change the game. They’re compact, use very little power, and often come with built-in batteries you can easily recharge at home or on the go. I’ve found they last surprisingly long, especially when you pick the right ones, so you’re not constantly swapping batteries in the middle of your trip.
Selecting Rechargeable LED Lights
Picking the right LEDs means focusing on a few practical details. Brightness, measured in lumens, is key; too dim, and you’ll struggle to see, but too bright might drain your battery faster or feel harsh inside the tent. Battery life matters—look for models offering at least 8 hours on a single charge if possible.
Size is another consideration. Smaller lights are less intrusive but sometimes trade-off brightness. A good balance may be a light that’s roughly palm-sized, easy to clip or hang, yet bright enough to read by. Some come with multiple brightness settings, which is quite useful.
Mounting and Placement Tips
Placement inside the tent influences comfort more than you might guess. Hanging a light from the tent ceiling spread its glow nicely, but clips or adhesive hooks on tent poles or fabric walls can help you position lights at eye level or near entrances.
I tend to avoid placing lights directly overhead for long periods—glare gets tiring. Instead, placing a light slightly to the side creates softer illumination and fewer shadows. Don’t forget corners; LEDs in opposite corners distribute light better than a single central source.
You might also want a portable light for quick tasks outside the tent, so pairing fixed tent lights with handheld LEDs covers more bases. It’s a small setup that keeps your campsite lit without hunting for batteries or carrying cumbersome gear around.
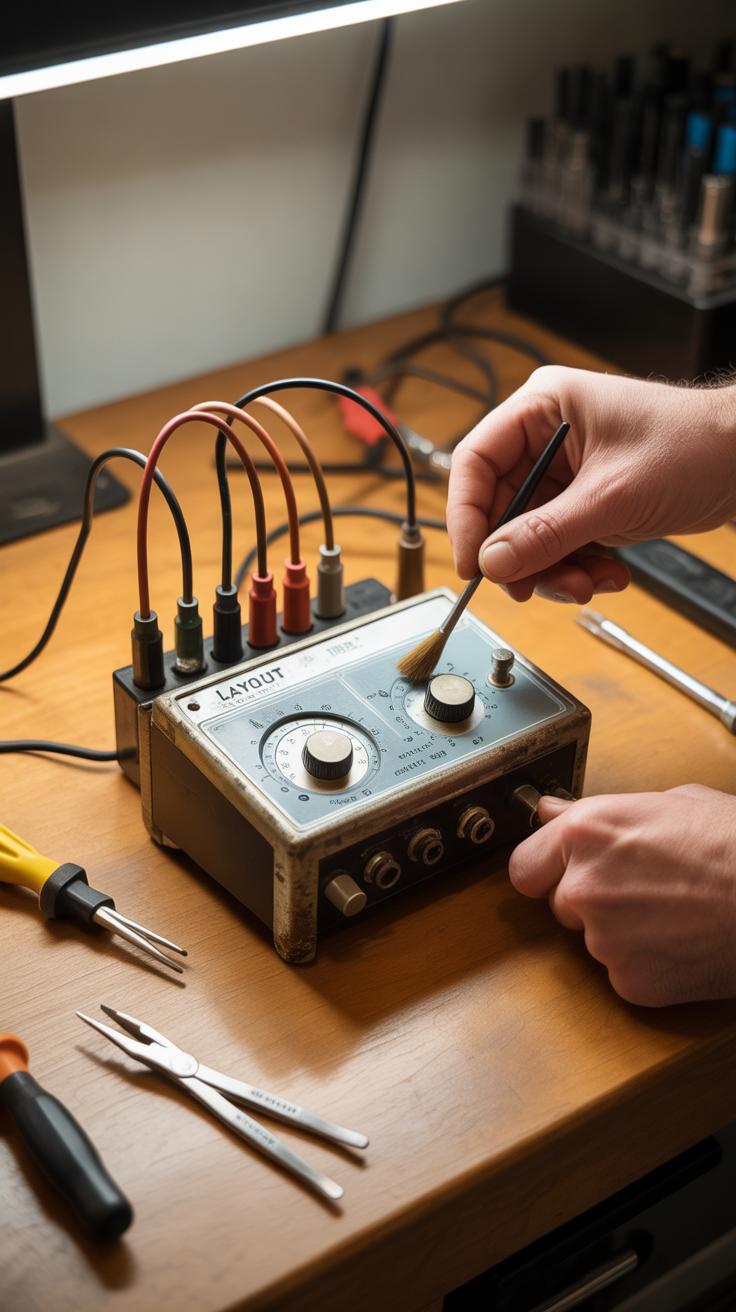
DIY HandCrank Generators for Emergency Power
If you find yourself without battery or solar power, a hand-crank generator can be a lifesaver for your campsite. Building one isn’t as complicated as it sounds, and it gives you control when electricity isn’t around. The basic idea is to turn mechanical energy—your hand spinning a crank—into electrical energy to charge small devices or power low-wattage lights.
Components for a Hand-Crank Generator
To put one together, you’ll need a handful of parts, most of which you might find around the house or at a hobby shop:
- A small DC motor — often used in toys or electronics; it acts as your generator.
- Gears or a belt drive — these help increase the rotation speed, making it easier to generate usable power.
- A sturdy handle — to crank comfortably and continuously.
- A diode — to prevent current from flowing back into the motor when you stop cranking.
- A small capacitor or rechargeable battery — to smooth out the power flow and store some energy.
- Wires and a basic connector (USB port, if you want to charge phones).
You might be surprised, but binding these together on a simple wooden or plastic frame can form a compact manual generator. The simplest setups use the motor shaft directly attached to the crank, but adding gears makes cranking less tiring.
Using the Generator Efficiently
It’s a bit of a workout, so pacing yourself is key. Crank at a steady speed—overly fast bursts won’t necessarily yield better results and make it harder to store energy smoothly. Charging small devices like phones or LED lights requires maintaining rotation for at least a few minutes.
Keep a multimeter handy, if you can, to check output voltage and avoid over-cranking. Also, connect your devices via the capacitor or battery storage you’ve set up. This ensures smoother power delivery than direct connection.
Charging during breaks or at intervals works better than trying to crank nonstop. And, well, it might feel like a chore after a while, but knowing you can generate your own emergency power—that’s pretty reassuring out there.
Maintaining and Fixing Common Power Issues
When you’re out camping, power gear and lighting equipment often face rough conditions. Dirt, moisture, and constant movement can easily cause problems. So knowing a few simple repair tricks can save you hours of frustration.
Start with the battery and charger. Batteries tend to lose charge faster outdoors, and chargers can get finicky. If your battery won’t hold power, check connections first. Corrosion sometimes builds up on terminals. You can clean them with a little baking soda mixed in water and a soft brush. Let it dry thoroughly before reconnecting.
If the charger isn’t working properly, try testing it with another compatible battery, if you have one. Sometimes cables inside the charger housing get loose or frayed. You might need to carefully open the case and inspect wires. Just remember to unplug everything first!
Loose wiring is a common culprit too. Visual inspection helps a lot here. Wiggle the cables and listen for any crackling sounds or interruptions. Tightening connectors with a small screwdriver or pliers often fixes the issue. If wires are damaged, trimming the broken part and reconnecting with wire nuts or electrical tape can do the trick. But don’t wrap the tape too tight—you want a secure, but not stressed, joint.
These fixes aren’t perfect for every situation, but they often get you back on track quickly. Sometimes it’s worth double-checking your setup before bed or a long hike. A quick inspection can help spot trouble before it leaves you in the dark.
Organizing Your Power and Lighting Setup
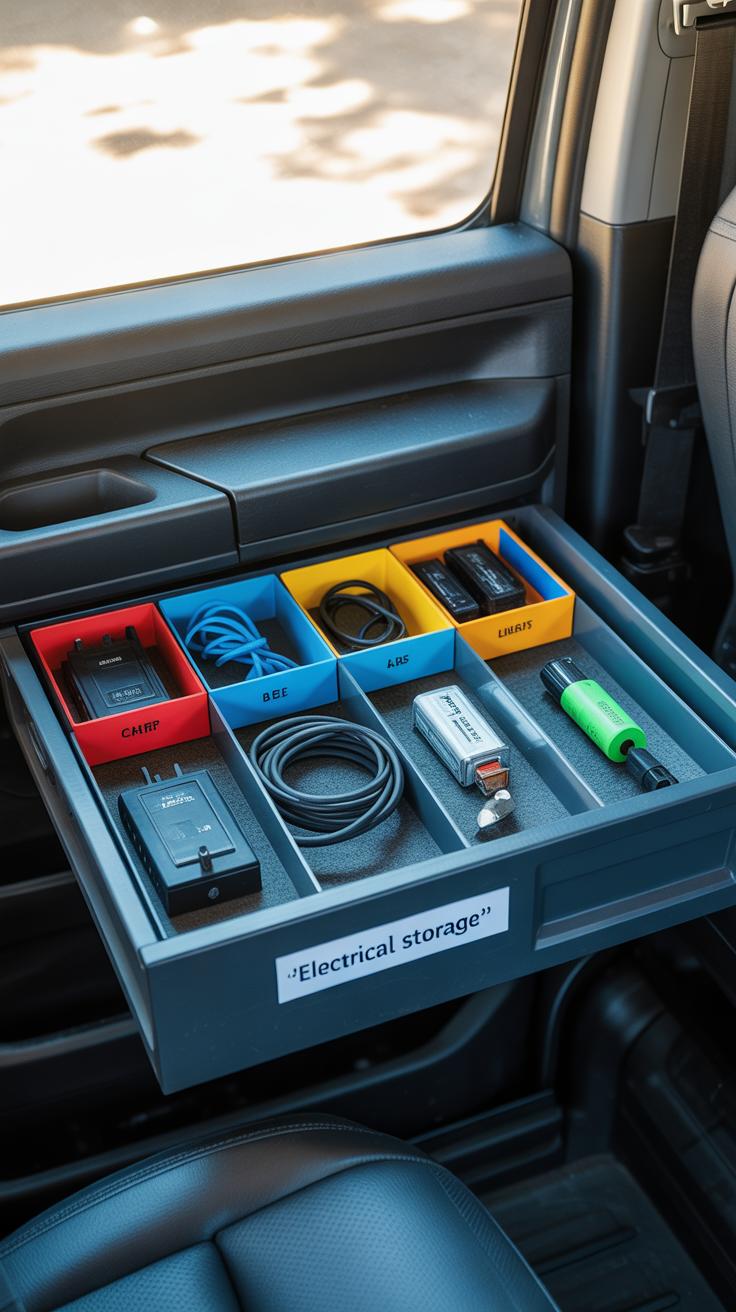
When you’re out camping, fumbling through tangled cables or hunting for batteries can quickly drain your patience. Keeping your DIY power and lighting gear organized makes a real difference—not just in saving time but also in avoiding damage. I’ve found that using simple containers or small zippered pouches for cables works surprisingly well. Labels can be a bit much, but even a rough system like “lights” and “power” separated in different bags helps you know where things are without second-guessing.
Packing your stuff with care matters more than you might think. Rolling cables instead of stuffing them prevents kinks, and using rubber bands or Velcro strips keeps them tidy. Batteries stored in a small hard case protect them from knocks and keep loose terminals from touching other gear—this saved me once, when a battery short could have been a real headache. Lights are best kept in padded pouches or wrapped gently in cloth, especially if they’re DIY bulbs or homemade lanterns.
When setting up your campsite, think about where power hubs will go in relation to your tents and common areas. You don’t want cables stretched across walking paths or dim spots where you can’t see well. Arranging solar panels or battery packs near a sunny spot, with clear lines to where you’ll use the power, cuts down on the hassle. Lighting placement matters too—try to cluster your lights where you need them most, but also avoid blind spots that might make things awkward or unsafe in the dark.
Conclusions
Using DIY power and lighting hacks makes your camping trips easier and more enjoyable. You can build practical fixes that keep your devices charged and your campsite safe without buying expensive gear. These solutions give you control over your camping setup and let you customize it to fit your needs and style.
Try out the hacks in this article on your next trip. Building your own fixes is rewarding and adds to the camping adventure. With a few simple materials and some creativity, you can power and light your campsite like a pro, making your outdoor stays better every time.