
Why Your Car Needs A Backup Camera System
Enhanced Safety
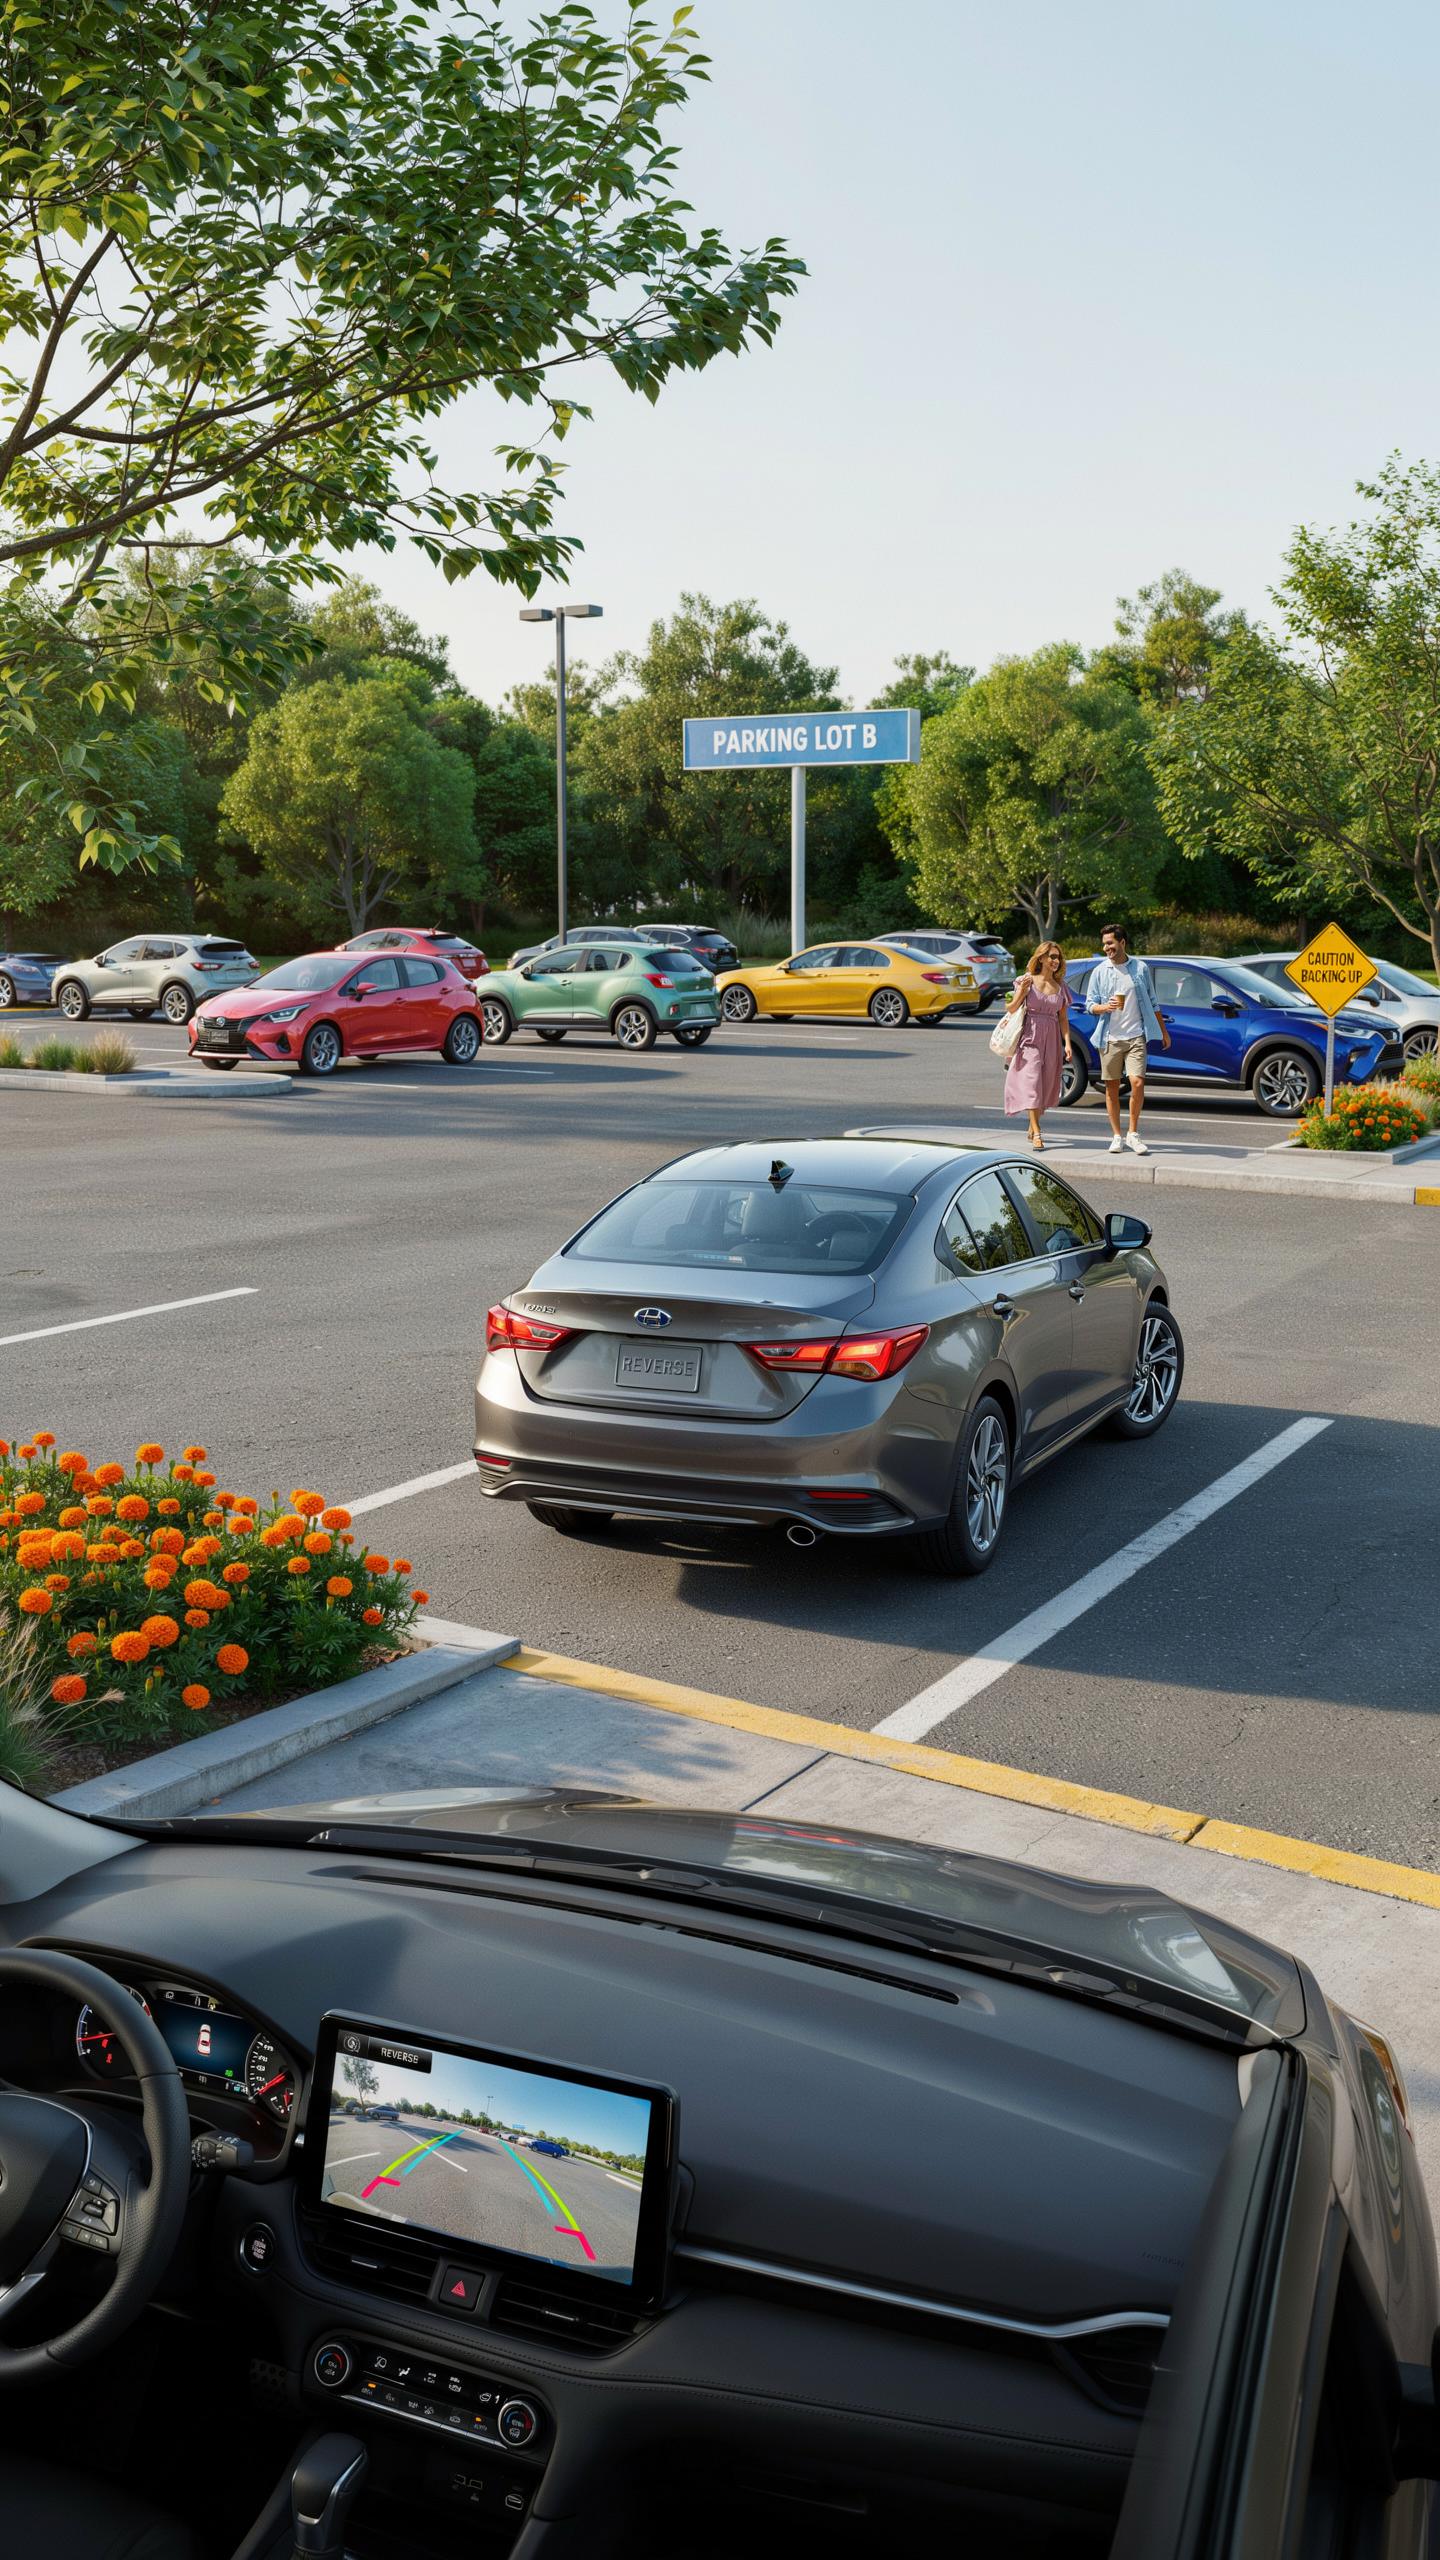
Backup cameras eliminate blind spots directly behind your vehicle. The rear view from your driver’s seat doesn’t show the full area behind your car. Objects, pedestrians, and other vehicles hide in this zone. A camera mounted on your rear bumper captures what your mirrors miss. This direct feed to your dashboard display gives you real-time visibility.
Accidents happen during reversing because drivers can’t see obstacles. Children, pets, and parked bikes occupy blind spots regularly. Studies show most backup incidents occur in driveways and parking lots. Installing a camera system reduces these collision risks substantially. You gain reaction time to stop before impact occurs.
Legal Requirements And Peace Of Mind
Federal regulations now require backup cameras on new vehicles sold in the United States since 2018. Older cars lack this safety equipment entirely. Adding a aftermarket system brings your vehicle into compliance with modern safety standards. Insurance companies recognize backup cameras as risk reduction tools. Some insurers offer discounts for vehicles equipped with this technology.
Knowing your rear surroundings eliminates guesswork when reversing. You see your path clearly instead of relying on mirrors and shoulder checks. This certainty reduces driver stress during parking maneuvers. Parents feel confident backing up near their children. Property owners protect their vehicles and surroundings from accidental damage.
Types Of Backup Camera Kits Available
Wired Vs Wireless Systems
Wired systems run cables from the camera to the monitor through your vehicle’s interior. This approach eliminates signal interference and battery concerns. Installation takes longer because you route wiring through door frames and dashboards. Wired systems deliver consistent video without lag or dropout issues. The tradeoff is visible wiring if not properly concealed and more complex removal if you change vehicles.
Wireless systems transmit video via 2.4GHz frequency to a receiver connected to your monitor. Installation is faster since you skip cable routing. Signal range typically reaches 50 to 100 feet in open air but drops significantly inside vehicles due to metal interference. Wireless systems require battery charging for cordless cameras or power from cigarette lighter ports. Choose wired for reliability and wireless for installation speed.
Universal And Vehicle Specific Kits
Universal kits fit most vehicles regardless of make or model. These cameras mount on license plate frames or drill into rear bumpers. The monitor connects through your cigarette lighter or OBD2 port. Universal kits cost less than vehicle specific options. The downside is integration looks aftermarket and rarely matches your car’s original appearance or electrical system.
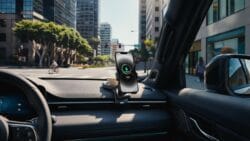
Vehicle specific kits integrate directly into your car’s factory systems and dashboard. These kits use your existing screen or add a custom display that matches the original design. Installation connects to your car’s power and video systems properly. Specific kits cost more but look factory installed. You need the exact year, make, and model to order the correct kit for your vehicle.
Key Features To Look For In A Backup Camera
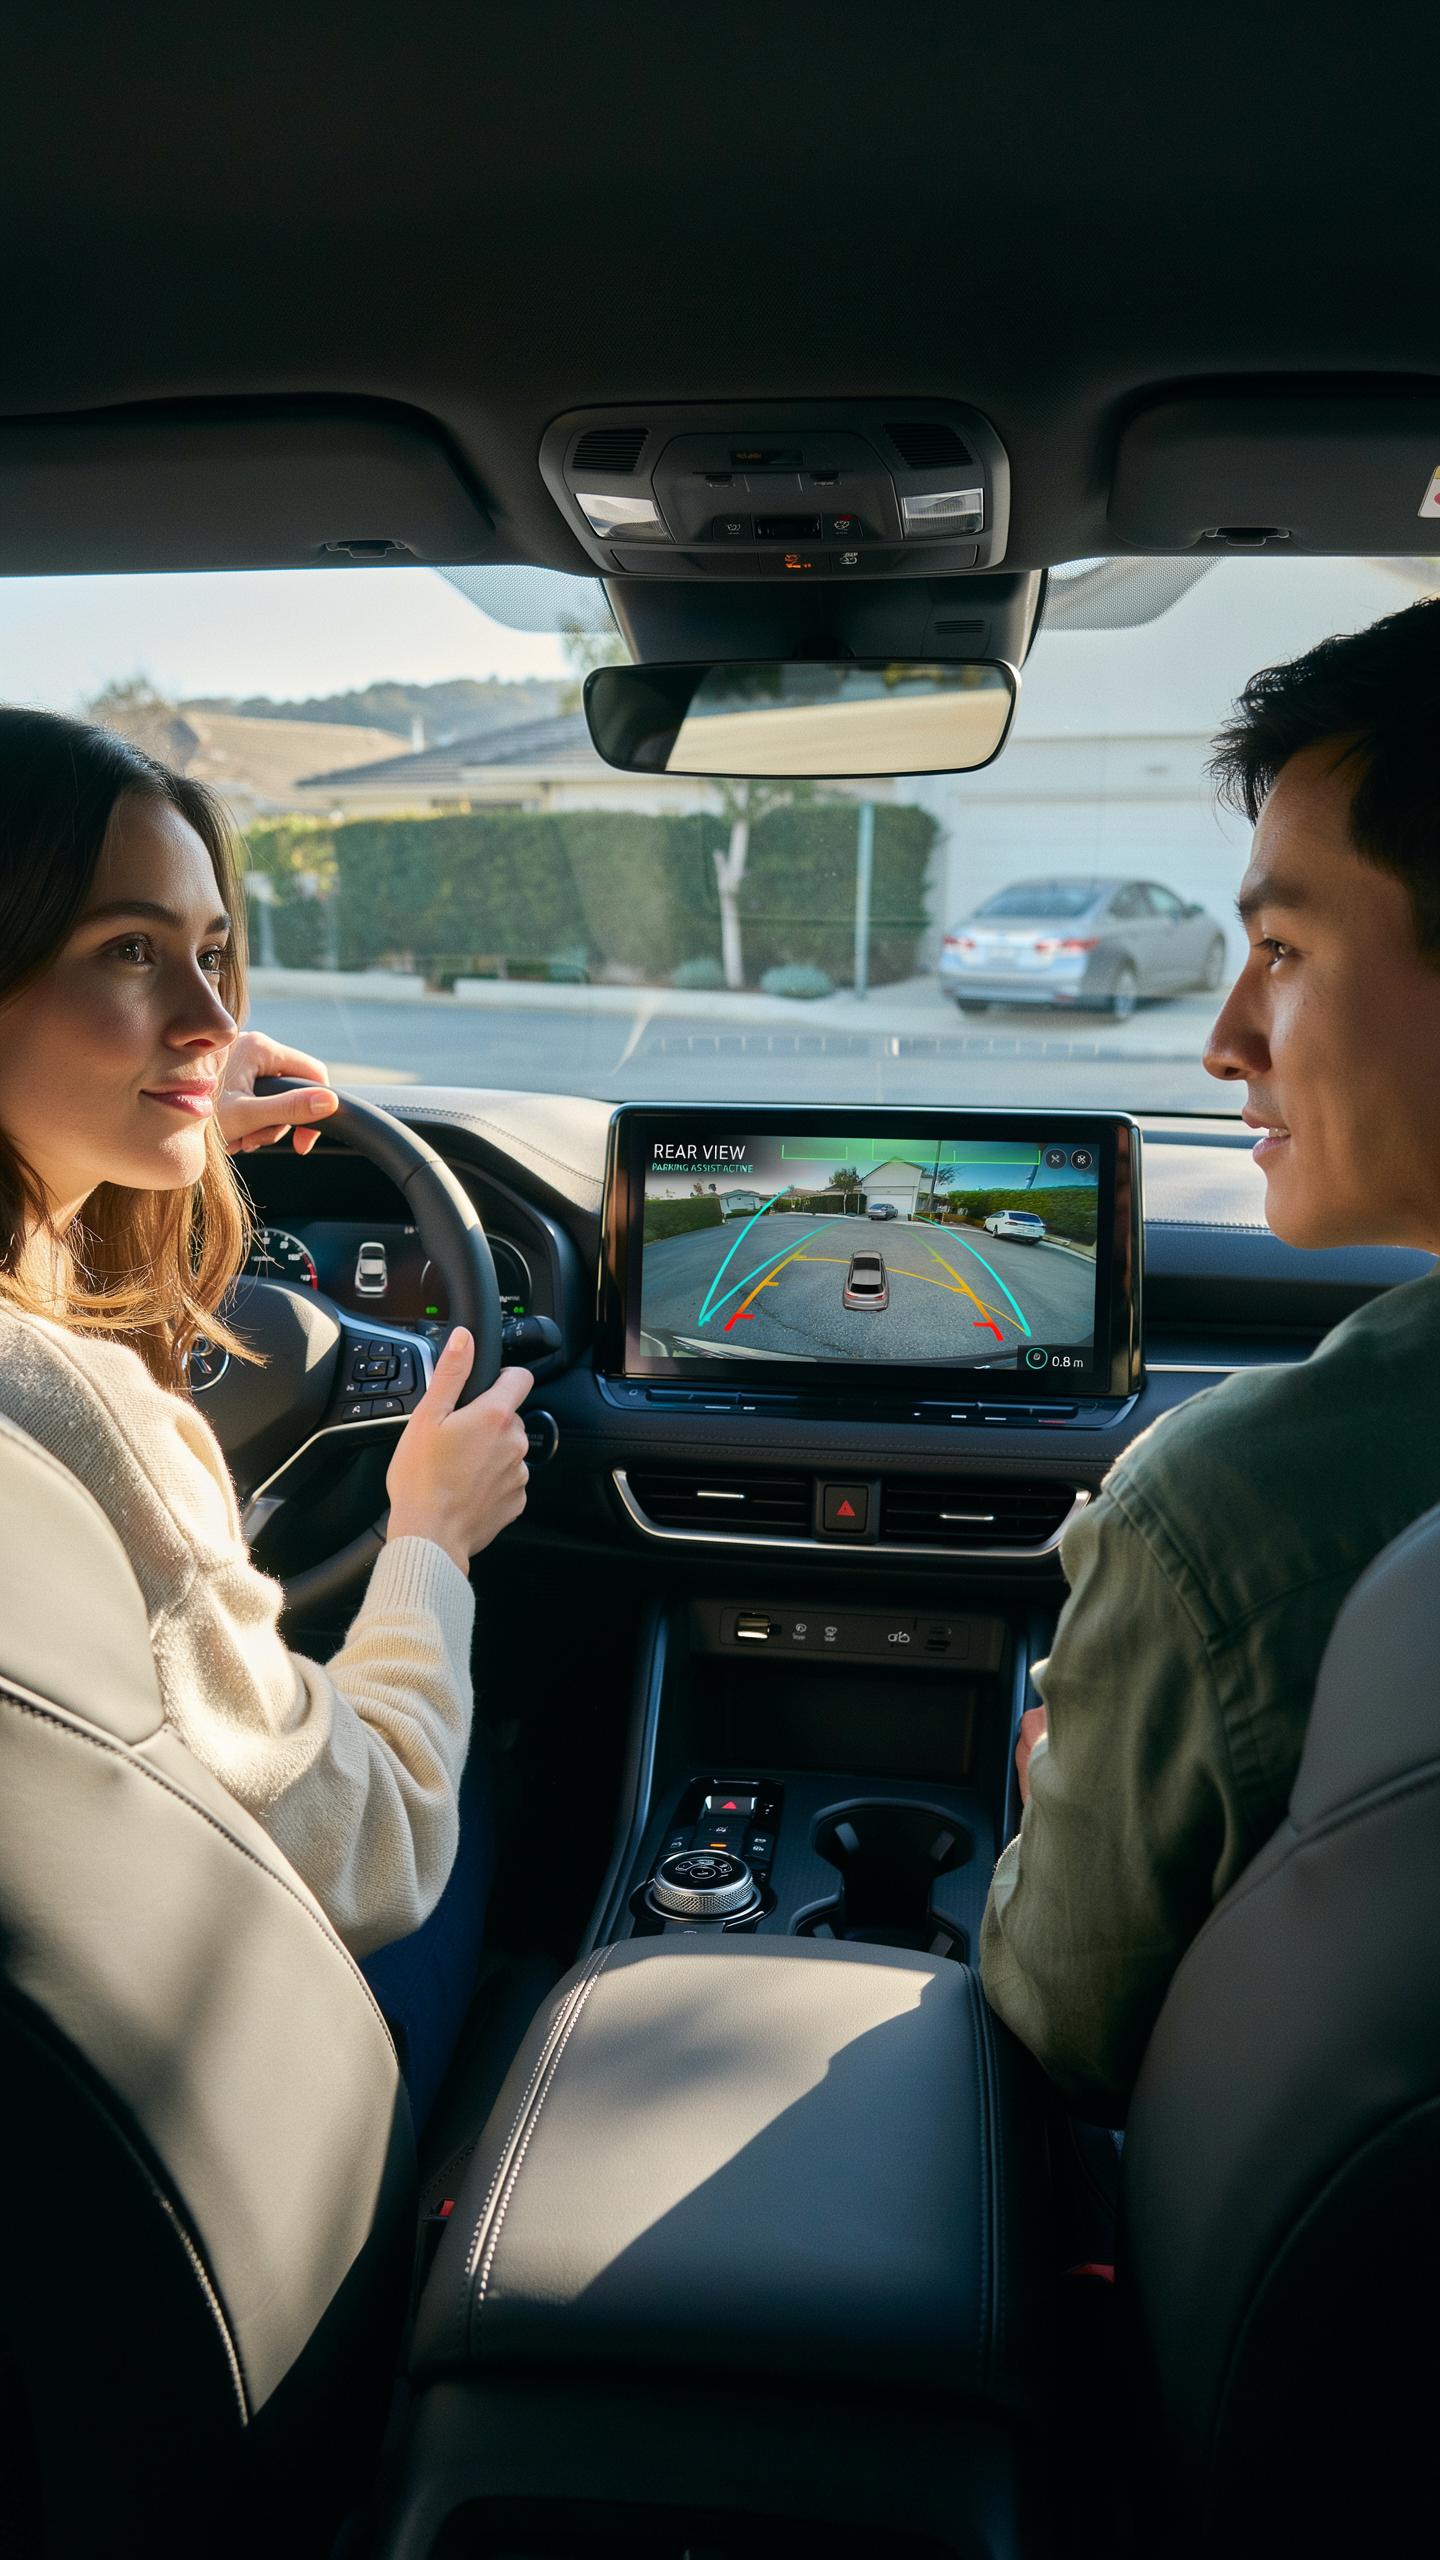
Night Vision And Image Quality
Night vision capability matters because backing up happens in low light conditions. Most aftermarket backup cameras use infrared LED technology to illuminate the area behind your vehicle. Resolution ranges from 420 to 1080 TVL (television lines). Higher resolution delivers sharper images and makes small objects easier to spot. Poor image quality creates dangerous blind spots you cannot afford.
Camera sensors determine performance in darkness. CMOS sensors dominate the backup camera market because they cost less and perform adequately. CCD sensors offer superior low light performance but command higher prices. Choose based on your typical driving conditions. If you park in dim garages or back up at night regularly, prioritize superior sensor quality.
Wide Angle And LCD Monitor Options
Wide angle lenses capture more ground behind your vehicle, typically ranging from 90 to 170 degrees. Standard 120 degree angles work for most vehicles and prevent excessive distortion. Wider angles show more area but introduce fisheye effects that distort distance perception. Test the actual view angle before purchasing to ensure it matches your backing patterns.

LCD monitor size affects visibility and ease of operation. Aftermarket kits offer 4.3 to 7 inch screens that mount on dashboards or headrests. Larger displays show more detail but consume more dashboard space. Your monitor choice depends on available installation space and personal preference. Some drivers prefer compact screens, while others demand larger displays for precise maneuvering.
Understanding The LCD Monitor Options

Mirror Monitors And Dashboard Displays
Mirror monitors replace your existing rearview mirror with a display screen. They show the backup camera feed when you shift into reverse. This design saves dashboard space and keeps your view centered. Some units switch back to mirror mode when you’re driving forward. Dashboard displays mount to your windshield or sit on top of the dash. They offer flexibility in positioning and work with various vehicle types. Both options connect to your camera via wireless or hardwired connections.
Mirror monitors work best in vehicles where you want minimal installation changes. They integrate naturally into your car’s interior without adding visible equipment. Dashboard displays give you more control over screen placement and angle adjustment. You can position them for optimal visibility based on your driving habits. Choose based on your vehicle’s layout and how much you want to modify the interior.
Oh, the peace of mind knowing you’ve got eyes in the back of your head, making every reverse a gentle, confident dance, just like those easy Sunday drives of yesteryear.
Quad View And Multi Camera Systems
Quad view systems use four cameras instead of one. They show front, rear, left, and right angles simultaneously on a single screen. This gives you complete visibility around your entire vehicle. Quad view systems eliminate most blind spots during parking and maneuvering. The multiple camera angles display in split screen format on your monitor. This setup costs more than single camera kits but provides superior coverage.
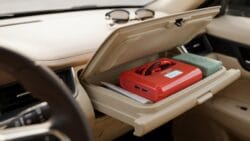
Multi camera systems work especially well for larger vehicles or those with poor sightlines. You can choose to display all four cameras at once or switch between individual feeds. Some systems let you customize which camera displays in which screen section. These setups require more complex wiring and professional installation in most cases. The investment makes sense if you frequently reverse in tight spaces or park in challenging areas.
Backup Camera Installation Kit What To Expect
DIY Vs Professional Installation
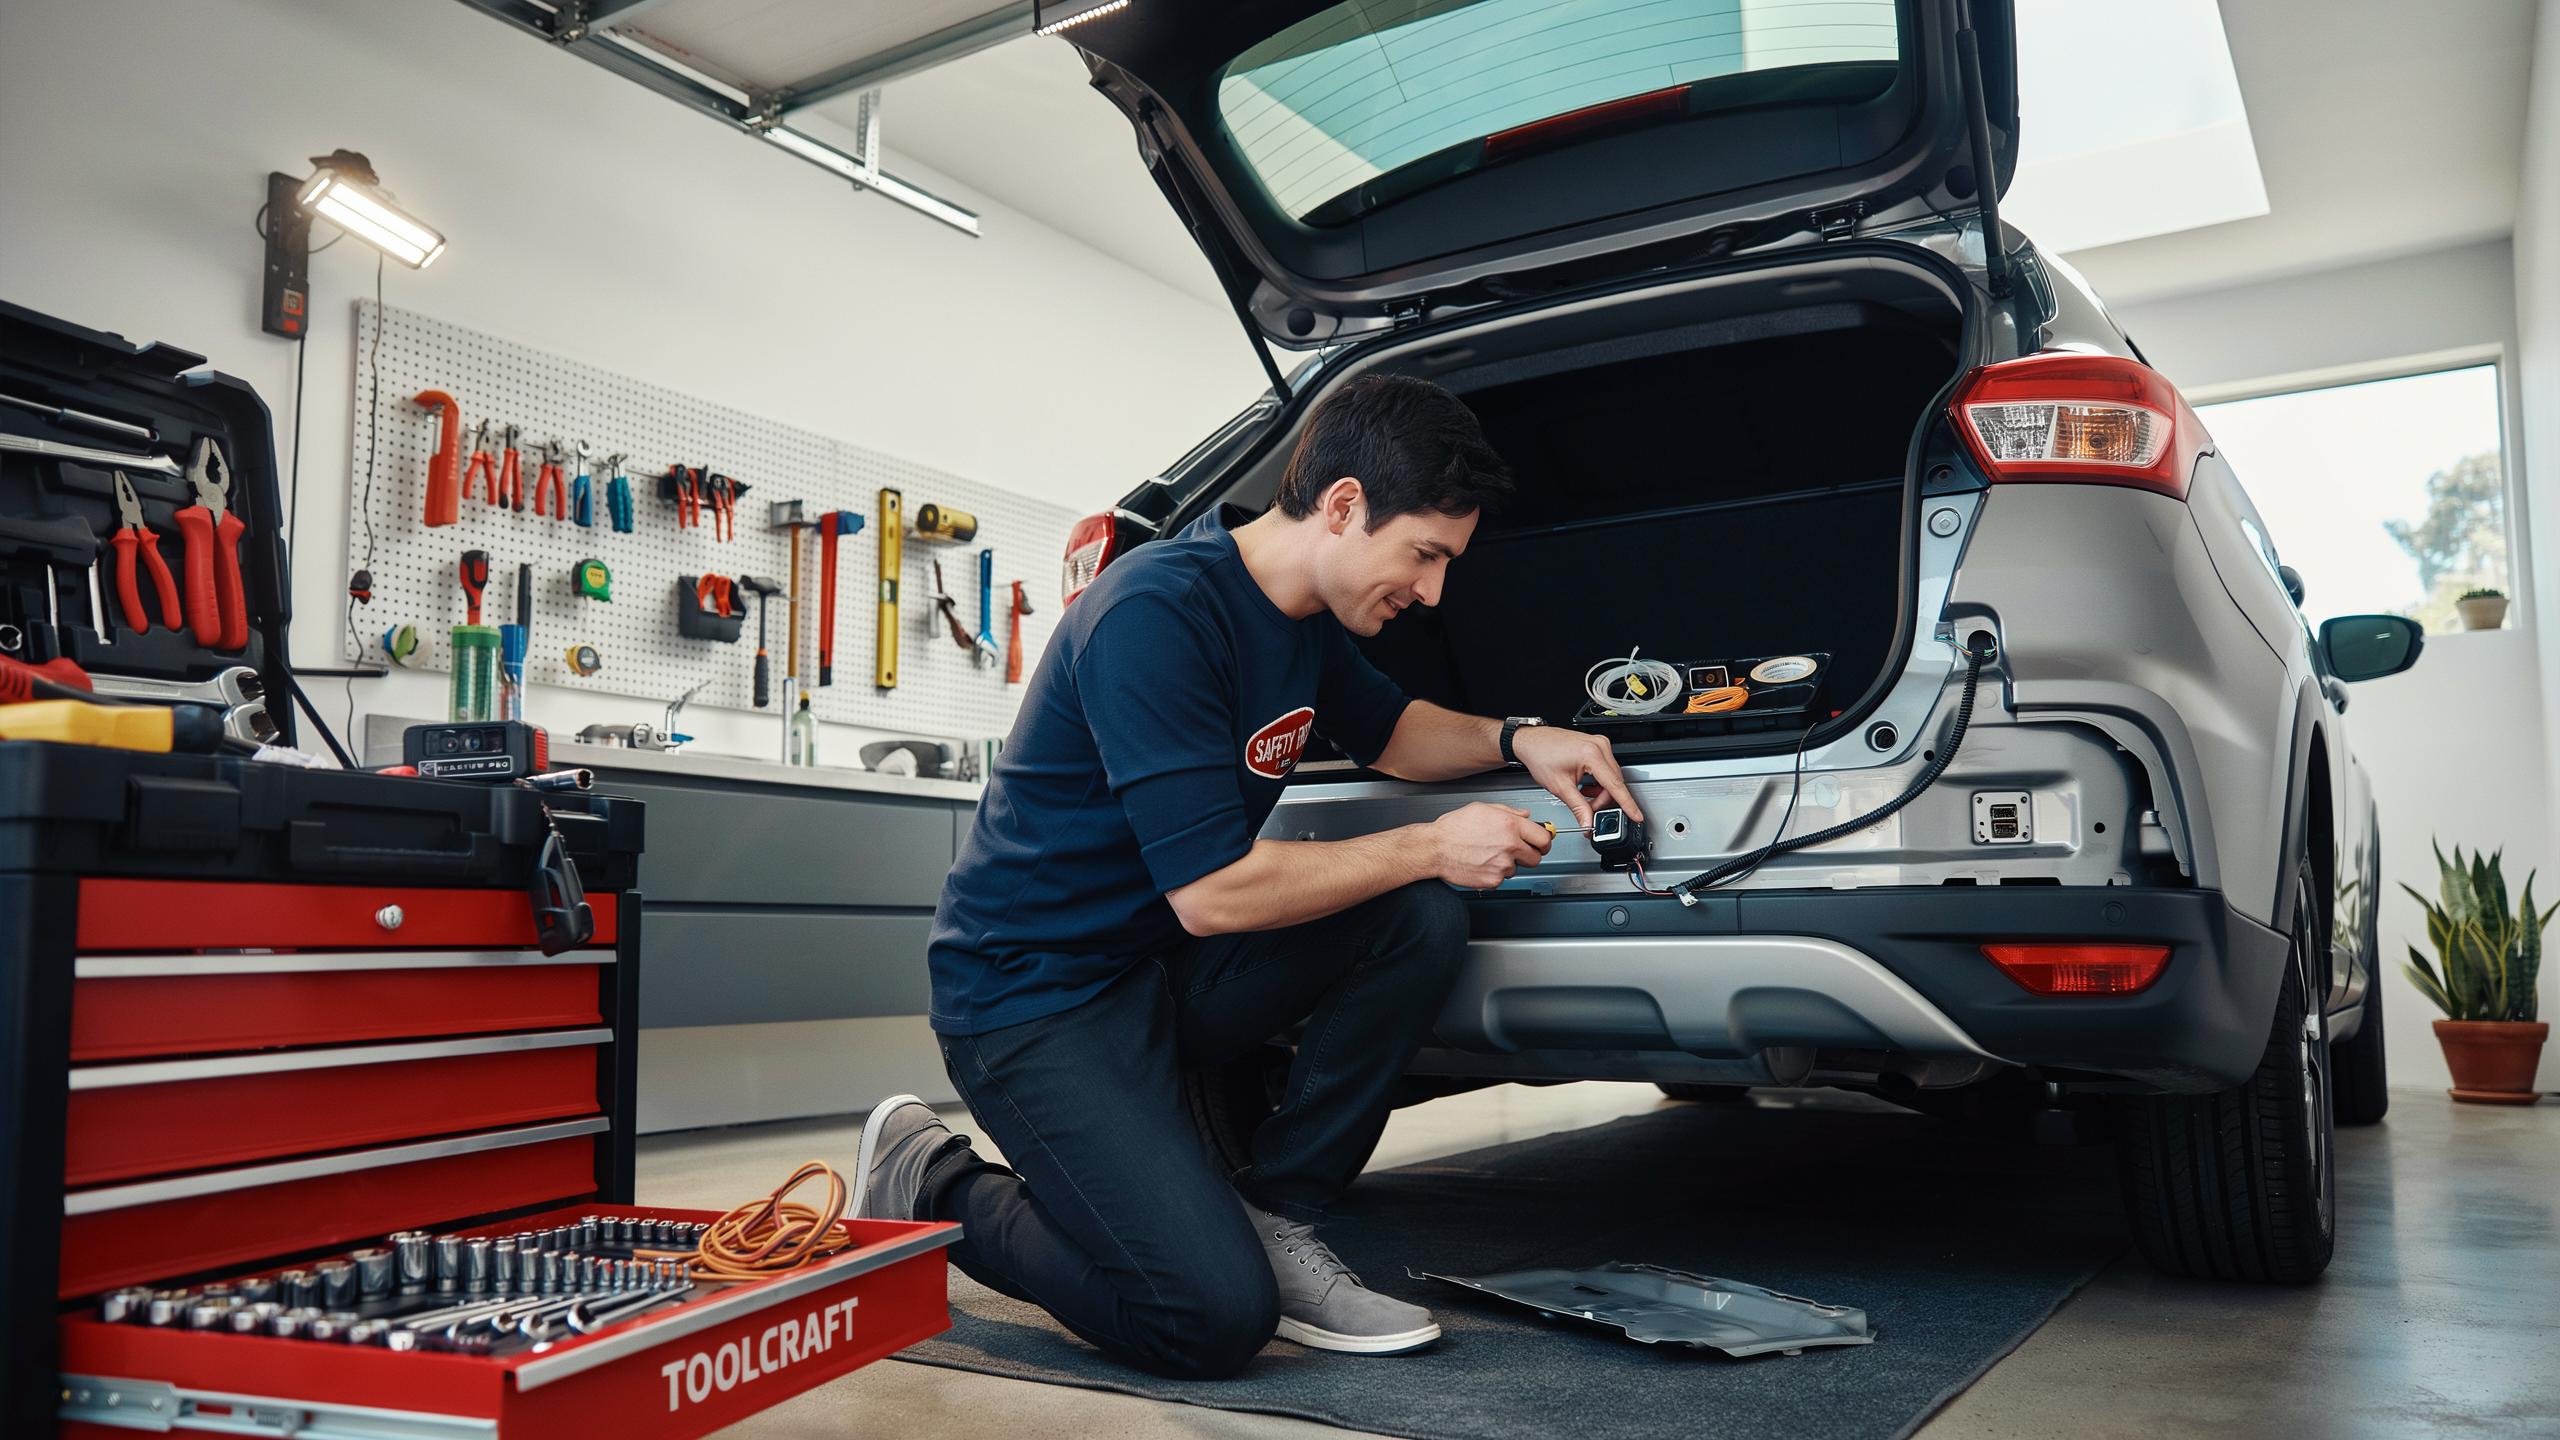
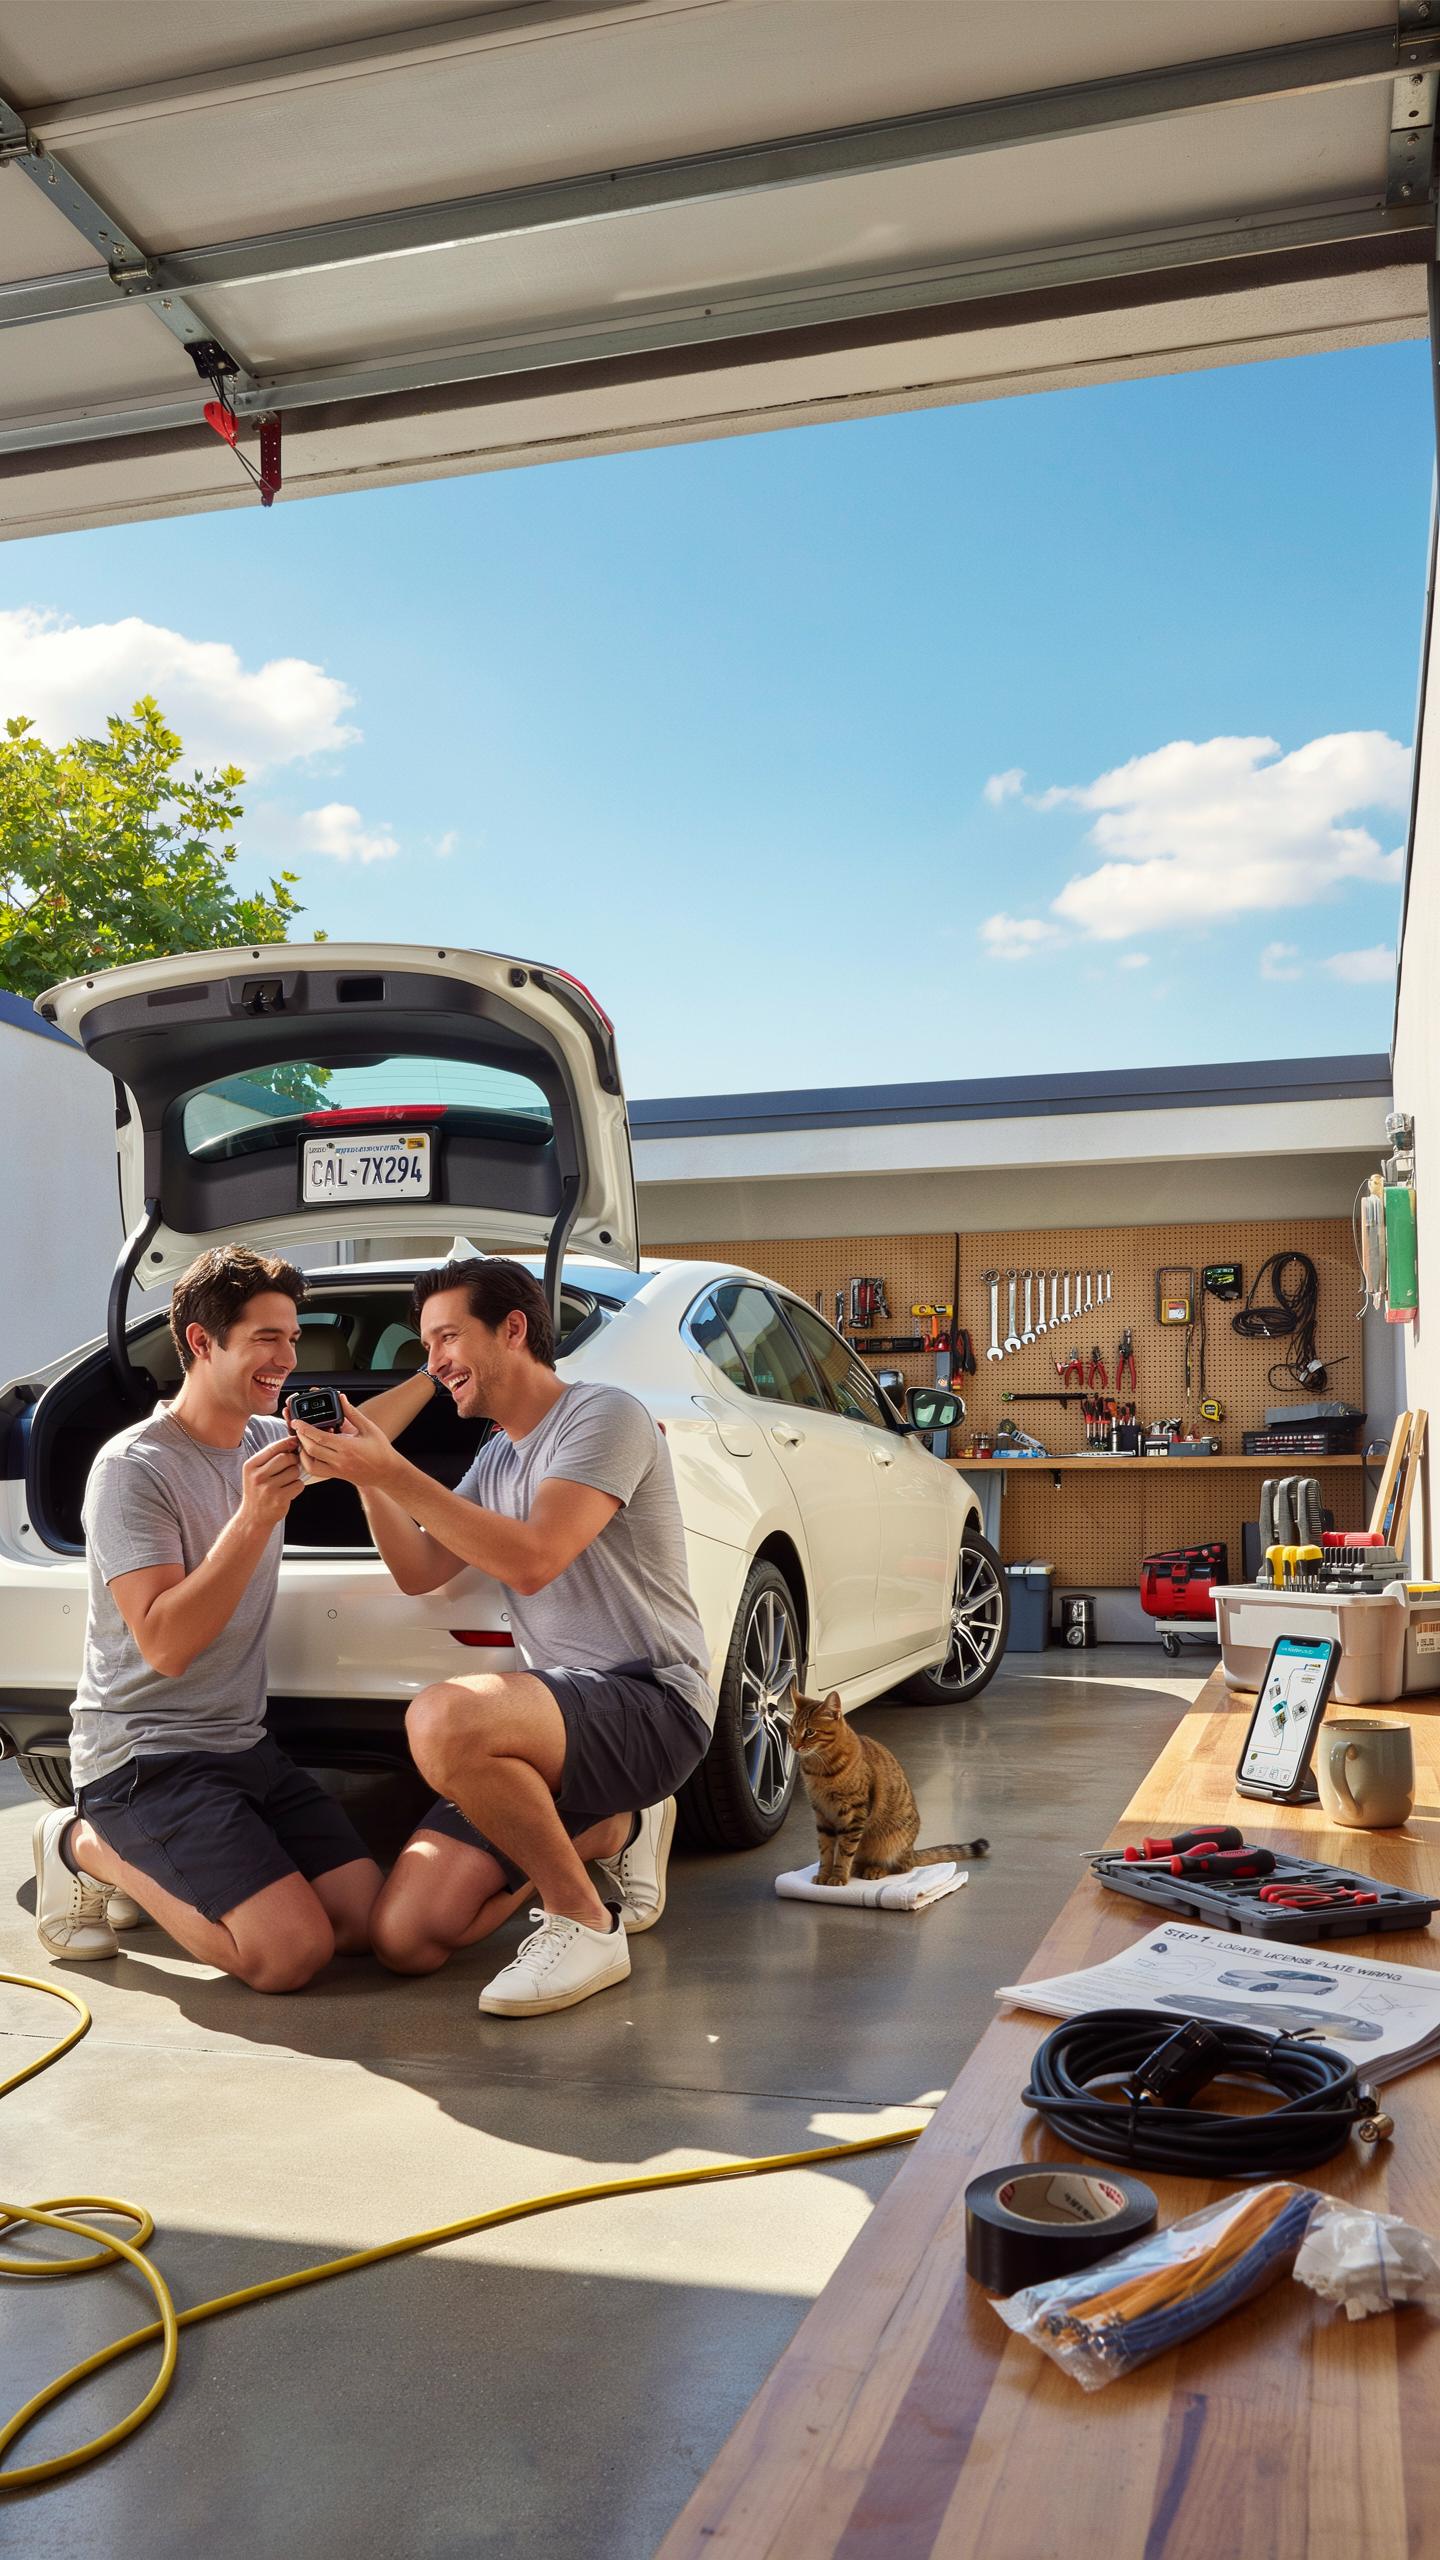
DIY installation works if you have basic electrical knowledge and patience. You save money on labor costs, typically ranging from 100 to 300 dollars at shops. However, mistakes happen. Poor wiring creates electrical faults. Improper mounting causes camera misalignment. You own every problem that results. Start DIY only if you’ve handled car electronics before.
Professional installation eliminates guesswork. Technicians handle wiring, mounting, and calibration correctly. They warranty their work. You gain peace of mind and a functioning system from day one. The cost difference justifies itself through proper installation and ongoing support. Use professionals if you value your time and want zero installation risk.
Tools And Materials For Installation
You need specific tools to complete the job correctly. Most backup camera kits include core components, but installation requires additional equipment you may not own. Gather everything before starting. Missing tools force trips back to stores and waste time. Some tools you can borrow or rent affordably.
- Screwdrivers and socket sets: Phillips and flathead screwdrivers, plus metric sockets for trim removal and bracket installation on bumpers and dashboards.
- Wire strippers and crimpers: Essential for cutting insulation, exposing wires, and securing connections without soldering in most modern systems.
- Electrical tape and connectors: Waterproof connectors protect against corrosion and moisture intrusion in outdoor camera connections and power lines.
- Wire routing tools: Plastic fish tape or coat hanger helps feed cables through door frames, pillars, and roof sections without damage.
- Multimeter: Tests voltage and continuity to verify power supply, ground connections, and screen functionality during installation.
- Panel removal tools: Plastic pry bars prevent damage to door panels, trim pieces, and dashboard components during disassembly.

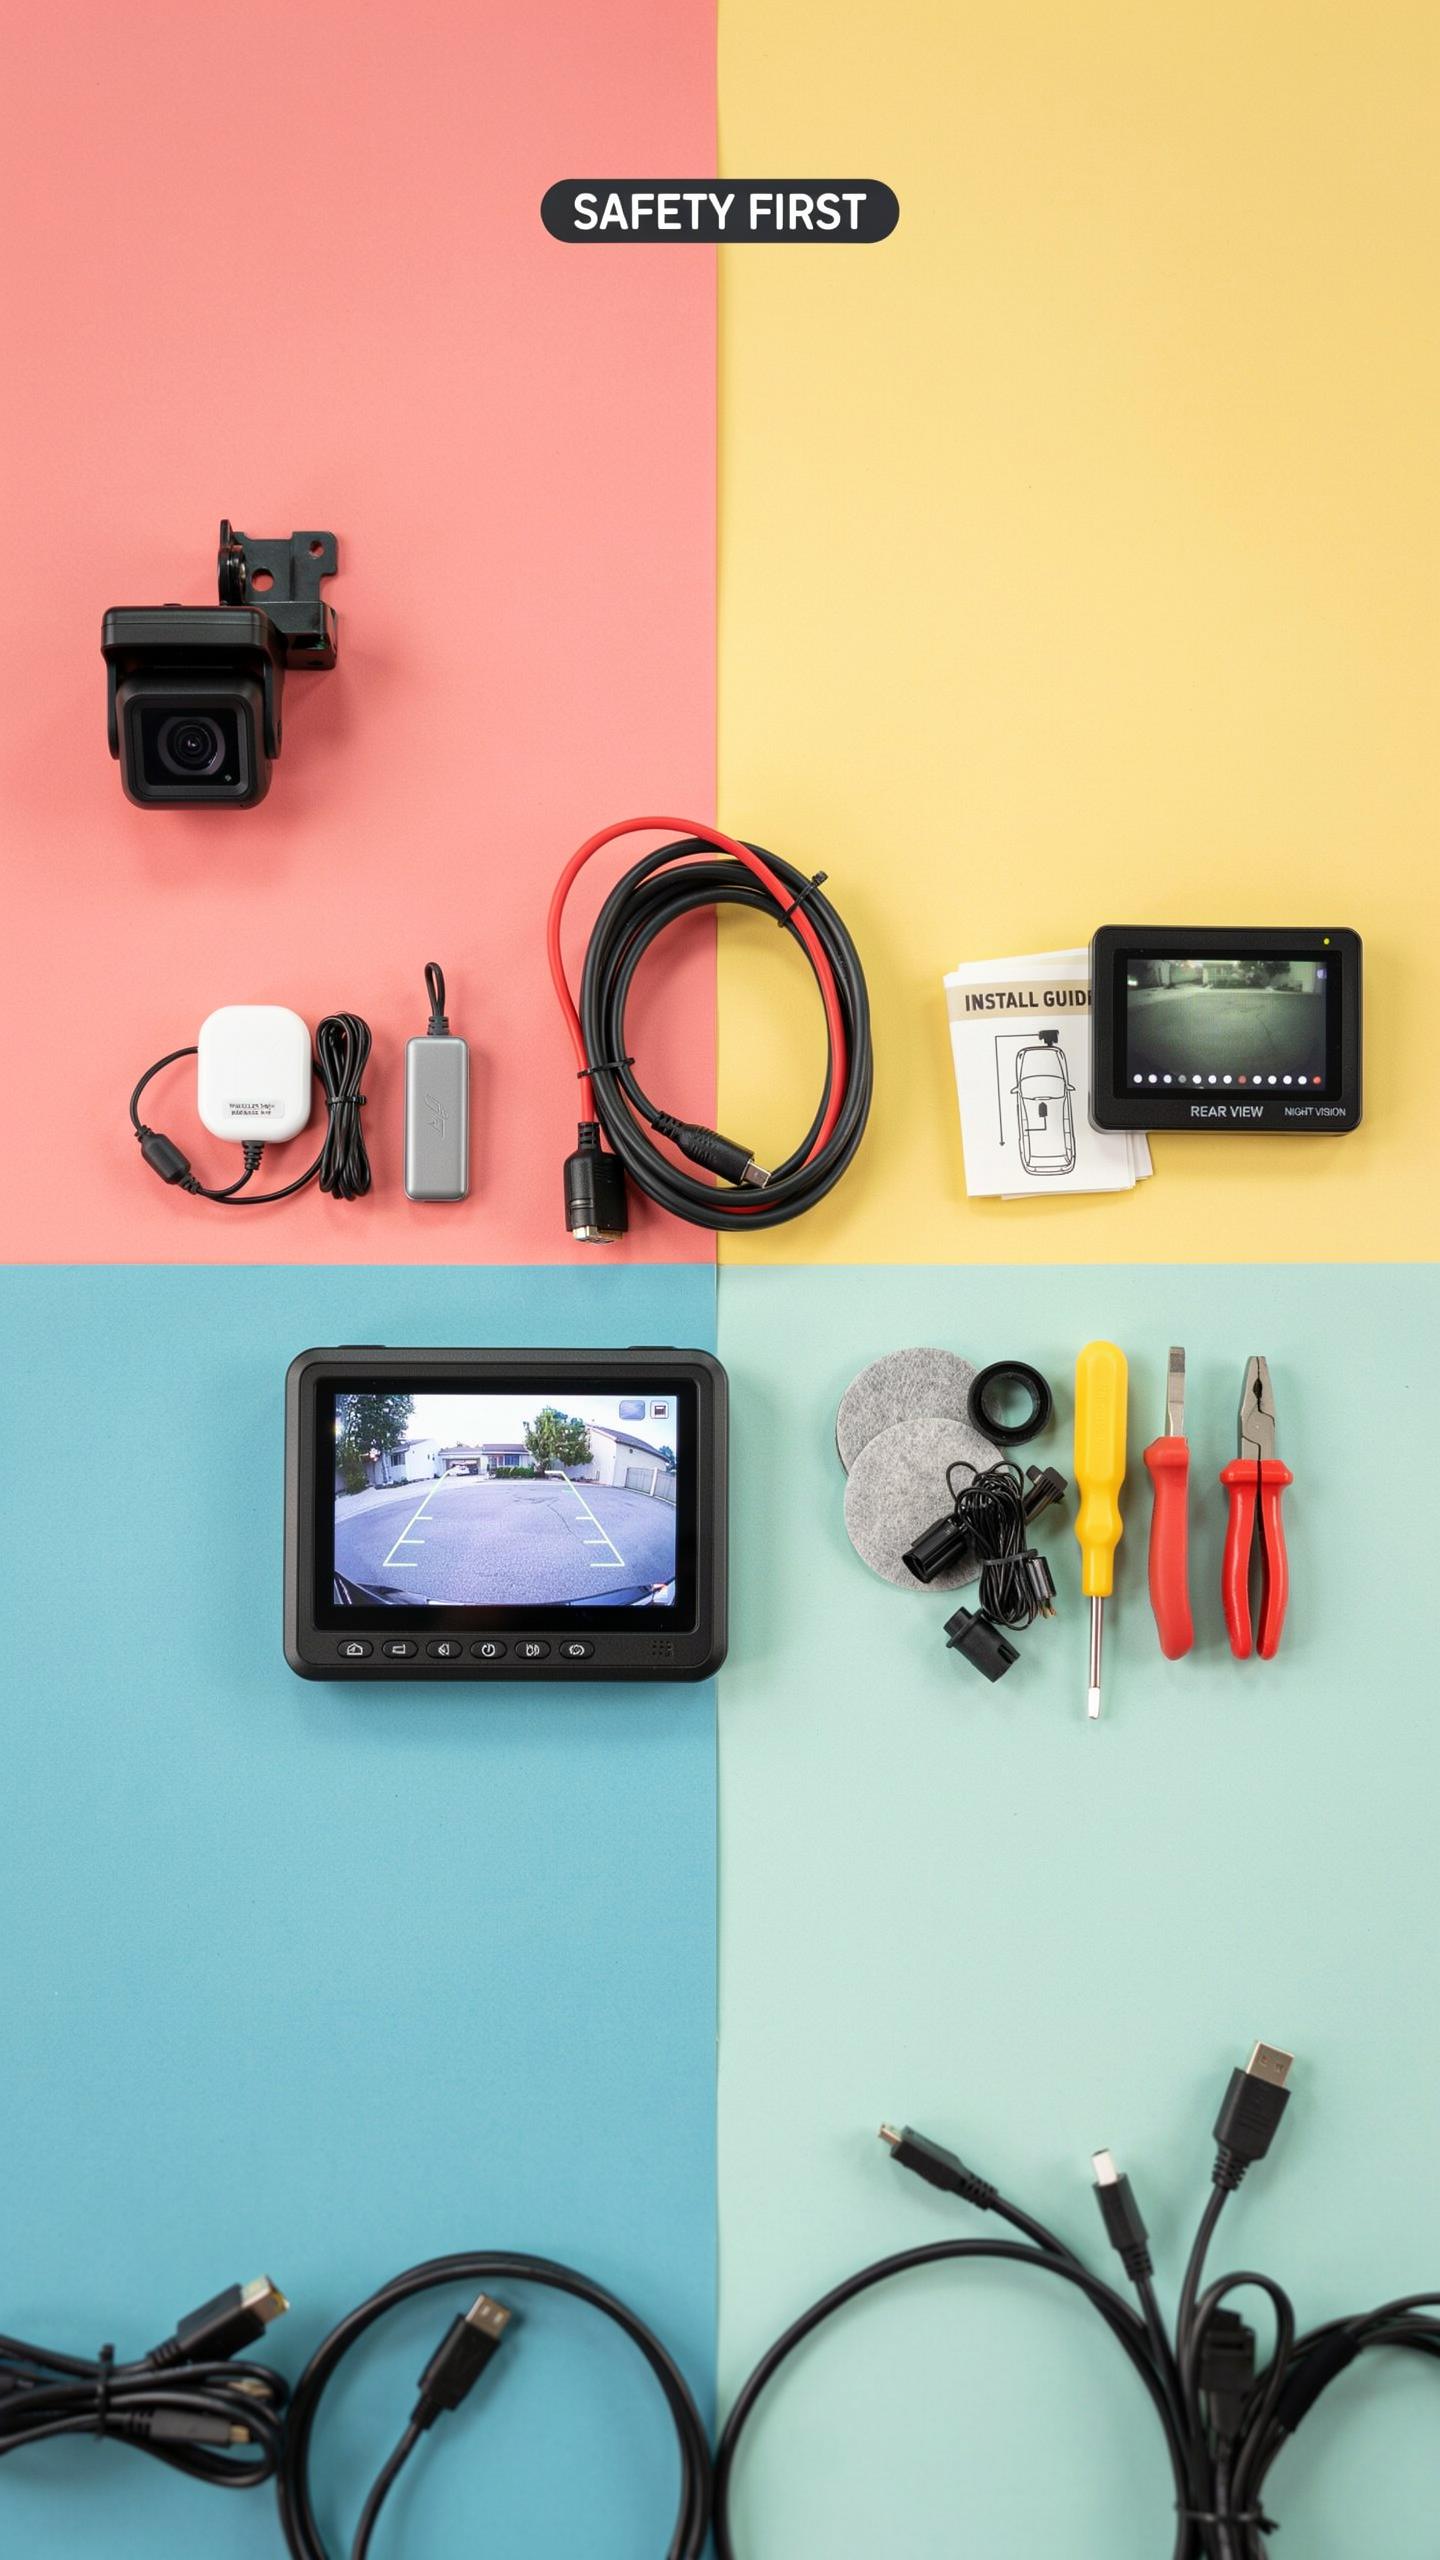
Most kits include the camera, display monitor, wiring harness, and mounting brackets. You supply the labor and expertise. Quality installation kits from reputable manufacturers include detailed wiring diagrams. Reference these diagrams constantly during work. Poor connections cause system failures weeks or months after installation, making proper assembly critical from the start.
Step By Step Guide Installing Your Universal Backup Camera Kit
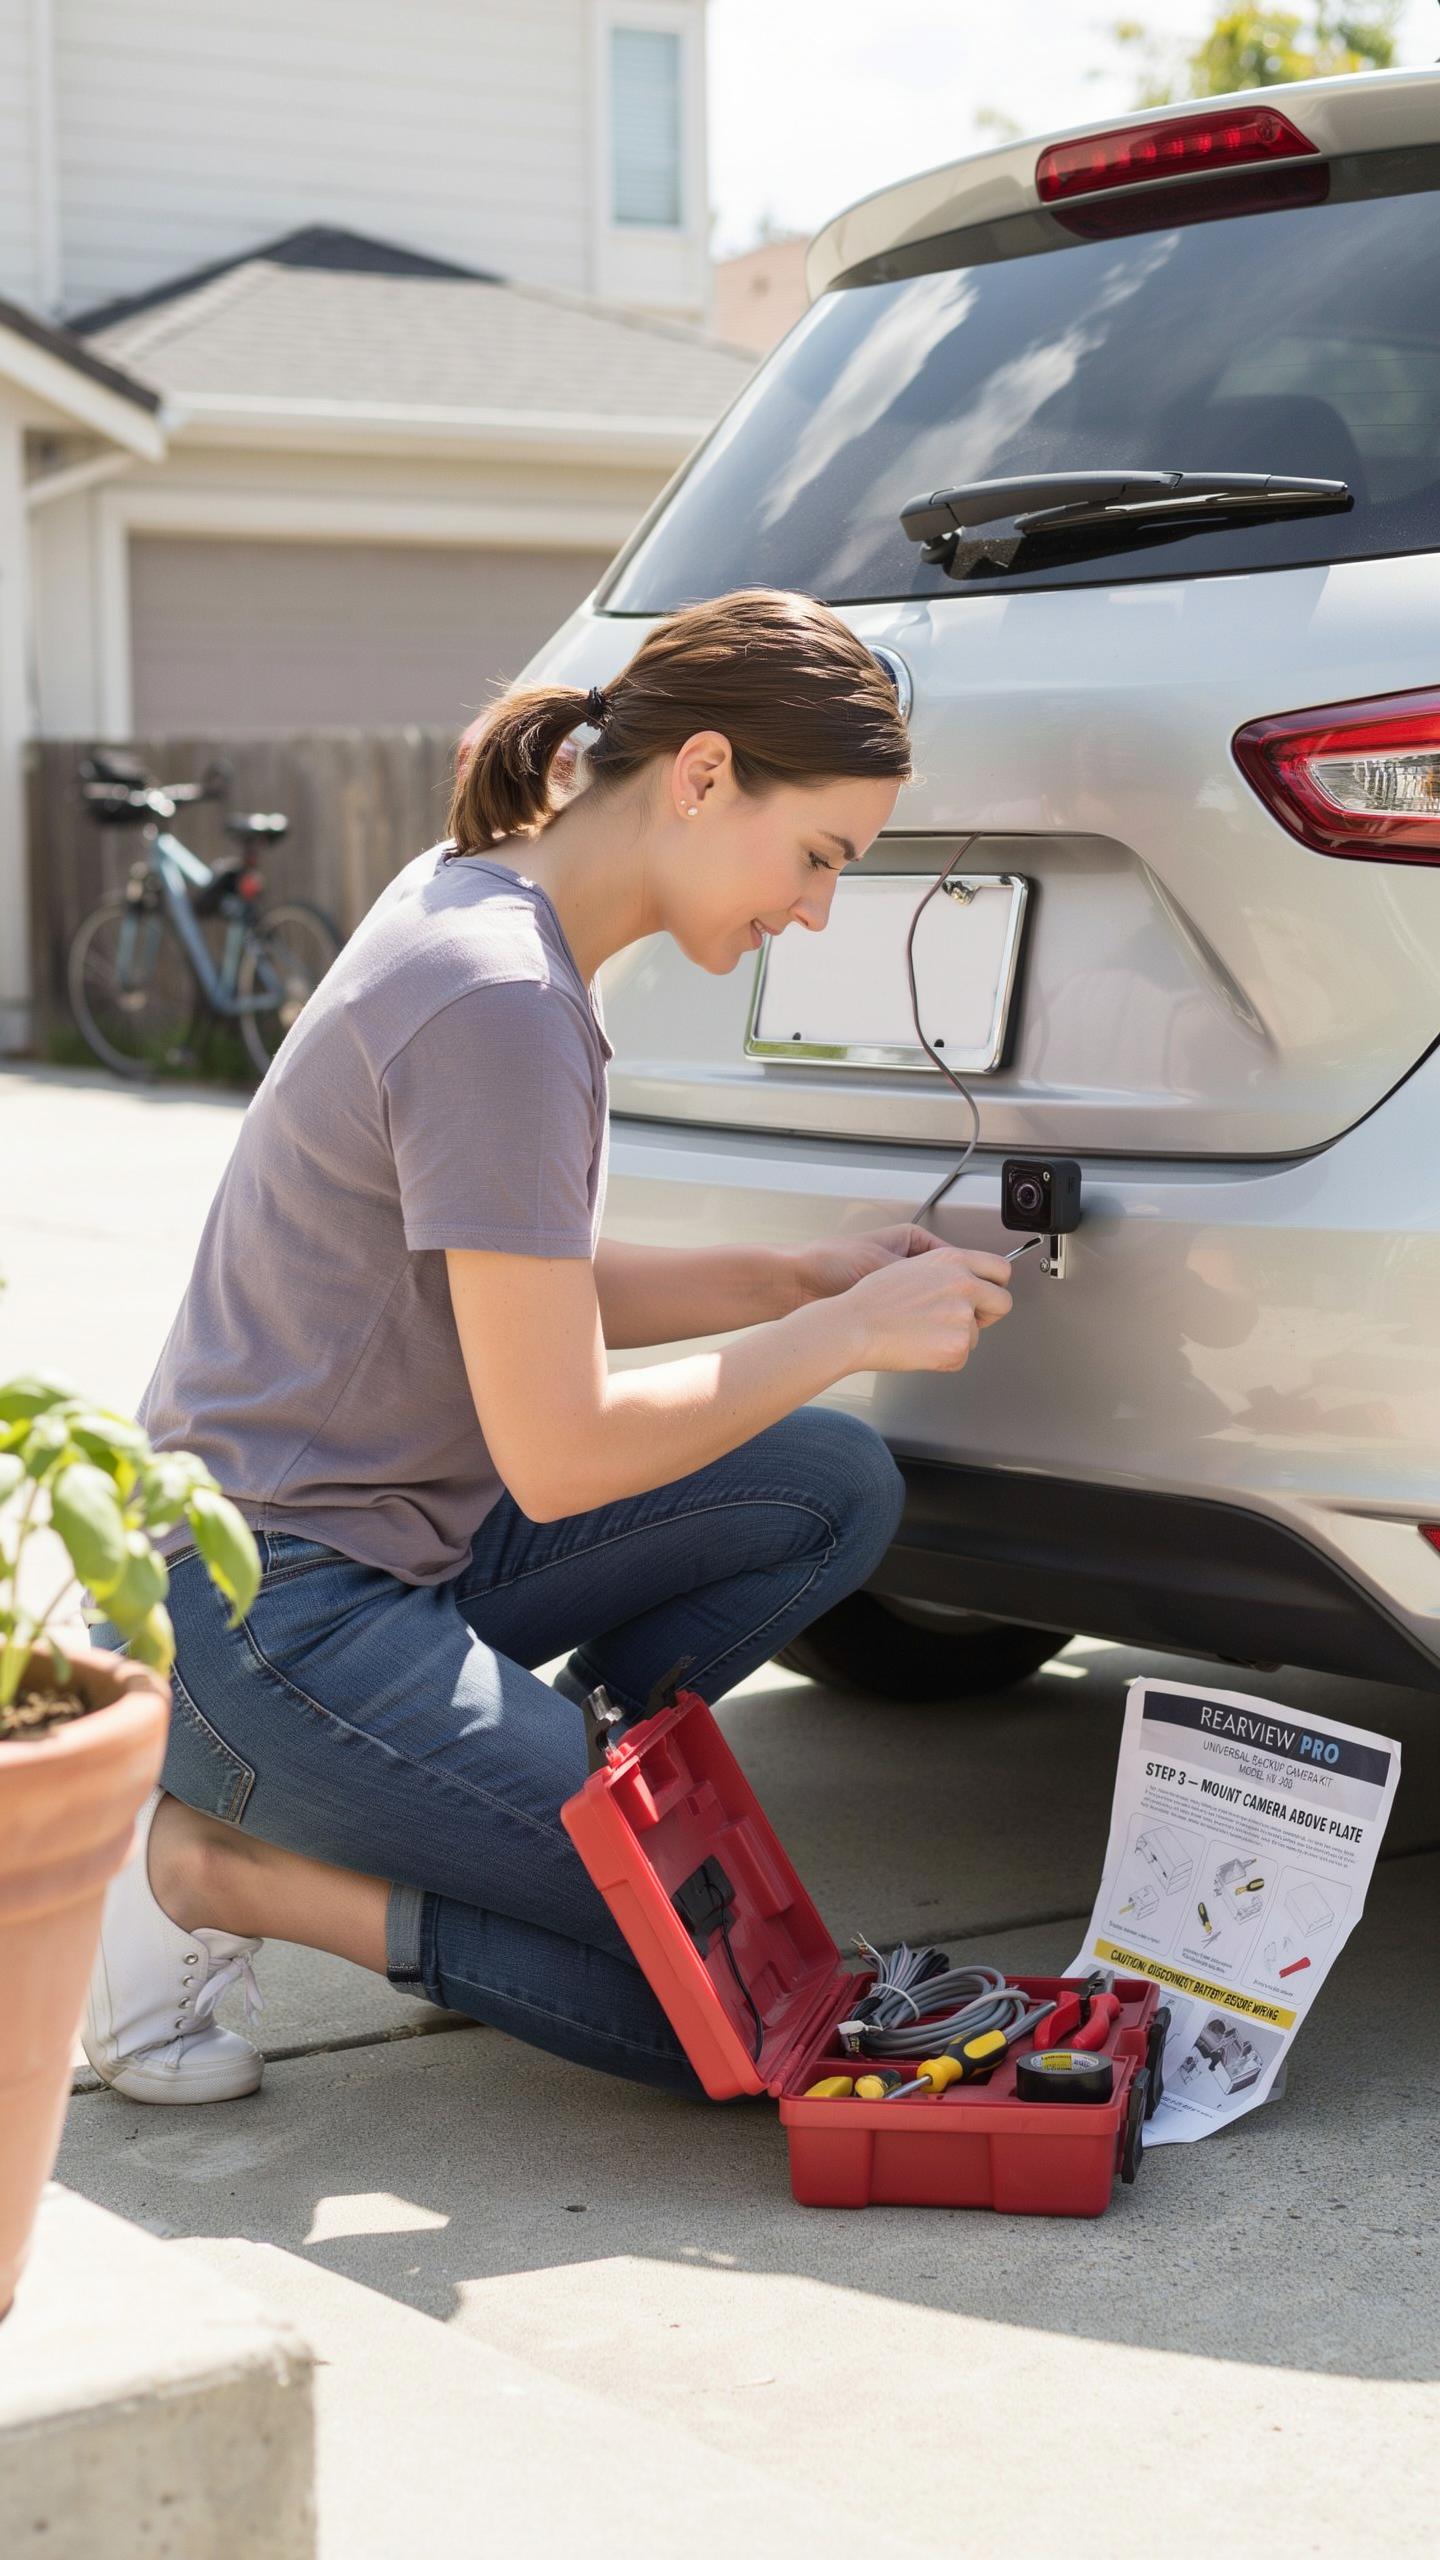
Mounting The Camera And Monitor
Position the camera at the rear of your vehicle where it captures the widest reverse view. Most kits use adhesive backing or bracket mounts. Clean the mounting surface thoroughly with rubbing alcohol and let it dry completely. This removes contaminants that prevent secure adhesion. Mount the camera level to avoid angled perspectives that distort distance perception during reversing.
The monitor installs on your dashboard or windshield where you see it without turning your head. Suction cup mounts work for windshields. Dashboard mounts require flat surfaces free of airbags and obstructions. Position the screen at eye level and angle it toward you. Secure all cables behind the dashboard trim to prevent rattling and tangling with pedals.
Wiring And Power Connections
Connect the camera to your vehicle’s reverse light circuit for automatic activation when you shift into reverse. Locate the reverse light wires behind your tail lights or under the rear bumper. Strip back the insulation carefully. Splice the camera’s power wire to the reverse light wire using butt connectors and a crimping tool. Test the connection before sealing it with heat shrink tubing.
- Reverse Light Tap: Connect directly to existing reverse light wires for seamless automatic activation without a separate switch installation.
- Battery Connection: Route power through the fuse box if reverse light splicing proves difficult or inaccessible in your vehicle model.
- Ground Wire: Attach the ground wire to bare metal chassis or an existing ground point to complete the electrical circuit properly.
- Video Cable Run: Thread the video cable through the vehicle frame, avoiding sharp edges and hot engine components during routing.
- Fuse Installation: Install an in line fuse holder on the power wire within 18 inches of the battery for circuit protection.

Run all wiring through existing conduits and wire channels in your vehicle frame. Avoid areas with excessive heat from the engine or exhaust system. Secure cables with zip ties at regular intervals. Leave slack in connections so vibration does not strain splices over time. Test the entire system before closing up trim panels and bumper covers.
Troubleshooting Common Backup Camera Issues
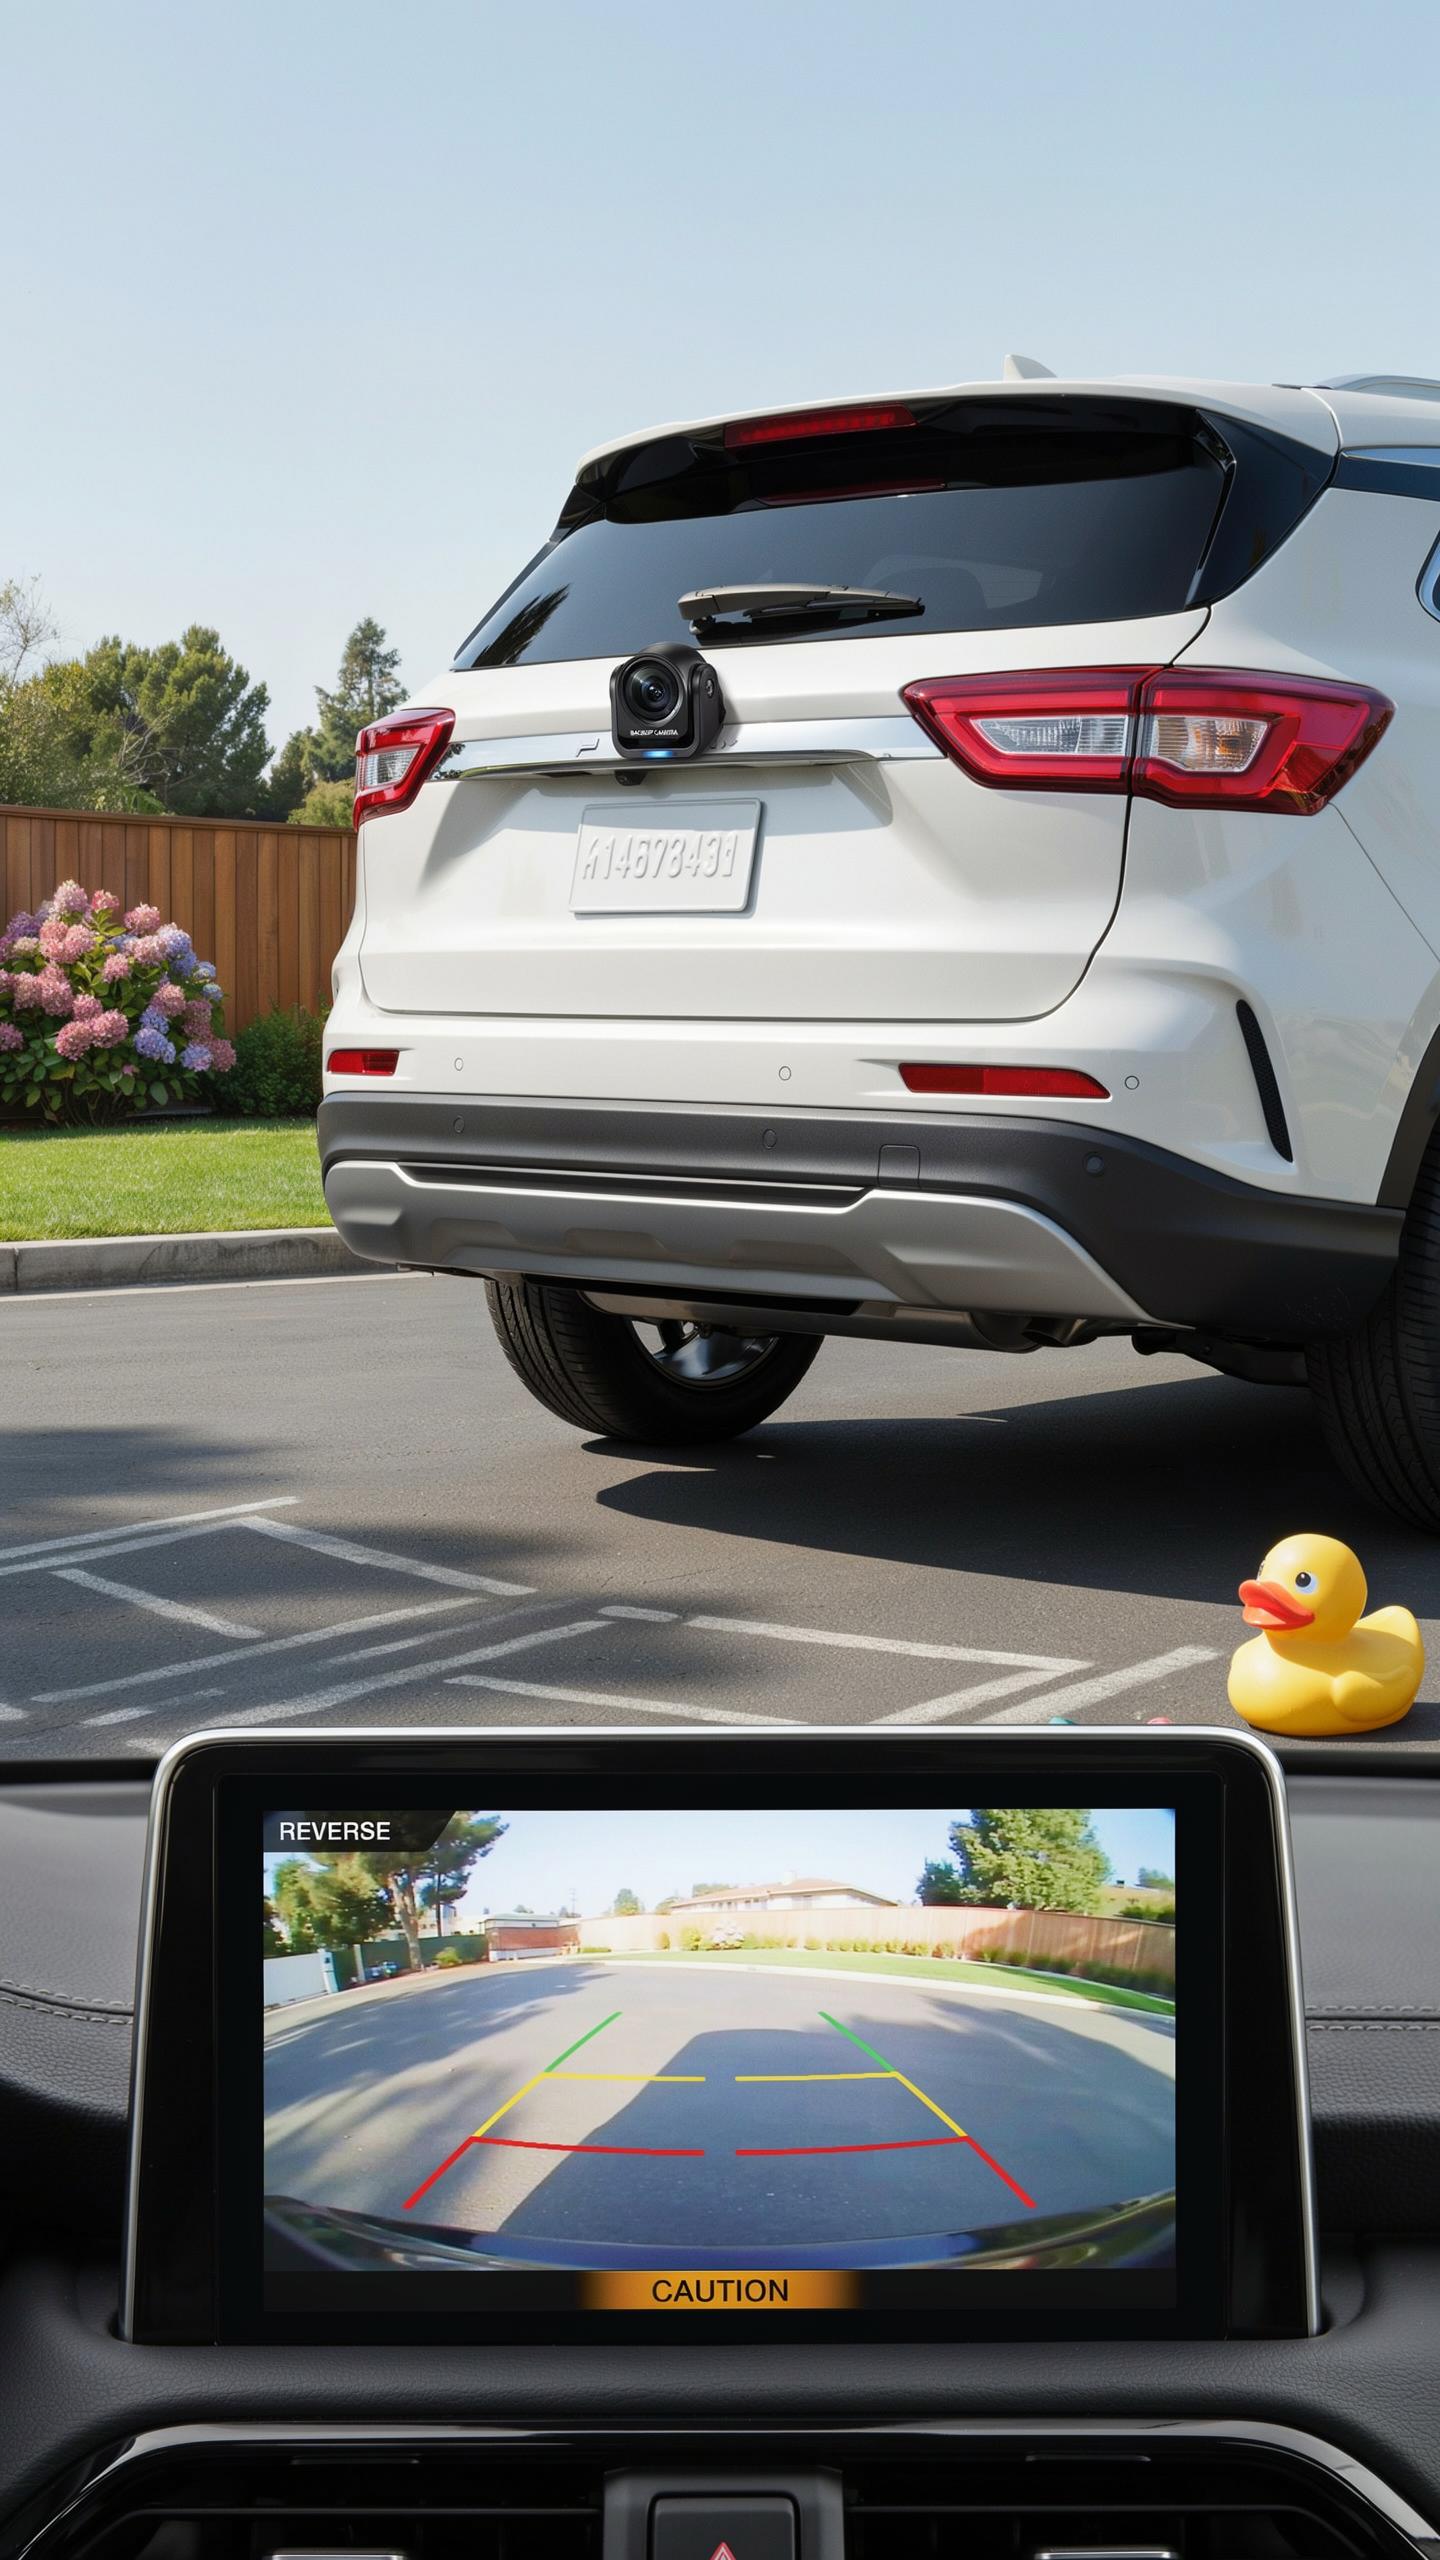
Signal Interference And Image Problems
Blurry images stem from lens dirt, condensation, or camera misalignment. Clean the lens with a microfiber cloth first. Check if the camera mount shifted during installation. Signal loss occurs when the wireless transmitter conflicts with other vehicle electronics. Move the transmitter away from power cables and the engine bay. Test the system in different locations to isolate interference sources.
Pixelated or frozen video indicates weak signal strength between the camera and monitor. Reduce the distance between components if possible. Check that the camera and receiver operate on the same frequency. Metal objects near the transmission path block signals effectively. Reposition both units to establish direct line of sight. If problems persist after repositioning, the transmitter or receiver may have failed internally.
Power And Connection Malfunctions
No power to the camera means checking the fuse first. Locate your vehicle’s fuse box and inspect the backup camera circuit. A blown fuse indicates an electrical overload or short circuit. Replace it with an identical amperage rating. Test the system before assuming the problem is solved. If the fuse blows again immediately, disconnect the system and inspect all wiring for damage or exposed copper.

Loose wiring connections cause intermittent operation or complete failure. Pull gently on each connector at the camera, power source, and monitor. Corroded terminals prevent current flow between components. Clean corroded connections with a wire brush or contact cleaner. Verify all connections are seated fully before testing. If the camera works only sometimes, a failing power supply or intermittent ground connection is likely causing the dropout.
Maintaining Your Vehicle Backup Camera System
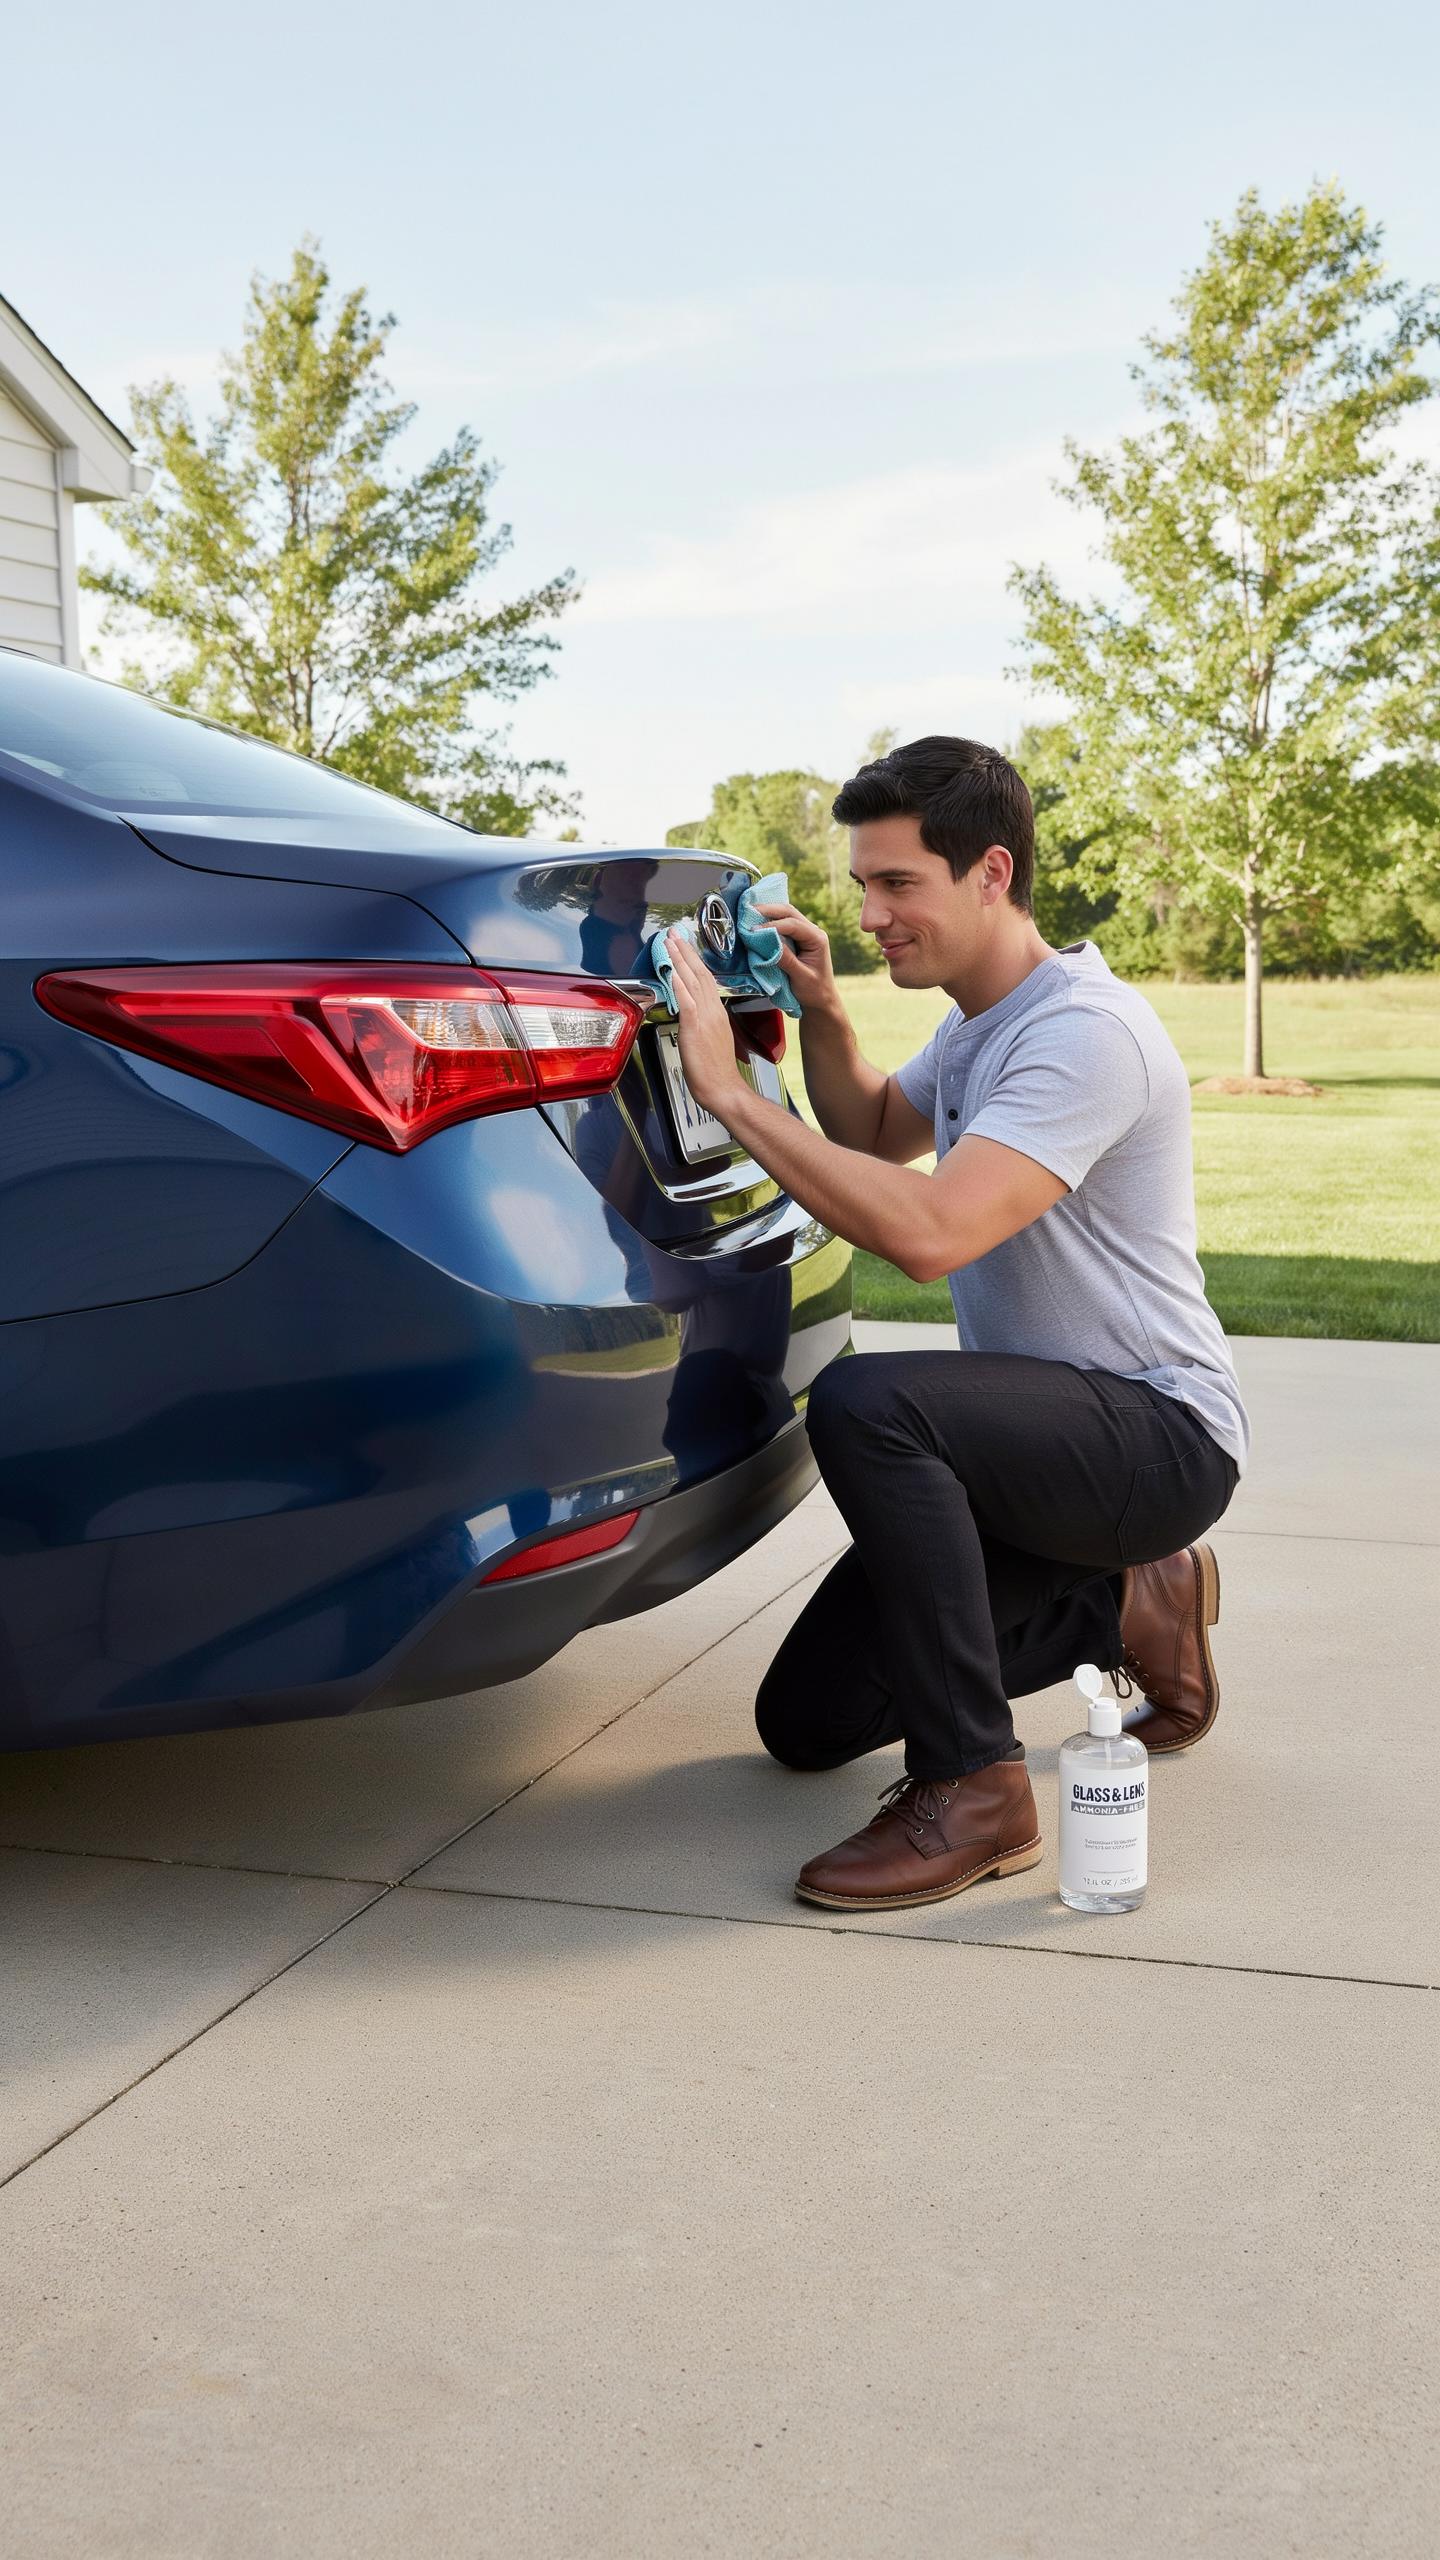
Cleaning And Weather Protection
Dirt, mud, and debris accumulate on your camera lens during normal driving. Clean the lens weekly with a soft microfiber cloth and mild soap solution. Avoid abrasive materials that scratch the lens coating. Water spots form from rain and car washes, reducing image clarity. Dry the lens immediately after exposure to moisture to prevent spots.
Weather degrades camera housings over time. UV rays crack plastic components and fade protective coatings. Road salt accelerates corrosion on metal brackets and connectors. Park in covered spaces when possible to minimize exposure. Apply protective sealant to exposed metal parts annually to extend system life.
Software Updates And System Checks
Your backup camera system requires periodic testing to catch failures early. Start the engine and engage reverse gear weekly to verify image display. Check for signal lag or pixelation that indicates connection problems. Monitor screen brightness to ensure visibility in daylight conditions. Replace corroded connectors immediately when you spot discoloration or oxidation.

Manufacturers release software updates that improve system performance and fix bugs. Check the display unit for update notifications through the main menu. Connect your system to a computer or dealer diagnostic tool to install updates. Test all functions after updates complete to confirm proper operation. Keep documentation of update dates for warranty and resale records.
The Future Of Rear View Car Camera Technology
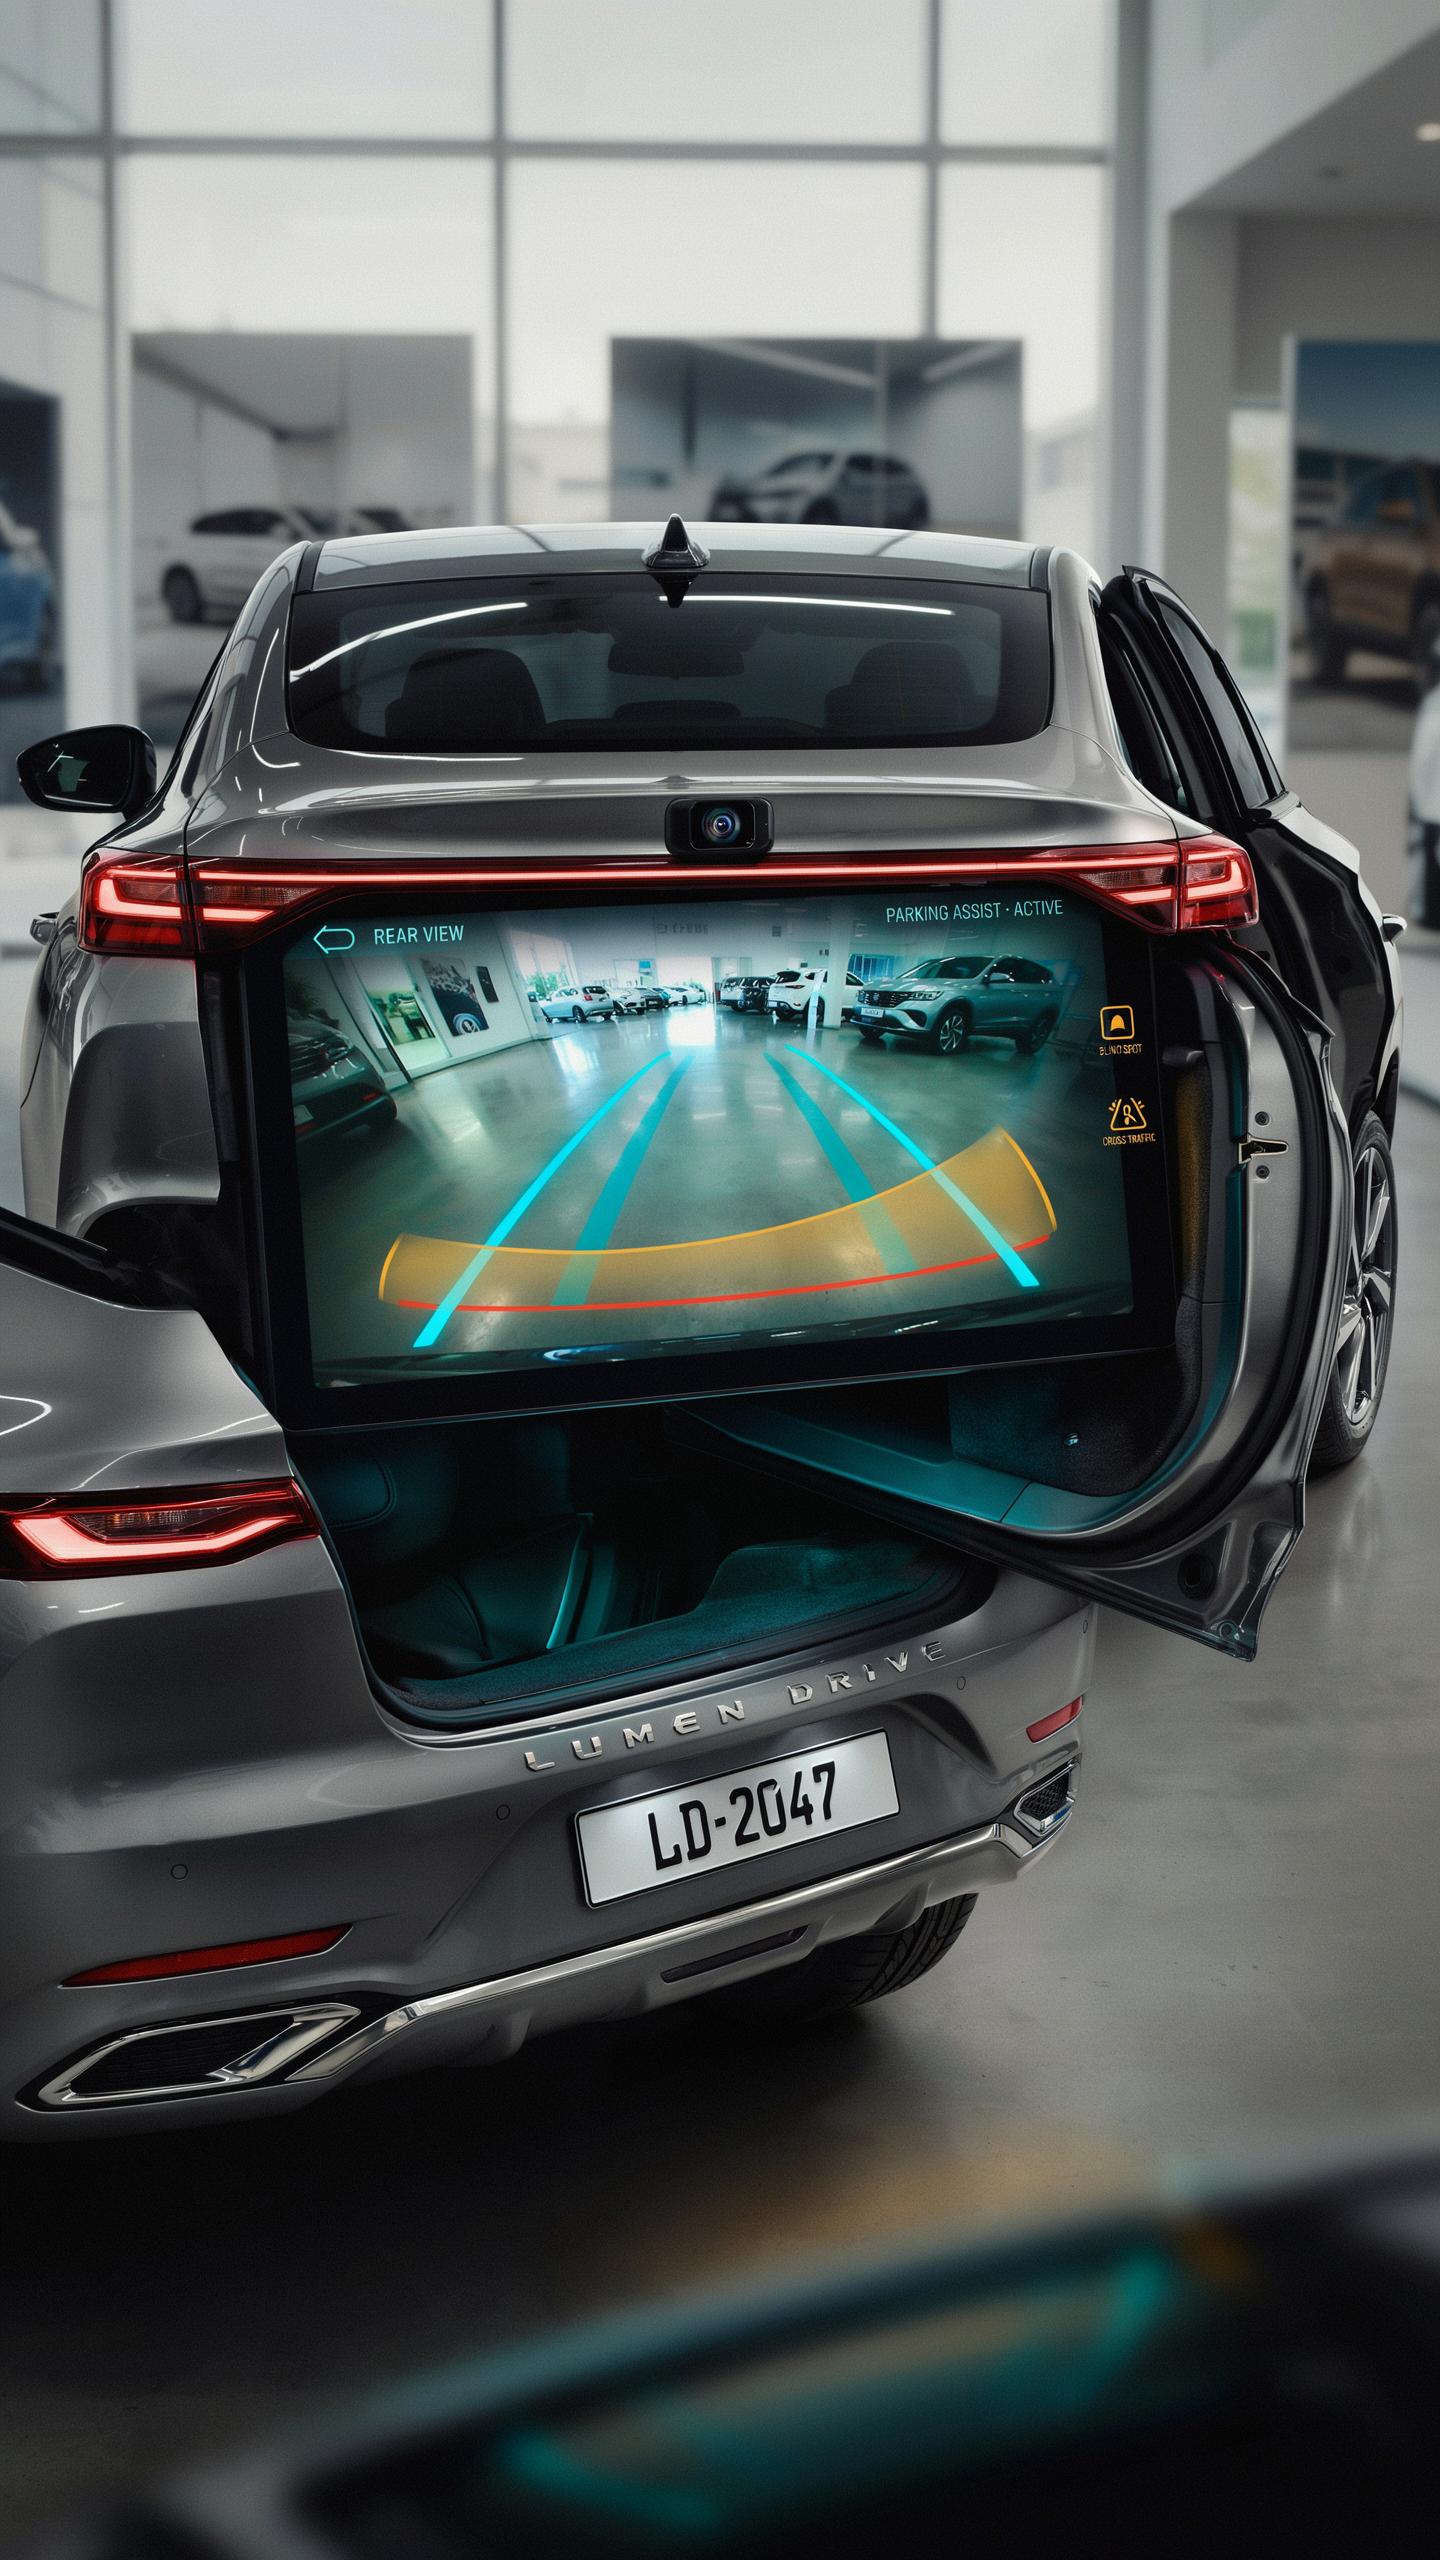
Advanced Features And Integrations
Backup camera manufacturers are integrating AI-based object detection into new systems. These systems identify pedestrians, cyclists, and obstacles in real time. The technology processes video feeds and alerts drivers to hazards automatically. Manufacturers like Garmin and Viofo now embed this capability into aftermarket kits. Integration with smartphone apps allows drivers to view live feeds remotely on compatible devices.
Vehicle integration standards continue to improve across platforms. Android Auto and Apple CarPlay now support backup camera feeds natively on many systems. Direct integration with OEM head units requires matching voltage and signal protocols specific to each vehicle manufacturer. Third-party kits bypass these complications by operating independently from factory systems. Dash cam manufacturers are adding backup camera modules to create complete vehicle coverage solutions.
Impact On Driving Safety Standards
Federal regulations shaped the backup camera mandate in 2014. The National Highway Traffic Safety Administration required all new vehicles to include backup cameras. This standard reduced backup-related accidents by approximately 33 percent among vehicles with the technology. Aftermarket kit adoption follows the same safety principles and meets NHTSA guidelines for camera resolution and display timing. Installation of these kits on older vehicles extends safety benefits to cars manufactured before the mandate.
Improved camera sensors and display technology continue to advance safety outcomes. Modern backup cameras use 720p or 1080p resolution compared to early 480p standards. Night vision capability through infrared LEDs enables clear visibility in low-light conditions. Wide-angle lenses now capture 130 to 170 degrees of rear view instead of 100 to 120 degrees. These incremental improvements reduce blind spots and provide drivers with faster reaction times during reversing maneuvers.
Frequently Asked Questions

What exactly is a backup camera kit, and why should I consider getting one for my car?
A backup camera kit provides a visual display of the area behind your vehicle, typically on a screen mounted in your dash or rearview mirror. It significantly enhances safety by eliminating blind spots, making parking easier, and helping you avoid obstacles or people when reversing, especially if your car doesn’t have one built-in.
Can I install a backup camera kit for cars without one myself, or do I need professional help?
Many backup camera kits are designed for DIY installation, especially wireless models. These often involve mounting the camera, connecting it to power (like reverse lights), and pairing it with a monitor. However, wired systems or those requiring extensive dashboard disassembly might be better left to a professional installer.
Are there affordable backup camera kits available for older cars that weren’t originally equipped with this feature?
Absolutely! There’s a wide range of affordable backup camera kit for cars without one. Many budget-friendly options offer excellent functionality, often utilizing wireless technology or simple mirror-mount displays to keep costs down while still providing crucial rear visibility and enhanced safety.



