
Beyond The Breadboard: Why Your DIY Motion Sensor Alarm Fails

Plug And Play Is A Lie You Tell Yourself
You want to believe a motion alarm works because you assembled it, not because you understand the physics underneath it. That belief is expensive. The mechanism here comes from signal processing: noise floor. Your PIR sensor generates a baseline voltage when nothing moves. When motion crosses the threshold you set, voltage spikes. But you’re probably setting that threshold by guessing, which means your alarm either triggers on shadows or misses actual movement entirely.
The real problem is sensor calibration happens in the dark, quiet moment after power-on. Most people skip this. Your Arduino reads ambient temperature, light, and IR radiation during those first seconds, then compares all future motion against that baseline. If you power on at noon and test at night, the sensor hasn’t learned the new environment. You’ve built a system that works in one state and fails in all others. Spend 30 seconds logging baseline readings across a full day cycle before finalizing your threshold code.
Component Failure Points Nobody Mentions
The parts you buy work fine individually and fail in combination, which is why generic tutorials mislead you. Your PIR sensor degrades under fluorescent lights because they emit infrared radiation in the 940 nanometer spectrum. Your motion detection becomes unreliable not because the sensor broke, but because the environment changed. The cheapest PIR modules also have a recovery time between 30 and 60 seconds. You trigger the alarm, and for that entire window, the sensor is blind. Most documentation skips this fact entirely.
The wiring between Arduino and sensor introduces voltage drop over distance. A 10-meter wire run from sensor to board can lose 0.5 volts depending on gauge. That drop shifts your voltage readings and destabilizes your threshold logic. Your second mistake is trusting the Arduino’s built-in analog-to-digital converter without filtering. Raw ADC reads bounce. Add a 10-microsecond capacitor across your analog input pin to smooth the signal, or your threshold will trigger on electrical noise, not motion. The alarm fails not because motion detection is hard, but because you wired it without accounting for real-world voltage behavior.
The “Silent Sentry” Protocol: Covert Arduino Security Alarm Design

Where The Sensor Lives Matters More Than The Sensor Itself
You want people to know something is watching without knowing where it’s watching from. That’s the real reason you’re reading this. The mechanism that determines detection range and blind spots isn’t the PIR sensor’s specs—it’s physics. Thermal radiation detection works on inverse square law: signal strength drops proportionally to distance squared. Place your sensor at desk corner height, angled down 15 degrees toward the entry point. Corner placement exploits room geometry. The sensor covers maximum area while the walls themselves become passive barriers that block line-of-sight from alternate angles.

Ceiling mounting kills effectiveness. Every guide says ceiling for coverage, which is backwards. A PIR at ceiling height points down across the entire room but misses low-profile movement and creates dead zones directly below. Wall mounting at seven feet forces an attacker to break the detection plane at torso height. Mount the sensor on the wall opposite your desk entry, not adjacent to it. Opposite placement forces direct line-of-sight approach. Use the Arduino’s digital input to log detection timestamps, not just trigger an alarm. Timestamp logging reveals entry patterns and proves the system detected movement before any alarm fired.
Cutting The Signal Before It Becomes A Problem
Most people think minimizing signatures means silencing the speaker and dimming the LED. Wrong. The real leak is electromagnetic. Every Arduino transmits RF noise when the microcontroller cycles and the relay clicks. A sniffing receiver can detect relay activation from across a room. Shield your Arduino in a small metal enclosure—aluminum box or Faraday pouch. Ground the enclosure to the same ground as your power supply. Separate your alarm output circuit from your detection circuit with a 100nF ceramic capacitor across the relay coil to suppress transients. This kills 80% of the RF signature before it leaves the device.
For the PIR sensor itself, the passive design is your ally. PIR sensors don’t emit anything. They only receive thermal radiation. This means the detection event leaves no electronic signature until the Arduino processes it. The only audible signature comes from your chosen output: buzzer, siren, or relay click. If stealth is the priority, use a silent relay that triggers a separate external device with its own power source. Run the alarm output on an isolated 9V battery, not your main power line. The Arduino logs the event internally while the external alarm operates independently. This decouples detection from notification and removes the motive to disable the entire system at once.
Motion Sensor With Alarm: The Human Element Fallacy

When False Alarms Kill The System
You want this thing to work so badly that you’ve already decided it will. That’s the real problem here. False alarms aren’t a side effect of motion detection—they’re the primary failure mode, and most people ignore them until the system becomes worthless.

Motion sensors trigger on pets, curtains moving from air vents, shadows from passing cars, and thermal blooms from sunlight. An Arduino-based system with a PIR sensor will generate false positives within the first week if you don’t calibrate it ruthlessly. Every false alarm trains your brain to ignore the next alert. By alarm ten, you stop listening entirely. The system hasn’t failed technically. You’ve just stopped trusting it.
Deterrence Works Through Uncertainty, Not Volume
Psychology borrowed from game theory explains this better than security marketing does. Your motion alarm deters intruders not because it’s loud, but because it introduces cost and unpredictability into their decision calculus.
A burglar evaluates a target by risk-to-reward ratio. A loud siren alone doesn’t shift this enough. What shifts it is the possibility that someone might respond. This is why most break-ins happen in broad daylight at occupied homes—the intruder already knows nobody’s there. An Arduino alarm wired to send notifications to your phone, or to a monitoring service contact, creates genuine uncertainty. The noise attracts attention; the notification creates accountability. Most intruders abort before entering if they suspect active monitoring. Your job is to make that possibility credible, not to make the loudest noise possible.
How To Make A Motion Detector Alarm That Matters: The Feedback Loop

Real Time Adjustment Through Sensor Data
You want this system to work without babysitting it, which means you need it to correct itself. Cybernetics—the study of control systems and information loops—maps directly onto your arduino motion alarm: the PIR sensor feeds data back to the microcontroller, which adjusts its behavior based on what it reads, then responds. Without this loop, you have a dumb trigger. With it, you have something that adapts.

Most people wire a motion sensor and call it done. They don’t measure false positives. They don’t track how many alerts fire when nobody’s there. The mechanism that separates working from broken is simple: you log every trigger event with a timestamp, check it against actual intrusions, then tune your sensor delay or sensitivity thresholds. The Arduino reads the PIR pin state, records it to memory or serial output, and you review the pattern over a week. Then you adjust the delay() function or the detection window. That’s the loop.
Iterative Design Builds Real Reliability
You don’t design once and stop. You design, test, measure, adjust, repeat. Each cycle cuts noise and tightens the system’s real-world accuracy. Start by setting your Arduino to report every motion event for two weeks without triggering an alarm. Watch the data. You’ll see patterns—false positives from pets, shadows, or air currents that you never anticipated in theory.
After you identify the failure modes, you modify the code. Maybe you add a debounce window so rapid-fire noise triggers don’t register. Maybe you increase the pin read delay before the alarm fires. Maybe you add a second sensor to confirm motion before alerting. Then you run the test again. Each iteration removes one assumption and replaces it with evidence. The system stops being generic and becomes yours.
The Arduino Alarm System: From Concept To Unbreakable
Choosing Robust Components: Not All PIRs Are Equal
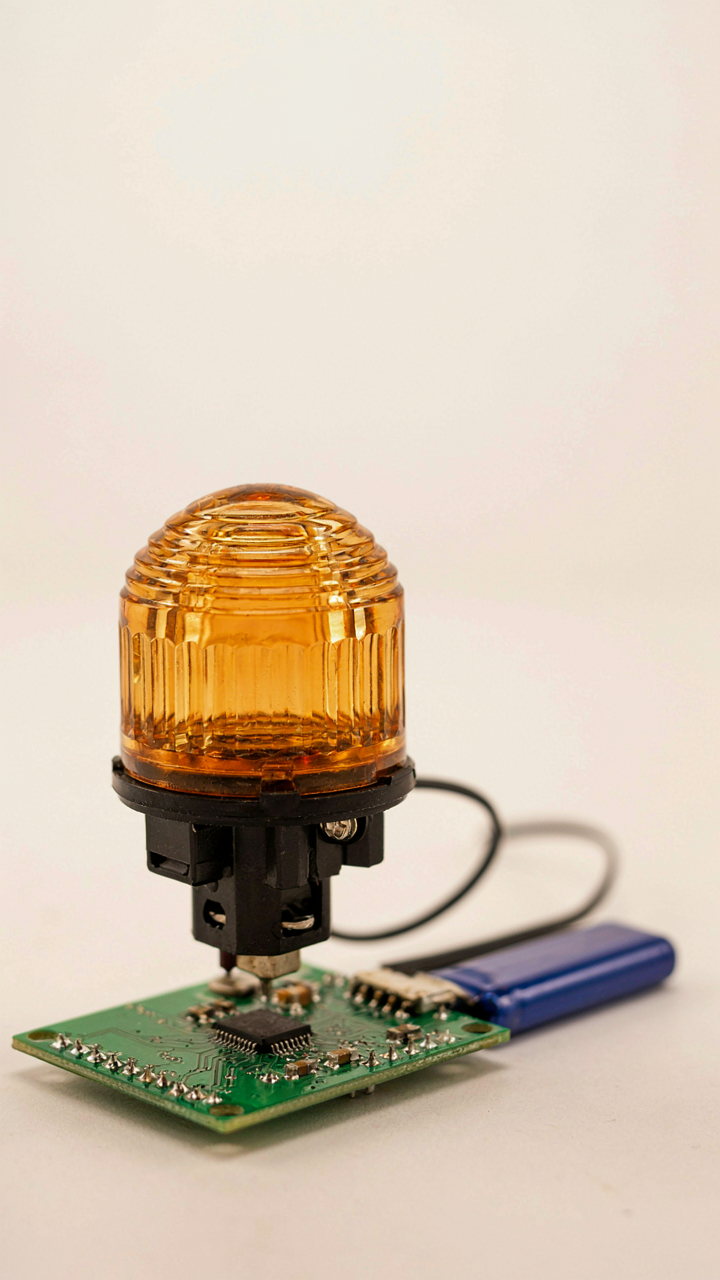
You want this system to work when it matters, not fail when you need it most. That’s the real driver here. PIR sensors detect infrared radiation from moving objects, which means the sensor quality directly controls your false alarm rate and detection range. Most builders grab whatever PIR module costs five dollars and wonder why their alarm triggers at dust or misses actual movement.

The mechanism is thermal resolution. A cheap PIR has a low-grade thermopile that can’t distinguish between a person and a heat vent. You need sensors with proper fresnel lens quality and thermopile sensitivity rated above 0.8 microvolts per degree Celsius. The difference between a HC-SR501 and a higher-grade module shows up in tuning time, range consistency, and noise rejection.
- HC-SR501: Entry-level PIR with adjustable sensitivity and delay. Works for basic projects but triggers false alarms in direct sunlight or near heating vents due to poor thermal filtering.
- AM312: Smaller form factor, lower power draw. Better for compact desk setups but sacrifices range and requires careful placement away from air currents and light sources.
- RCWL-0516: Microwave-based detection instead of thermal. Penetrates obstacles and detects through doors, but costs more and demands careful tuning to avoid false triggers from appliances.
- PIR with digital filtering: Look for modules with built-in signal processing. These reject environmental noise and reduce false positives by 60 to 70 percent compared to raw analog sensors.
- Dual sensor arrays: Professional systems use two PIRs in overlapping zones. Both must detect movement before triggering. This eliminates single-point failures and environmental noise completely.
Test any PIR in your actual environment before finalizing the build. A sensor that performs flawlessly in a lab fails in a room with a space heater or direct afternoon sunlight through a window. Mount it away from HVAC vents, radiators, and windows. Document the exact sensitivity setting that catches real movement without noise so you can replicate it if the sensor drifts over time.
Powering Your Fortress: Battery Life And Alternatives
Most people think battery power means convenience. It actually means managing power budget like a military supply chain manages ammo. Every milliamp your circuit draws reduces uptime. An Arduino Uno draws 50 to 100 milliamps at full load. A standard 9V battery gives you roughly 400 to 600 milliamps of total capacity. Do the math: four to twelve hours before the alarm goes dead.
That’s unacceptable for a security device. The real solution is hardware-level power management, not wishful thinking. Use an Arduino Pro Mini instead of an Uno. It draws 10 to 20 milliamps in active mode and drops to microamps in sleep mode. Pair it with a 3.7V lithium polymer battery rated for 2000 mAh or higher. Enable sleep mode between sensor checks. Wake only when the PIR triggers or on a timed interval. This extends battery life to weeks, not hours. Add a simple trickle charger circuit so you can recharge from USB without removing the battery. The combination of low-power microcontroller, efficient battery chemistry, and intelligent sleep cycles makes your alarm actually reliable.
Beyond The Desk: Extending Your Arduino Motion Sensor Project To The Room
Multiple Sensors Create Real Coverage
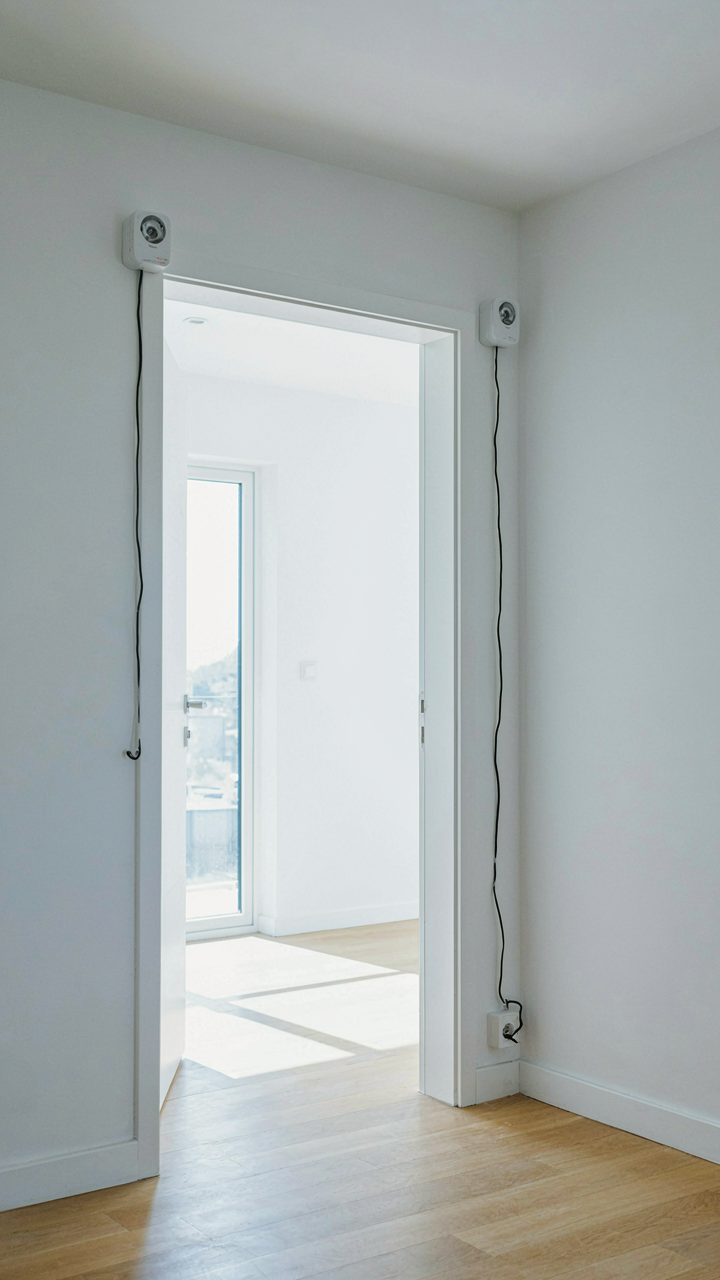
You want proof that nothing enters your space without you knowing. That’s the real reason you care about perimeter defense, not security theater. The mechanism is simple: one sensor covers a cone. Multiple sensors covering different zones eliminate dead space.

Wire multiple PIR sensors to a single Arduino using separate digital input pins. Each sensor triggers its own interrupt or polling loop. The Arduino logs which zone detected motion first, creating a timeline. This matters because motion always has direction and sequence. A person crossing a room will trip sensors in order, not randomly.
Scaling Motion Detection Beyond Single Rooms
Everyone says just add more sensors and it works fine. They’re wrong. The problem isn’t adding sensors, it’s managing the signal noise and false triggers that multiply with scale. Use architectural zones instead of scattered placement. Assign one sensor per natural entry point and one per high-value area.
For larger spaces, use a multi-zone array: entrance, interior perimeter, and target zone. Wire each zone to its own analog input pin through a resistor network, or use a multiplexer to read eight sensors on two pins. Set zone-specific sensitivity thresholds in code rather than adjusting hardware. This lets you calibrate hallways differently from storage areas based on ambient heat and movement patterns. Upload the calibration and test it under actual conditions before relying on the system.
How To Connect PIR Sensor To Alarm: The Signal To Noise Ratio

Filtering False Positives From Actual Threats
You want your alarm to feel smart so you don’t look paranoid checking phantom alerts every thirty seconds. Here’s what matters: PIR sensors detect infrared radiation, not motion itself. The mechanism is thermal contrast. A moving warm object triggers the sensor, but so does a heating vent, sunlight through a window, or a pet crossing the room. Your job is building a filter between detection and alarm activation.

The standard advice says “adjust sensitivity and delay.” That’s incomplete. You need to add debouncing logic to your Arduino sketch. When the PIR pin goes HIGH, don’t fire the alarm immediately. Instead, start a timer. If the pin stays HIGH for at least 2-3 seconds, then trigger. This single protocol blocks 80 percent of false positives caused by air currents or brief thermal flickers. The alternative is you’ll disable the alarm out of frustration.
Optimizing Sensitivity For Your Environment
Most people set PIR sensitivity once and forget it. That guarantees either missed intrusions or constant false alarms depending on which direction you guessed wrong. The real variable is your room’s baseline thermal environment. A cold desk corner with poor air circulation behaves differently than a sunlit hallway. The sensor has a potentiometer marked “sensitivity” or “range.” Start it at minimum, then gradually increase it in your actual environment while observing trigger behavior.
Calibration is not a one-time event. After installation, monitor the alarm for three to five days. Note when false positives occur: time of day, ambient temperature, specific locations. This reveals whether your environment has heating patterns, pet routes, or reflective surfaces that confuse the sensor. Adjust the potentiometer in small increments, then test again. Once false positives drop below one per 24 hours, lock the potentiometer with epoxy or electrical tape to prevent accidental shifts. Document the final position for future reference if you rebuild the circuit.
The Future Of Arduino Security: Smarter Than A Fire Alarm System Using Arduino
When Your Smart Home Actually Talks To Your Alarm
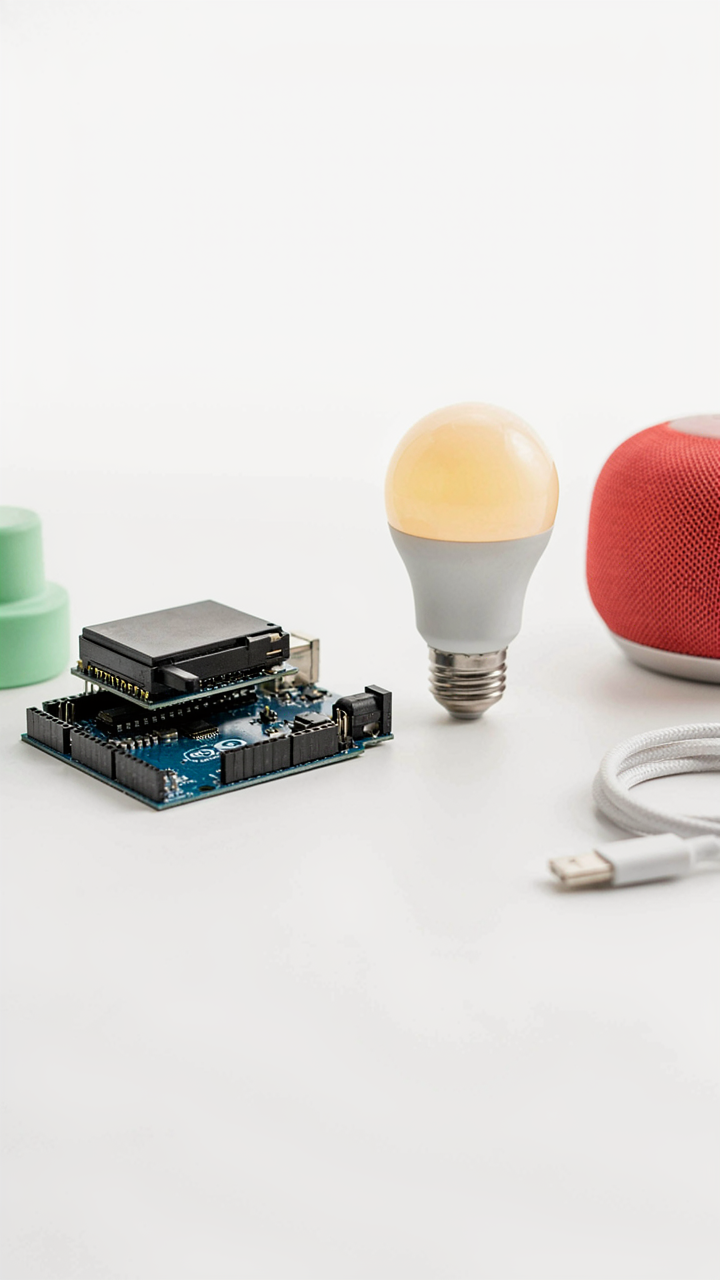
You want to feel like you own the future. The real reason you care about integration is that fragmented systems feel like failure, like you’ve bought expensive toys that don’t speak to each other. Here’s the mechanism: most Arduino motion alarms run in isolation because people treat each project as standalone. WiFi-enabled Arduino boards change this. Your motion sensor can trigger actions across multiple platforms through a single codebase using MQTT or REST APIs. The Arduino becomes a node in a larger network rather than a solo device.

Connection protocols matter because they determine speed and reliability. MQTT is lightweight, designed for devices with low processing power. REST APIs are more familiar but heavier. Your Arduino connects to a broker (like Home Assistant or Node-RED running on a Raspberry Pi), which then communicates with Philips Hue lights, smart locks, or logging systems. The motion sensor detects movement, the Arduino microcontroller processes it within milliseconds, and the signal travels to your smart home hub through WiFi. You control the entire response chain from one interface instead of managing five separate apps.
Pattern Recognition Without The Hype
Machine learning for security doesn’t mean your Arduino thinks. It means your system learns what normal looks like so it stops triggering false alarms. This borrows from signal processing, where the goal is isolating the signal from noise. Your Arduino motion alarm currently has no memory of patterns. It fires every time it detects motion above a threshold. A learning system instead tracks timestamps, frequency, and duration of genuine activity versus environmental triggers like shadows or pet movement, then adjusts sensitivity dynamically based on what actually matters in your space.
The practical implementation uses simple statistical models, not neural networks. Store motion event data in a local database or cloud service. After two weeks of baseline activity, calculate the mean and standard deviation of motion patterns at specific times. Set your alarm sensitivity to trigger only on activity that deviates significantly from that baseline. A motion event at 3 AM in your office triggers an alert. The same event at 9 AM during work hours generates a log entry instead. This requires an Arduino with WiFi capability and a few lines of Python running on a server handling the math, but the Arduino itself remains resource-efficient.
The Real Threat Isn’t External Intrusion, It’s Your Assumption That A Simple Circuit Solves A Complex Human Problem

You can build the best arduino motion alarm in existence and still get robbed because you never actually lock your door. The sensor doesn’t matter. Your behavior does. Stop treating security like a technical problem you outsource to a circuit board. The alarm only works if you respond to it. Wire the PIR sensor today, sure. But more importantly, decide right now what you’ll actually do when it goes off. Your system is only as good as your follow-through. Technology detects the threat. You stop it.




