
Introduction To Affordable Phone Camera Accessories For Beginners
Why Smartphone Photography Is Booming
Modern smartphones now pack camera sensors and computational processing that rival dedicated cameras from a decade ago. The latest models shoot in multiple formats, capture detail in low light, and process images instantly. This technology shift removed the barrier to entry for photography. Anyone with a phone can produce usable images without spending thousands on equipment.
The volume of visual content demanded by social media, messaging apps, and cloud storage created a cultural shift toward constant image capture. People share photos daily across platforms. This normalized photography as a primary communication tool. The result: smartphone cameras became essential hardware, not novelties.
Setting Up Your Budget Friendly Photo Kit
Beginners waste money on accessories they don’t need. The solution is simple: start with items that address the specific limitations of your phone’s camera. Identify what your phone struggles with, then buy one tool to fix that problem. This tactical approach builds skills before adding complexity.
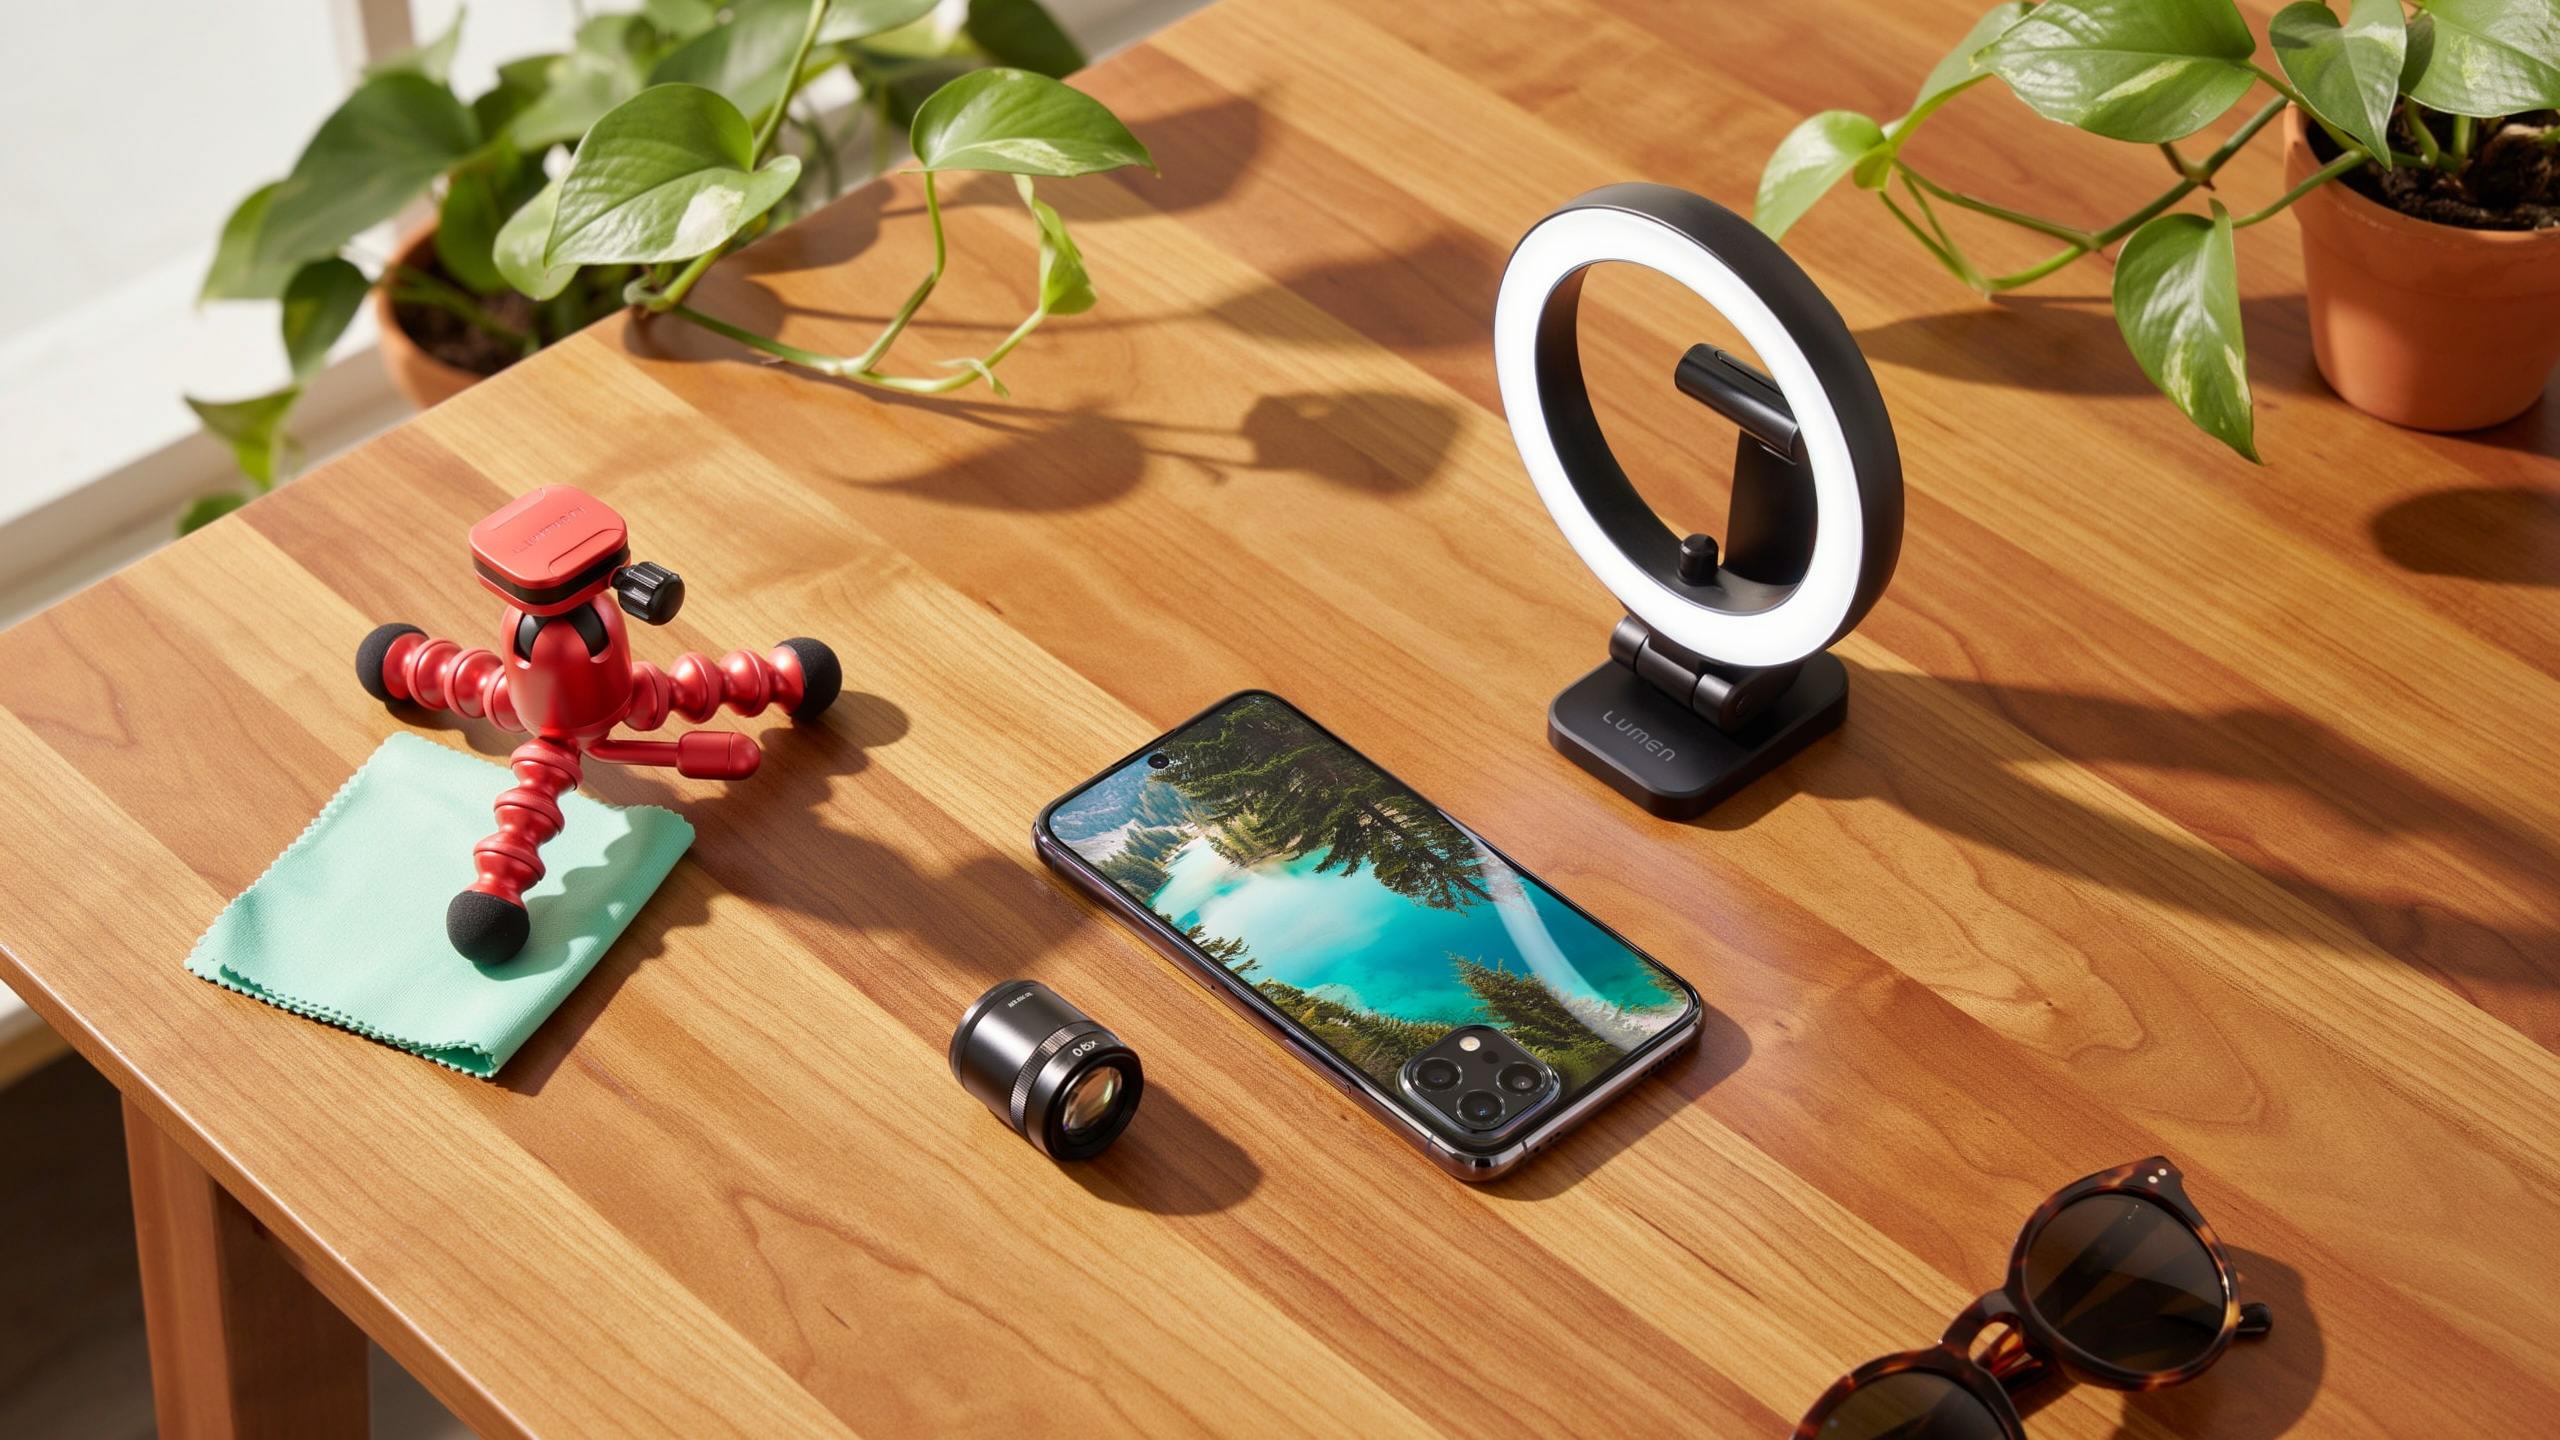
Effective beginner kits cost between 30 and 100 dollars total. A basic tripod, a simple lens attachment, and a portable reflector cover most scenarios. These three items solve real problems: shaky hands, limited zoom, and uneven lighting. Master these fundamentals before exploring advanced accessories.
The Essential Tripod Stability For Sharp Photos
Mini Tripods Vs. Flexible Tripods
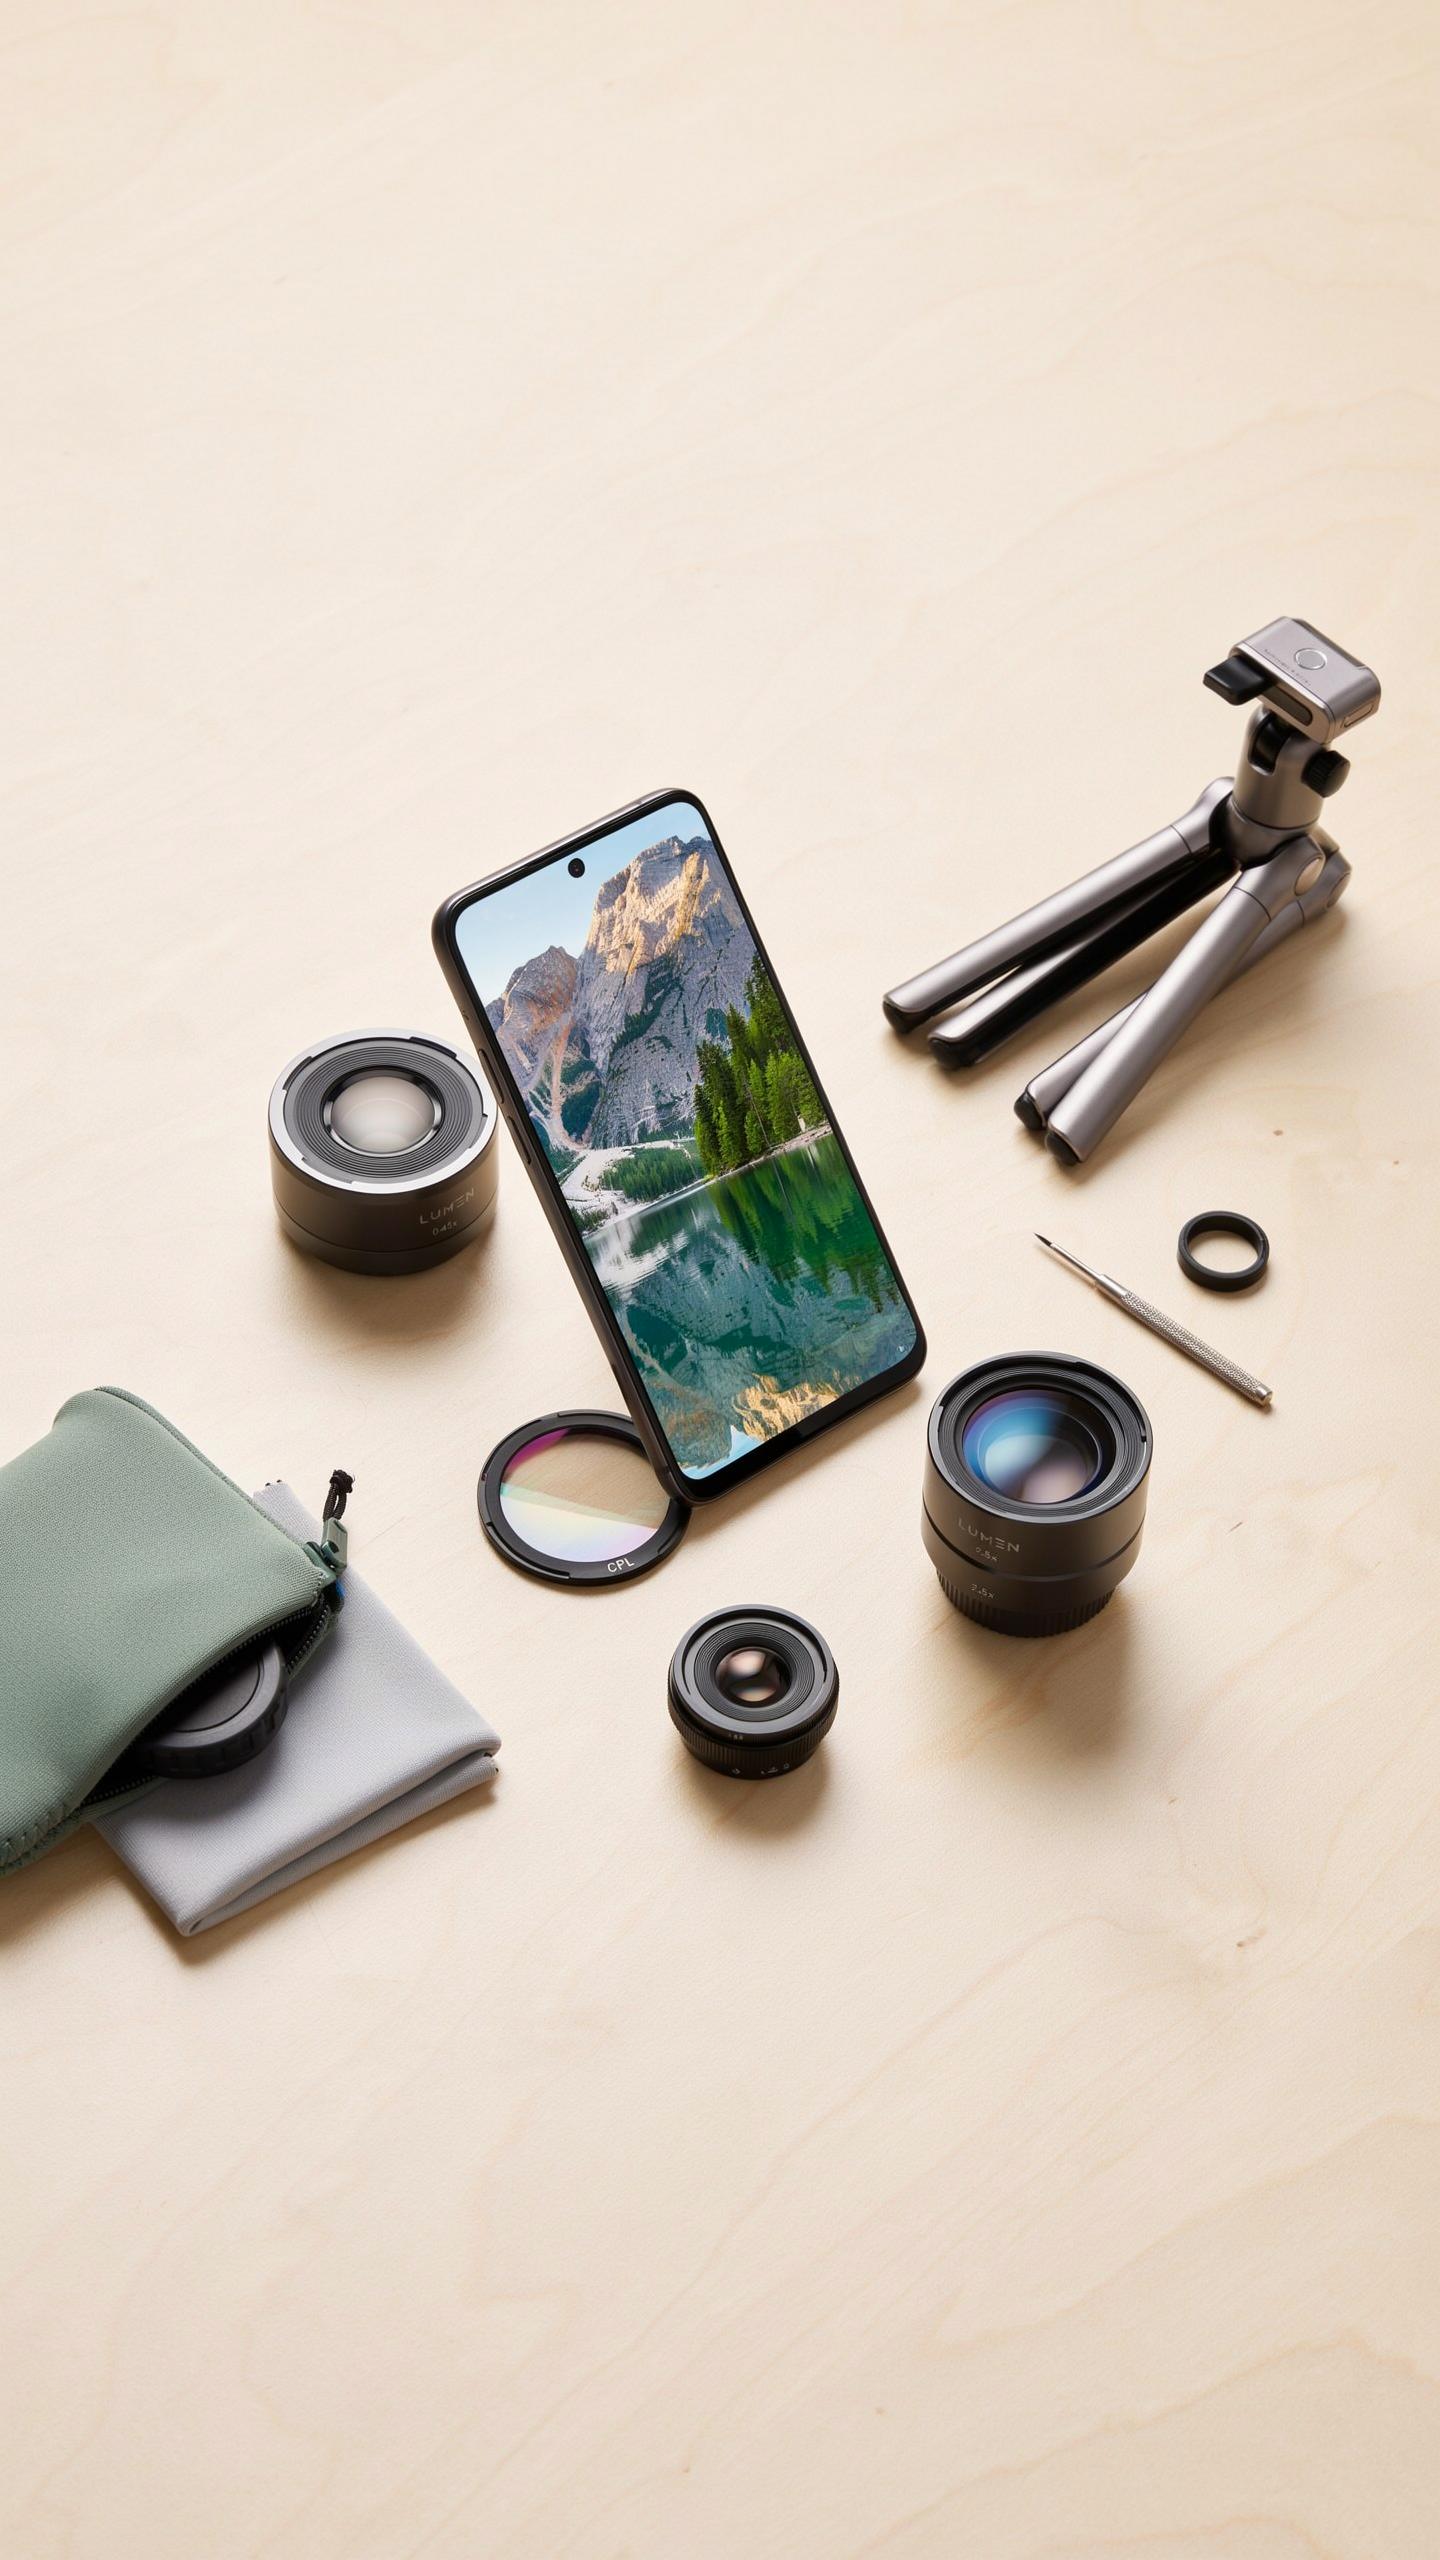
Mini tripods work best on flat surfaces where you need a compact footprint. They feature rigid legs and typically stand 4 to 8 inches tall. You place them on tables, rocks, or ground level to frame shots without holding your phone. The trade-off is limited placement options when terrain is uneven.
Flexible tripods wrap around branches, poles, and railings to secure your phone at various angles. Their bendable legs adapt to irregular surfaces and tight spaces. Use them when you need positioning that mini tripods cannot achieve. Both types cost between 10 and 25 dollars for quality beginner options.
The best camera is the one you have with you, and with a few clever additions, your phone can capture those cherished moments just as beautifully.
Achieving Crisp Shots And Long Exposures
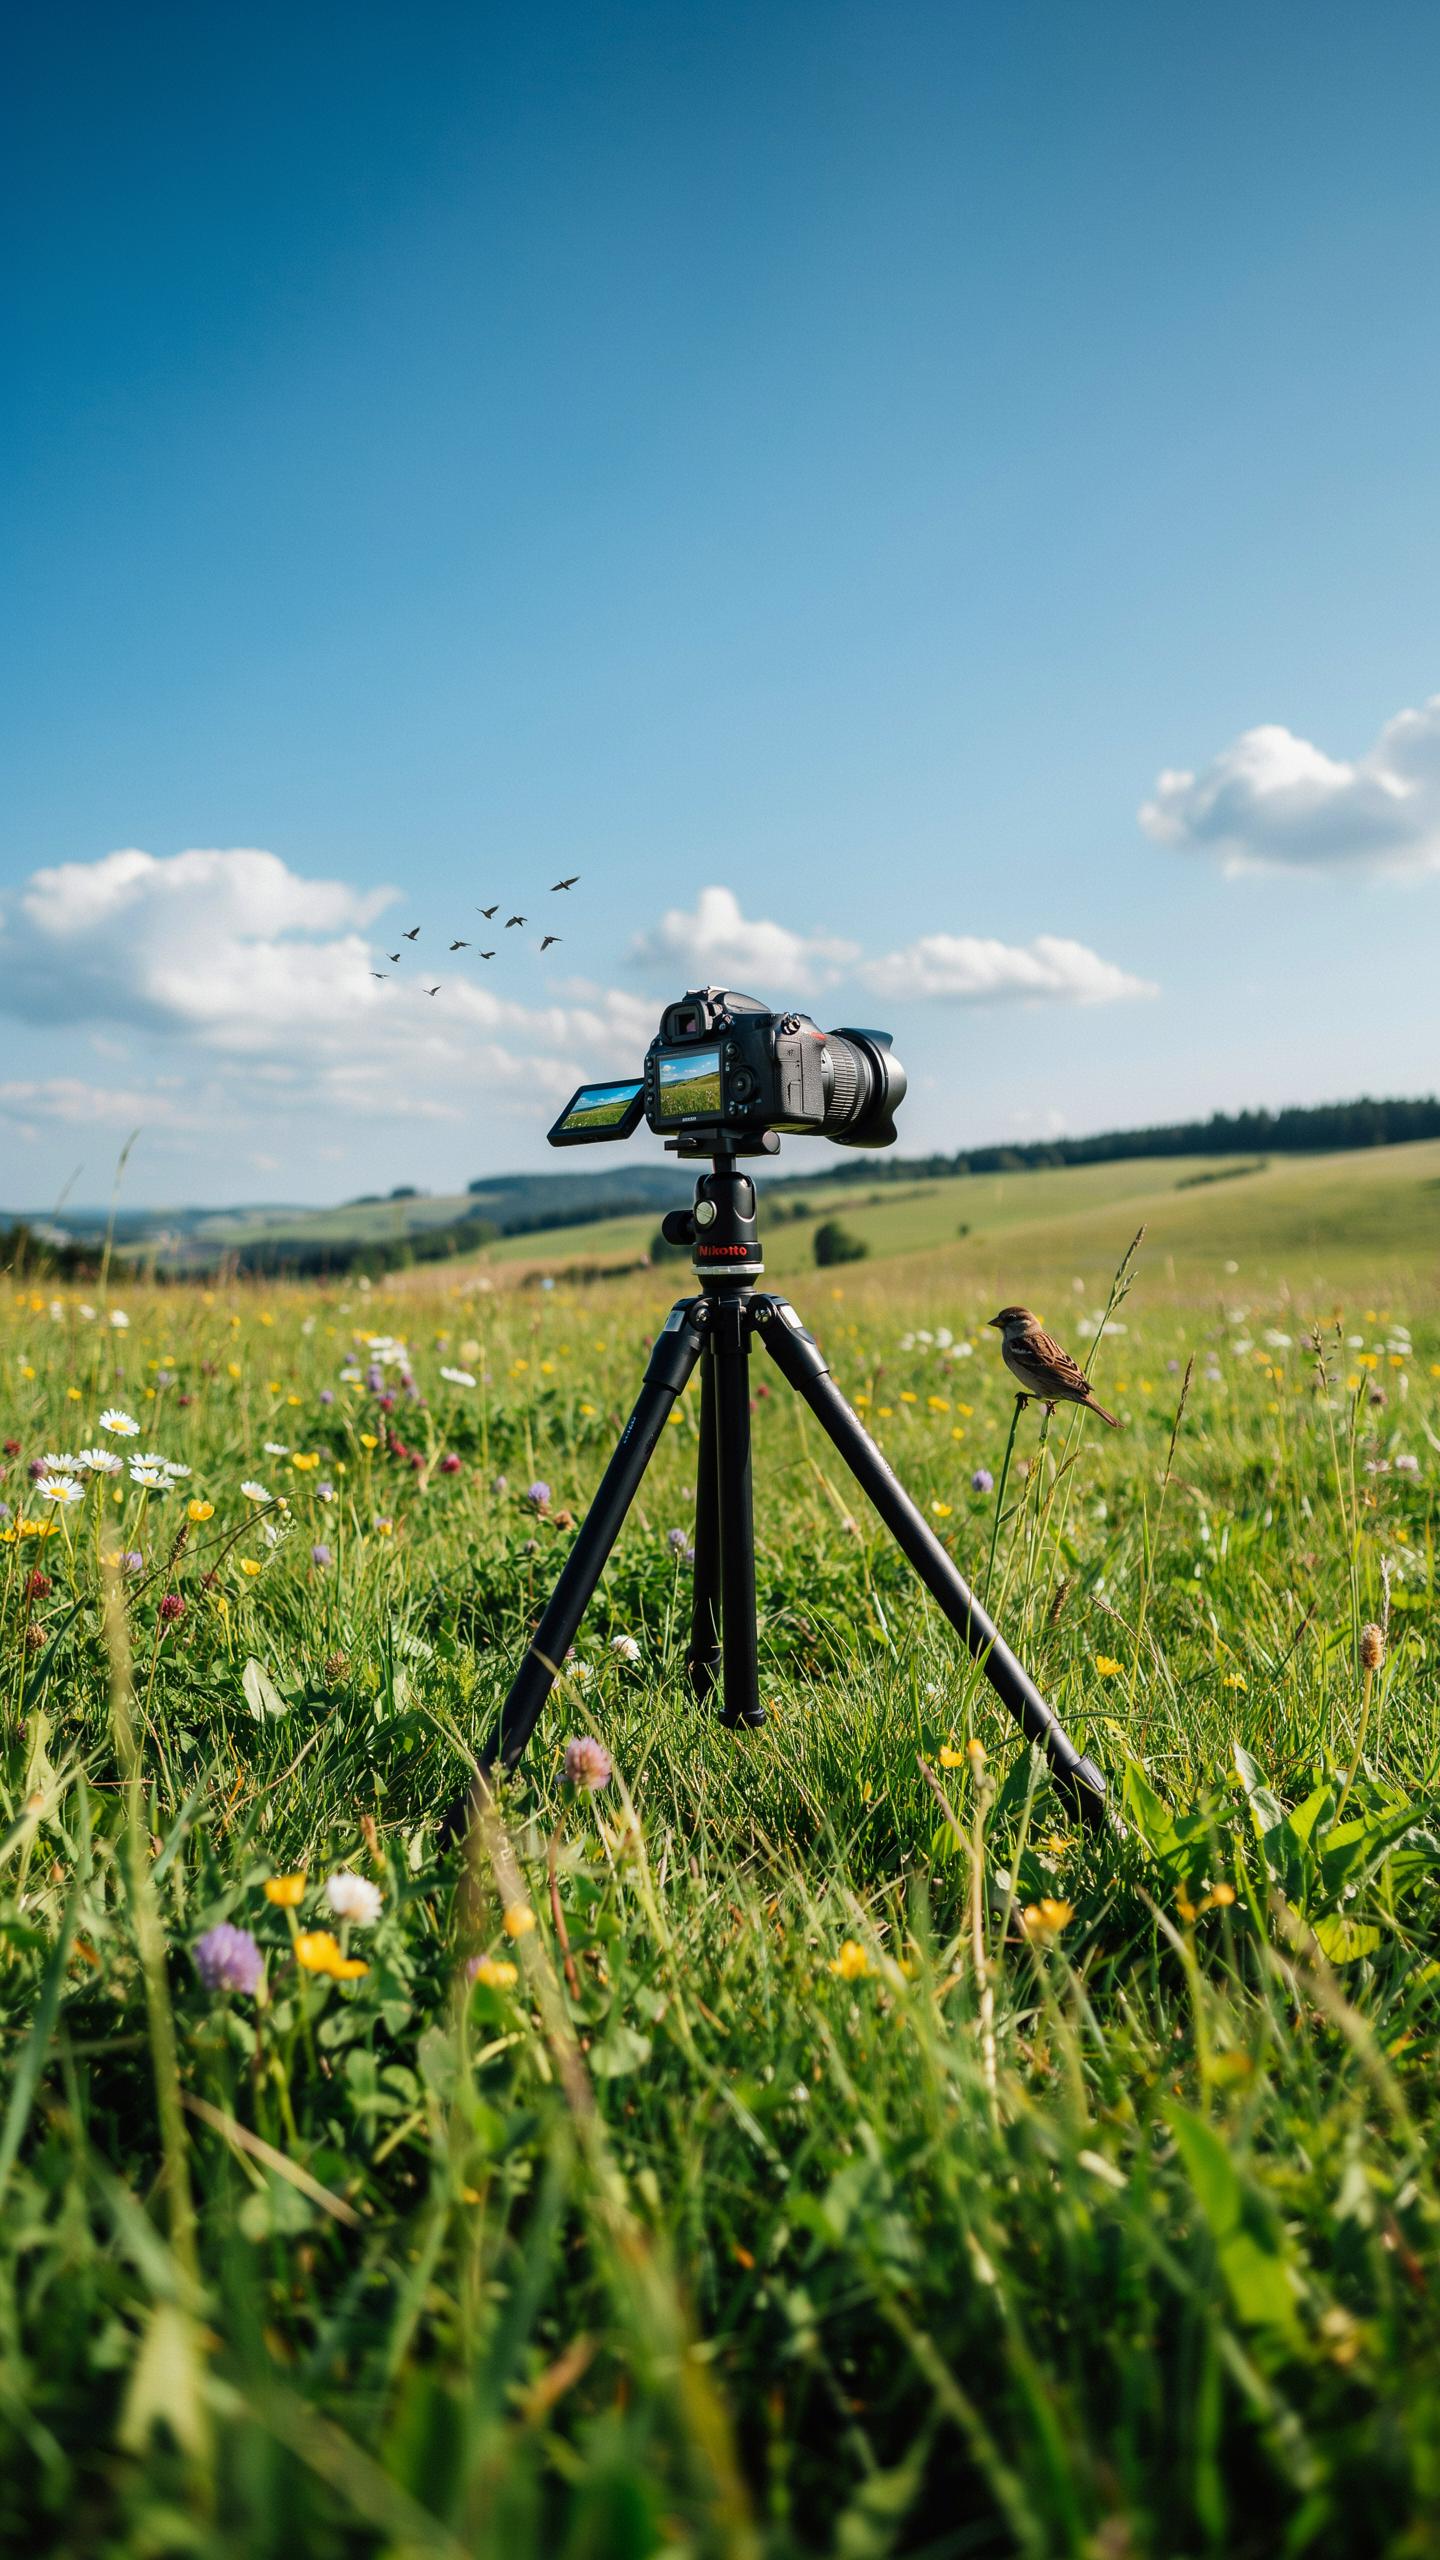
A tripod eliminates camera shake that blurs images, especially critical in low light conditions where your phone extends exposure time. Holding a phone by hand introduces micro movements that degrade sharpness. A tripod removes this variable entirely, guaranteeing the sensor stays perfectly still while light enters.

Long exposure photography captures motion and light trails intentionally. Without a tripod, you cannot hold your phone steady enough for shots lasting multiple seconds. Waterfalls, city lights at night, and star trails require tripod stability to render properly. This single accessory unlocks creative possibilities your hand cannot physically achieve.
External Lenses Expanding Your Phone Camera Lens Options
Wide Angle And Macro Lenses For Beginners
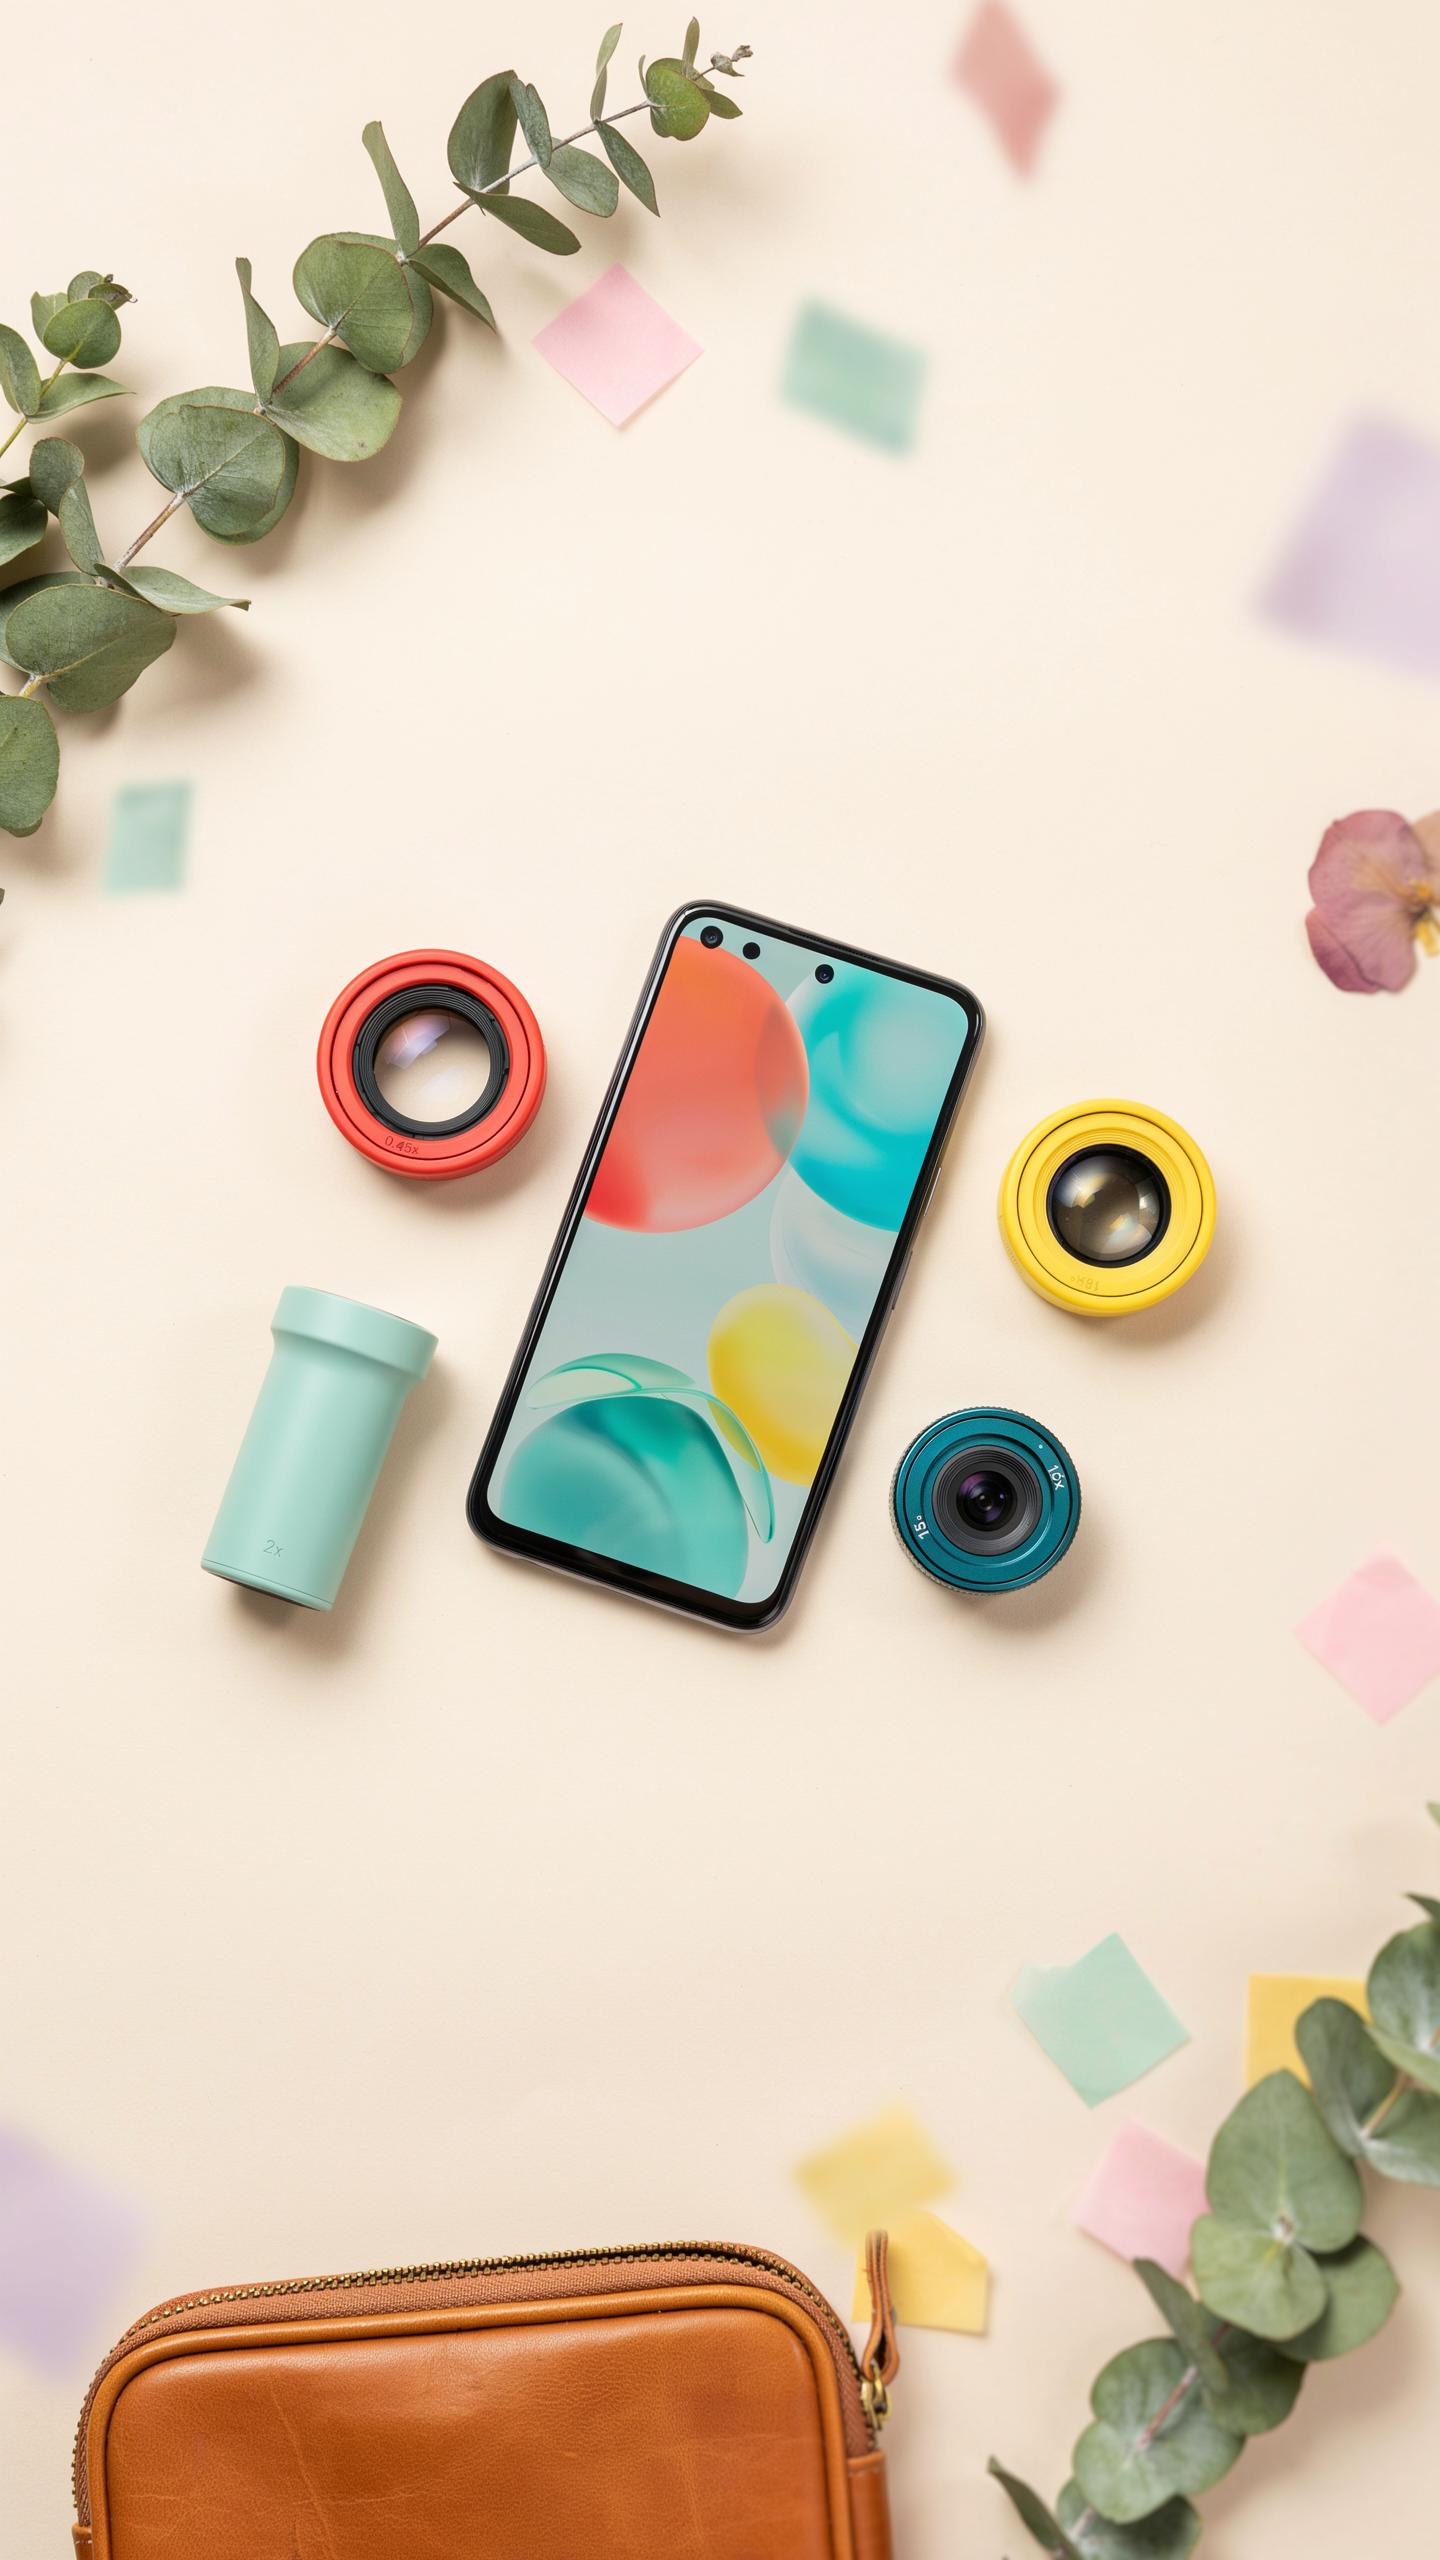
Wide-angle lenses solve a specific problem: your phone’s default lens captures roughly 50 to 75 degrees of view. This limitation hurts landscape photography and group shots. A wide-angle attachment expands your field of view to 100+ degrees. You fit more into the frame without stepping backward. This matters when you lack space or need context in your shot.
Macro lenses flip the problem. Your phone struggles with subjects closer than four inches. Macro attachments let you focus on tiny details like insects, flowers, or textures. These lenses typically magnify subjects to 2x to 10x their actual size. You capture clarity that your phone camera cannot achieve alone. Both serve distinct purposes, so choose based on what you actually shoot.
Clip On Vs Mountable Lenses: What To Choose
Clip-on lenses attach directly to your phone using a clamp mechanism. They work with almost any phone model without modification. Setup takes ten seconds. They detach instantly when you need your camera unobstructed. The trade-off is stability. They can slide or rotate during shooting if not positioned perfectly. Optical quality varies wildly depending on manufacturer. Budget clip-on lenses range from fifteen to forty dollars.

Mountable lenses require a phone case or holder specifically designed for attachment. They screw or snap onto a standardized rail system. This design locks the lens in place with zero movement. Optical performance generally exceeds clip-on options because the manufacturing tolerances are tighter. You sacrifice universal compatibility for precision. Mountable systems cost more upfront but deliver superior image quality when you commit to the platform.
Portable Lighting Illuminating Your Subjects
Ring Lights For Flattering Portraits
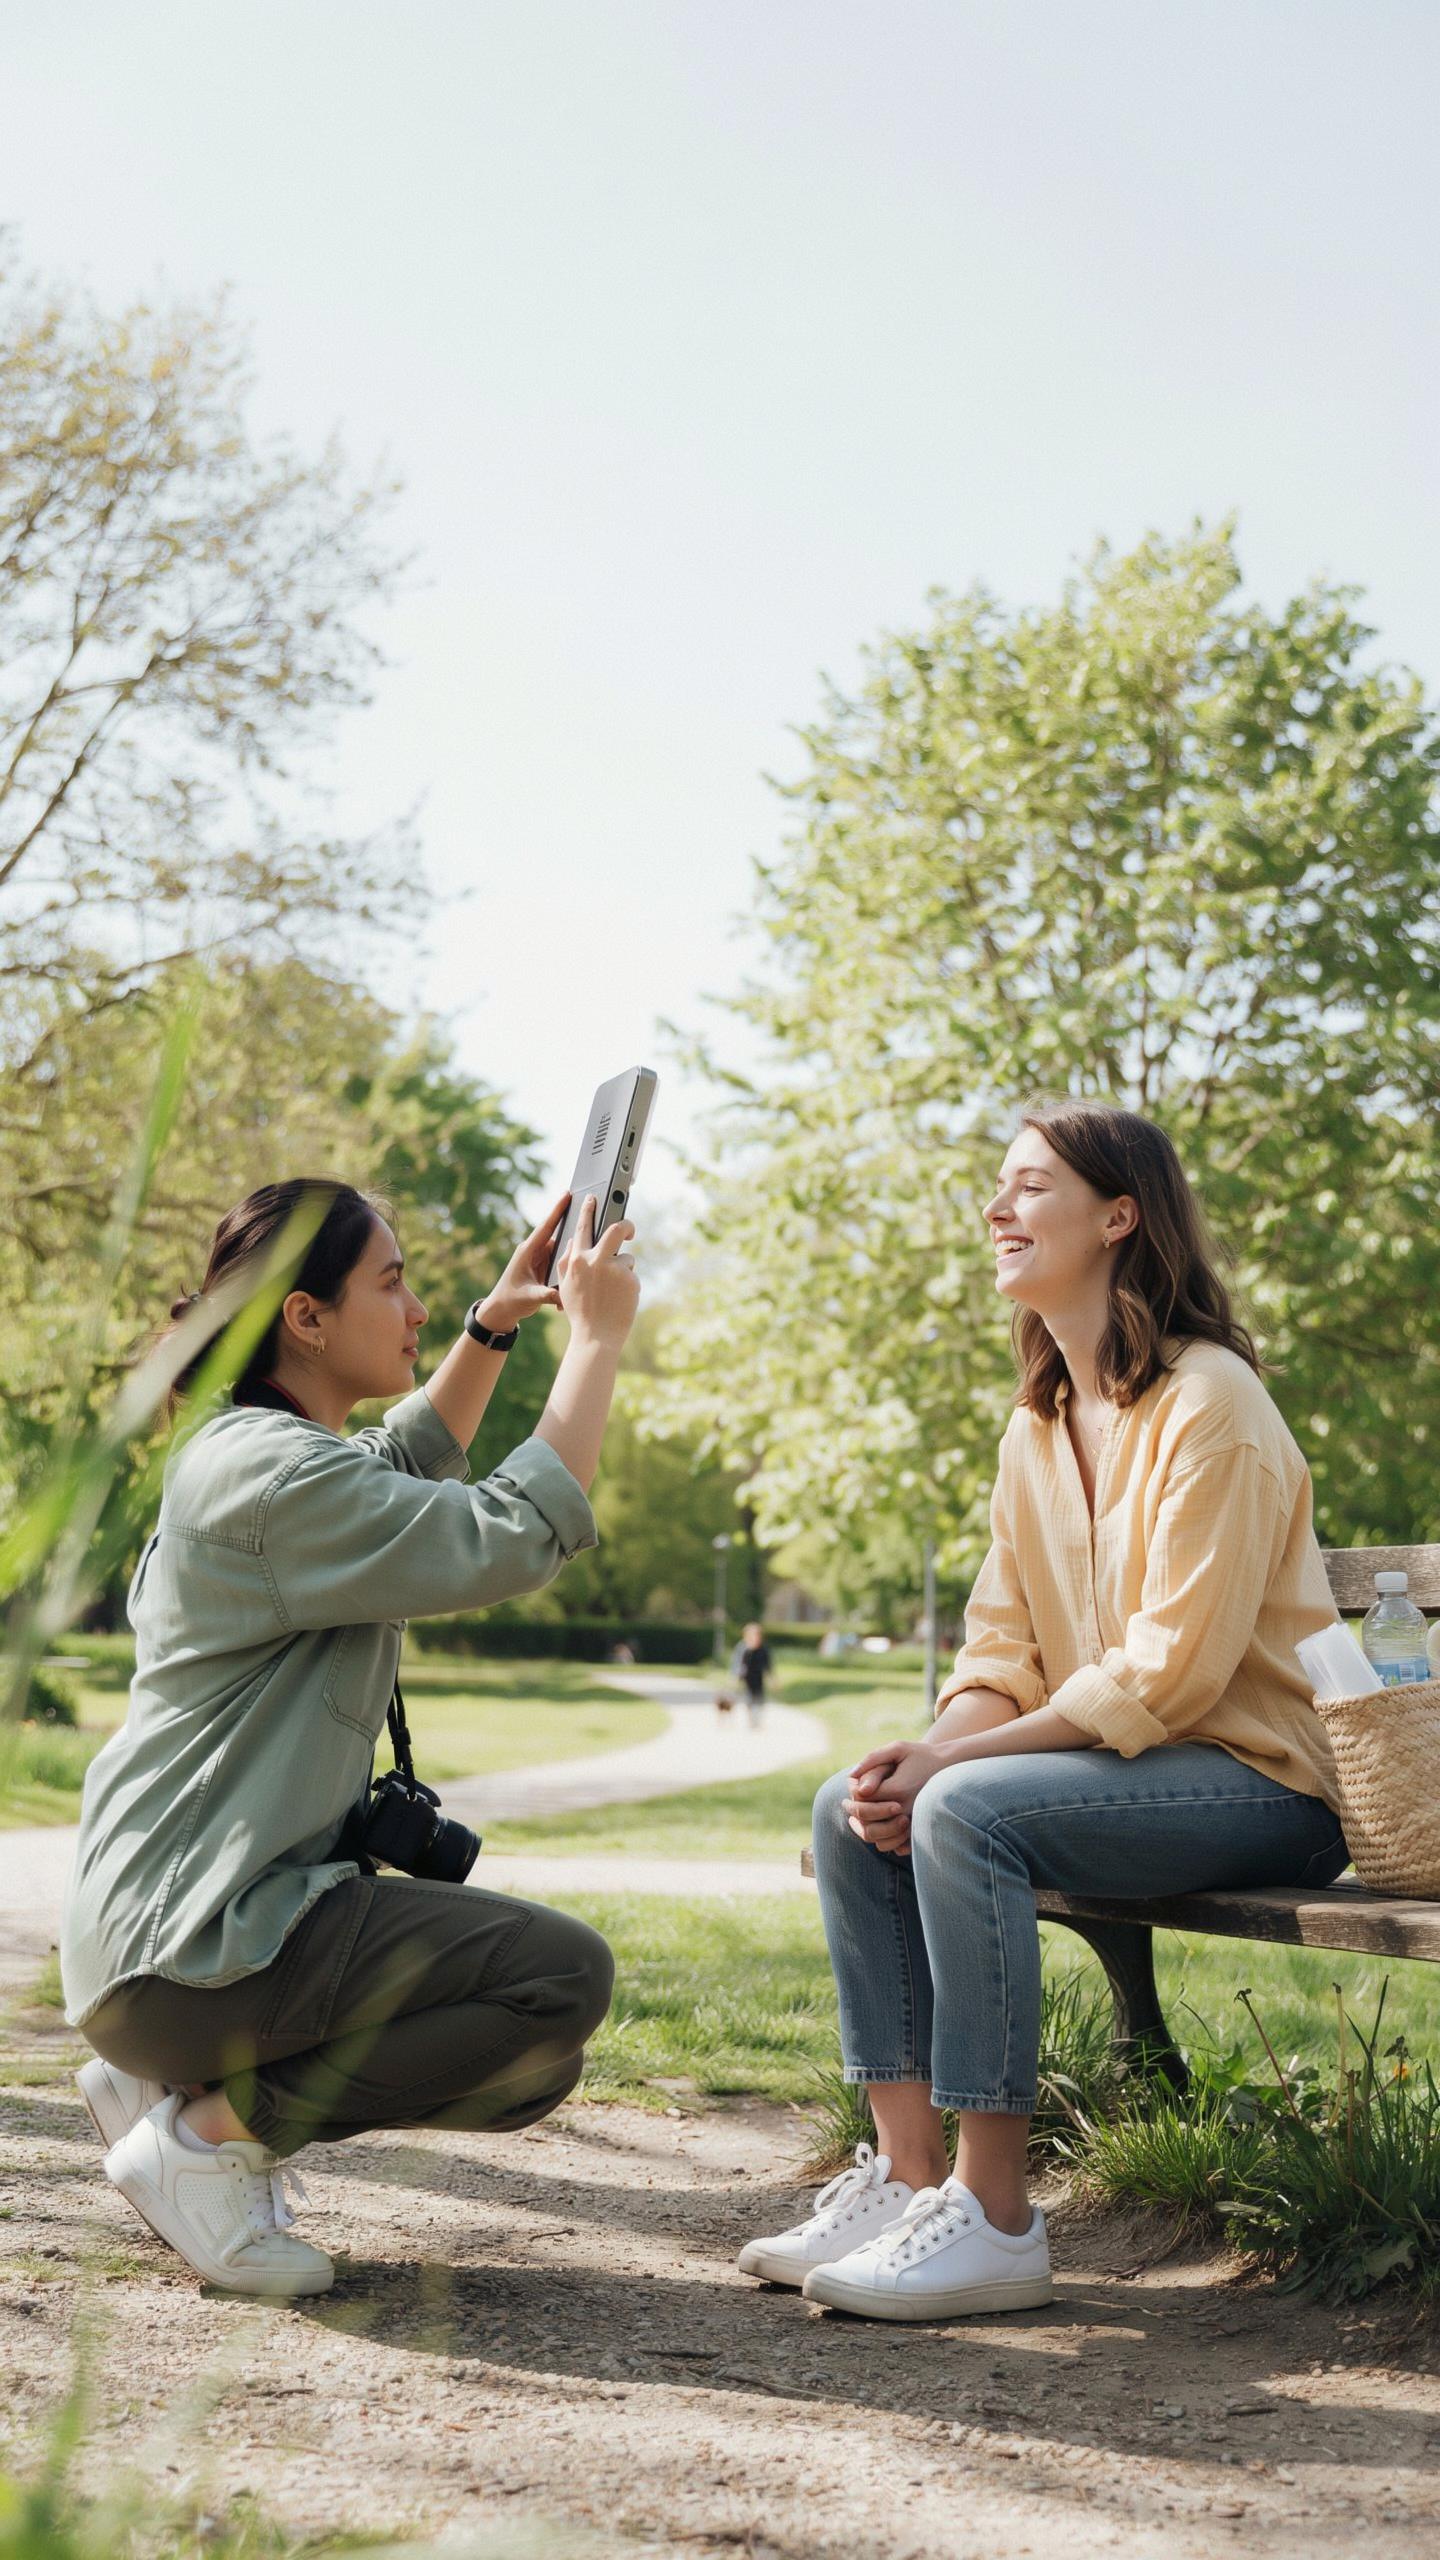
Ring lights emit light in a circular pattern around your phone’s camera lens. This design eliminates harsh shadows on faces and creates distinctive catchlights in the eyes. The even illumination works because light bounces uniformly across your subject’s features. Beginners benefit from this consistency without needing to adjust angles or bounce light off reflectors.
Most affordable ring lights clip directly onto your phone or mount via a phone holder. They run on rechargeable batteries or USB power, making them portable for indoor and outdoor shoots. Color temperature typically ranges from warm to cool white, giving you control over the mood. Ring lights excel for selfies, makeup tutorials, and close-up product shots where shadow control matters most.
LED Panels For Versatile Lighting
LED panels come as flat rectangular or square units with individually addressable diodes. You control brightness and color temperature independently on most budget models, adapting to any lighting situation. Panels consume less battery than ring lights and produce cooler operating temperatures. They handle product photography, interviews, and creative color effects without overheating during extended use.

Budget LED panels mount on tripods or stands, giving you flexibility to position light from different angles. They work equally well for fill lighting or as your primary source. The adjustable color range lets you match existing ambient light or create intentional color casts. Beginners find them practical because one panel handles multiple shooting scenarios without buying specialized gear.
Remote Shutters Eliminating Shake And Group Photos
Bluetooth Remotes For Hands Free Shooting
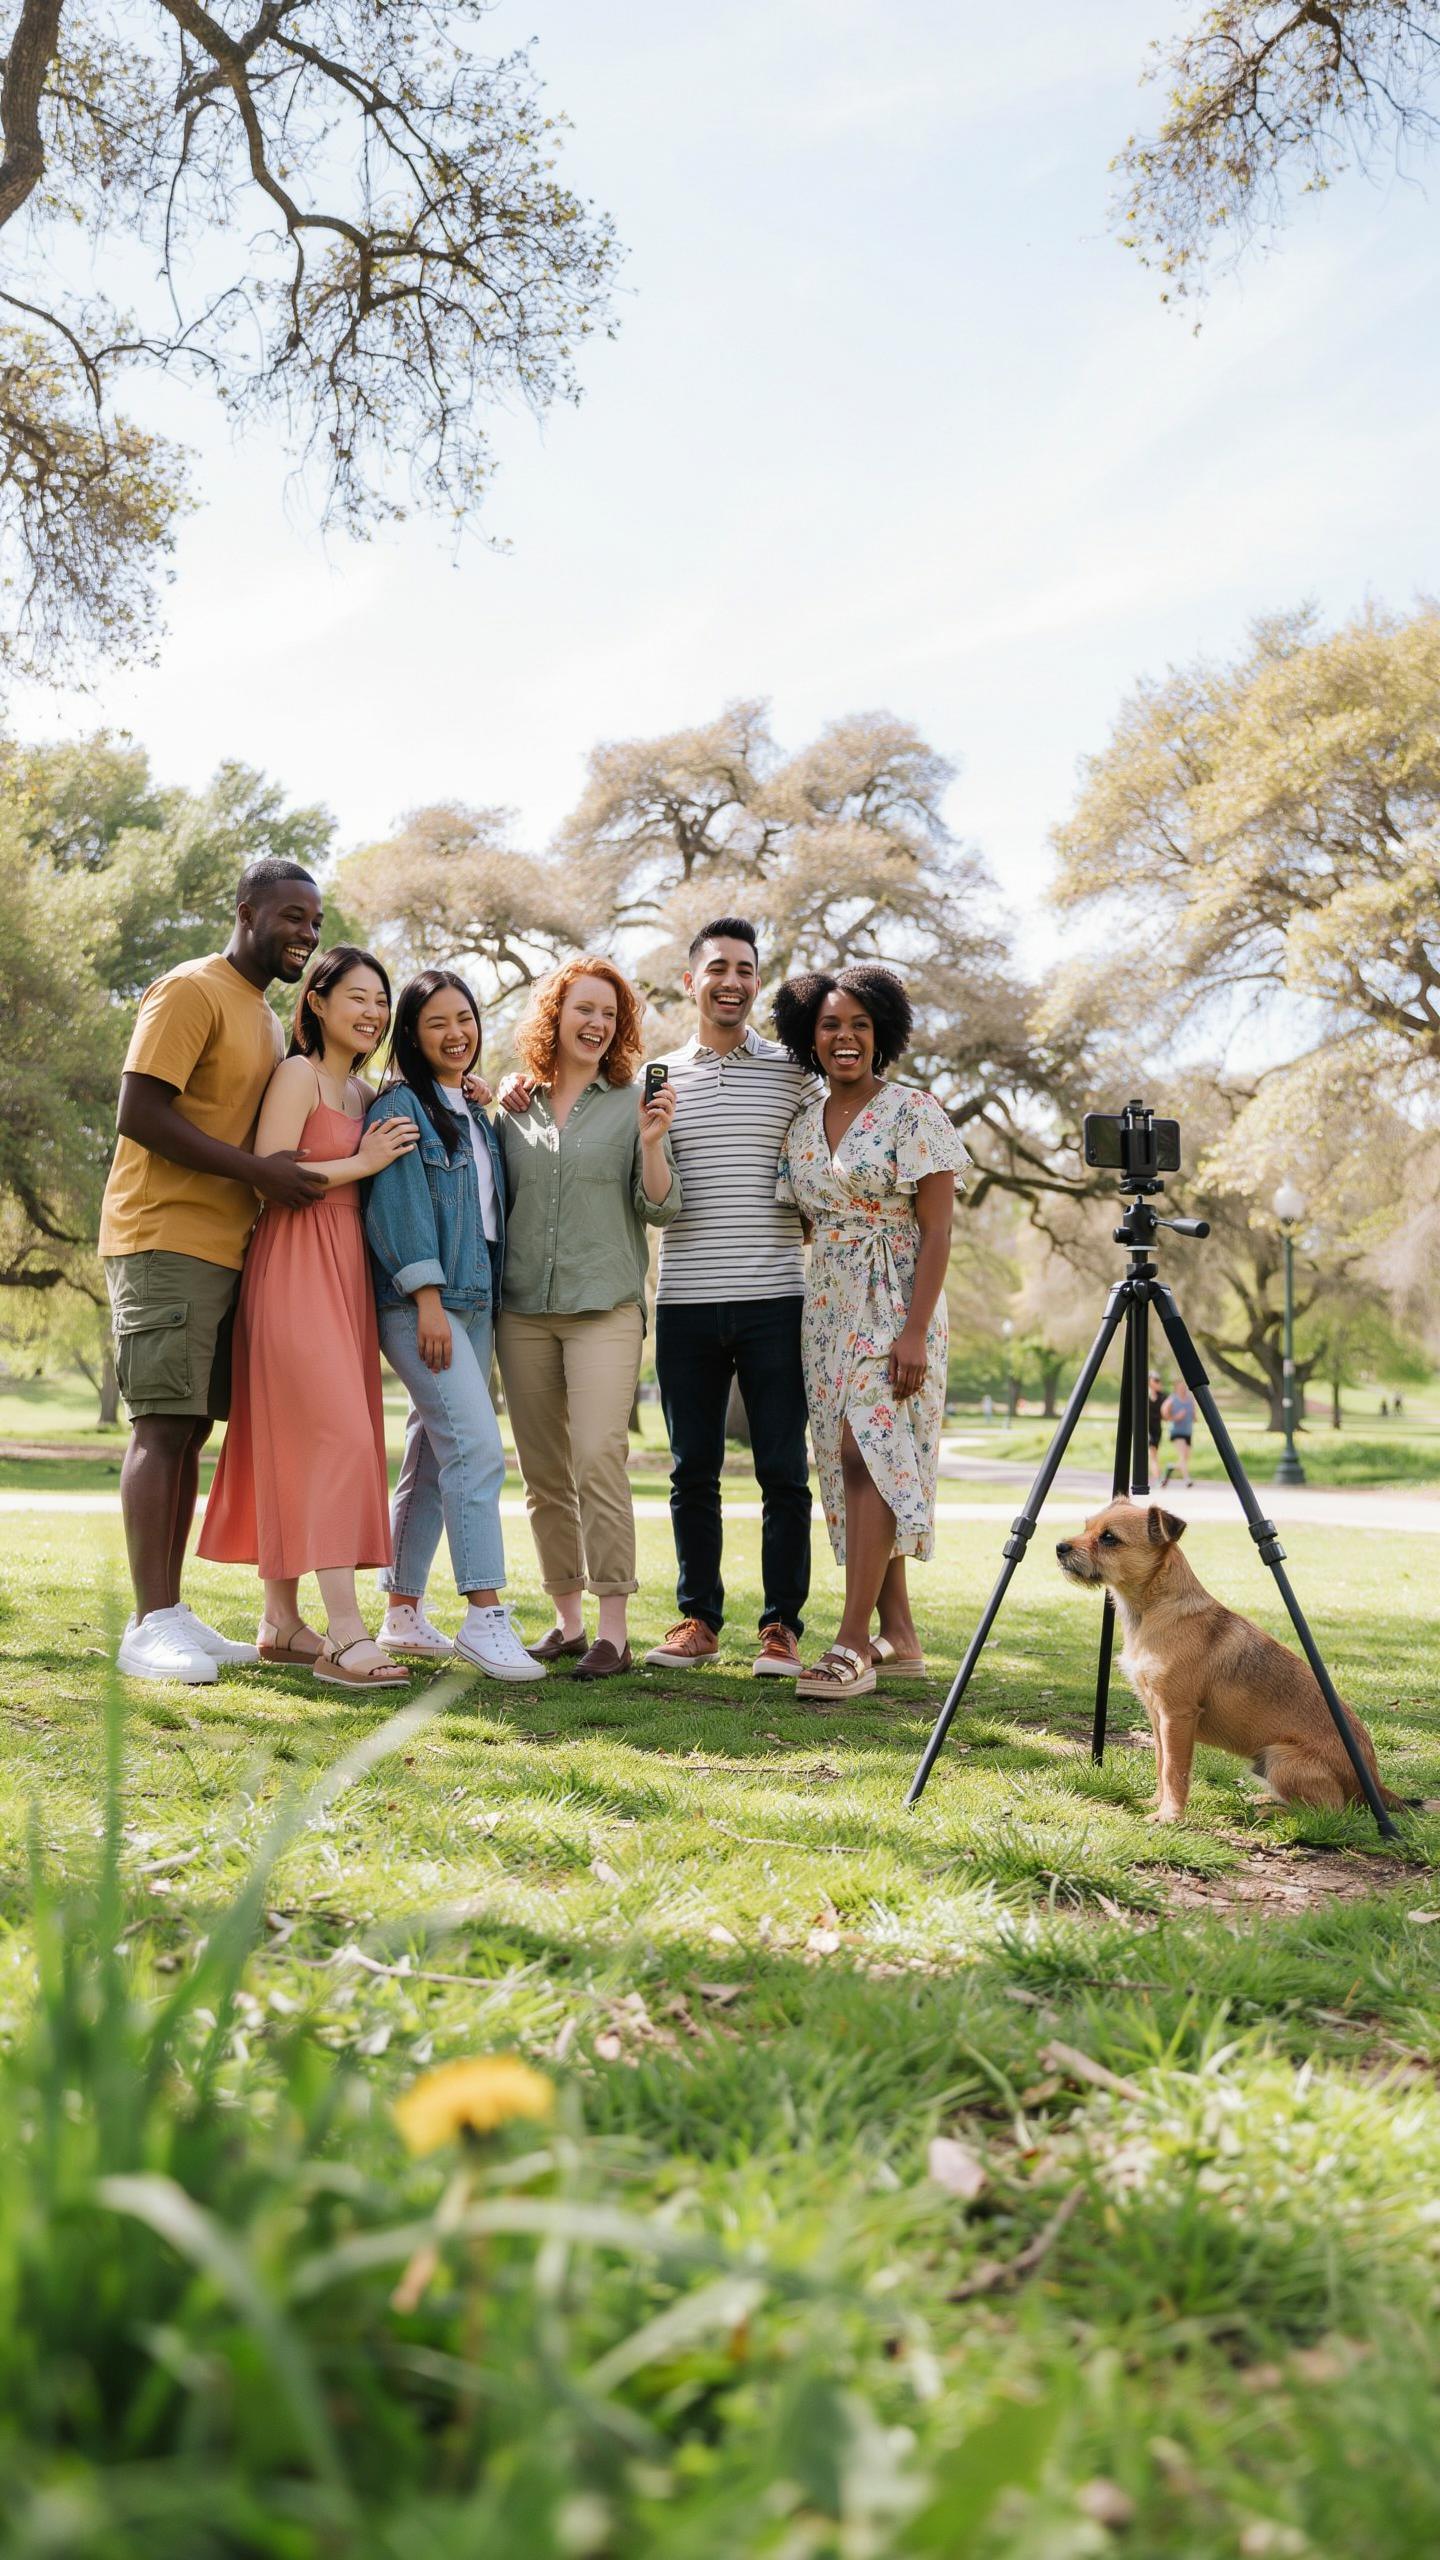
Bluetooth remote shutters connect to your phone wirelessly and trigger your camera app from a distance. This eliminates camera shake caused by your finger tapping the screen. You hold the remote in one hand while positioning your phone with the other, giving you full control over framing and timing without movement.
These remotes cost between five and twenty dollars for basic models. They work with most phones running current iOS or Android versions. Battery life typically lasts weeks or months depending on usage. You mount your phone on a tripod or stable surface, then press the remote button to capture images without physical contact to your device.
Intervalometers For Time Lapse Photography
Some advanced remote shutters function as intervalometers, automating photo capture at precise time intervals. You set the delay and frequency, then the device fires your camera automatically. This eliminates the need to manually tap your screen hundreds of times for time-lapse sequences. The feature works with your phone’s native camera app or compatible third-party apps.

Intervalometer remotes range from fifteen to forty dollars for beginner-friendly models. They enable you to capture sunrise transitions, cloud movements, and construction progress without fatigue or timing errors. Most models offer interval ranges from one second to several minutes between shots. This tool transforms your phone into a capable time-lapse camera with minimal effort on your part.
Power Banks Keeping Your Phone Ready For Action
Choosing The Right Capacity Power Bank
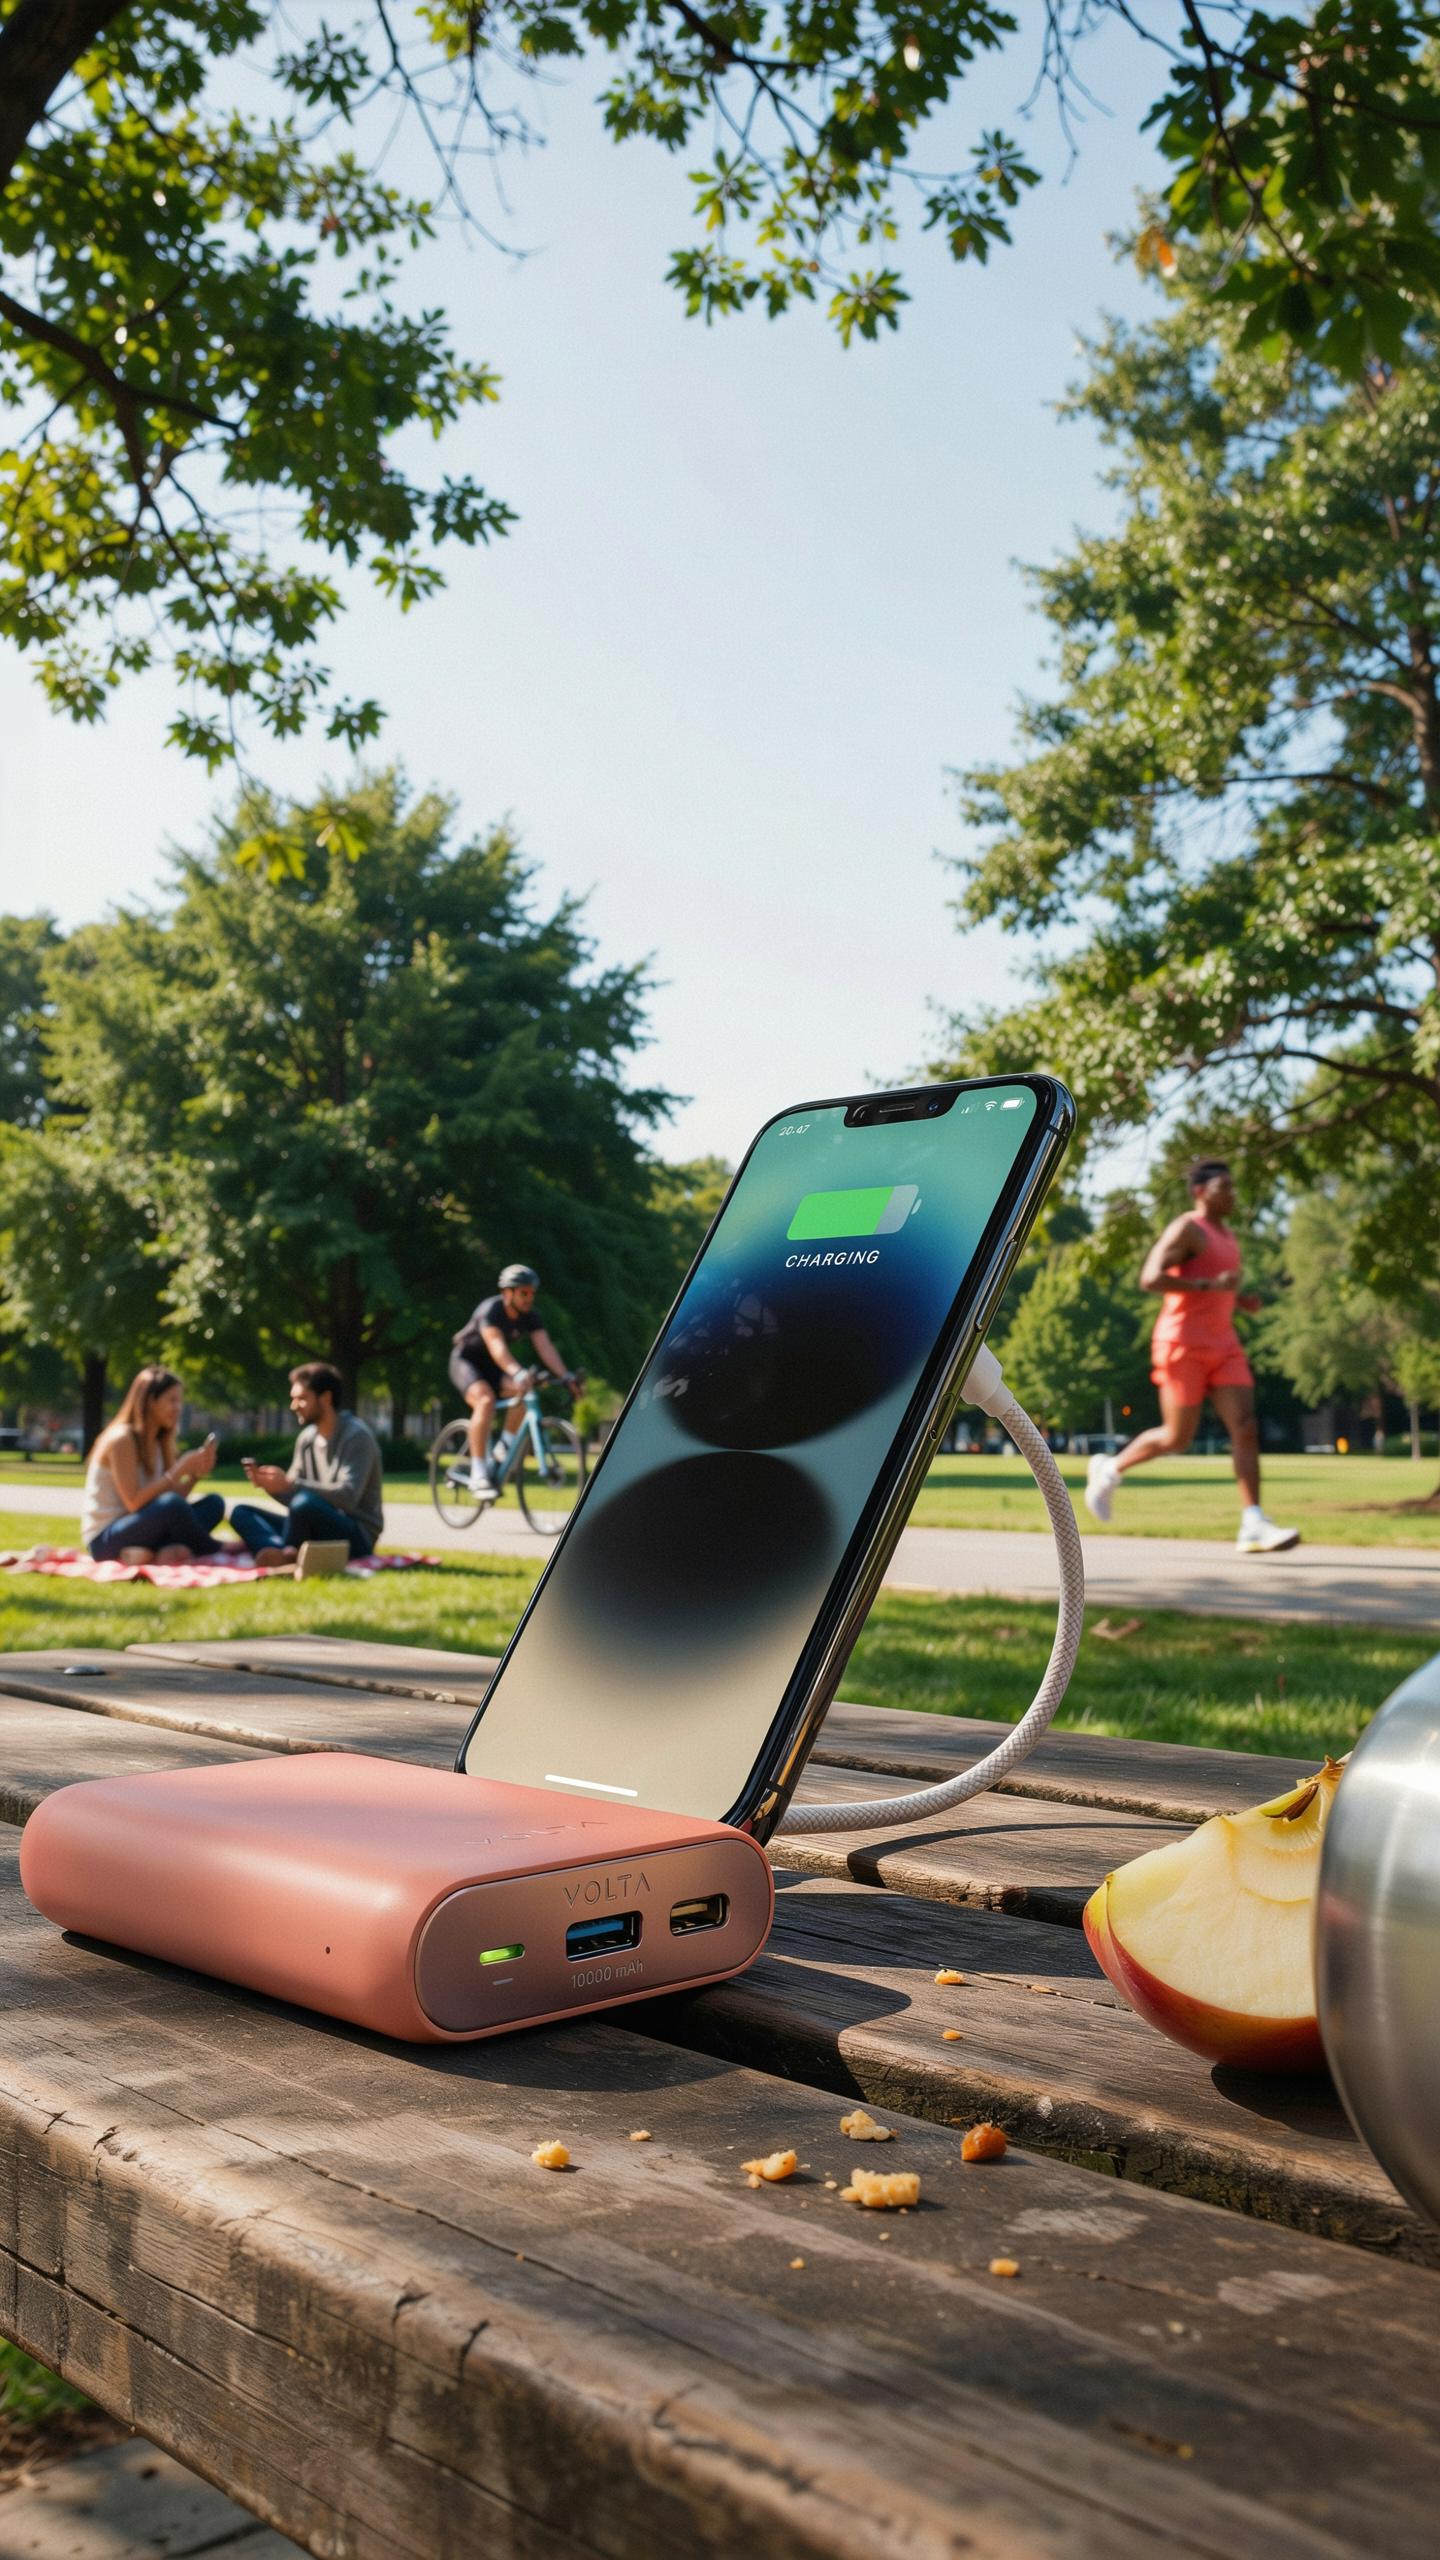
Your phone’s battery drains fast during photography sessions. Extended shooting, screen brightness, and active apps consume power quickly. A power bank rated between 10,000 and 20,000 mAh handles most beginner workflows. This capacity fully recharges most smartphones two to three times, covering full-day shoots without strain.
Match your power bank capacity to your phone’s battery size. A phone with a 3,500 mAh battery needs a 10,000 mAh power bank for two full charges. Brands like Anker and Belkin offer reliable options in this range under 30 dollars. Buy once, use for years. Higher capacity means heavier weight, so balance capacity against portability for your shooting style.
Solar Powered Chargers For Outdoor Adventures
Solar chargers eliminate dependency on outlets during extended field shoots. They work best in direct sunlight and charge slower than traditional power banks, typically adding 5 to 10 percent battery per hour. Use solar chargers as backup power, not primary charging solutions. They suit landscape and nature photographers working in bright conditions all day.
Solar chargers range from 10,000 to 25,000 mAh with built in panels. They cost between 40 and 80 dollars depending on capacity and panel quality. Cloudy weather and shade cut charging speed significantly. Pair a solar charger with a standard power bank for reliable outdoor photography power management.
Phone Gimbals Smooth Video And Photography On Phone
Stabilizing Your Footage For Professional Looking Videos
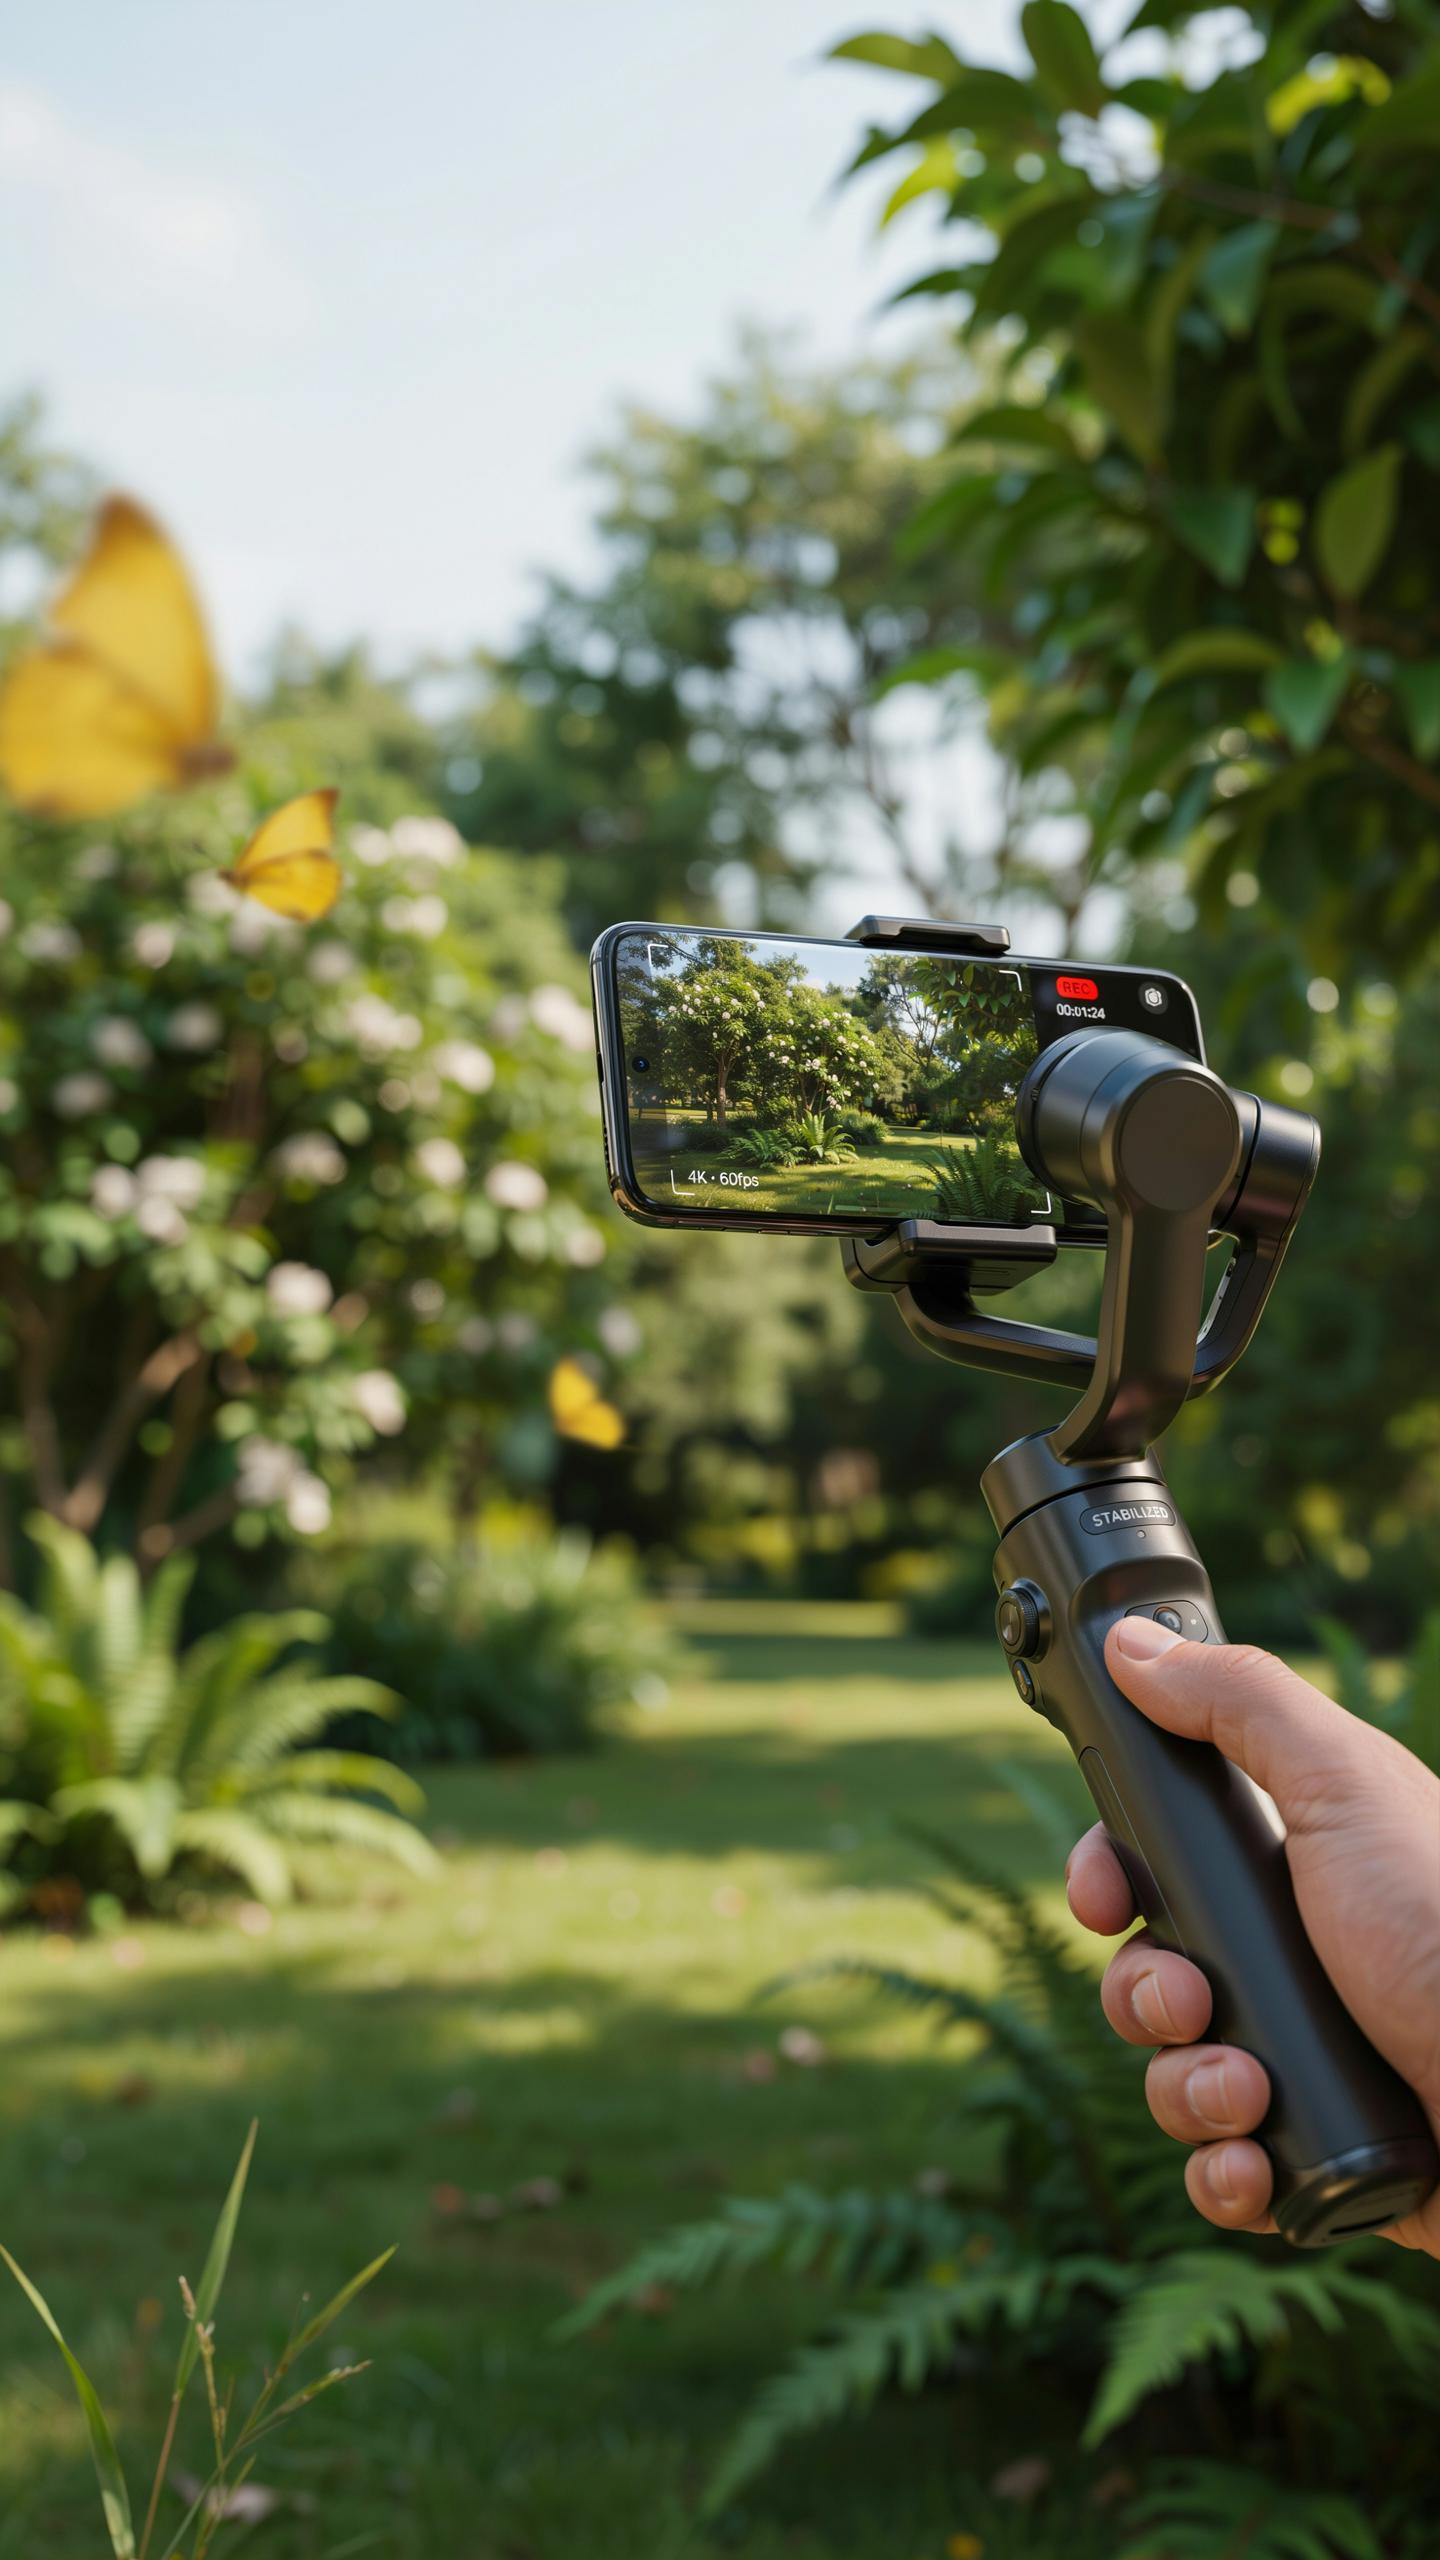
Phone gimbals use motorized motors to counteract hand shake and unwanted movement. They work by detecting motion through built in sensors, then adjusting the gimbal head to keep your phone level and steady. The result is smooth footage that looks like it came from a tripod or professional camera rig, even when you walk, run, or navigate uneven terrain.
Budget gimbals under $100 deliver real stabilization without breaking your workflow. Models like the DJI OM series and budget alternatives provide three axis stabilization, meaning they correct movement in all directions. For beginners, this eliminates the need to learn advanced video editing techniques to fix shaky footage. You get usable video straight from your phone.
Advanced Features: Object Tracking And Panoramas
Many affordable gimbals include object tracking, a feature that keeps your phone camera locked on a moving subject automatically. You select the person or object you want to follow, and the gimbal adjusts its position to keep them in frame as they move around. This hands free tracking works for vlogging, sports footage, or recording group activities without manual camera adjustments.

Panorama modes on gimbals automate the process of capturing wide shots by rotating your phone smoothly across a landscape. The gimbal moves at a consistent speed and angle, creating seamless panoramic images or videos. These automated modes require no special skills and produce results that rival manual panorama attempts shot on standard phone cameras.
Smartphone Photography Editing Apps Post Processing Power
Free Editing Apps For Beginners
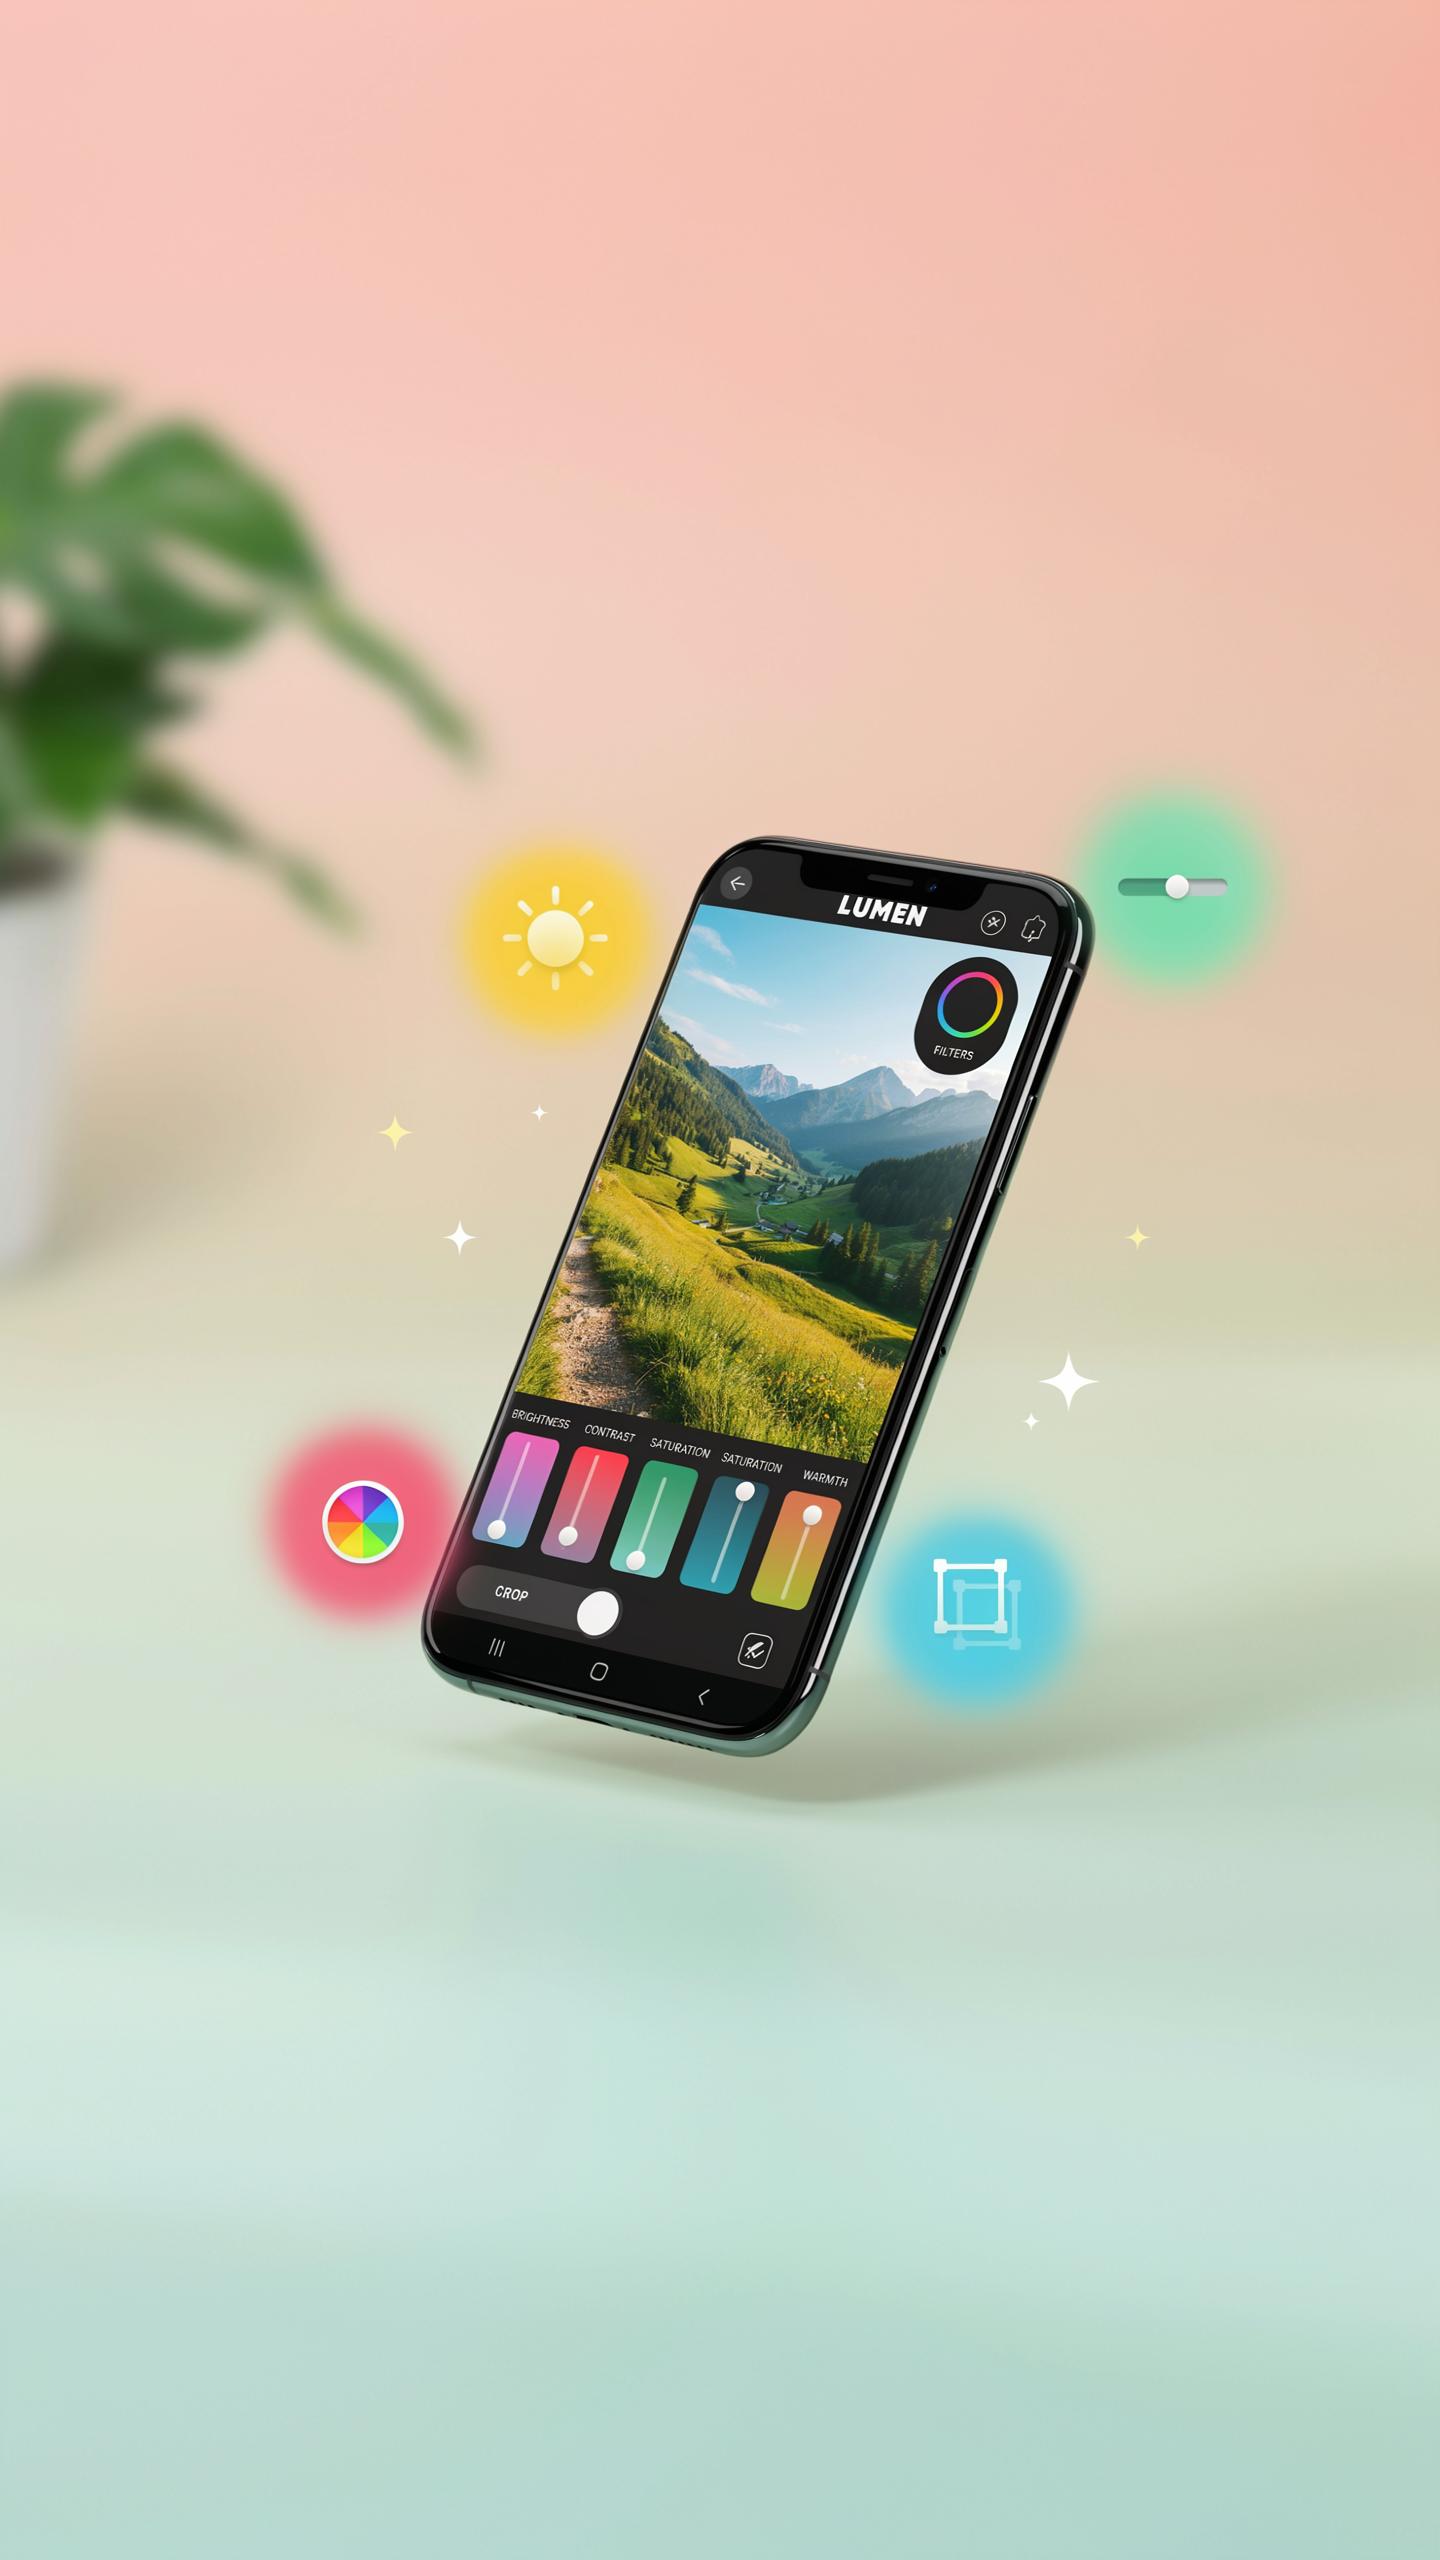
Free editing apps handle the core tasks you need. They let you crop images, adjust exposure, fix white balance, and apply filters. These tools work on every phone without spending money. You get professional results without paying subscription fees. Most beginners accomplish everything they need through free software.
- Snapseed: Google’s free app offers selective editing, healing tool, and exposure adjustments. You control exactly which parts of your image you modify without affecting the rest.
- Lightroom Mobile: Adobe’s free version includes basic adjustments like exposure, contrast, and white balance. You sync edits across devices, and paid version unlocks advanced RAW editing.
- VSCO: Provides film inspired filters and basic editing controls. The free tier gives you solid preset filters and essential adjustment sliders for quick edits.
- Pixlr: Delivers cropping, filters, and layer based editing tools. Touch up blemishes, adjust colors, and create effects without complex interface learning.
- Adobe Express: Offers quick edits, templates, and filter effects. You resize images for different platforms and access basic adjustment tools instantly.
Start with free apps to understand what edits your photos actually need. You develop editing skills and recognize when paid software becomes necessary for your specific workflow. Most beginners never exceed what free tools deliver.
Advanced Features In Paid Apps
Paid apps introduce selective adjustment technology. You modify specific image areas like sky, skin tones, or shadows independently. This precision separates beginner results from professional output. Healing brushes remove unwanted objects seamlessly. RAW editing provides maximum color information and latitude for adjustments.

Paid subscriptions cost between five and fifteen dollars monthly. Adobe Lightroom CC delivers RAW support, advanced local adjustments, and cloud storage integration. Capture One Express provides professional color grading and selective masking for serious photographers. These tools justify costs when you process hundreds of images regularly or need specific technical control beyond basic editing.
Creative Photography On Phone Hacks And Stylish Phone Accessories For Photography
DIY Camera Hacks For Unique Shots
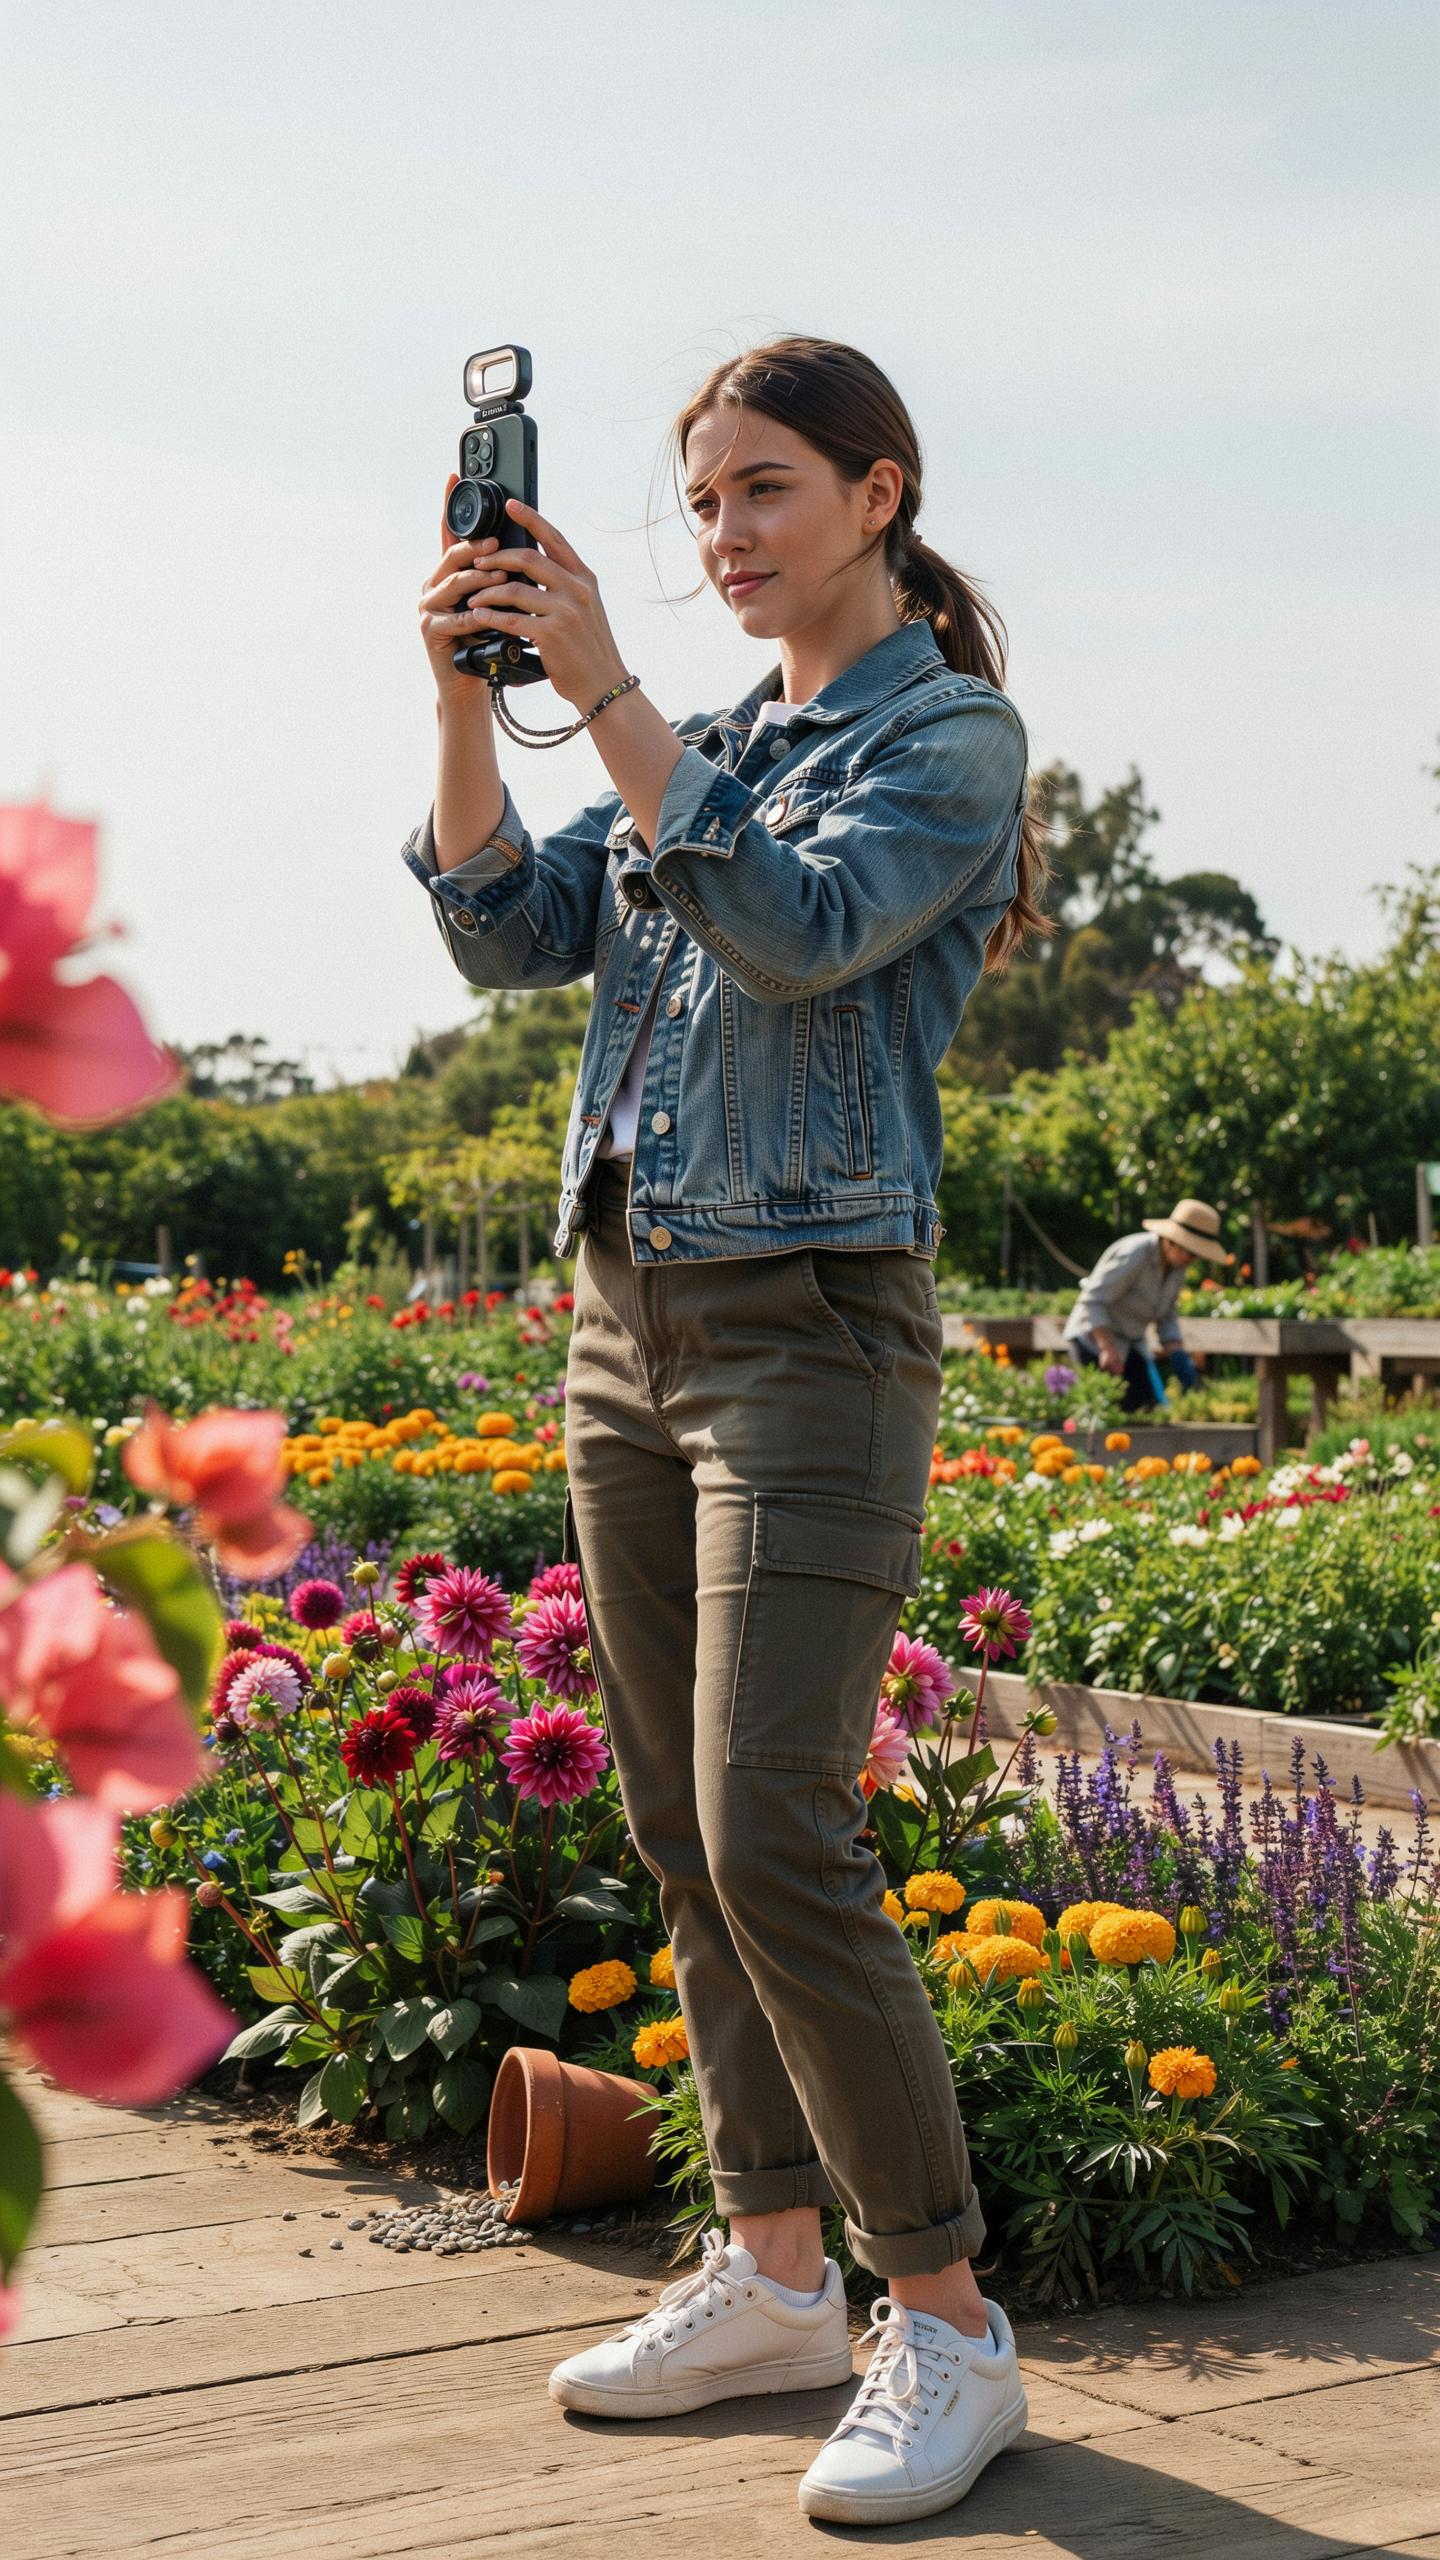
Household items deliver results without spending money. A white sheet diffuses harsh sunlight. Aluminum foil wrapped around cardboard creates reflectors. Colored plastic sheets over your phone light act as gels. These materials control light direction and color temperature effectively.
Your phone’s native software already handles most technical work. Experiment with placement and angles before buying gear. Test reflectors at different distances to see how they shape shadows. This approach teaches you light control fundamentals. You build skills that transfer to any future equipment.
Personalizing Your Photography Gear
Phone straps come in leather, canvas, and nylon. They attach to your device and prevent drops during active shooting. A quality strap makes carrying your phone easier during long shoots. Cases with integrated tripod mounts add functionality without bulk. These pieces protect your equipment while improving usability.
Your gear should match how you work and where you shoot. Choose materials that handle your environment. A rugged canvas strap works better outdoors than silk. A slim case suits studio work better than thick protective versions. Your accessories solve real problems in your workflow, not imaginary ones.
Protecting Your Best Accessories For Smartphone Photos
Cases And Screen Protectors For Your Phone
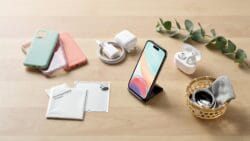
Your phone is your camera. Damage to it stops your photography entirely. A protective case absorbs impacts from drops and bumps. Screen protectors prevent cracks that interfere with image quality and autofocus performance. Both cost between five and twenty dollars for budget options.
Choose cases with raised edges around the camera lens. This design protects the lens from direct contact with surfaces when your phone sits flat. Tempered glass screen protectors offer better clarity than plastic film versions. Replace them when they crack or accumulate scratches that affect visibility.
Organizing Your Gear With Pouches And Bags
Small bags or pouches keep accessories organized and prevent them from getting lost or damaged during transport. Dust and debris damage lens coatings on filters and smartphone lenses. A dedicated pouch creates a system so you grab everything you need without leaving items behind.
- Soft Microfiber Pouches: Protect lenses and filters from scratches and dust. Cost two to eight dollars. Store multiple accessories in one pouch for efficiency.
- Small Camera Bags: Hold phone, tripod, filters, and lens attachments together. Price ranges from fifteen to forty dollars. Choose bags with compartments to separate items.
- Cable Organizers: Keep charging cables and USB cords from tangling. Cost one to five dollars. Prevent damage to cable connectors and ports.
- Waterproof Cases: Protect gear from water and moisture during outdoor shoots. Price from ten to thirty dollars. Essential for beach or rainy environment photography.
- Foam Inserts: Customize bag interiors to fit your specific accessories. Cost three to twelve dollars. Prevent shifting and movement during transport.
Organization systems prevent losing accessories and reduce setup time on location. Invest in one bag that fits your current gear and allows room for future additions. This approach saves money over time by keeping everything functional and accessible.
Frequently Asked Questions

What are the essential affordable phone camera accessories for beginners to improve their photos?
For beginners, a simple tripod or phone stand is invaluable for stability, reducing blur, and enabling timed shots. A clip-on wide-angle or macro lens can dramatically expand creative possibilities without breaking the bank. These accessible tools are fantastic starting points to elevate your phone photography.
How can I use affordable phone camera accessories for beginners to take better pictures in low light?
A small, portable LED light attachment can significantly improve low-light phone photography by providing consistent, controlled illumination. Paired with a tripod (one of the best affordable phone camera accessories for beginners), it allows for longer exposures without camera shake, resulting in brighter, clearer images even in challenging conditions.
Are there any versatile budget-friendly phone camera accessories that serve multiple purposes?
Absolutely! A good quality phone tripod with a detachable remote shutter is incredibly versatile. It provides stability for crisp shots, enables group photos without a timer dash, and can be used as a stand for video calls. Look for models that are compact and easy to carry for maximum utility.



