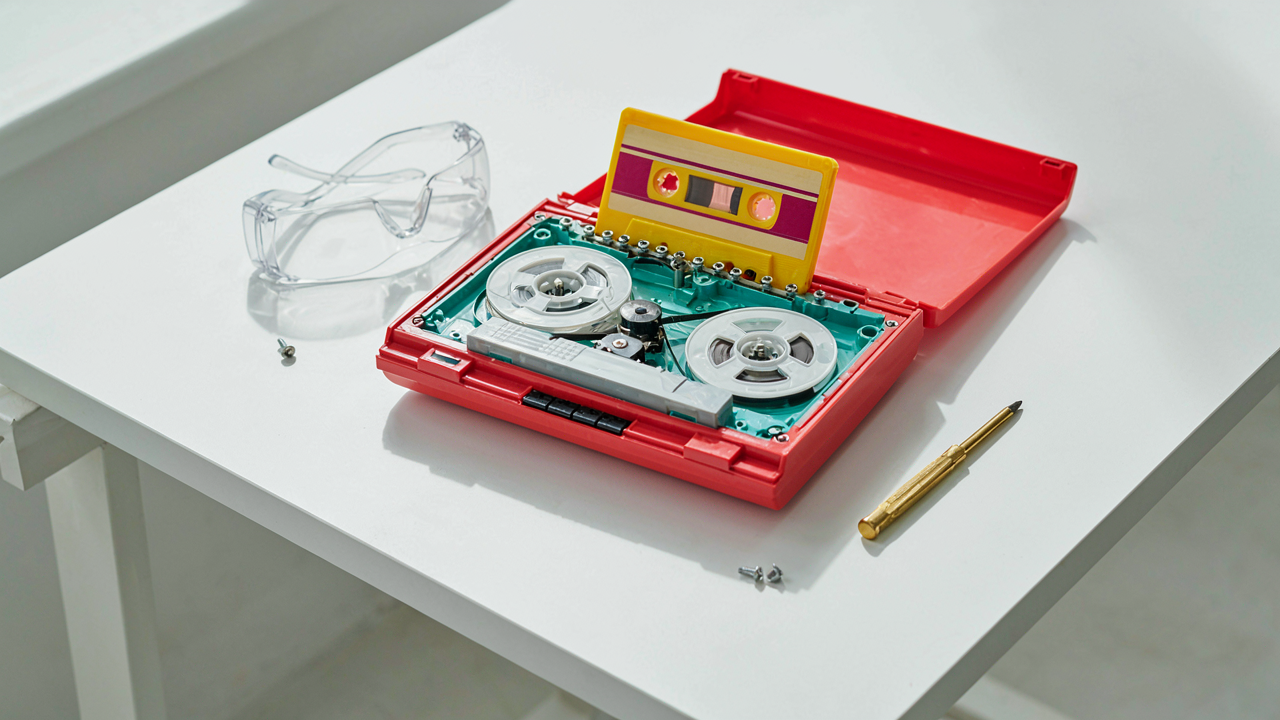
The “It Just Needs A Belt” Delusion: Beyond Superficial Fixes
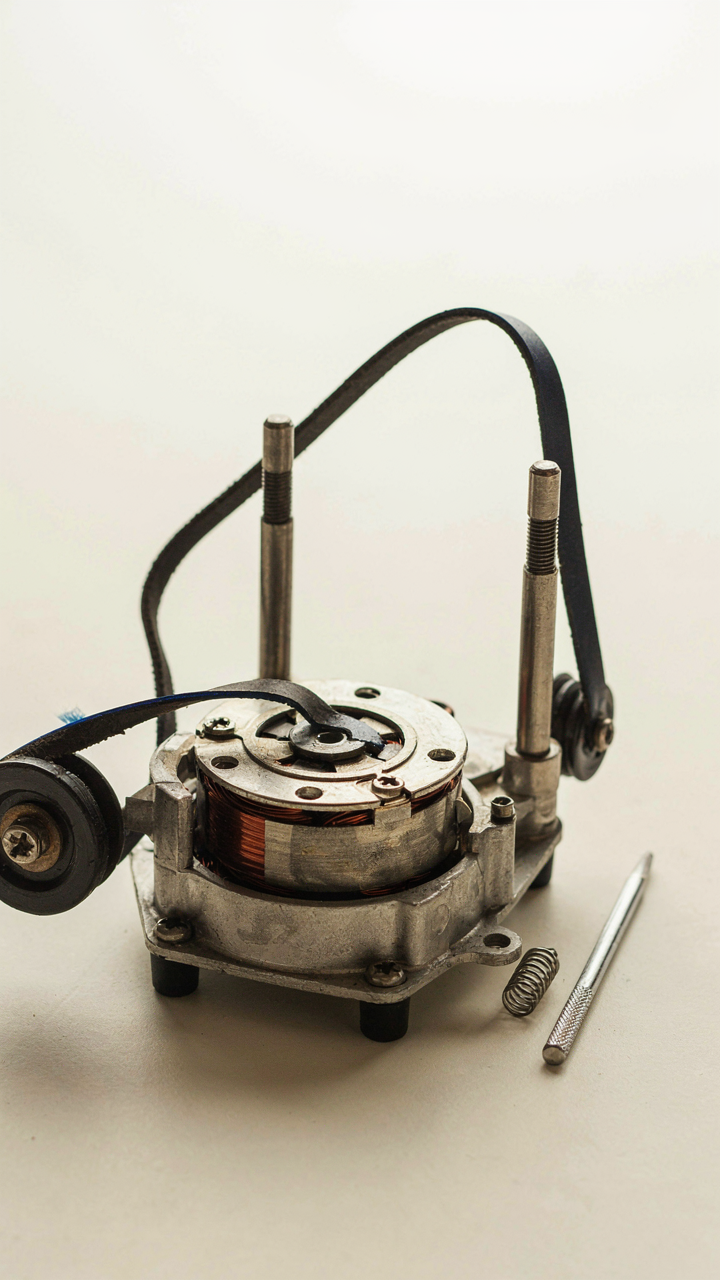
Why A New Belt Alone Won’t Save Your Sony Walkman
You want to believe a $12 belt fixes everything because you don’t want to face what’s actually broken. Here’s the mechanism: the belt transmits rotational force from the motor to the capstan, but it only works if everything downstream can accept that force. A worn belt usually signals a Walkman that’s been sitting idle for years. The motor may have seized partially. The capstan might be corroded. The pinch roller lost its grip. A new belt on a dead system just means you’ve wasted money and confirmed the unit is beyond quick salvation.
The belt itself degrades from heat exposure and time, not use. Rubber compounds from the 1980s and 1990s harden and crack after two decades, even in storage. Sony used different belt materials across their Walkman lines, and cross-fitting the wrong belt creates slippage and slow playback. Installing a belt without testing the motor’s actual resistance, the capstan’s freedom of movement, and the pinch roller’s pressure will leave you with a unit that either doesn’t move tape or mangles it.
Motor, Pinch Rollers, And The Cascade Effect
In systems engineering, we call this cascade failure: one component’s breakdown triggers the next. Your Walkman’s motor, pinch roller, and idler wheel form an interdependent system where weakness in one accelerates wear in the others.
The motor rarely seizes completely. More often it loses torque because the bearings have calcified from stale lubricant or the rotor has light corrosion buildup. A motor running at 70 percent capacity forces the belt to slip against the capstan. That slippage generates heat, which hardens the belt faster, which increases slippage further. The pinch roller, meant to hold tape against the capstan with steady pressure, compensates by pressing harder. This accelerates its own wear and begins flattening the tape itself. By the time you notice slow playback, three systems are already compromised.
The pinch roller loses its foam backing and rubber compound elasticity from decades of air exposure. When it hardens, it either loses grip entirely or locks down too hard, straining the motor. The idler wheel, which guides tape tension, can stick if its bearing corroded or if old grease gummed up. You cannot diagnose which component failed first without disassembly and load testing the motor against known resistance. Start with the motor: if it runs free without load but stalls under belt tension, your motor is weak and masking as a belt problem.

The Diagnostic Triage Protocol For Cassette Player Failures

Three Systems To Check First
You’re here because you want to avoid the sunk cost of sending a unit out for repair, and you need a fast way to know if the fix is worth your time. The real leverage in Walkman repair comes from medical triage logic: you isolate which of three independent systems is actually broken before you touch anything. Walkman failures fall into audio output, tape transport, or power delivery. Most people start randomly replacing parts. That wastes money and masks the real culprit.
Power delivery is your first checkpoint because it eliminates half the guesswork immediately. Test the batteries first with a multimeter across the terminals under load, not sitting idle. Replace them if voltage reads below 1.4 volts per cell. If fresh batteries don’t restore function, the power distribution circuit inside the unit has failed, and that failure will show as either no motor spin, no headphone signal, or both. Transport failures come next: the motor runs but tape doesn’t move, or it moves inconsistently. Audio failures are last because they’re usually symptom noise from transport or power problems, not actual speaker or amplifier failure.
Root Causes Hide Behind Symptoms
The common advice online says to clean the tape heads first. That’s backwards and wastes your time on maybe five percent of failures. The real root cause sits in the mechanism behind the symptom. A dead motor doesn’t mean the motor is broken; it usually means the belt slipped off the capstan drive, or the battery contacts are corroded and dropping voltage under load. A wow-and-flutter sound doesn’t come from head contamination; it comes from worn pinch roller material that no longer grips the tape evenly, or from a capstan shaft that’s bent.
Identify the root cause by working backward from the symptom systematically. If audio cuts out only when you move the Walkman, the transport is slipping under vibration, not the audio circuit failing. If the motor runs but the tape doesn’t advance, the belt is the problem, not the motor itself. If the motor won’t spin at all under new batteries, check the battery contacts for corrosion before replacing the motor. Test each system in isolation, and you’ll find what actually broke instead of what looks broken on the surface.

Capacitor Plague: The Silent Killer Of Vintage Electronics
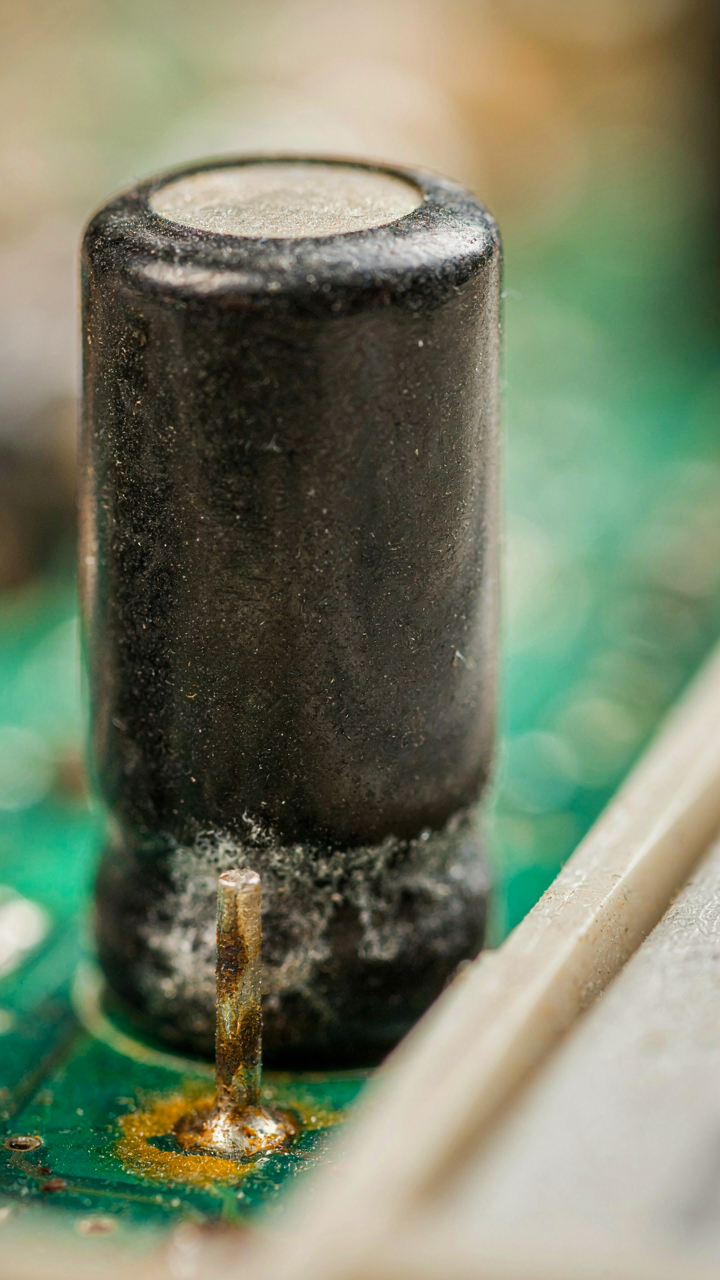
What Kills A Walkman From The Inside
You’re afraid your rare unit is dead and you wasted money on it. The real culprit is usually not the motor or the heads—it’s the capacitors. In electronics, capacitors store and release electrical energy. In a Walkman, they stabilize voltage, filter noise, and enable the audio circuit to function. When they fail, they don’t announce it. The unit plays, then distorts, then dies. You disassemble and find nothing visibly broken. That’s the trap.
Capacitors fail because the electrolyte inside dries out over decades. This happens fastest in warm climates and units near heat sources. A 1980s Walkman stored in a garage ages differently than one kept indoors. Electrolytic capacitors, which dominate vintage designs, have a rated lifespan of 10 to 20 years under ideal conditions. Most Walkmans exceed that by 20 to 40 years, which means the electrolyte is gone. When you power the unit on, the dried capacitor cannot hold charge. The voltage rails collapse. Audio circuits starve. The tape motor loses torque consistency or stutters.
Know What To Look For When Disassembled
Open a Walkman and locate the circuit board. Electrolytic capacitors look like small cylinders with a flat stripe on one end. If the top is domed or split open, the capacitor has failed catastrophically. More often, the top is intact but the capacitor is leaking a brown or black crusty substance onto the board. That crust is dried electrolyte. Wipe it away gently and you’ll see corrosion on the traces beneath. Not every corroded trace means the capacitor killed the circuit—but it means that capacitor failed and possibly damaged what came after it.
The trick is identifying which capacitors matter. In a Walkman, focus on capacitors near the voltage regulator, the audio amplifier IC, and the motor driver circuit. These handle the most stress. A failing capacitor in the microphone preamp might cause only hiss. A failing capacitor in the power rail will kill the entire unit. Look for capacitors that are bulging, leaking, or cracked. If the solder joints around them look cold or cracked, the capacitor is compromised. Mark these with a marker before removal. Never assume one bad capacitor is the only problem. Dried electrolyte spreads corrosion.
When To Replace Every Capacitor At Once
The common advice says “replace only the bad ones to save time.” That’s incomplete. Replacing individual capacitors treats the symptom, not the disease. If one capacitor failed, others are failing right now. You cannot see inside them. Electrolyte does not dry at the same rate everywhere, but age affects all of them simultaneously. You could fix one today and come back to a dead unit in six months because the next capacitor failed.

Full recapping means removing and replacing every electrolytic capacitor on the board. This takes time but guarantees you address the root cause. Use capacitors rated for the same voltage and capacitance as the originals. A capacitor rated lower will fail again. A capacitor rated higher often fits the same footprint and performs identically. Source quality matters. Cheap Chinese capacitors from unknown manufacturers fail faster than Japanese or European brands like Panasonic, Rubycon, or Nichicon. Plan to spend two to four hours per unit. Test the unit before reassembly by powering it on and measuring voltage at key test points. If rails stabilize and the motor runs consistent, you’ve reset the timer on that Walkman’s life.
Your Toolkit Is A Lie: Essential (and Overrated) Repair Parts
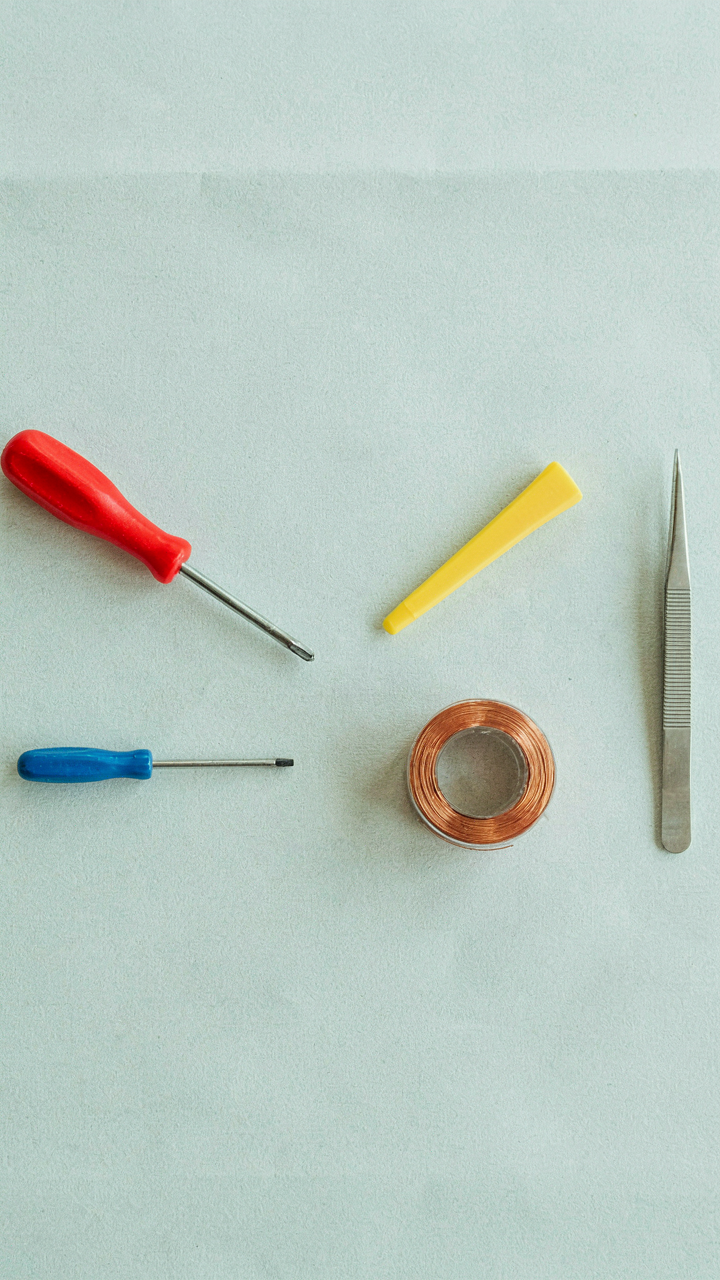
The Only Tools That Actually Matter
You want to feel prepared. That’s the real reason you’re reading this. The mechanism is simple: uncertainty makes you buy more than you need, and sellers know it. Most vintage Walkman repair guides throw twenty tools at you when six do ninety percent of the work. You need a small Phillips screwdriver, a plastic pry tool, tweezers, a small flat screwdriver, a multimeter, and desoldering braid. Everything else is theater.
The Walkman’s design was purposeful constraint. Sony built these units to be serviced with minimal tools by field technicians in the 1980s. The screws are standardized. The components are modular. You don’t need a Hakko soldering station or precision screwdrivers with colored handles. A fifteen-dollar multimeter from any electronics supplier tells you what’s actually broken. Desoldering braid removes solder cleanly without the learning curve of a solder sucker. Start there, stop there.
Genuine Sony Parts Versus Everything Else
The assumption that you should hunt down original Sony components is incomplete. Here’s what matters: sourcing the right part means understanding failure patterns, not chasing authenticity for its own sake.
- Belts and Rollers: These wear regardless of origin. Aftermarket replacements from reputable electronics suppliers work identically to originals. Measure the old belt before ordering to ensure diameter and thickness match.
- Capacitors: Original Sony capacitors are decades old and leaking. Replace them with modern equivalents rated for the same voltage and microfarad value. The circuit functions identically.
- Pinch Rollers: Genuine Sony rollers are hard to find and expensive. Quality third-party rubber rollers grip tape just as effectively. Verify the shaft diameter matches your model.
- Speaker Cones: Original speakers blow out. Generic 8-ohm or 16-ohm replacements work if you confirm impedance. Sound quality depends on cone material and magnet strength, not the Sony stamp.
- Headphone Jacks: Aftermarket jacks perform better than corroded originals. Source from Digi-Key or Mouser with the exact pinout for your Walkman model, not from vintage-specific vendors charging premiums.

The real distinction isn’t Sony versus generic. It’s whether the replacement part matches the electrical specs and physical dimensions of what you removed. Buy from electronics distributors first, not eBay sellers marketing “authentic NOS” components at triple the price. A new capacitor from 2024 outlasts a “genuine” one from 1985 that’s already dead.
The Entropy Of Plastic: Mitigating Mechanical Degradation
Where Gears Fail First
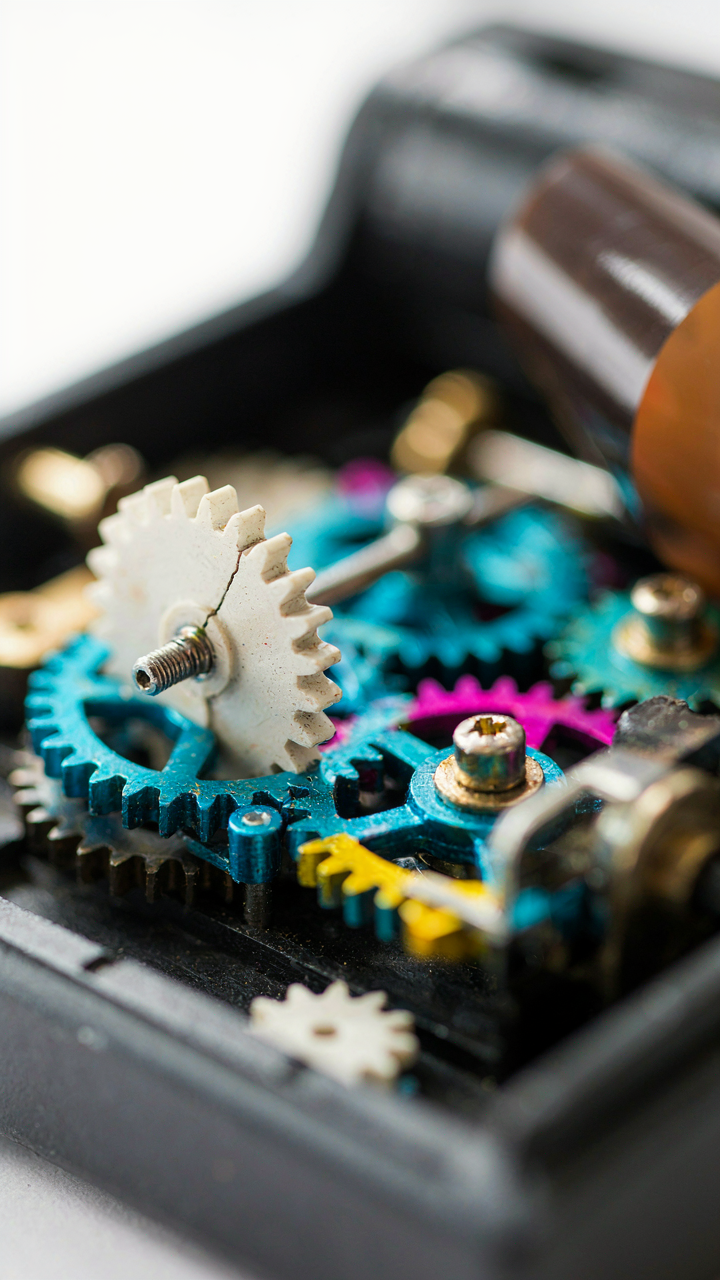
You want your Walkman to work because you paid money for it and admitting a cheap plastic toy might be irreparable feels wasteful. But the real problem is simpler: plastic gears degrade through stress cycles, not time alone. Thermodynamics teaches us that closed systems lose usable energy over time, and a Walkman’s gear train is exactly that. The pinion gears meshing with larger plastic wheels accumulate micro-fractures at the stress concentration points where teeth meet the hub. Sony and other manufacturers knew this, which is why they positioned weaker gears as sacrificial components, designed to fail before they damage the motor or capstan assembly.
The pinion gears on the capstan motor and the feed reel assembly take the hardest abuse because they translate high rotational force into the mechanical work of pulling tape. When you press play repeatedly, engage fast-forward, or jam a cassette, these gears absorb shock loads they weren’t rated for. The plastic compound—usually acetal or polycarbonate in Sony units—becomes brittle over decades regardless of storage conditions. Hairline cracks spread silently until a gear strips its teeth or fractures at the hub. Inspection requires removing the cassette deck and looking for missing teeth, flat-topped gear edges, or visible cracks under magnification. Replace the pinion gear assembly rather than attempting to glue or file damaged teeth back into shape.
Lubrication Without The Mess
Everyone says oil your Walkman gears and nobody mentions that standard machine oil destroys plastic through plasticization, which causes dimensional creep that jams your transport. Friction reduction demands the right viscosity and chemistry, not just any lubricant. Use only synthetic clock oil or vintage Walkman-specific lubricants designed for plastic-on-plastic contact. These maintain their film at room temperature without seeping into plastic and swelling it. The goal is a micro-thin layer between gear teeth that lasts without accumulation of dust and debris.

Apply lubricant only to the gear meshes, capstan shaft bearing points, and pinion shafts. Use a toothpick or thin applicator to place single drops at contact points, then work the gears by hand to distribute. Excess lubricant collects dust and creates a grinding paste that accelerates wear. For the capstan—the critical rubber roller that drives tape speed—clean it with isopropyl alcohol instead of lubricating it. A worn capstan is the actual speed killer in 80s and 90s Walkmans, not the gears themselves. Replace the capstan rubber if it’s glazed or compressed, and the transport will perform reliably for another decade.
Beyond Cleaning: The Chemical Warfare Of Contact Restoration

When Oxide Layers Kill Your Signal Path
You want this to work because a dead potentiometer means a dead player, and you’re not ready to accept that. Metal oxidizes when it sits exposed to air and moisture. On a vintage Walkman, this happens fastest where metal meets metal under pressure: the volume slider, the tone switch contacts, the battery terminals. Oxidation isn’t dirt. It’s a chemical barrier that blocks electrical current from flowing where it needs to flow.
The real damage compounds over decades. Copper oxidizes to copper oxide, which has resistance. That resistance creates voltage drop. The player powers on but the headphone jack cuts audio in and out. The volume dial feels scratchy because the slider contacts the oxidized potentiometer track unevenly. Most people blame the pot itself and order a replacement. Wrong move. The oxide layer is the problem, not the component underneath it.
Deoxidizing Compounds And How They Actually Work
Deoxidizing isn’t magic. It’s displacement chemistry. DeoxIT and similar contact cleaners work by breaking the molecular bond between the oxide layer and the base metal, then carrying the oxide away. The common advice to spray and wipe doesn’t work. You need to disrupt the oxide chemically, let it sit, then agitate it mechanically.

For a Walkman’s potentiometer, spray DeoxIT onto the contact points, work the slider back and forth slowly for thirty seconds, then spray again. For battery terminals, apply the compound, let it sit for two minutes, then use a soft brass brush to agitate the oxidized surface. The goal is to expose bare metal. Isopropyl alcohol alone won’t cut through established oxide layers, which is why people waste time trying. DeoxIT or equivalent removes the oxide. Alcohol cleans what remains.
The “Good Enough” Standard: When To Stop Chasing Perfection
Functional Versus Cosmetic Restoration
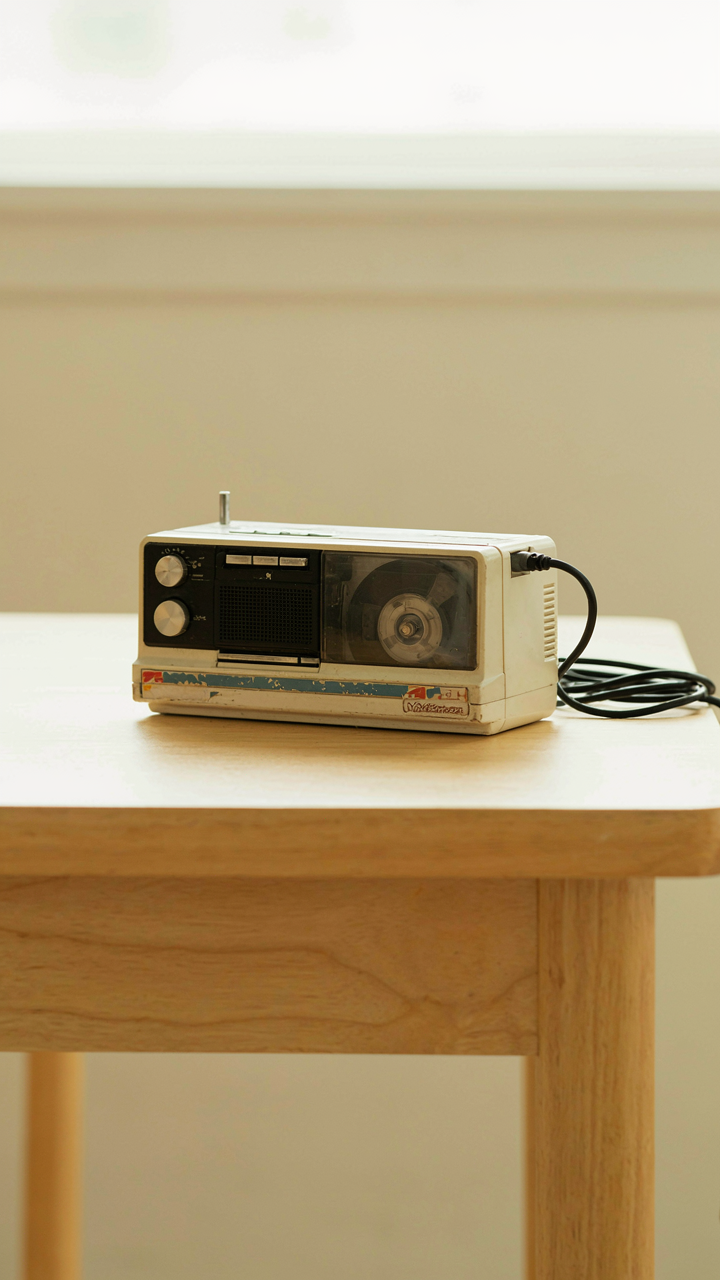
You’re afraid you’ll sell yourself short or keep a broken machine that looks salvaged. Here’s the mechanism: a Walkman either plays tape or it doesn’t. Cosmetic damage—scuffed plastic, faded decals, discolored battery cover—doesn’t change function. Functional restoration means the motor runs, the pinch roller contacts tape evenly, and audio outputs at usable volume. Cosmetic restoration means it looks like 1982 again. Most repair work targets function. Chasing cosmetics is where time disappears.
The real distinction matters because the cost structure differs entirely. A worn battery door costs almost nothing to replace. A seized motor or corroded playback head demands labor and parts. You can have a Walkman that plays perfectly with a scuffed shell, or spend forty hours restoring the exterior of a machine with a bad capstan. Decide which problem you’re actually solving before you start disassembling.
The Economics Of Diminishing Returns
Economics calls this the law of diminishing returns. Each unit of effort produces less output than the last. A thirty-minute cleaning of the playback head yields immediate audio improvement. The next thirty minutes spent polishing the metal frame yields nothing you hear. Most people skip this calculation and work until they’re satisfied. That satisfaction is expensive.

Track your time per repair phase. If you spend two hours replacing a battery door, that’s not restoration—that’s procrastination disguised as craftsmanship. A Walkman you actually use beats a perfect Walkman collecting dust. Set a time budget per machine and stop when either the machine works or you hit the limit. Play tape on it for a week. If it fails, then add time. If it plays, you’re done.
Predictive Maintenance: The Sony Walkman Maintenance Guide You Didn’t Get
Where Failure Starts Before You Hear It
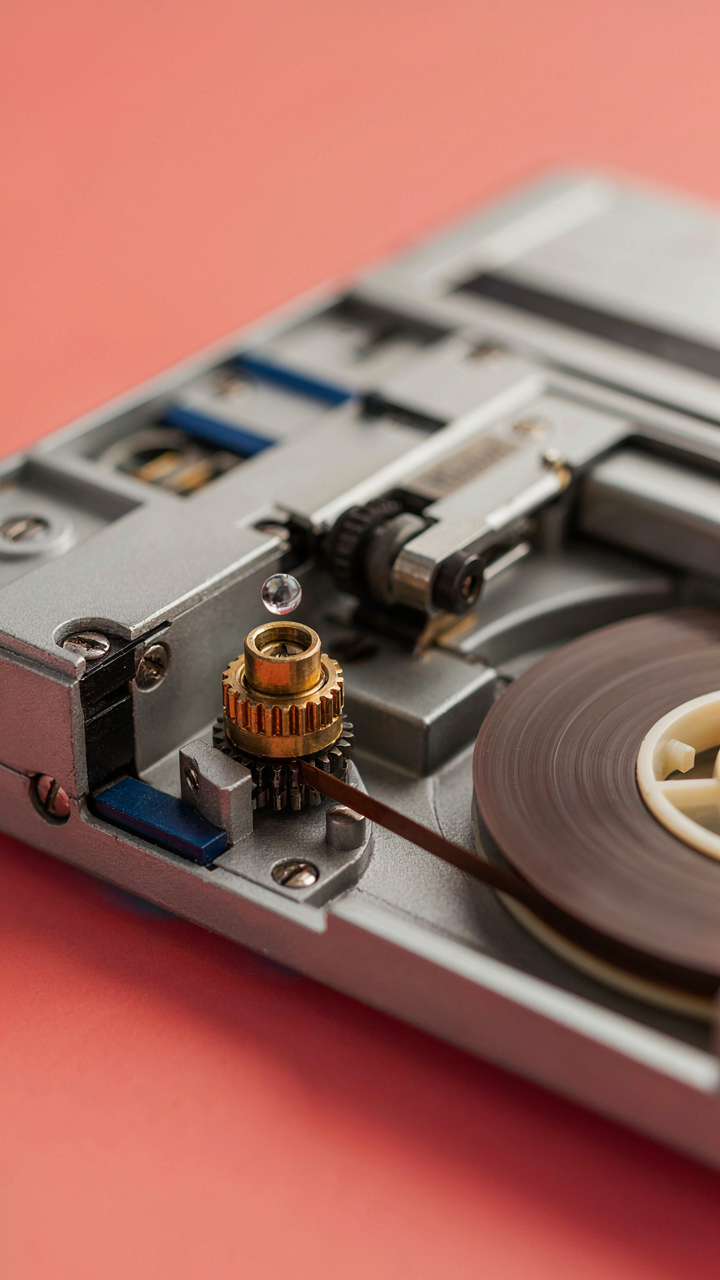
You want to avoid the shame of a dead Walkman in your hands. Here’s the mechanism: vintage Walkmans fail predictably because engineering failure analysis shows us that mechanical systems don’t break randomly. They degrade at specific stress points. In a Walkman, these are the motor bearings, the tape transport gears, and the capacitors in the power circuit. These components wear first because they handle constant friction and electrical load. Identify these zones and you prevent catastrophic failure.
The Sony Walkman II and WM-20 models share identical failure patterns because they use the same motor architecture and gear train. The pinch roller degrades from pressure and rubber compound breakdown. The capstan bearing wears from years of tape friction. The motor brushes carbon off from thousands of hours spinning. These aren’t mysteries. They’re predictable sequences. Address them before they compound into dead transport.
The Three Checks That Actually Matter
Replace generic “clean your Walkman” advice with targeted intervention. These three systems demand inspection because they control whether sound reaches your ears or dies mid-song.
- Erase and play heads: Use a cotton swab with isopropyl alcohol to clean the vertical gaps where tape passes. Oxide buildup mutes high frequencies first, then kills midrange. Clean heads monthly if you play daily.
- Tape path alignment: Verify the pinch roller sits perpendicular to the capstan. Misalignment causes uneven tape speed, creating wow and flutter. Check with a straight edge held against both components.
- Battery contacts: Inspect the spring terminals for corrosion and dirt. Oxidation creates resistance that starves the motor of current, causing slow playback and motor strain. Polish with fine sandpaper or a pencil eraser.
- Capstan runout: Spin the capstan by hand and watch for wobble. Excess runout indicates bearing wear. A wobbling capstan produces speed instability and accelerates pinch roller wear.
- Motor brushes: Peek inside the motor housing if accessible on your model. Dark carbon dust means brushes are shedding. Excess dust clogs the commutator and reduces torque output.

Run these checks every three months on units in regular rotation. Most Walkman owners skip this entirely and wonder why their units fail after a year of storage. Routine inspection catches wear before it cascades. You stop problems at stage one instead of stage three.
The Data Fallacy: Trusting Your Ears Over Forum Hype

When Your Ears Disagree With The Spec Sheet
You want to believe the forum post because it validates the money you already spent. Here’s the mechanism: cassette tape degradation is both measurable and subjective, and the internet conflates them constantly. Flutter, wow, frequency response, and oxide shedding are quantifiable. How those measurements feel to your ear is not. A Walkman with 0.08% wow might sound acceptable to you but objectively fail Sony’s original tolerance of 0.05%. The gap between spec and sensation is where bad repair decisions hide.
Most people skip measurement entirely because it feels too technical. You don’t need lab equipment. A cassette recorded at known levels played back through your Walkman tells you if the capstan is worn (speed variance), if the heads are clogged (high-frequency rolloff), or if the pinch roller has glazed (inconsistent tape tension). Your ears detect these things. Your ears do not detect whether the cause is a $3 rubber part or a $40 component that needs replacing. That distinction matters before you spend money.
The Anecdote Trap And How To Avoid It
The repair advice that spreads fastest is usually the story, not the solution. Someone shares how they replaced their pinch roller and suddenly everything sounded “warmer” and “more detailed.” Placebo repairs work like this: you spend time on a device, build anticipation, make one change, then listen differently. Your brain has already decided it should sound better. The pinch roller replacement was probably necessary, but not because warmth improved. Consistent tape speed improved, which reduced wow artifacts that fatigued your ear. That’s the actual mechanism. The warmth is narrative backfill.
Before you follow a forum repair, ask one question: what did the person measure before and after? If the answer is nothing, you’re reading entertainment, not troubleshooting. A working diagnostic approach isolates one variable. Play the same test cassette before and after your repair. Note specific observations: does the pitch stay steady or drift? Does the volume fluctuate? Does high-end clarity change? If you can’t describe what changed in mechanical terms, the repair probably didn’t address your actual problem.
Upgrades That Matter: Avoiding Snake Oil For Vintage Walkman
What Actually Works Vs Marketing Noise
You want to believe a $40 capacitor swap will resurrect your Walkman into something it never was. That’s the real pull here, and it won’t happen. The mechanism is simple: Walkmans decline because of mechanical wear and electrolyte degradation in original capacitors. Replacing caps restores the circuit to factory spec, nothing more. You get back what was already designed in, not something new. Sony and Panasonic engineers optimized the signal path decades ago. Your job is maintenance, not reinvention.
Common upgrades marketed to enthusiasts fall into two categories: repairs that restore function, and modifications that destroy authenticity without audible gain. Rewinding the playback head achieves the first. Installing boutique op-amps achieves the second. The playback head wears from tape friction and oxidation. Centering it again removes flutter and improves tape contact. Op-amp swaps do nothing for mechanical systems. They touch circuitry that Sony already voiced for those specific components. You’re chasing a phantom improvement while stressing original traces and solder joints that have aged forty years.
Tape Playback Without Betraying Original Design
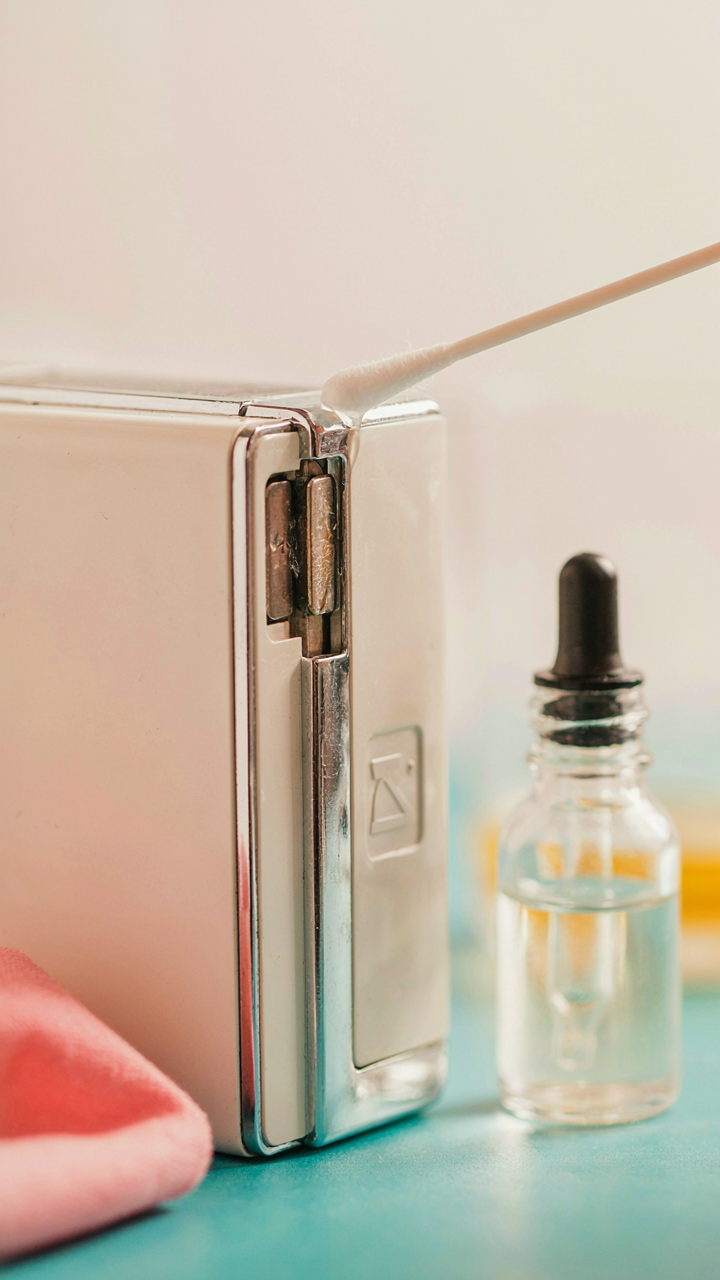
Think of your Walkman like an instrument with a tuning system already locked in. The design files exist. Honor them. The real optimization work happens before you touch the device: clean the capstan, pinch roller, and tape guides with isopropyl alcohol on a cotton swab. Oxide buildup from old cassettes deposits on these mechanical surfaces and creates friction variance. Remove it. This alone improves wow and flutter more than any capacitor swap because you’ve restored the transport mechanism to original tolerance.
Playback head cleaning matters just as much. The playback head gap accumulates iron oxide particles that reduce magnetic coupling with the tape. Use a specialized head cleaning cassette or alcohol-dampened cotton swab with extreme care to avoid damaging the coil windings. Adjust azimuth only if flutter persists after cleaning, and only if you have the proper jig. Most techs don’t. Leave it untouched unless you measure actual phase problems between channels. The path forward: clean the transport, replace worn elastomers with correct materials, verify playback levels with a known good cassette, then stop.
The True Obstacle Isn’t The Broken Walkman, But Your Assumption That Expertise Is Earned Through Blind Trial-and-error, Not Through Understanding Root Causes

Most people fail at vintage walkman repair because they treat symptoms instead of causes. They replace belts randomly. They spray contact cleaner everywhere. They guess. Real repair work starts with diagnosis. Open your dead Walkman today and identify what actually failed before you touch anything. The difference between someone who fixes one and someone who fixes ten is simple: one understands how the machine thinks, and one just replaces parts until something sticks.



