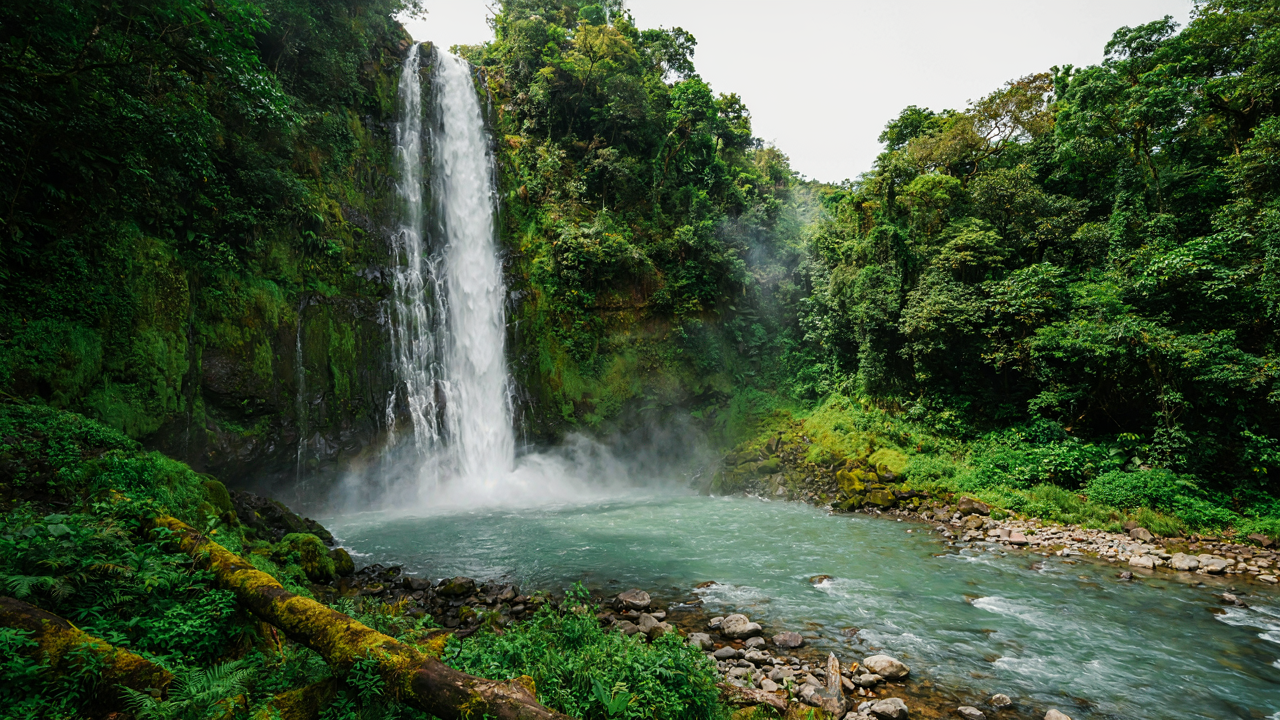
The Illusion Of IPhone Slow Shutter Effect
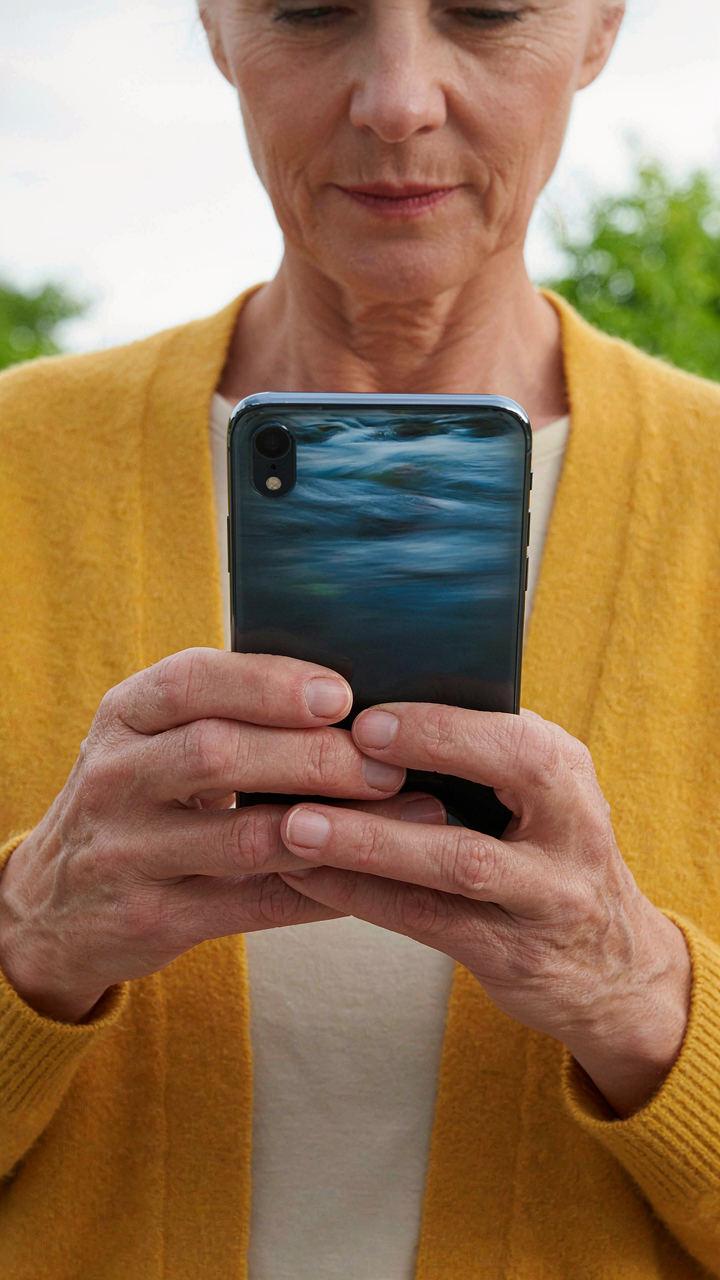
Live Photos: The Accidental Capture
You want to believe your iPhone has a built-in feature that does the work for you, so you don’t have to learn actual photography. It doesn’t. What you’re seeing when people talk about “iPhone slow shutter effect” is mostly Live Photos, Apple’s 3-second video capture mode masquerading as a photo. Your phone records before, during, and after you tap the shutter button, then you extract one frame or blend several in post-processing.
Live Photos capture motion data your phone otherwise discards. The feature launched in 2014 with the iPhone 6s. It’s not a slow shutter in the traditional sense—traditional slow shutter means the sensor stays open longer to collect light and blur motion in-camera. Live Photos just records video and lets you manipulate it later. The mechanic is capture width, not exposure time. You get options because you have raw material, not because the iPhone engineered motion blur at capture.
Post Processing, Not In Camera Magic
Everyone tells you to use the Long Exposure filter in the Photos app or third-party apps like Slow Shutter Cam. They’re right about the outcome and wrong about what’s happening. These aren’t filters—they’re computational stacking. Your phone takes multiple frames from the Live Photo and blends them together mathematically to simulate what a real slow shutter would produce. It’s deception dressed as convenience.
The iPhone cannot physically slow its shutter speed. Its sensor has fixed mechanical limits. What apps do instead is average pixel values across multiple frames to create motion trails. This works for water because water moves predictably and fills enough of the frame that averaging creates coherent blur. The result looks professional because it mimics a real technique, but the mechanism is pure mathematics, not optics. To use this effectively, you need at least three seconds of recorded motion before you open the app.
Bypassing The Digital Veil: Real Motion Blur
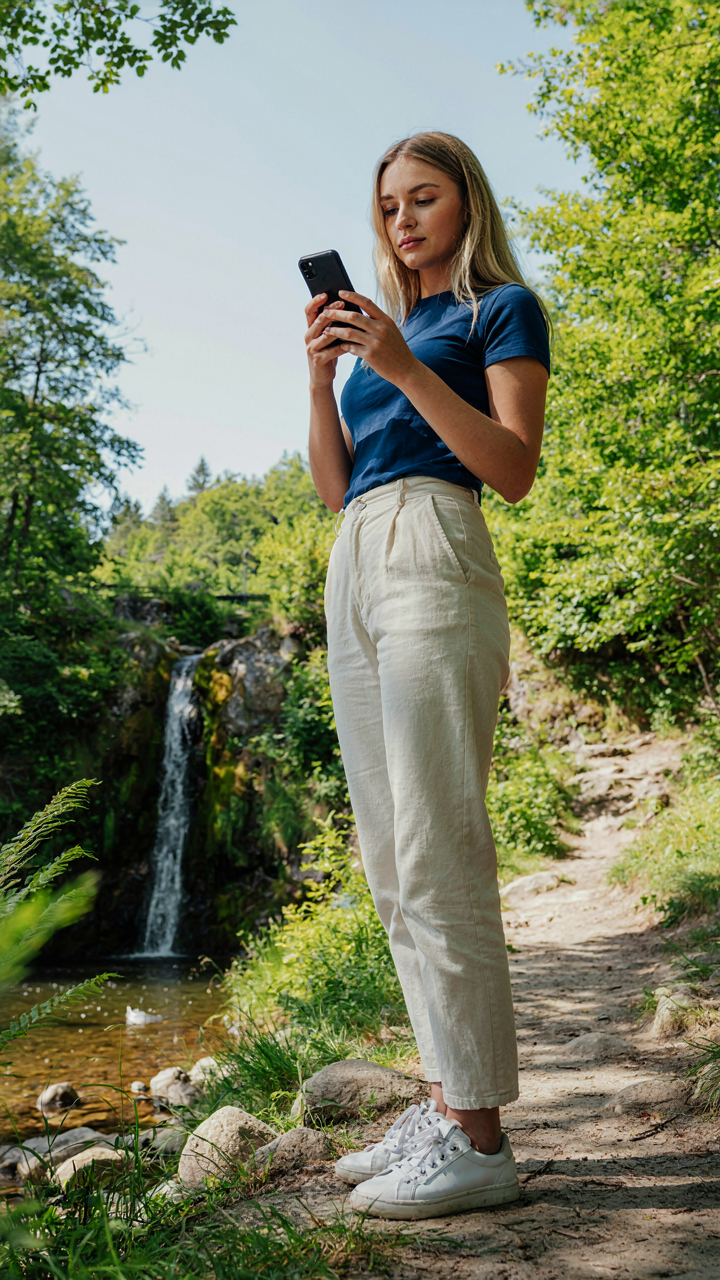
Apps Won’t Save You Here
You want the app to do the work because you don’t want to learn the constraint. The mechanism is simple: most third-party slow shutter apps apply motion blur as a post-processing filter, which means they’re guessing at where pixels moved and painting over the result. They don’t capture actual light accumulation over time. You get a synthetic blur that looks separated from the water itself, like someone smeared a photograph afterward.

Native iPhone long exposure modes and manual camera apps that hold the sensor open actually record light hitting the sensor continuously. The water blur becomes integral to the image because it happened during capture, not after. This difference matters because post-processing blur has no relationship to actual light behavior. The water looks fake because the mechanism creating the blur never existed during the shot.
You Need Direct Sensor Control
The real constraint in physics is exposure time, and iPhone’s AI assumes your goal is a “correct” exposure for a single moment. Manual control lets you overwrite that assumption and extend the sensor’s collection window instead. Most people use Portrait mode or Night mode, which are optimized for static subjects and balanced lighting. Neither gives you command over shutter speed.
To get motion blur that reads as intentional and physical, you need an app or mode that displays shutter speed as an adjustable variable. Set it between 0.5 and 2 seconds depending on water speed and lighting. The sensor stays open and collects light continuously. Every photon from every frame of water movement registers on the sensor simultaneously, which is why the blur feels embedded in the photograph rather than applied to it.
The Light Aperture Protocol: Maximizing Exposure
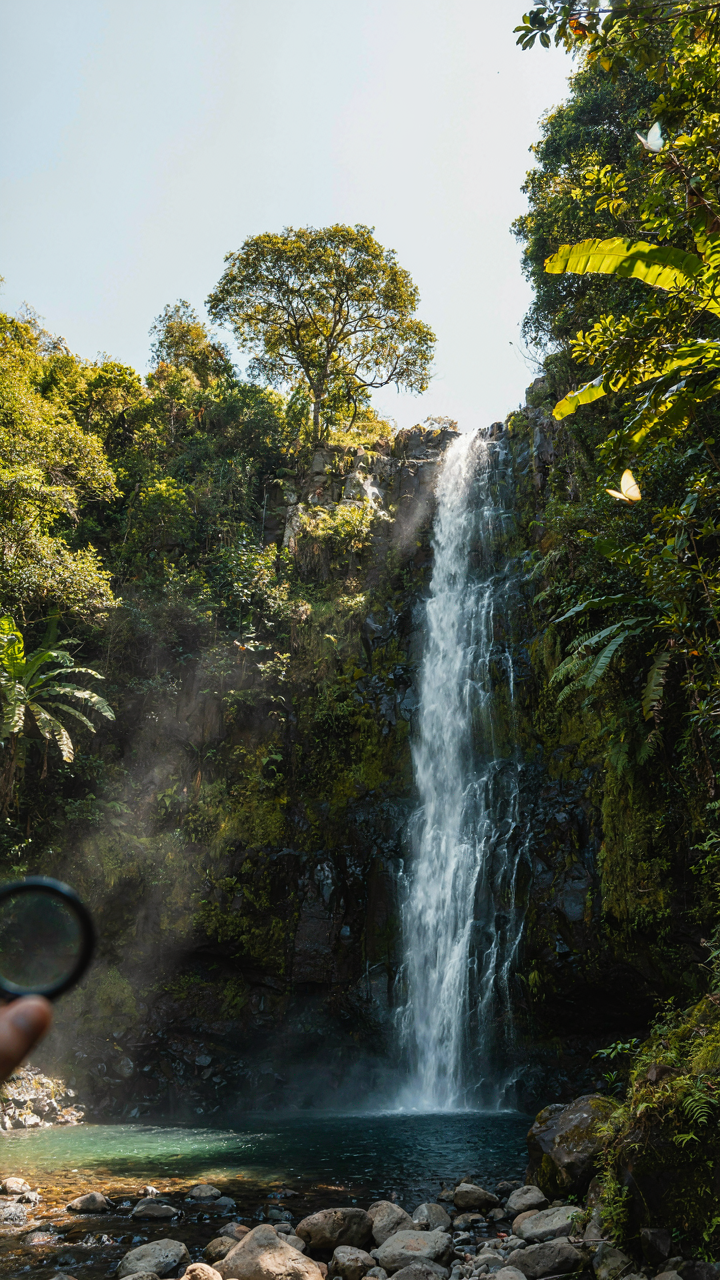
Understanding Light As Your Primary Lever
You want to know this because you’re tired of your waterfall shots looking like a washed-out mess, and you suspect there’s a technical fix that separates amateurs from people who get results. Here it is: light is your only real constraint on shutter speed. Borrow a term from physics—aperture is your light-gathering capacity. On iPhone, you don’t control aperture directly like a DSLR, but iOS camera apps let you tap to expose for specific tones. Expose for the water, and the iPhone meter compensates by letting more light through per frame, which means you can use longer shutter times without overexposure.

The mechanism is simple. The iPhone’s sensor needs a minimum amount of light to produce an image. If you’re shooting midday sun on white water, the sensor floods instantly and forces the phone to use the fastest shutter speed available, freezing motion. Your slow shutter effect dies before it starts. If you shoot during golden hour or in shade, the same sensor needs more time to gather light, giving you the window to apply a longer shutter duration. Location and time of day are not aesthetic choices—they are technical prerequisites.
Neutral Density Filters: A Physical Solution To Excess Light
Everyone tells you to shoot at sunrise or cloudy days. That’s incomplete advice. ND filters cut light intensity without changing color, which means you can force longer exposures in broad daylight. Think of it like dimming a room: the shapes inside stay the same, but you have more time to observe them. A 6-stop ND filter reduces light by roughly 64 times, dropping a midday shot into golden-hour lighting conditions. You attach these filters to your iPhone using a clamp rig or specialized lens adapter. They’re not mandatory, but they unlock slow shutter photography when conditions are harsh.
The practical move is testing filter strengths before committing to a full kit. A 3-stop filter handles moderate light. A 6-stop or 10-stop filter handles direct sun. Brands like PolarPro, Neewer, and Moment make verified iPhone-compatible ND filters that don’t degrade image quality. Stack them if you need stronger reduction. The filter becomes your aperture control lever on a device with no aperture dial. Without it, you’re limited to shooting during narrow windows when light cooperates.
Stability As Your Foundation: Tripod Principles
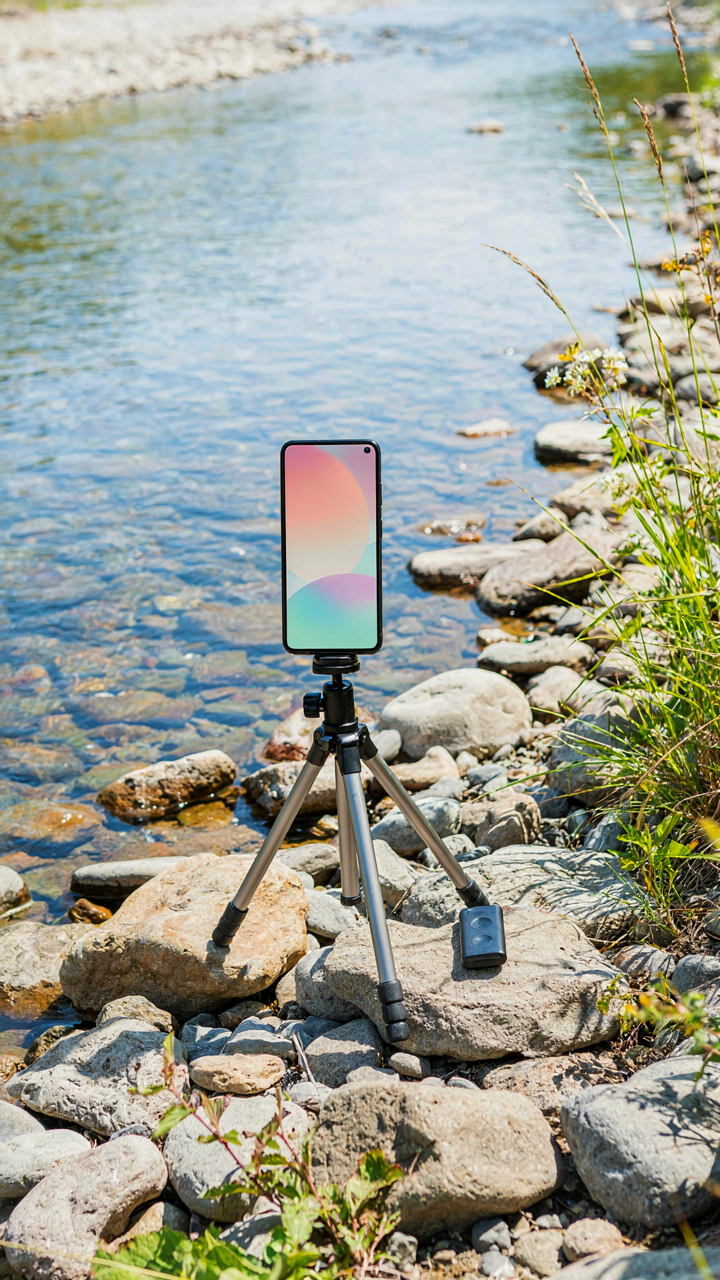
Why Stillness Matters
You want the blur without looking like you got lucky. That requires your phone to stay motionless while the water moves. This is basic physics: exposure is the product of light and time. Motion in the camera during that exposure creates blur everywhere, not just where you want it. Your iPhone’s sensor will record every micro-vibration as a ghosted mess across the entire frame.

A tripod eliminates camera movement as a variable. Without it, you’re fighting gravity and wind and your own shaky hands while trying to isolate motion blur to only the water. The long exposure times required for slow shutter effects, typically two to thirty seconds depending on light conditions and your app settings, amplify every involuntary movement into visible degradation. Stillness is not optional. It’s the foundation everything else builds on.
Remote Triggers Eliminate The Handshake
Pressing the shutter button yourself introduces vibration into the system right when the exposure starts. Even a light tap travels through your phone into the tripod. The standard advice says use the volume buttons or a wireless remote, but that misses the real problem: any physical contact with the phone during the initial frame matters more than contact later. The mechanism is inertia. Your phone has momentum. You’re adding to it at the worst moment.
Use an external remote trigger like Apple’s wireless button, a Bluetooth remote, or your headphone button from arm’s length away. Better: use the ten-second timer or long-exposure app timer features so your phone sits untouched during the entire capture sequence. The phone settles into absolute stillness before the sensor even fires. No remote is as clean as zero contact during exposure initiation.
Water’s Dance: Capturing Flowing Blur Photography
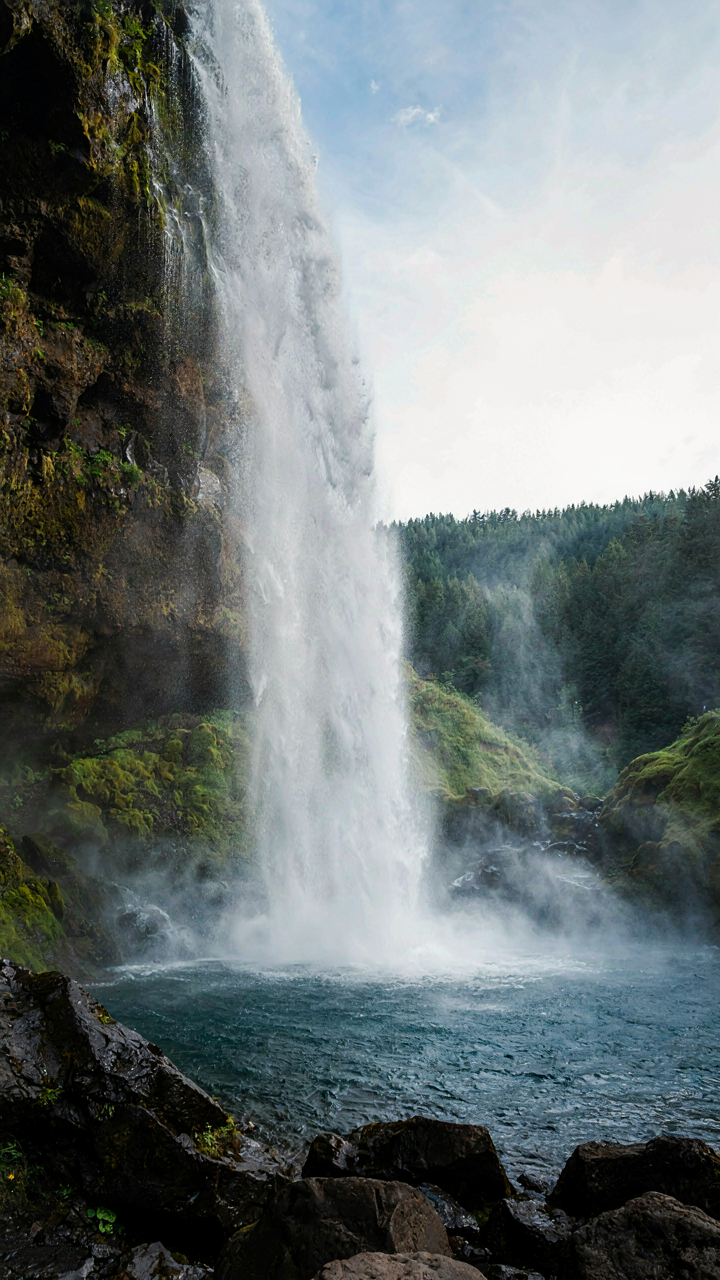
When The Water Actually Moves
You want this effect because you’ve seen it work and you’re tired of flat water photos. The mechanism is simple: the iPhone slow shutter effect doesn’t actually slow your shutter. Instead, you’re stacking multiple frames at normal speed, then the software blends them into one image where moving water appears as continuous blur. Timing isn’t about when you press the button. It’s about recognizing the exact moment the water has enough velocity to register as motion blur across those stacked frames before the algorithm stops collecting data.

Water moves at different speeds depending on volume and gradient. A gentle creek produces almost no blur at iPhone frame rates. A violent cascade generates motion data across dozens of frames in under a second. You need to predict peak flow intensity, not peak visual drama. Position yourself where the water accelerates hardest, then trigger the effect during that acceleration window. The software can only blur what moves fast enough to change position between frames.
Exposure Collapse In Bright Light
Physics calls this the exposure triangle. For the iPhone slow shutter effect, think of it as a compression problem: when you’re blending multiple frames, bright water in sunlight pushes every frame toward pure white. The algorithm has nowhere left to go. Standard advice says use an ND filter, but that’s incomplete. You don’t need expensive gear.
Lower your ISO manually inside the Camera app before triggering the effect. Underexpose by one to two stops intentionally. The multiple frames will recombine with more tonal separation in the water itself. Dark rocks and banks anchor the exposure, preventing the entire image from washing out. Set your focus on a stationary element like a boulder, then trigger motion blur mode and hold steady for the full capture window. The water’s movement against locked foreground elements creates the contrast your phone needs to render texture instead of blown-out white.
The Chronos Method: Time And Motion Blur
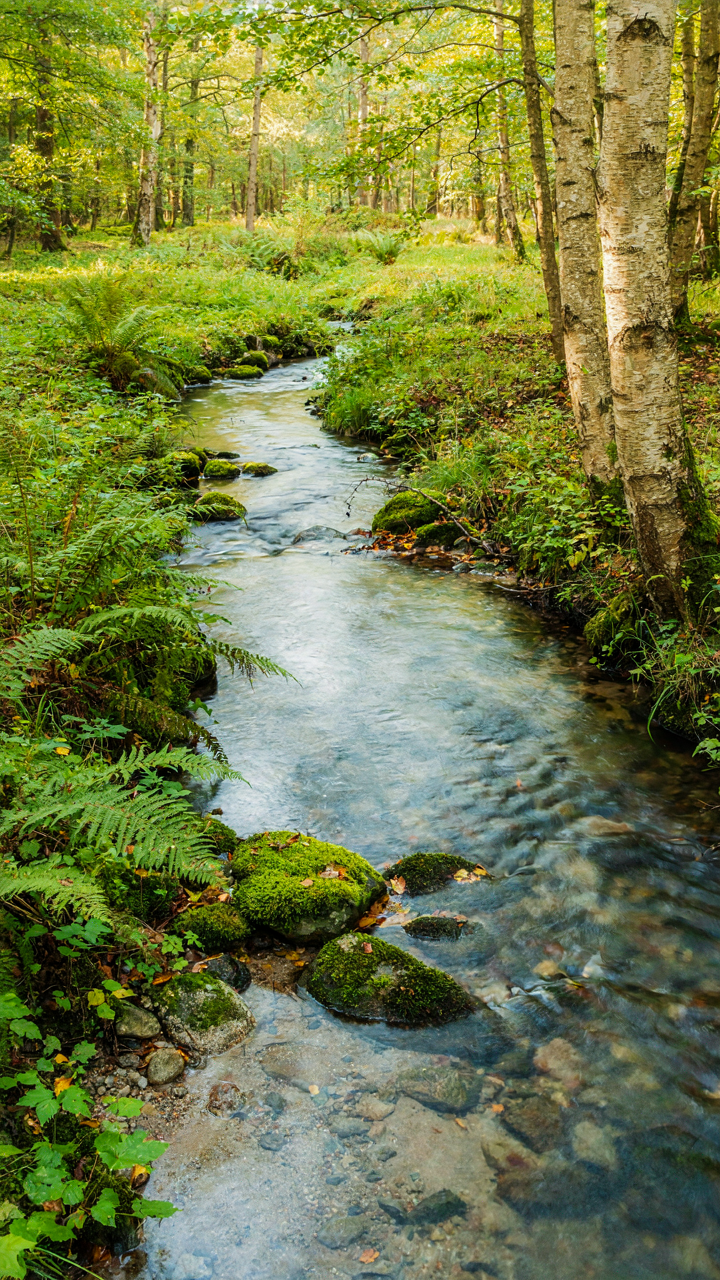
Momentum Replaces The Freeze
You want this effect because it makes ordinary water look intentional, like you planned something technical instead of just pointing your phone at a waterfall. Here’s the physics: in motion capture, momentum is the velocity of an object through space over time. On your iPhone, slow shutter effect operates on the same principle—it extends exposure duration, so moving water accumulates light across the sensor during its trajectory. The longer the shutter stays open, the more distance the water travels while registering as a single blur. This isn’t artistic softness. It’s the sensor recording the object’s path, not its position.

Traditional fast shutter freezes a single moment. Slow shutter captures the entire journey. The difference matters because it transforms how your brain reads the image. A frozen waterfall looks like a still photograph. A blurred waterfall reads as motion itself, embedded in the frame. On iPhone, you achieve this through Live Photos, then using editing tools to select Long Exposure mode, or through third-party apps that simulate extended exposure times. The mechanism is simple: more time equals more blur. The sensor doesn’t care whether the water moves or the camera moves—both register identically as light displacement.
The Trace, Not The Thing
Slow shutter abandons the object itself and captures only evidence of movement. When water flows over a waterfall, each molecule occupies different positions across the exposure window. The sensor records all those positions simultaneously as a gradient of light. You’re not photographing water. You’re photographing the ghost of where water was. This shift in subject matter is why beginners fail—they expect to see water clearly, just softer. Wrong. You’re seeing the absence of definition, the trail left behind.
The technical requirement is exposure time. One second produces moderate blur. Two to three seconds produces the milky, dreamlike effect people chase. On iPhone, Live Photo with Long Exposure typically captures around one second of data. For longer exposures, third-party apps like Slow Shutter Cam or ProCam allow you to dial in exact durations and test results before committing. Set your duration first based on water speed, not aesthetics. Fast-moving water needs less time. Slow-moving water needs more. Adjust exposure compensation down by one to two stops to prevent overexposure, then shoot.
Advanced Drags: Intentional Movement Photography
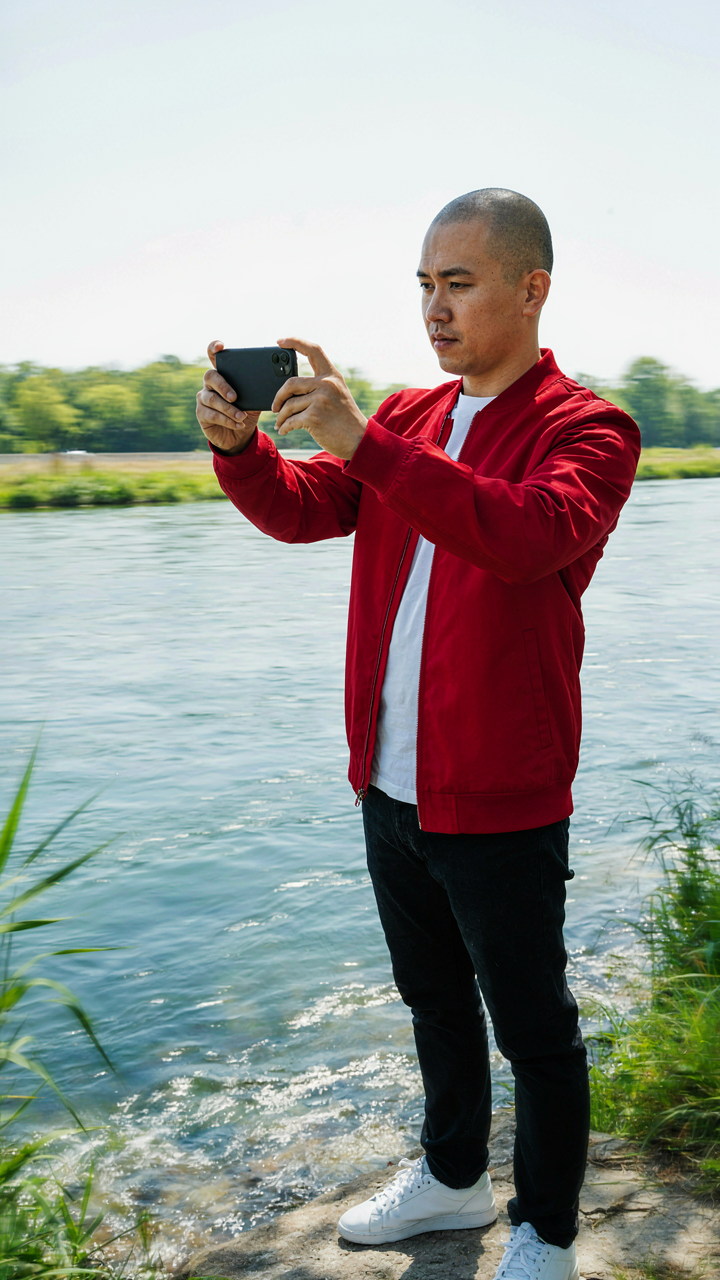
Panning Across Horizontal Motion
You want this technique because it makes you look like you know what you’re doing. The real mechanism is simple: you’re using the phone’s sensor and slow shutter to track movement horizontally, which keeps your subject sharp while blurring the background. This is borrowed from cinematography—the concept is “follow focus,” where the camera maintains subject clarity while environment becomes dynamic. Your thumb becomes the tracking tool.

Start panning before the water hits your frame. Move your phone at the exact speed of the moving water, keeping the subject centered. Initiate the slow shutter just as motion enters the frame, then continue the pan through the shot. The key is matching velocity precisely. Stop panning only after you’ve released the shutter. Inconsistent speed kills the effect—your background blur becomes chaotic instead of directional.
Zoom Bursts Adding Dynamic Focus
Most iPhone slow shutter advice ignores zoom bursts entirely, which is lazy. The technique forces the sensor to capture radial motion—the camera zooms inward while the shutter stays open. You’re creating artificial depth compression and motion blur that radiates from a single point. This works for waterfalls because the falling water becomes the center point of convergence.
Tap into zoom burst mode if available in your app, or manually pinch during the exposure. Start zoomed out, then pinch toward the subject while slow shutter records. The waterfall’s vertical drop becomes the anchor point, and the surrounding frame compresses inward. Set your exposure to at least 1 to 2 seconds. Execute the zoom smoothly and steadily—jerky movements create disjointed blur rather than clean radial streaks.
Post Processing: The Darkroom Of Your IPhone
Converting Live Photos Into Long Exposures
You’re hoping post-processing will save a mediocre capture and make you look like you know what you’re doing. The real mechanism: Live Photo conversion tools don’t create motion blur—they compress multiple frames into a single image, selecting which frames to blend based on your settings. This is sampling, borrowed from signal processing. You’re not extending exposure time. You’re choosing which temporal slice of data survives the merge.

Apple’s native Photos app converts Live Photos to long exposure through the Effects menu. Third-party apps like Slow Shutter Cam, Live Photo Maker, and Long Exposure Camera offer more control over frame selection and blend intensity. Snapseed provides post-conversion refinement. The constraint: you can only work with frames already captured in the Live Photo sequence. If motion stopped before the sequence ended, no tool resurrects it.
- Long Exposure filter (Apple Photos): Selects and blends frames automatically. Works best when motion fills the entire Live Photo window. Limited control over final intensity.
- Slow Shutter Cam: Lets you choose which frames to include in the blend and adjust motion trail intensity independently. Requires manual selection but yields precise results.
- Live Photo Maker: Converts Live Photos with adjustable blur strength and frame range. Useful for fine-tuning blend opacity before saving as static image.
- Snapseed: Post-processing tool that sharpens or softens motion blur effects after conversion. Best used as a secondary refinement step, not primary conversion.
- Manual frame export: Extract individual frames from a Live Photo, stack them in Photoshop or Affinity Photo, then blend with layer masks for maximum control.
The conversion happens at pixel level. Each frame becomes a layer. Motion blur emerges from blending overlapping pixels across frames. Export as a static JPEG or HEIF to lock the result, or keep editing the original Live Photo if your app supports non-destructive workflows.
Refining Motion Blur With Editing Tools
Most people think sharpening and contrast adjustments polish motion blur. They don’t. You’re targeting luminosity and color separation to make motion trails read cleaner against the background. Dodge and burn are your real levers here—they isolate motion trails from surrounding pixels without destroying the blur structure itself.
- Luminosity masks: Isolate bright or dark areas within motion trails. Increase contrast only on the blur itself, leaving background untouched. Available in Lightroom and Affinity Photo.
- Dodging and burning: Lighten motion trails to separate them from dark water, or darken them against bright sky. Reserves detail while enhancing definition of the blur path.
- Color temperature shifts: Warm or cool motion trails independently from static elements. Water reflections often benefit from slight saturation boost on blue and cyan channels.
- Local clarity adjustments: Increase micro-contrast only in the trail region without sharpening the entire image. Prevents halos while making motion visually distinct.
- Curve adjustments with masks: Target midtones or highlights within the blur area. Prevents blowing out water highlights while keeping dark shadows intact in the trail.
The edit sequence matters. Convert first, then mask, then dodge and burn, then color grade. Reverse this order and you fight the tool. When the motion blur reads flat against the background, you’ve lost the effect entirely. Increase contrast only on the blur area until the trail separates from surrounding water without introducing artificial sharpness or halos.
Beyond The Gimmick: Mastering Low Shutter
When Light Becomes Your Raw Material
You want this to look intentional, not like you got lucky with your phone. The real mechanism at work here is perception of intent. Long exposure on waterfalls works because your brain reads motion blur as deliberate control, not accident. This separates amateurs who stumble into decent shots from people who understand what they’re actually capturing. Light and movement aren’t separate variables you juggle independently. They’re locked together in exposure. Master one without the other and you’re still guessing.

The eye you develop isn’t about aesthetics. It’s about reading how light behaves at different times of day and predicting how your sensor will render it at low shutter speeds. Midday harsh light ruins slow shutter work because the image overexposes before you finish capturing the motion. Golden hour and overcast conditions work because the light intensity allows you to hold the shutter open long enough to actually record water movement without blowing out highlights. This isn’t a preference. It’s physics. Train yourself to see light levels first, composition second.
The Constraints That Actually Free You
Everyone tells you to use ND filters and neutral density this and that. Here’s what they won’t say plainly: your iPhone’s processing engine is both your biggest limitation and your secret advantage compared to traditional cameras. Most smartphone slow shutter relies on computational stacking, not a true mechanical shutter. Your camera captures multiple frames rapidly and blends them algorithmically to create the motion effect. This means you can’t control shutter speed like you could with a DSLR. You control it indirectly through lighting conditions and app settings.
Understanding this gap changes how you work. Stop thinking like a camera operator thinking like a sensor optimizer. Your constraint is that you must work within the phone’s processing parameters, not fight against them. This actually eliminates bad decisions. You can’t overexpose because the algorithm self-corrects. You can’t shoot at arbitrary shutter speeds because they’re preset. The device limitations force you toward better fundamentals: position yourself in good light, use a stable tripod or surface, frame tightly, and let the phone do its computational work. Mastery here means working inside the system’s actual rules, not pretending you have freedom you don’t have.
The Real Obstacle Isn’t Your IPhone; It’s Your Resistance To Seeing Light And Motion As Raw Material
Most people treat their phone like a box that captures what’s in front of it. You need to treat it like a tool that manipulates reality. The iPhone slow shutter effect works because you stop thinking about freezing moments and start thinking about painting with movement. Go outside today and film one 30-second clip of moving water without touching anything else. Watch it back at half speed. That shift from observer to director changes everything you create next.



