Beyond The Built In Blast: Why Direct Flash Fails You
The Physics Of Flat Light
You want people to think your photos look professional, and you assume the flash is doing the work for you. It isn’t. Direct flash operates like a spotlight hitting a wall perpendicular to its surface: maximum intensity, zero dimension. The light travels straight from the camera to the subject with no diffusion, creating a lighting ratio so extreme that your sensor can’t hold both shadow and highlight detail simultaneously.
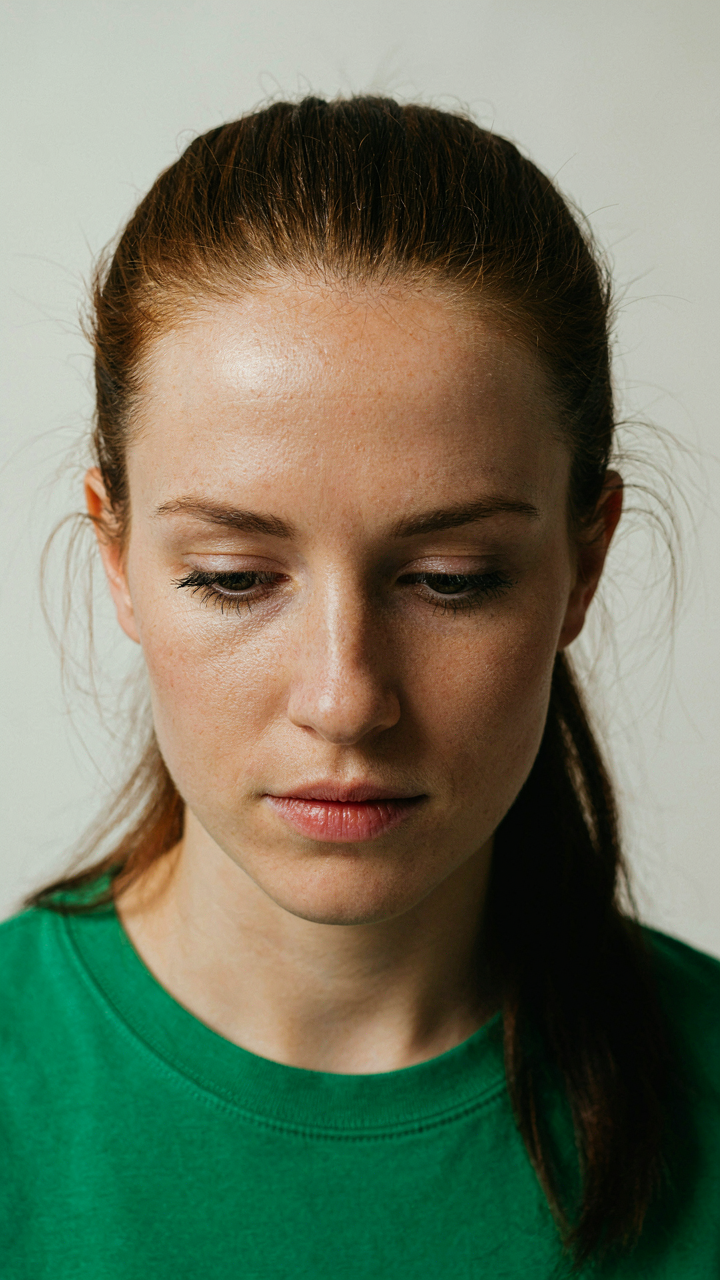
When light bounces off skin at that angle and intensity, it erases texture. The camera records either blown highlights on cheekbones and foreheads or crushed shadow detail in eye sockets and under the chin, never both. This is why direct flash photos look like mugshots. The mechanism is simple: inverse square law means light intensity drops rapidly with distance, so nearby surfaces get hammered while backgrounds stay dark, producing that cardboard cutout effect.
Subject Flattening And Skin Rendering
The consensus advice says to use portrait mode and hope the software fixes it. That’s incomplete. Direct flash doesn’t just wash out color information on skin, it eliminates the micro-shadows that make a face appear three dimensional. Skin has texture, pores, and surface irregularities that only register visually through subtle shadowing. Obliterate that with a point light source and you’re left with a rendering that looks airbrushed by accident rather than intention.
Unnatural skin tones happen because direct flash overexposes the red and green channels faster than blue, and the camera’s white balance algorithm compensates incorrectly downstream. The result is either an orange cast or a desaturated, lifeless tone depending on your skin type and the flash intensity. Turn off automatic flash entirely indoors and either increase ISO to 800 or higher, shoot near a window for directional light, or use a physical diffuser. The diffuser method works because it spreads the light over a larger area, lowering intensity and creating edge transitions that restore dimension.
The Inverse Square Law Protocol: Flash Power, Distance, And Control

How Light Loses Power With Distance
You want to look competent in photos without buying equipment. Here’s the mechanism: physics calls it the inverse square law. Light intensity drops by the square of the distance from the source. Your iPhone flash follows this rule exactly. Move twice as far from your subject, and the flash power becomes one-quarter as bright. This isn’t preference or technique. It’s measurement.

The inverse square law means flash distance is your primary control lever, not just camera settings. Every inch you move closer to a subject doubles the flash’s effective power in ways that opening aperture or raising ISO cannot replicate. Most people blame their flash for being weak when they’re simply standing too far away. The flash isn’t broken. You’re just operating it in the wrong distance band for the job.
Flash Intensity Scales With Position
Distance controls flash output more directly than any other single factor. Move your iPhone six inches closer to a face and the flash output requirement drops dramatically. Move it a foot back and you’re fighting physics. The common advice to “use fill flash from arm’s length” misses this entirely. You’re not getting fill light at arm’s length. You’re getting weak, unflattering coverage because you’re outside the flash’s effective range.
Set a distance protocol for each scenario: close-range fill flash works best within two to three feet, medium-range indoor work around four to five feet, and anything beyond six feet surrenders to ambient light supplemented by flash rather than driven by it. Don’t adjust flash intensity settings in the camera app. Adjust your physical distance instead. The flash brightness slider is a band-aid for poor positioning.
Diffusion As Deception: Softening The IPhone’s Glare

The Physics Of Scatter
You want people to think you know what you’re doing with light. That’s why diffusion matters to you. Here’s the mechanism: diffusion spreads light energy across a wider surface area, reducing intensity at any single point. In optics, we call this inverse square law in reverse. A bare iPhone flash concentrates output into a narrow beam. A diffuser intercepts those photons and scatters them. The result is lower peak brightness but more even coverage. This is why shadows disappear.

DIY diffusers work because the material doesn’t need to be exotic. Translucent plastic, frosted glass, or even white fabric placed one to two inches in front of the flash accomplishes the scatter. The thickness matters less than the opacity. A semi-transparent material stops some light while letting the rest through, creating the diffusion effect without killing dynamic range entirely. Test with a tissue or thin paper first.
Bounce And Angle Over Direct Aim
Everyone tells you to diffuse the flash. They’re half right and half missing the real move. Indirect flash—bouncing light off walls or ceilings before it hits your subject—produces better results than any diffuser can. You’re using the room itself as a giant softbox. Aim the flash at a nearby wall or ceiling at a 45-degree angle instead of straight at the subject. The light travels farther, spreads naturally, and fills shadows without creating the plastic, over-lit look diffusers produce.
Angling changes everything because distance matters more than softness. A flash bounced ten feet away reads as softer light than a diffused flash two feet away. Position yourself near a light-colored wall. Tilt the phone so the flash points at that wall rather than your subject. The reflected light fills the scene evenly. You need walls close enough to bounce into but far enough that the light has space to scatter before reaching faces or objects.
Exposure Compensation: Your Manual Override For Flash Balance

When The Camera Guesses Wrong
You want to look like you know what you’re doing, so you’re hoping exposure compensation is some advanced feature that separates amateurs from pros. It’s not. It’s the camera admitting its meter is wrong and letting you fix it. The iPhone flash meter reads the entire scene and often overexposes or underexposes because it can’t weigh the flash’s role correctly. Exposure compensation is your lever to recalibrate that guess without switching modes.

Open the Camera app and tap the exposure slider icon, the one that looks like a sun with up and down arrows. Slide up to brighten, down to darken. The scale runs from negative to positive values shown in stops. Each full stop represents a doubling or halving of light. You’re not adjusting the flash output directly here; you’re telling the camera’s metering system to treat the scene as brighter or darker than it reads. When flash is on, this compensation applies to the entire exposure calculation, which means the camera compensates both ambient and flash light together.
Balancing What The Flash Can’t Control
This is where physics meets limitation. Think of exposure compensation as a gain adjustment in signal processing: you’re amplifying or reducing the overall input before the system locks in its output. Your phone’s flash has a fixed power level, roughly equivalent to a 35mm film speed at wide aperture. You cannot change that power directly in the stock Camera app. But you can change how the camera interprets the scene brightness relative to that fixed flash output, which changes whether the flash fires at full power or the camera chooses a different shutter speed or ISO to balance ambient light.
The real move is this: use exposure compensation to preserve detail in the background while keeping the subject properly lit. If you’re shooting someone indoors with a window behind them, the camera meters the window brightness, fires the flash to expose for the subject, but often crushes the background into black. Slide the exposure compensation up by one or two stops, and the camera keeps the window detail visible while the flash still lights your subject. Then take the shot. The compensation persists until you reset it, so check before moving to the next scene.
The Ambient Light Gambit: Integrating Flash, Not Replacing It

Start With The Light That’s Already There
You want flash to make you look professional without the flat, washed-out look that screams “I used my phone’s flash.” The real mechanism here is borrowed from exposure metering in film photography: your flash should act as a fill light, not the primary light source. Read the ambient light first. Measure it mentally. Only then decide if flash plays a role.

iPhone’s exposure metering defaults to averaging the entire frame, which means dark indoor spaces push the camera toward a slow shutter and high ISO. That’s your starting point, not your problem. Existing light—from windows, lamps, overhead fixtures—already has direction and character. Flash destroys both if you let it dominate. The tactical move is to expose for the ambient, then layer flash underneath it.
The Fill Flash Approach
The common advice says “turn on flash in dark rooms.” That’s incomplete. Real fill flash sits beneath ambient light, not above it. Open your Camera app, shoot a test frame without flash indoors. If the subject is underexposed but the background holds detail, flash won’t fix the problem cleanly. If the subject is in shadow but the scene around them is lit, flash becomes precision. That’s when it works.
Adjust your position first. Move toward the window. Bounce ambient light off a wall behind the subject. Step into a lit zone. Only after you’ve positioned yourself to use existing light should you consider flash. When you do enable it, the iPhone’s automatic exposure will often reduce it naturally because it sees the ambient light already doing work. This creates the fill effect without you touching settings. The flash becomes a detail refinement, not a rescue operation.
Creative Color Correction: Gels, Filters, And Mood

Shift Light Temperature With Gels
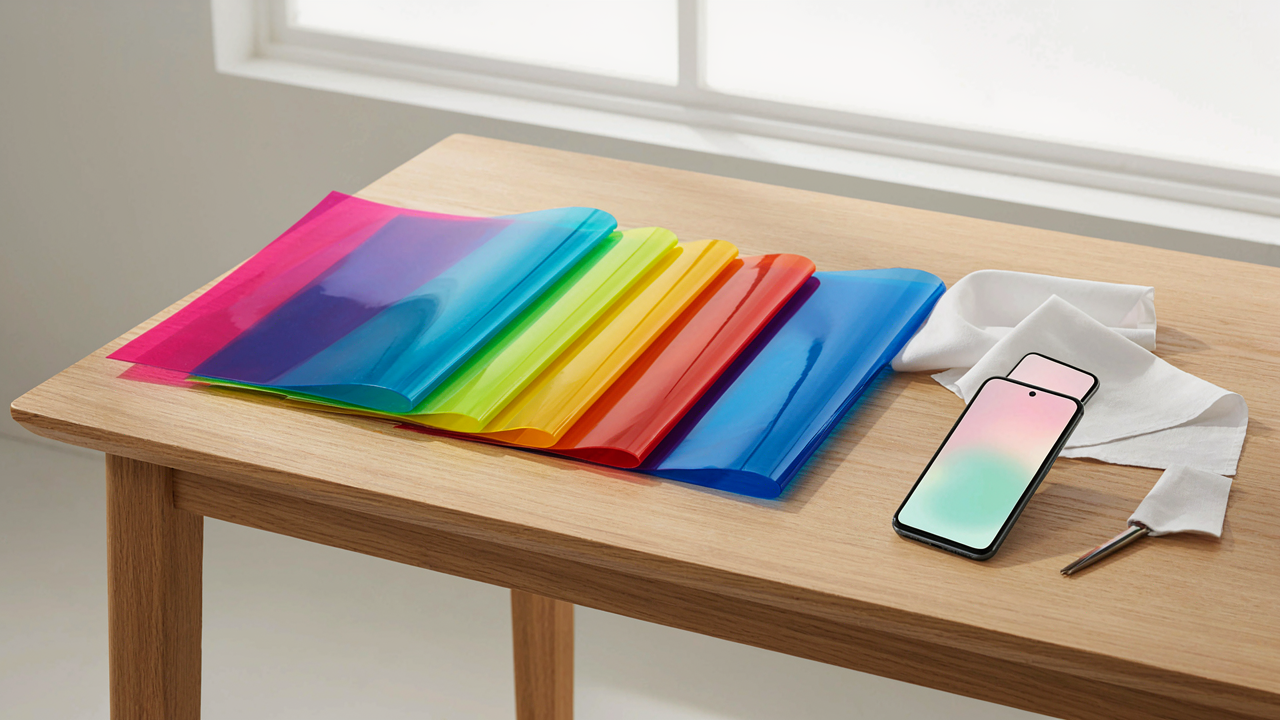
You want people to think you know what you’re doing with light. The real mechanism is this: light has color temperature measured in Kelvin, and your iPhone flash outputs around 5500K (daylight). When that clashes with ambient tungsten light at 2700K, you get muddy, competing color casts. Gels are transparent sheets that absorb certain wavelengths, forcing your flash to match the room instead of fighting it.
- CTO (Color Temperature Orange): Warms flash output to match tungsten bulbs. Cuts blue, makes skin tones read as intentional rather than sickly under warm ambient light.
- CTB (Color Temperature Blue): Cools flash to daylight balance. Use when shooting outdoors at dusk or in tungsten-heavy interiors you want to neutralize completely.
- Half CTO/CTB: Moderate shift without overcorrecting. Splits the difference when your room has mixed lighting and you need compromise, not extremes.
- Neutral Density (ND): Reduces flash intensity without color shift. Lets you control exposure and flash falloff separately from color, keeping options open in post.
- Colored Effect Gels: Magenta, green, or deep color for deliberate mood. Treat as a creative choice, not a correction. One accent gel per shot prevents muddy layering.

You cut gels from cheap lighting sheets or buy precut kits for phone flash heads. Tape matters more than the gel itself. Gaffer tape holds without leaving residue; masking tape shifts during a session. The gel only works if it stays in place between your light source and the subject.
How Filters Change Flash Output
Most advice about filters assumes you’re using them on the lens, which does nothing for flash. That’s incomplete. Filters placed over the flash source change the light itself before it bounces off skin or objects. Filters on the lens only affect ambient light in the frame, missing the point entirely when flash is your key light.
The real move is stacking intent: use a filter on your flash to establish color mood, then choose your lens aperture based on how much ambient you want visible. A CTO gel on the flash plus a slight warm white balance in-camera creates cohesion. A ND gel on the flash plus a wider aperture lets background detail breathe without blowing out the subject. Protocol is simple: dial the flash strength first, select the gel second, then meter the room for ambient contribution.
Post Processing Leverage: Refining Flash Photos With Photo Editing Vsco

Targeted Adjustments In Photo Editing Apps
You’re reading this section because you want your flash photos to look professional without admitting you shot them with flash. The real mechanism is this: flash creates distinct tonal problems that demand surgical fixes, not broad strokes. VSCO operates like audio engineering—you isolate frequencies of light rather than adjusting the whole image at once. Shadows blown out by backflash, highlights clipped by direct output, and color cast from LED tubes all exist in different zones. VSCO lets you target them independently through its exposure, temperature, and saturation tools without wrecking the photo’s overall structure.

Start with exposure and highlights sliders, not filters. Reduce highlights first if the flash created blown-out spots on skin or surfaces. Then lift shadows selectively using VSCO’s shadow slider to recover detail the flash crushed. Temperature shifts compensate for tungsten or cool LED color cast that flash units often produce. Grain added at the end masks the plastic look flash creates, but only if applied at 15 to 25 percent intensity. The order matters: exposure before temperature, temperature before grain. Reverse it and you’ll chase your tail adjusting the same pixels twice.
Noise Reduction And Clarity On Flash Photo
Flash photos in low light create two contradictory problems simultaneously: noise from the camera’s ISO response and a soft, murky quality from uneven light distribution. VSCO’s noise reduction slider reduces both luminance and color noise, but aggressive use destroys texture that makes flash photos look real. The clarity adjustment—which increases mid-tone contrast—is where most editors fail. They push it too hard and create halos around edges where flash and shadow meet, announcing to anyone looking that the image was edited heavily.
Keep noise reduction between 20 and 35 percent unless the photo was shot at ISO 3200 or higher. Clarity should stay at 5 to 10 percent maximum on flash shots. What saves you is doing noise reduction before clarity, not after. Noise reduction first removes the grain that clarity would otherwise magnify into visible artifacts. Export in high quality to preserve these subtle adjustments, as low-quality exports compress the tonal work you just completed into visible banding. This sequence prevents the over-processed look that kills credibility faster than any technical flaw.
The “Flash As Accent” Doctrine: Mastering Dramatic Light

Isolate What Matters With Targeted Light
You want flash to make your subject look intentional instead of lit by accident. The mechanism here comes from photography’s principle of selective emphasis: flash isn’t about brightness, it’s about directing the viewer’s eye to one thing. When you use flash on a specific detail—a texture, a face, an object—while leaving the rest of the frame darker, you’re using contrast as a navigation tool. The flash becomes a spotlight, not a floodlight.

Your iPhone’s default flash fires everywhere equally, washing out depth. Instead, hold your hand or a piece of white paper to one side of the flash to redirect light onto only what you want visible. Bounce the light off a nearby wall or ceiling to soften it before it hits your subject. This is the actual work: controlling where photons go, not just whether the flash fires. The result feels composed because one element dominates the visual hierarchy.
Combine Flash With Available Light For Contrast
Flash as contrast isn’t about brightness—it’s about opposition. Photographers call this “fill flash,” but most people get it backward and use it wrong. The real play is using flash to create visible separation between your subject and its background, not to make everything brighter. In a dim room with some ambient light already present, fire the flash at your subject while the background stays lit only by what’s already there. The subject pops because it’s brighter than the context surrounding it.
This works because your eye tracks edges and contrast before it processes overall brightness. Set your iPhone to manual exposure mode if available through a third-party app, dial down the overall exposure so the background reads, then fire flash only on your main subject. The frame now has depth—a near layer and a far layer. No further editing required. This single move separates deliberate photography from snapshot habit.
Beyond Auto: The Manual Mode Advantage For Indoor Flash

Apps That Actually Give You Flash Control
You want manual flash control because the default iPhone camera treats your flash like a binary switch, not a tool. The real mechanism is simple: Apple’s native camera locks you out of granular flash power adjustment. Third-party apps like Halide and ProCam unlock this by writing directly to the camera API, giving you real-time flash intensity control before you shoot. This matters indoors where bouncing light off walls or ceilings requires precision Auto can’t deliver.

These apps let you dial flash output down to 10 or 20 percent instead of full power, which kills harsh shadows on faces and reduces blown-out backgrounds. You preview the effect in real time on your screen. The trade-off is a learning curve and cost, but if you’re shooting indoors regularly, the control pays back immediately through usable shots instead of trial and error.
Shutter Speed And ISO Are Your Real Levers
The physics principle here is exposure: shutter speed and ISO control how much ambient light reaches your sensor independent of flash. Most people think flash is the only variable indoors. It’s not. Slower shutter speeds (1/50th instead of 1/125th) let ambient light fill in shadows before flash fires. Higher ISO amplifies available light but introduces noise. The combination of these two determines whether flash appears natural or artificial.
iPhone’s native app doesn’t expose these controls cleanly, which is why manual mode apps exist. On Halide or ProCam, slow your shutter slightly and raise ISO to 800 or 1200. Your flash fires at lower power while ambient light does real work. This produces balanced indoor photos where flash enhances rather than dominates. Adjust shutter speed first, then ISO, then flash power in that order.
The Real Obstacle Isn’t The Flash, It’s Your Refusal To Innovate Beyond Default Settings

Your iPhone flash won’t improve your photos until you stop treating it like an on-off switch. The real problem is that you’ve accepted mediocrity as normal. Today, turn off auto-flash. Shoot one photo with manual flash control. One. Notice how much faster you think when you’re forced to make a decision instead of letting the phone decide for you. The difference between amateur and professional isn’t the gear. It’s the willingness to break what already works.



