
The Siren Song Of More: Why Bigger Tanks Betray You

Weight Penalties Outweigh Perceived Benefits
You want a bigger tank because you’re afraid of running dry in a remote zone. That fear is rational. The trap is believing more capacity solves the problem when it actually creates a worse one. Physics doesn’t negotiate: one gallon of water weighs 8.34 pounds. A 50-gallon tank adds 417 pounds to your vehicle before you account for the tank structure itself, plumbing, and mounting hardware.
That mass doesn’t vanish. It compounds every acceleration, every climb, every braking event. Your vehicle’s suspension works harder. Tires wear faster. Heat management suffers. Recovery becomes slower if you get stuck. Most remote trips fail not because people ran out of water, but because their vehicle couldn’t handle terrain or self-recover after a mistake. The water tank you added to feel safer made you less safe.
Vehicle Dynamics And Fuel Economy Collapse
Your vehicle has a weight distribution window. Engineers calculated it. Center of gravity, axle load limits, and suspension geometry all depend on that spec. Overland water storage violates this equation because it’s heavy, often mounted high on the frame or rack, and rarely balanced front-to-back. The result: your rig becomes top-heavy, squirrely on corners, and prone to body roll.
Fuel economy tanks proportionally to weight increase. A 400-pound tank addition typically reduces efficiency by 15 to 25 percent on rough terrain. On a remote trip where you’re rationing fuel against distance, this math kills you faster than rationing water. The solution is not bigger tanks. It’s accurate consumption data from your actual vehicle, better navigation to reduce miles driven, and strategic water sources planned into your route before departure.
The Hydraulic Leverage Protocol: Engineering Flow, Not Just Storage
Gravity Fed Systems Versus Pump Dependency
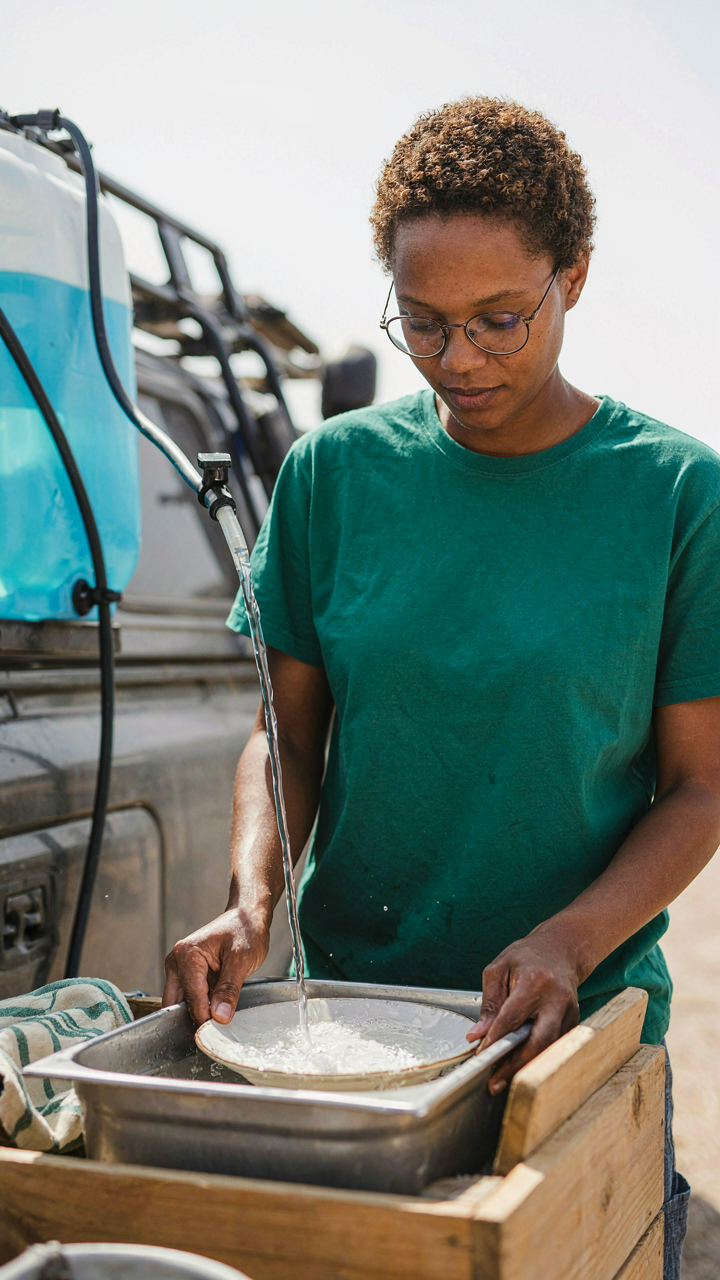
You want the setup that works when everything breaks. Most overlanders treat gravity-fed systems as a nice-to-have, then panic-buy a pump when their jerry cans run dry. That’s backwards. Physics calls this “hydrostatic pressure” – the force exerted by fluid at rest based on elevation. Apply it to water storage: height becomes your free engine. A tank elevated two meters generates enough pressure to move water without electricity or moving parts.

Pump dependency creates a failure point you don’t need. Every electric pump requires power management, filtration maintenance, and eventual replacement. A gravity-fed system from a rooftop tank eliminates those variables. You lose the ability to draw from ground-level sources, but gain reliability in exchange. On remote trips, that trade compounds in your favor. The mechanism: store water elevated relative to your use point, and pressure flows naturally to lower elevation without intervention.
Optimizing Outlet Placement For Natural Pressure
Wrong placement kills your entire gravity system before it starts. Most overlanders mount outlets at tank bottom, which seems logical but wastes the pressure differential you built by mounting high. Outlet height relative to your use point determines actual pressure delivered. Place the outlet near the tank top instead. You sacrifice a small volume of usable water, but you preserve pressure throughout the tank’s discharge cycle.
Water pressure drops linearly as the tank empties only if your outlet sits too low. A high outlet maintains consistent pressure longer because gravity still pulls water downward through a shorter column. Install your outlet two-thirds up the tank wall, then run lines down from there. This single placement change extends usable water volume and keeps pressure stable enough for basic gravity-fed showers, dish washing, and gravity filters. Pressure dies when the water level falls below your outlet height, so design accordingly.
Beyond The Tank: Unconventional Overland Water Storage Vectors

Flexible Bladders And Jerry Cans Working Together
You want to look like you’ve solved the water problem without actually committing to it. The real mechanism here is redundancy through incompatible failure modes. Bladders fail differently than rigid containers. A bladder ruptures; a jerry can rusts or cracks at seams. Pairing them forces you to design around two separate risk profiles instead of betting everything on one tank architecture.

Bladders excel at weight distribution and space utilization. Jerry cans excel at durability and stackability. The integration strategy is simple: use the bladder for your primary reserve mounted low and centered on the vehicle frame, then secure jerry cans on external racks where they absorb road vibration without destabilizing your center of gravity.
- Bladder mounting: Position behind rear axle or under frame to lower center of gravity and prevent sloshing that shifts vehicle balance during turns or climbs.
- Jerry can placement: Mount on roof racks or rear ladders where weight sits high but contained, using heavy-duty straps rated for twice the load you carry.
- Cross-contamination prevention: Keep separate jerry cans for fuel and water with distinct caps and labeling; never alternate containers between fuel and water storage.
- Rotation discipline: Use jerry can water first before bladder reserves to avoid stagnation in static bladder environments where algae and bacterial growth accelerate.
- Pressure equalization: Install vent caps with filters on bladders to prevent vacuum collapse and allow air exchange during temperature swings in desert environments.
Most people treat bladders and jerry cans as interchangeable options instead of complementary systems with different failure mechanics. The vehicle becomes more stable when weight sits distributed across multiple vectors rather than concentrated in a single tank. Mount your bladder first for ballast, then add jerry cans as redundant capacity that survives puncture or seal failure better than a single compromised bladder would.
Hidden Reserves In Frame Cavities And Chassis Channels
Vehicle frame tubes and longitudinal chassis members are dead space on most overlanders. You can use them as water reserves if you engineer for corrosion and drainage properly. This is physics applied to load distribution: spreading water mass along the frame’s existing structure means you bypass the weight penalty of additional mounting hardware and external racks.
The constraint is access and maintenance. Water sits dormant in frame cavities where stagnation happens faster than in open tanks. You need drain plugs at the lowest point of each cavity and flushing protocols every two weeks on expedition. Sealed PVC tubing inserted into frame channels lets you store water without direct metal contact that accelerates rust. Cap both ends with ball valves. The trade-off is complexity for distribution: less visible weight, more involved withdrawal process.
The ‘Off Road Water Tank Setup’ Myth: Location Trumps Volume
Low Center Of Gravity Wins Vehicle Stability
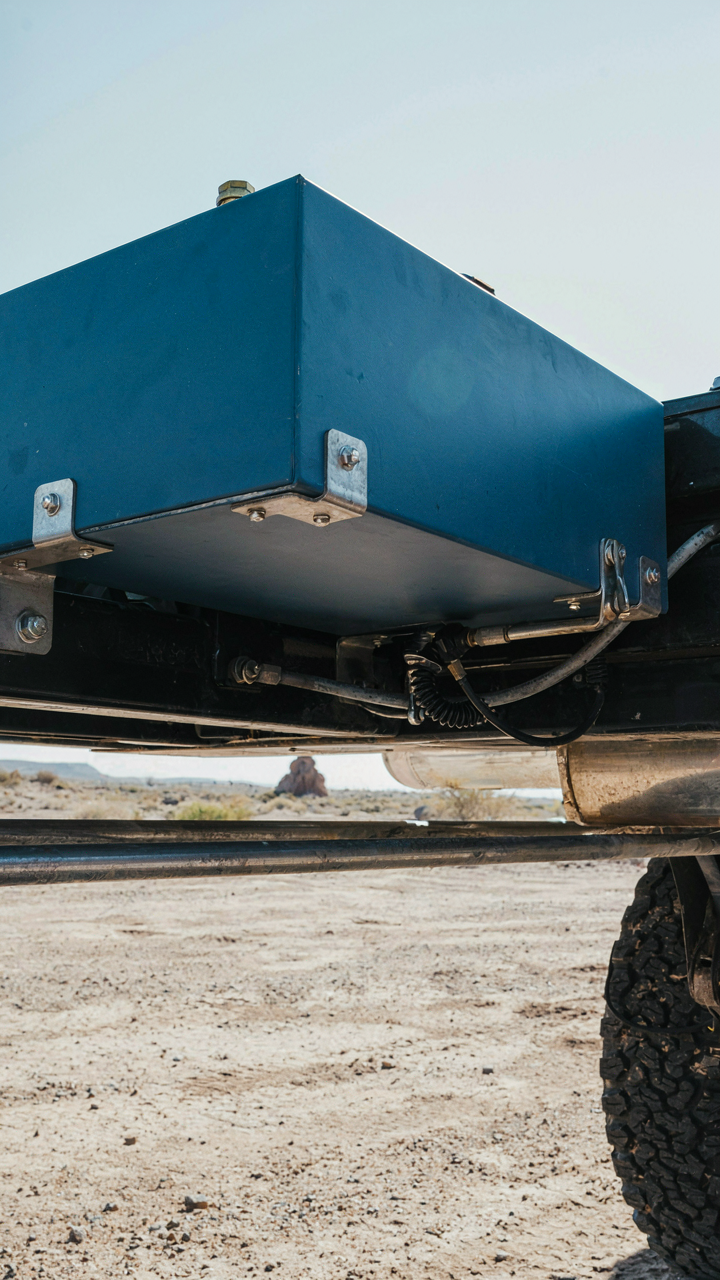
You want to feel like you’ve made the smart engineering choice. Here’s what actually matters: tank placement determines rollover threshold, not tank size. Physics calls this the center of mass. In overland vehicles, every inch higher shifts your stability margin closer to failure. A 100-liter tank mounted roof-high destabilizes faster than a 60-liter tank mounted low, regardless of total water capacity. The mechanism is simple. Rollover happens when your center of mass moves outside your wheel base. High tanks accelerate this moment on uneven terrain.

Mount tanks as low as chassis geometry allows. Frame rails, belly boxes, and integrated underbody mounts beat roof racks every time. The trade-off is capacity loss on some vehicles, but a vehicle that stays upright carries water better than one that tips. Test your actual angle of tilt by loading the tank and measuring how much sideways lean triggers instability. Most overlanders skip this step and pay for it on washboard or sloped terrain. Do the math before departure: measure tank height, divide by half your wheel base, and know your rollover threshold.
Protection From Elements And Impact Damage
Trail hazard damage costs more than capacity limitations ever will. Rocks, branches, and ruts target exposed tanks relentlessly. UV exposure degrades plastic tanks 40 to 60 percent faster than shaded installation. Standard advice says “buy a good tank material.” Wrong. Material doesn’t matter if you mount it where impacts and sun find it daily. The real mechanism is exposure surface area and frequency of contact.
Position tanks inside the vehicle footprint whenever possible. Use wheel wells, under-seat storage, or integrated tanks built into the chassis. If external mounting is unavoidable, add metal skid plates and position the tank behind the rear axle where ground clearance is highest. Inspect tank mounts every 500 kilometers for cracks or loosening. Shade matters: tanks in shadow last significantly longer than those in direct sun. Install tanks so routine trail contact hits skid protection, not the tank itself.
The 4×4 Water Tank As A Thermal Battery: Hot Showers, No Heater
Paint Your Tank Black And Face It South
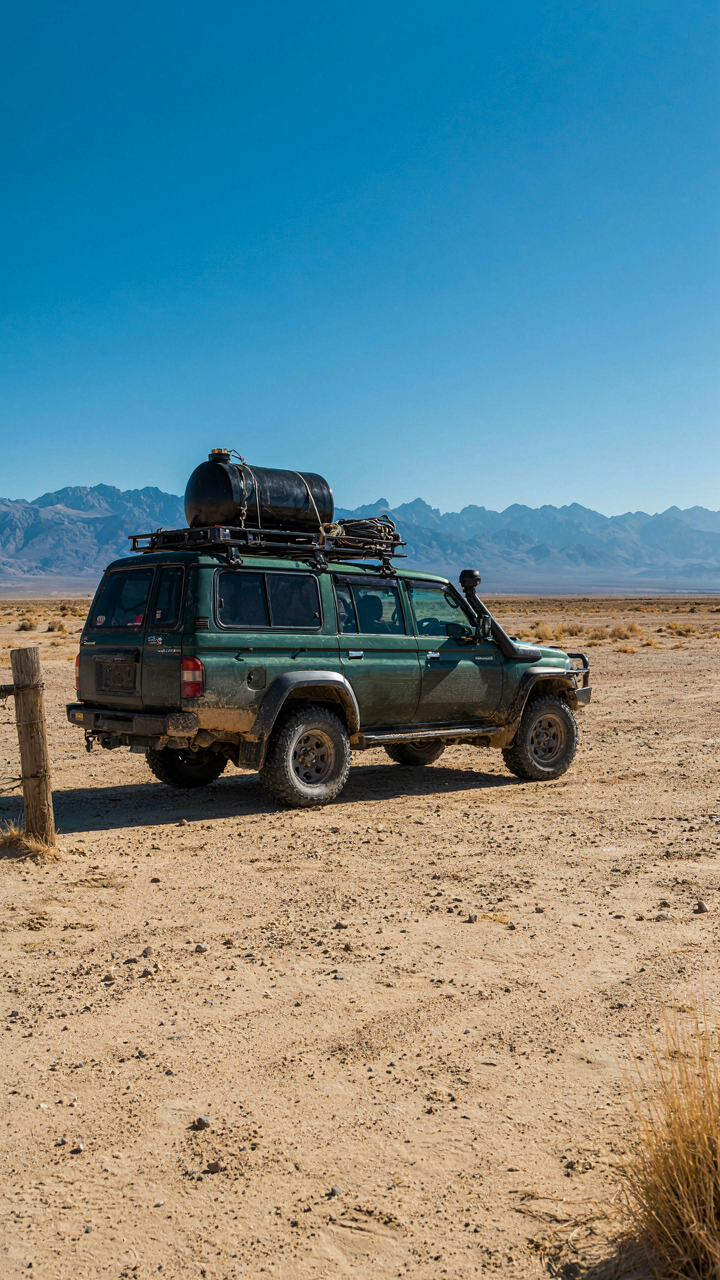
You want hot water without carrying a heater because you think it signals self-sufficiency. Here’s the actual mechanism: water absorbs solar radiation through a principle called albedo absorption. Dark surfaces capture more wavelengths across the spectrum than light ones. A black tank placed in direct sun acts as a thermal battery, converting light energy into stored heat inside the water mass itself.

Tank placement matters more than tank material. Position your storage tank on the roof or exposed frame with southern exposure in the northern hemisphere, northern in the southern hemisphere. Water reaches 120 to 140 degrees Fahrenheit in six to eight hours of unobstructed sun depending on ambient temperature and tank volume. Smaller tanks heat faster but lose heat quicker. The black exterior absorbs roughly 90 percent of solar radiation that hits it.
Wrap It Tight, Lose Nothing Overnight
Everyone says “insulate your tank.” That’s lazy advice. The real question is how much heat loss you actually tolerate and whether the insulation weight trade-off justifies it. Thermodynamics calls this the rate of heat transfer. Your overland water tank loses heat through radiation, convection, and conduction. You control conduction and convection by adding barrier layers.
Closed-cell foam or rockwool wrapped around the tank body slows heat escape by creating dead air space that resists conduction. Two to three inches of foam reduces overnight heat loss by 40 to 60 percent depending on ambient temperature drop. Reflective barriers on the outer surface bounce radiant heat back inward. In cold climates, this difference means a shower at 90 degrees instead of 60 degrees. In warm climates, insulation becomes weight you don’t need. The insulation decision depends on your route’s temperature swing and how much usable water temperature you’ll actually require.
DIY Overland Water Tank: Superiority Through Simplicity
Material Selection For Durability And Safety
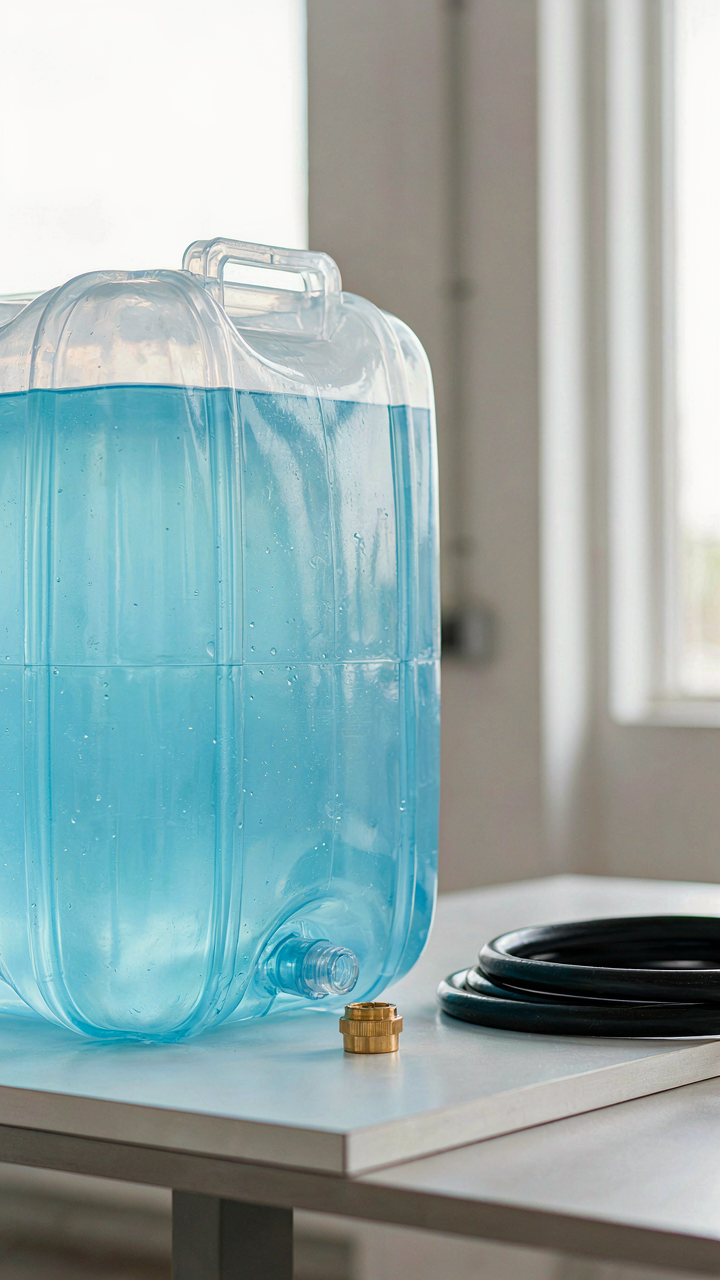
You want to build your own tank because you think it makes you self-sufficient. What actually matters is that commercial tanks fail in ways you can’t predict, and custom builds fail in ways you can control. Material selection is your leverage point.

Food-grade polyethylene works because it resists UV degradation better than most plastics and won’t leach chemicals into stored water over months in direct sun. Steel tanks corrode from the inside out once the protective coating breaches, which happens faster than people admit. Aluminum oxidizes but won’t rupture catastrophically. The mechanism is simple: choose a material that fails predictably, not suddenly.
Compartmentalization Creates Redundancy
Systems thinking from engineering teaches us about fail-safes through redundancy. Your water tank should fail in compartments, not all at once. One breach shouldn’t empty everything.
- Internal baffles: Divide the tank into 2-3 sections with sealed walls. If one compartment cracks, you retain 60-70 percent of capacity instead of zero.
- Separate outlet lines: Run independent drain valves from each compartment. Repairs to one line don’t affect access to the others.
- Removable panels: Design access points as bolt-on segments rather than welded seams. You replace a panel in the field without removing the entire tank.
- Expansion capability: Build the frame to accept additional sections without full reconstruction. Scaling up means bolting on new modules, not starting over.
- Quick-disconnect fittings: Use standardized connections between tank sections. Swapping a failed module takes minutes, not hours.
Modular design means you repair problems in isolation. A cracked baffle doesn’t require draining the whole system or cutting into stressed welds. You unbolt the damaged section, replace it, and move forward. This is the actual difference between a DIY tank that works and one that strands you thirty miles from help.
The Contingency Matrix For Overland Water: Redundancy Is Not Duplication

Tiered Supply Planning For Unforeseen Delays
You want to know this section because you’re afraid of being stranded, not because you love logistics. The mechanism military strategists call “echelon supply” applies directly here: you don’t store one reserve. You store water in layers, each triggered by a different failure point.

Most people carry extra water and call it contingency planning. That’s not contingency planning. That’s just carrying more of the same thing. Real tiering means your first reserve activates when your primary consumption rate exceeds forecast. Your second reserve activates when you miss a resupply window entirely. Your third reserve activates when equipment fails. Each layer exists for a different reason, holds different quantities, and deploys under different conditions.
Strategic Water Caching And Resupply Points
Caching only works if you know what you’re caching for. You’re not hiding water for entertainment. You’re breaking your route into segments where a cache becomes your consumption baseline, not your buffer.
Map your route first. Identify every point where water accessibility changes: hard terrain, no reliable sources, elevation gain that increases metabolic demand. Cache at the segment before each obstacle, not after. The cache volume should cover your highest-consumption scenario for that segment plus a 20 percent margin for navigation error. Mark coordinates in your device and store them offline. When you reach a cache point, you’ve already consumed your primary supply. The cache replenishes your tanks to baseline for the next segment. This turns uncertainty into managed intervals.
Pressurized Water Tank For Truck: Gimmick Or Game Changer?
When Pressure Actually Matters
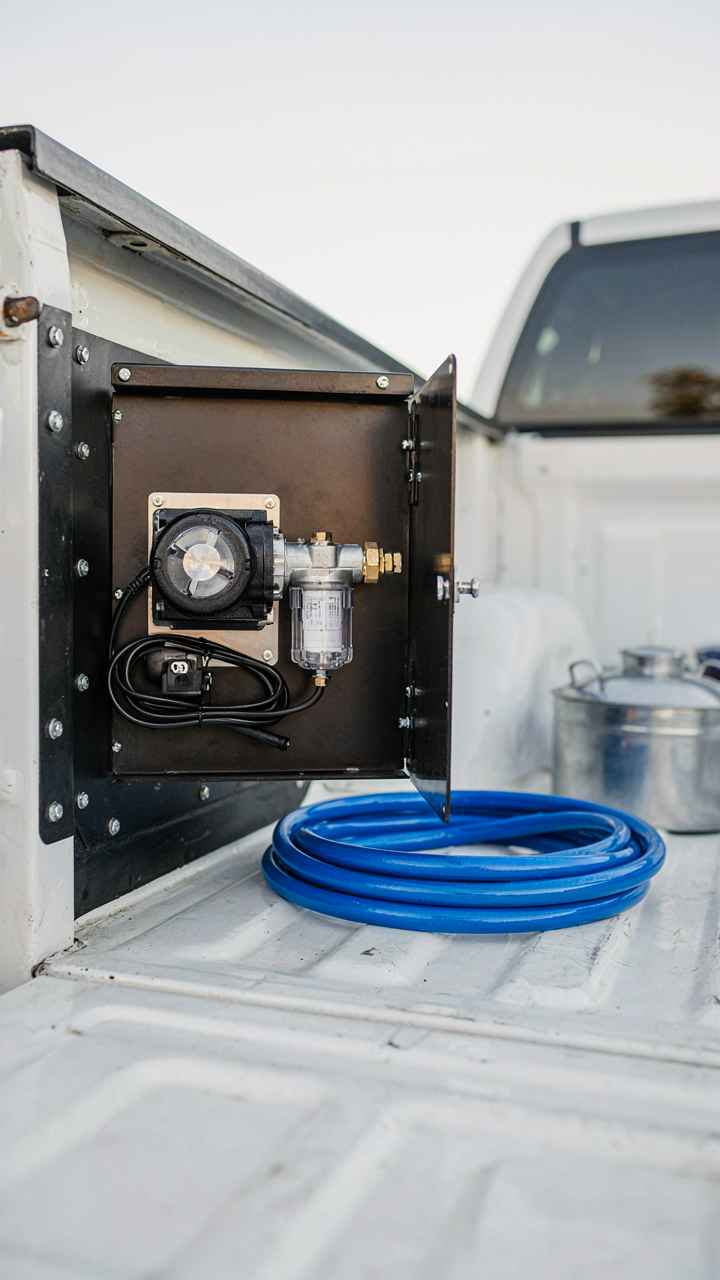
You want the pressurized tank because it sounds engineered, like you solved the problem with money instead of thinking. Here’s the mechanism: pressure systems force water through filters and faucets without gravity or manual pumping, which saves labor on remote trips where every action costs energy. But pressurized tanks solve a problem most overlanders don’t have yet. Gravity-fed systems work fine until you need hot water circulation or multiple simultaneous draw points. Pressure becomes valuable only when your trip complexity exceeds basic camp showers and cooking.

The real dividing line sits between occasional weekend trips and extended expeditions where you’re living in the vehicle for weeks. A pressurized system pumps water on demand, eliminating the need to position your truck for gravity flow or hand-pump between uses. That efficiency compounds when you’re stationary for days. Most vendors market pressure as a luxury upgrade. It’s actually a time-debt converter: you trade complexity and maintenance for eliminated manual labor. The question isn’t whether pressure is good. It’s whether your trip duration justifies the weight and failure points you’re adding to the vehicle.
What Actually Breaks And When
Pressurized tanks fail predictably because they live under stress, a physics term meaning sustained opposing forces that degrade material over time. Your tank experiences constant pressure cycling: pump builds pressure, you draw water, pressure drops, pump cycles again. This expansion and contraction fatigues the tank wall and seals faster than unpressurized systems fail. Most failures occur at the diaphragm (a flexible membrane inside the tank that separates air from water), connection points where fittings thread into the tank, and the pressure relief valve that prevents over-pressurization. These aren’t hidden defects. They’re design necessities that wear out.
Maintenance demands are heavier than vendors admit. You must monitor pressure regularly because slow leaks drain air charge without releasing water, leaving you with a dead system miles from camp. Winterization requires purging antifreeze through all lines if you travel in cold climates. The pump itself needs filter changes and can seize if water sits stagnant. If you’re running a 12-volt pump, you’re also managing battery draw during operation, which pressurized systems demand continuously. Run a pressure check every two weeks on extended trips and replace the diaphragm every two to three years if you use the system regularly.
Roof Rack Water Tank: The Elevated Compromise
Why Drag Cost Matters More Than You Think
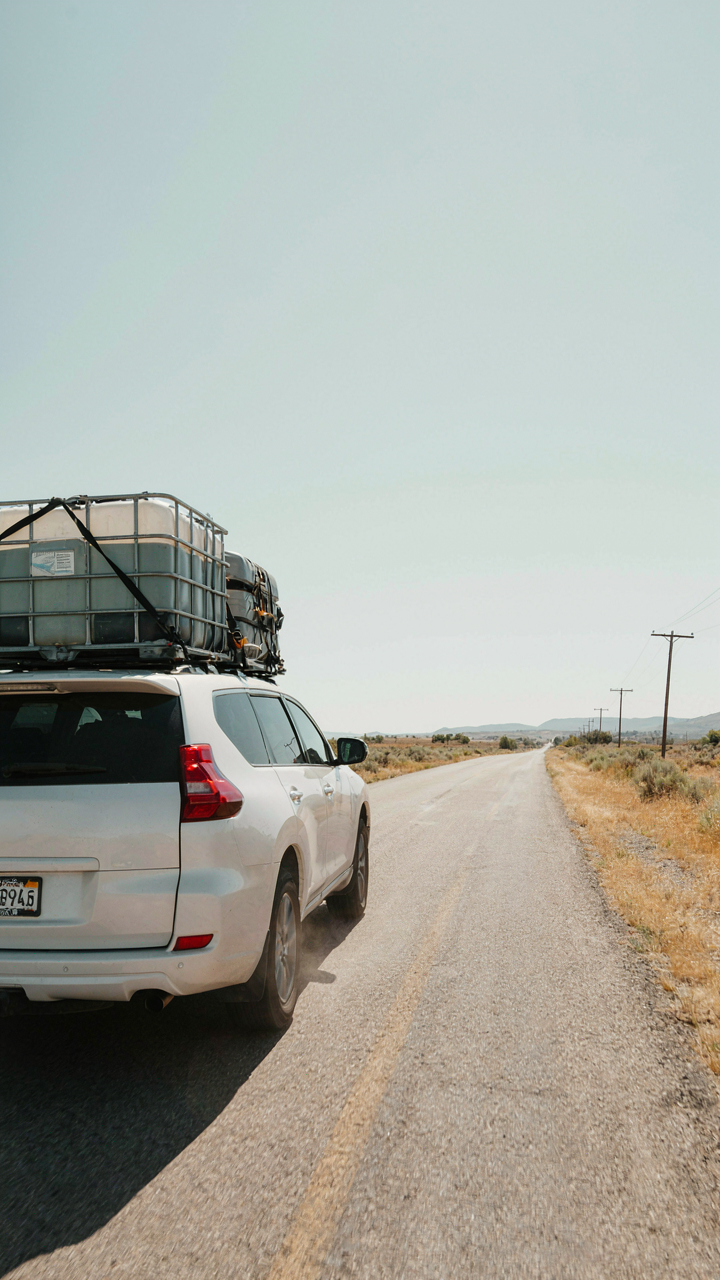
You want the roof rack tank because it looks clean and saves interior space. But physics doesn’t care about aesthetics. Aerodynamic drag behaves like friction against air resistance—the faster you move, the exponentially higher your fuel penalty becomes. A roof-mounted 50-liter tank increases drag coefficient enough to cut highway fuel economy by 8 to 15 percent on most vehicles. That math compounds over a 5,000-kilometer expedition.

Center of gravity shifts upward when weight sits on the roof. Your vehicle becomes slower to respond in turns, rolls more easily on uneven terrain, and requires longer braking distances on sand or gravel. In remote terrain where you’re driving at night or managing variable surfaces, this delay between input and response creates real risk. The trade-off isn’t between aesthetics and practicality. It’s between convenient water storage and the mechanical stability you need when recovery options disappear.
Theft And The Access Problem
Roof tanks are visible, mounted high, and vulnerable to theft at any stop. They’re also harder to refill, top off, or drain without a ladder, which means you either skip maintenance or create a repetitive task that wastes time and energy. Neither option serves you on expedition.
The real constraint isn’t security theater. It’s daily usability. If your water tank requires a ladder to access, you’ll either ration water to avoid repeated climbs or abandon proper hydration discipline. Access dictates behavior on long trips more than any planning document does. Internal or low-mounted tanks force you to plan water resupply around actual tank capacity instead of skipping maintenance because it’s inconvenient. Store your water where you can reach it without tools.
The Real Obstacle Isn’t Water Scarcity, It’s Your Addiction To Over-optimization

Most people die in the desert because they overthought water storage instead of acting. You don’t need the perfect system. You need a working one. Grab five jerrycans today, fill them, and throw them in your vehicle. Stop waiting for the ideal setup. Every day you delay is a day you’re not building the muscle memory that keeps you alive out there. The difference between survival and failure isn’t your equipment, it’s whether you moved.



