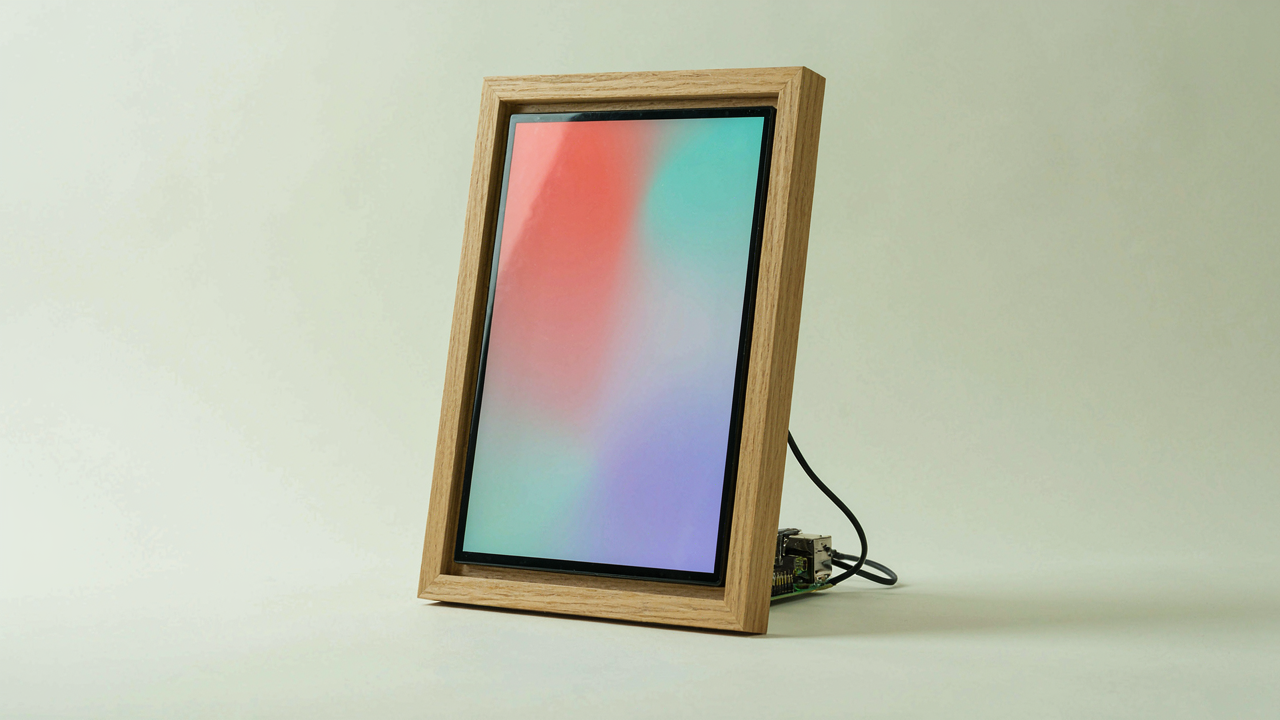
Beyond The Box: Why Pre Made Digital Photo Frames Are A Lie

The Illusion Of Simplicity
You want to believe buying a pre-made frame means you solved the problem. That’s denial. The real mechanism at work is planned obsolescence masquerading as ease: manufacturers lock you into their ecosystem, limit your options, and stop supporting the device the moment the next model launches. You own nothing. You rent a viewing experience.
Pre-made frames ship with proprietary apps, closed ecosystems, and artificial constraints. You can’t customize the interface. You can’t modify the software. You can’t even fix it when the manufacturer’s servers go offline or the company pivots. A Raspberry Pi photo frame strips this away entirely because you control the hardware and the code. The device becomes yours to modify, repair, and maintain indefinitely.
Hidden Limitations, Ignored Potential
Everyone talks about how “easy” commercial frames are. That’s incomplete. What they don’t mention is the firmware trap: updates that break functionality, cloud accounts that require subscriptions, and photo libraries locked behind paywalls. A Raspberry Pi solves this through architectural freedom. You run open-source software like Picframe or custom Python scripts on hardware you physically own.
The potential gap is massive. Commercial frames offer a 10-inch screen and a button. A Raspberry Pi offers GPIO pins for motion sensors, API integration with cloud storage, scheduling based on time of day, and integration with smart home systems. You can display weather overlays, family calendars, or rotate collections based on events. The frame becomes a platform, not a consumer product. To unlock this, you need one thing: willingness to spend two hours setting up Linux and reading documentation instead of expecting pre-configured simplicity.
The Raspberry Pi Photo Frame: Reclaiming Your Digital Legacy

Control Without Compromise
You want to feel like you own your stuff again. Most people don’t realize that every consumer photo frame—the ones from big retailers—locks you into their ecosystem. They own the display, the software, the update cycle, and your data path. A Raspberry Pi photo frame flips this using a principle from systems design called “inversion of control.” Instead of the manufacturer controlling your hardware, you control it. The Pi is a 35-dollar computer small enough to hide behind a frame. You decide what loads, when it loads, and where your images come from.

The mechanism is straightforward: you install an operating system on a microSD card, run open-source software like Chromium or a dedicated frame app, and point it at your image directories. No login. No subscription. No cloud vendor deciding your photos belong to them now. You own the entire stack, which means you can modify, repair, or pivot without permission. This isn’t theoretical—it’s the difference between a tool and a service disguised as a tool.
Why Commodity Frames Miss The Point
Generic digital frames sell you convenience while extracting data. That’s not an accident. The common advice says “buy a Skylight frame or Echo Show because setup is easier.” That’s backwards reasoning dressed up as pragmatism. Setup being easy doesn’t matter if you’re locked into proprietary software and someone else’s infrastructure. A Raspberry Pi setup takes two hours the first time, then never again. A corporate frame demands vendor loyalty forever.
The real advantage isn’t convenience—it’s optionality. You can pull photos from Google Photos, Flickr, a NAS drive, USB storage, or a local folder. You can schedule the frame to show different image sets by time of day or randomize them. You can add a motion sensor so the frame only displays when someone’s nearby, cutting power consumption. Corporate frames offer presets. You get engineering. The difference matters because you stop paying rent on your own digital life.
The “Scarcity & Abundance” Protocol For Your Raspberry Pi Picture Frame

Curating Your Feed: Scarcity Of Noise
You want people to stop scrolling past your frame and actually look at it. That means ruthlessly limiting what appears on screen. Most people load hundreds of photos into their frame and wonder why it feels like digital clutter instead of a conversation starter. The mechanism is simple: your brain dismisses abundance. Scarcity forces attention.

On a Raspberry Pi photo frame, this means setting hard limits before you code a single line. Decide on a maximum number of photos per rotation. Most frames work best with 20 to 40 images in active circulation, not 2,000. Use a separate folder structure on your Pi’s storage to isolate “frame-worthy” images from your entire photo library. The frame pulls only from this curated set. When you add a new photo, you remove an old one. That friction is the feature, not the bug.
Novelty Preference Applied To Display Rotation
Evolutionary biology teaches us that organisms allocate attention to novel stimuli because novelty signals survival-relevant information. Your frame’s image rotation algorithm is the stimulus. If the same photos cycle in predictable patterns, your audience’s reticular activating system stops registering the display. You’ve become invisible.
The standard advice is to randomize image order and call it done. That’s incomplete. Instead, weight your rotation algorithm toward images added recently while keeping older photos in the cycle at declining frequency. On your Raspberry Pi, use a Python script that assigns decay weights to images based on their date. This creates genuine novelty without feeling repetitive, and it keeps recent memories front and center. Update the frame’s image set weekly, not monthly, to maintain the signal that something new is always worth noticing.
Hardware Decoded: The Raspberry Pi Photography Setup You Actually Need
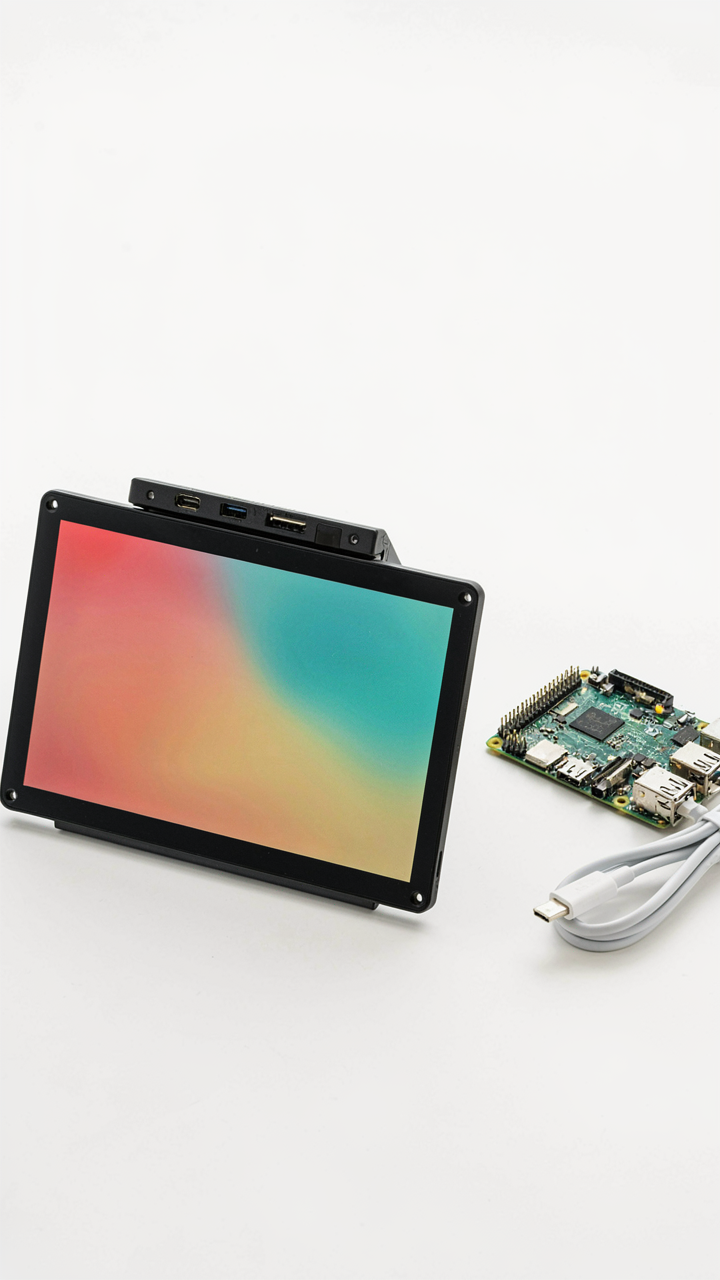
What Actually Goes Into The Frame
You want permission to buy more stuff than you need. Here’s what actually works: the hardware stack for a photo frame is brutally simple, and that simplicity is the entire point. Treating component selection like a supply chain problem means you eliminate every part that doesn’t perform a function. You buy once, it runs for years.
- Raspberry Pi 4 Model B (2GB minimum): Sufficient processing power for image rendering and USB handling without thermal throttling. The 4GB variant adds no practical benefit for photo frames.
- 7-inch to 10-inch touchscreen display (1024×600 or higher): Most common sizes for tabletops and shelves. Resolution above 1080p wastes resources on small screens where the eye can’t detect the difference.
- MicroSD card (64GB or 128GB): Stores the operating system and up to thousands of photos. Speed class 10 or UHS-I is sufficient; faster cards don’t improve performance noticeably.
- Power supply (5V, 3A USB-C): Official Raspberry Pi PSU prevents voltage sag during USB device operation. Off-brand supplies cause random crashes and file corruption on the SD card.
- USB hub or external drive (optional): Allows loading photos directly from USB without handling the Pi’s file system. Useful for non-technical family members.

That’s it. Everything else is decoration masquerading as necessity. The Pi 4 handles 4K image rendering without sweating, but your 10-inch display won’t show the difference. Add a cooling case if ambient temperature exceeds 25C consistently, otherwise it’s waste.
The Feature Creep That Kills Projects
Everyone tells you to add motion sensors, cloud syncing, ambient light adjustment, and rotation controls. This is how photo frame projects die in the drawer. Each feature adds complexity, debugging surface, and failure points. Your actual problem isn’t features. Your actual problem is consistency over six months.
Motion sensors fail because PIR sensors have false triggers and drift. Cloud syncing fails because family members don’t upload photos. Ambient light sensors fail because they require calibration nobody remembers. A static frame running the same slideshow for two years beats a feature-rich frame that stops working in month three. Build the system that requires zero maintenance after initial setup, then deploy it. If the frame needs adjustment or troubleshooting, family members stop using it immediately.
Software Alchemy: Turning Code Into A Raspberry Pi Wall Display
Choose Your Operating System First
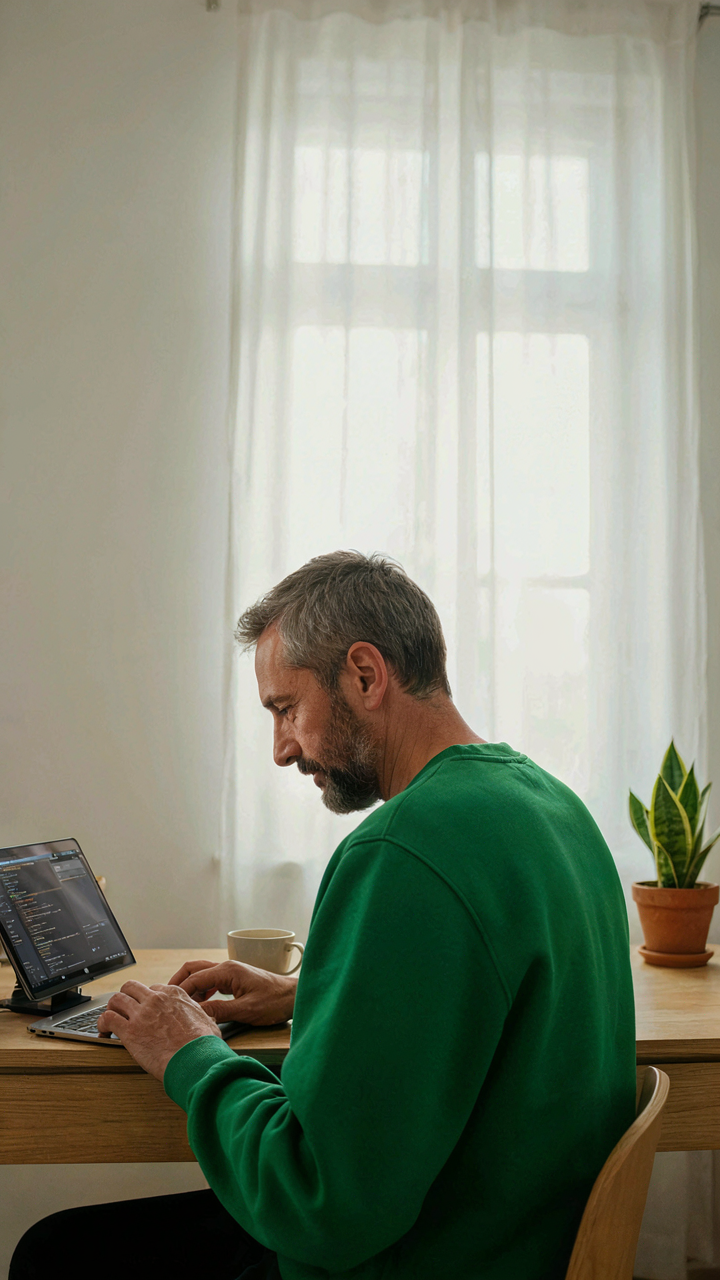
You want to skip this part because it feels like admin work. It’s not. Your OS choice locks in your entire hardware ceiling before you write a single line of display code. Raspberry Pi OS (formerly Raspbian) dominates because the Pi Foundation built it specifically for this hardware—not ported it, not adapted it. This matters. Your frame will either run lean with snappy image loading or bog down in bloat the moment you add complexity.

Raspberry Pi OS gives you direct access to GPU acceleration, pre-compiled libraries for image rendering, and community documentation that actually matches your device. Ubuntu and other distributions run on Pi hardware but force you downstream into hardware abstraction layers that waste CPU cycles. For a photo frame sitting on your wall refreshing images every few minutes, Raspberry Pi OS lets the system sleep harder between refreshes, meaning lower power draw and longer hardware life.
Display Images: Scripts Over Apps
The advice to use existing photo frame apps is incomplete. Most packaged apps add middleware layers that slow down image rotation and drain power. A direct Python script using fbi (framebuffer imageviewer) or a custom solution with pygame hooks straight into the display driver. This is faster. Direct framebuffer access means your image renders without extra processes consuming RAM or CPU cycles in the background.
Build a cron job that triggers a simple script on your schedule. The script reads your image directory, scales photos to native resolution, and writes them to the framebuffer. No daemon running constantly. No GUI overhead. The Pi’s GPU handles scaling efficiently. When there’s nothing to display, the system goes idle instead of polling an app every second.
Beyond The Still Image: Raspberry Pi Camera Project Ideas
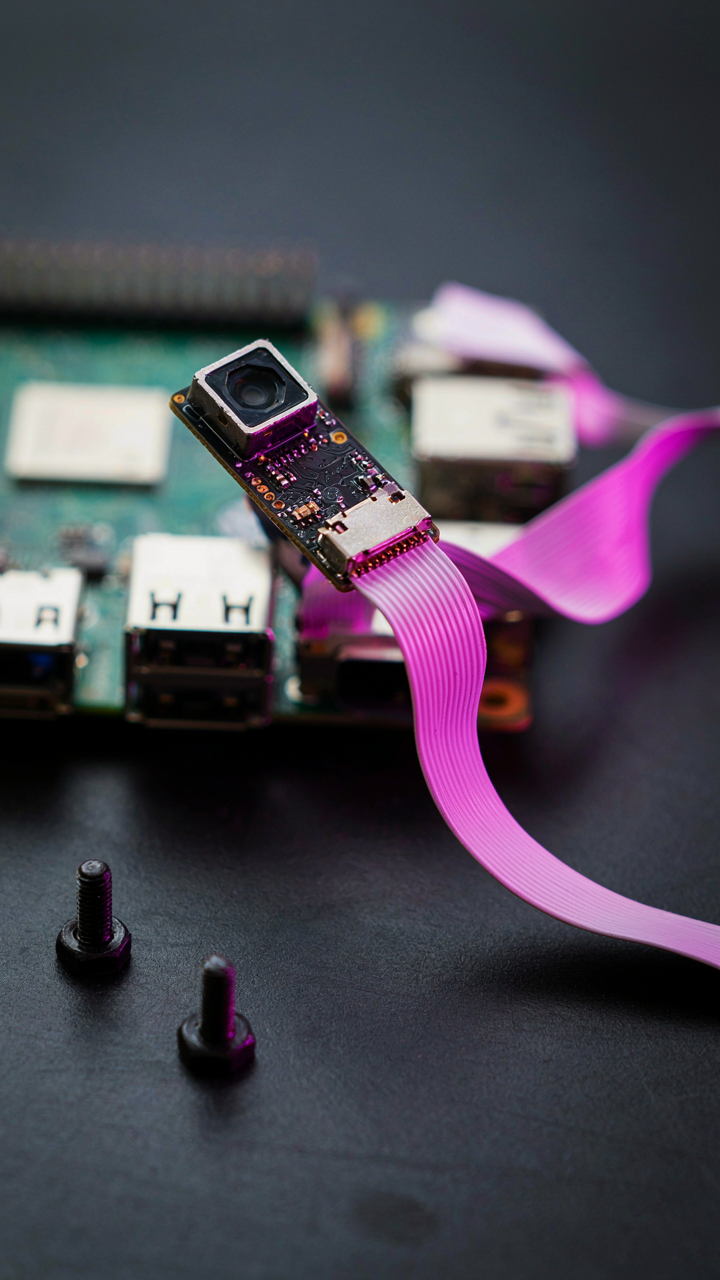
When Your Frame Needs To See
You want proof that your Raspberry Pi does more than display JPEGs. The mechanism is simple: a Pi with a camera module can detect motion, respond to it, and create layers of interaction that a static frame never achieves. Motion detection uses the same principle as radar in military targeting systems, but inverted. Instead of detecting movement in space to track threats, you detect movement in your frame’s field of view to trigger actions. This shifts your Pi from passive display to active sensor.

The Pi Camera Module v2 or HQ Camera connects via the CSI ribbon cable and runs OpenCV, a computer vision library that processes video frames in real time. Motion detection works by comparing consecutive frames, calculating pixel differences, and triggering events when those differences exceed a threshold you set. You can display a still image normally, then switch to a live feed when motion occurs, or log timestamps of activity. The computational load is manageable on a Pi 4 or Pi 5. Most setups require under 15% CPU for moderate resolution video analysis.
Automating Change Without The Refresh
Time-lapse collapses hours into seconds and reveals patterns invisible in real time. Your Raspberry Pi captures images at intervals you define, then stitches them into a sequence. This works for plants growing, clouds moving, or daily lighting changes in a room. The Pi handles scheduling through cron jobs or Python’s scheduling libraries like APScheduler. You set capture intervals, resolution, and output format once, then the frame runs autonomously.
The storage constraint is real and worth naming directly: raw image sequences consume disk space fast. A Pi with a 32GB microSD card running hourly captures for eight hours daily can fill storage in weeks. The solution is local compression and rotation. Use ffmpeg to convert image sequences into video files on the Pi itself, then delete the original frames after encoding. This keeps your frame responsive and prevents the common failure mode where a Pi photo frame simply stops working because its storage maxed out.
Optimizing For Impact: Your Digital Photo Frame As A Statement

Where You Place It Matters More Than What’s On It
You want people to notice it. That’s the real reason you’re reading this section. The mechanism is simple: a photo frame only creates impact when it enters someone’s line of sight naturally, not as an afterthought shoved in a corner. Placement is optical real estate. You control where eyes travel in a room, and a Raspberry Pi frame works only if it occupies that territory first.

Mount your frame at eye level when people are seated or standing in the space they’ll occupy most. A 7 to 10 inch display mounted on a kitchen counter, hallway wall, or bedroom shelf beats a 32 inch screen hidden behind furniture. Angle it slightly downward if wall-mounted to reduce glare and match natural viewing posture. The frame needs to catch ambient light without creating a reflection that washes out the display. Test the position at different times of day. Direct sunlight through a window kills visibility on most Pi-compatible screens. Backlighting from a window works better than front-facing sun.
Sleep Mode Isn’t The Real Efficiency Play
People give bad advice about Raspberry Pi power consumption. They tell you to enable sleep modes and call it optimized. That misses the actual mechanism: power management isn’t about reducing consumption during idle time, it’s about controlling when the frame draws power at all. The Pi 4 uses roughly 2-4 watts running a slideshow. That’s not the problem. The problem is it runs 24/7 when most homes don’t need it running 24/7.
Use a GPIO-controlled relay or smart plug with a timer. Schedule the frame to power on at specific times: 7 AM to 9 AM for breakfast, 6 PM to 10 PM for evening routines. This approach cuts annual consumption by 60 to 70 percent compared to constant operation. Connect the Pi to a UPS if you want to preserve the display during power dips. The frame draws minimal power when off, and you avoid the degradation that comes from running an LED screen constantly. Set the schedule once, then stop thinking about power entirely.
The “Set And Forget” Fallacy: Maintaining Your Raspberry Pi Photobooth

Software Updates Keep Your Frame From Becoming A Security Liability
You want to believe your frame works forever without intervention. That’s not how it works. The Raspberry Pi runs Linux, and Linux requires patches the same way your car requires oil changes. The moment you stop updating, you’re running known vulnerabilities that attackers actively exploit through network connections.

Raspbian receives security updates regularly through the apt package manager. You access them by running `sudo apt update` followed by `sudo apt full-upgrade` on a schedule, ideally monthly. The Pi Zero and Pi 4 both handle updates identically. Ignoring this creates an attack surface for malware, unauthorized access, or service interruption. Set a calendar reminder. Don’t skip this step because the frame “seems fine.”
When Your Frame Freezes Or Goes Black, Know What Failed First
People blame the hardware when the software fails silently. The most common issues are storage corruption, application crashes, and network timeouts, not dead components. Storage corruption happens when the Pi loses power during a write operation. Application crashes occur when memory fills up or a photo file corrupts. Network timeouts happen when the wifi signal drops or the image server goes offline.
Start troubleshooting by checking the system logs with `sudo journalctl -xe`, which shows what actually failed and when. If the frame displays nothing, SSH into the Pi and verify the display service is running with `systemctl status`. If images stop loading, check network connectivity with `ping` and verify your photo directory hasn’t filled the storage using `df -h`. The Pi 4 rarely fails; the software does. Identify the specific failure point before replacing anything.
Scaling Your Vision: From Single Frame To Networked Raspberry Pi Photography
Keeping Multiple Frames In Sync
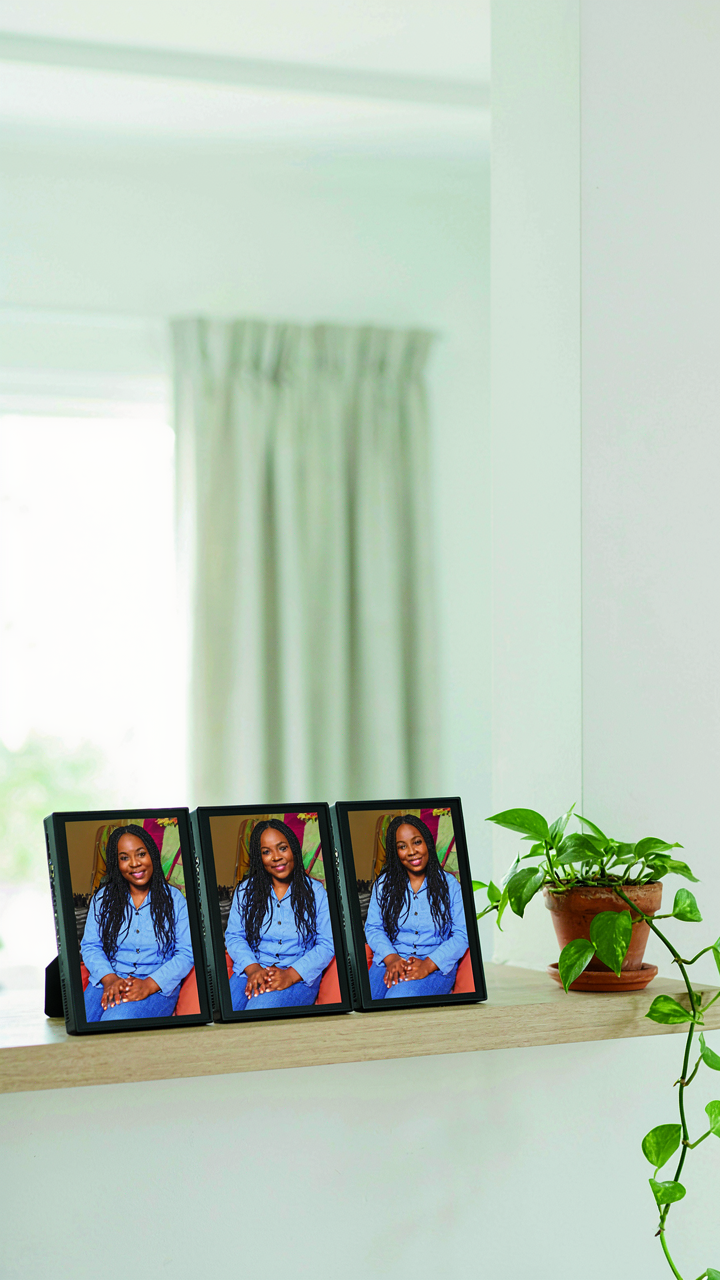
You want your frames to look coordinated because scattered displays feel like you’re failing at the basic execution. The real mechanism is latency control. Think of this like a distributed system in computer architecture: each frame is a node, and nodes drift apart unless you force synchronization at regular intervals. SSH into each Pi and run a cron job that pulls updates from a central server at the same minute across all devices. Use NTP (Network Time Protocol) to lock every Pi to identical system time first, then schedule your image refresh scripts to execute at precise intervals like every 30 minutes at 00 and 30 seconds. This eliminates the visual chaos of frames updating at random times.

Most people try to sync by sending a signal to all frames at once, which fails because network packets arrive at different speeds. Instead, have each frame pull its own update on a synchronized schedule. Write a simple Python script using APScheduler that triggers at exact times, not after variable delays. Push this script to every Pi using Ansible or a basic bash loop over SSH. The frames won’t be perfectly simultaneous, but they’ll hit within a one-second window, which your eye won’t detect.
Controlling Multiple Frames From One Place
Centralized content management means you edit once and deploy everywhere, which saves hours of manual SSH sessions into individual devices. The mechanism here is command distribution: you need a database that holds image metadata, a server that listens for updates, and a pull protocol on each Pi that checks for new content regularly. Set up a simple PostgreSQL database on a Raspberry Pi 4 running as your server, or use a lightweight SQLite database if you’re only managing three to five frames. Store image paths, rotation settings, and display schedules in this database. Each client Pi runs a Python script that hits a REST API endpoint on the server every few minutes to check for changes, downloads any new images to local storage, and updates its display without requiring user intervention.
Don’t use cloud services for this unless you have a specific reason, like controlling frames across multiple physical locations. Self-hosting on a Pi keeps all data local, reduces latency to near-zero, and costs nothing after initial setup. Your update script should log every pull and deployment so you can debug which frame missed an update. Use systemd timers instead of cron for better reliability and logging. The entire workflow is: edit image in central location, update database record, each Pi polls and pulls the new file, display refreshes within five minutes. That’s the protocol that scales without breaking.
The Real Obstacle Isn’t The Tech, It’s Your Fear Of Building Something Truly Your Own
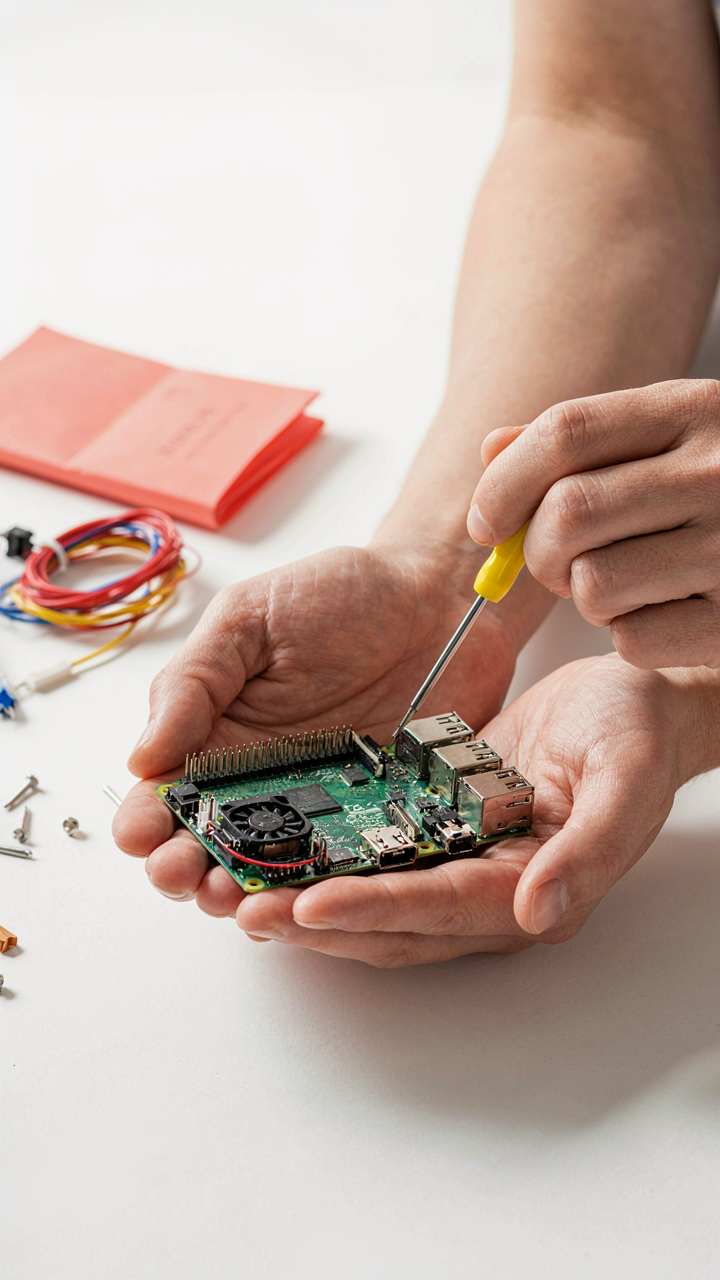
You’re not afraid of a raspberry pi photo frame. You’re afraid of doing something imperfectly, something no influencer has packaged into a template. The tech is the excuse. Building it anyway, with your own hands, your own mistakes, your own taste, is what actually matters. Stop waiting for permission. Grab a Pi today, plug it in, and prove to yourself you can create something nobody else owns the instructions to.