
The Golden Hour Delusion: Why Most Photos Fail

You Think Timing Is Enough
You want to believe that showing up at the right hour does the work for you. It won’t. Golden hour light is a tool, not a guarantee. The mechanism that kills most shots isn’t the light itself but the distance between your subject and the camera relative to the sun’s angle. Most people frame their subject dead center, perpendicular to incoming light, which flattens dimension and kills depth. The sun alone doesn’t save a flat composition.
The real problem runs deeper than positioning. Your iPhone’s sensor reads light differently than your eye does. When you stand in golden hour, your brain adjusts for color temperature and shadow detail automatically. The camera captures what’s actually there: warm tones that clip highlights and crush blacks simultaneously. You need to understand this gap between perception and capture before you touch any settings.
The Invisible Factors Destroying Your Shots
Camera physics applies here the same way it applies to every imaging system: exposure is a trade-off between collecting enough light and controlling where that light falls. Golden hour photos fail because people treat the entire scene as equally important, when in reality you’re managing light distribution across subject, background, and midtones. Your iPhone has a dynamic range limit. It cannot hold detail in bright sky and dark foreground at the same time, period.
Most advice says to expose for the subject and let the background blow out. That’s incomplete. The real lever is understanding that backlighting, sidelighting, and frontlighting each require different compositional approaches to work with your iPhone’s constraints. Backlighting separates subject from background but demands you meter correctly and accept shadow detail loss. Sidelighting creates dimension but requires intentional subject placement. Frontlighting is the safest but also the least interesting option most people default to without thinking.
The Photon’s Journey: Understanding Light’s Behavior

Why The Sky Turns Orange At Sunset
You want to know this because you think understanding it makes you a better photographer. It doesn’t. But understanding the mechanism does. Physics calls this Rayleigh scattering, and golden hour iPhone photos depend entirely on it. When the sun sits low, light travels through more atmosphere. Shorter blue wavelengths scatter away. Longer red and orange wavelengths reach your sensor directly. Your iPhone’s processor cannot separate this from reality, so it captures exactly what physics delivers.

The color temperature of light shifts from 5500K at noon to 3500K or lower at golden hour. This isn’t a filter effect or a mood. It’s the actual composition of photons hitting your lens. Your phone’s white balance algorithm detects this shift and either locks into it or fights it. Most iPhones default to auto white balance, which neutralizes the warmth you actually want. Manual control over color temperature is where most golden hour iPhone photos fail before you even compose the shot.
Direction Creates The Dimension
Light doesn’t just illuminate. It carves. Military targeting uses angle and trajectory to understand terrain, and light works the same way on your subject. Golden hour produces extreme angles because the sun sits near the horizon. This angle creates shadows that reveal texture, depth, and form. Frontal light flattens. Backlighting obscures. Side light at forty-five degrees or closer to horizontal shows everything. Your iPhone sensor captures what’s actually there, but only if the angle forces light and shadow into distinct zones.
The mechanics matter more than the moment. Position yourself so the sun sits behind or to the side of your subject, not in front of it. Backlighting exposes the rim of your subject while the foreground stays shadowed. This creates separation and glows without post-processing. Side lighting reveals texture in skin, fabric, and landscape. The inverse is always true: if you stand between the sun and your subject during golden hour, you get flat, blown-out images because your iPhone meters for the bright sky, not the shadowed foreground.
The Golden Hour Protocol: Pre Shoot Non Negotiables
Location Scouting For Optimal Light Angles
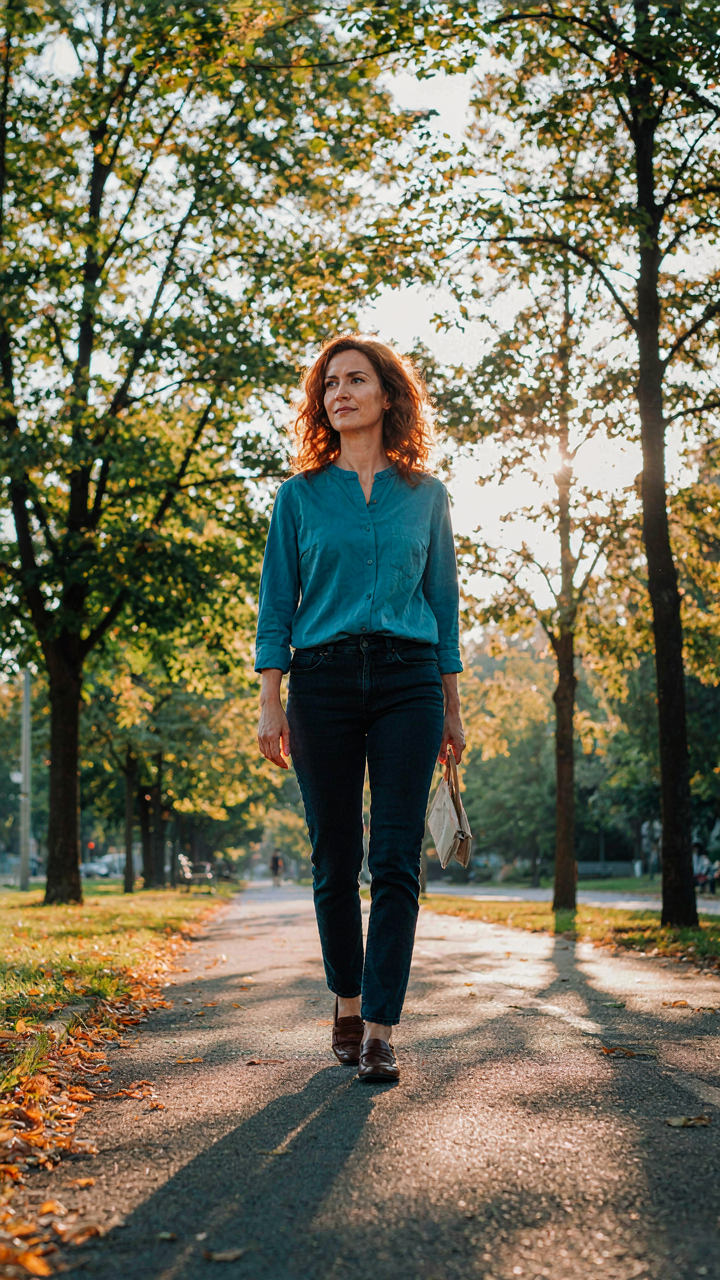
You want permission to skip the hard part. You want to show up, point, and shoot. But light angles determine whether your photo glows or flattens, and flattens happens when you don’t know where the sun will be. Think of light direction as vector geometry: the sun’s position relative to your subject creates three distinct angle categories, and each produces a different visual outcome on the iPhone sensor.

Scout locations during the actual golden hour window you’ll shoot in, not at random times. Walk the space. Identify where the sun hits at specific angles: sidelighting across a face or texture, backlighting that creates rim separation, front-lighting that fills detail. The iPhone’s sensor performs best when you eliminate extreme contrast ratios, so positioning matters more than the camera itself. Mark your spots. Return when conditions match.
Composition Framing For Dynamic Golden Hour Images
The common advice says “rule of thirds” and calls it done. Wrong. Rule of thirds is a starting point for beginners, not a strategy for making photos that command attention. Golden hour lighting is directional and temporary, which means your frame must guide the viewer’s eye along the light path, not just divide space evenly. Position your subject so the light direction pulls toward a frame edge or corner, creating a visual journey instead of a static arrangement.
Depth becomes your second lever. Golden hour throws long shadows that naturally create layers in your frame. Place foreground elements that catch side or backlighting, a middle subject in the main glow, and background that receives softer light. This layering works because the iPhone’s processing engine preserves highlight and shadow detail better when the image contains tonal separation. Frame with intention: every element either catches directional light or creates contrast against it.
Unlocking “Golden Hour Glow” With Native IPhone Settings

Pull The Exposure Slider Before Framing
You want people to think you have expensive gear. The truth is simpler: most iPhone users never touch exposure compensation, so they let the camera guess and call it done. Exposure compensation works like a volume knob for brightness. You’re not fighting the camera’s meter. You’re overriding it on purpose.

Tap the screen to lock focus, then swipe up or down on the brightness icon that appears. During golden hour, the sun throws a hard contrast problem at your sensor. If you expose for the sky, the foreground goes black. If you expose for the subject, the sky blows out to white. The mechanism is straightforward: pull the slider down by one to two stops to preserve the warm tones in your subject while keeping detail in the bright areas behind them.
Lock Your Focus And Anchor White Balance
White balance determines which color cast the camera applies to the entire frame. Most people think it’s automatic and untouchable. It’s not. During golden hour, the camera’s auto white balance often cools down the image because it detects warm orange light and tries to “correct” it back to neutral. That kills the whole point.
Long-press on your subject to lock both focus and white balance simultaneously. This is the actual control layer nobody talks about. Your iPhone will hold that white balance lock even as you recompose the shot. The result: consistent warmth across the frame without the camera second-guessing the color temperature every time you move. This single action is what separates intentional golden hour shots from lucky ones.
The Post Processing Multiplier: Beyond Basic Photo Editing
Contrast And Saturation For Dimensional Space
You want people to think your iPhone captured something expensive. The mechanism is contrast, which in optical physics creates the illusion of depth by increasing tonal separation between elements. Golden hour iPhone photos need surgical contrast work because the camera’s sensor flattens what your eye saw in real time.

Start by raising blacks instead of crushing them. Most editors default to crushing blacks to add drama, but this kills the subtle detail the golden hour light created. Increase contrast first, then selectively lift shadows in specific areas where golden light hit texture. This preserves dimension while keeping the glow.
Saturation comes second, and here’s where most editors fail: they saturate everything equally. Golden hour demands selective saturation. The warm tones (oranges, yellows) need less saturation than they appear to need. Oversaturate warmth and your photo looks filtered, not lit. Desaturate complementary blues and greens slightly to make golds pop without screaming.
Your goal is making the light feel like the hero, not the editing. Drop overall saturation by 5-10 points, then increase vibrance on specific color ranges. Vibrance targets muted colors while leaving already saturated tones alone, which is the inverse of what beginners do. Apply these moves in sequence, not all at once.
Highlight And Shadow Recovery In Extreme Light
Blown highlights are the real problem with golden hour iPhone photos, not underexposure. Your phone’s sensor clips when direct sun hits the frame, and no recovery gets that data back. The mechanism is digital clipping: once a pixel hits max value, it contains zero tonal information.
Recover what you can by dropping highlights aggressively in post. iPhone photos store recoverable data in the highlight slider range before total clipping occurs. Drop highlights by 30-50 points on any golden hour shot taken facing the sun. This pulls detail from the brightest areas without affecting the midtones where the actual glow lives.

Shadows are easier to recover than highlights because your phone shoots with shadow detail intact. Lift shadows 15-25 points to reveal texture in darker areas, but stop before the image looks flat. The goal is recovering dimension, not brightening everything equally. Use the “blacks” slider to set a floor so shadows don’t lose all definition.
The real move is shooting with exposure compensation set to negative one stop before taking the photo. This prevents clipping in the first place and gives post-processing room to work. Recover shadows in software, manage highlights by preventing them before you hit the shutter.
Strategic Color Grading: The Vsco Method For Warmth

Targeted Color Shifts In Golden Light
You want people to think you have expensive gear and a trained eye. What you actually need is one mechanism: understanding that golden hour light already contains the color information you need, and grading simply amplifies what’s already there instead of inventing it. Think in terms of color theory borrowed from printing: the iPhone captures RGB data, but you’re shifting the ratio between channels. In golden hour, the red and yellow channels already dominate. Your job is restraint, not invention.
The mistake most people make is treating color grading like a creative playground. It’s not. In golden hour, desaturation of blues and greens and slight saturation boosts to reds and yellows work because the light is already warm. You’re not fighting physics, you’re cooperating with it. Start in the Shadows and Highlights tabs first. Lift the shadows slightly to recover detail the iPhone underexposed, then reduce highlights if they’ve blown. Only then touch the color balance. This order matters because it prevents you from color-grading a badly exposed frame.
Filter Application Without The Generic Look
VSCO filters exist for one reason: they encode decisions. Each filter is a preset curve applied across all color channels simultaneously, saving you from making ten individual adjustments. The problem is that preset filters flatten individuality if you don’t customize them. A filter is a starting point, never a destination.
- Reduce Filter Intensity To 40-60%: Full-strength filters often oversaturate greens and muddy shadows. Lower the opacity slider to let your original golden light show through while maintaining the color direction the filter intended.
- Warm Filters First, Cool Second: Apply warm-leaning filters like A6, C1, or HUJI in VSCO first. These align with golden hour’s natural temperature. Then selectively cool shadows if they read too orange, preserving dimension.
- Adjust Exposure Before Filtering: Golden hour frames often need a +0.3 to +0.8 exposure bump before any filter touches them. A filter on an underexposed frame will look thin and flat no matter how good the filter is.
- Use Contrast Slider Alongside Color: Filters handle color, but contrast shapes perception of warmth. Increasing contrast by 5-15 points after filtering makes warm tones feel richer without adding saturation.
- Test On Multiple Scenes Before Committing: The same filter setting behaves differently on skin, landscape, and architecture. Apply your customized filter to three different golden hour photos before considering it your standard.

The real move is this: customize one filter to match your exact lighting conditions, then use that same adjusted version consistently across shoots. This builds visual coherence that signals intent rather than randomness. After you’ve reduced intensity and dialed in exposure, lock the adjustment by duplicating the edited photo as your new reference baseline.
Mastering Texture And Detail: Sharpening Without Noise

Selective Sharpening Techniques For IPhone
You want sharpness to look intentional, not desperate. The real motive here is avoiding the amateur look of over-processed photos that scream “I edited this.” The mechanism is borrowed from signal processing: you’re isolating the signal (edge detail) from the noise (grain). iPhone’s native editing tools lack true selective sharpening, so you’re working within constraints that actually force better decisions. Sharpen only the edges where light and shadow meet, not the entire frame.
Most photographers sharpen everything equally, which amplifies grain and kills the natural feel golden hour light creates. Instead, use Lightroom Mobile or Snapseed to apply sharpening to specific areas. Open Snapseed, hit the Details tool, then use the mask brush to paint sharpening only onto edges: the horizon line during golden hour, fabric texture on skin, tree branches silhouetted against the sky. Skip the face entirely. The goal is surgical precision, not blanket enhancement.
Noise Reduction For Clean Phone Photo Editing
Golden hour noise is a trap disguised as authenticity. Your iPhone sensor captures grain when light drops, especially in shadow areas of the frame. Reduce noise before sharpening, never after. Sharpening grain only makes it visible and aggressive. Use the Noise Reduction slider in Lightroom Mobile first, then move to selective sharpening. Start at 25 to 40 on the Noise slider and adjust based on how much shadow detail you’re keeping.

The protocol is sequential: noise reduction in global settings, then selective sharpening only on high-contrast edges. Open Lightroom, slide Noise Reduction to 30, then check the detail in shadows without blurring the overall image. If the photo still looks soft, you went too far. Move to Snapseed Details tool and sharpen only where definition matters. Overworking the image kills the golden hour glow you captured in the first place.
Beyond Sunset Pictures: Applying Golden Hour Principles To Any Light

When Artificial Light Becomes Your Golden Hour
You want permission to shoot indoors without buying studio gear. The real mechanism here comes from physics: color temperature is measurable in Kelvin, and golden hour isn’t magic—it’s a specific range of warm light between 3500K and 4500K that flatters skin and objects. You can manufacture this exact condition anywhere artificial light exists, and your iPhone’s sensor will respond identically.
Tungsten bulbs, sodium vapor streetlights, and even certain neon signs already sit in golden hour’s temperature range. The trick isn’t finding golden hour—it’s recognizing that warm light is warm light, regardless of source. Position your subject near an incandescent table lamp, a restaurant’s interior lighting, or a storefront window at night, and you’ve created the same optical condition as sunset. Your iPhone meter will respond to the color temperature, not its origin.
Editing Without Chasing The Same Look Twice
The common advice tells you to apply identical presets everywhere. That’s lazy. Golden hour editing on an iPhone works because the light already carries warmth, saturation, and contrast baked in—you’re enhancing what exists, not fabricating it from flat light. When your light source changes, your editing strategy must too.

In tungsten environments, reduce orange first before adding warmth, because the light is already oversaturated in that channel. With cooler artificial light like LED panels, you have room to warm shadows without clipping highlights. The protocol: shoot the test frame, check the histogram in your editing app, then adjust shadows and highlights independently instead of applying a preset wholesale. This prevents the flattened, filtered look that screams “I used the same edit twice.”
Your Golden Hour Is Not A Filter, It’s A Skill
Shoot The Same Scene Ten Times Over
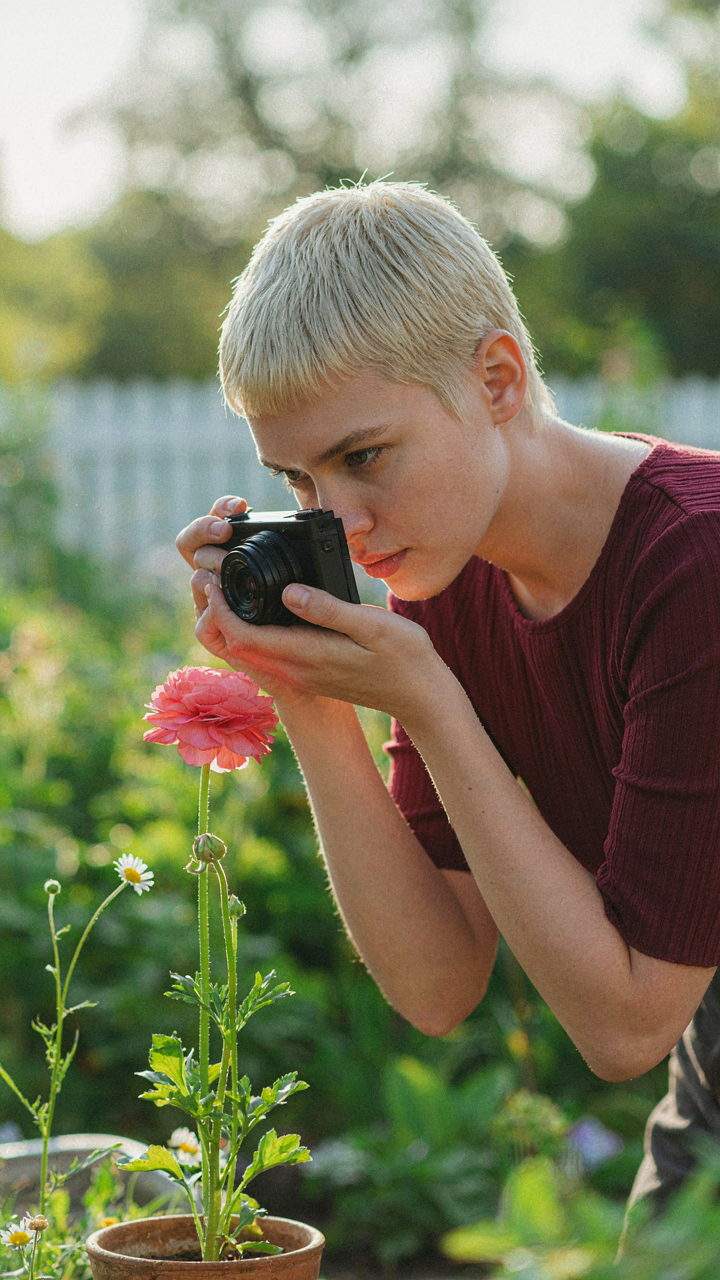
You want permission to think this matters without looking obsessive. Here’s the mechanism: skill compounds through repetition with feedback, and golden hour iPhone photos demand you close the loop between intention and result. Shoot the same subject from five angles. Adjust exposure. Move two feet left. Shoot again. The iPhone’s computational photography processes each frame slightly differently depending on light angle and subject distance. You’re not taking photos. You’re running experiments.
Most photographers treat golden hour like a lottery ticket. They show up, point, tap, and hope the phone’s processing does the work. The real move is treating each location as a testing ground where you run through permutations. Spend fifteen minutes on one scene instead of chasing novelty across ten scenes. The feedback loop tightens. Your eye starts predicting what the phone will render before you tap the shutter.
Training Your Eye Before Trusting The Screen
Light response in optics follows predictable behavior, and your eye needs to learn which wavelengths the iPhone sensor actually captures versus what you perceive. This is the core gap nobody names: human vision and iPhone sensors see color temperature differently. Your eye compensates for warm light automatically. The phone doesn’t. Golden hour throws orange and pink across the scene, but the sensor reads it literally—sometimes oversaturating, sometimes crushing detail in shadows where your eye still sees form.
Spend time looking at the raw scene without the phone. Notice where the light hits hardest. Track where shadows fall. See the actual color, not the filtered memory of it. Then open the iPhone camera and compare what the screen shows to what you’re observing. The screen is your ground truth, not your eye. Do this for a week during golden hour and you’ll internalize the translation layer. The next time you frame a shot, you’ll know exactly what the phone will render before you even compose.
The Real Obstacle Isn’t Your IPhone; It’s Your Expectation Of Effortless Magic

You want the glow without the work. You want the shot without understanding light. That’s the real problem. Golden hour iPhone photos don’t happen because you own the right phone. They happen because you showed up, studied the angle, and took twenty frames instead of one. Today, pick a location you pass regularly. Go back during golden hour. Shoot for fifteen minutes. Don’t check the results. The only thing between you and better photos is the willingness to look stupid while you’re learning.



