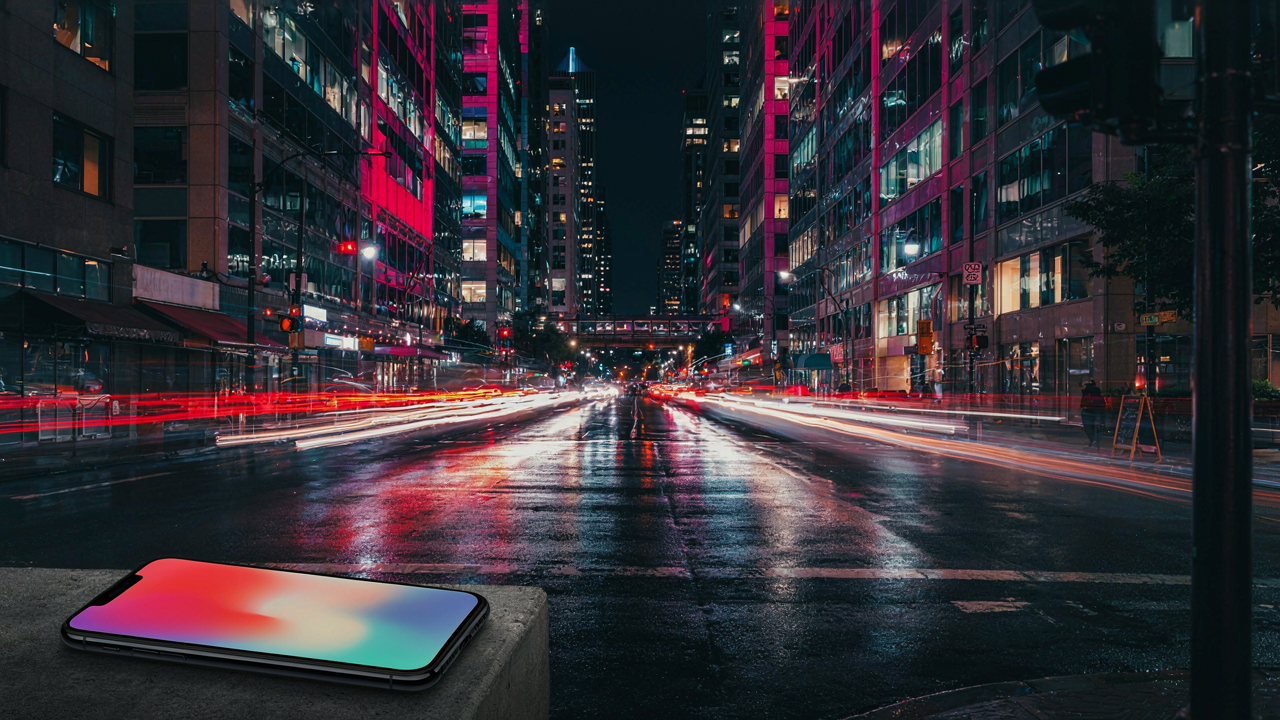
The “Pro Gear” Fallacy: Why Your IPhone Already Wins
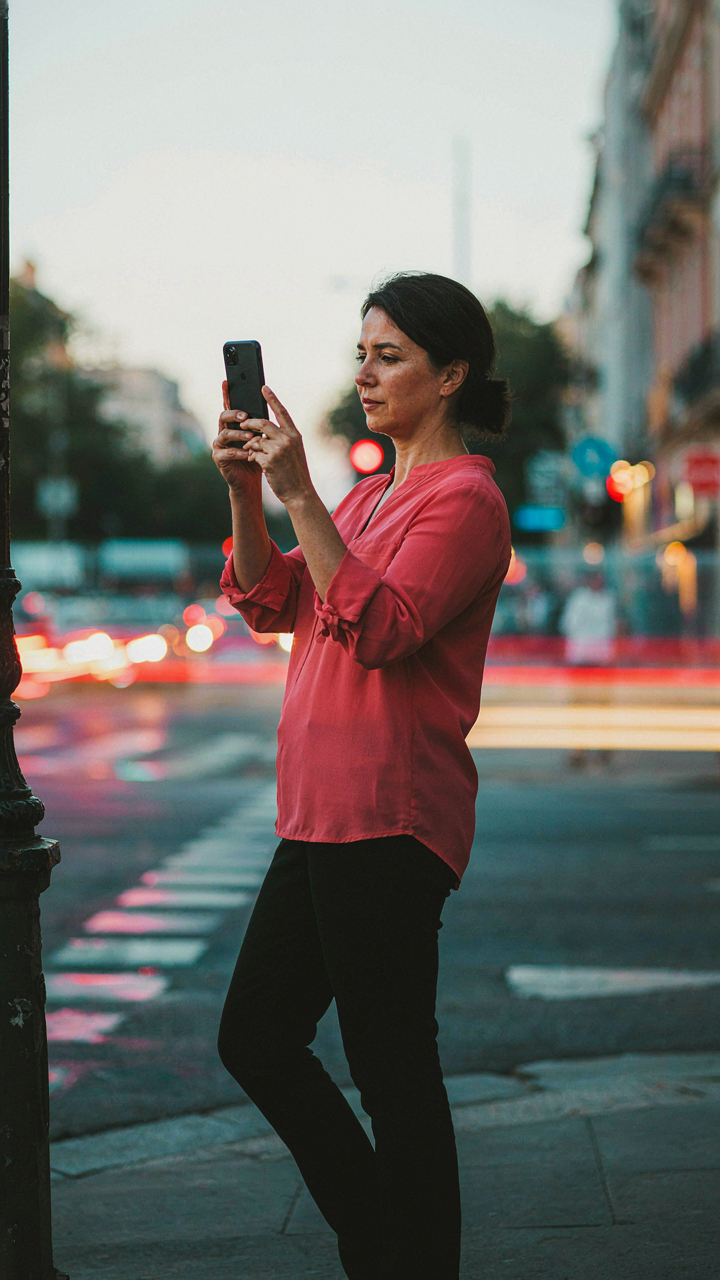
DSLR Cameras Miss The Point
You want permission to believe the gear matters more than the skill because buying equipment feels like progress. It doesn’t. A DSLR captures light the way it arrives. Your iPhone doesn’t. It processes the scene in real time, stacking multiple exposures, correcting color, sharpening detail, all before you tap the shutter. For light trails specifically, this matters more than sensor size ever will. A DSLR gives you more control over fewer variables. An iPhone gives you fewer controls over the output, but that output already includes decisions a DSLR leaves to you in post-processing.
The DSLR era created the expectation that mastery meant manual settings and technical depth. Light trail photography inverted that logic. You don’t need aperture priority mode or manual focus assistance. You need a device that understands how to hold a long exposure without motion blur destroying the stationary elements of your frame. DSLRs struggle here because they’re built for the photographer to solve this problem. iPhones solve it without asking you to think about it. That’s not less professional. That’s the definition of a better tool.
Computational Photography Changes The Equation
Think of this as signal processing, borrowed from electrical engineering: your iPhone separates the signal (the light trail) from the noise (camera shake, blown highlights, underexposed streets) and amplifies only what matters. A traditional camera captures everything that happens during the exposure window. The iPhone captures multiple frames and intelligently blends them. Night mode doesn’t just brighten the scene. It analyzes each frame, identifies which elements move and which stay still, then fuses them into a single image where the light trails glow and the street remains sharp. No DSLR does this natively.
The computational advantage compounds when conditions get difficult. Low light, moving subject, reflective pavement. These situations expose the limits of traditional sensors instantly. Your iPhone’s Night Mode pipeline actually improves in these exact conditions because it has more frames to reference and more variance to process. You get consistent, usable results without touching a single setting. Start with Night Mode engaged in low light, hold steady for two seconds without moving, and tap the shutter. The rest is physics and mathematics working inside the device.
Light Trails Photography: The Exposure Illusion
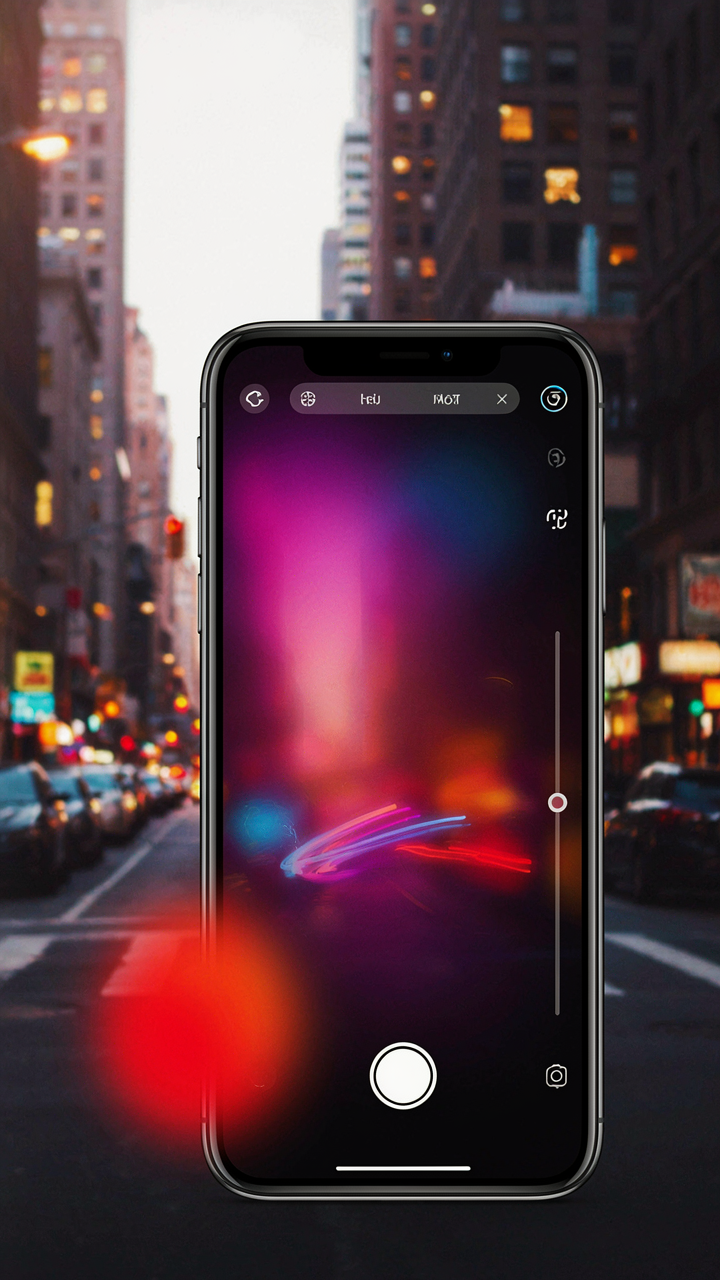
Shutter Speed: Not Just A Number, A Time Slice
You want light trails because they make ordinary streets look cinematic, and you think that’s about aesthetics. It’s actually about physics. Shutter speed operates like temporal sampling in signal processing—you’re not capturing motion, you’re capturing the duration of light accumulation. On iPhone, you control this through apps like Slow Shutter Cam or NightCap. A one-second exposure collects light for twice as long as a half-second exposure. The longer the sensor stays open, the more photons hit it from moving light sources, creating visible trails instead of frozen points.

Most advice says “use a tripod and long exposures.” That’s incomplete. Your iPhone’s sensor is small, which means it reaches saturation faster than a DSLR. A three-second exposure on iPhone often produces blown-out trails; a two-second exposure captures definition. The mechanism is simple: longer shutter speed equals more light accumulation, but iPhone’s sensor dynamic range caps that accumulation at a specific point. Test your actual phone at one second, then 1.5 seconds, then two seconds on the same street. Stop when the highlights flatten into white noise.
Aperture And ISO: Balancing Light, Not Blasting It
The amateur move is cranking ISO to compensate for low light, then wondering why trails look grainy and flat. ISO doesn’t create light—it amplifies the signal your sensor already captured, which means it amplifies noise along with it. On iPhone, you can’t physically change aperture, but you control how much light reaches the sensor through exposure compensation in your camera app. Reducing exposure compensation actually forces the sensor to stay open longer in manual mode apps, which sounds counterintuitive until you understand the tradeoff. Lower exposure compensation plus longer shutter speed equals trail definition without digital amplification destroying detail.
Keep ISO under 400 on iPhone during light trails work. Above that threshold, the trails lose edge clarity and blend into the surrounding noise floor. Your goal is extracting light information that already exists in the scene, not manufacturing it. Set your shutter speed first based on vehicle speed and distance, then adjust exposure compensation to keep highlights from clipping. This sequence prevents the cascade failure of chasing blown-out images with higher ISO. Lock exposure compensation, lock shutter speed, then fire the shot during active traffic movement.
The Motion Protocol: Mastering Car Light Trails Photography
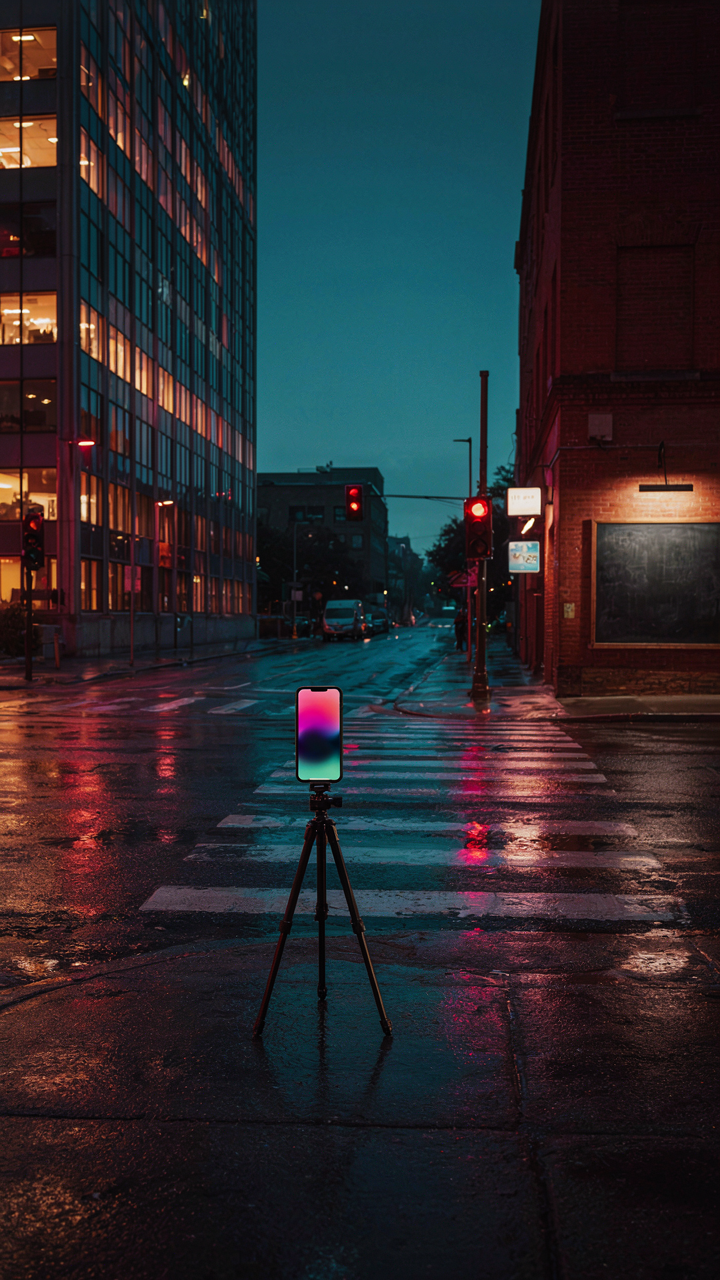
Tripod Stability Eliminates Camera Movement
You want this to work because shaky hands kill the entire shot and expose you as an amateur. Here’s the physics: a tripod functions as a dampening system. In engineering, dampening absorbs unwanted oscillations. Your iPhone’s sensor records every vibration as blur layered into the light trail. Without a tripod, micro-movements corrupt the exposure.

The common advice says “just hold steady.” That’s incomplete. Even professional hands introduce vibration when pressing the shutter button. A rigid tripod removes your body from the equation entirely. Mount your iPhone to a quality ball head or pan-tilt head. Lock all adjustment points tight. The tripod itself must sit on stable ground, not on your car hood or a wobbly surface. Test by pushing the tripod gently before you shoot. If it moves, move it.
Remote Triggers Prevent Vibration At Shutter Press
Pressing your phone’s screen introduces vibration that starts the exposure on blur. A remote trigger is a tool from video production: it fires the camera without contact. Your phone’s native timer function works here, but it delays the shot. A physical Bluetooth remote, or Apple’s Volume button remote, fires instantly with zero vibration transfer.
Set your iPhone to photo mode with manual exposure control. Connect a Bluetooth remote or use the wired Volume button remote. Position the remote in your non-dominant hand away from the tripod. When the light trails approach, press the remote trigger instead of touching the screen. This single change separates sharp trails from soft, ruined frames. The exposure begins clean, without the vibration signature that kills definition in the light paths.
Hidden IPhone Features For Light Trails Photography Long Exposure

Live Photos Captures Movement Without The App
You want to look like you know what you’re doing without learning actual camera mechanics. Live Photos is the workaround nobody mentions because it’s sitting in your default camera app, doing the heavy lifting while you get credit. It records three seconds of video centered on your tap, which means it naturally extends exposure across movement.

When you enable Live Photos and hold your iPhone steady on a tripod or resting surface, the camera captures continuous frames. Cars passing through the scene during those three seconds blur into trails across multiple frames. You then convert the best frame to a static image in the Photos app by pressing and holding, selecting Key Photo, then moving the slider to isolate the sharpest moment with the best light trail separation.
Manual Controls Unlock The Real Work
The stock Camera app doesn’t give you shutter speed or ISO control, which means you’re fighting the phone’s auto-exposure logic instead of directing it. Third-party apps solve this by exposing the technical levers you actually need to dial in consistent light trail results.
- Halide: Offers manual shutter speed adjustment down to one full second and independent ISO control. You preview exposure in real time before capturing, cutting wasted frames significantly.
- Lightroom Mobile: Provides RAW capture with full manual controls including shutter priority mode. The RAW files give you post-processing latitude that compressed JPEGs never will.
- ProCamera: Includes night mode with selectable exposure length and focus lock. Works well for stationary tripod setups where you need predictable 2-4 second exposures.
- Manual: A bare-bones utility that treats your iPhone like an actual camera body. Shutter speed, ISO, focus distance, and white balance all adjustable independently before you shoot.
- Moment: Built for video but includes a photo mode with precise manual controls and a built in intervalometer for capturing multiple frames at fixed intervals.
The mechanism is direct: longer shutter speeds and lower ISO values create visible light trails, but you can’t set either one in the default app. Third-party tools remove that constraint. Lock your phone on a tripod, set shutter speed to 2-4 seconds, dial ISO down to 200 or lower, tap and wait for cars to move through frame.
Compositional Alchemy: Beyond Blurry Lights
Where The Eye Actually Lands
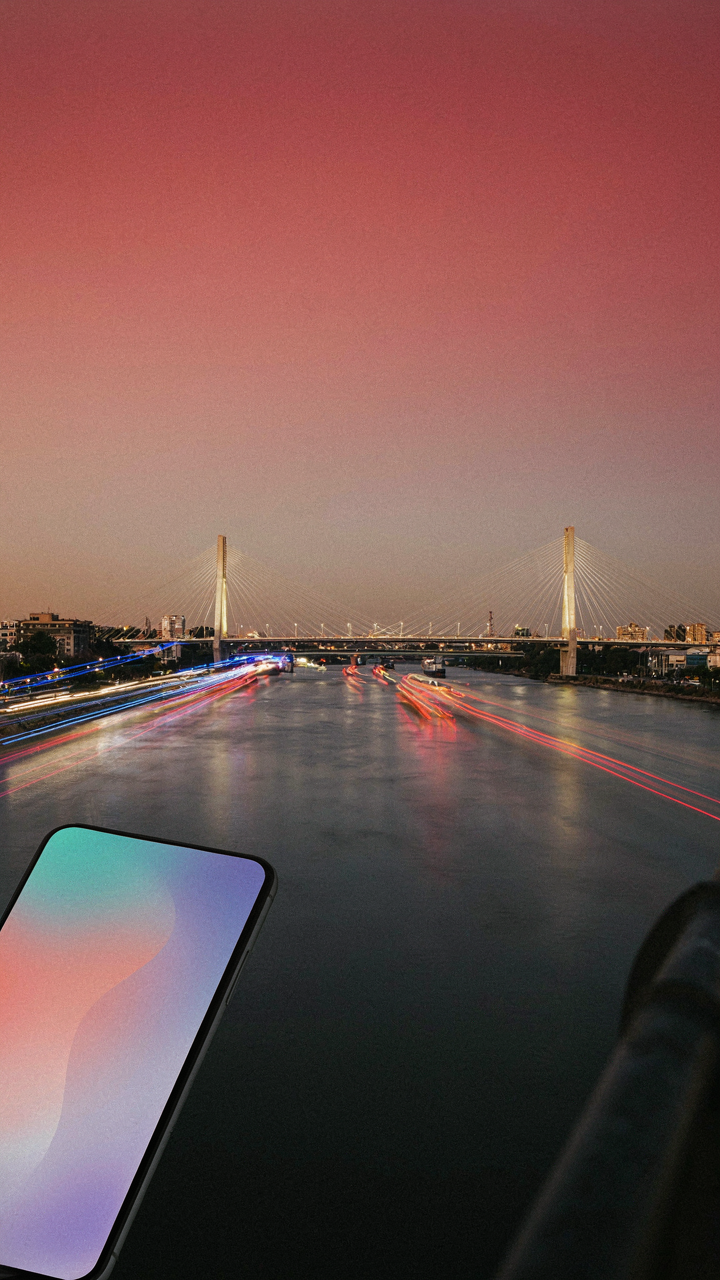
You want this to look intentional, not accidental. That’s the real reason you’re reading about composition. The rule of thirds isn’t mystical—it’s a tension map. Your brain expects balance, but it craves slight offset. When you place a light trail along the right third line instead of dead center, the viewer’s eye follows the motion naturally rather than stopping flat. The iPhone’s frame becomes a path, not a box.

Most people treat the rule of thirds as a grid to fill equally. Wrong. The mechanism is contrast between static elements and dynamic ones. Place your horizon or a street element on one third line, then let the light trail cross through the remaining two-thirds diagonally. This creates asymmetry that reads as intentional movement rather than random camera shake. The viewer doesn’t think about composition—they follow the trail because you built a visual hierarchy that demands it.
Light As Directional Language
Leading lines borrow from landscape photography, but the physics here works differently. A light trail isn’t a fixed line; it’s accumulated motion rendered as a line. In landscape work, leading lines guide static depth. With iPhone light trails, the line itself demonstrates the direction and speed of time passing through the frame. You’re not just showing where something went—you’re showing how fast and how deliberately.
Position your camera so the incoming light trail enters from the frame’s edge and cuts diagonally toward a focal point—a building corner, an intersection, a street sign. This creates visual momentum that pulls the viewer through the entire image in sequence. Don’t let the trail dead-end in darkness. Anchor it to something static. The light trail becomes a vector, and vectors create narrative. You control where attention flows by controlling where the line terminates.
The Cybernetic Feedback Loop For Light Trail Photography
Observe, Orient, Decide, Act In Real Time
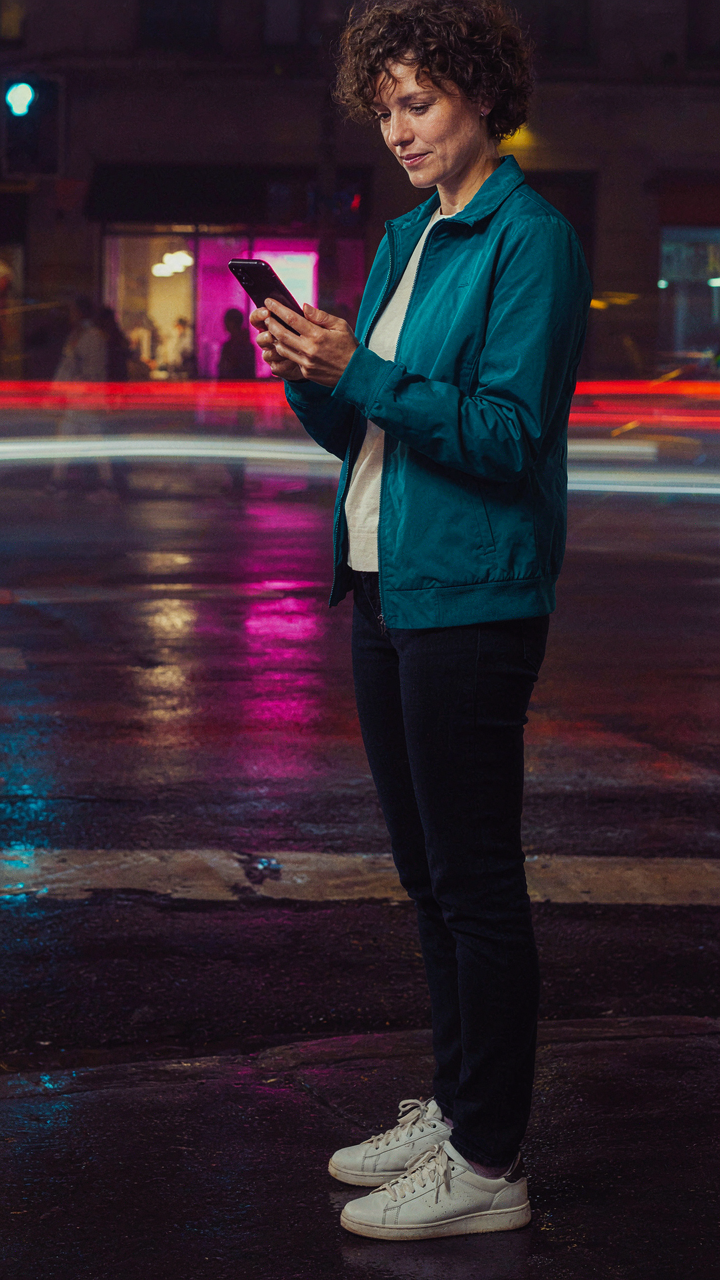
You want this section because you’re tired of taking blurry light trail shots and posting them to find out they’re unusable, wasting hours chasing a technical skill that feels out of reach. The real mechanism here is the OODA loop from military strategy, and it maps directly onto light trail capture: your iPhone’s sensor becomes the observation layer, your eye becomes the orientation layer, your thumb becomes the decision layer, and your positioning becomes the action layer. These four stages loop continuously, and the speed of your loop determines whether you catch the shot or miss it entirely.

Most photographers treat light trail shooting as a passive wait. You frame the scene, hit record, and hope. That’s backwards. Your OODA loop runs at phone-camera speed—roughly the frame rate your iPhone captures at, which on newer models is 24fps or 30fps in video mode. Every frame is a new decision point. You’re constantly micro-adjusting phone angle, distance from the street, and exposure compensation based on what you see in real time on screen. The faster you observe the incoming car lights, orient yourself to their trajectory, decide on framing adjustments, and act on those adjustments, the sharper your light trails become.
Iterative Adjustments That Compound
Real-time optimization means you don’t nail the shot on attempt one, and pretending otherwise wastes your actual learning curve. Each car that passes through your frame gives you data: which shutter speeds blur the trails without ghosting the vehicle, how much phone movement destroys the effect, where in the frame trails read most clearly. You capture five attempts, kill four, keep one. Then you shift position by three feet and capture five more. You adjust your iPhone’s exposure slider up slightly because the street is darker than you thought. You lower your phone’s angle five degrees because the previous angle cut off the useful trail length.
This iteration isn’t inefficiency—it’s the mechanism that turns luck into skill. Your iPhone stores each attempt in video or Live Photo format, giving you a library of attempts within sixty seconds. You review two or three of these on screen immediately, note what worked, adjust one variable, and shoot again. The compounding effect of five correct adjustments stacked together produces light trail shots that look intentional, not accidental. After twenty minutes of iterative work on a single intersection, you’ve moved from random captures to deliberate technique. Stop after the first decent shot and you’ve learned nothing.
Post Processing Deconstructed: Enhancing Neon Road Wallpaper
Saturation And Contrast In IPhone’s Native Tools
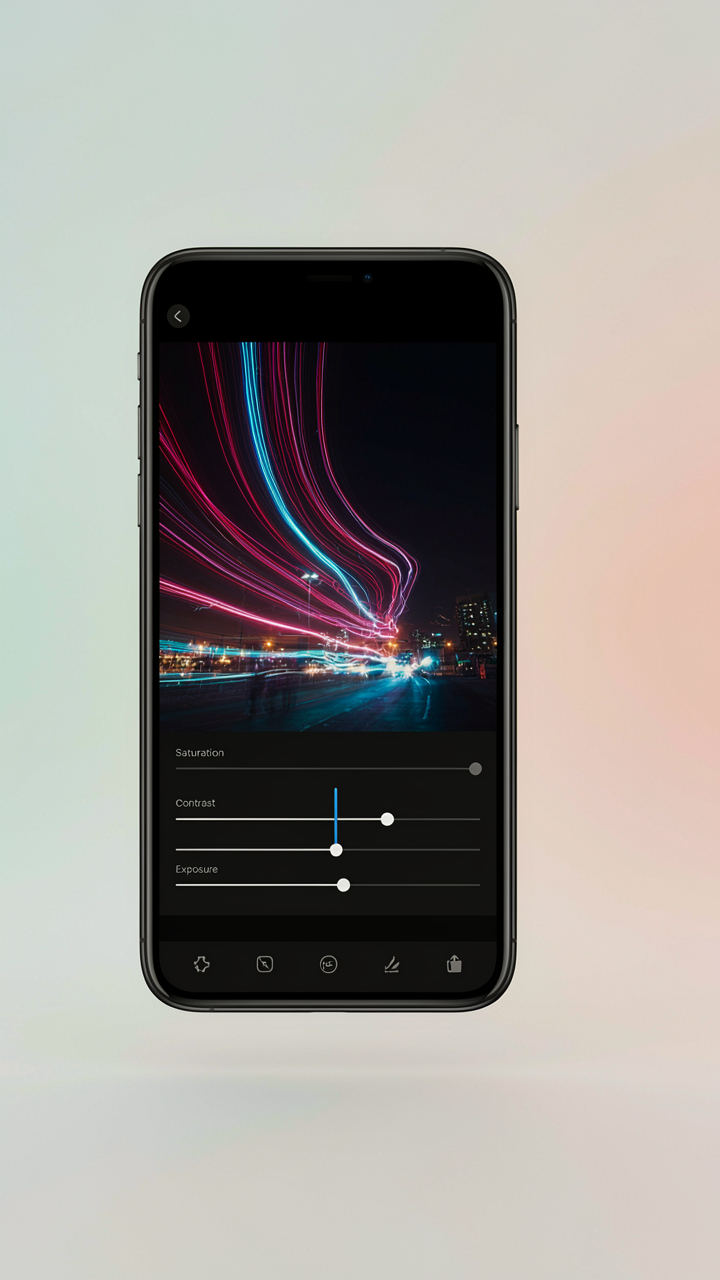
You want people to think you have expensive gear. The real move is that iPhone’s Curves and Saturation sliders work on the same principle as film color grading: you’re compressing the tonal range to make dark areas punch without blowing highlights. Light trails live in that compressed space.

Open the Colors tab in Photos. Push Saturation up 15 to 25 points first. This lifts the neon without destroying the blacks where your trails sit. Then adjust Contrast by adding 10 to 20 points. Contrast stacks multiplicatively with saturation, meaning each adjustment amplifies the other’s effect on your trails’ visibility against the road.
Luminance Noise Without Detail Collapse
The advice to crank noise reduction will kill your light trail definition. Noise and trail data occupy different frequency bands, so you can target one without erasing the other. iPhone’s Noise Reduction slider targets chroma noise first, which is safe. Luminance noise is trickier.
Keep Noise Reduction between 20 and 40 points for city shots. Higher than 40 and you smear the trail edges where they fade into the background. Check your preview at 100% zoom on the trail’s boundary. If the edge blurs into a gradient rather than holding a defined taper, you’ve reduced too much. The step is to never reduce noise globally first: desaturate the image slightly, reduce noise, then re-saturate back to your target level.
Common Mistakes: Why Your Long Exposure Photography Fails
When Your Highlights Blow Out
You want the shot to look professional because you’re tired of your photos looking like everyone else’s. Here’s what’s actually happening: your iPhone’s sensor collects light over the entire exposure duration, and bright light sources like streetlights and car headlights accumulate so much data that the sensor clips them to pure white. The phone can’t record detail above that threshold. You’re not capturing overexposure, you’re hitting a hard ceiling.

The standard advice says “reduce your exposure compensation.” That’s incomplete. What you need is a neutral density filter. An ND filter cuts incoming light uniformly across the frame, letting you extend your shutter duration without pushing bright elements past the sensor’s limit. Without one, you’re choosing between short trails or blown highlights. There’s no middle ground on a phone sensor. Use a clip-on ND2 or ND4 filter before you start shooting long exposures on city streets.
When Your Trails Go Blurry
Camera shake is the physics term in optics called “vibration-induced motion blur,” and your light trails are the clearest evidence of it. Even a millimeter of movement during a two-second exposure spreads the light data across extra pixels, turning sharp lines into soft ghosts.
- Use a tripod, not your hand: Phone stabilization maxes out around one second. Beyond that, any tremor compounds across frames.
- Mount height matters: Place the tripod at waist level or lower to reduce wind resistance and vibration transfer from ground traffic.
- Disable digital zoom: Zoom magnifies movement. Shoot at 1x or use optical zoom only if your phone model supports it.
- Use a remote trigger: The tap delay from pressing the button introduces motion. Use a Bluetooth remote or the volume button with a delay timer.
- Shoot during lower traffic hours: Heavy vehicles create ground vibrations that propagate into your tripod setup even if it looks stable.
Stabilization and equipment choice determine whether your light trails read as intentional geometry or accidental blur. The difference is the tripod staying planted while the phone stays aligned to it throughout the exposure. Test your setup by reviewing a frame at full zoom before you commit to a location.
Beyond The Instagram Hype: Purposeful Light
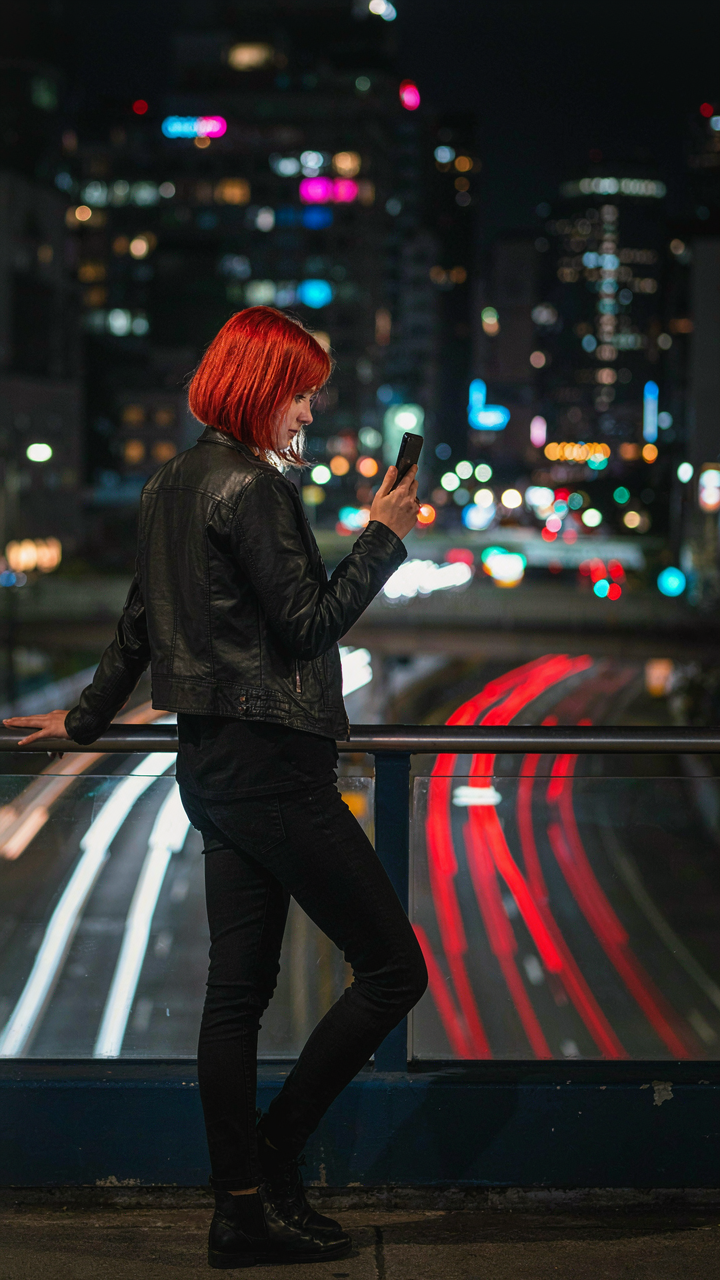
What The Trails Are Actually Saying
You want these shots to prove you know how to see. The real mechanism is narrative compression: light trails encode motion, time, and direction into a single frame. Every trail tells whether movement was deliberate or chaotic, fast or cautious, solitary or crowded. The story isn’t in the blur itself. It’s in what the blur reveals about the subject’s behavior and intent.

Most iPhone light trail photos fail because they document motion without intention. You point the camera at traffic and hope the sensor captures something. That’s documentation, not storytelling. Instead, ask what behavior you’re actually capturing. Are the trails curved or straight? Clustered or dispersed? Long or short? The answer determines whether your image communicates control, chaos, loneliness, or density. Without this filter, you’re just recording what happened, not why it matters.
Breaking The Generic Speed Look
Everyone shoots the same composition: camera stationary, 2 to 4 second exposure, medium-wide lens angle, and trails streaming horizontally across frame. This look isn’t wrong. It’s just exhausted. The mechanism comes from cinematography: motivated camera movement. Static shots feel passive. Moving shots feel intentional, even when they’re not.
Your phone’s stabilization works against originality here. Handholding a 3-second exposure feels impossible, so you brace the phone against a wall or tripod. The resulting frame looks identical to every other stabilized shot. Instead, move the phone deliberately during the exposure. Pan slowly with a turning car. Tilt upward while a truck passes beneath you. Rotate around a stationary light source. The trails will streak in unexpected directions, creating tension that static compositions can’t touch. Lock your focus point before the exposure starts, then execute the movement at a constant, deliberate speed. One smooth motion. No hesitation.
The Real Obstacle Isn’t Your IPhone’s Limits; It’s Your Addiction To Overcomplicating Simple Mechanics
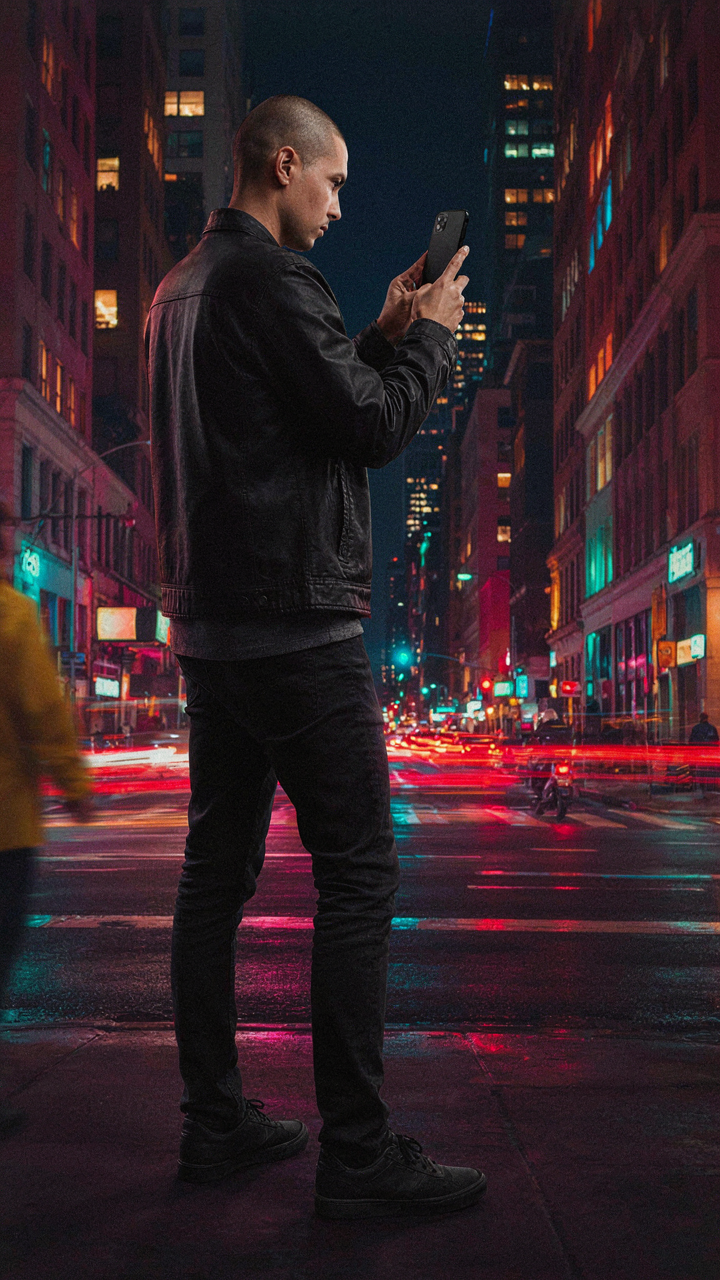
You already own the camera. You already know how to hold it still. What you’re actually avoiding is taking the shot. Stop researching tripod mounts and ND filters. Go outside tonight when cars pass. Hold your phone steady for five seconds. That’s it. You’ll either create something worth keeping or learn exactly what you need next. Most people never find out because they’re still watching tutorials instead of making mistakes.



