
The Myth Of Good Light Why Passivity Fails

Diffusion Is Not Your Solution
You want someone to tell you the right setup exists so you stop feeling like you’re doing it wrong. Here’s the mechanism: diffusion doesn’t improve light quality. It reduces intensity and spreads direction. People confuse “softer” with “better” because soft light hides problems instead of solving them. iPhone sensors don’t need diffusion to capture natural light well. They need you to stop treating light as a passive ingredient and start treating it as a variable you control.
The diffusion myth comes from photography education borrowed wholesale from studio lighting, where hard modifiers and diffusers matter for tungsten bulbs and strobes. iPhone sensors have a different constraint: dynamic range compression, not light harshness. A sheer curtain between you and a window doesn’t flatten shadows on an iPhone the way it does on film. It just makes everything dimmer and forces the sensor to push exposure, which clips highlights. You’re solving the wrong problem.
Position Beats Everything Else
This sounds obvious and it isn’t: light positioning is what separates a usable iPhone natural light photo from a flat one. You decide where the subject sits relative to the light source, not the light. A window creates a directional plane of illumination. Your job is to move the person or object perpendicular to that plane, at angles, closer or further away. This is the only variable that changes contrast, shadow depth, and skin texture without adding gear or editing.
The passive approach waits for good light at a fixed time and location. The active approach asks what angle solves the specific problem the subject presents. A face lit from the side reads different from a face lit from a 45-degree angle or backlit. The iPhone captures these differences cleanly because its sensor handles directional light without flare or color shift issues. Move before you shoot. Reposition after the first frame. The light doesn’t change. Your framing relative to it does.
Deconstructing Softness: The Inverse Square Law
How Distance Controls Light Falloff
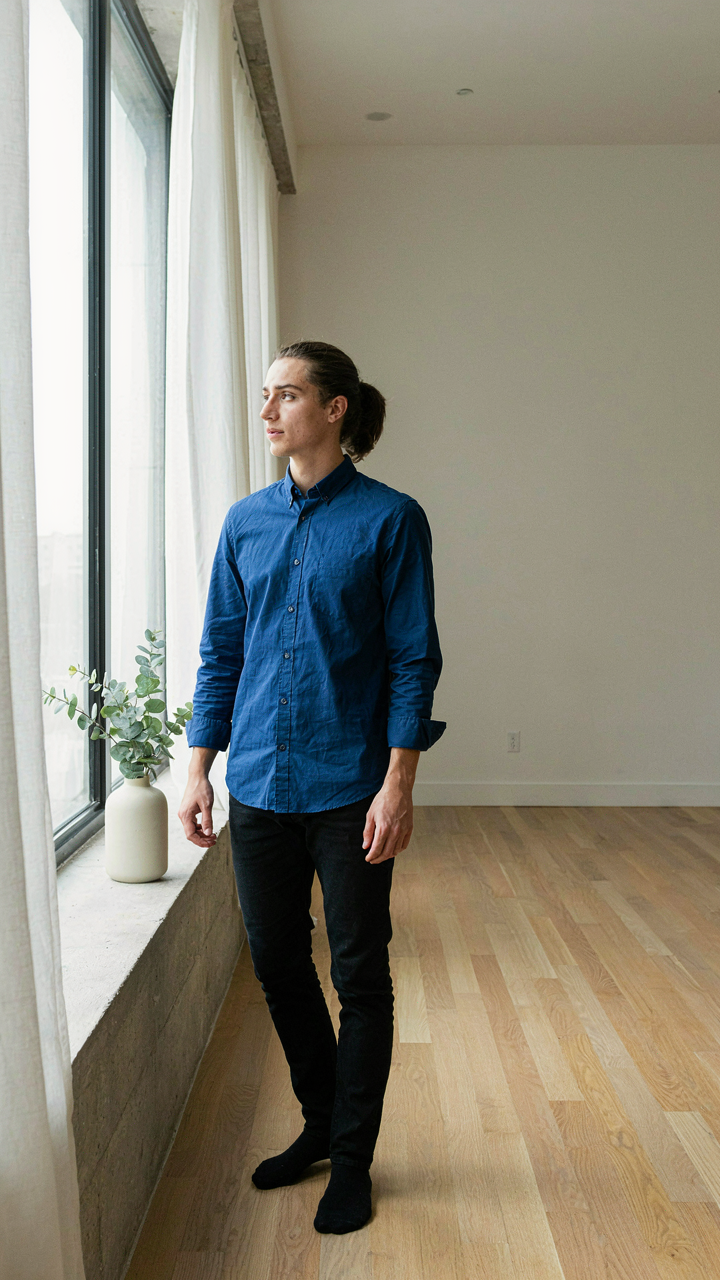
You want soft light because you think it hides flaws. It doesn’t. Soft light reveals texture without drama, which flatters skin because it eliminates the shadows that read as fatigue or age. Physics governs this, specifically the inverse square law: light intensity drops proportionally to the square of the distance from source to subject. Move your light source twice as far away, and intensity falls to one quarter. This principle is why window light feels different at two feet versus ten feet.

The iPhone camera captures this behavior directly. Window light hitting your subject from ten feet away diffracts across a wider angle, wrapping around contours instead of carving them. The closer the window, the harsher the directional quality becomes. Distance itself acts as your diffuser. You don’t need expensive gear to soften light. You need space between the light source and the subject. Position your subject farther from the window than feels natural, not closer.
How Subject To Light Ratio Controls Contrast
Everyone says “use window light” like it’s a uniform instruction. It isn’t. The real variable is the ratio between direct light hitting one side of the face and ambient light bouncing around the room hitting the other. A tight ratio means both sides of the face receive similar exposure. A wide ratio means one side stays bright while the other darkens. iPhones struggle with wide ratios because their sensors compress shadow detail faster than human eyes perceive it.
To control this ratio without equipment, use the room itself. Position your subject so ambient light bounces off walls and fills shadow areas. A white wall opposite the window acts as a reflector. A dark wall increases contrast and makes the lit side stand out more. The ratio you want for flattering portraiture sits between 3:1 and 5:1, meaning the lit side is three to five times brighter than the shadow side. Achieve this by moving your subject closer to walls that reflect light back into shadows.
The Dynamic Range Deception: Exposure’s Hidden Power

Where You Actually Tap To Control Light
You want your photos to look professional without thinking about exposure. That’s the real motive here, and it won’t happen by accident. The iPhone’s meter reads the entire frame and averages exposure across the scene. Spot metering bypasses this averaging. Tap directly on the face or the area you want exposed correctly, and the camera locks exposure to that single point. Everything else adjusts relative to that choice.

The common advice says tap the subject. That’s incomplete. You’re not just tapping the subject. You’re selecting which tonal value becomes your baseline. Tap a shadow and the entire frame brightens. Tap a highlight and everything darkens. This isn’t a side effect. It’s the mechanism. After tapping, swipe up or down on the exposure slider to fine-tune. Lock it by holding your finger until you see the AE/AF Lock indicator. Don’t release until it confirms. Now your exposure is fixed to what you actually want, not what the meter guessed.
Shadow Recovery Without The Noise
Photography borrowed a term from economics: diminishing returns. Push iPhone shadows too far in post and noise multiplies faster than detail. The real answer isn’t pulling shadows in editing. It’s preventing them from getting crushed in the frame. Open your Camera app and tap on a shadow area before you shoot. This tells the phone to expose for the dark regions. Highlights blow out first. Shadows stay detailed. You’ve inverted the typical problem.
The Exposure slider on your iPhone does real work here. After spot metering on a shadow, increase exposure by one to two stops before shooting. Your phone captures more tonal information in the dark areas. When you edit later, you’re lifting detail that actually exists in the file, not fabricating it. This produces a natural look because the data was there from the moment of capture. Stop trying to recover shadows that were never captured. Start preventing them from disappearing.
Angle Of Attack: Mastering Directional Light

When Light Comes Straight At You
You want people to think you’re naturally photogenic. That’s the real driver here. The mechanism people miss: frontal light doesn’t flatten images. It erases dimension by eliminating shadow. Your iPhone camera reads light and dark areas as depth cues. No shadow means no perceived contour. When light hits your face head-on from the camera’s perspective, the sensor captures minimal tonal separation between planes. Your nose, cheekbones, and jaw lack definition because there’s nothing to cast a shadow on the opposite side.

The common advice says frontal light is bad for portraits. That’s incomplete. Frontal light is bad when you want sculptural depth. It’s useful when you want to diminish texture or erase blemishes. The iPhone’s computational photography actually enhances this effect by softening skin in flat-lit conditions. Position your light source directly in front of and slightly above eye level. This kills shadows but preserves some eye catch light, which prevents a dead, washed-out stare. Test it: move a window light to the side for one shot, then face it straight-on for another. The frontal version reads softer and less dimensional. That trade-off is the entire point.
Side Light And Backlighting Shift The Mood
Painters understood this in the Renaissance. Light from the side creates what physicists call specular reflection—a directional highlight that reveals form. Your iPhone’s sensor interprets these highlights as depth information. When light rakes across a face from a forty-five degree angle, it casts shadows that define the far side of the face. This restores dimension that frontal light removes. Backlight does something different: it separates your subject from the background by creating rim lighting around the edges of your face and hair.
Side light works best when you want people to read depth and structure in your face. Backlight works best when you want separation and mood. The catch: backlight fools the iPhone’s exposure metering. The camera meters for the bright background and underexposes your face. You fix this by tapping the face on your screen to lock exposure there, then recomposing. Backlighting creates a halo effect that reads as soft and intentional, not by accident but by mechanical design. Use backlighting when the sun is at your back and roughly at shoulder height. Tap to lock exposure on your face. Compose so the light skims the edge of your profile or hair.
The Reflector Protocol: Bouncing Light With Intent

Improvised Reflectors On IPhone 13 Photography
You want to look like you know what you’re doing without buying gear. That’s the real reason reflectors matter. The mechanism is simple: you’re redirecting existing light onto shadow areas, which eliminates the contrast that reads as harsh. iPhone 13’s computational photography processes a flattened tonal range better than extreme shadows do. A white wall, a sheet, or even a piece of foam board becomes your fill source when positioned opposite your key light.

The iPhone 13 sensor reads reflected light the same way it reads direct light. Distance and angle determine how much fill you add. Position your reflector 2-3 feet from your subject, angled to bounce light into shadow zones. The closer it sits, the brighter the fill becomes. You’re not trying to eliminate shadows entirely, only to control their depth so the camera’s HDR processing doesn’t blow highlights while crushing shadows.
Fill Light Versus Main Light Balance
The common advice says “balance your light ratios.” That’s incomplete. What actually matters is which light source the iPhone prioritizes in its metering. The iPhone meters for the brightest area in frame first, then pulls shadow detail based on sensor capability and software. Your main light creates the form and dimension. Your fill light prevents the sensor from overexposing trying to recover those shadows. Too much fill and you lose dimension. Too little and iPhone’s exposure algorithm clips highlights while fighting for shadow detail.
Set your main light at a 45-degree angle from your subject’s face, slightly above eye level. This is your dominant light source, the one that shapes the face. Now introduce fill light at roughly 1/3 to 1/2 the intensity of your main light by positioning a reflector on the opposite side. Check your iPhone’s exposure preview before shooting. If shadows still read as pure black zones, move the reflector closer or angle it more directly. If the face looks flat and dimensionless, pull the reflector back and reduce fill intensity.
The Aperture Illusion: Shallow Depth On IPhone 15 Photography
Portrait Mode Beyond The Gimmick
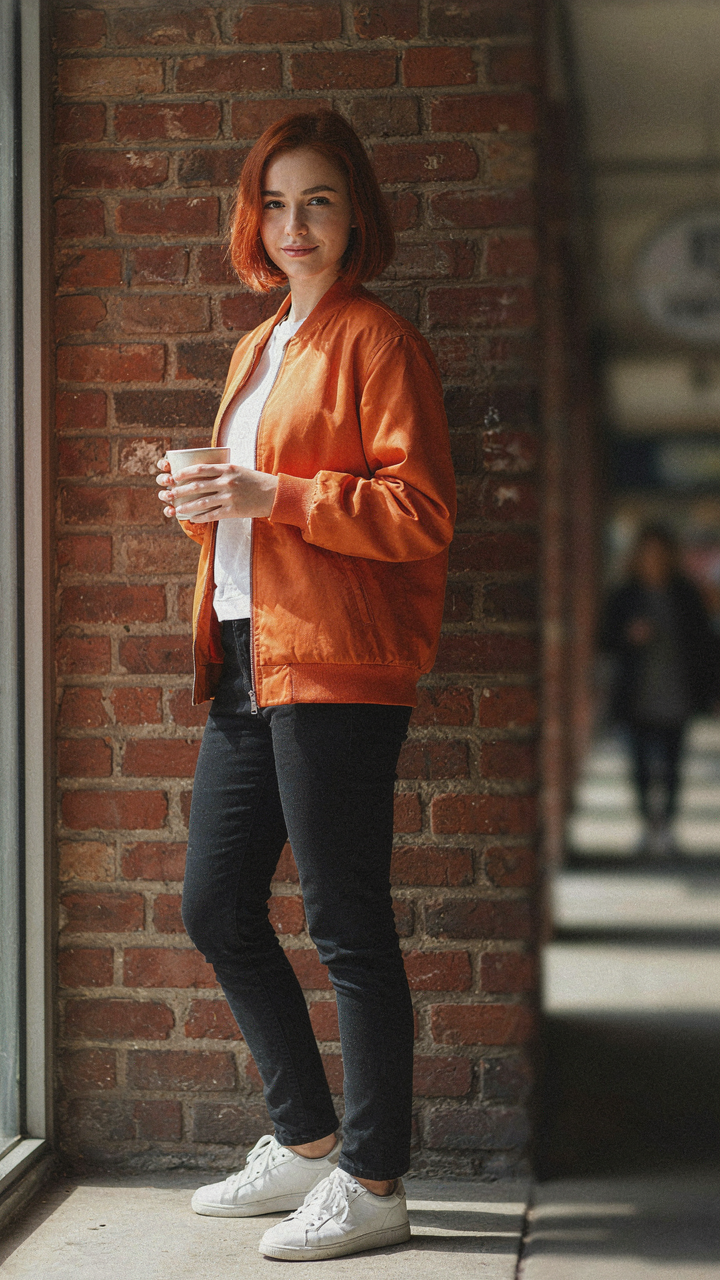
You want Portrait Mode to work because it makes you look like you own expensive gear. The truth is simpler: Portrait Mode isn’t creating depth of field the way a real camera does. It’s running computational photography—analyzing the scene, identifying the subject, and blurring the background in post-processing. The iPhone 15 uses dual cameras and neural processing to estimate depth maps, then applies selective blur. This isn’t physics. It’s pattern recognition dressed up as optics.

Portrait Mode works because Apple’s software learned what separation looks like across millions of images. The algorithm identifies edges, skin tones, and distance cues, then masks the foreground from the background. The blur strength stays consistent because the phone calculates depth per pixel, not per lens aperture. Natural light helps this process work better—good lighting creates clearer contrast between subject and background, making edge detection more accurate. Stop expecting it to behave like an f/1.4 lens. It doesn’t. It’s better in one specific way: it never loses focus on your face.
Foreground Background Separation Via Distance
Depth in iPhone natural light photos comes from physical space, not software tricks. Move your subject ten feet from the background instead of two feet, and the blur happens naturally through atmospheric perspective. The light scatters differently over distance. Objects farther away lose detail and contrast. Your eye reads this as separation without any computational assistance needed.
Position yourself close to your subject in natural light, then ensure the background sits far behind them. The iPhone 15’s telephoto lens (77mm equivalent) compresses space and increases this separation effect automatically. Shooting at three to six feet from your subject gives you the sweet spot where natural light creates soft modeling without blown highlights. The background doesn’t need to be blurry—it just needs to recede. Distance does the work.
Environmental Control: Shaping Your Scene

Block What Ruins The Shot
You want control without looking like you’re trying, which is why you care about this section. The real mechanism: light behaves like a liquid. It spills everywhere until something stops it. Your job is installing those stops before you press the shutter.

Most people think blocking light means throwing up a hand or standing in the way. That’s not blocking. That’s just movement. Real blocking means understanding that every edge in your frame either contains or leaks light. The iPhone’s sensor sees contrast differently than your eye does. A bright window behind your subject doesn’t just brighten the background—it compresses the subject’s detail and flattens dimension. You block by positioning: move your subject away from competing light sources, rotate your body to put the sun behind them instead of beside them, or shoot through a doorway where the walls themselves become natural light barriers.
Use Existing Structures As Reflectors And Diffusers
Architecture is your equipment. A white wall diffuses and softens. A dark surface absorbs excess light and creates shadow definition. This isn’t borrowed from design theory, it’s borrowed from optics: diffusion works by scattering light across a wider surface area, reducing intensity and harshness. Your iPhone sees this immediately.
The typical advice is to find “nice light,” which is useless. Better approach: hunt for existing geometry that’s already doing the work. A recessed doorway darkens background clutter. A light-colored interior wall becomes a reflector without you buying anything. Brick, wood paneling, painted surfaces—each material has reflectance value the camera reads differently. Position your subject so these structures frame them naturally, then step back and check the histogram. The histogram tells you what’s actually being captured, not what your eye perceives. This single protocol step—checking the histogram before you move—eliminates most flat, overexposed natural light photos.
The Color Temperature Code: White Balance As A Tool

Warm Versus Cool Tones Effect
You want people to think you’re attractive in photos, and color temperature is the lever that makes or breaks that perception. Your iPhone’s camera interprets light through Kelvin temperature, a physics concept measuring how warm or cool light appears. Warm light (lower Kelvin) reads as orange and gold. Cool light (higher Kelvin) reads as blue and silver. The camera doesn’t see what your eye sees—it guesses based on what’s dominant in the frame, and it guesses wrong constantly.

Warm tones compress the appearance of skin texture and add perceived softness because they mimic golden hour light, which humans associate with flattery and safety. Cool tones enhance clarity and definition but expose every pore and make skin look clinical or fatigued. Natural window light typically falls between 3500K and 5500K depending on time of day and weather. If your iPhone defaults to cool compensation, your skin reads harsh. If it overcorrects warm, you look jaundiced. The goal isn’t beauty—it’s accuracy that happens to favor you.
Manual White Balance For Accuracy
Everyone says to use the tap-to-focus method, but that’s incomplete advice that leaves you dependent on the iPhone’s auto-detection. Manual white balance means using the exposure slider in the native Camera app to shift warmth left (cooler) or right (warmer) before shooting, or using a third-party app like Halide that gives you direct Kelvin input. Auto white balance locks in the moment you tap, but it locks in whatever the camera misread. Manual override means you control the anchor point.
The mechanism is simple: tap your subject’s skin, then swipe left or right on the temperature slider until the preview looks true to what you see with your naked eye. Don’t aim for flattery in the app—aim for accuracy. The flattery happens naturally when the camera stops lying about the color. If you’re shooting near a window with mixed indoor and outdoor light, manual white balance prevents the camera from splitting the difference and making everything look wrong. Shoot the test frame, check the histogram and color, adjust, then shoot the take.
Post Processing Leverage: The Final Sculpt

Tone Curve And Highlight Recovery
You want the edit to disappear so people compliment your camera instead of your skill. That’s the real reason this matters. The mechanism is simple: the iPhone 13 Pro’s sensor clips highlights fast because it prioritizes shadow detail in its default tone curve. Recovery isn’t about magic. It’s about optical physics applied backwards.
- Expose-to-the-right in-camera: Intentionally overexpose by one stop during shooting so the histogram shifts right without blowing critical highlights, giving post-processing more data to work with.
- Highlight slider first: Drop highlights before touching shadows. The iPhone’s RAW files retain blown data in specific channels that Recovery tools can reconstruct.
- Shadows and blacks separately: Lifting shadows alone flattens skin. Adjust blacks to add depth without crushing midtones where the softness actually lives.
- Whites as micro-contrast: A subtle whites lift (not exposure) adds separation between face and background without looking processed or blown.
- Curve point at midtones: Place a single curve point around the middle gray value and lift it slightly to brighten without affecting extremes, which keeps skin tone separation intact.

The iPhone 13 Pro’s computational photography fires when you shoot in aperture priority mode, which locks exposure. Switching to manual exposure control lets you overexpose the scene slightly, then recover in Lightroom or Capture One. The recovered image feels softer because the sensor isn’t fighting to preserve detail in blown highlights. That tension disappears.
Selective Sharpening And Grain Management
Most advice says sharpen everything equally or avoid sharpening natural light photos entirely. Both miss the point. Sharpening is a signal-to-noise ratio problem borrowed from electrical engineering. Your goal: amplify the signal (skin texture, eye detail) while dampening the noise (sensor grain, compression artifacts).
The iPhone 13 Pro shoots at high ISOs in dim natural light. This introduces grain. Standard noise reduction blurs the image uniformly, killing the softness you worked to preserve. Instead, apply luminance noise reduction only, which removes grain from brightness data while preserving color information where the eye is less sensitive. Then sharpen selectively using masking. Sharpen eyes and lips. Leave cheeks and foreheads untouched. The image reads as sharp where it matters and stays soft where it counts. Your post-processing protocol: noise reduction first at 30 to 50 percent, then selective sharpening on detail-rich areas only at 60 to 80 percent strength, applied through layer masks in Lightroom or local adjustment tools in Capture One.
Shadow Play: Mastering The Absence Of Light

Where Shadows Live On Your Frame
You want shadows to do the work so you don’t have to perform in the photo. The real mechanism here is contrast ratio. In painting, chiaroscuro uses the relationship between lit and unlit areas to direct attention and create depth. On your iPhone, shadows aren’t accidents or problems to fix. They’re compositional anchors. When natural light hits a subject partially, the shadow side creates negative space that makes the lit side read faster. Your brain processes the boundary between light and shadow before it processes the subject itself.
Position your subject so side light creates a clear shadow line across part of the frame. Never diffuse or fill these shadows unless you’re trying to hide the structure of your subject. The shadow should occupy roughly a third of your composition, positioned to lead the eye toward the lit area. This isn’t soft and flattering by accident. This is soft and flattering by design.
The Drama You Build With Restraint
Most photographers believe shadows need to be dark to work. This is incomplete. Strong shadows on iPhone come from the contrast between where light stops and where it doesn’t, not from absolute darkness. The drama lives in the transition zone. Golden hour creates the conditions for this because the low sun angle produces longer shadows with softer edges than midday overhead light. You can use these shadows to divide your frame into geometric sections that guide the viewer’s path through the image.
Set your exposure lock on the lit side of your face or subject. Let the shadow side go darker naturally. The iPhone’s sensor will preserve detail in the midtones where it matters most. The shadow creates the frame. The light tells the story.
Your Camera Isn’t The Limitation; Your Passive Approach To Light Is. Master Its Manipulation, Or Remain A Spectator
Stop waiting for perfect light to find you. Light responds to movement, positioning, and intent. Walk your subject ten feet left. Shoot into the window instead of away from it. Rotate their body forty-five degrees. Every shift changes the story your iPhone captures. The camera stays the same. Your awareness shifts everything. Tomorrow morning, take one photo where you move before you shoot, not after. Watch what happens when you stop accepting the light in the room and start directing it like you own the place.



