
Why Restore A Vintage Radio
Nostalgia And Preservation
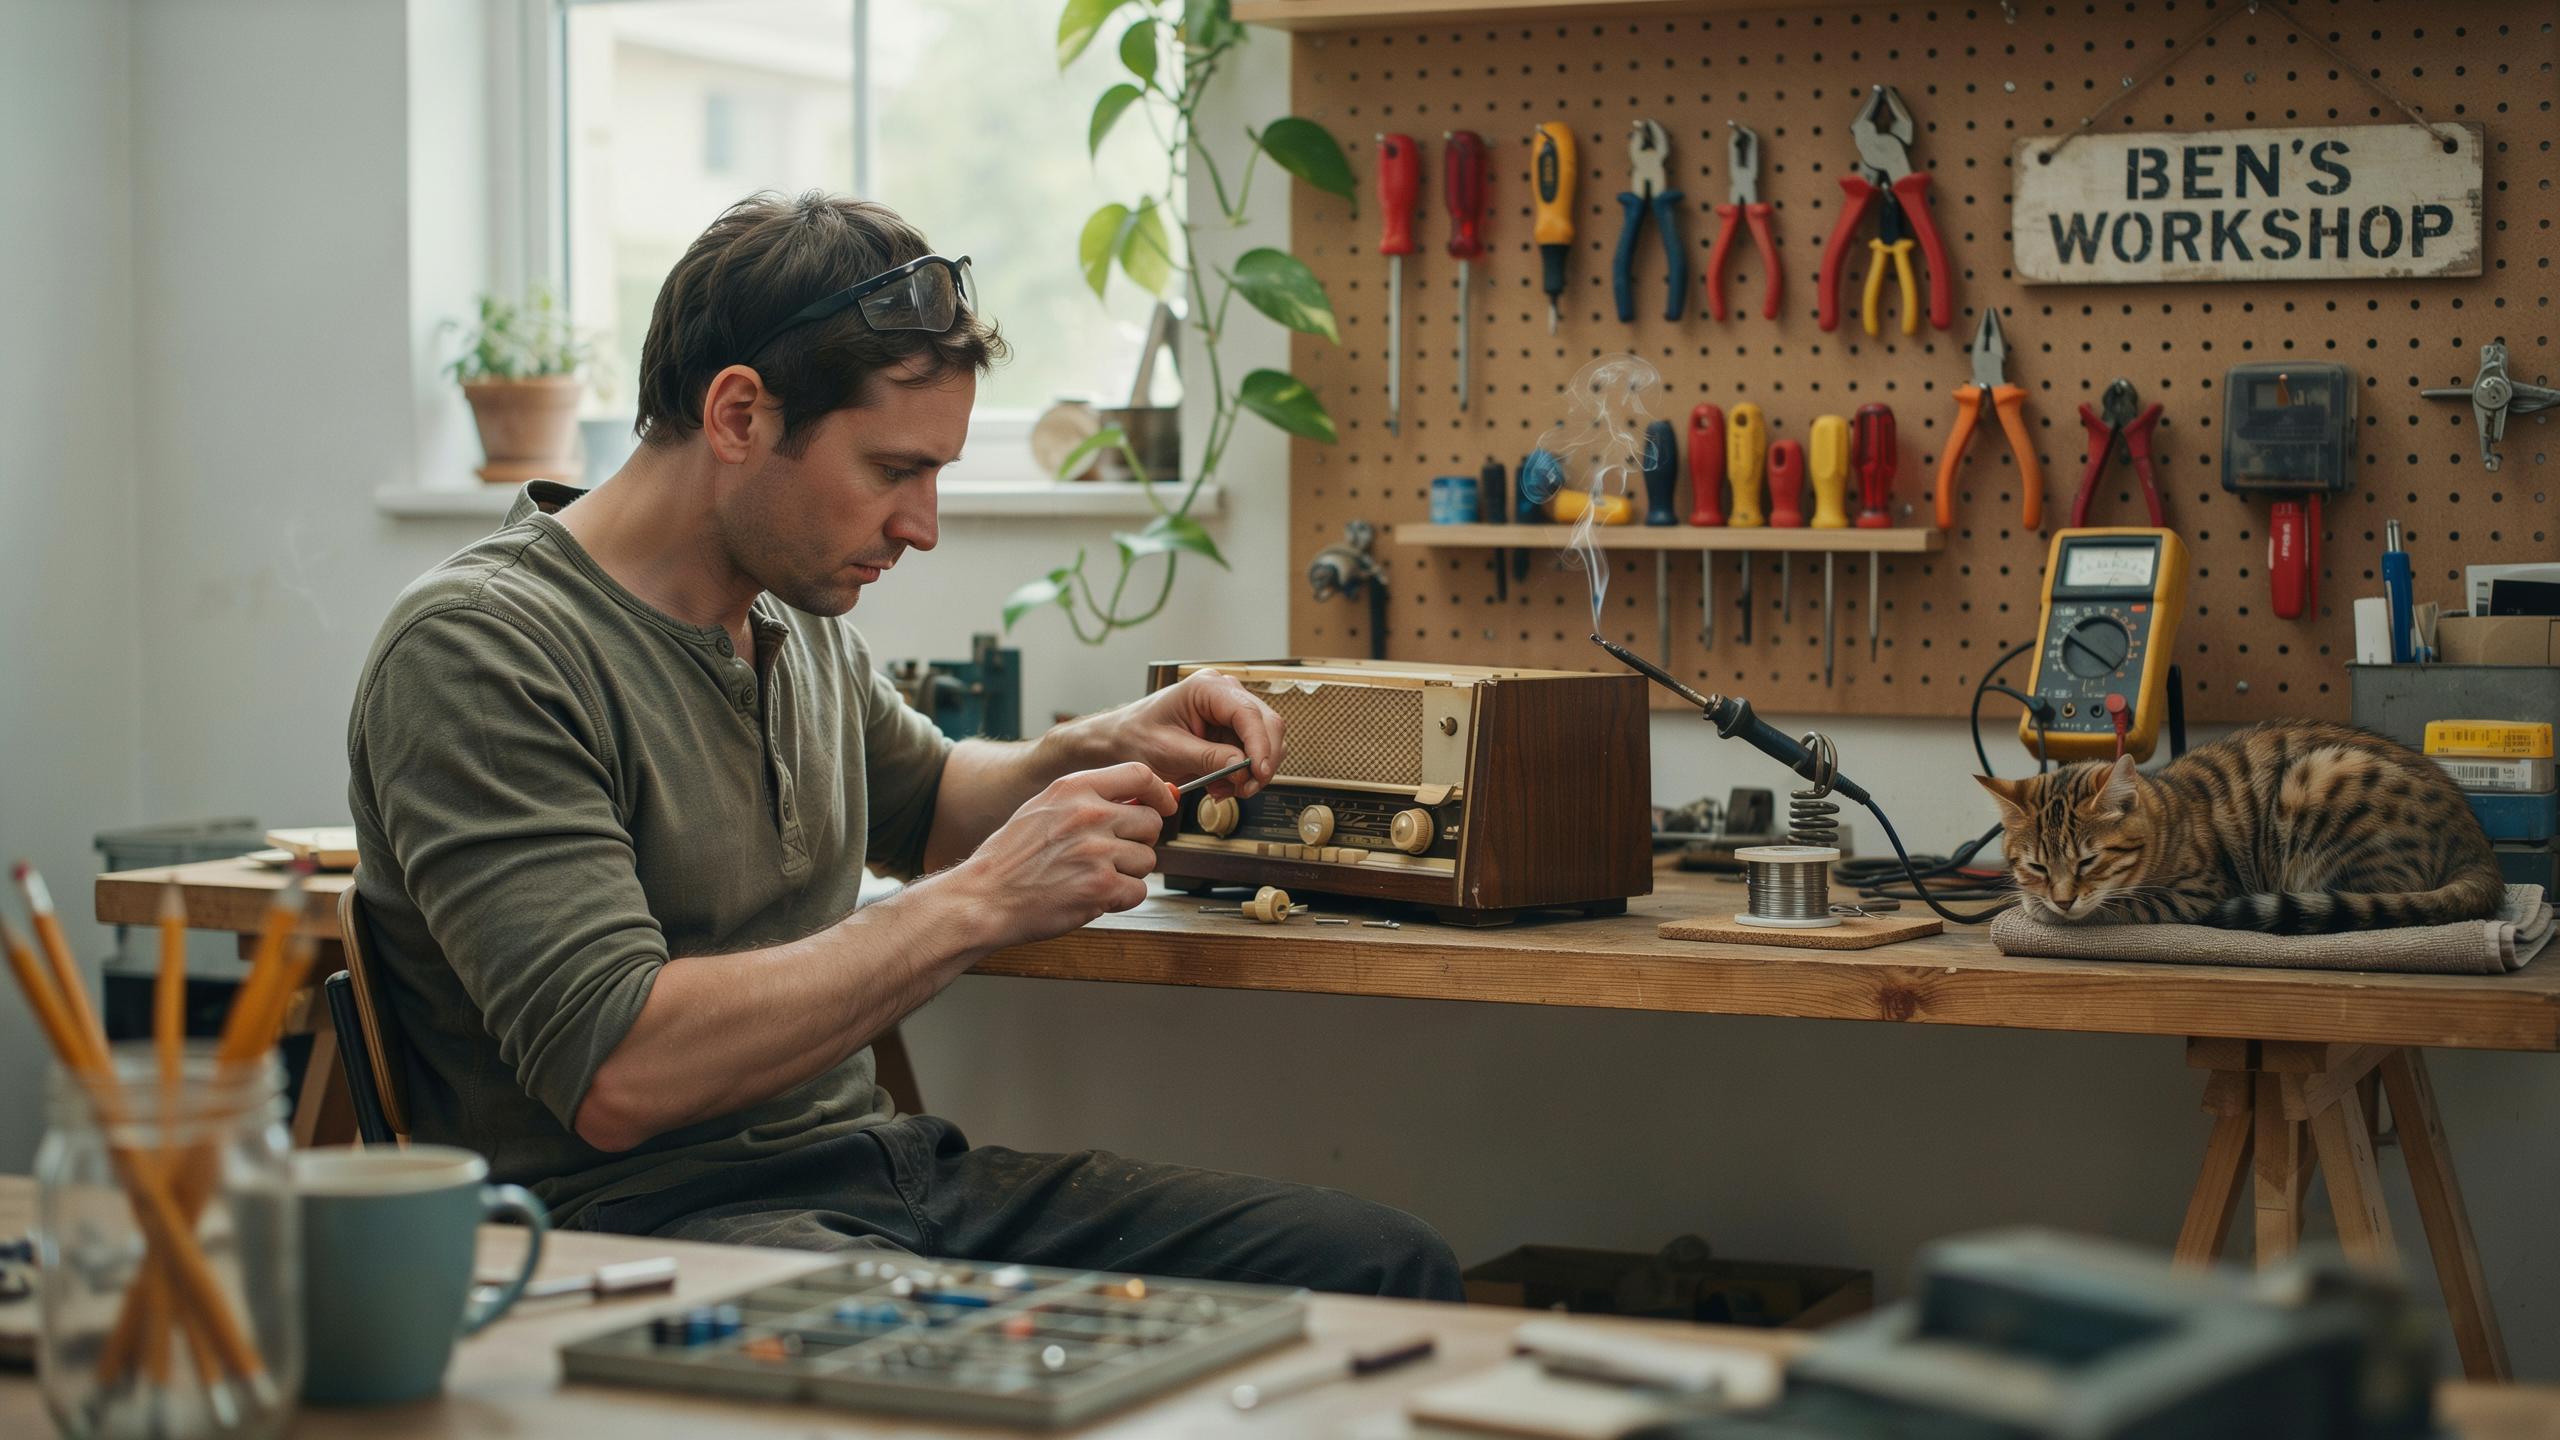
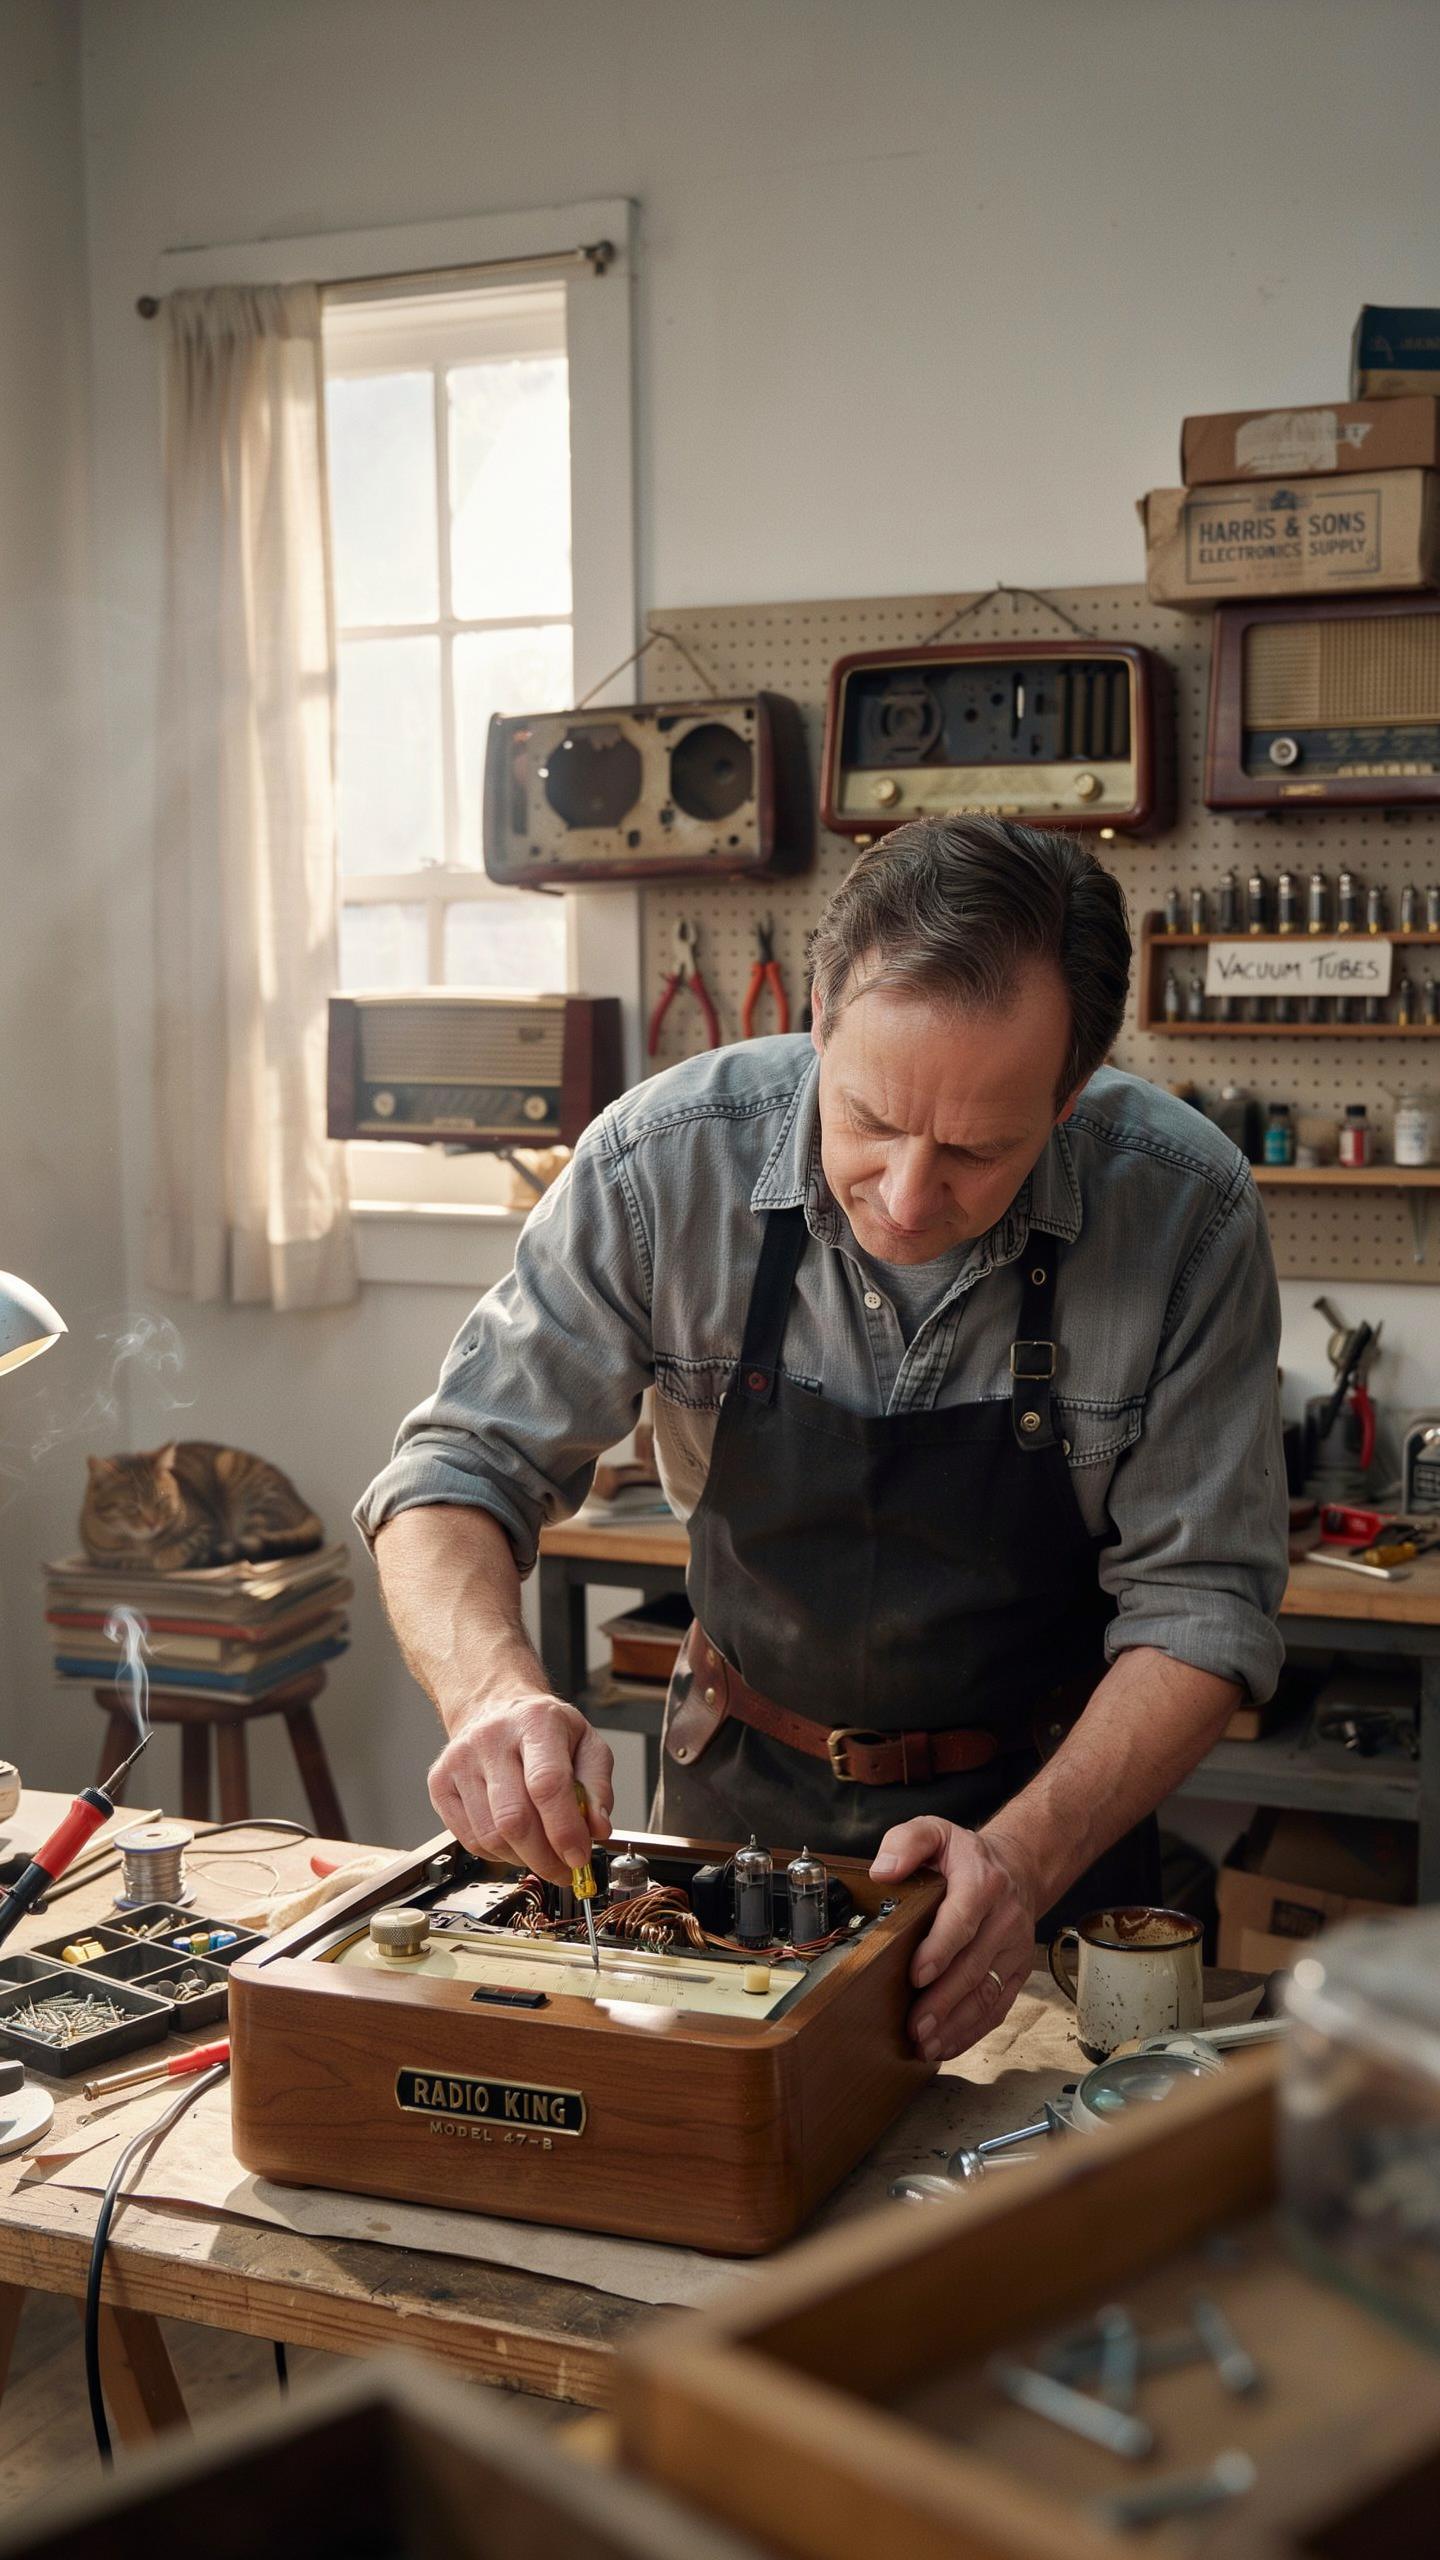
Vintage radios built between the 1920s and 1970s represent specific manufacturing eras and design approaches. Restoring these devices preserves functional examples of technologies that shaped how people accessed information and entertainment. Each radio contains design choices, material selections, and construction methods relevant to its production period. Preservation prevents these machines from disappearing entirely.
Radio restoration attracts people interested in tangible connections to earlier decades. These devices physically demonstrate how engineers solved problems before modern electronics existed. Owning and operating a restored radio provides direct interaction with technology from a specific historical moment. The work acknowledges that these machines still perform their original function.
Educational Value For Hobbyists
Restoring a vintage radio teaches electronics fundamentals through direct application. You encounter actual circuits, component failures, and troubleshooting scenarios. Understanding tube technology, transformer design, and analog tuning mechanisms builds knowledge applicable to broader electronics work. Hands-on experience accelerates learning beyond theoretical study.
The restoration process develops practical skills in soldering, component identification, and electrical safety. You learn why certain materials degrade over time and which replacements maintain function without compromising authenticity. Diagnosing failures requires logical thinking and systematic testing. These competencies transfer to other electronics projects and repairs throughout your life.
Getting Started With Your DIY Retro Radio Project
Finding The Right Vintage Radio
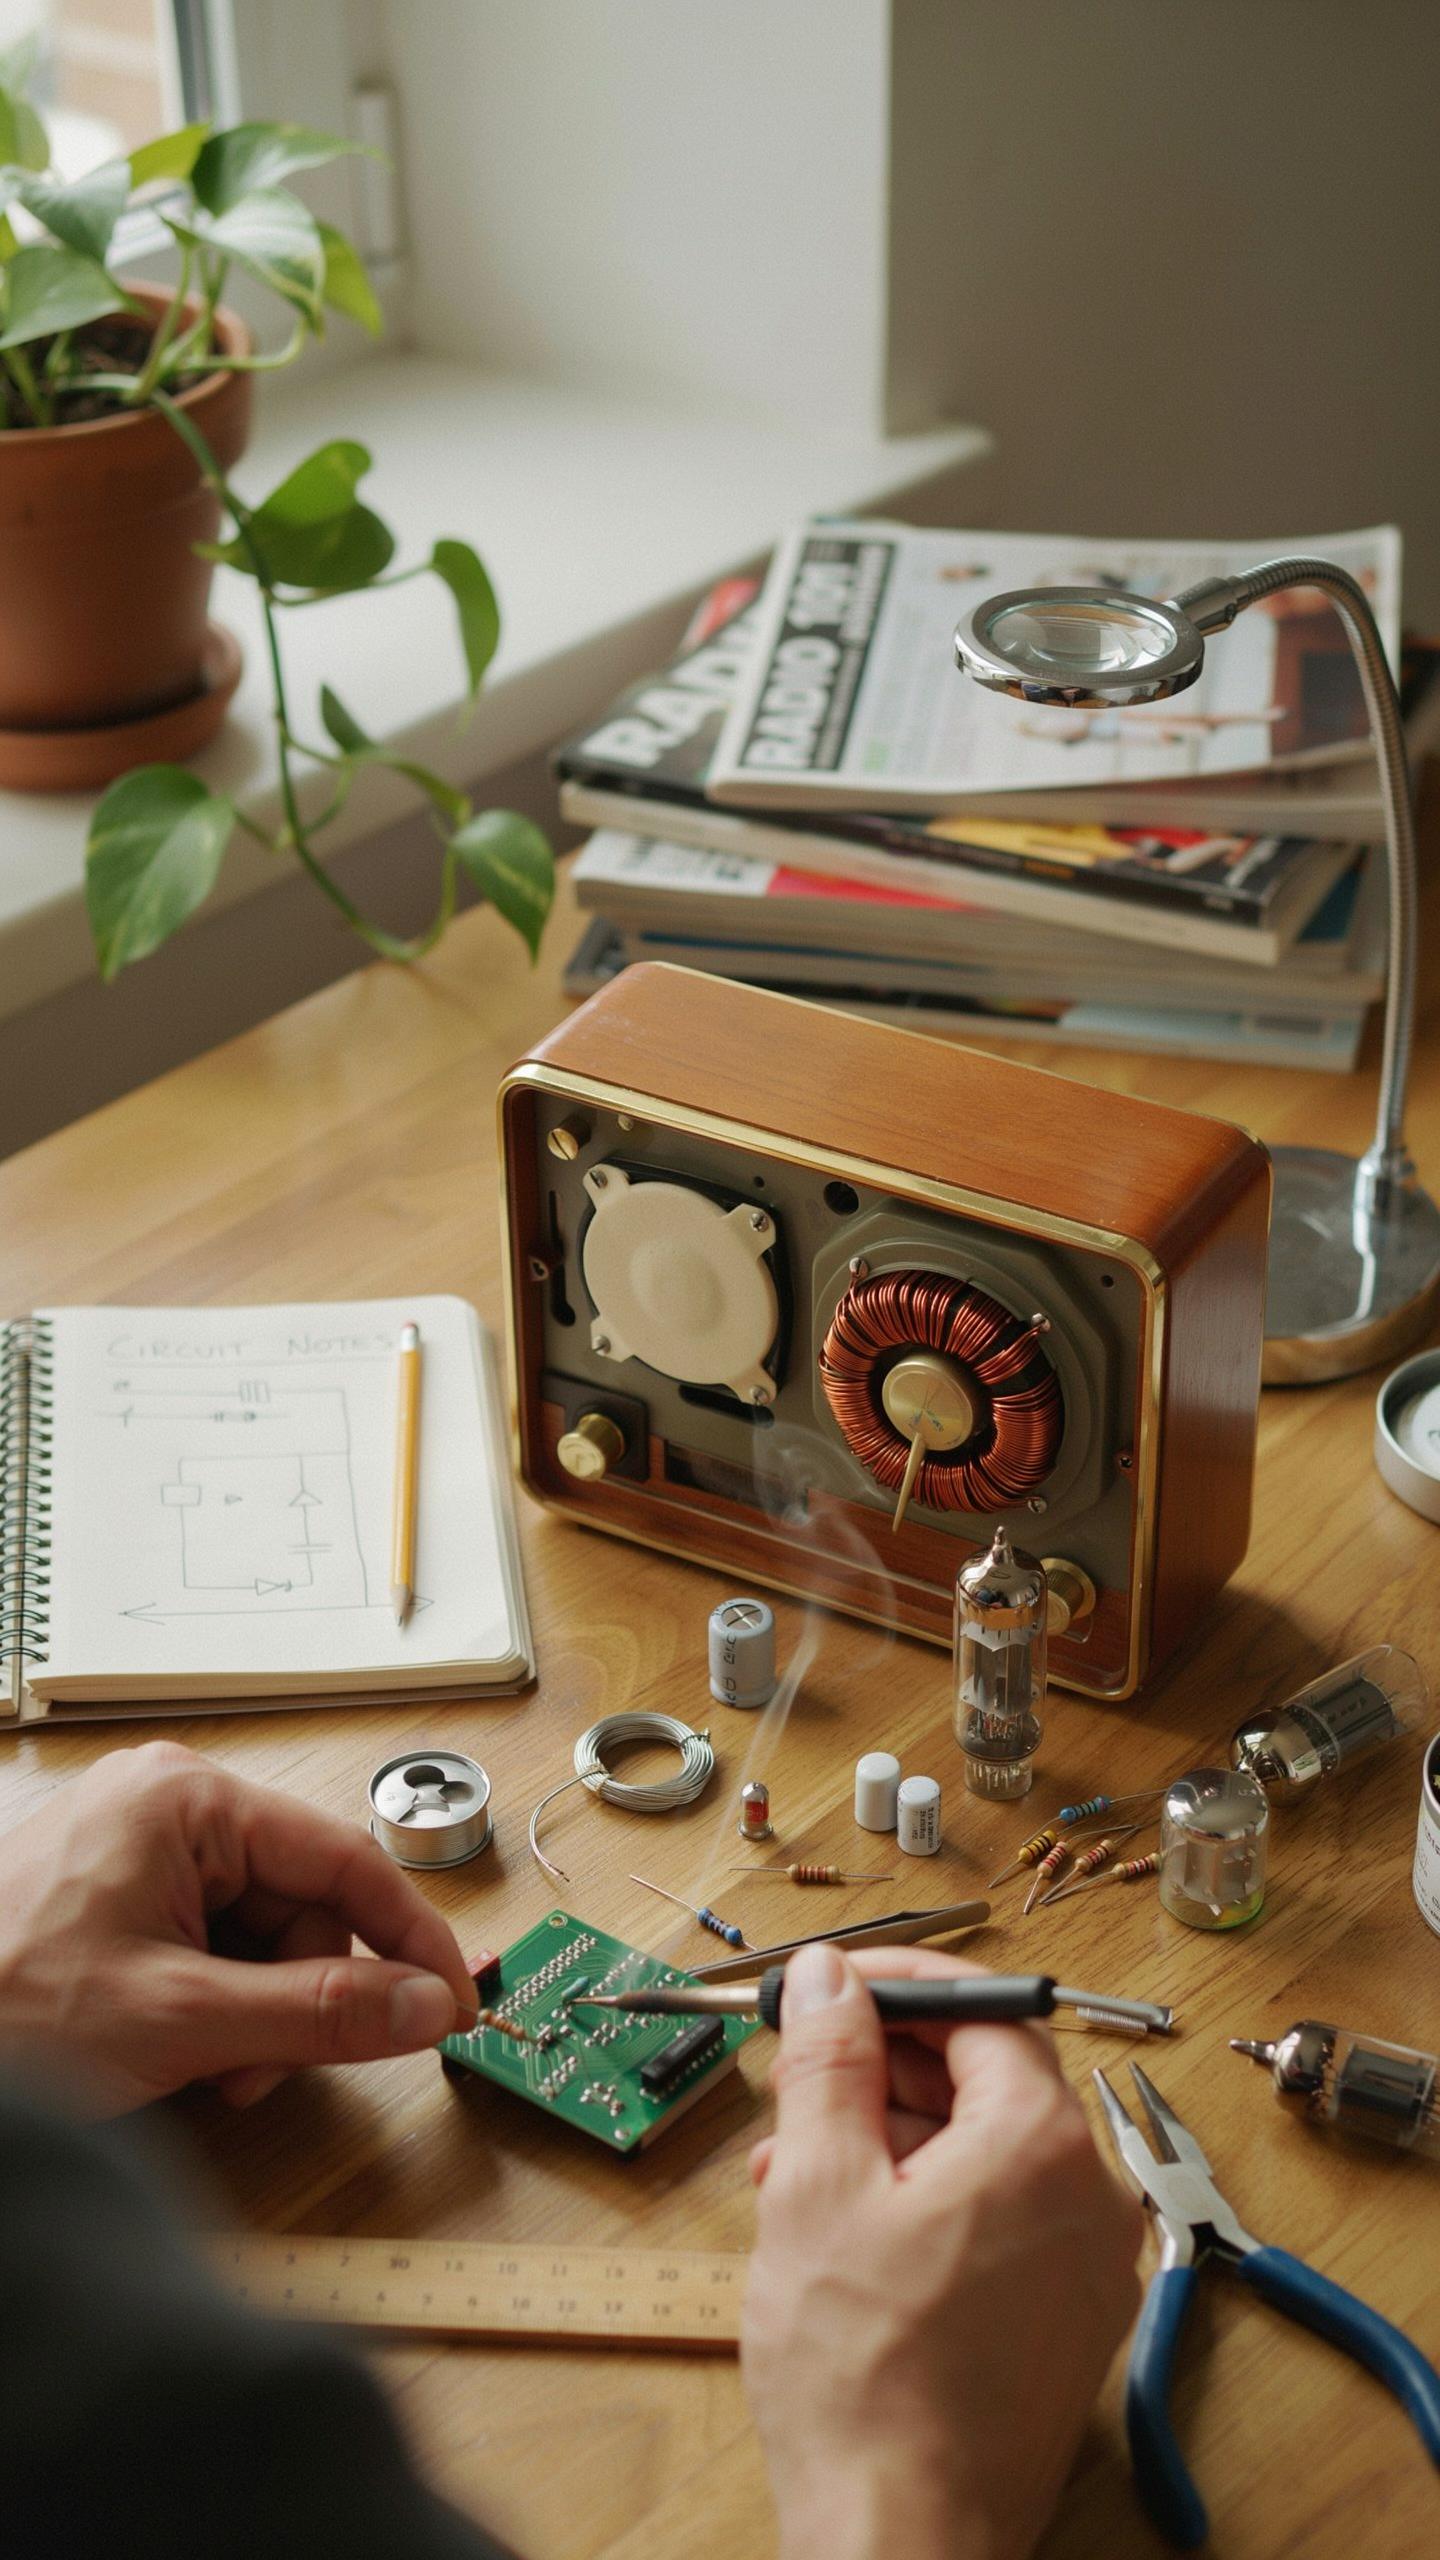
Start by identifying what type of radio matches your skill level. Tube radios from the 1930s through 1960s and solid-state models from the 1960s onward each present different restoration challenges. Tube radios require more technical knowledge but offer straightforward repair procedures. Solid-state radios demand component-level troubleshooting skills. Check the radio’s physical condition first. Cracked cabinets, corroded metal parts, and dried-out capacitors indicate repair difficulty and parts availability needs.
Local sources provide hands-on evaluation before purchase. Estate sales, antique shops, and radio swap meets let you inspect condition directly. Online marketplaces expand your selection but limit pre-purchase inspection. Research the specific model number to confirm parts availability and schematic access before committing. Common models have better documentation and parts supply than obscure variants. Factor repair costs into your decision. A radio needing only cosmetic work costs less than one requiring capacitor replacement or transformer rebuilding.
Essential Tools And Workspace Setup
Create a dedicated workspace with good lighting and air circulation. Ventilation matters when soldering and desoldering components. Poor air quality from flux fumes accumulates quickly in confined spaces. Position your work area near electrical outlets and away from moisture sources. Moisture causes corrosion and electrical hazards during restoration work. Natural light combined with a task lamp eliminates shadows that hide small components and solder joints.
- Soldering Iron: 25-40 watt iron handles most vintage radio work. Temperature control prevents component damage. Wet sponge or brass cleaner keeps the tip clean for reliable heat transfer.
- Multimeter: Digital multimeter measures voltage, resistance, and continuity. Essential for diagnosing faulty components and verifying repairs before powering up the radio.
- Screwdrivers: Collect Phillips and slot head sizes from small electronics work through larger cabinet hardware. Vintage radios use various fastener types requiring multiple driver sizes.
- Safety Goggles: Protect eyes from solder splash, old component fragments, and dust particles. Vintage radios accumulate decades of dust inside chassis cavities.
- Desoldering Tool: Solder sucker or desoldering braid removes old solder from component leads. Vacuum desoldering tools work fastest but manual tools cost less and work reliably.
- Component Puller: Specialized tool removes resistors and capacitors without damaging circuit board traces. Particularly useful on older radios with delicate wiring.

Keep your workspace organized with labeled containers for fasteners and removed components. Document disassembly steps with photos so reassembly follows the correct sequence. Work systematically through one section at a time rather than dismantling everything at once. This approach prevents lost parts and simplifies troubleshooting if a step fails.
How To Fix Vintage Radios Initial Assessment And Disassembly
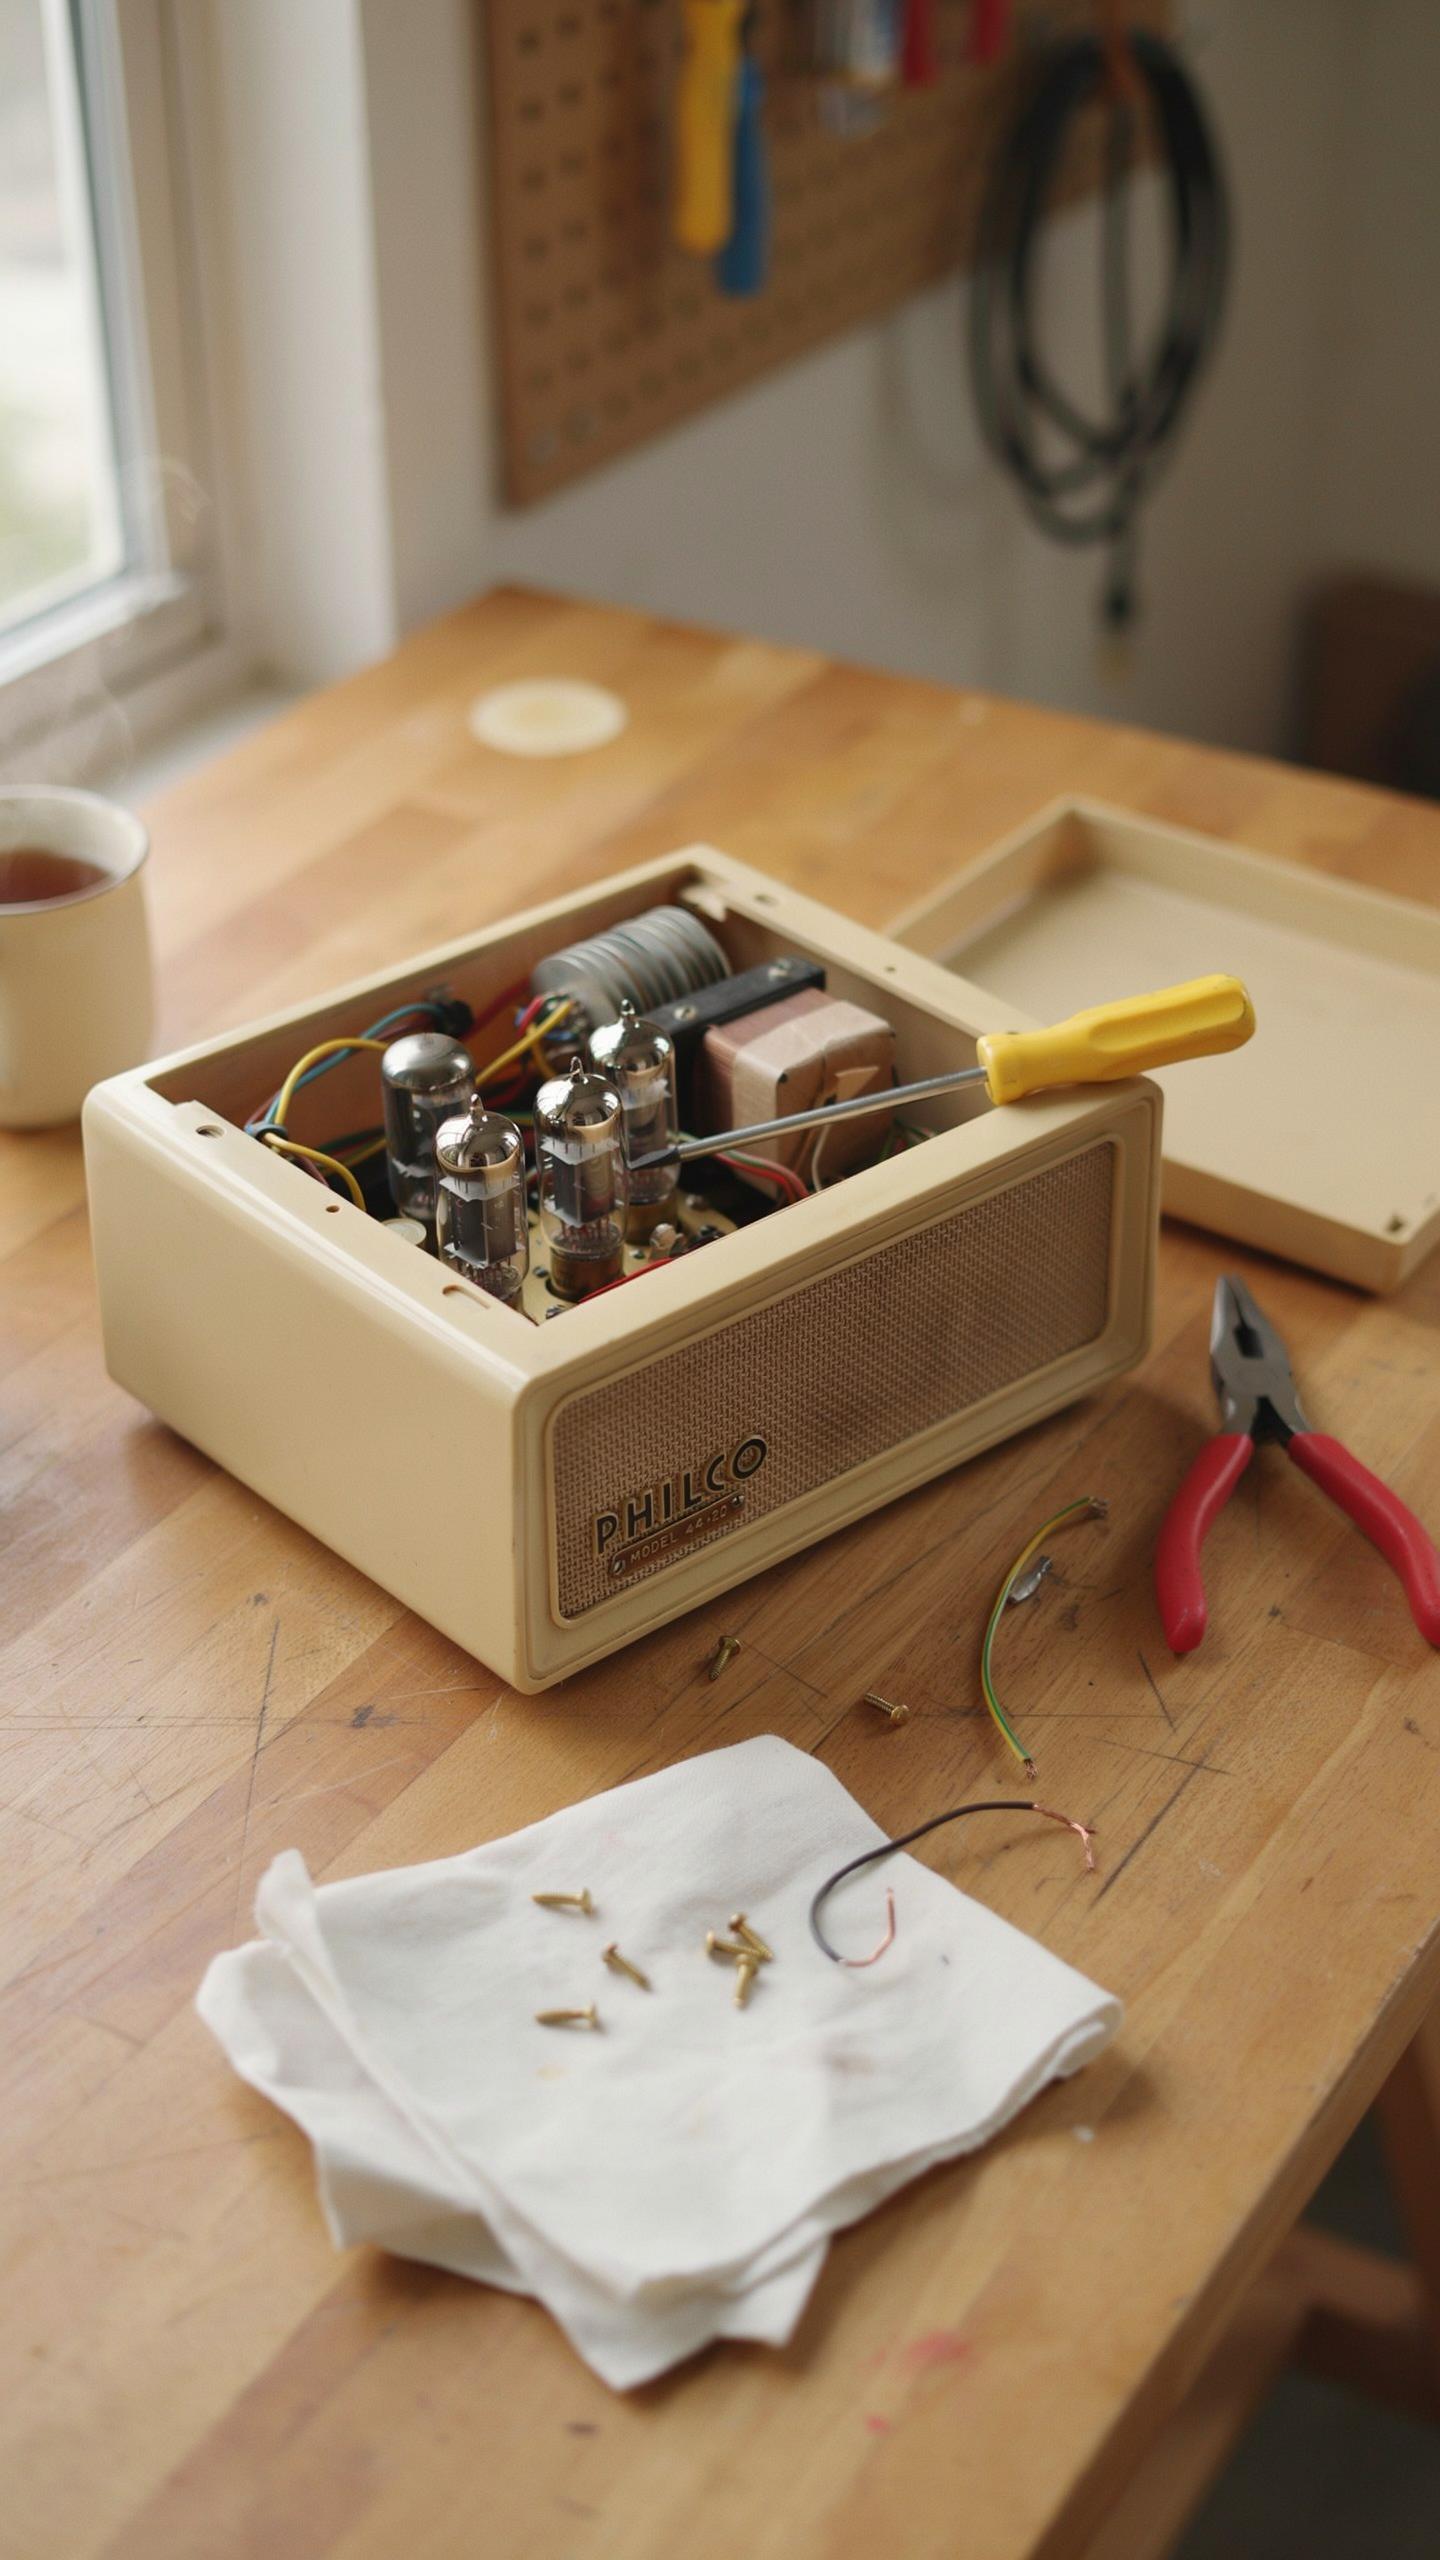
Safety First: Discharging Capacitors
Vintage radios contain capacitors that hold electrical charge even after unplugging. These capacitors store dangerous voltage levels that cause severe shock or death. Always discharge them before touching any internal wiring or components. Use an insulated screwdriver to short the capacitor terminals together after unplugging the radio.
Discharging takes seconds but saves your life. Touch one screwdriver terminal to ground, then touch the other terminal to each capacitor’s leads. You will see a small spark as the charge releases. Do this methodically for every capacitor visible in the radio. Never skip this step regardless of the radio’s age or apparent condition.
Documenting The Original State
Take photos of every angle before removing a single screw. Capture close-ups of wire connections, component placement, and any labels or markings. Document the color and routing of every wire. Write down resistor and capacitor values if visible. This documentation prevents confusion during reassembly when memory fails.

Use a phone or camera to create a visual map of the interior layout. Make notes about which wires connect to specific terminals. Identify any corrosion, burned components, or obvious damage in these photos. Label each photo with the radio model and date. Store these files safely with backups. This record becomes your assembly blueprint when you rebuild the radio.
Restoration Techniques For Your DIY Radio Restoration Project

Cleaning And Cabinet Repair
Start with exterior cleaning using appropriate methods for the cabinet material. Wooden cabinets require gentle brushing with soft bristles and mild soap solution. Metal chassis benefit from degreaser and wire brushes to remove corrosion. Never submerge components in water. Work systematically from top to bottom to avoid recontaminating cleaned areas.
Address cabinet damage after cleaning. Wood cracks need epoxy filler matched to the original finish. Veneer separation requires removal and regluing with hide glue or modern wood adhesive. Sand repair areas smooth and refinish with stain and lacquer or shellac matching the original cabinet appearance. Test finishes on hidden areas first to ensure color accuracy.
Breathe new life into forgotten melodies, for each restored hum is a note of history rekindled.
Component Testing And Replacement
Test resistors with a multimeter in circuit when possible, or remove them for accurate readings. Capacitors fail predictably in vintage radios due to electrolyte breakdown. Replace all original paper and electrolytic capacitors with modern film or aluminum capacitors rated for the same voltage and capacitance values. Tube testing requires a tube tester or substitution method with a known working radio.

Obtain replacement components from specialty electronics suppliers who stock vintage radio parts. Match original specifications exactly: voltage ratings, capacitance values, and resistor tolerances. Modern solid state components can replace tube circuits if documented properly, though tube restoration maintains historical accuracy. Keep detailed notes of all replacements for future reference and troubleshooting.
How To Build A Vintage Radio Electronics Refurbishment
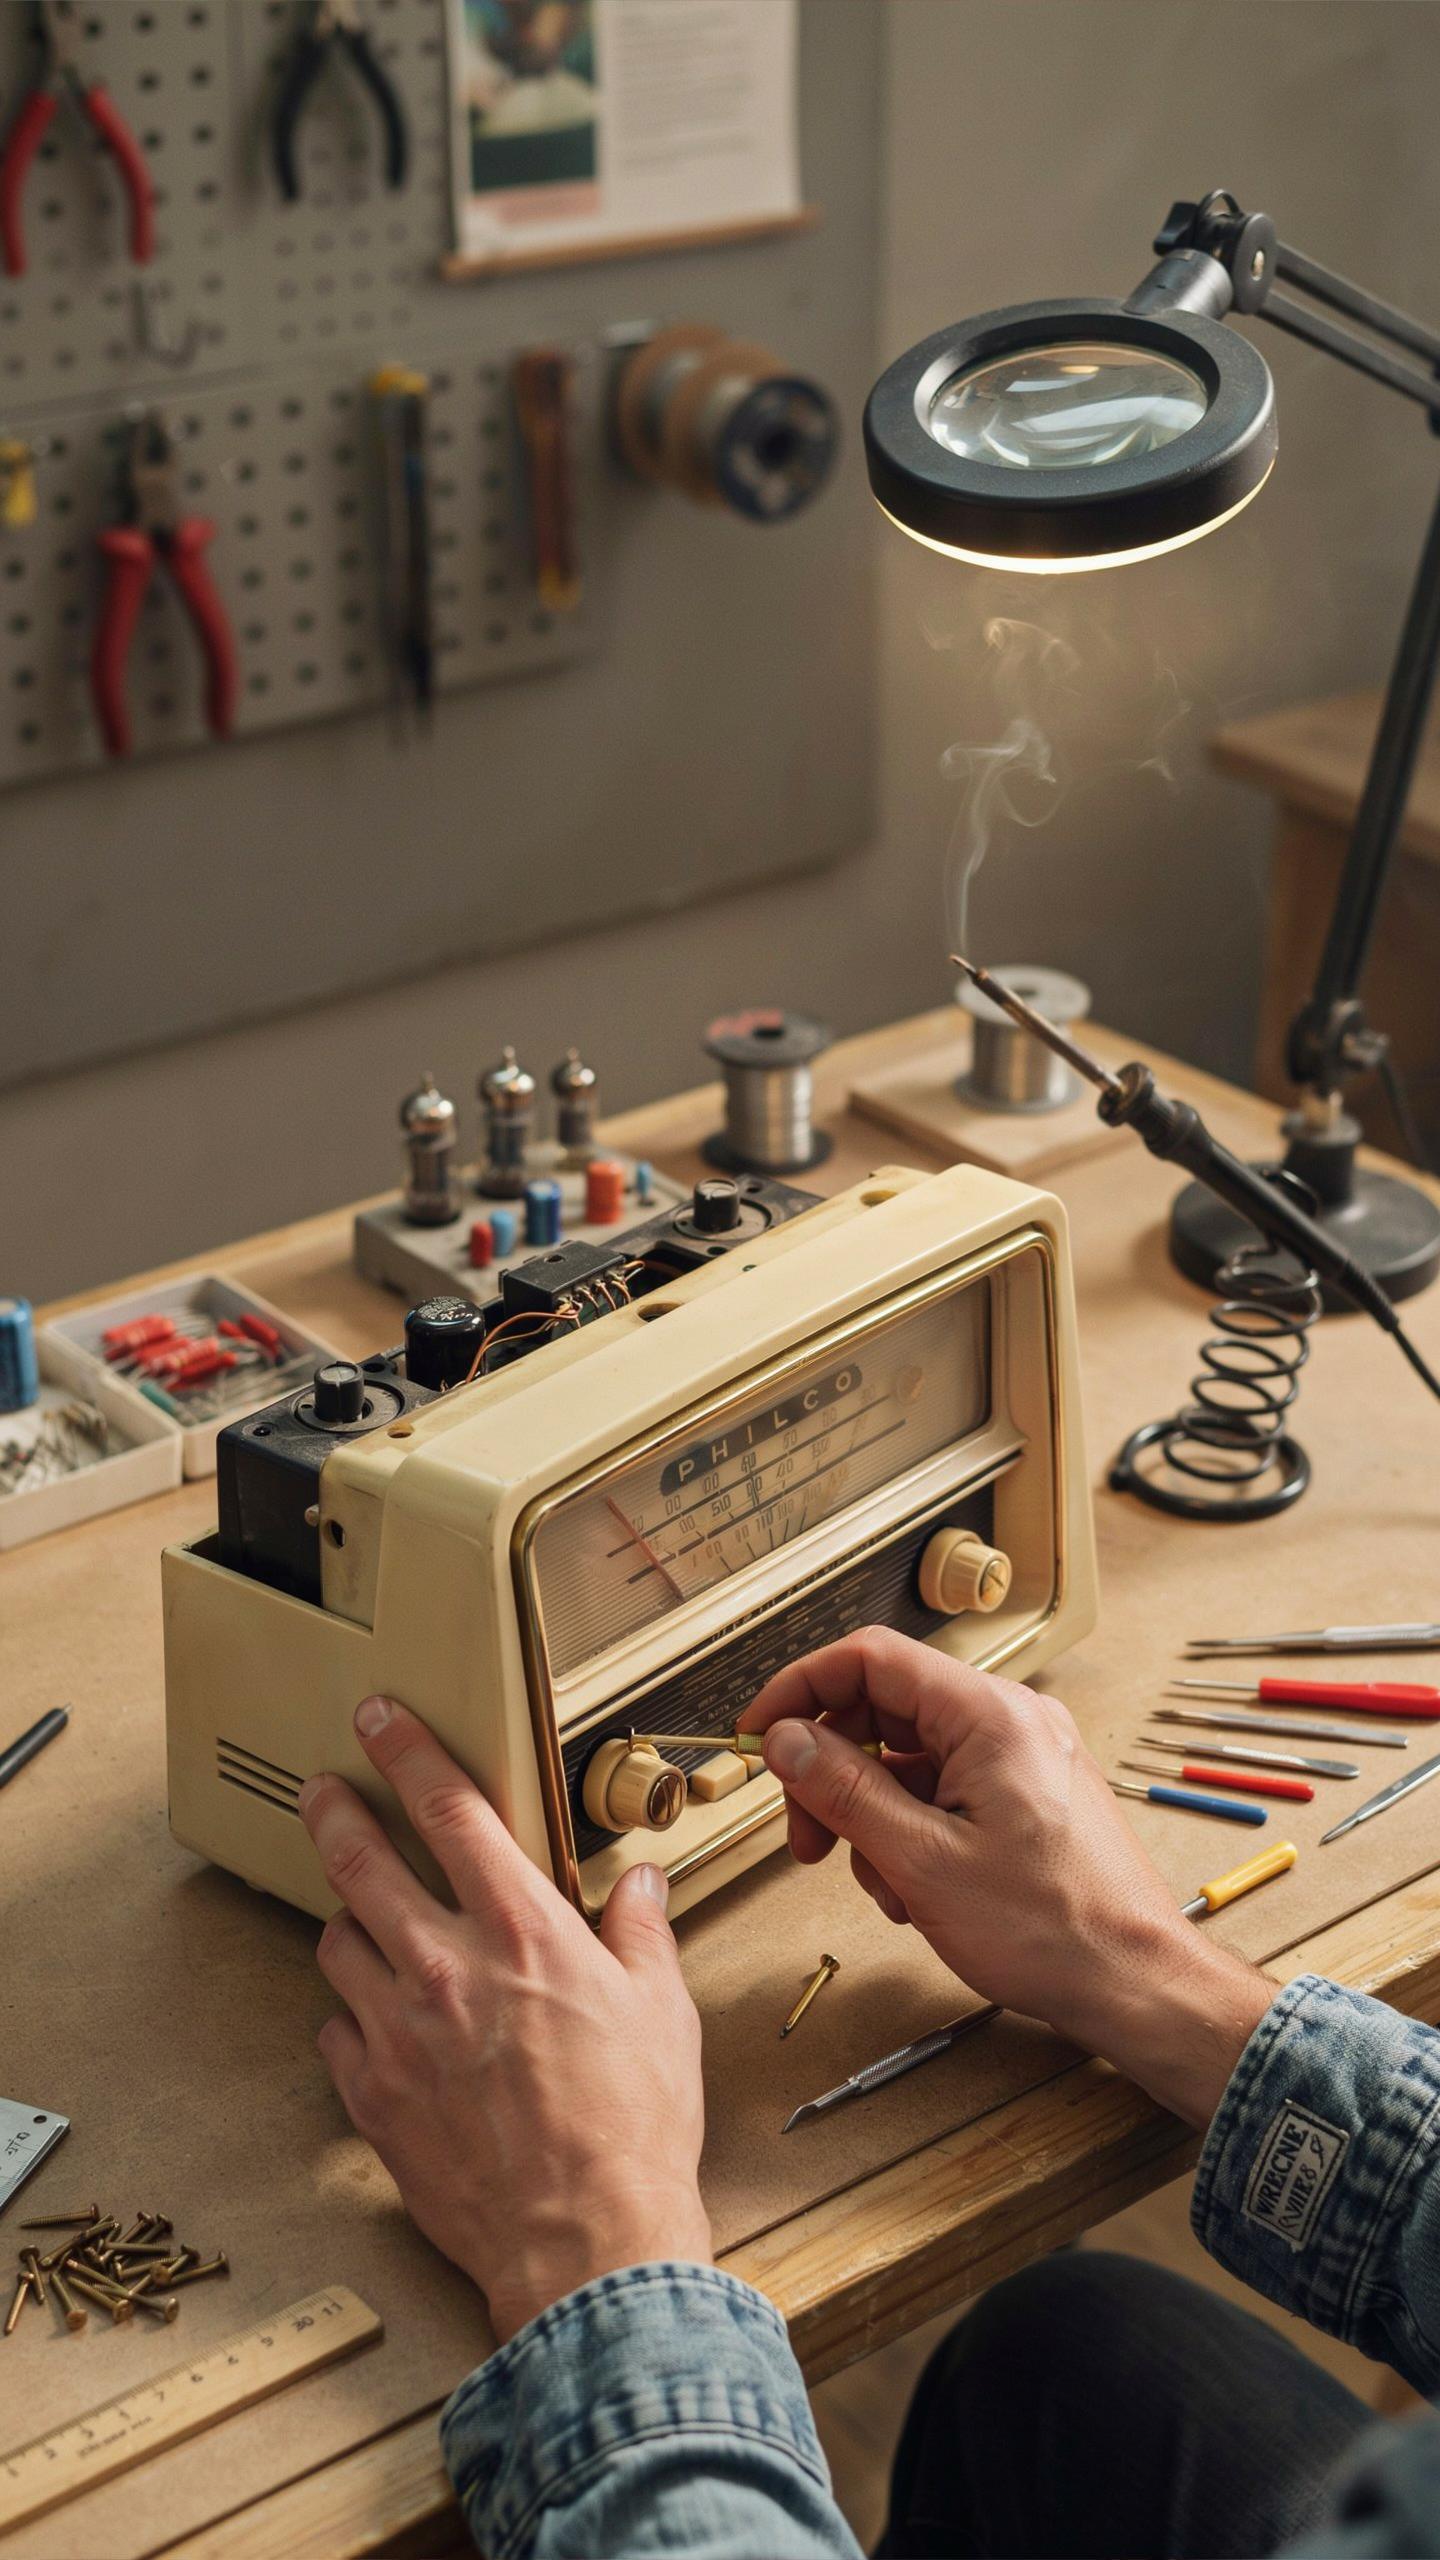
Recapping The Circuitry
Electrolytic capacitors fail predictably in vintage radios. Heat, age, and chemical breakdown degrade the electrolyte inside. Replacing these capacitors restores circuit stability and eliminates hum, distortion, and weak audio output. This single step often returns a dead radio to working condition without touching anything else.
Identify capacitors marked with polarity symbols or labeled with values like 10µF or 50µF. These electrolytic units dry out over decades. Order replacements with matching voltage ratings and capacitance values. Install new capacitors with correct polarity orientation. Solder connections must be clean and secure. Test the radio after replacement to verify improved performance.
Inspecting And Repairing Wiring
Brittle insulation cracks and falls away from wires in radios decades old. Exposed copper creates short circuits, ground faults, and fire hazards. Inspect every wire inside the chassis under good light. Look for discoloration, cracks, or bare wire showing through deteriorated rubber or cloth covering.
Replace any compromised wire with modern insulated wire of equivalent gauge. Use stranded wire for flexibility in tight spaces. Strip and tin wire ends before soldering to ensure solid connections. Keep original wire paths where possible to maintain proper shielding and circuit function. Test continuity with a multimeter after repairs to confirm safe connections.
How To Connect Retro Radio Modernizing Your Vintage Set
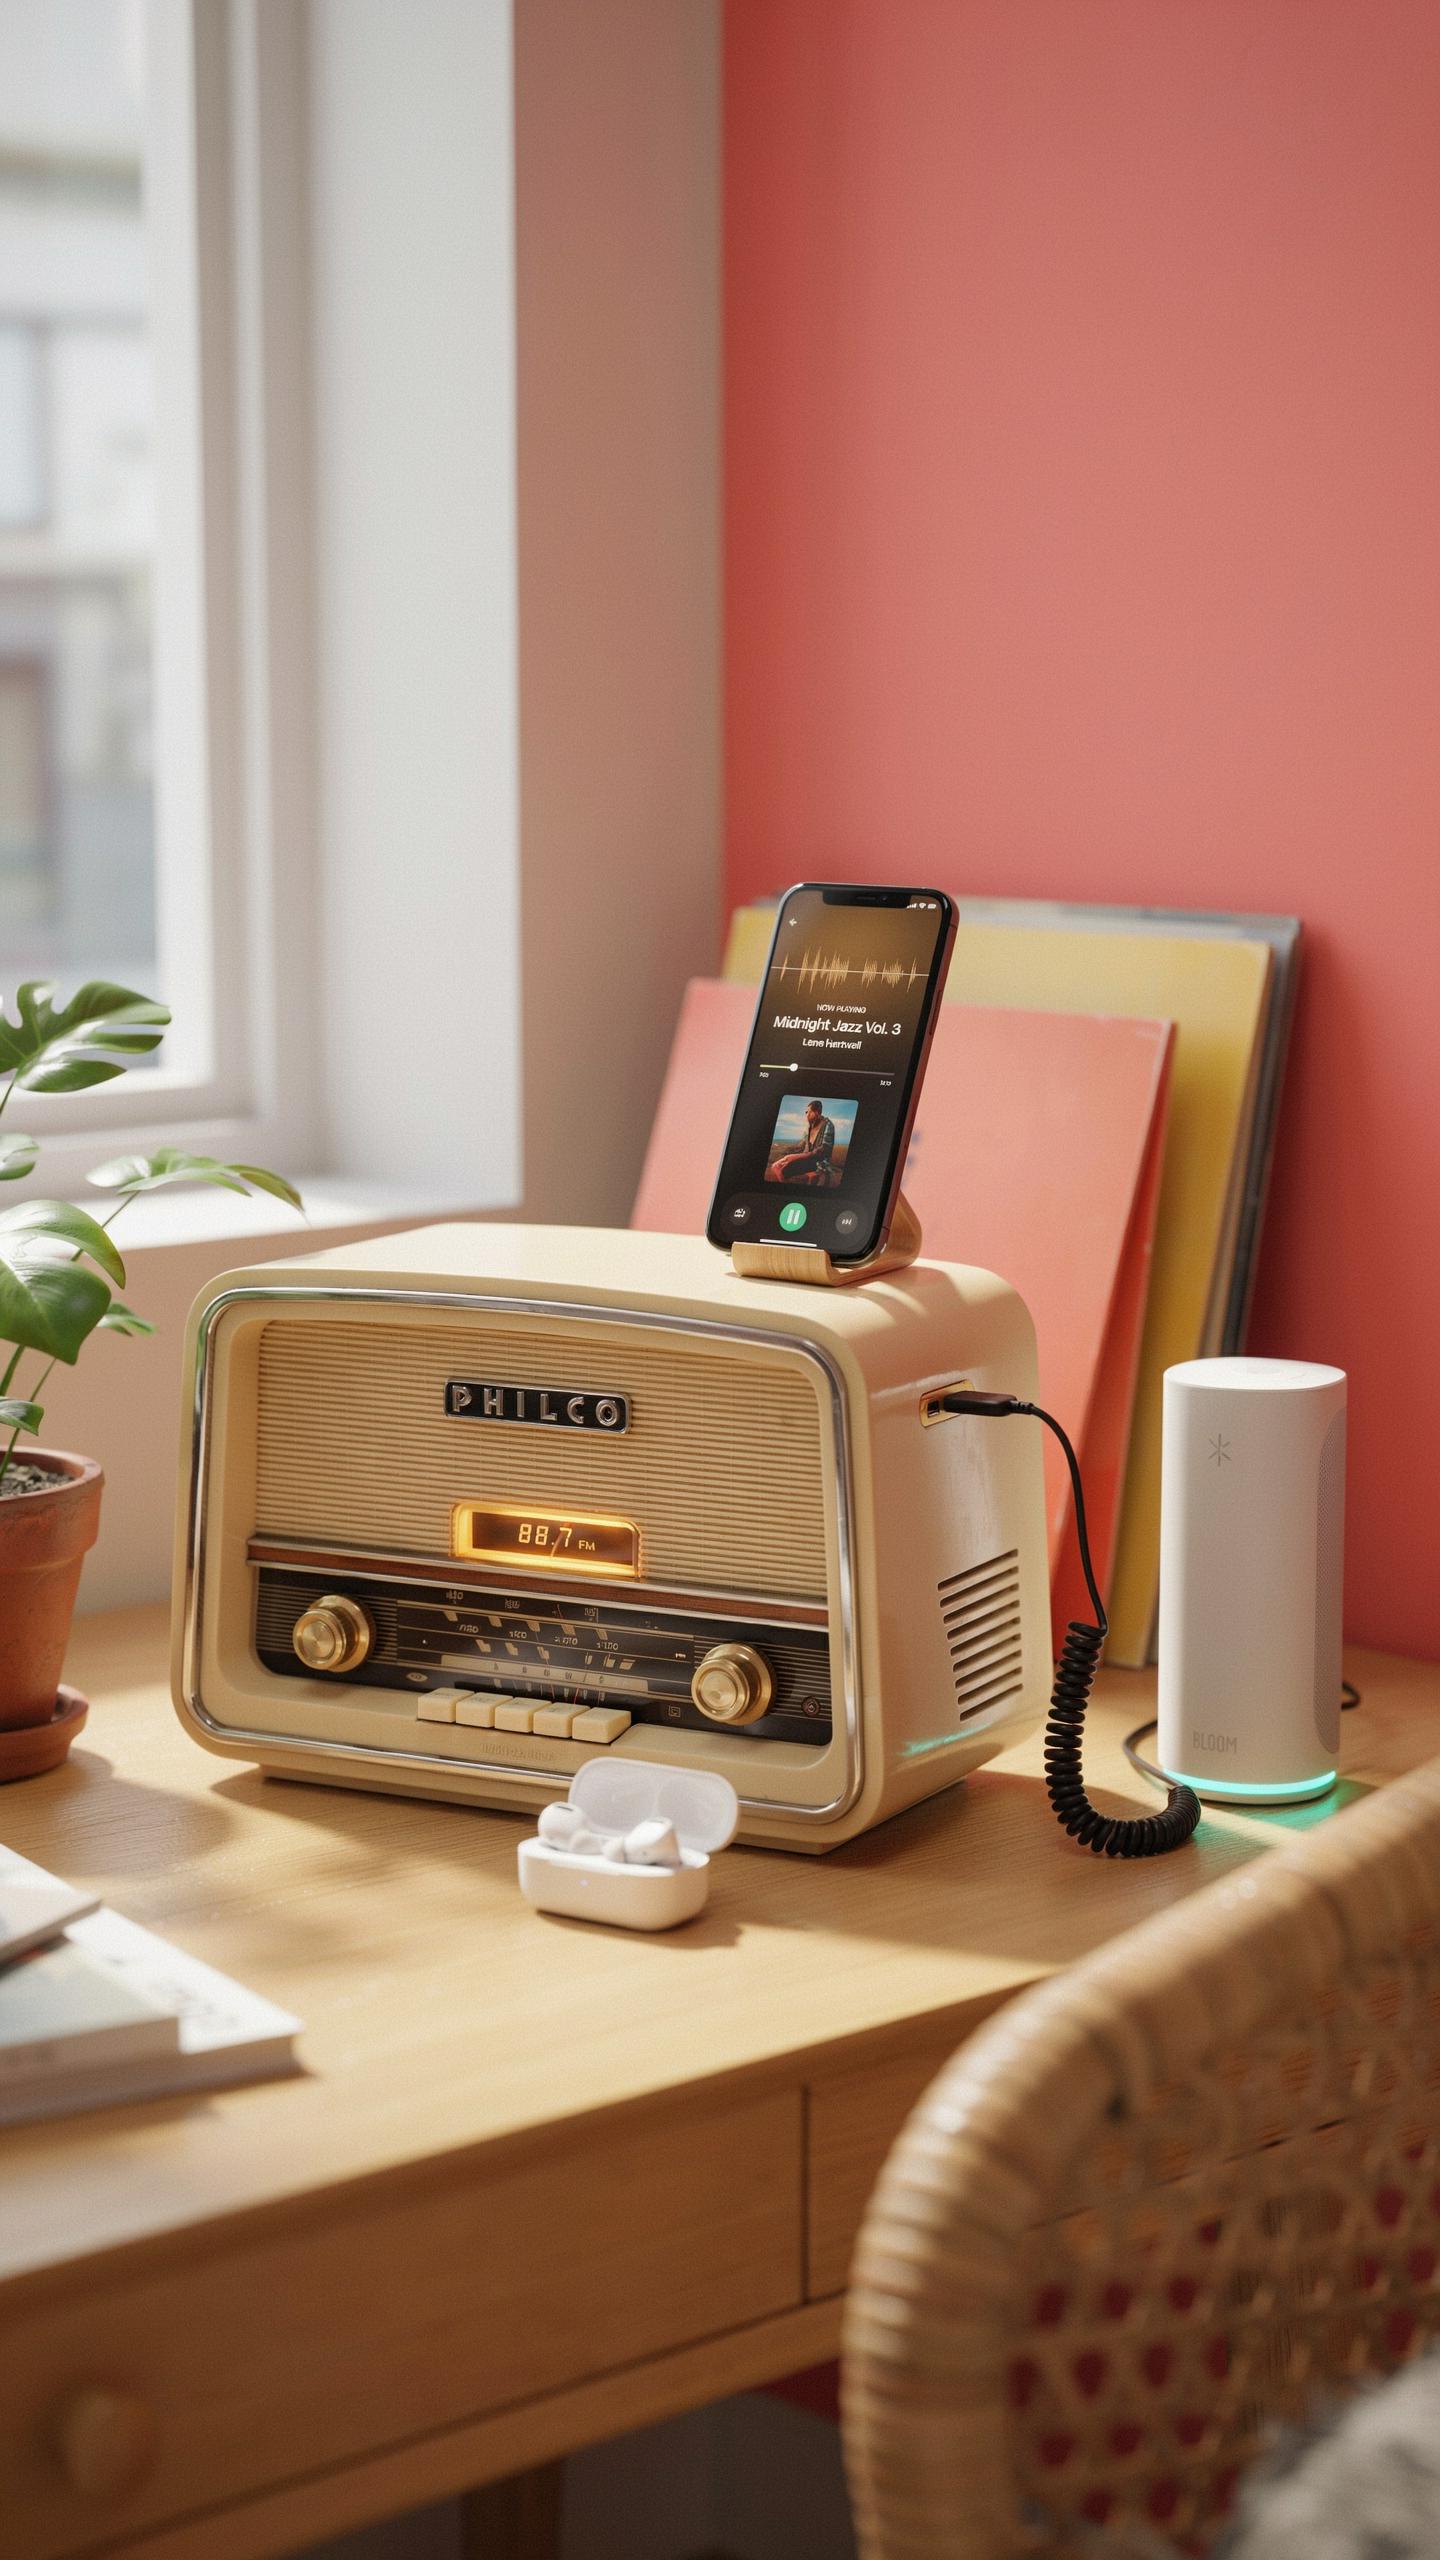
Convert Old Radio To Bluetooth: Adding Connectivity
Bluetooth integration requires either retrofitting a module into the radio’s chassis or using an auxiliary input jack. Bluetooth modules draw minimal power and connect through the radio’s existing audio circuitry. Install the module near the tuner section where space permits. Wire the module’s output to the radio’s amplifier input stage, bypassing the tuner when needed. This approach preserves original components while adding modern playback capability.
Auxiliary input jacks offer the simplest retrofit path. Solder a 3.5mm jack to the radio’s amplifier input stage directly. Route the jack through the rear cabinet panel for easy access. This method works with any modern device that outputs analog audio. No power draw occurs beyond your device’s own consumption, making it ideal for battery-powered radios.
Improving Audio Quality
Internal speaker replacement significantly impacts sound output without major internal modifications. Original speakers in vintage radios often deteriorate, producing thin or distorted audio. Source period-correct replacement speakers or modern equivalents matching the original impedance, typically 4 to 8 ohms. Carefully remove the old speaker by unsoldering its connections. Mount the new speaker in the existing frame, ensuring proper cone clearance from the cabinet walls.

External speaker outputs connect to the amplifier’s output stage through a power resistor network. This setup allows connection to high-quality external speakers while keeping the internal speaker functional. Design the network to properly load the amplifier output, preventing damage to output tubes or transistors. Match the external speaker impedance to your amplifier’s specifications. This dual-output configuration preserves the radio’s original character while enabling enhanced audio reproduction.
Testing And Final Assembly How To Use Old Radios Safely
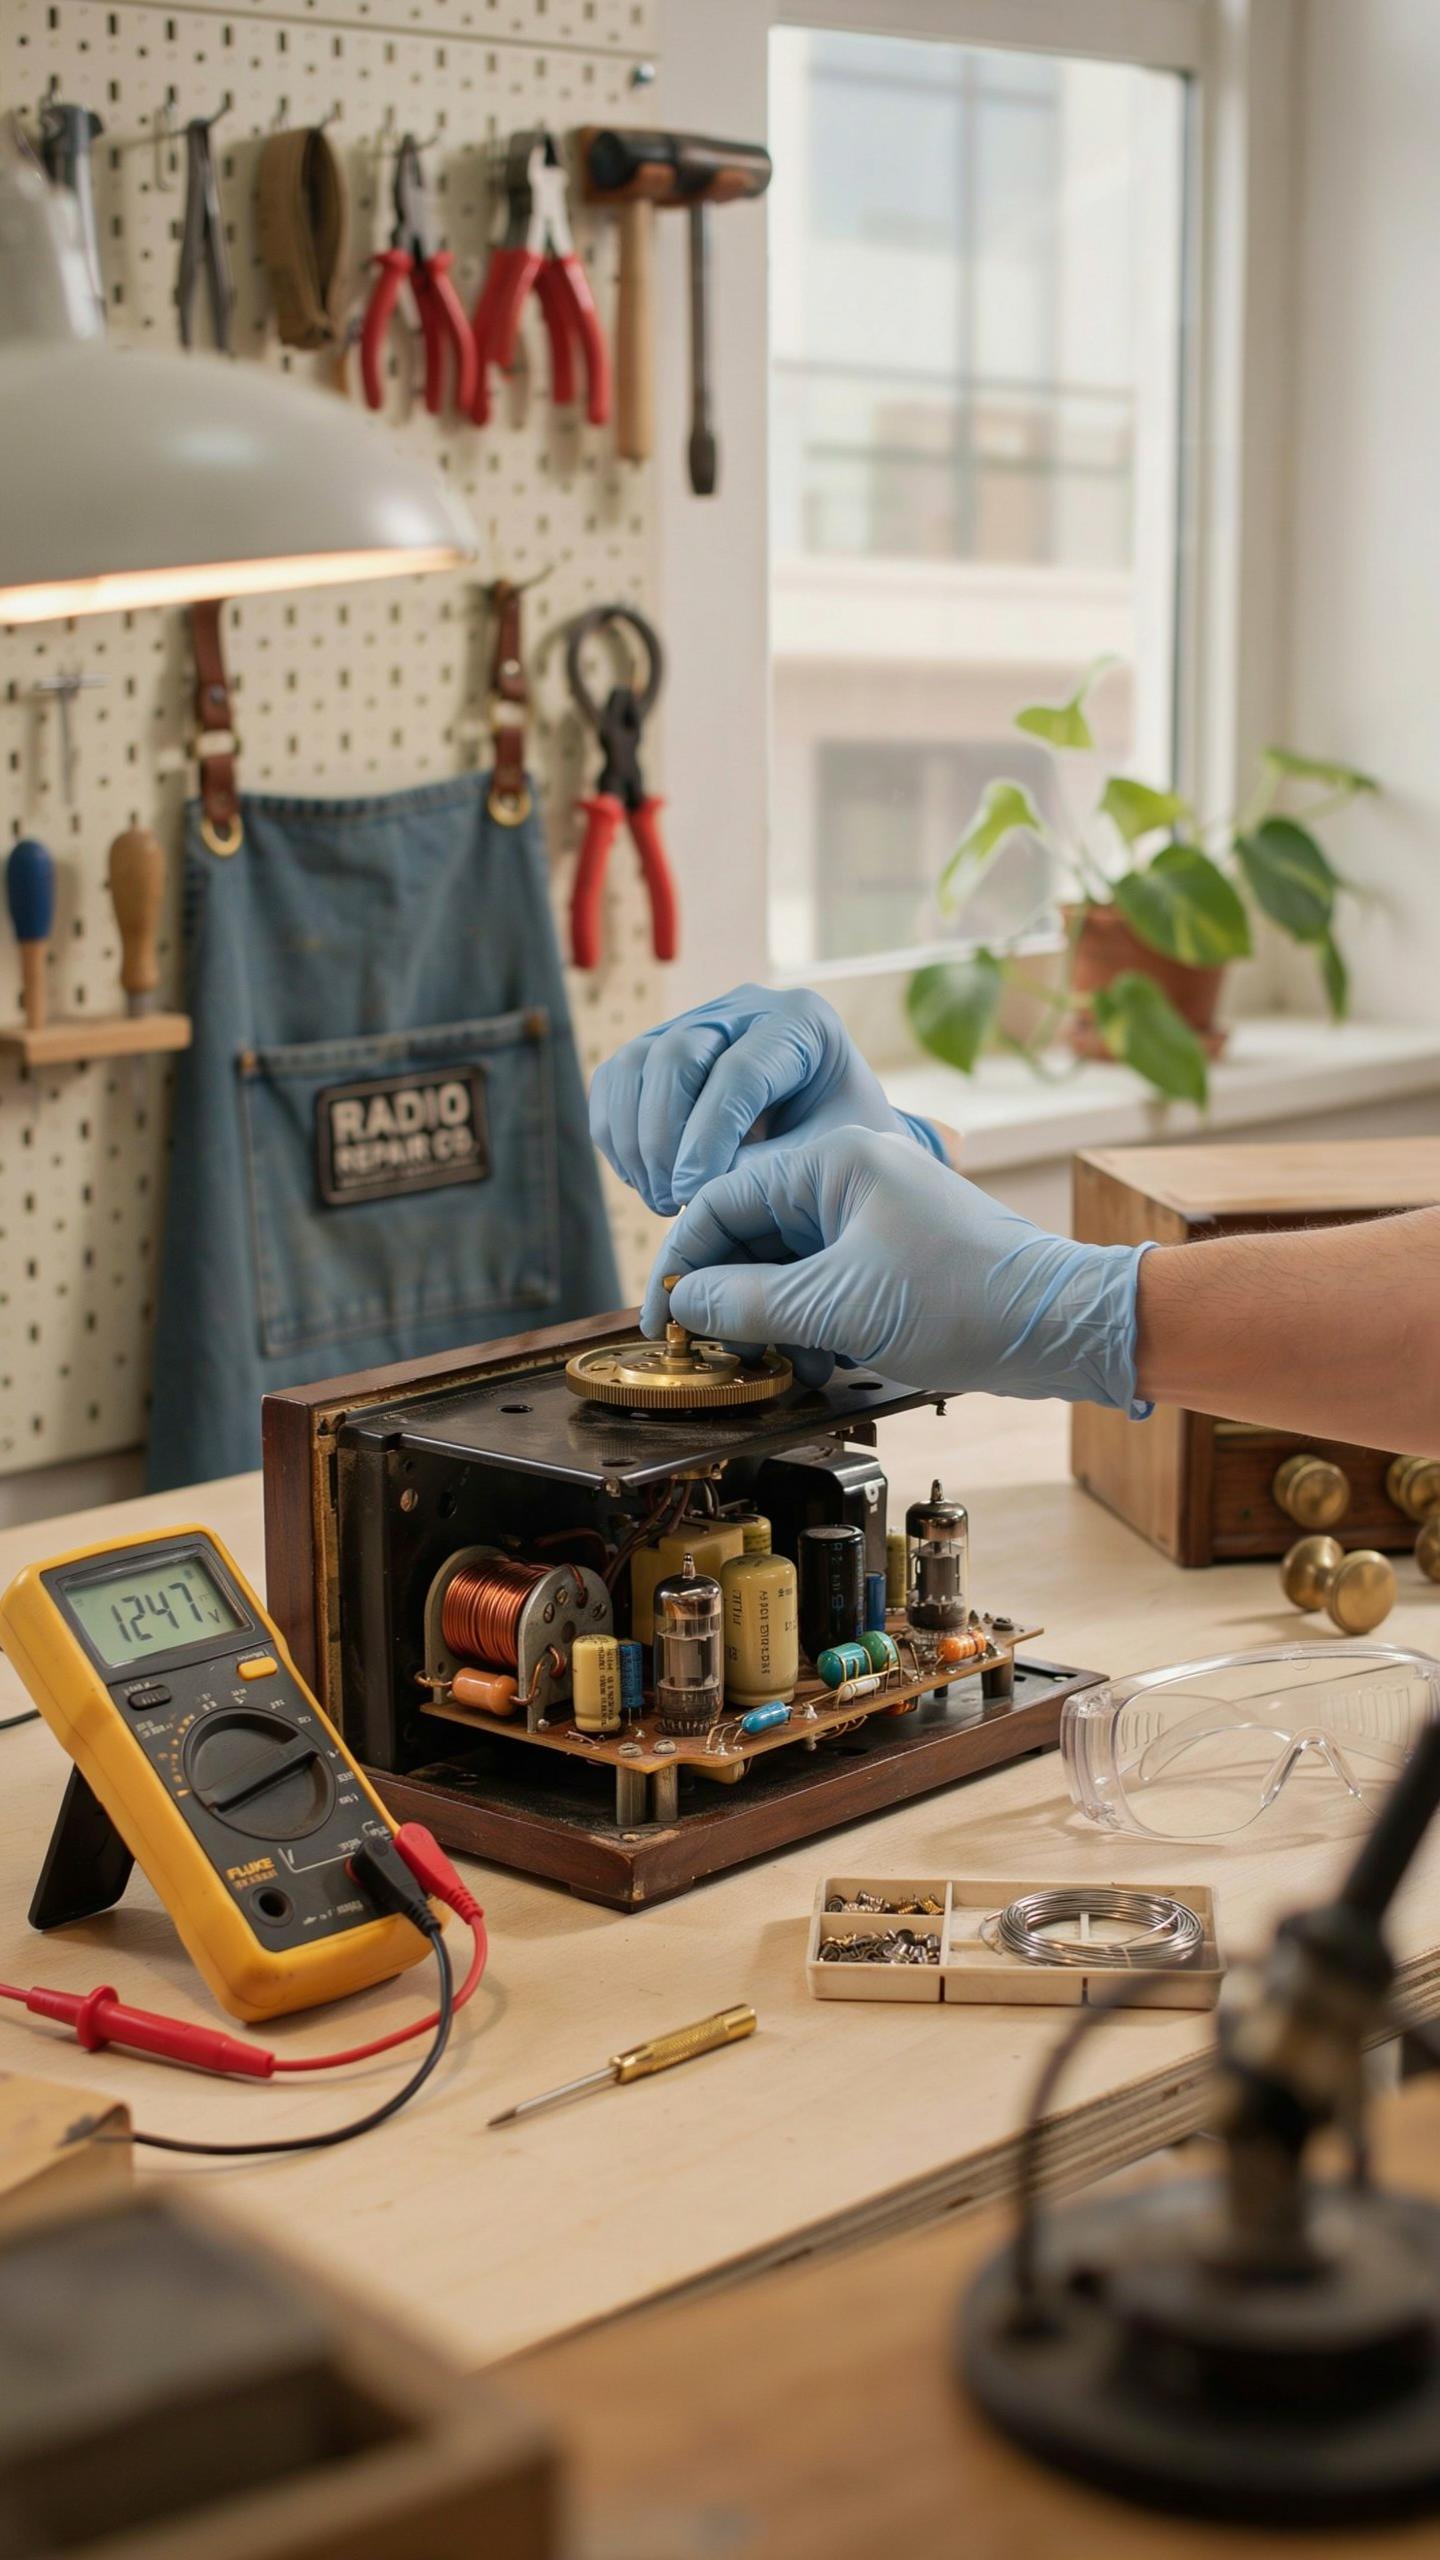
Initial Power Up And Troubleshooting
Before powering on, verify all component connections match your schematic. Use a variac transformer to slowly raise voltage to full line level over 30 seconds. This gradual approach protects both the radio and your test equipment from catastrophic failure if a short exists in the power supply or output stage.
Watch and listen during the power-up sequence. Stop immediately if you detect smoke, burning smells, or excessive heat from any component. These signals indicate a wiring error, failed capacitor, or shorted transformer. Disconnect power, allow cooling time, then trace the problem systematically using your schematic and a multimeter set to resistance mode.
Safety Checks And Enclosure
Inspect every solder joint and wire connection before reassembly. Look for cold solder joints, exposed wire strands, and damaged insulation on power cords. Verify the power transformer primary winding connects correctly to your wall outlet voltage. Tube shields and metal enclosures must ground properly to prevent shock hazards.
Close the radio cabinet completely before regular operation. Vintage radios contain high voltages that can cause serious injury or death. Even with power off, filter capacitors hold charge for hours. Cover all exposed terminals, tube pins, and transformer leads. If the radio will be used frequently, label high voltage points clearly and store it away from children and pets.
Beyond Restoration Displaying Your Vintage Radio
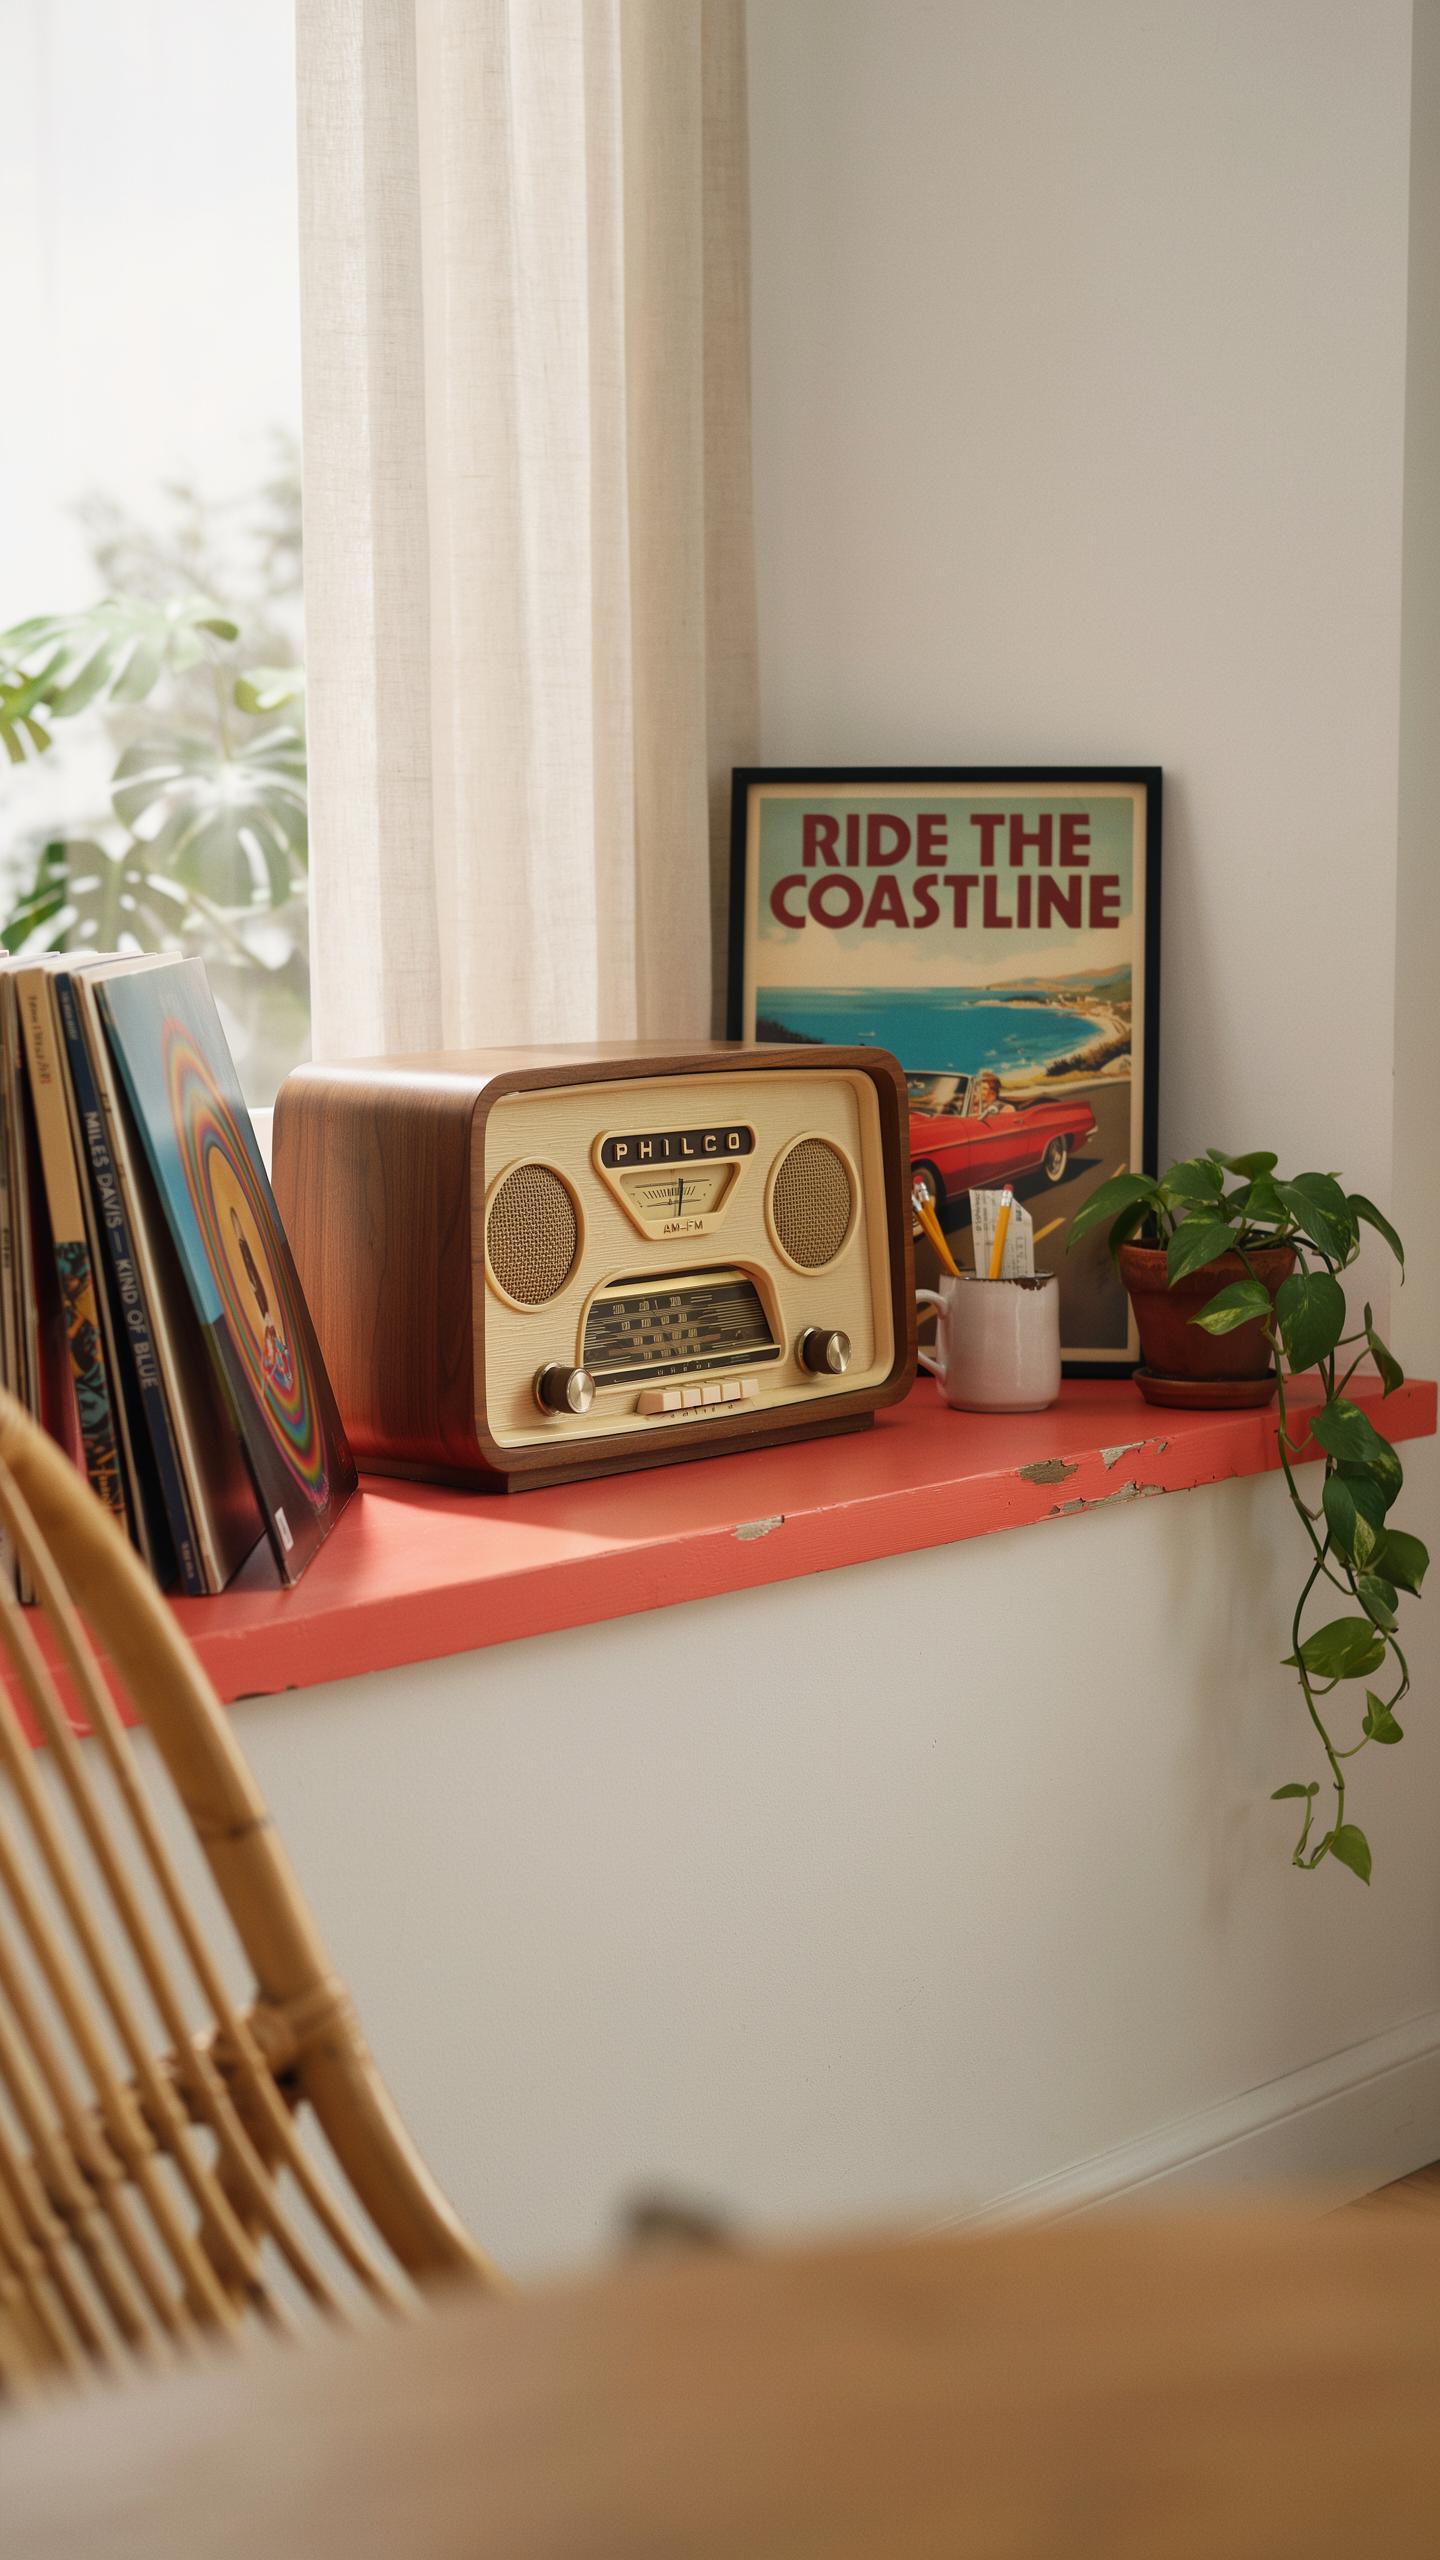
Showcasing Your Work
Your restored radio deserves visibility. Place it where people naturally gather: a shelf in your living room, a desk in your office, or a dedicated display cabinet. Position it at eye level to highlight the cabinet design and dial. Good lighting reveals the craftsmanship you invested in the restoration.
A restored radio functions as both working equipment and historical artifact. Document your restoration with photos showing before and after states. This record proves the work completed and educates viewers about the radio’s era and construction methods. Many collectors photograph their restored radios for personal archives and hobbyist communities.
Maintenance And Care
Dust accumulates on radios and degrades components over time. Wipe the cabinet monthly with a soft, dry cloth. Use compressed air to clear dust from vents and the speaker grille. Never spray liquid cleaners directly on the radio. This simple routine prevents dust from settling on capacitors and transformers inside.

Temperature and humidity fluctuations damage vintage electronics. Keep radios away from direct sunlight, heating vents, and air conditioning units. Maintain stable indoor conditions between 40 and 60 percent relative humidity. Avoid damp basements and attics where moisture corrodes metal parts and degrades paper capacitors. Check your radio quarterly for any signs of corrosion or loose components.
Frequently Asked Questions

Is restoring a vintage radio a good project for someone new to electronics?
Absolutely! A restore a vintage radio electronics project is fantastic for beginners. It offers hands-on experience with basic circuitry, soldering, and component identification without requiring deep prior knowledge. Starting with a simpler tube radio can build confidence and teach valuable repair skills while bringing a unique piece of history back to life.
What are the first steps I should take when planning to restore a vintage radio?
Begin by thoroughly researching your specific radio model to find schematics and service manuals. Next, carefully inspect the radio for visible damage, paying close attention to the power cord, capacitors, and tubes. Before powering it on, replace critical safety components like the “death cap” and check transformer integrity. This groundwork is essential for a successful restore a vintage radio electronics project.
Can I restore a vintage radio on a tight budget, and what are the most essential parts to consider replacing?
Yes, restoring a vintage radio can definitely be budget-friendly with careful planning. Focus on replacing critical safety components first, such as all paper and electrolytic capacitors, as these are common failure points and fire hazards. Tubes can often be tested and reused if functional, saving money. Prioritize safety and functionality over cosmetic perfection initially.



