
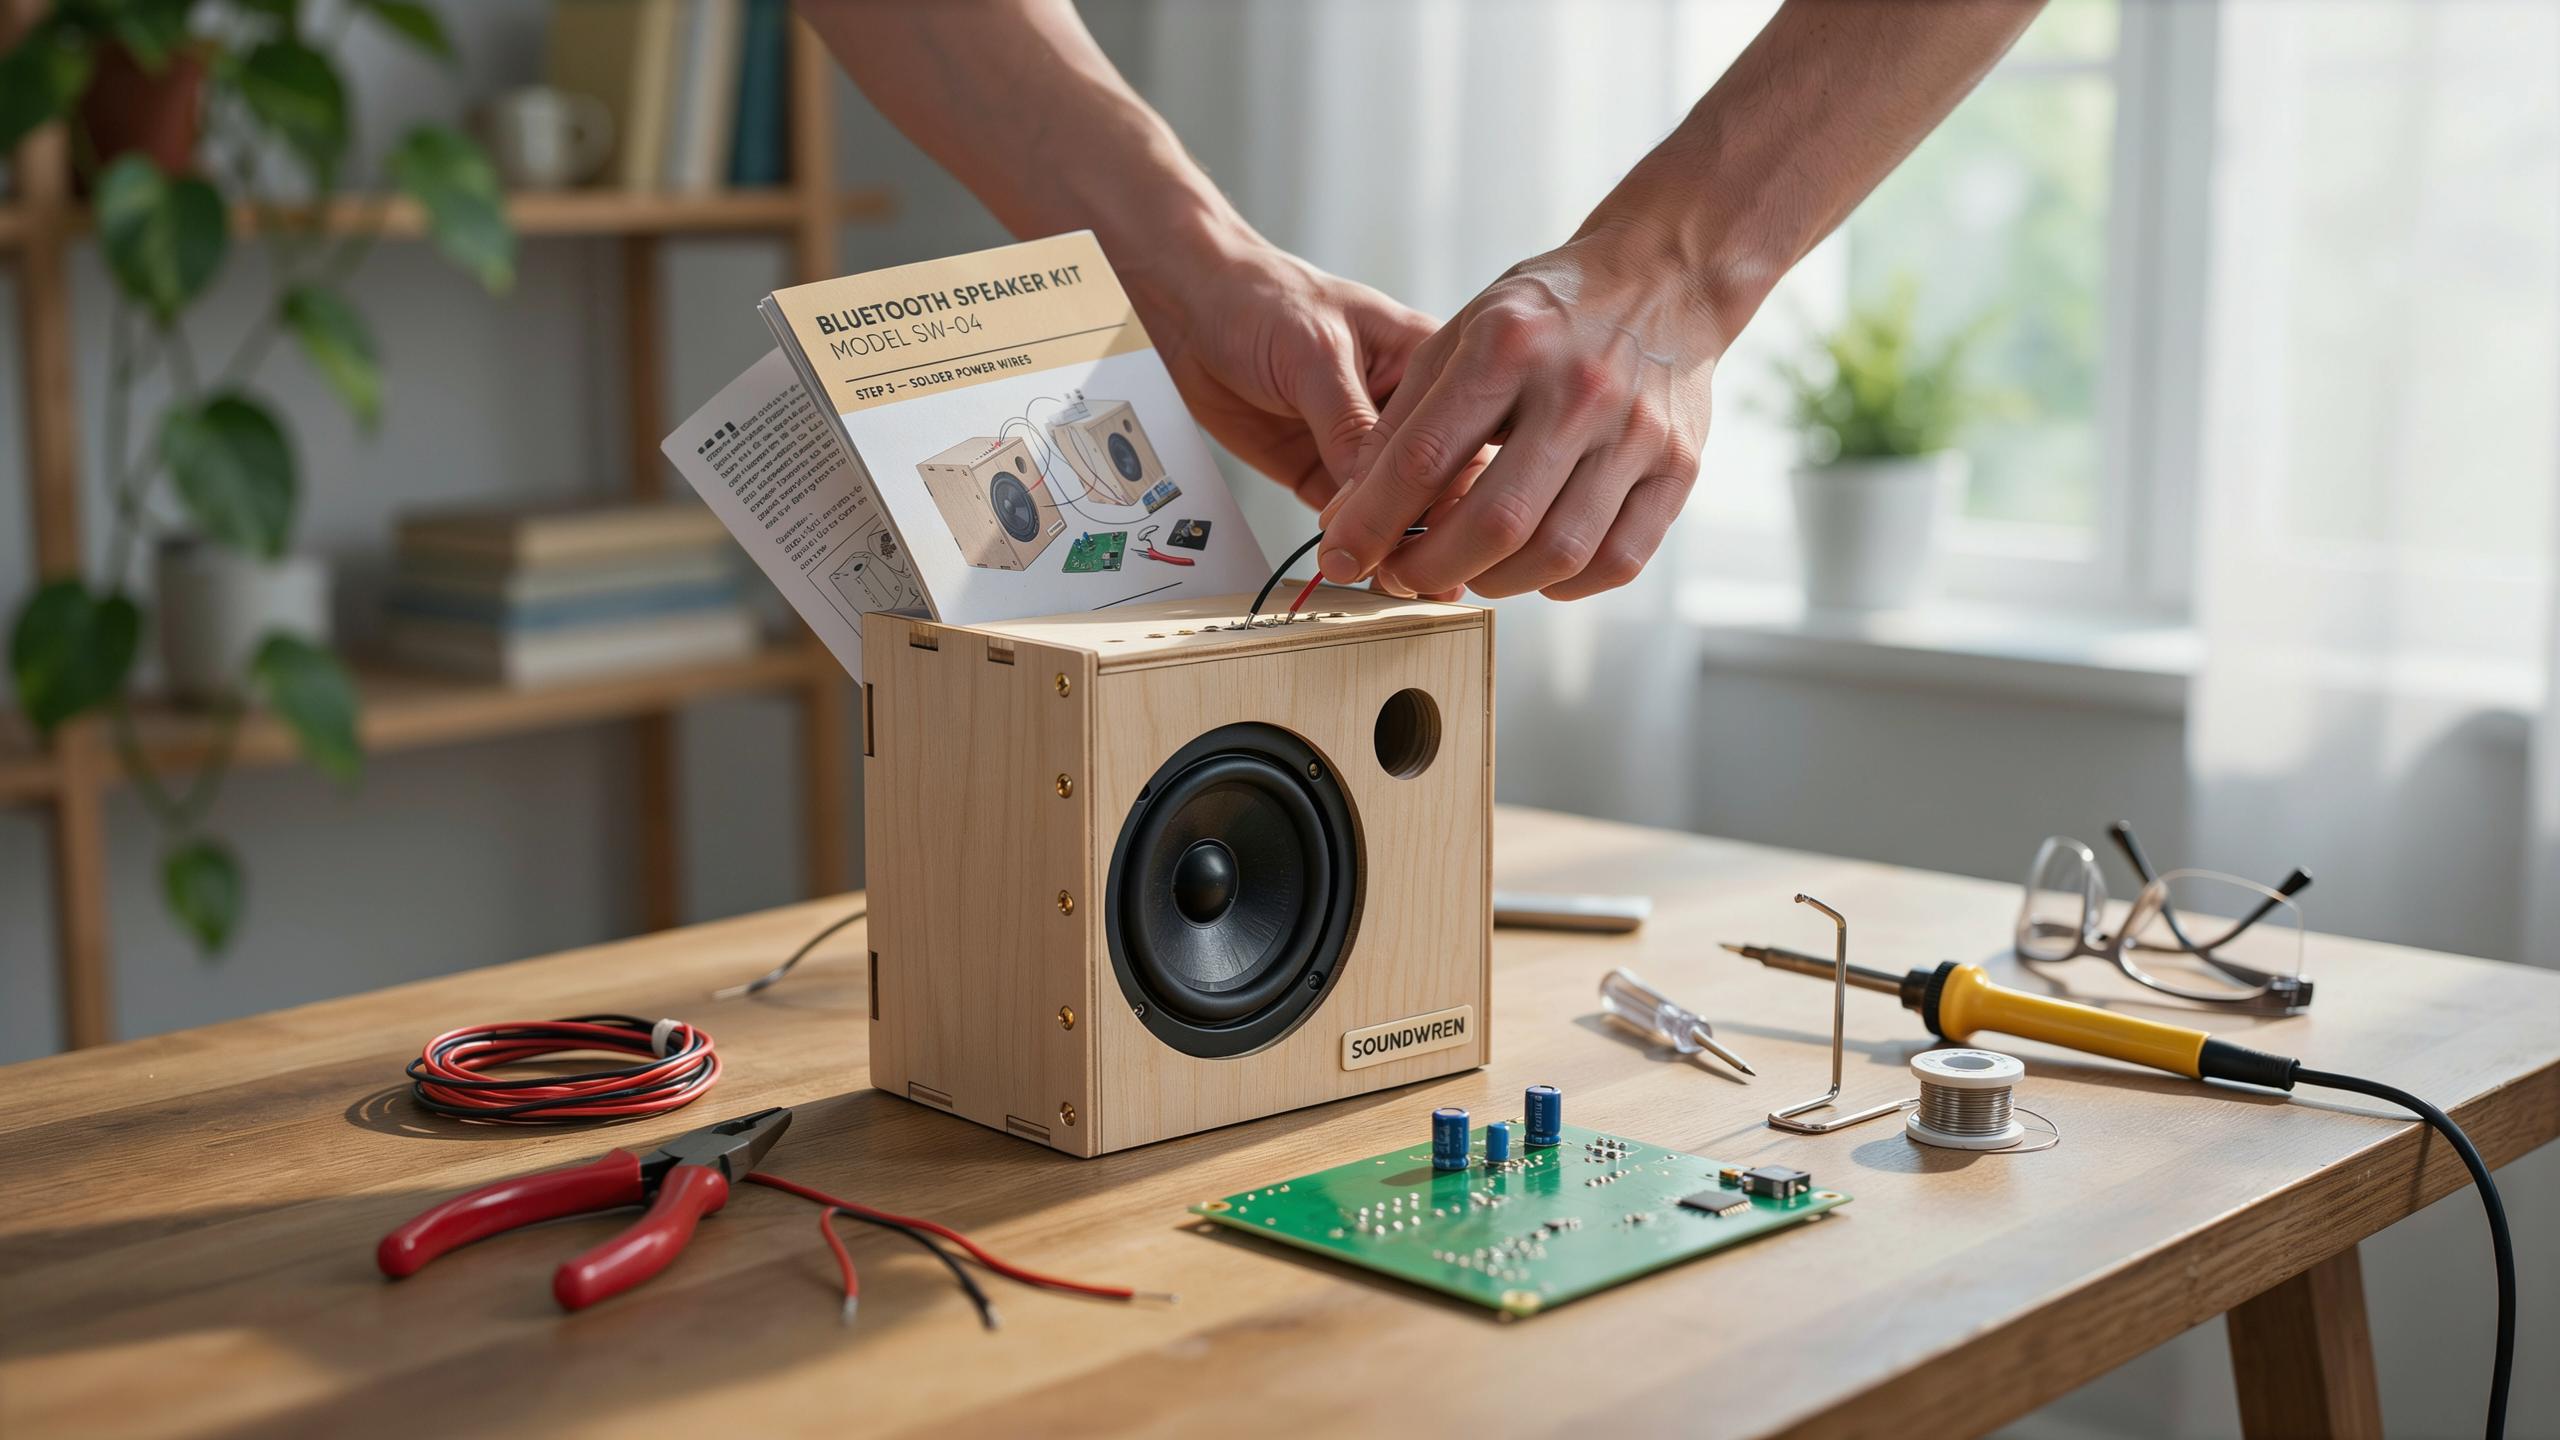
Why Choose A DIY Bluetooth Speaker Kit
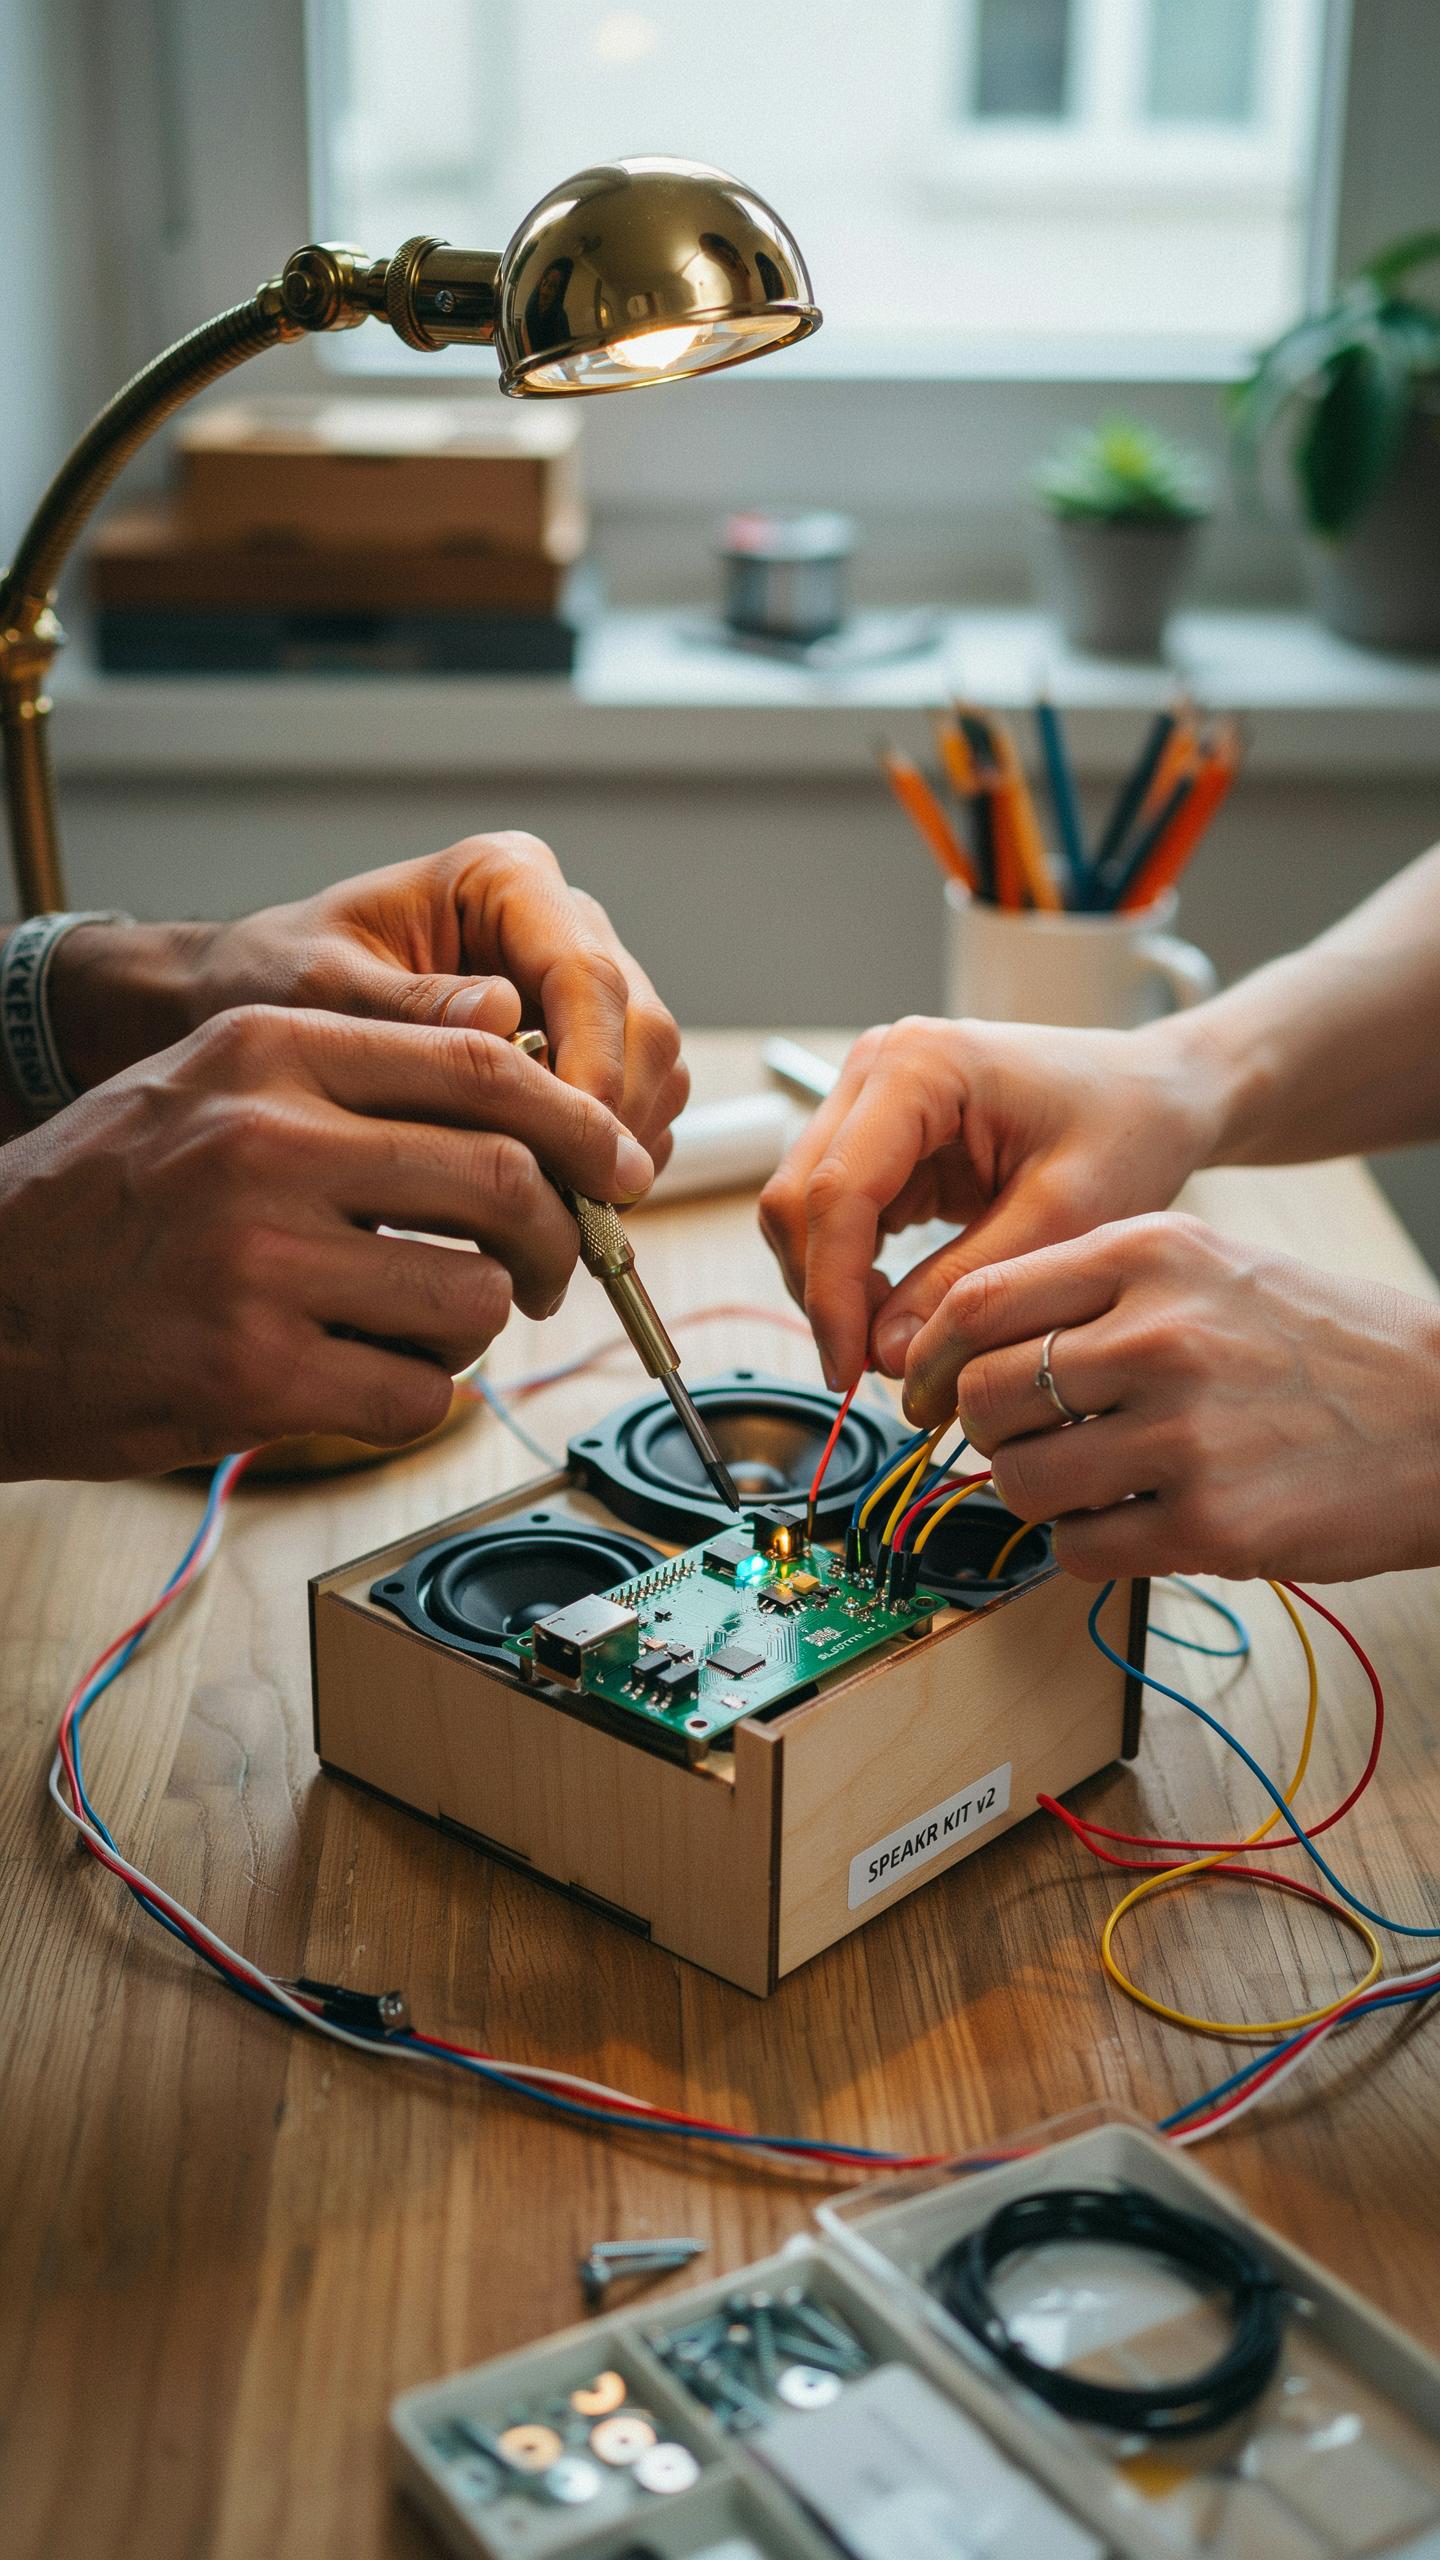
Personalization
A DIY Bluetooth speaker kit lets you control every design choice. You pick the enclosure material, size, and finish. You choose the driver configuration and tuning parameters. You decide on color, texture, and aesthetic direction. This level of control produces a speaker that matches your specific space and listening preferences, not mass-market compromises.
Building your own speaker means you understand every component’s role. You know why each part matters and how it affects sound output. This knowledge helps you troubleshoot problems and upgrade individual elements later. You own the entire system, not just the exterior shell.
Learning Experience
A DIY Bluetooth speaker kit teaches you how audio hardware actually works. You learn about impedance, frequency response, and driver specifications through hands-on assembly. You understand amplifier circuits, power delivery, and signal flow. These aren’t abstract concepts you read about online, they become real through practical application and adjustment.
Electronics fundamentals become tangible when you solder connections and test circuits. You gain skills that transfer to other projects beyond speaker building. The acoustic principles you learn apply to room treatment, microphone placement, and sound system design. You build competency that sticks because you earned it through direct experience.
What To Look For In A DIY Bluetooth Speaker Kit
Kit Components
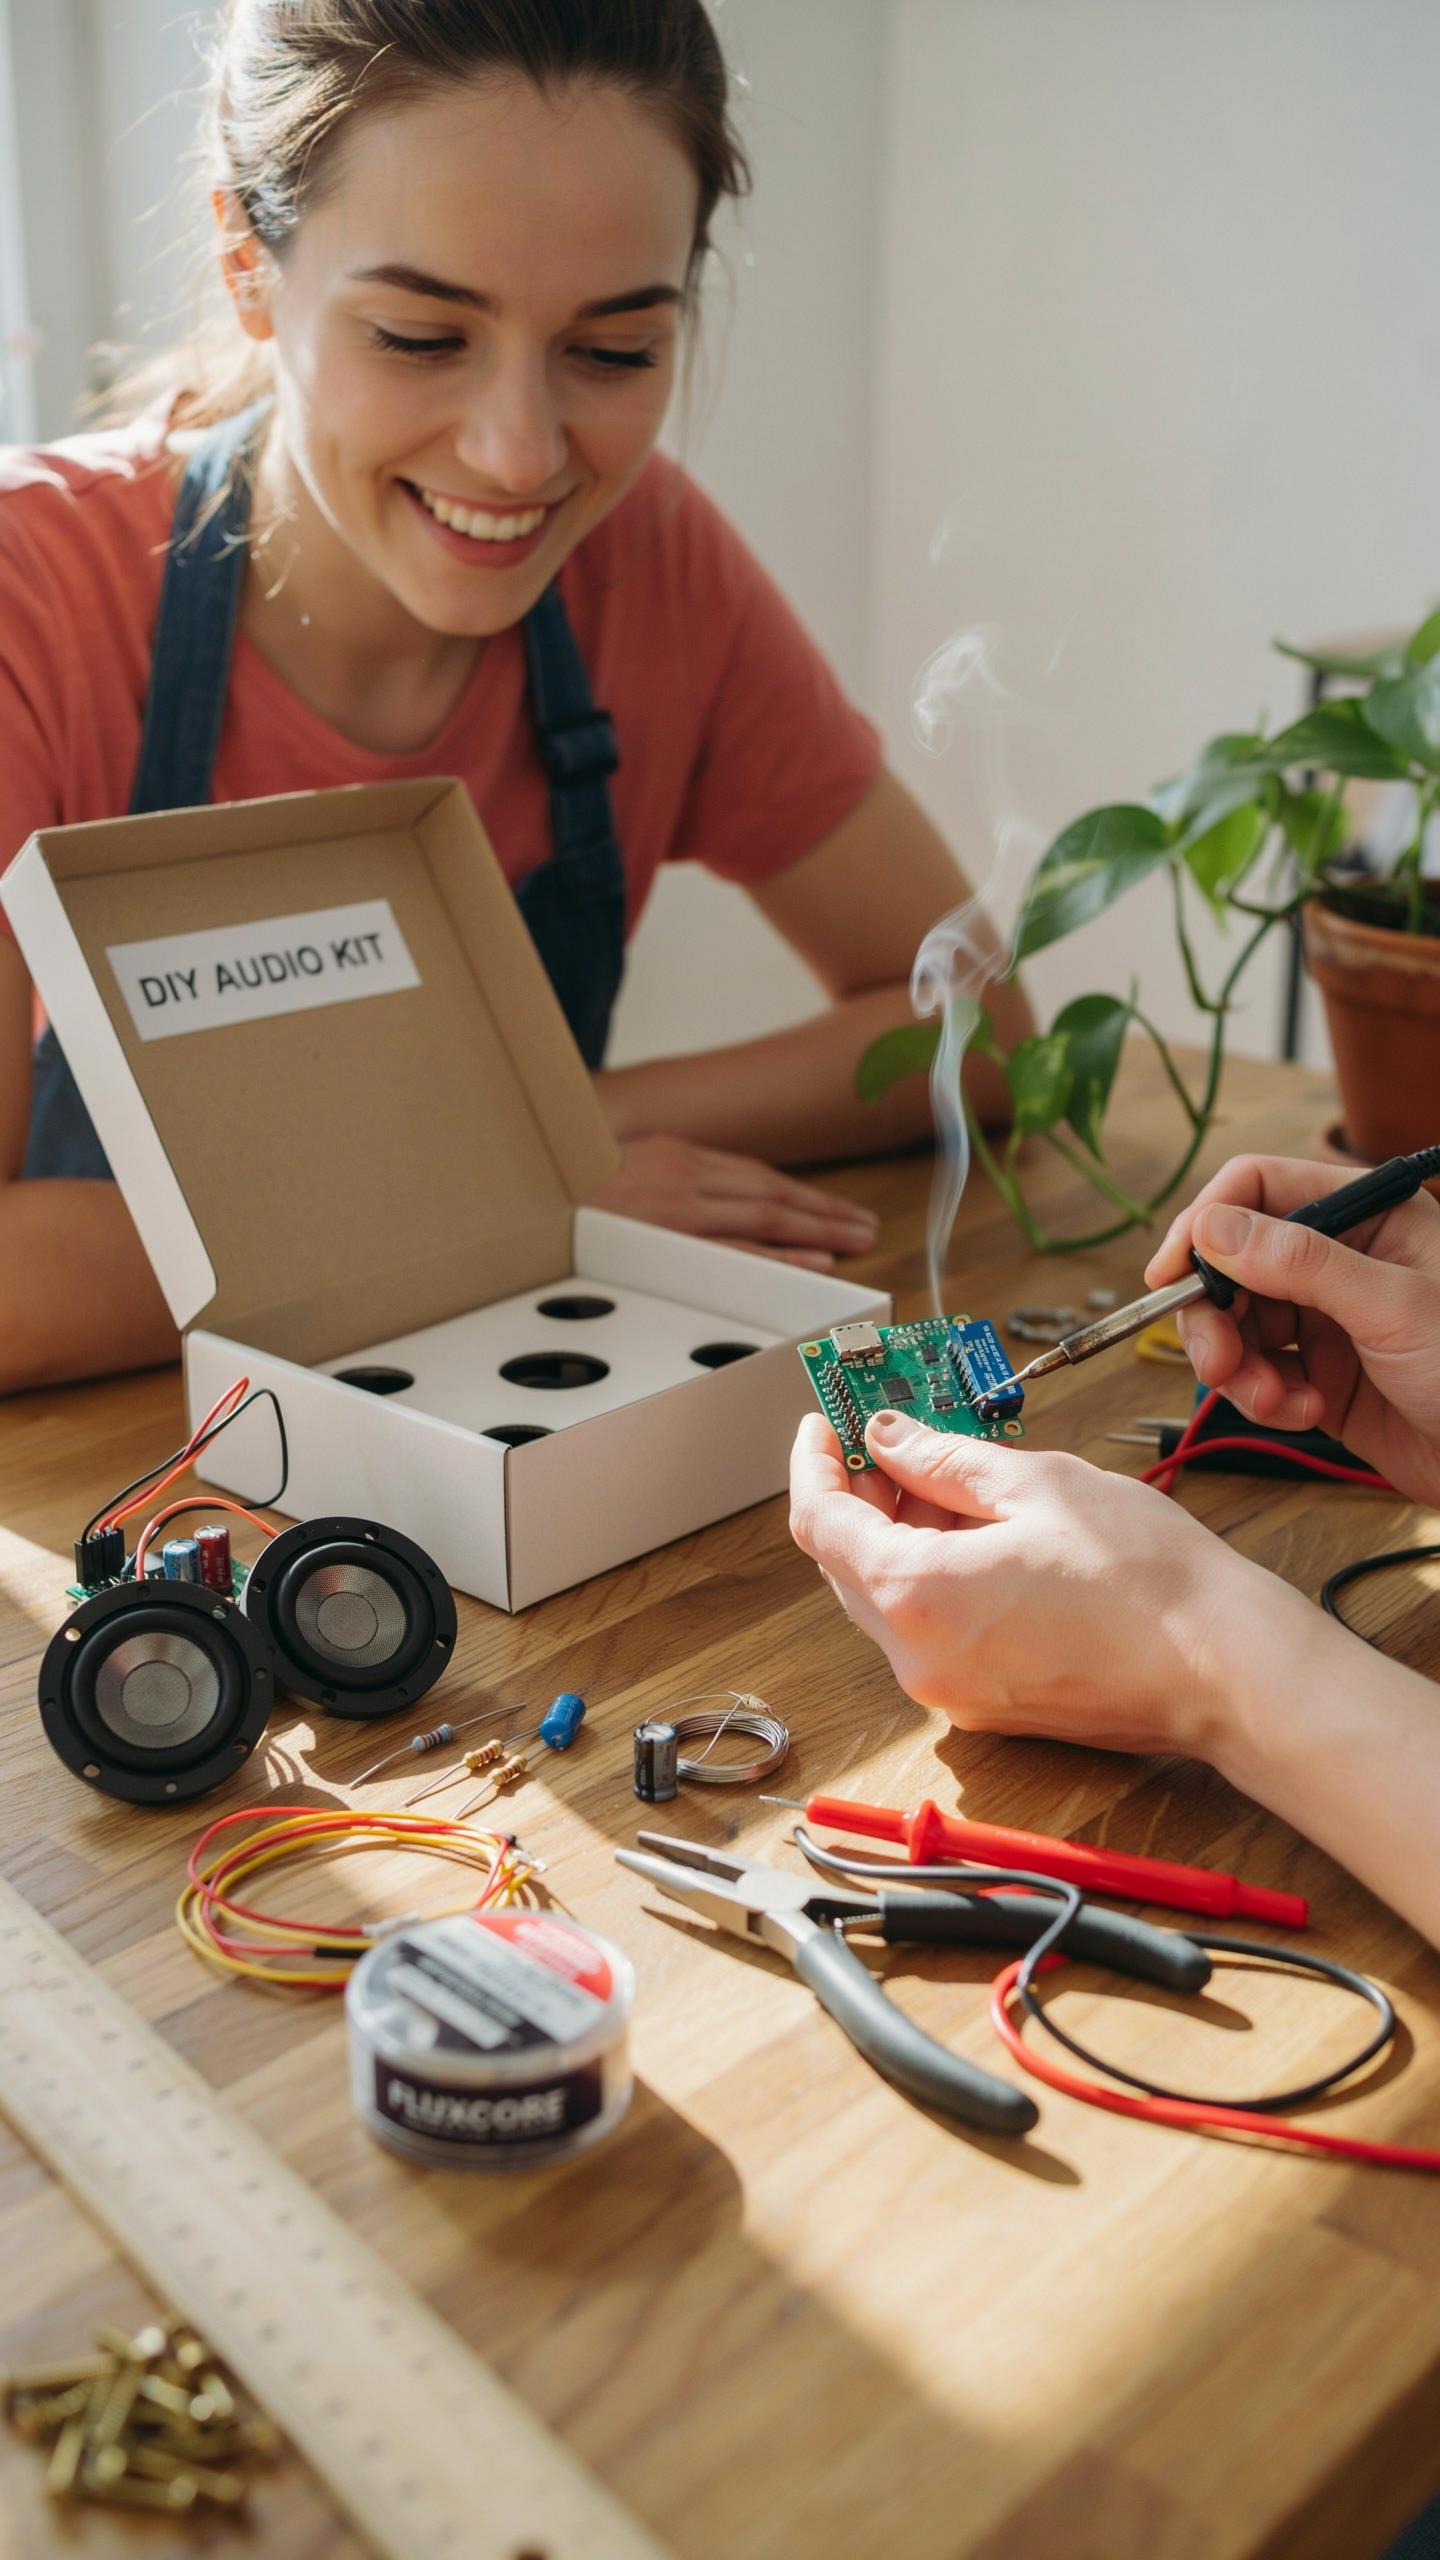
A quality DIY Bluetooth speaker kit includes a Bluetooth module, amplifier board, speaker drivers, enclosure materials, wiring harness, and a power supply. The Bluetooth module handles wireless connectivity and typically supports standard audio codecs. The amplifier board converts low-level audio signals into power sufficient to drive speakers. Speaker drivers produce the actual sound and vary in size and frequency response. Your kit should provide all necessary connectors and solder joints pre-assembled or clearly documented.
The enclosure determines acoustic performance and durability. Most kits use MDF wood, plastic, or composite materials that balance cost and sound quality. Wiring quality matters because poor connections introduce noise and signal loss. Check that included components match your skill level. Beginner kits include pre-soldered boards and simplified assembly. Advanced kits require more technical knowledge but offer customization options and better component sourcing.
Power Output
Power output directly impacts volume capability and sound clarity. A DIY Bluetooth speaker with 40W output delivers sufficient volume for most indoor spaces and small outdoor areas. Power rating indicates the maximum electrical power the amplifier can deliver to speakers. Higher wattage does not guarantee better sound quality, but it does enable louder playback without distortion at high volumes.
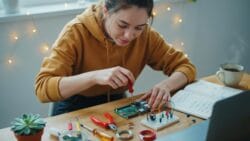
Match power output to your intended use case. Bedroom or desktop speakers need 10W to 20W. Medium rooms benefit from 30W to 50W. Larger spaces or outdoor use require 60W or higher. Your kit’s amplifier board specifications determine maximum power output. Battery or wall adapter capacity must support this power draw consistently. Undersized power supplies cause thermal shutdown and component damage during extended use.
Getting Started Tools And Materials For Your DIY Bluetooth Speaker
Essential Tools
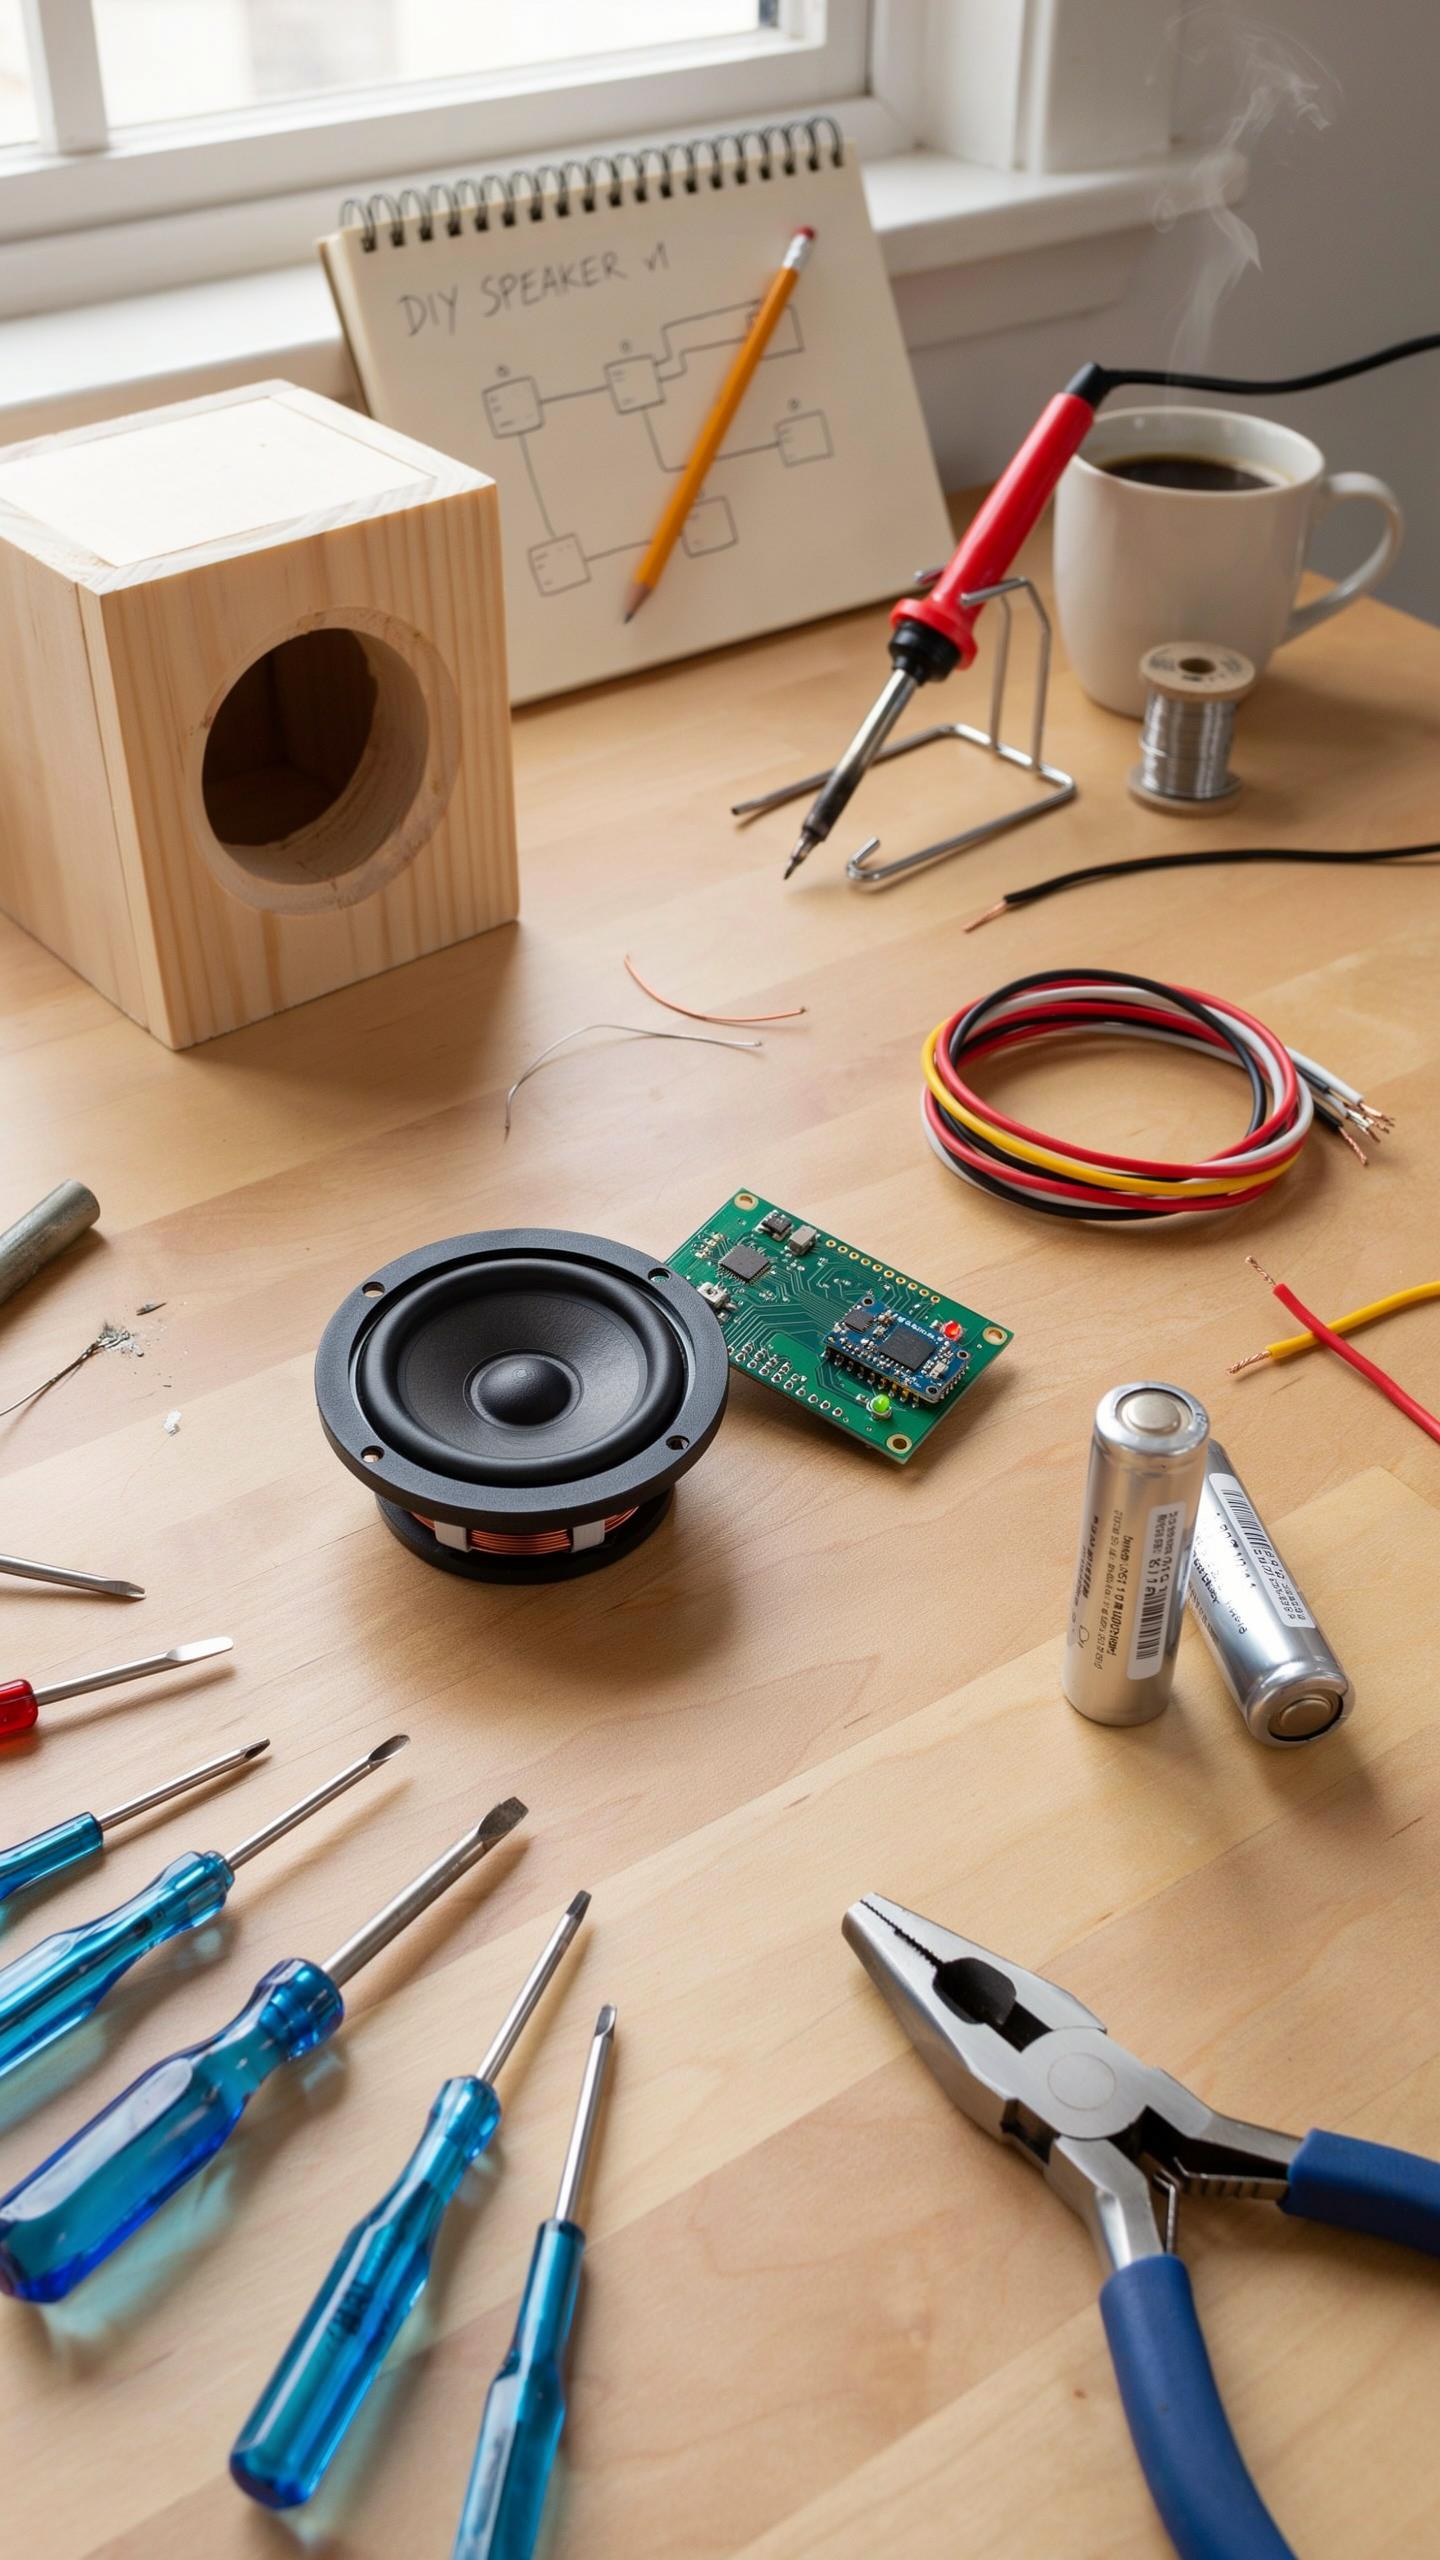
You need basic hand tools to assemble a DIY Bluetooth speaker kit. Most kits ship with pre-cut enclosures and pre-soldered components, so assembly time stays under two hours. Start with tools you likely own. If you don’t have them, buy quality versions that last through multiple projects.
- Soldering iron: A 25-40 watt iron handles all connections in standard kits. Temperature control matters less for beginner kits since solder melts around 350 degrees Celsius. A basic iron costs $20-40 and works reliably for years.
- Solder and flux: Use lead-free solder rated for electronics work. Flux helps solder flow smoothly and creates strong joints. Buy a spool with rosin core included, priced around $5-10.
- Wire strippers: Strip insulation from speaker and power wires cleanly. Manual strippers work fine for DIY projects and cost $5-15. Avoid damaging wire underneath the insulation.
- Screwdrivers: Most kits use Phillips and flathead screws for assembly. A basic set covers all enclosure fastening needs. Keep sizes matched to screw heads for proper engagement.
- Multimeter: Test connections and verify circuit continuity before powering on. Digital multimeters cost $15-30 and catch problems early. Essential for troubleshooting sound issues.
- Hot glue gun: Secure components inside the enclosure without damaging circuit boards. Use low temperature glue sticks to avoid heat damage. Costs under $10 and prevents internal rattling.
Assembly depends on having the right tools ready before you start. Rushing through tool selection causes mistakes. Take thirty minutes to gather everything, check for damage, and organize your workspace. This prevents stopping mid-project to hunt for missing items.
Additional Materials
Enhancement materials improve sound quality and appearance without requiring specialized skills. These additions aren’t mandatory but deliver noticeable results. Consider your speaker’s intended location and use case before selecting upgrades.

Acoustic foam or fiberglass insulation inside the enclosure reduces internal resonance and sharpens sound clarity. Materials cost $10-25 per kit and absorb unwanted frequencies. Apply foam to interior walls, avoiding speaker cones and components. Fabric wrapping around the enclosure hides internal elements and protects against dust. Use speaker-grade fabric rated for acoustics, priced around $5-15 per meter. Adhesive-backed fabric installs quickly and withstands temperature changes. LED accent lighting adds visual appeal and ties the speaker into your space. Use adhesive-backed LED strips rated for 5 volts, drawn from the Bluetooth module’s power supply. Install strips along the enclosure base or around driver edges for subtle illumination effects.
Step By Step Bluetooth Speaker With Instructions
Assembly Process
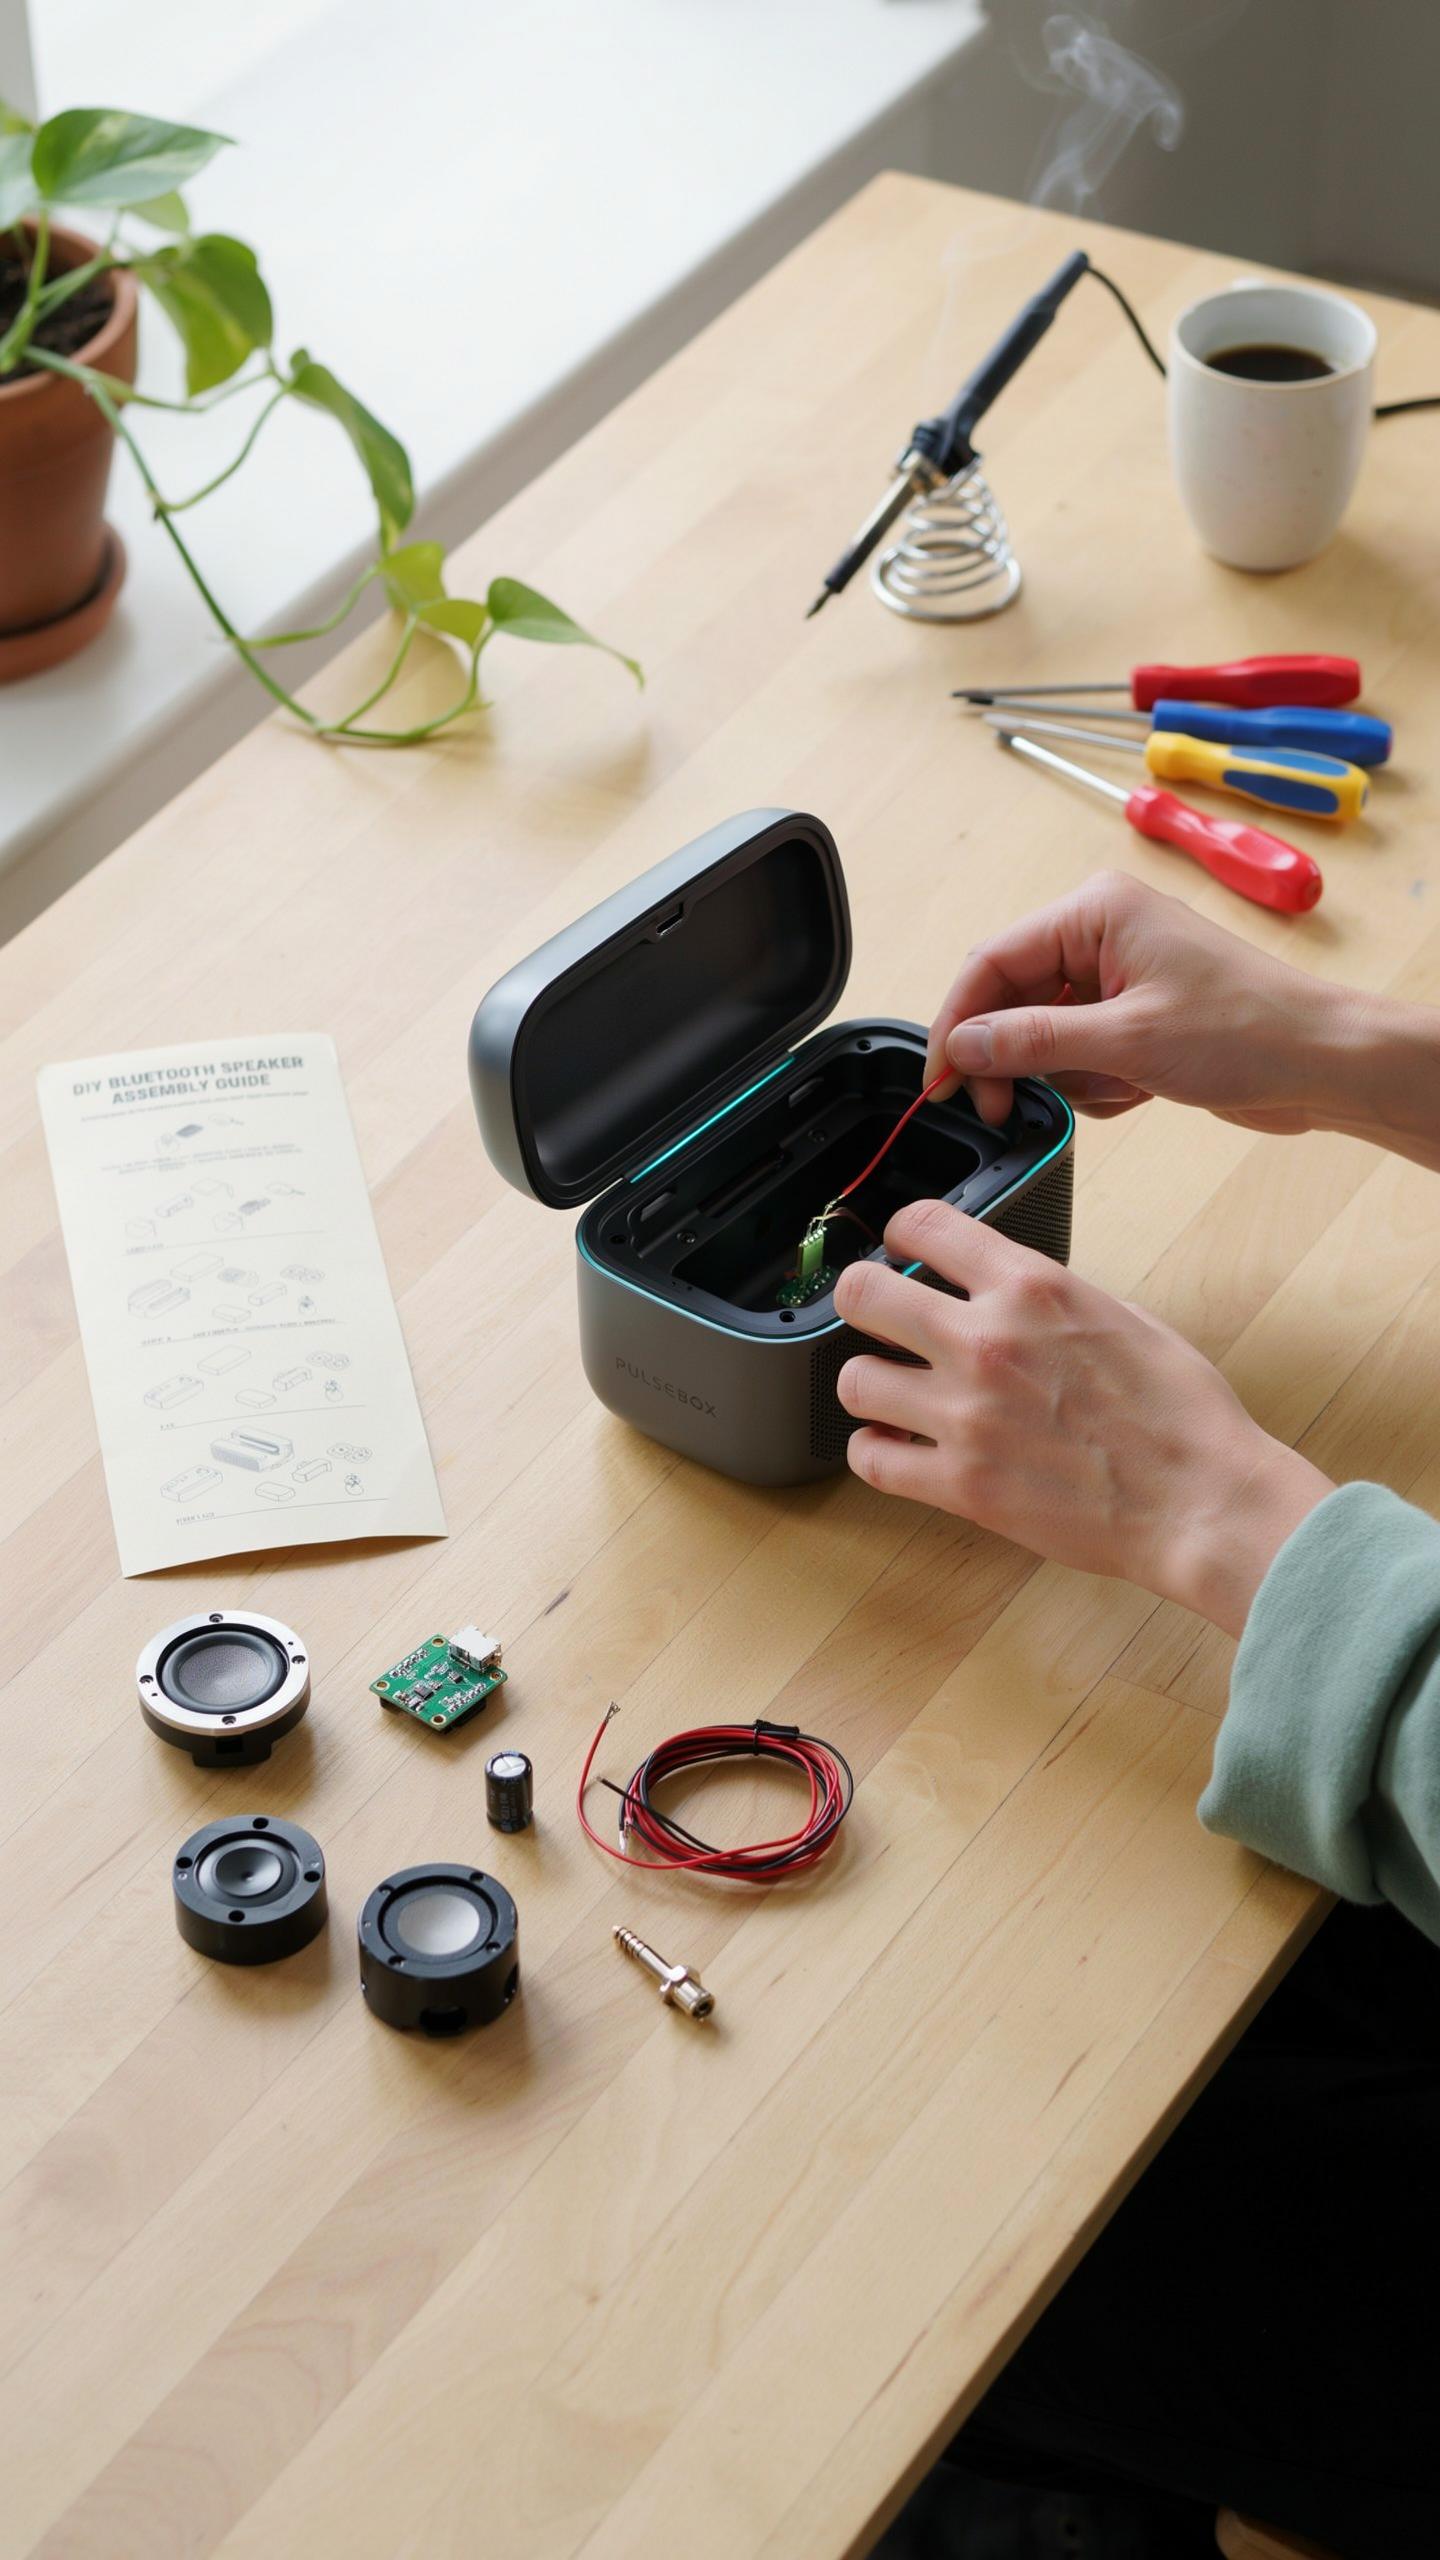
Start by organizing all components before building. Lay out the speaker drivers, enclosure, amplifier board, battery, and Bluetooth module on a clean workspace. Check that each part matches your kit documentation. Secure the drivers into the enclosure using the mounting brackets provided. Install the amplifier board and battery into their designated compartments. Ensure nothing blocks ventilation holes. Tighten all fasteners firmly but avoid over-torquing plastic components.
Connect the enclosure panels according to your kit’s assembly diagram. Most kits use either screws or adhesive to seal the housing. Apply even pressure when securing panels to prevent warping. Install any passive components like port tubes or damping material inside the enclosure. These elements control how sound frequencies move through the speaker. Double-check that the Bluetooth module sits properly in its mounting area before sealing the final panel.
Wiring Connections
The amplifier board serves as your central hub for all electrical connections. Connect the positive and negative terminals from the battery to the amplifier’s power input first. Use the wire gauges specified in your kit to prevent voltage drops. Solder or crimp connections according to your kit’s instructions. Poor connections cause audio distortion and weak volume. Strip wire insulation carefully and tin all connections before final assembly.
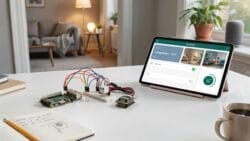
Connect each speaker driver to the amplifier’s output terminals in the correct polarity. Reversed polarity causes drivers to work against each other and ruins sound quality. Connect the Bluetooth module to the amplifier using the designated input pins. Test all connections with a multimeter before powering on the unit. Verify continuity between components to catch any broken wires or cold solder joints early.
Designing Your Speaker Box Design Diy
Enclosure Types
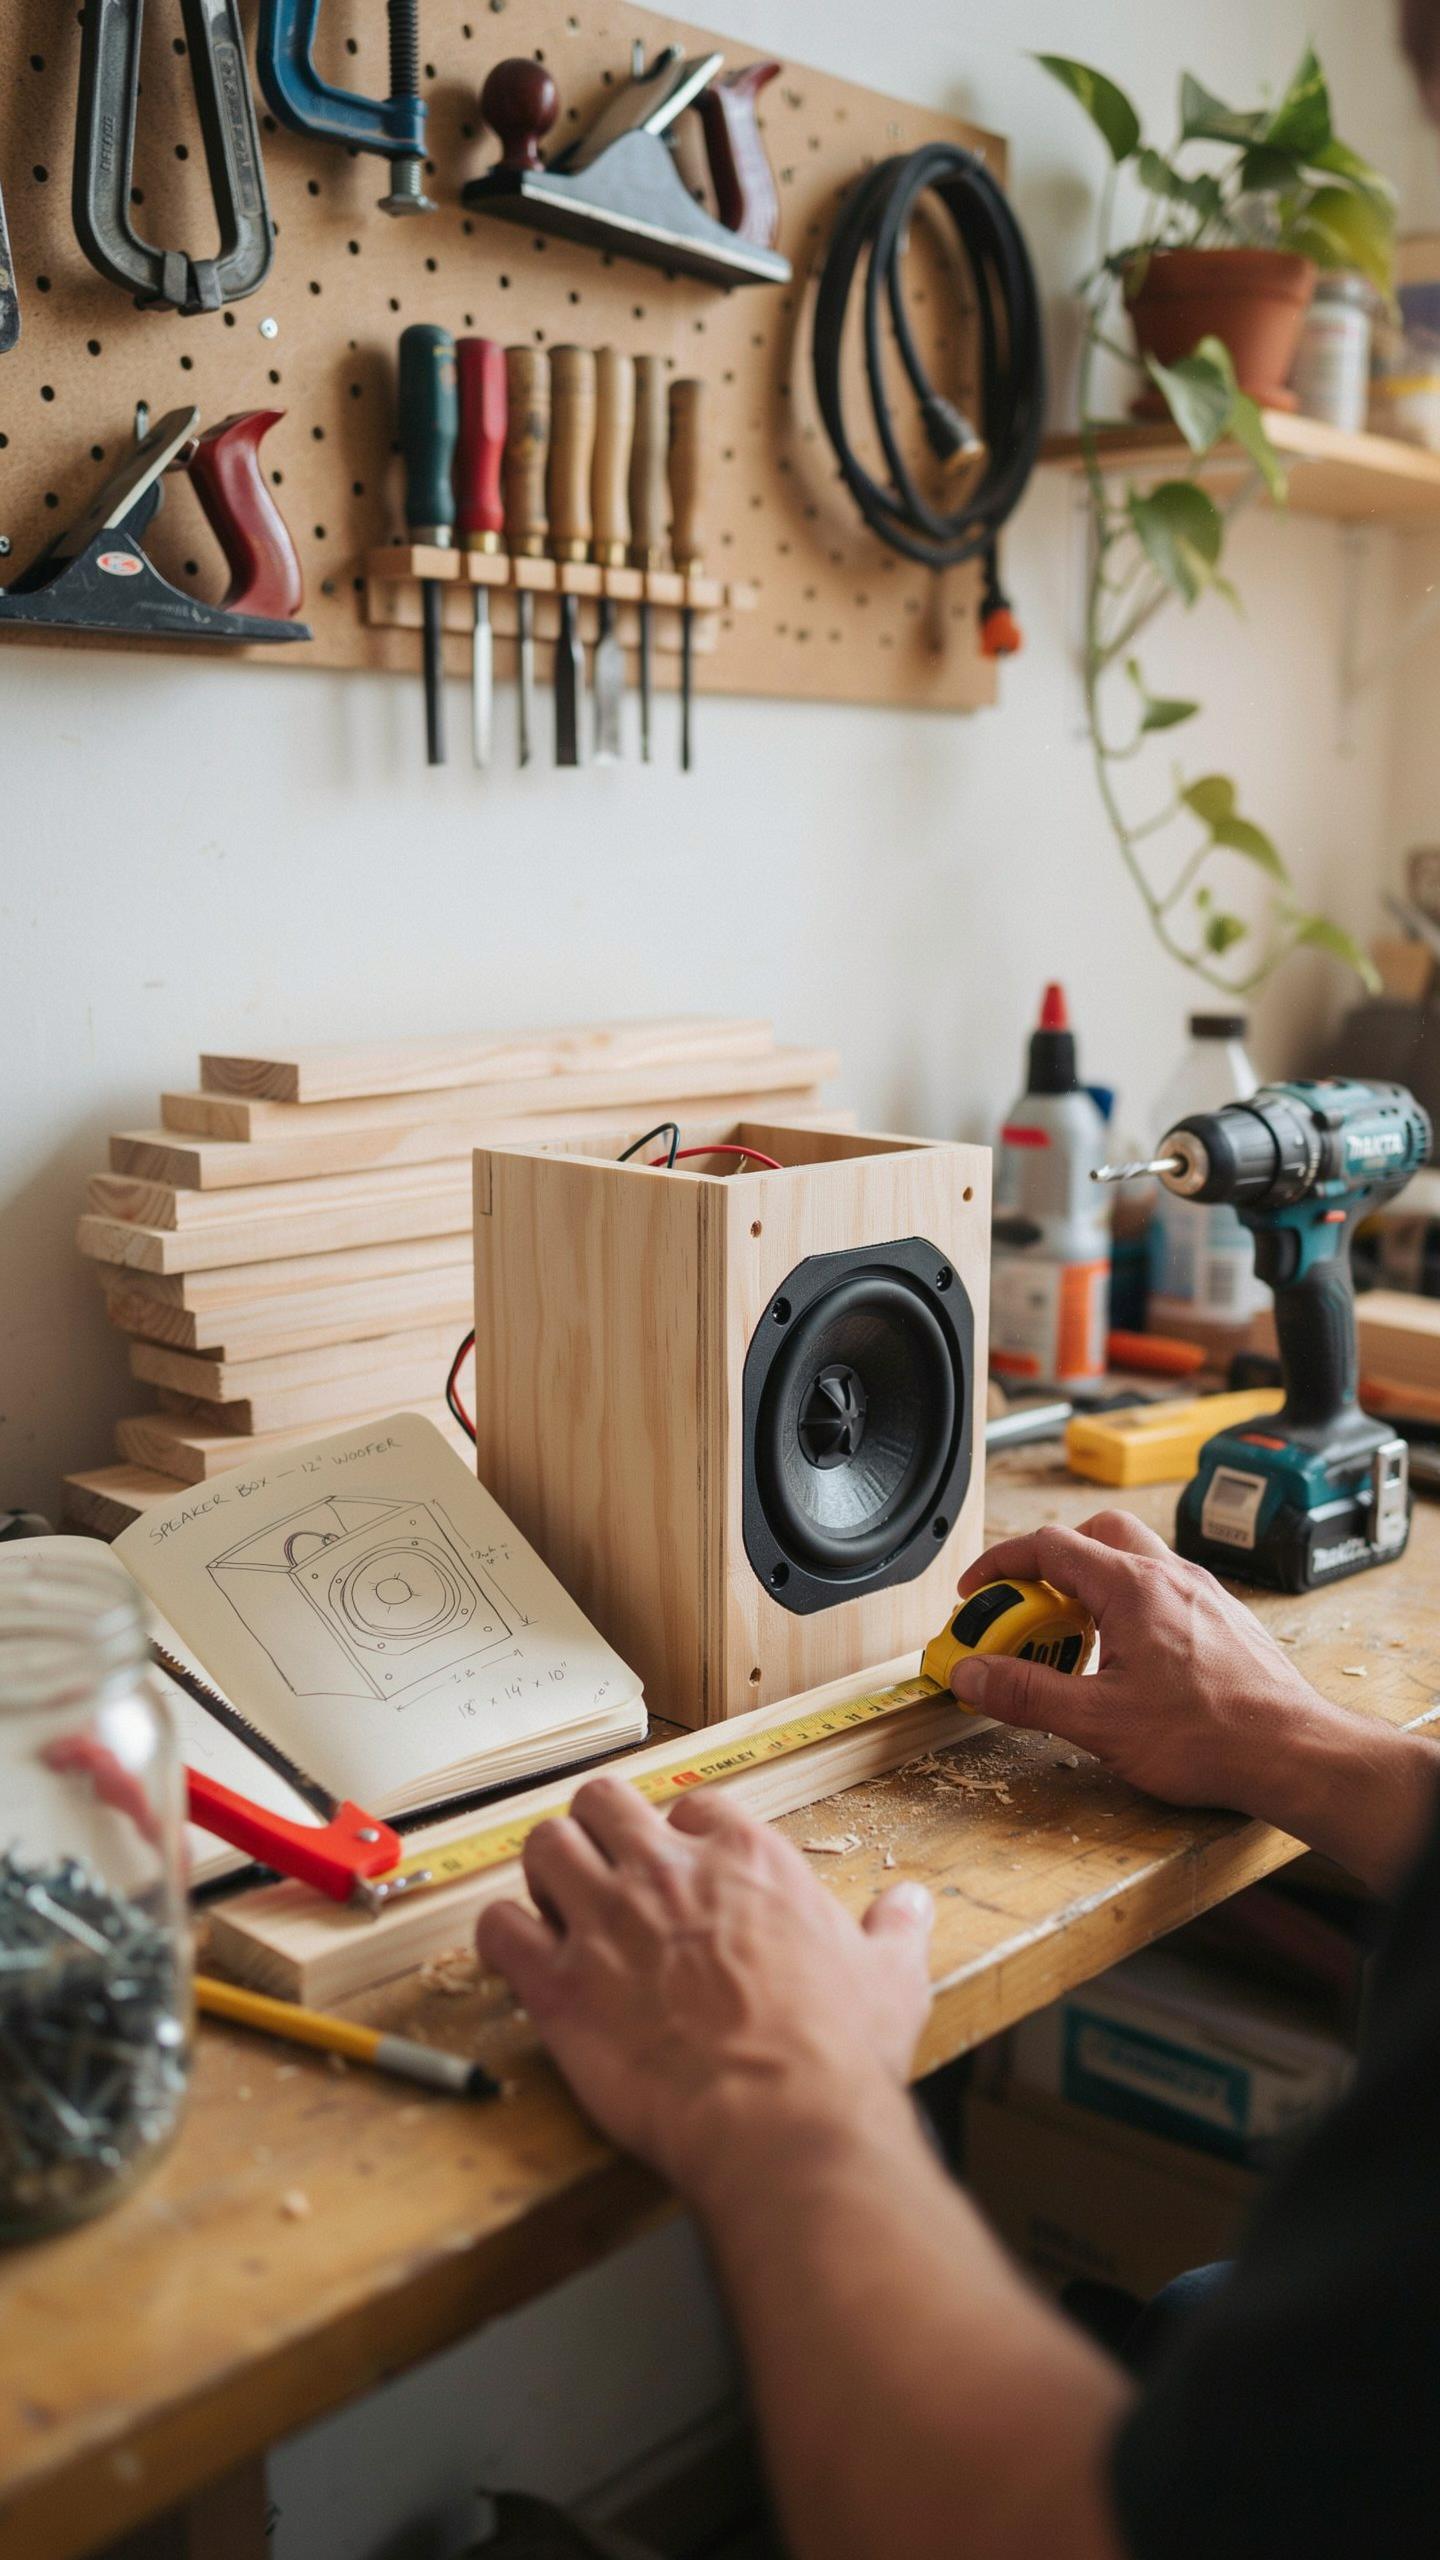
The enclosure type determines how your speaker reproduces bass and midrange frequencies. Sealed enclosures trap air inside, creating back pressure that controls driver movement and produces tight bass with lower efficiency. Ported enclosures use a tuned vent to amplify bass response at specific frequencies, requiring precise calculations for port length and diameter. Bass reflex designs leverage port tuning to extend low-frequency output with less power than sealed boxes. Your choice depends on the driver specifications and desired frequency response.
Sealed boxes suit studio monitoring and portable applications where accuracy matters more than volume. Ported boxes work better for music venues and outdoor settings where extended bass response and higher SPL output prove advantageous. Bandpass enclosures combine sealed and ported sections to isolate the driver further, though they demand complex tuning and construction skill. Most DIY builders start with sealed or simple ported designs due to straightforward math and reliable results. Test your driver specifications against enclosure design software before building to avoid wasted materials.
Material Selection
Plywood delivers the best cost-to-performance ratio for DIY speaker boxes. Quality plywood resists warping, dampens resonance effectively, and machines cleanly for bracing and internal ports. Medium Density Fiberboard works as a budget alternative but absorbs moisture and weighs more than plywood. Solid wood produces premium acoustics but costs significantly more and requires woodworking skill to prevent splitting and warping over time.
Bracing materials reinforce the enclosure walls to eliminate panel vibrations that color the sound. Add internal braces perpendicular to panel surfaces using strips of plywood or 2×4 lumber. Damping material like fiberglass insulation or rockwool inside the enclosure absorbs standing waves and reduces resonance peaks. Apply damping strategically near walls and around ports, avoiding complete filling that deadens driver output. Sand all interior surfaces smooth to minimize diffraction artifacts that scatter sound waves unpredictably.
Customizing Your Diy Speakers
Aesthetic Upgrades
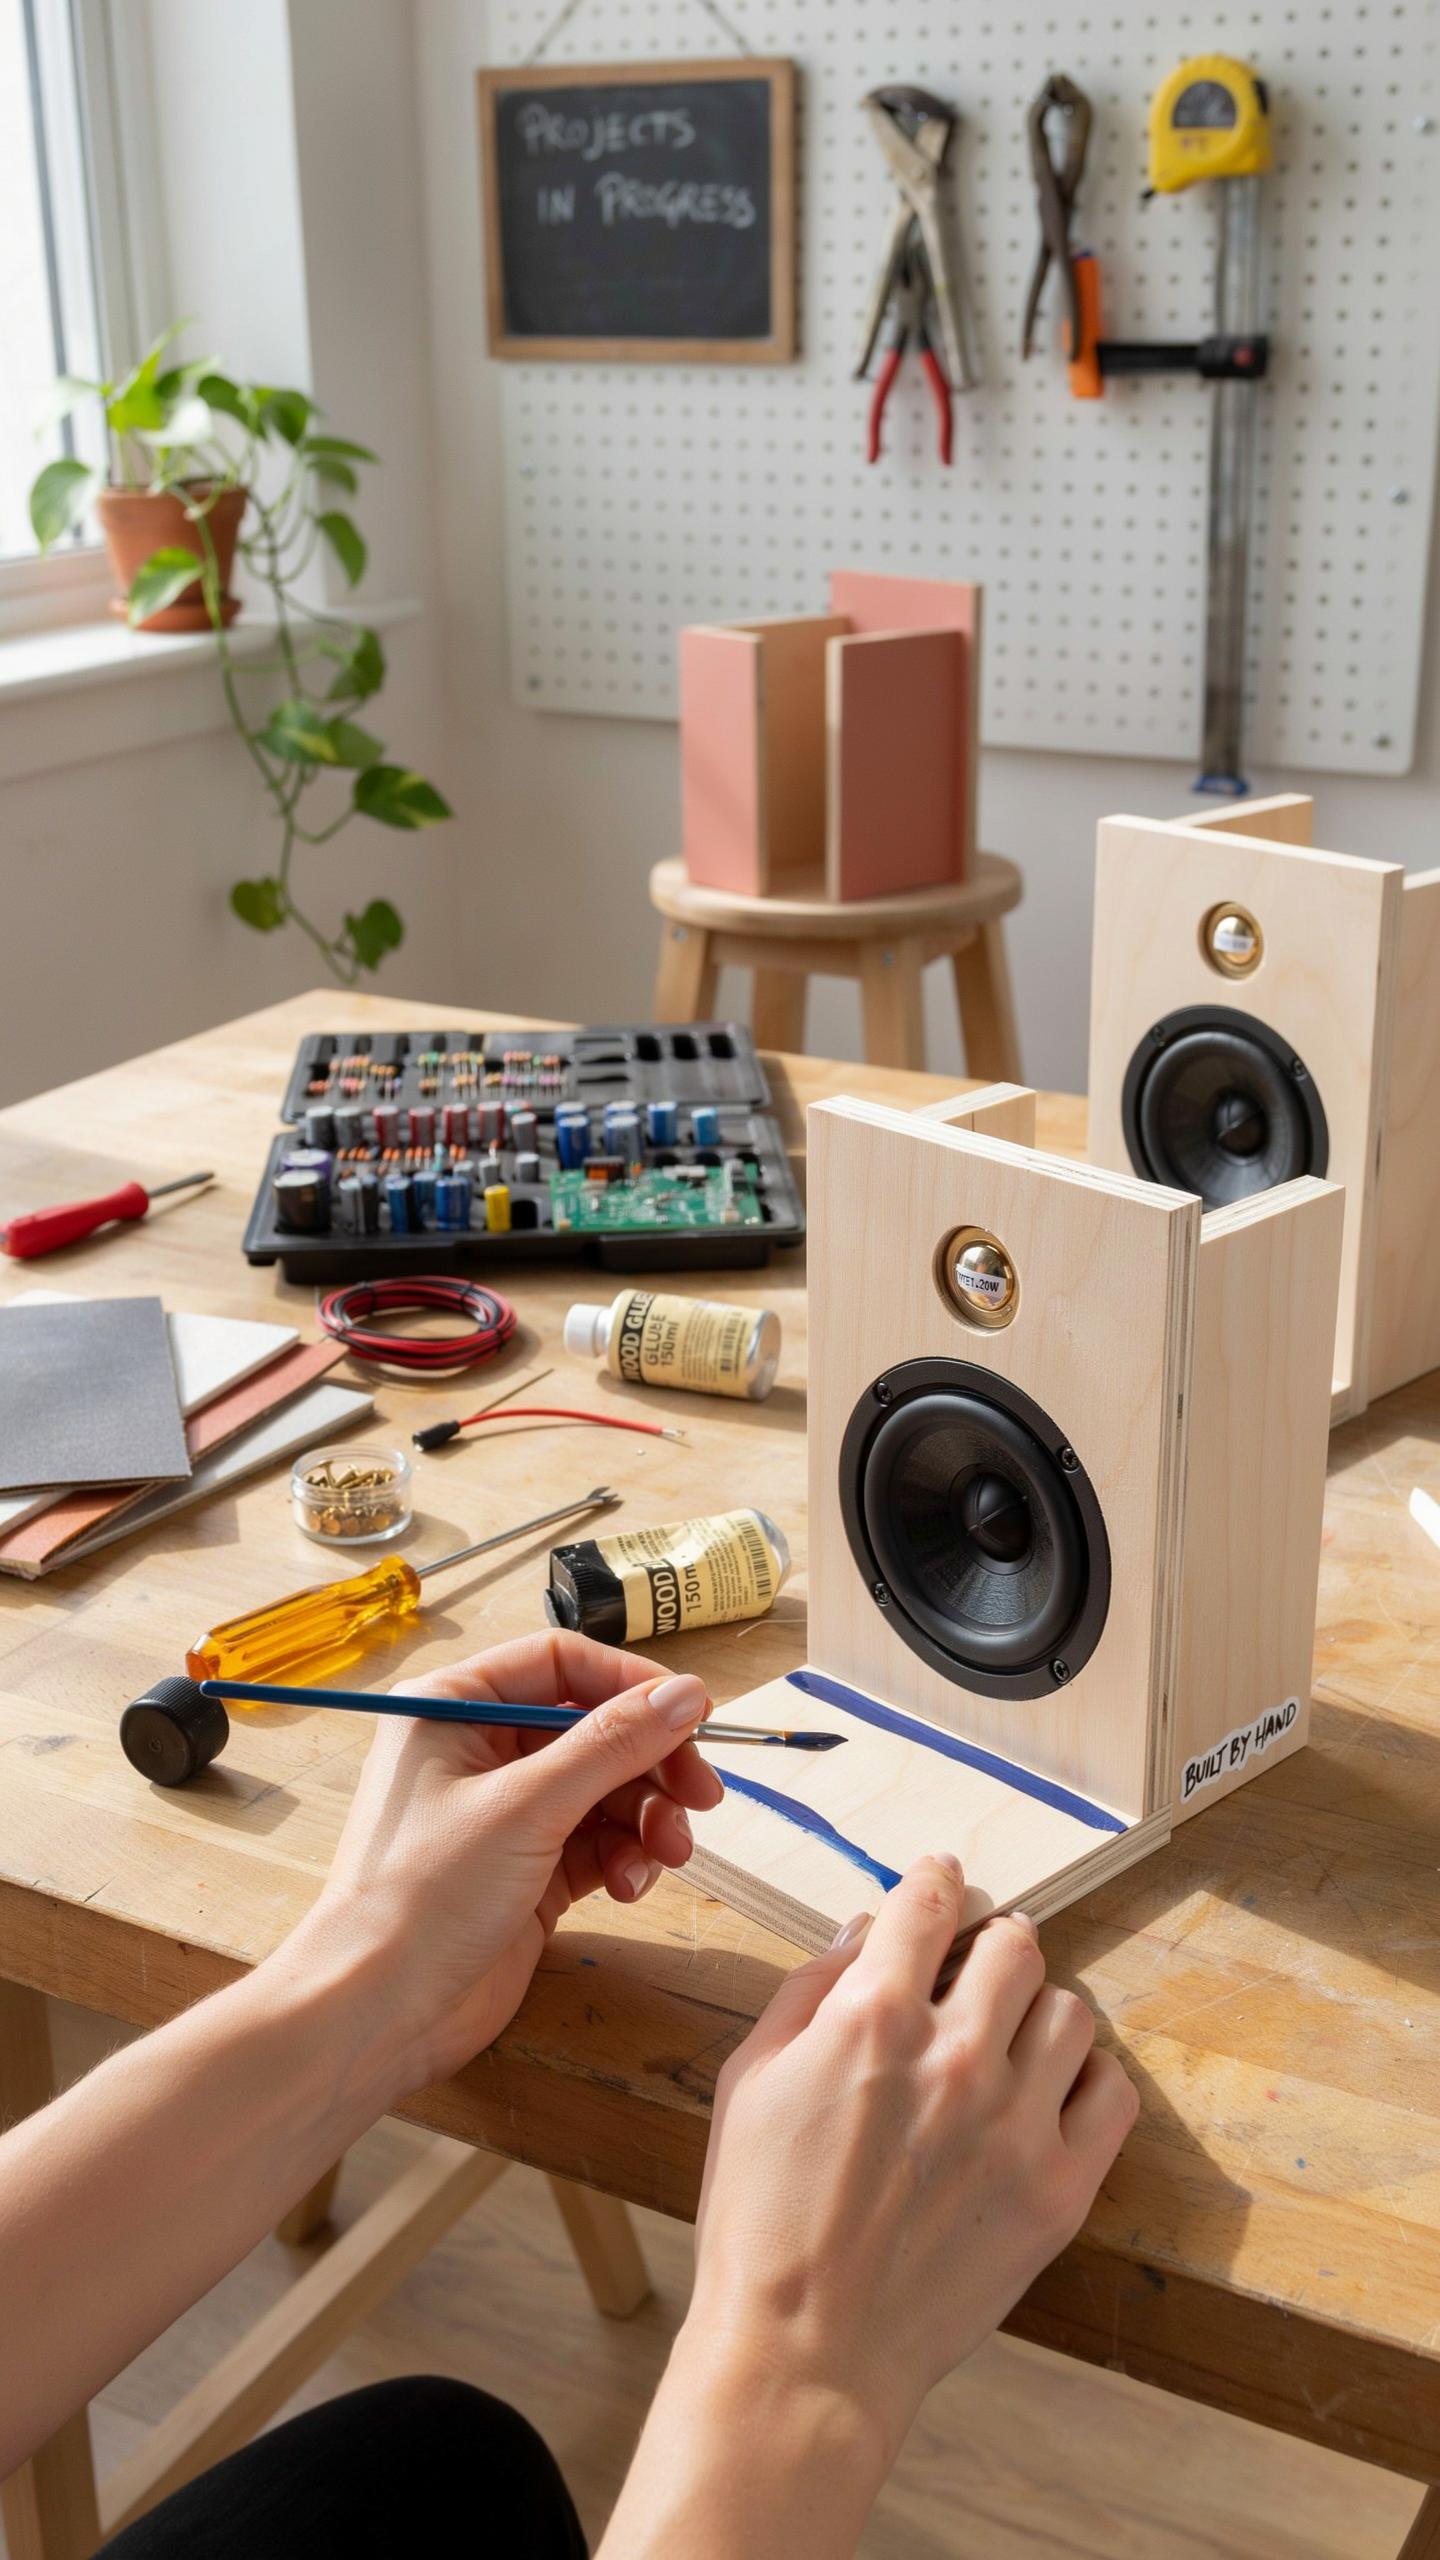
Paint finishes transform speaker appearance without affecting function. Acrylic paint works on wood enclosures. Spray paint covers complex shapes faster. Use primer first to ensure adhesion and durability. Matte finishes hide dust better than gloss. Sand the enclosure lightly before painting to improve paint grip and final quality.
Fabric wrapping provides texture and sound absorption benefits. Acoustic foam fabric reduces internal reflections slightly. Speaker grille cloth is designed for sound passage without blocking frequencies. Cotton blends work for exterior wrapping. Adhesive spray secures fabric evenly. Test fabric first on scrap material to confirm spray adhesive compatibility before applying to your enclosure.
Building something by hand, especially if it plays your favorite tunes, always fills the heart with a special kind of warmth and a melody of memories.
Performance Enhancements
Acoustic damping material inside the enclosure reduces resonance and improves bass response. Polyurethane foam absorbs mid-range frequencies effectively. Fiberglass insulation adds mass without excessive weight. Place material on enclosure walls, avoiding driver surfaces. Avoid over-damping, which mutes output and loses clarity. Start with partial damping coverage, then add more if needed based on how the speaker sounds during testing.

Driver upgrades deliver measurable output improvements. Swap tweeters for higher-quality units with better frequency response. Woofer replacements increase bass output and clarity. Match impedance ratings to your amplifier specifications. Verify physical dimensions fit your enclosure before purchasing replacements. Crossover adjustments may be necessary after driver changes to maintain balanced frequency delivery across the speaker system.
Troubleshooting Common Issues With Diy Bluetooth Speaker Projects
No Sound Output
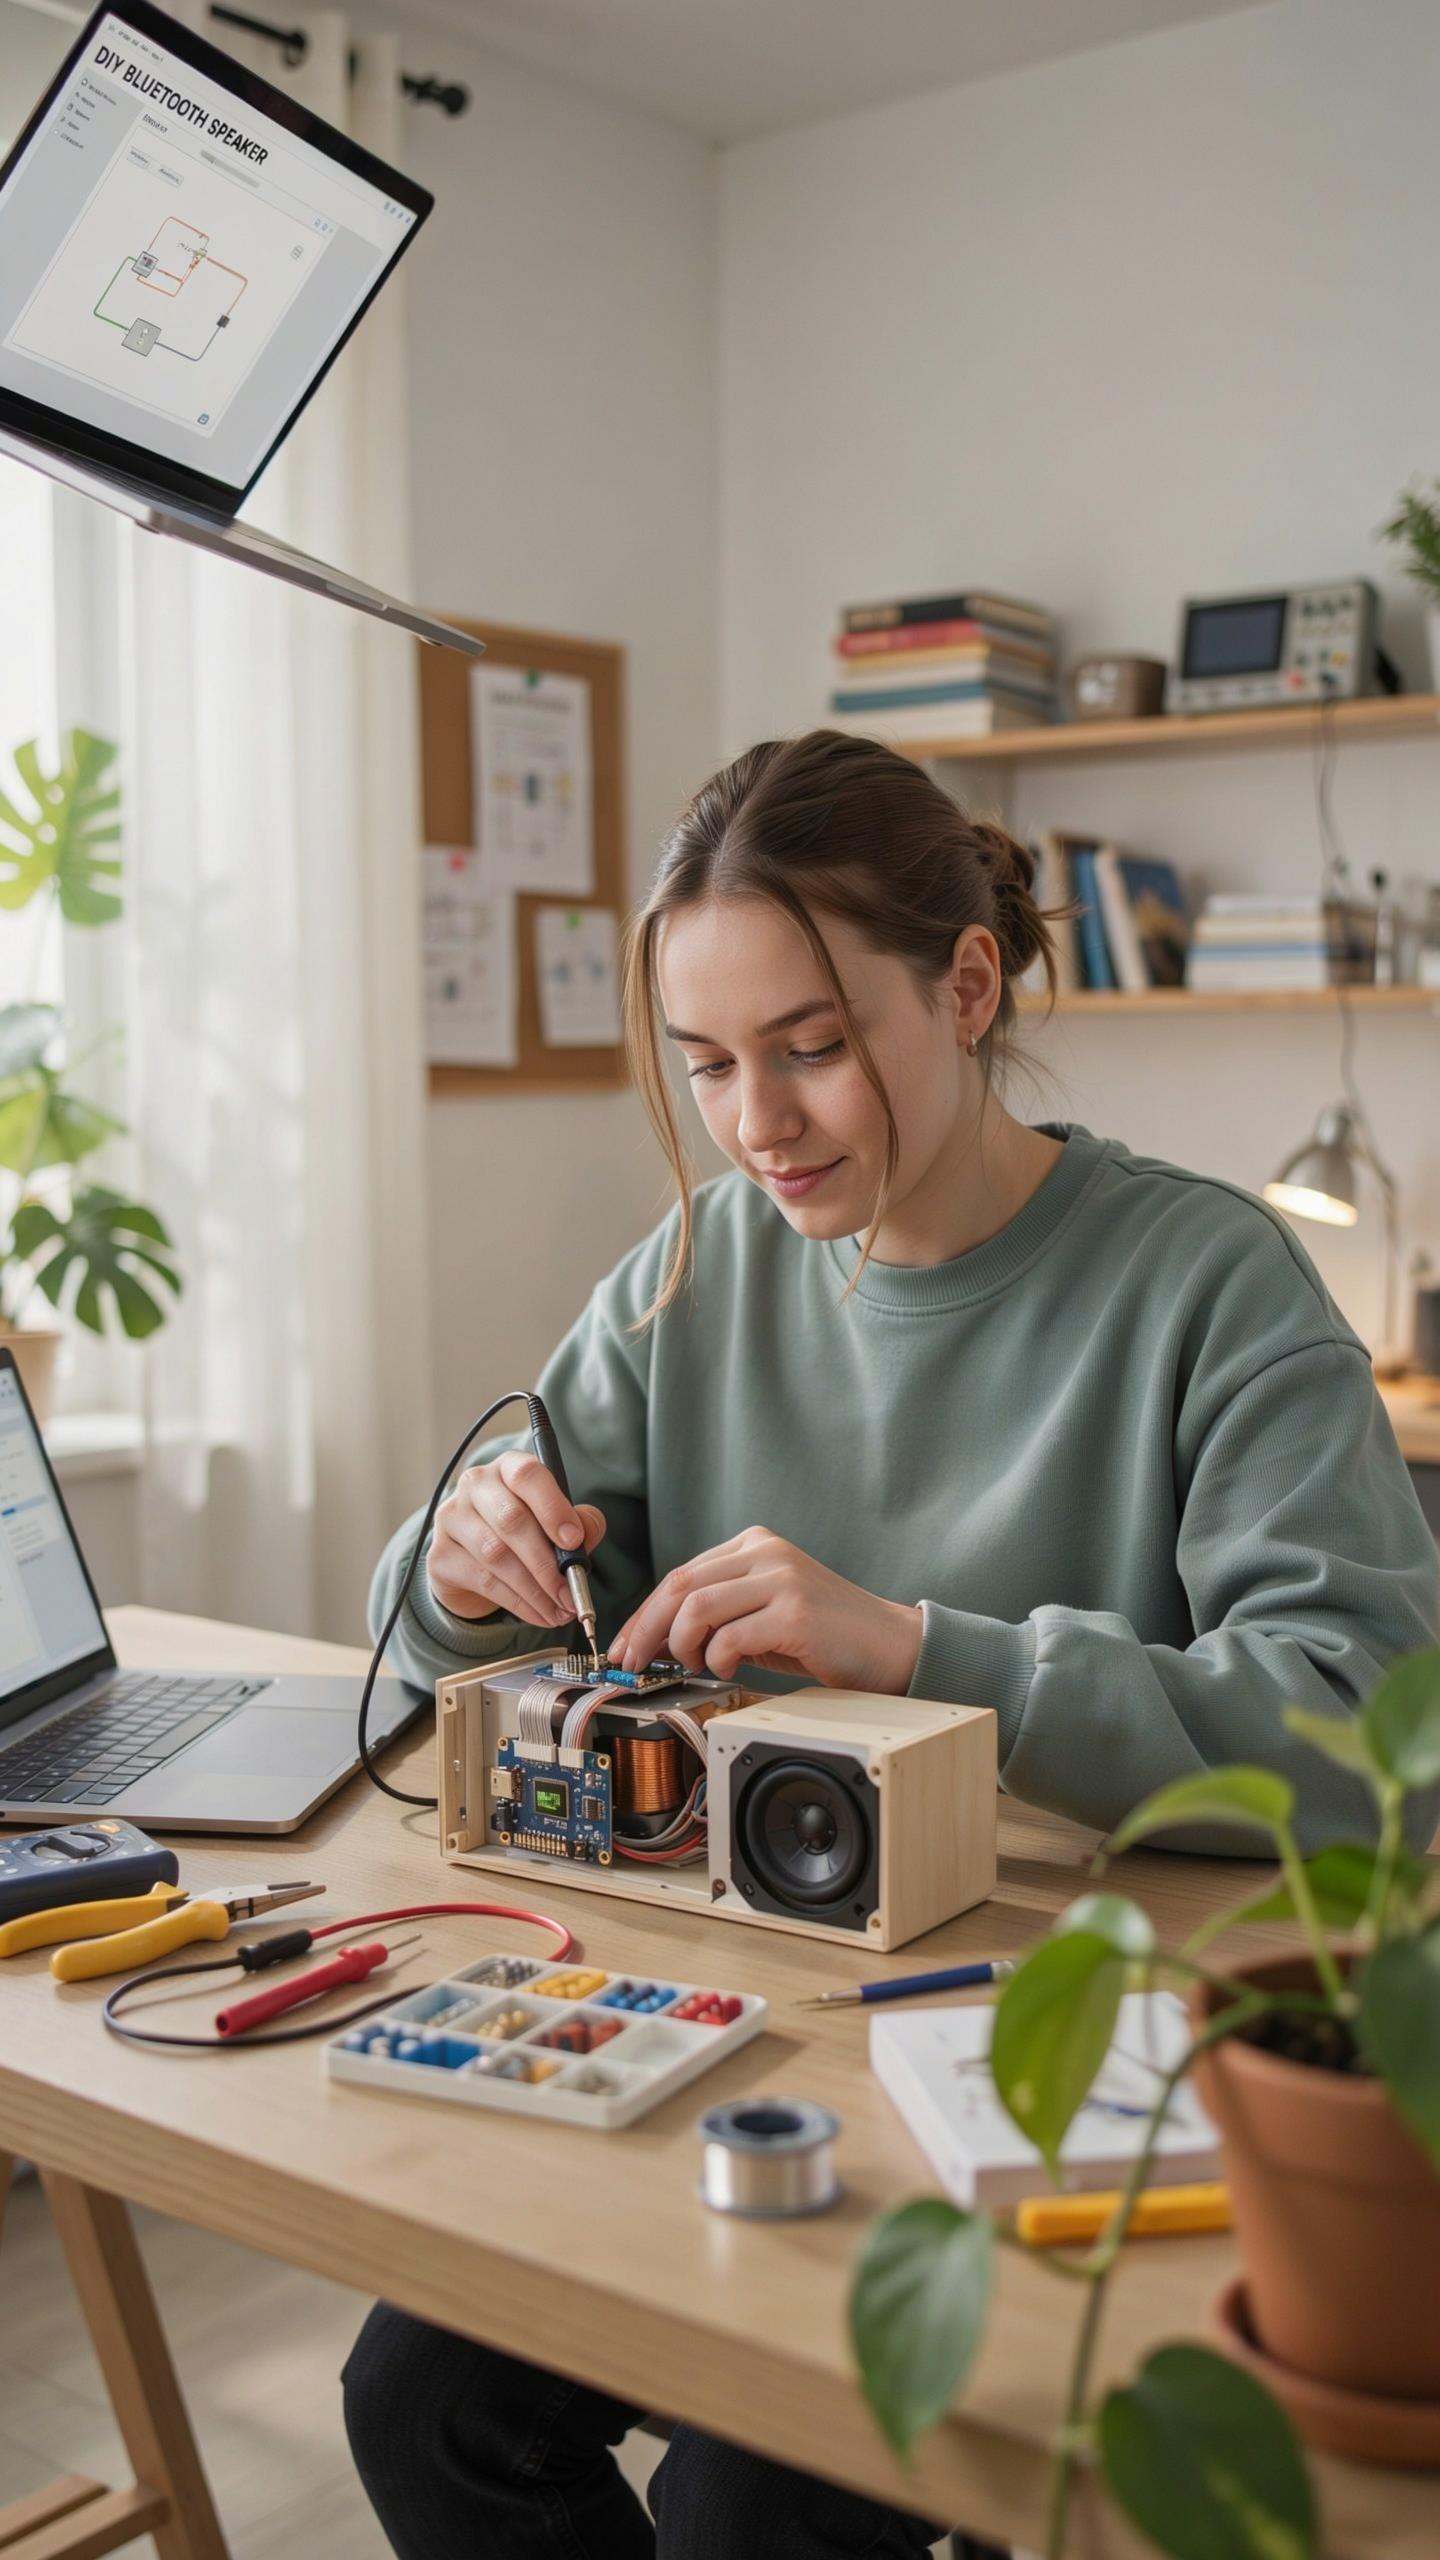
Start by checking your amplifier connections. Verify that speaker wires connect to the correct terminals on the amplifier board. Reversed polarity causes no sound or distorted output. Test with a multimeter to confirm power reaches the amplifier. Check that your audio input cable connects firmly to the Bluetooth module. Loose connections kill sound immediately.
Next, inspect your speaker drivers themselves. A blown driver produces no sound or crackling only. Gently press the cone to verify it moves freely. Test the amplifier with a known working speaker to isolate the problem. If the amp powers another speaker, your original drivers failed. Replace them with matching specifications to restore output.
Bluetooth Connectivity
Pairing failures usually stem from the Bluetooth module not entering pairing mode. Most DIY kits require holding a pairing button for three to five seconds. Check your module’s manual for the exact procedure. Ensure your device’s Bluetooth is enabled and searching for new connections. Clear previously paired devices from your phone if the module appears but won’t connect.
If the connection drops frequently, check your power supply voltage. Insufficient power causes the Bluetooth module to reset or disconnect. Measure voltage at the module terminals with a multimeter. Most modules require stable five volts. Weak batteries or undersized power supplies cause intermittent drops. Replace batteries or upgrade to a higher amperage power adapter to maintain stable connection.
Beyond The Kit Advanced Diy Bluetooth Speaker Projects
Integrating Smart Features
Adding smart home capabilities requires a Bluetooth module that supports voice assistant integration. Popular options include modules compatible with Amazon Alexa or Google Assistant protocols. You’ll need to connect a microphone input to your amplifier circuit and install the corresponding software on a companion device or microcontroller like a Raspberry Pi. This setup lets your speaker respond to voice commands while maintaining its audio output quality.
The integration process involves routing audio signals correctly and managing power distribution across additional components. Most DIY builders use existing voice assistant frameworks rather than building from scratch. You connect the microphone and speaker outputs to a central hub that processes commands. This approach keeps complexity manageable and avoids redundant development work that companies have already solved.
Multi Speaker Setups
Expanding to multiple speakers requires understanding audio synchronization and amplifier configuration. Bluetooth modules can transmit to several speakers simultaneously, but timing becomes critical for seamless playback. You’ll need to either use a single amplifier powering multiple drivers or deploy separate amplified units with synchronized input. The choice depends on your power budget and desired sound characteristics across different room zones.

Wiring multiple speakers involves deciding between series and parallel configurations based on impedance matching. Most DIY projects use parallel wiring with separate amplifiers to avoid impedance issues that degrade sound quality. Each speaker should have its own power supply and amplification stage for optimal performance. This modular approach lets you add or remove speakers without recalibrating the entire system.
Maintenance And Care For Your DIY Speaker
Cleaning And Storage
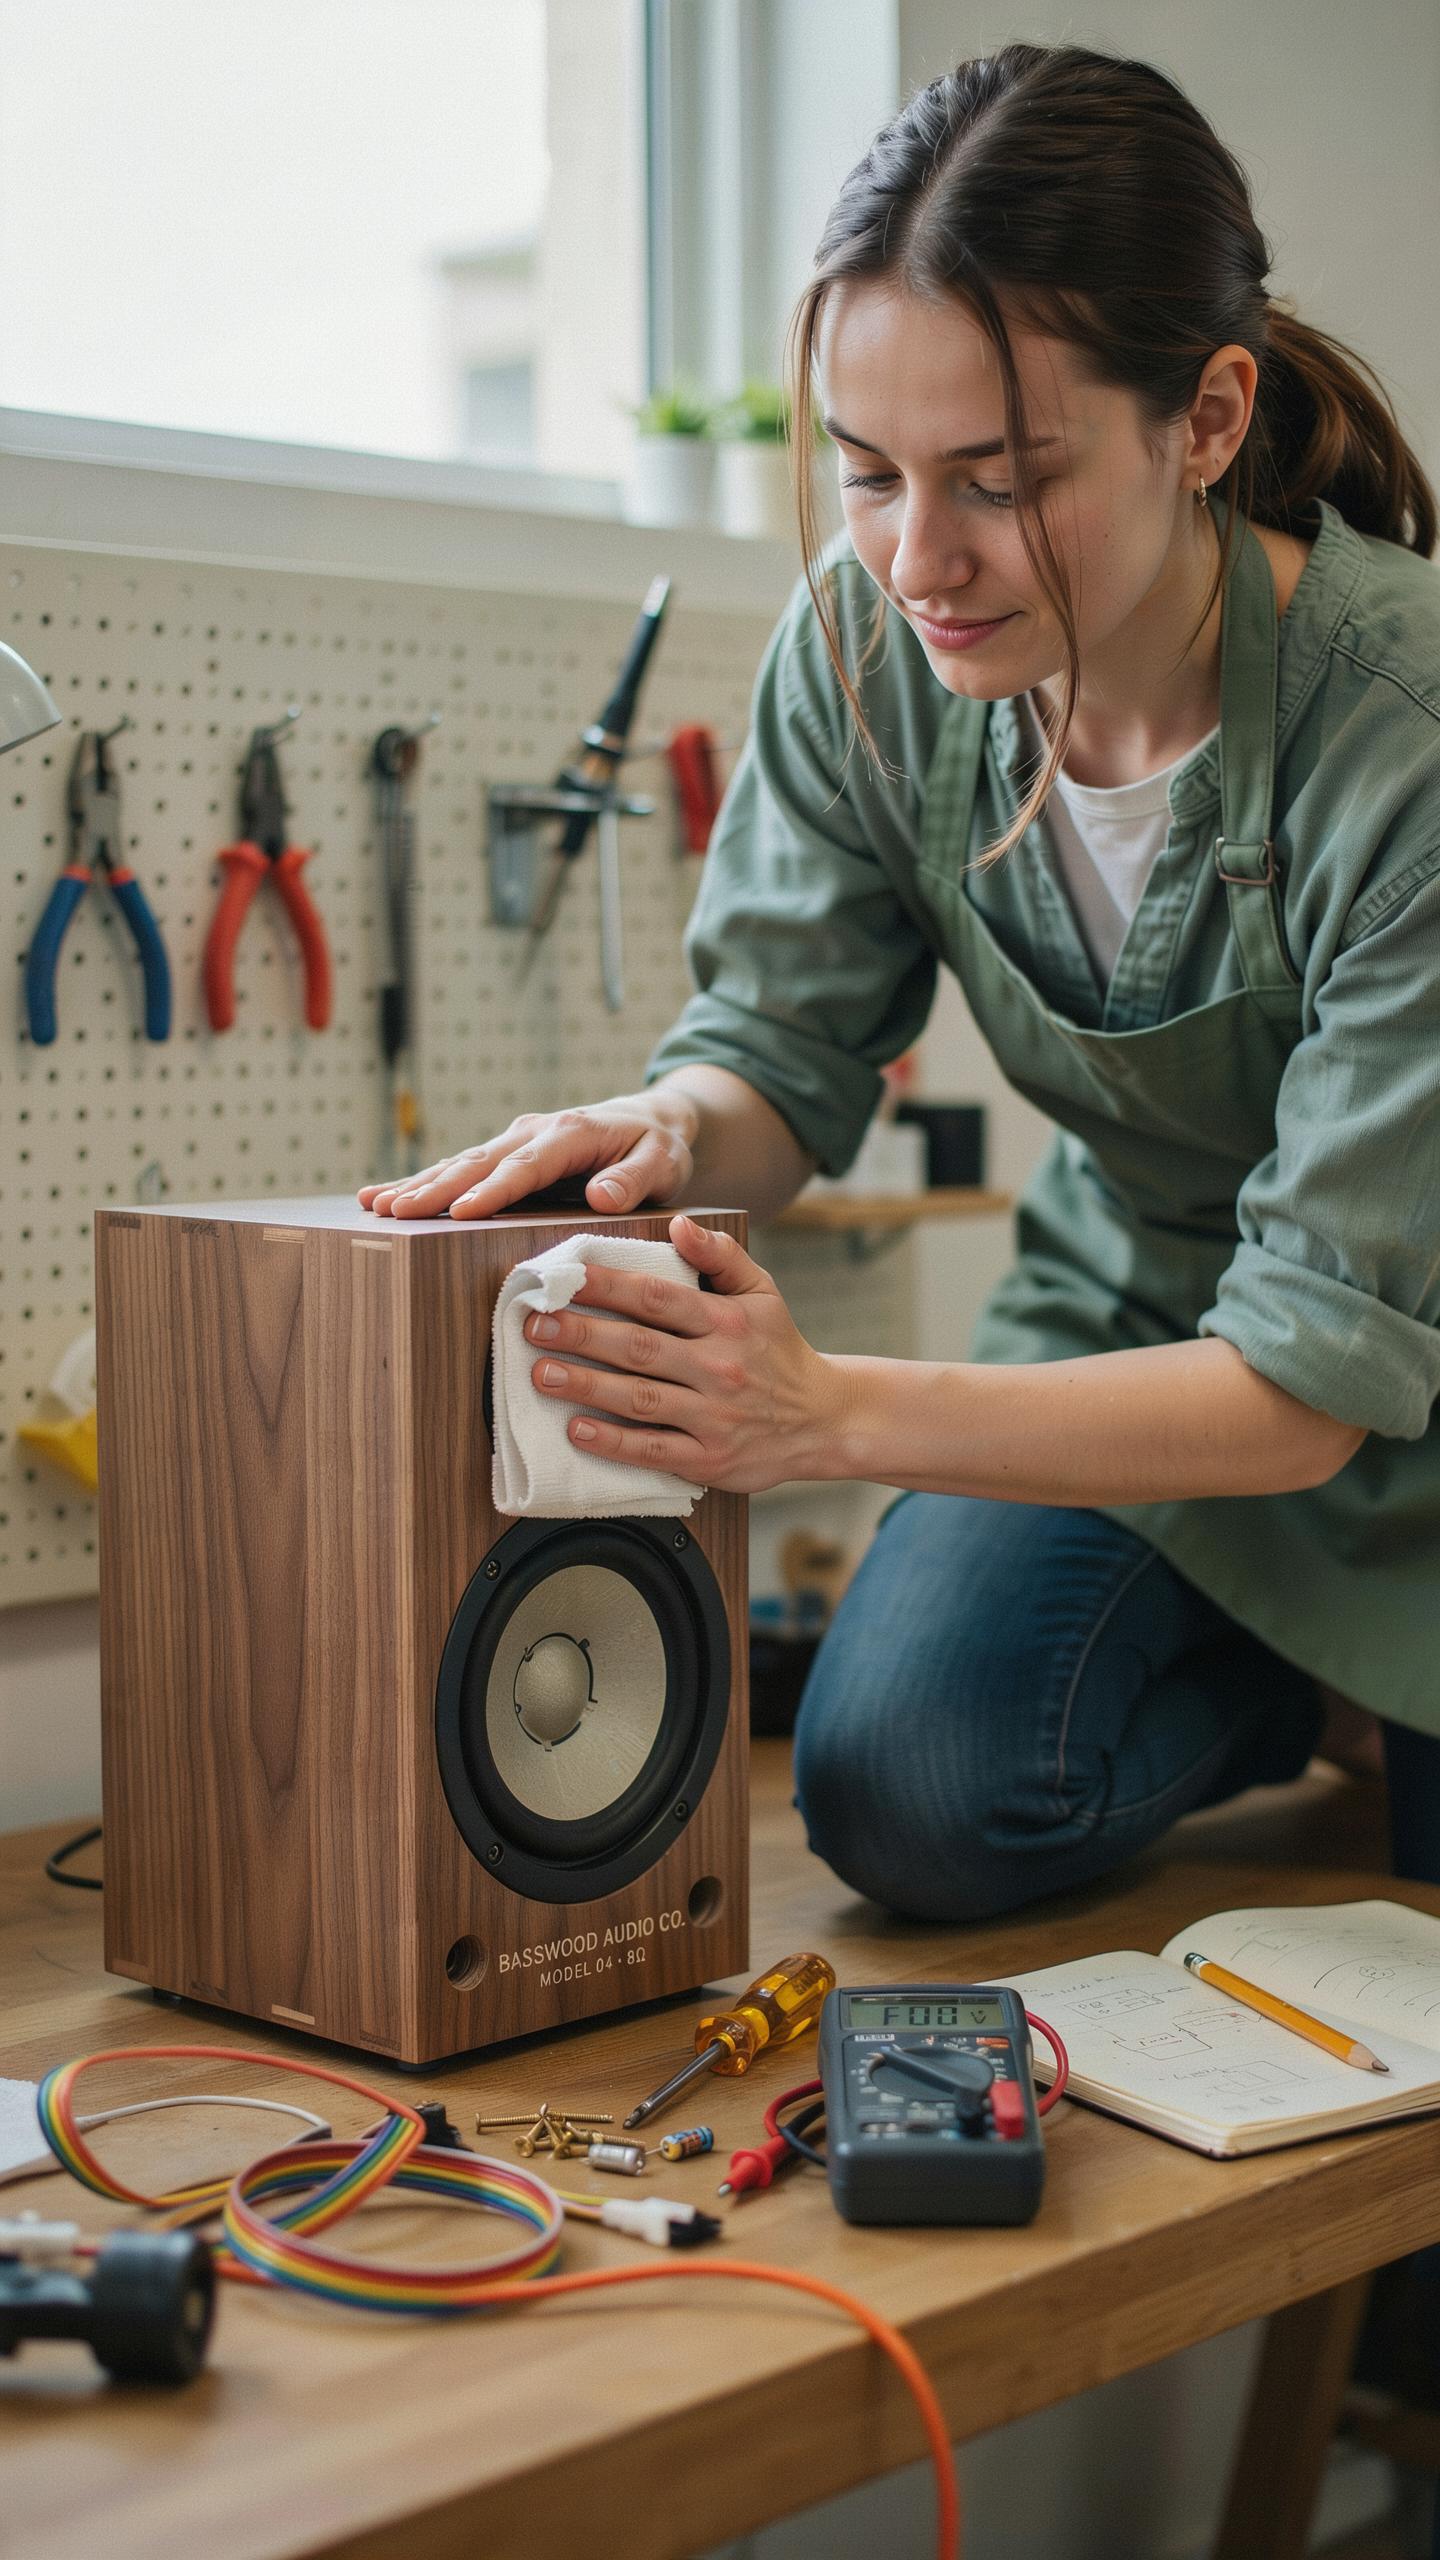
Dust accumulates on speaker components and degrades performance over time. Use a soft, dry microfiber cloth to wipe the exterior cabinet weekly. For the drivers, use compressed air in short bursts from six inches away. Never spray liquid directly on electronics. Store your speaker in a cool, dry location away from direct sunlight and extreme temperature swings that damage components.
Battery-powered speakers need attention during storage periods. Discharge the battery completely before storing for more than two weeks. Recharge fully every month to maintain battery chemistry and prevent deep discharge damage. Keep the speaker in a sealed container with silica gel packets to control moisture. This prevents corrosion on circuit boards and solder joints that shorten lifespan.
Future Upgrades
Your DIY speaker kit foundation supports several practical modifications as your skills develop. Upgrading the amplifier chip increases output power without redesigning the enclosure. Better quality capacitors improve audio clarity and reduce distortion across frequency ranges. Adding passive radiators or additional drivers extends bass response without major structural changes. These upgrades maintain compatibility with your existing build while delivering measurable performance gains.
External modifications extend functionality beyond the original design parameters. Install an auxiliary input jack to add wired audio options alongside Bluetooth connectivity. Upgrade the power supply with a higher capacity battery for extended runtime. Add physical controls like volume knobs instead of relying solely on app controls. Each modification builds on your existing knowledge and keeps the speaker relevant as your audio preferences evolve.
Frequently Asked Questions

What exactly is a DIY Bluetooth speaker kit, and is it suitable for someone new to DIY projects?
A DIY Bluetooth speaker kit provides all the components you need to build your own portable speaker, typically including the enclosure, drivers, amplifier, and battery. They are specifically designed to be beginner-friendly, often coming with clear instructions and pre-wired components, making the DIY Bluetooth speaker kit an excellent entry point into electronics and crafting.
Do I need soldering experience to build a DIY Bluetooth speaker kit?
Basic soldering skills are helpful but not mandatory for most beginner-friendly kits, since many come with pre-soldered circuit boards and simple screw-terminal connections. If your kit does require soldering, it’s usually limited to a few straightforward connections between the driver, amplifier, and battery. Watching a short tutorial video beforehand is enough preparation for most first-timers.
How does the sound quality of a DIY Bluetooth speaker kit compare to store-bought speakers?
A well-assembled DIY kit can rival budget to mid-range store-bought speakers, especially since you’re often getting comparable driver components at a lower total cost. That said, premium commercial speakers benefit from professionally tuned acoustics and enclosure design that’s harder to replicate at home. For casual listening and the satisfaction of building it yourself, a DIY kit delivers solid value even if it doesn’t match high-end audiophile gear.



