
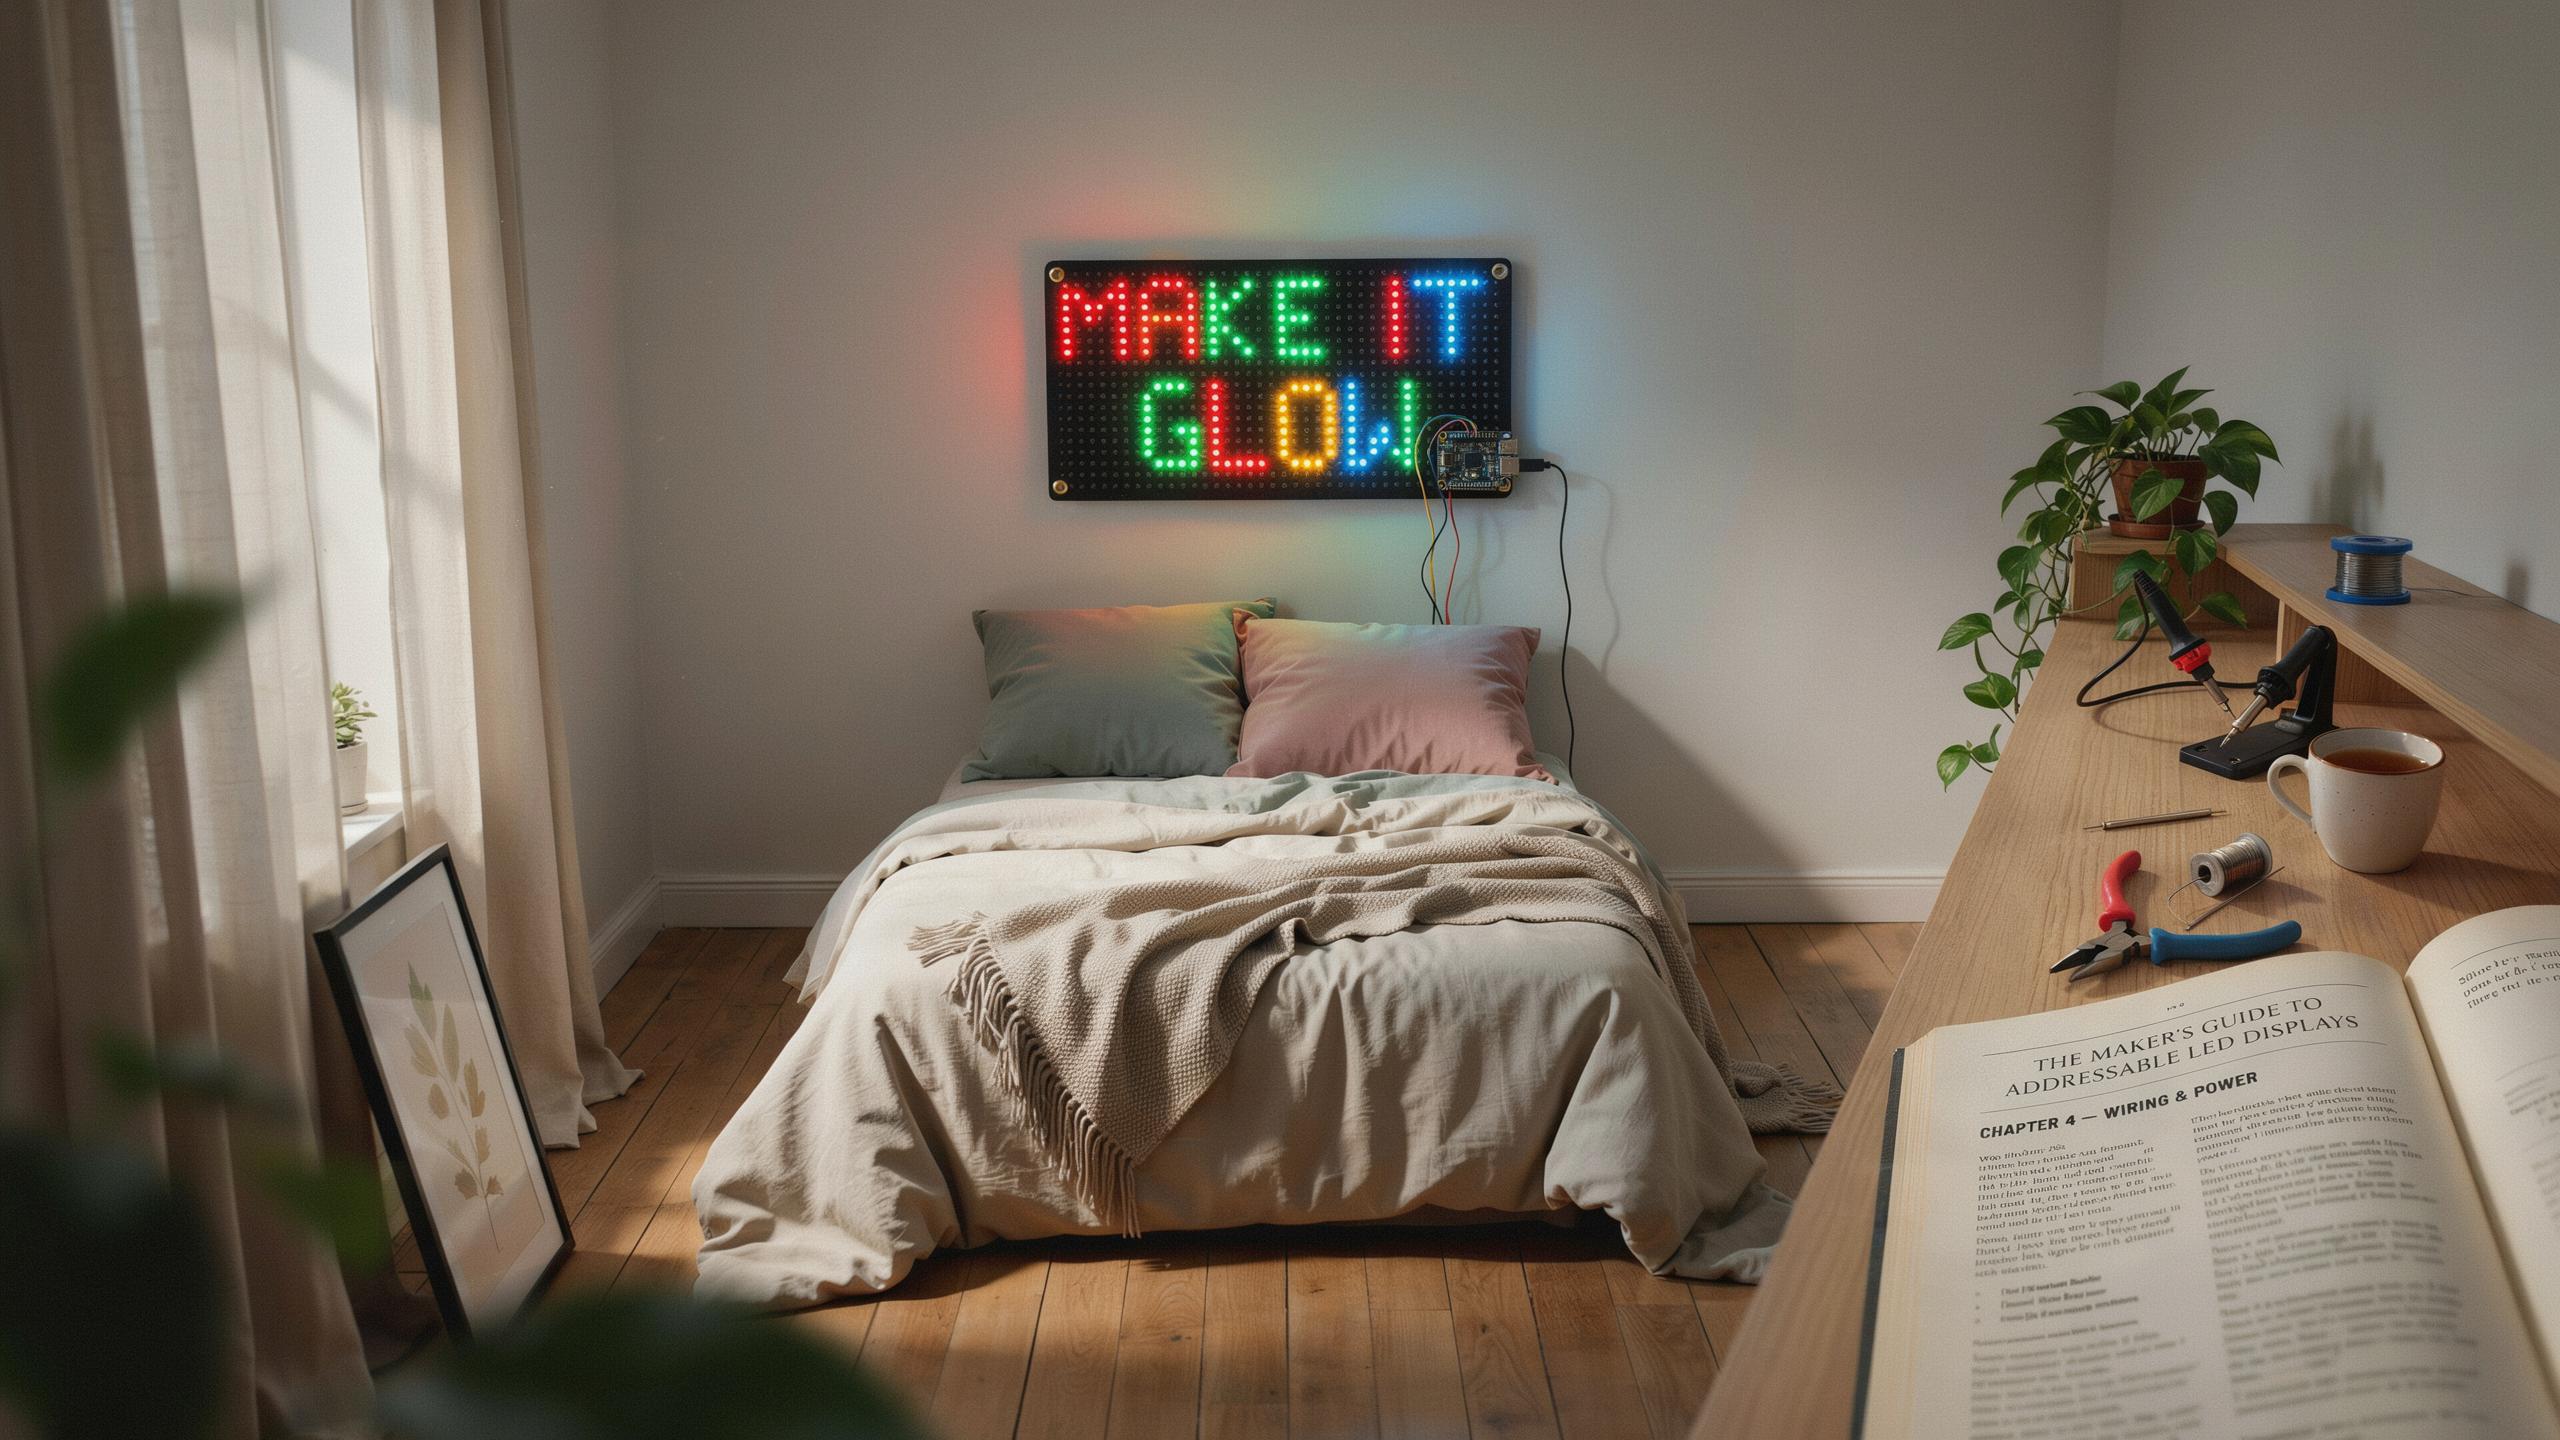
Why Build Your Own LED Display Sign
Personalization Benefits
Building your own LED sign gives you control over size, color, brightness, and messaging. Pre-made signs force you into standardized dimensions and designs. You choose exactly what appears on your wall. Cost savings matter too. Retail LED signs range from $50 to $500 depending on size and quality. DIY builds typically cost 30 to 50 percent less because you eliminate retail markup and shipping fees.
Custom LED signs reflect your actual preferences, not a manufacturer’s guess about what sells. You adjust specifications on the fly during construction. Want a different color scheme? Change it. Need a larger display? Scale it up. This flexibility makes DIY projects superior for specific applications like bedroom environments where standard products rarely fit perfectly.
Design Inspiration
Text-based designs work best for bedroom LED signs because they communicate directly. Your name, motivational phrases, or time displays all function well. These designs use fewer components and simpler wiring than complex graphics. They also consume less power and generate less heat, making them safer for enclosed spaces like bedrooms.
Intricate patterns and simple graphics provide visual interest beyond text alone. Geometric shapes, pixel art designs, and minimalist symbols work within bedroom aesthetics. Study existing LED art installations for reference. Look at concert stage displays, storefront signage, and gallery installations. These sources show what works technically and visually at different scales. Extract design ideas that translate to bedroom dimensions and practical construction methods.
Essential Materials For Your DIY LED Light Sign
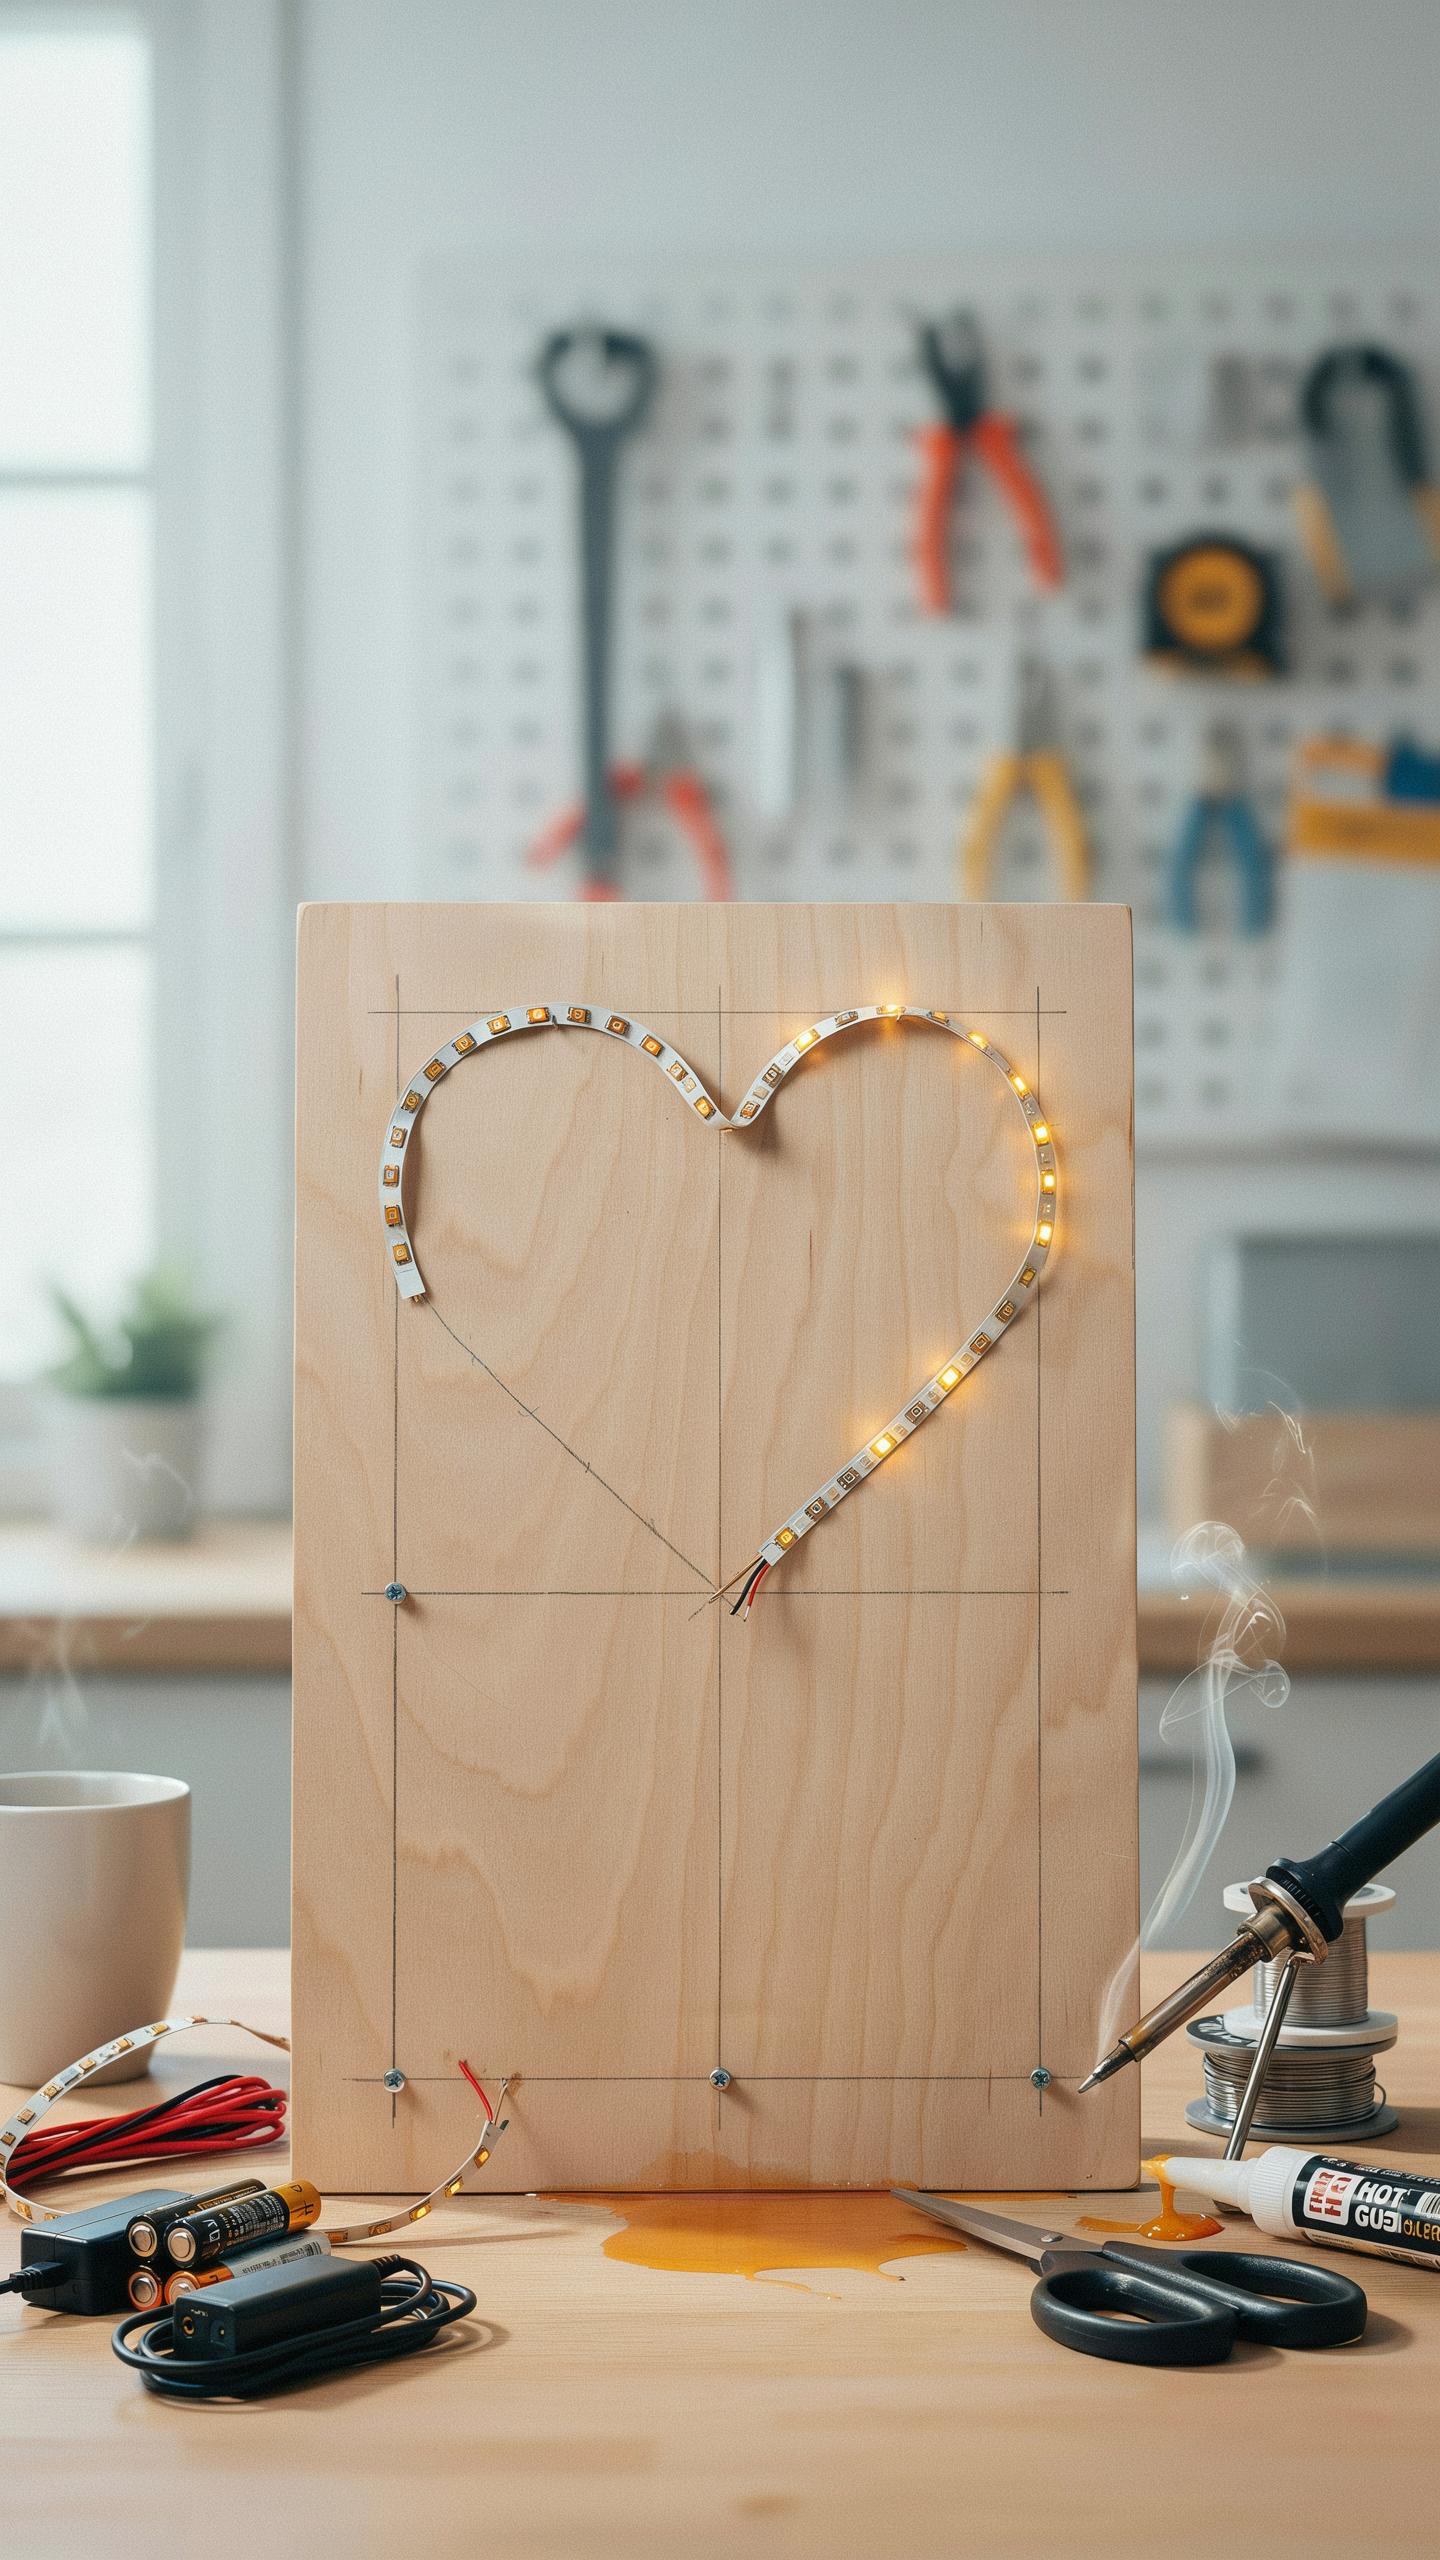
Led Strip Selection
LED strips come in two main categories: addressable and non-addressable. Non-addressable strips use single-color output controlled by a basic dimmer. Addressable strips (WS2812B or APA102) let you control individual LEDs independently, enabling color mixing and dynamic effects. Choose addressable strips if you want animation capability. Non-addressable strips work for static single-color signs and cost less upfront.
Strip specifications matter for your project’s success. Check the LED density, measured in LEDs per meter, typically ranging from 30 to 144 LEDs per meter. Higher density creates smoother visuals but draws more power. Verify the voltage rating: 5V strips use less power but work only for shorter runs, while 12V or 24V strips handle longer distances without voltage drop issues.
Power Supply And Controller
Your power supply must deliver sufficient current for your LED strip’s total wattage without overheating. Calculate total watts by multiplying the strip’s per-meter wattage by your total meter length, then add 20 percent as a safety buffer. Undersized power supplies generate heat, fail prematurely, and create fire hazards. Purchase power supplies rated for continuous duty from reputable electronics suppliers.
- 5V Power Supply: Suits addressable strips under 5 meters. Compact and low-cost but limited range due to voltage drop over distance.
- 12V Power Supply: Standard choice for most DIY projects. Handles longer runs and mixed strip types effectively without excessive heat generation.
- 24V Power Supply: Best for runs exceeding 10 meters or high-density strips. Reduces voltage drop and current draw on the power supply itself.
- PWM Controllers: Simple dimming for non-addressable strips. Affordable option for single-color or basic RGB control without animation features.
- Addressable Controllers: Required for WS2812B strips. Enable programmable patterns, color sequences, and synchronization with music or other triggers.

The controller bridges your power supply and LED strip, managing electrical flow and signal transmission. For non-addressable strips, basic PWM dimmer controllers handle voltage regulation and on-off switching. For addressable strips, you need dedicated controllers or microcontrollers like Arduino that send data signals controlling each LED individually. Match your controller’s input voltage to your power supply’s output voltage to prevent component failure.
Designing Your DIY Backlit Sign

Crafting The Base
Your base determines whether the sign holds up or fails. Wood offers structural integrity and works well for bedroom aesthetics. Half-inch plywood or one-by lumber provides adequate support without excessive weight. Secure all joints with wood screws and construction adhesive. Route edges smooth to prevent splinters. Acrylic sheets work for modern looks but require careful handling during assembly.
Base dimensions depend on your message length and LED strip configuration. Plan spacing before cutting. Most bedroom signs range from 24 to 48 inches wide. Leave at least two inches of clearance around text for mounting hardware. Test fit all components before final assembly. Poor base prep creates misaligned LEDs and visible mounting gaps.
Diffuser Materials
Frosted acrylic diffuses LED light evenly across your sign surface. Use quarter-inch thickness for durability without excessive weight. This material scatters light rays and eliminates hot spots where individual LEDs show through. Order custom cut pieces from online suppliers or have your local plastics shop cut them to size. Frosted acrylic costs between 15 to 40 dollars per sheet depending on dimensions.

Opal polycarbonate provides similar diffusion with added impact resistance. It maintains clarity over time better than acrylic sheets exposed to UV light. Silicone diffuser films stick directly to LED strips as an alternative. These adhesive sheets cost less but degrade faster. White vinyl or specialized diffusion paper works for temporary installations. Test brightness levels before committing to a material since diffusers significantly reduce light output.
How To Make A Backlit Sign Assembly Steps
Mounting LEDs
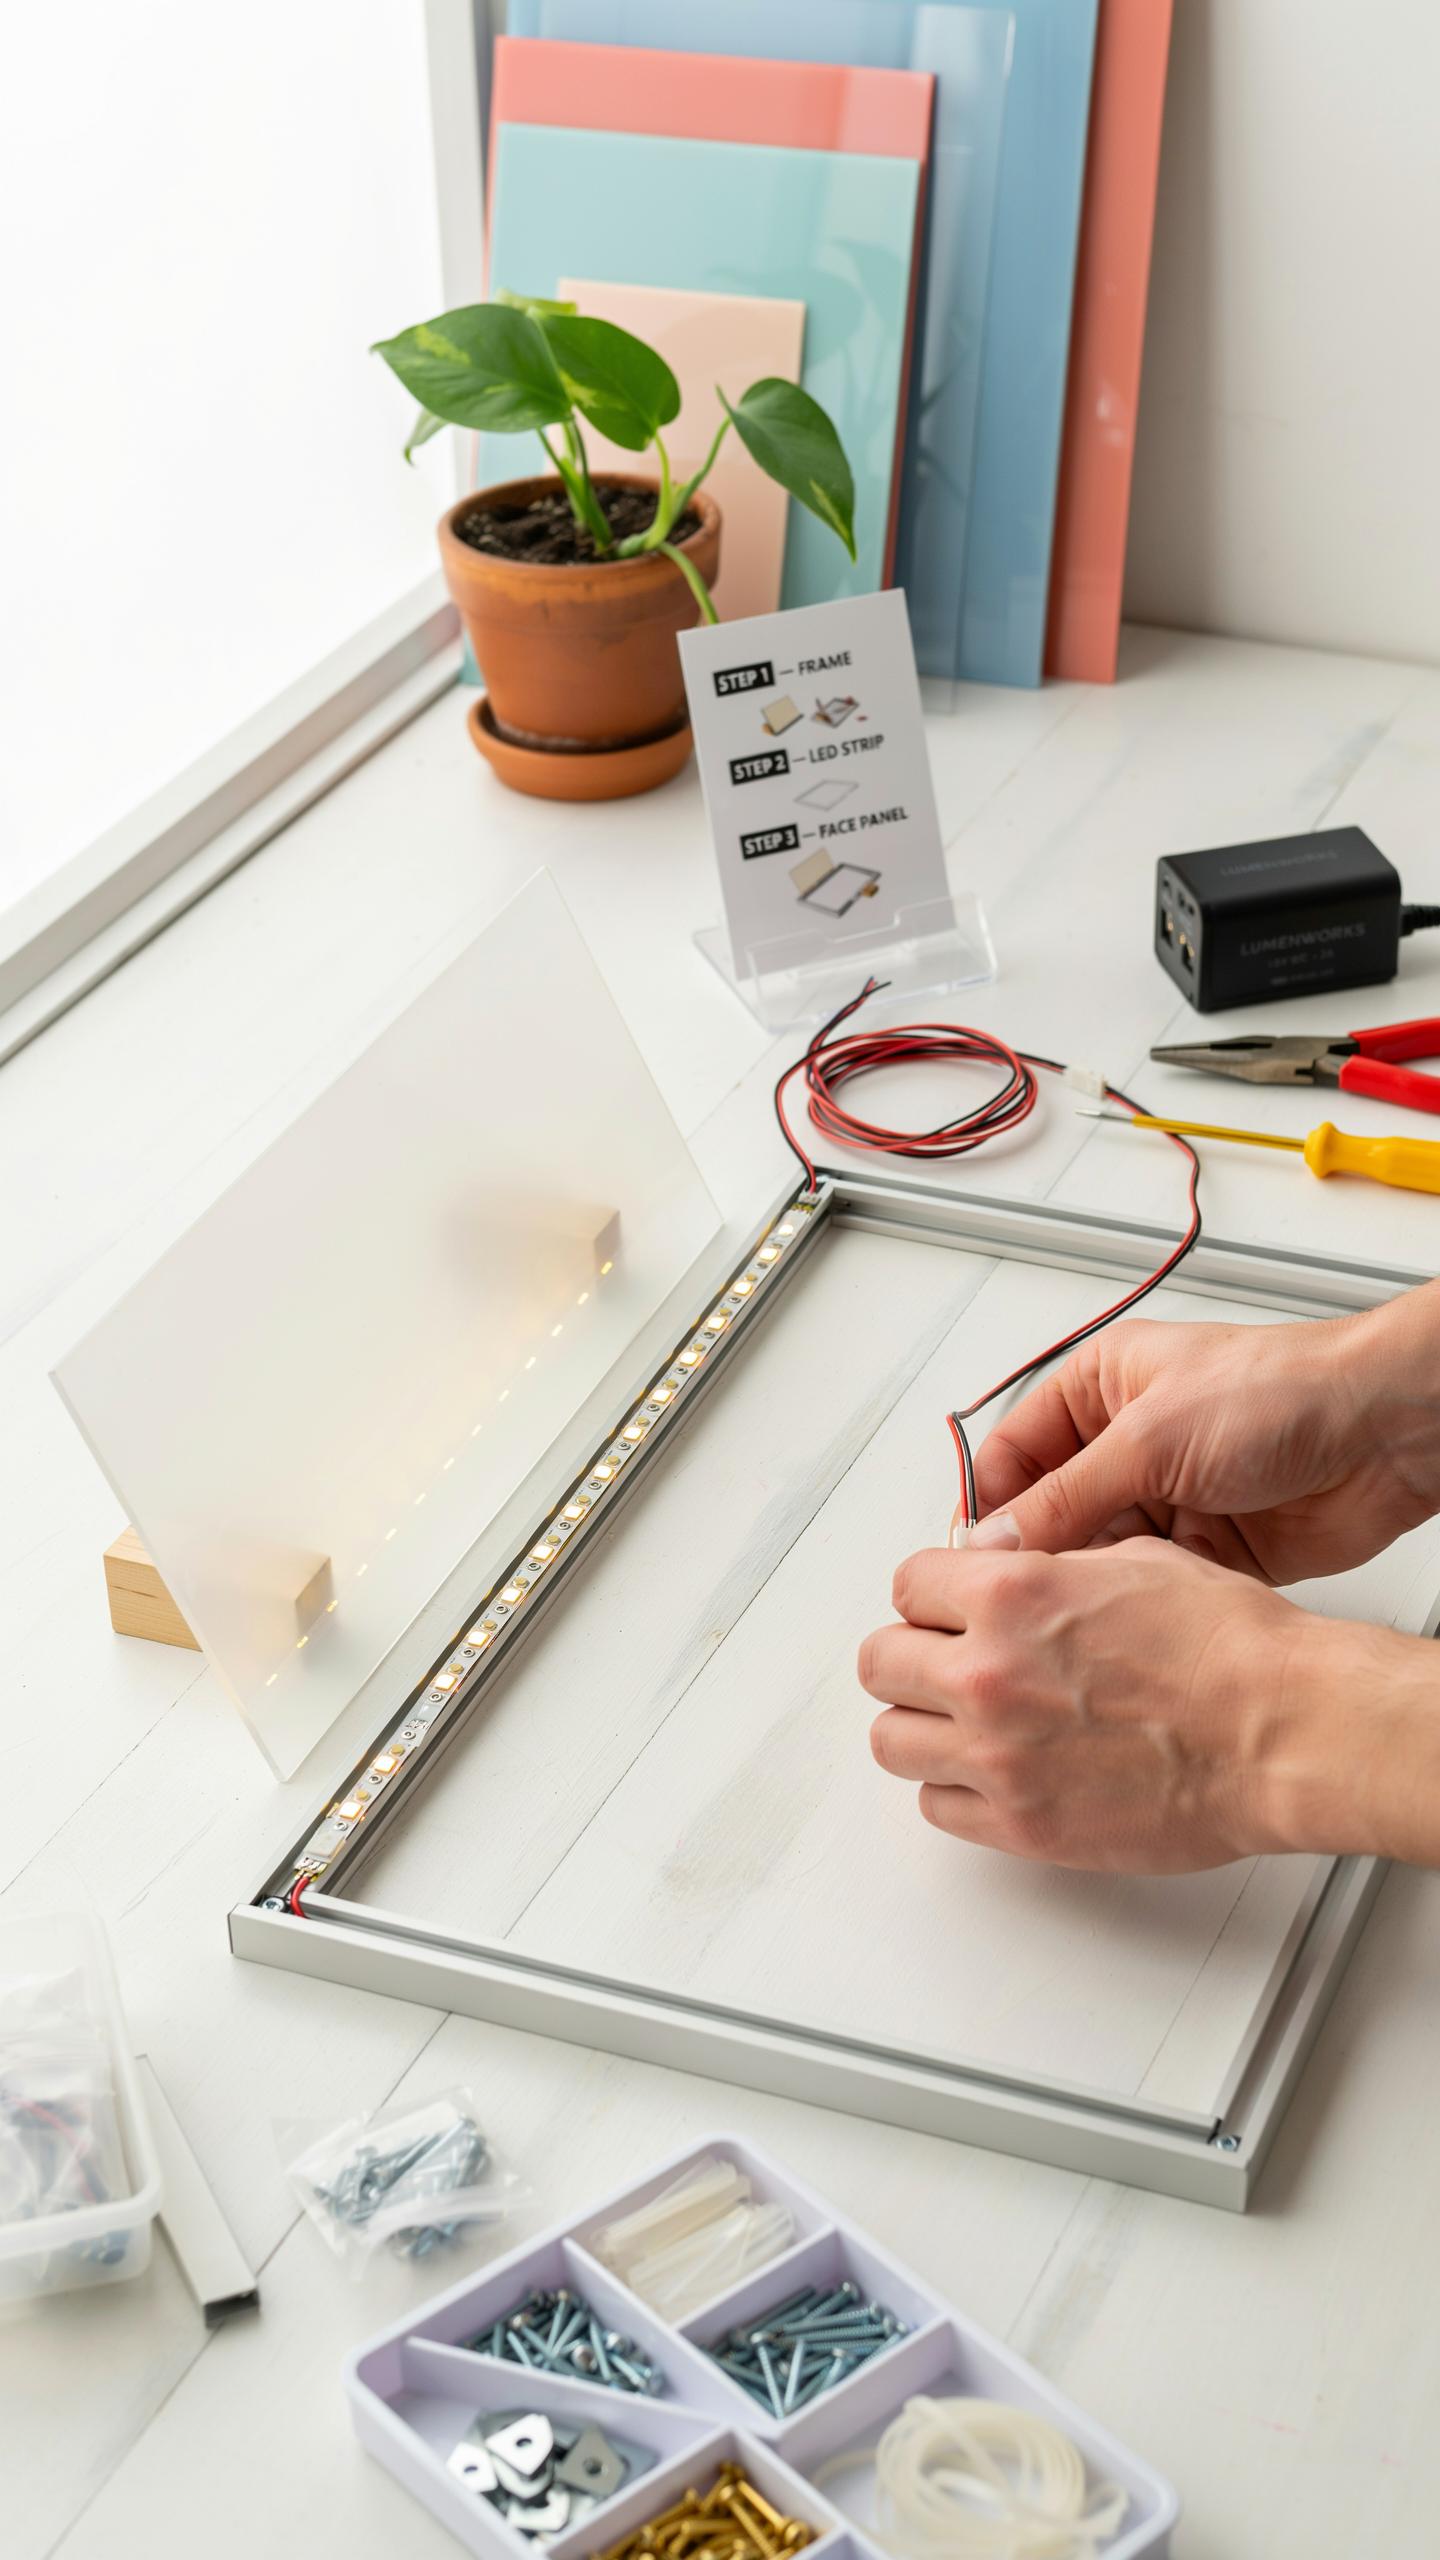
Start by cleaning the surface where you’ll attach the LED strips. Use rubbing alcohol on a lint-free cloth to remove dust, oils, and debris. This step directly impacts adhesion. Most LED strips have self-adhesive backing. Press firmly along the entire length for ten seconds. Work in sections to avoid air bubbles forming underneath the tape.
Run the strips along your sign’s edges or behind letter cutouts, depending on your design. Secure any loose sections with small zip ties or adhesive clips. Test connections before finalizing placement. Poor mounting causes flickering and electrical failures. Double-check that strips sit flat without gaps or overlaps that could create heat pockets.
Wiring And Safety
Connect your LED strips to the controller using the positive and negative wires supplied with your kit. Red wires carry positive current. Black wires carry negative current. Match these correctly or components fail immediately. Solder connections for permanent installations, or use wire connectors for temporary setups. Ensure all exposed wire ends are insulated with heat shrink tubing to prevent short circuits.
Run wires behind walls or through conduit away from foot traffic. Connect the controller to a power supply rated for your total LED wattage. Undersized power supplies cause dimming, overheating, and fire risk. Place the transformer in a ventilated area away from moisture. Test the system at low brightness first to confirm proper function before running at full power.
How To Make An Led Sign Programming And Effects
Controller Features
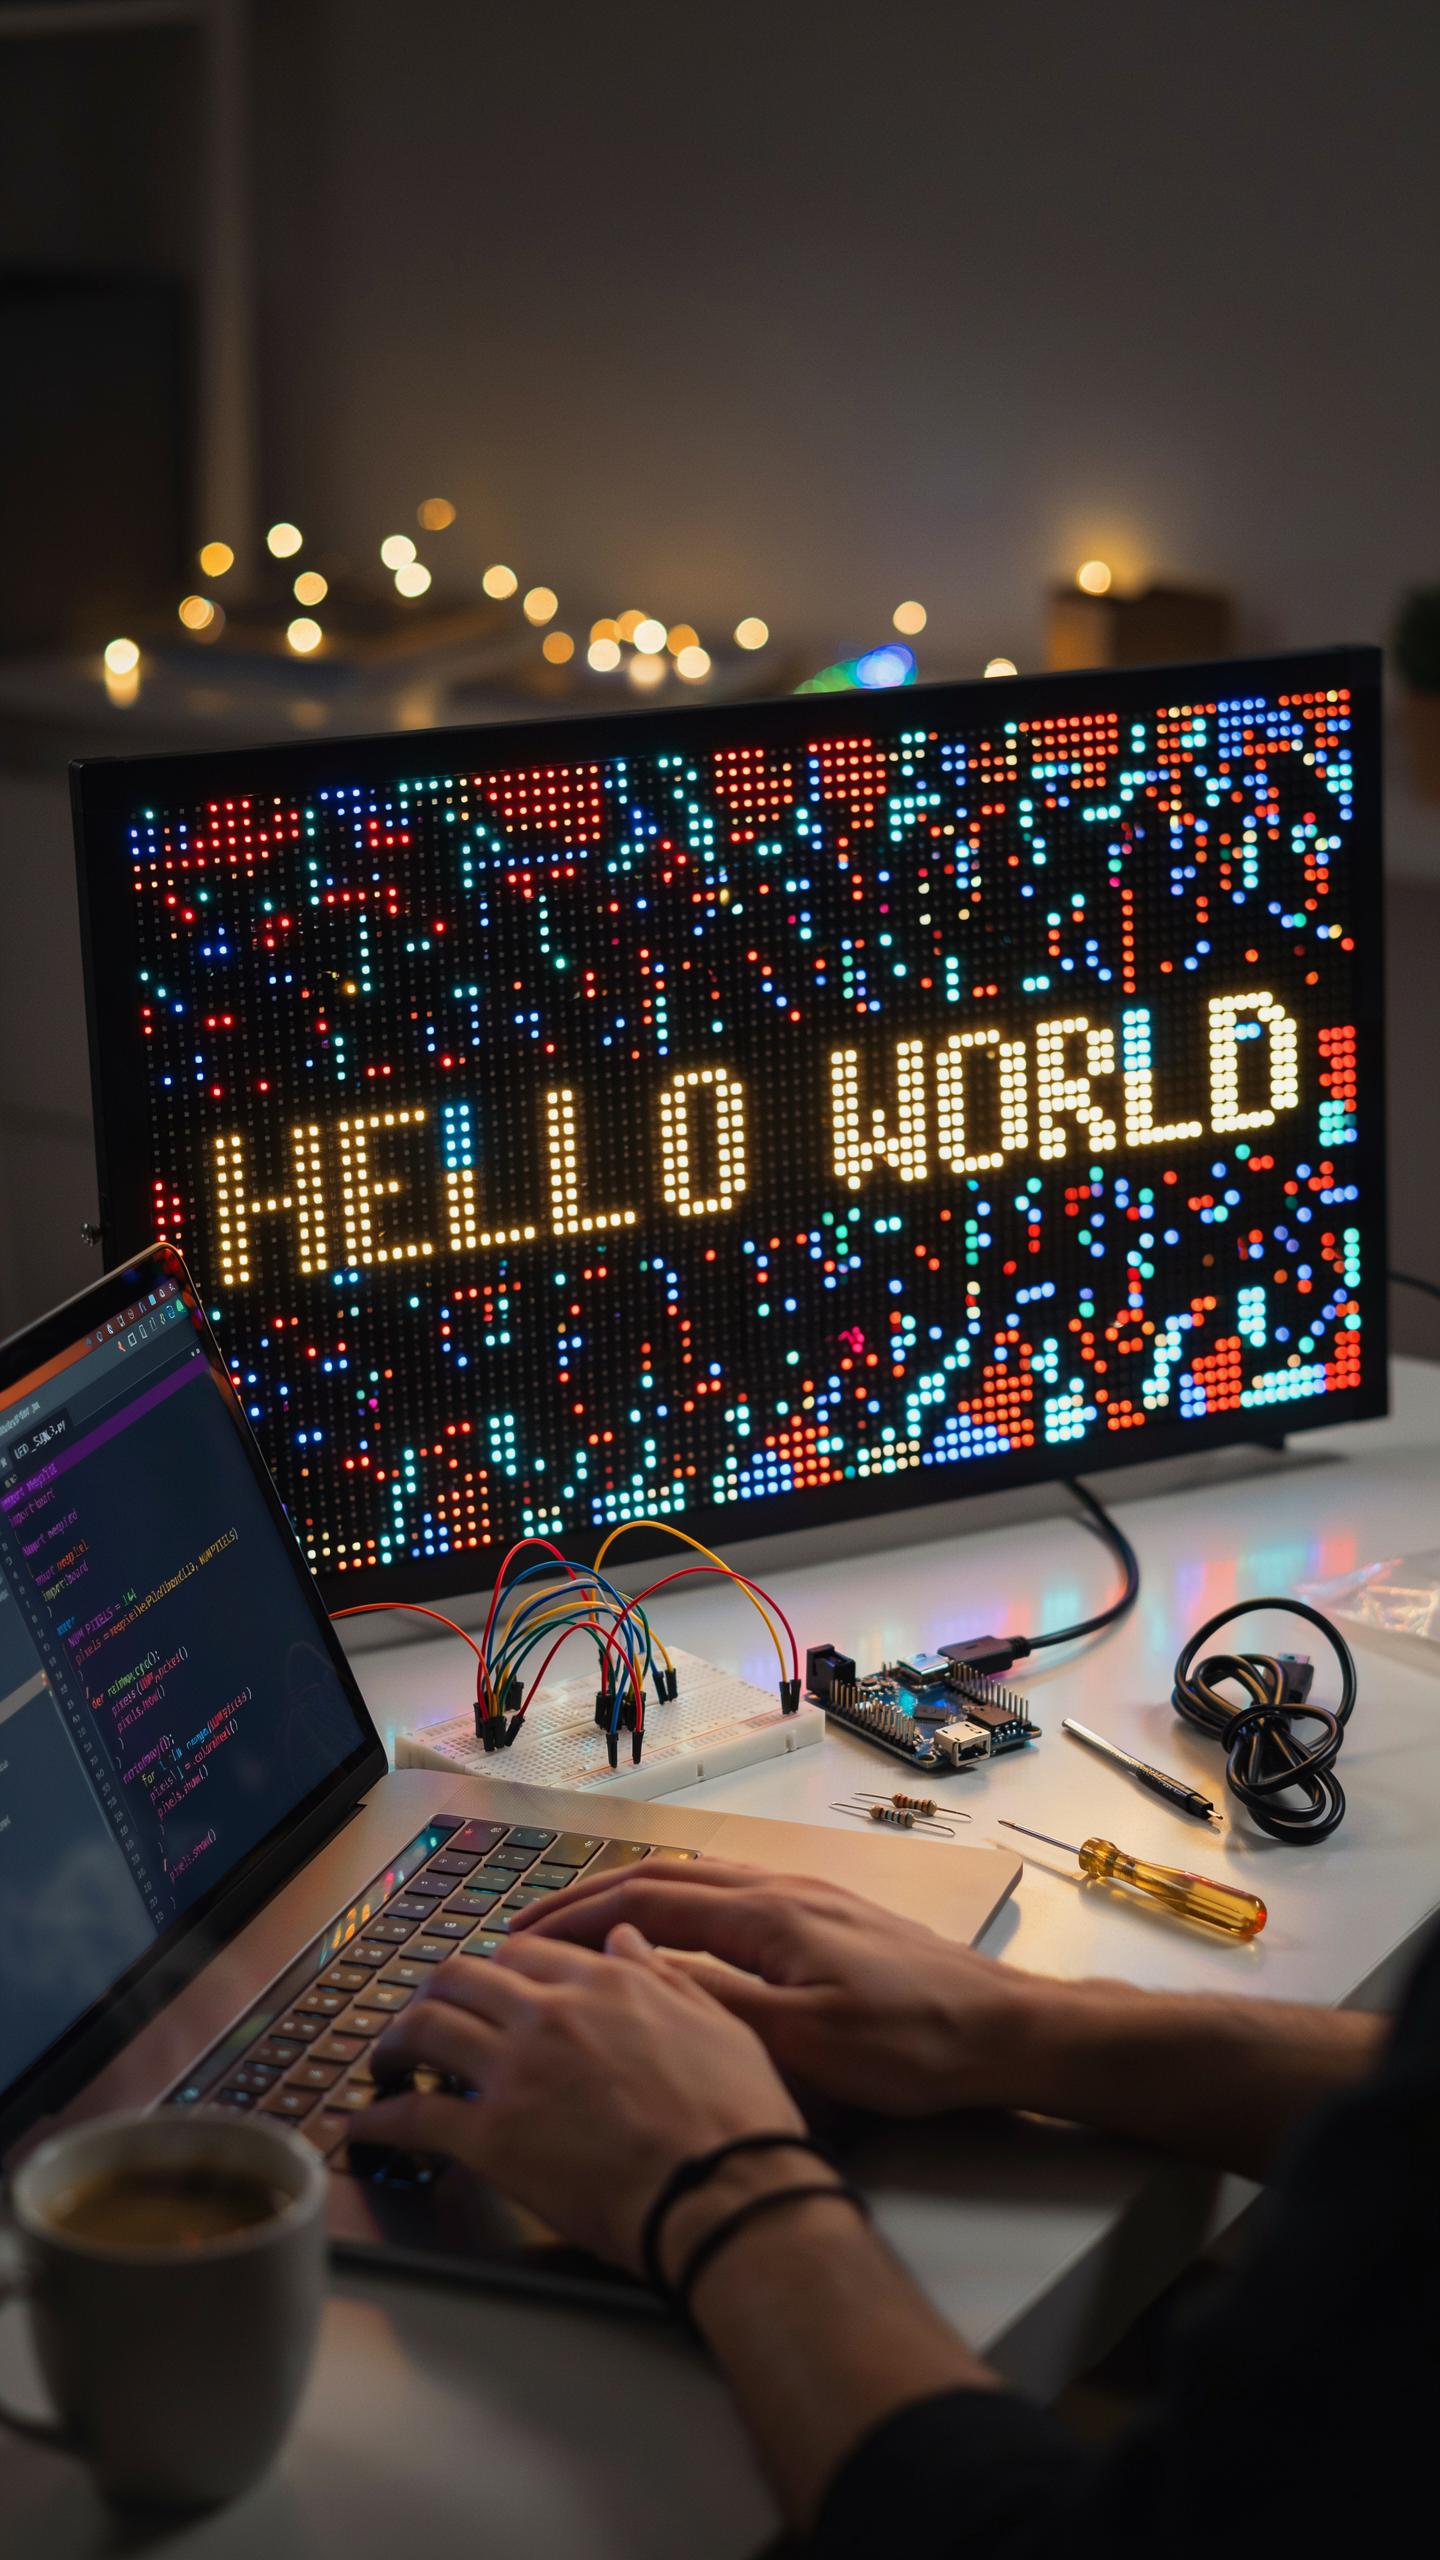
LED controllers manage power distribution and signal output to your strip lights. Most controllers offer basic functions like color selection, brightness adjustment, and pattern modes. Brightness control ranges from zero to one hundred percent, letting you adapt output to room conditions. Color-changing modes cycle through preset hues or hold fixed colors. Pattern modes include effects like fading, strobing, and color transitions that play automatically without external input.
Controllers connect to power supplies and LED strips through standardized connectors. Remote controls transmit signals via infrared or radio frequency to change settings without physical access to hardware. Memory functions store your preferred settings so the controller returns to saved configurations after power cycling. Heat management matters because controllers dissipate energy during operation. Quality units include thermal protection that cuts power if internal temperature exceeds safe limits, preventing component damage and fire risk.
Crafting your own LED display, piece by tiny piece, isn’t just about light; it’s about illuminating your memories and dreams right there on your wall, a cozy glow from your own two hands. May your bedroom always shine with the gentle warmth of your unique creations.
Software And Apps
Mobile applications expand controller capabilities beyond remote control functions. Apps connect via Bluetooth or WiFi to give you control from anywhere within range. You program custom color sequences, adjust timing between effects, and create schedules that trigger specific patterns at set times. Most apps feature preset libraries with animations already programmed, letting you activate effects instantly without coding knowledge.
Software ecosystems differ by controller manufacturer and LED strip model. Some systems offer synchronization with music, analyzing audio input and converting it to matching light patterns. Others provide scene creation where you layer multiple effects and save them as presets for quick recall. Compatibility matters before purchasing because apps only work with matching hardware. Always verify the specific controller model supports the app you plan to use before investing in both components.
DIY LED Sign How To Make Mounting And Installation
Wall Mounting Techniques
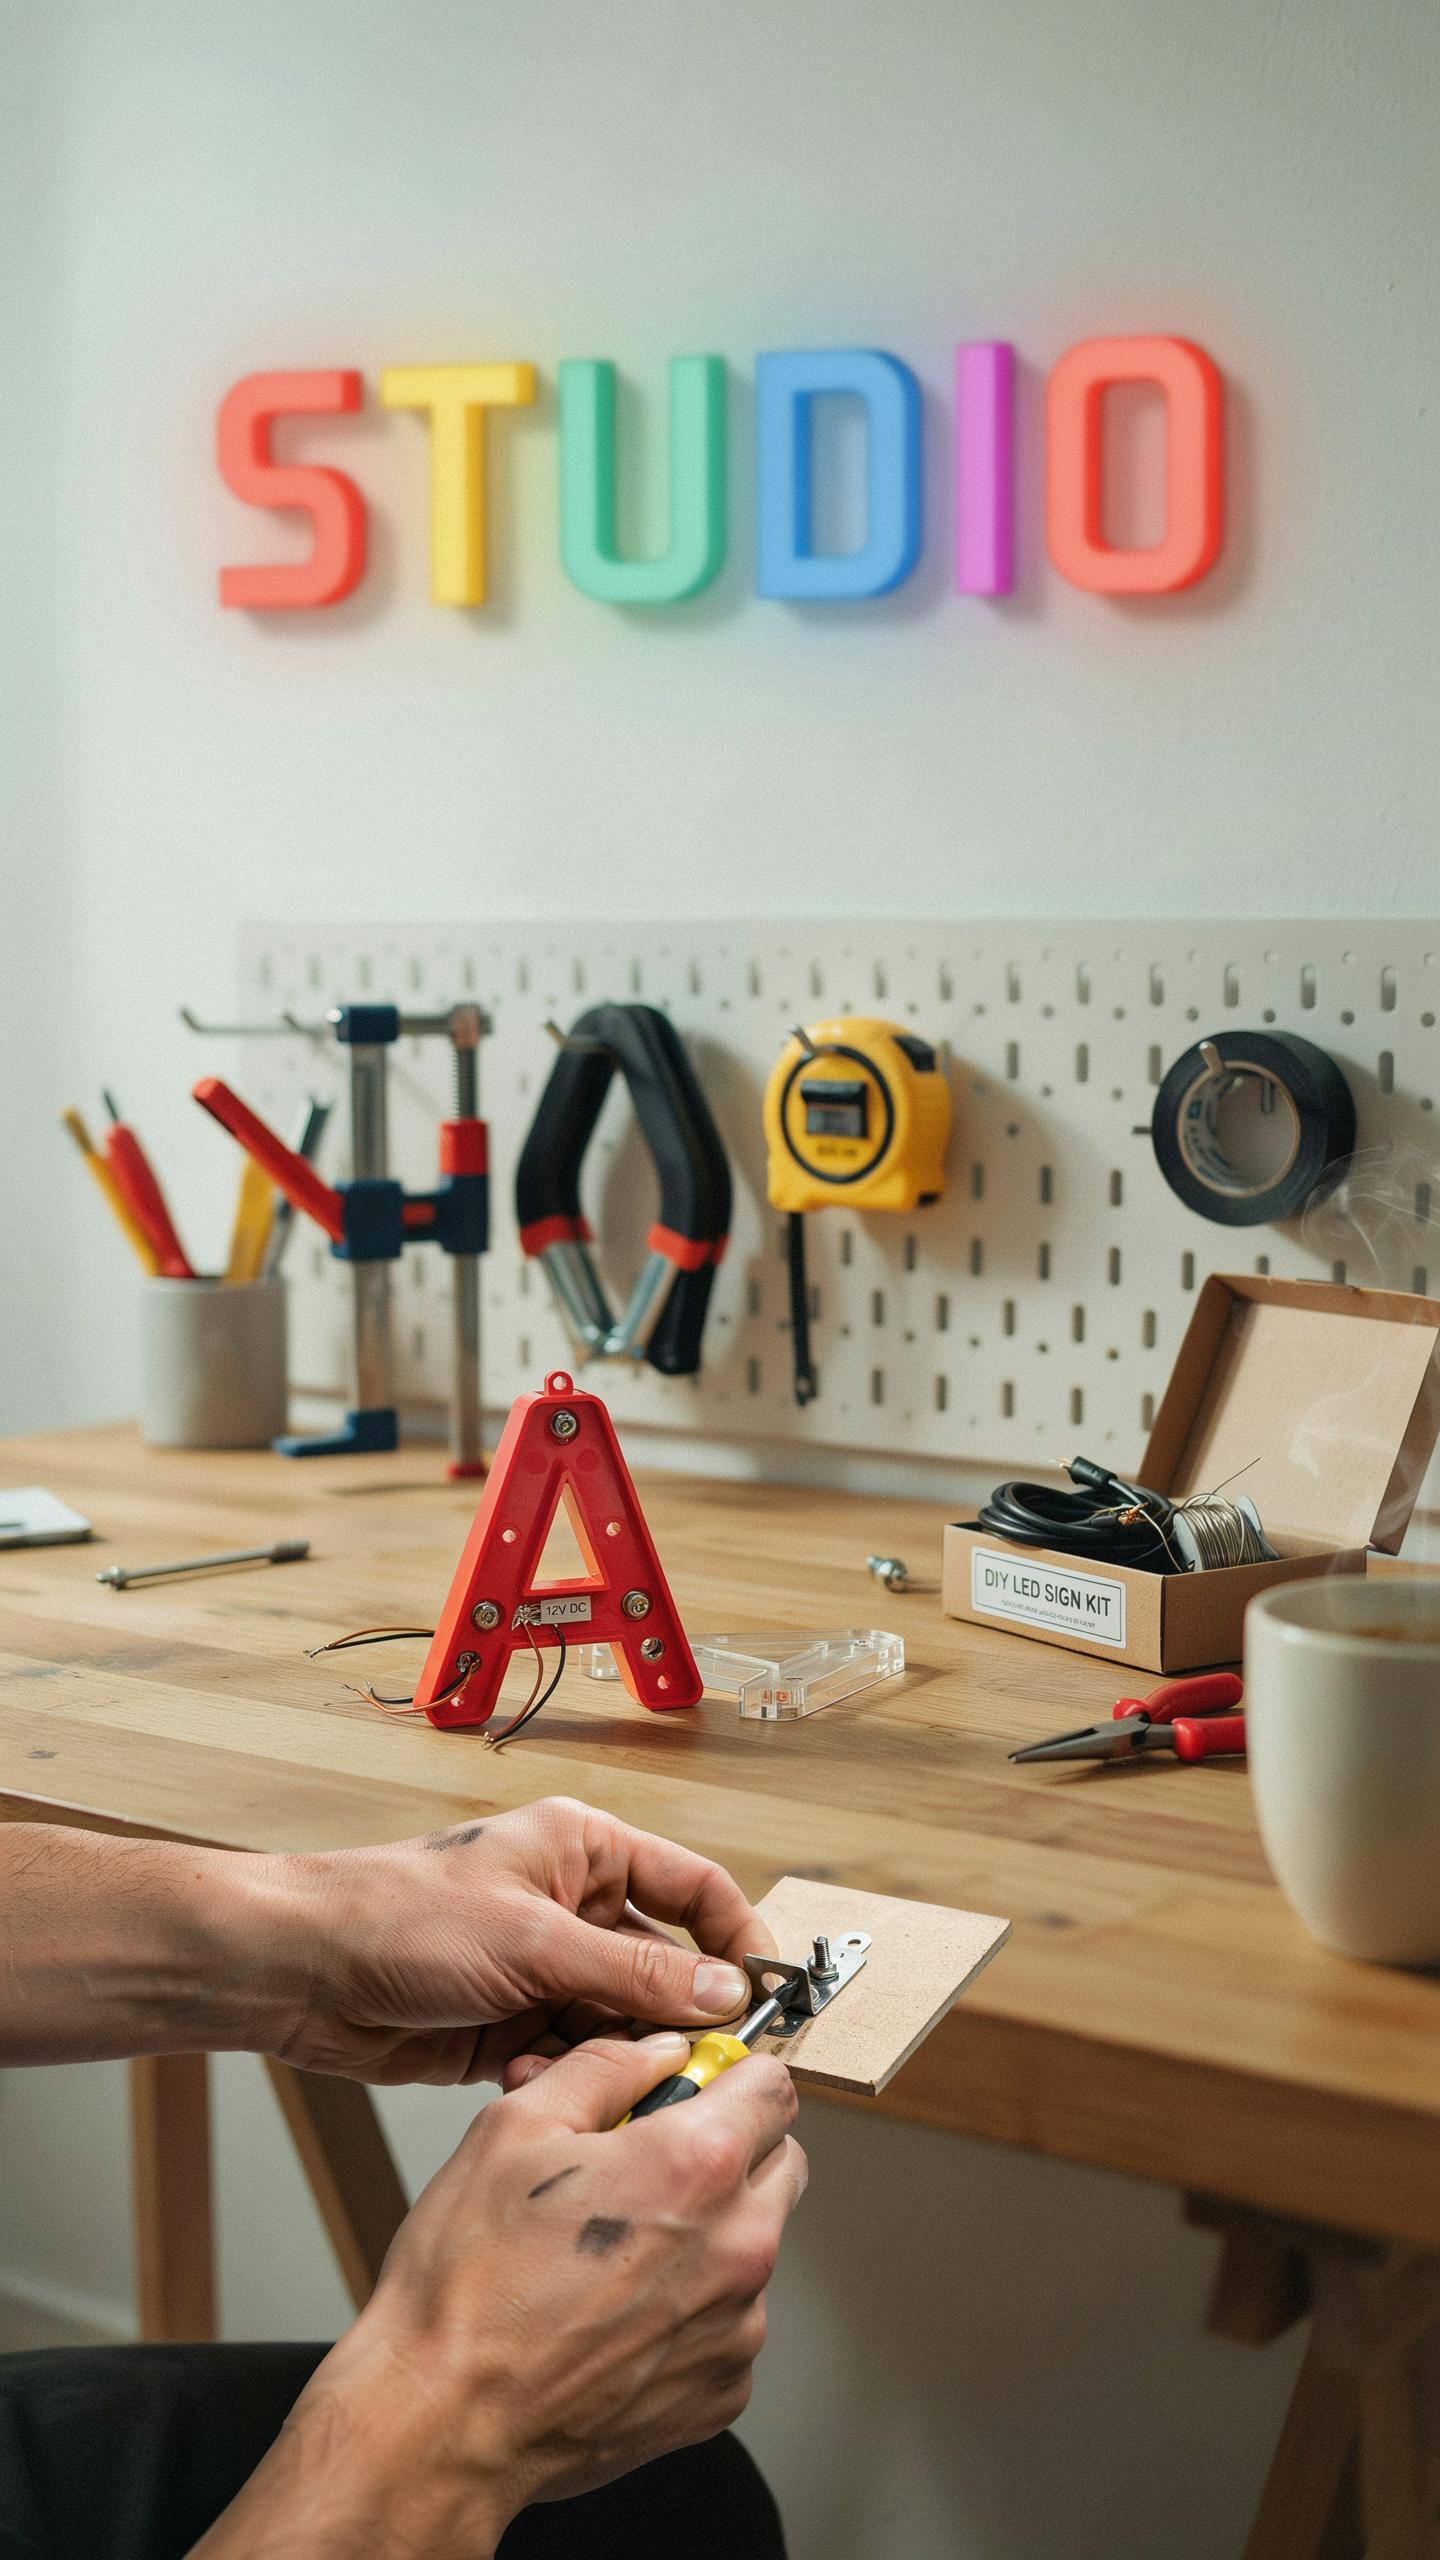
Start by locating wall studs using a stud finder. Mark stud locations on your wall with a pencil. Mount your LED sign frame directly into studs using appropriate fasteners for your wall type. Drywall anchors work for hollow walls, but studs provide maximum support. Use a level to ensure your sign hangs straight before fully tightening all hardware.
Test your wall’s load capacity before installation. Most bedroom walls handle standard LED signs without issue, but drywall has weight limits. If mounting above a bed or seating area, use heavy-duty brackets rated for your sign’s weight plus fifty percent. Check all connections weekly during the first month to catch any shifts early.
Cable Management
Run power cables behind your sign frame or along the wall edge to hide them completely. Use adhesive-backed cable clips to keep wires flush against the wall surface. Route cables downward toward an outlet rather than across visible wall space. This approach eliminates tangled or drooping wires that undermine your installation’s appearance.

Conceal excess cable length inside walls where possible, or bundle it neatly behind furniture. Use cable sleeves or tubing to organize multiple wires into single conduits. Plan your outlet location before final mounting to avoid visible cords running across your bedroom wall. Keep cables away from water sources and high-traffic areas where people might trip.
Diy Light Up Sign Troubleshooting And Maintenance
Common Issues
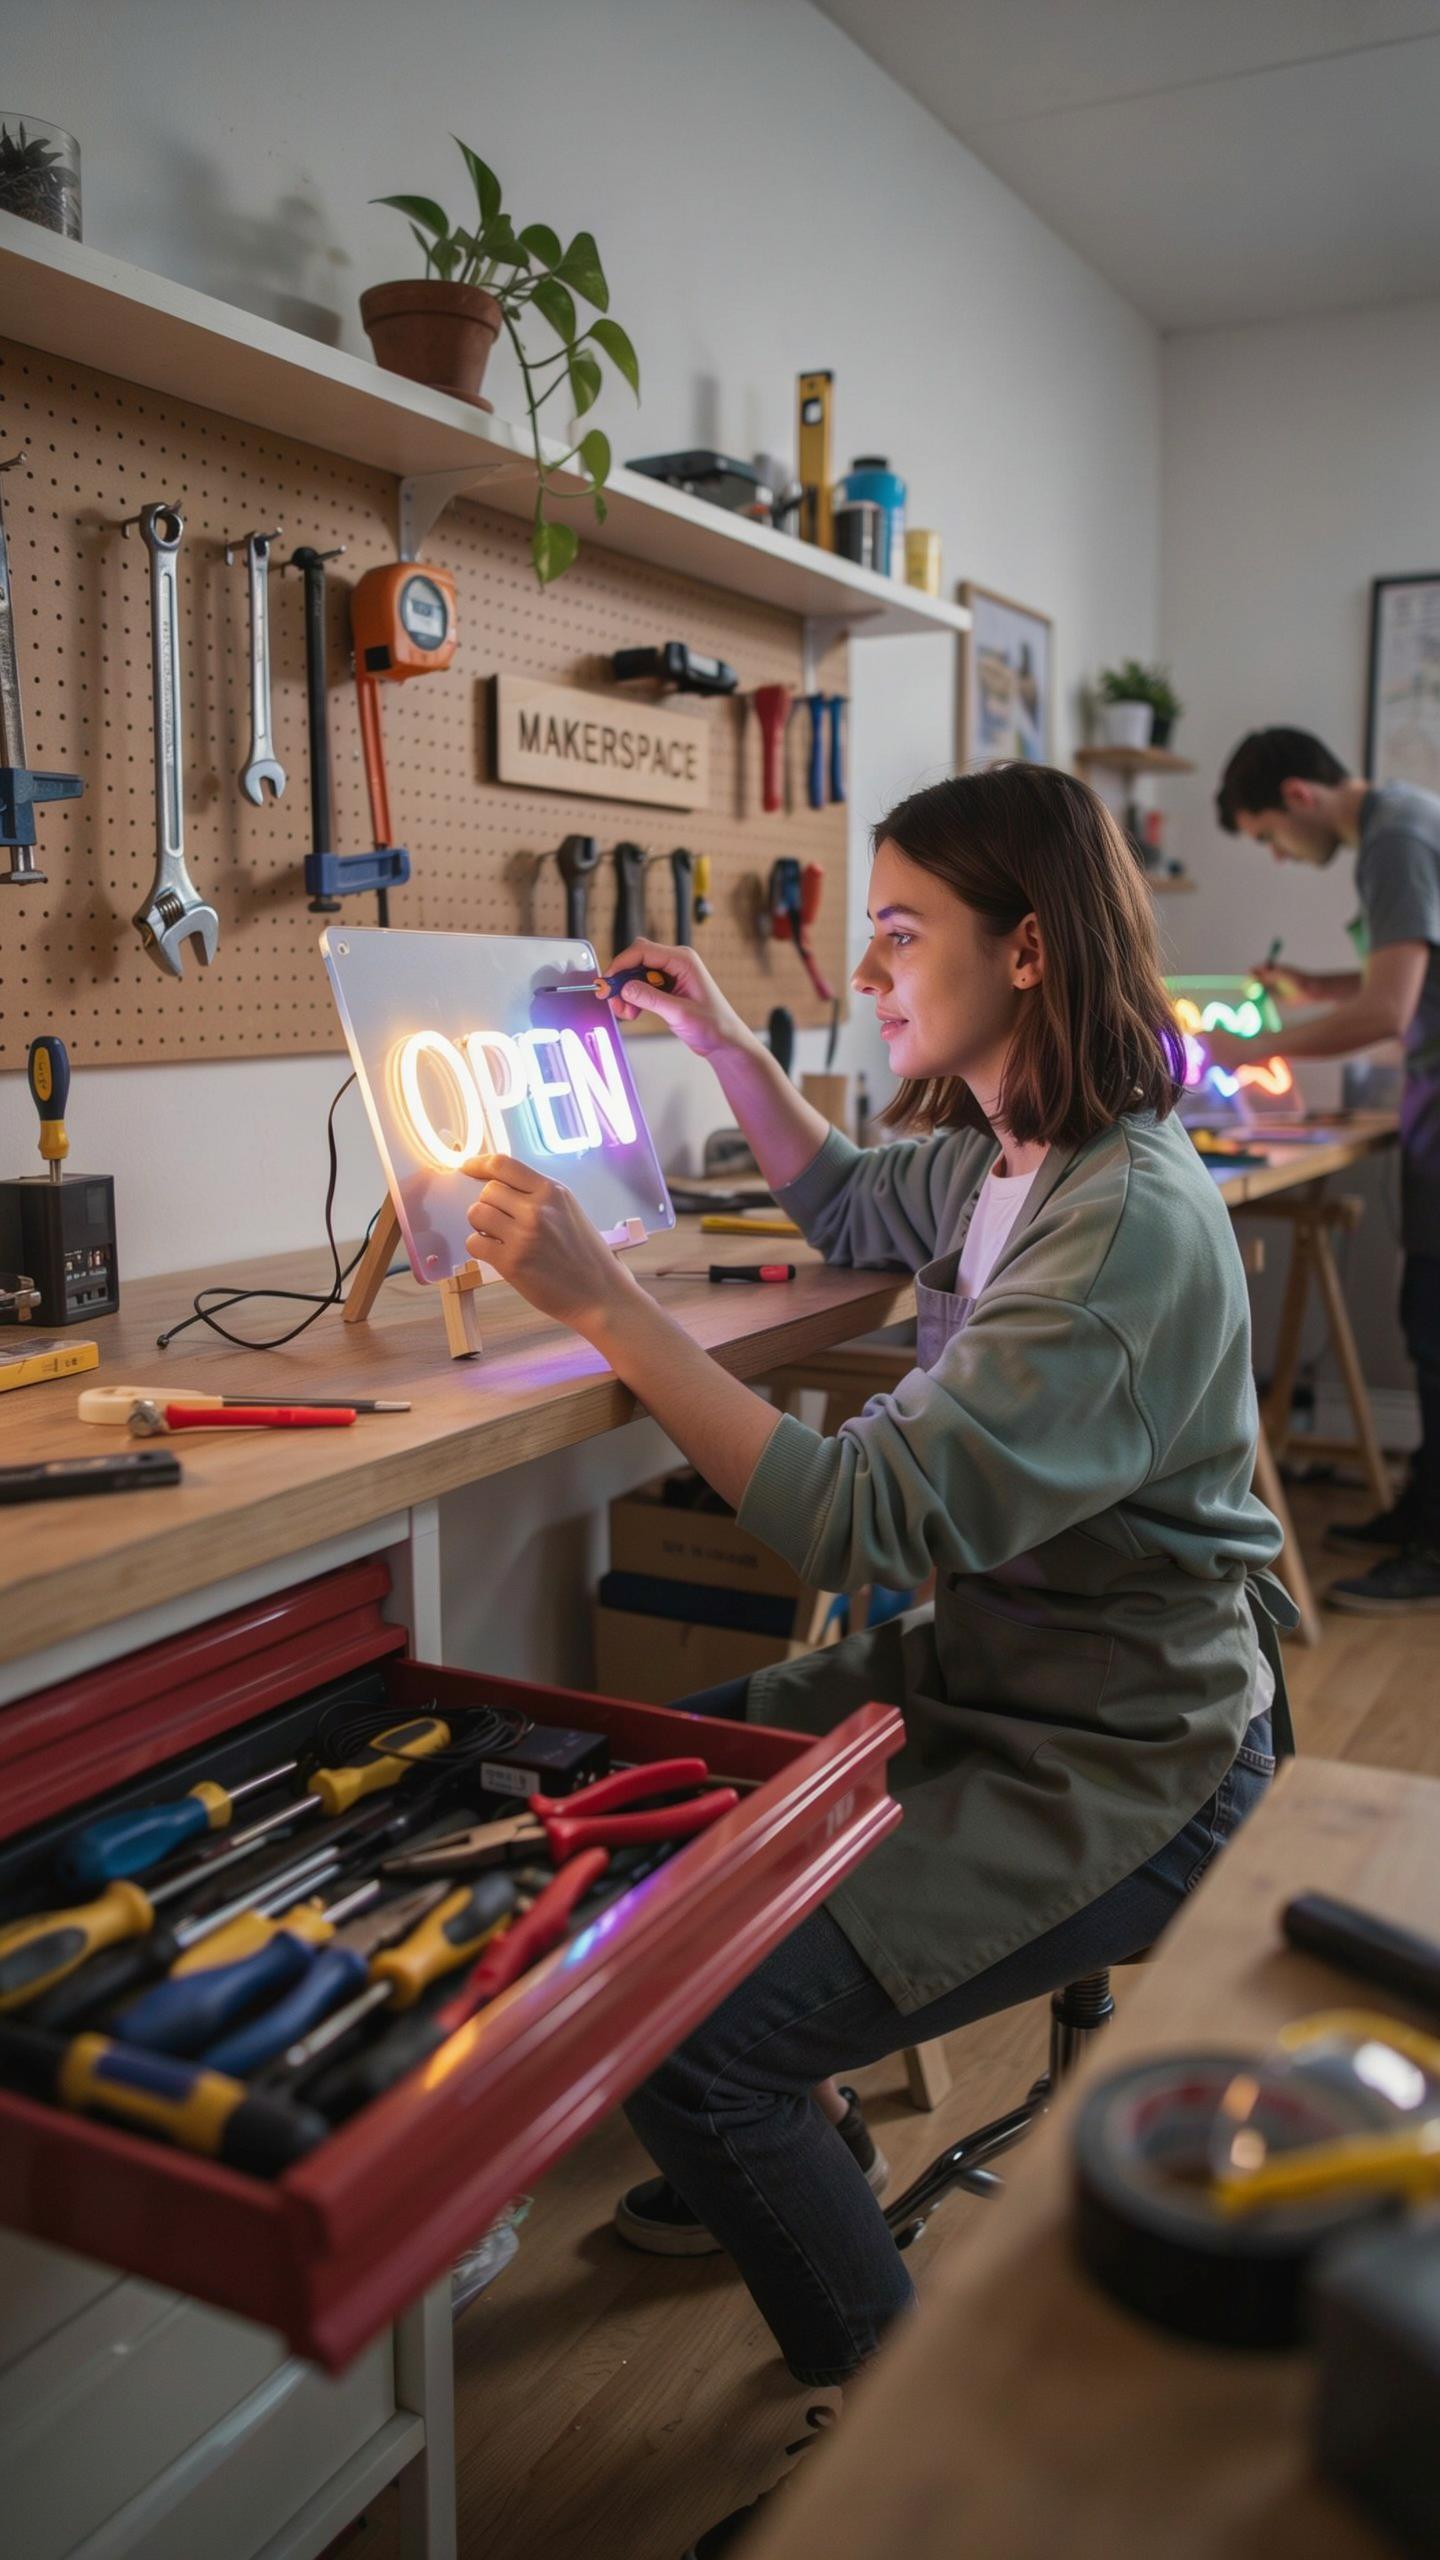
Flickering occurs when power delivery to LED strips becomes inconsistent. Check your power supply connections first. Wiggle connectors at both the transformer and strip entry points. If flickering persists, test your power supply with a multimeter to verify it outputs the correct voltage. Replace the power supply if readings fall below specifications. Loose solder joints on control boards also cause flickering. Reflow solder connections using a soldering iron if you have the skill. Otherwise, replace the control board entirely.
Unresponsive controls happen when signal wires disconnect or controllers malfunction. Inspect all wiring connections between your controller and LED strips. Reseat connectors by unplugging and reinserting them firmly. If buttons still don’t work, the controller itself failed. Order a replacement controller matching your strip’s specifications. Test the new controller before fully reinstalling it. Some controllers have reset buttons you can hold for ten seconds to restore factory settings before replacing hardware.
Longevity Tips
Heat damages LED strips faster than anything else. Keep your sign away from direct sunlight and heat sources like radiators or vents. Ensure airflow around the back of your sign installation. If mounting on a wall, leave two to three inches of clearance behind the strips. Use aluminum channels to mount strips, since aluminum conducts heat away from LEDs effectively. Silicone sleeves protect strips from dust accumulation. Clean dust buildup monthly with a soft brush to maintain heat dissipation and brightness.

Power cycling reduces component lifespan significantly. Avoid turning your sign on and off repeatedly throughout the day. Use a timer or smart plug to schedule consistent operation periods instead. Keep voltage stable by using a regulated power supply rated for your strip’s total wattage. Overloading a power supply creates voltage fluctuations that degrade LEDs quickly. Check power supply specifications monthly to catch degradation early. Replace components showing visible wear before they fail completely.
Showcasing Your DIY Signage

Display Ideas
Your LED sign placement affects how the room functions and how people perceive the space. Mount it above your desk for task lighting that pulls double duty as decor. Position it on a shelf at eye level when sitting. Use it as a headboard accent behind your bed. Corner placement works if you want ambient light without dominating the wall. Each location changes how the sign interacts with existing furniture and lighting.
Consider the sign’s relationship to your existing color scheme and materials. Match the LED color temperature to your room’s lighting style. Cooler whites pair with modern or minimalist setups. Warmer tones work with traditional or cozy bedrooms. If your sign displays multiple colors, test how they interact with your wall color and bedding. Position it where it doesn’t create glare on screens or mirrors you use regularly.
Personal Touches
Add custom vinyl decals around your LED frame to match your room’s theme or personal interests. Vinyl sticks cleanly to the sign’s backing material and peels off without residue if you change your mind. Source decals from print shops or design your own using vector software. Apply them in clusters or as a border to frame the LED panel itself. This layer costs under twenty dollars and transforms the sign’s appearance completely.

Protect your sign’s longevity with a clear matte or glossy finish coat applied to exposed materials. This shields the frame from dust and minor damage while maintaining visibility. Use spray-on polyurethane or brush-applied varnish designed for LED electronics. Allow proper drying time between coats. This step takes an hour total and extends your sign’s useful life by years.
Frequently Asked Questions

I’m new to DIY electronics. Is building my own LED display sign for my bedroom wall a project I can realistically tackle?
Absolutely! While it looks intricate, building your own LED display sign is a manageable weekend project even for first-time DIY electronics enthusiasts. Most kits come with pre-cut components and step-by-step wiring diagrams, so you’re mainly following instructions rather than designing circuits from scratch. Budget a few hours for assembly and a bit of patience for soldering if your kit requires it.
What tools and materials do I need to build a DIY LED display sign?
You’ll typically need an LED strip or matrix, a compatible controller board, a power supply rated for your LED count, and basic tools like a soldering iron, wire strippers, and hot glue for mounting. A backing material such as acrylic or wood gives your sign structure and helps diffuse the light evenly. Most beginner kits bundle the electronics together, leaving you to source only the mounting materials and basic tools.
How much does it typically cost to build a DIY LED display sign?
A basic DIY LED sign kit runs anywhere from $30 to $80 depending on size and LED density, with larger or color-changing designs costing more. Factor in a few extra dollars for mounting hardware and a backing board if it’s not included in your kit. Compared to buying a pre-made custom neon-style sign, which can cost several hundred dollars, building your own offers significant savings for a similar visual effect.



