
Why Choose A Retro Game Console Build Kit For Your Weekend
Nostalgia Meets Modern DIY Video Game Console
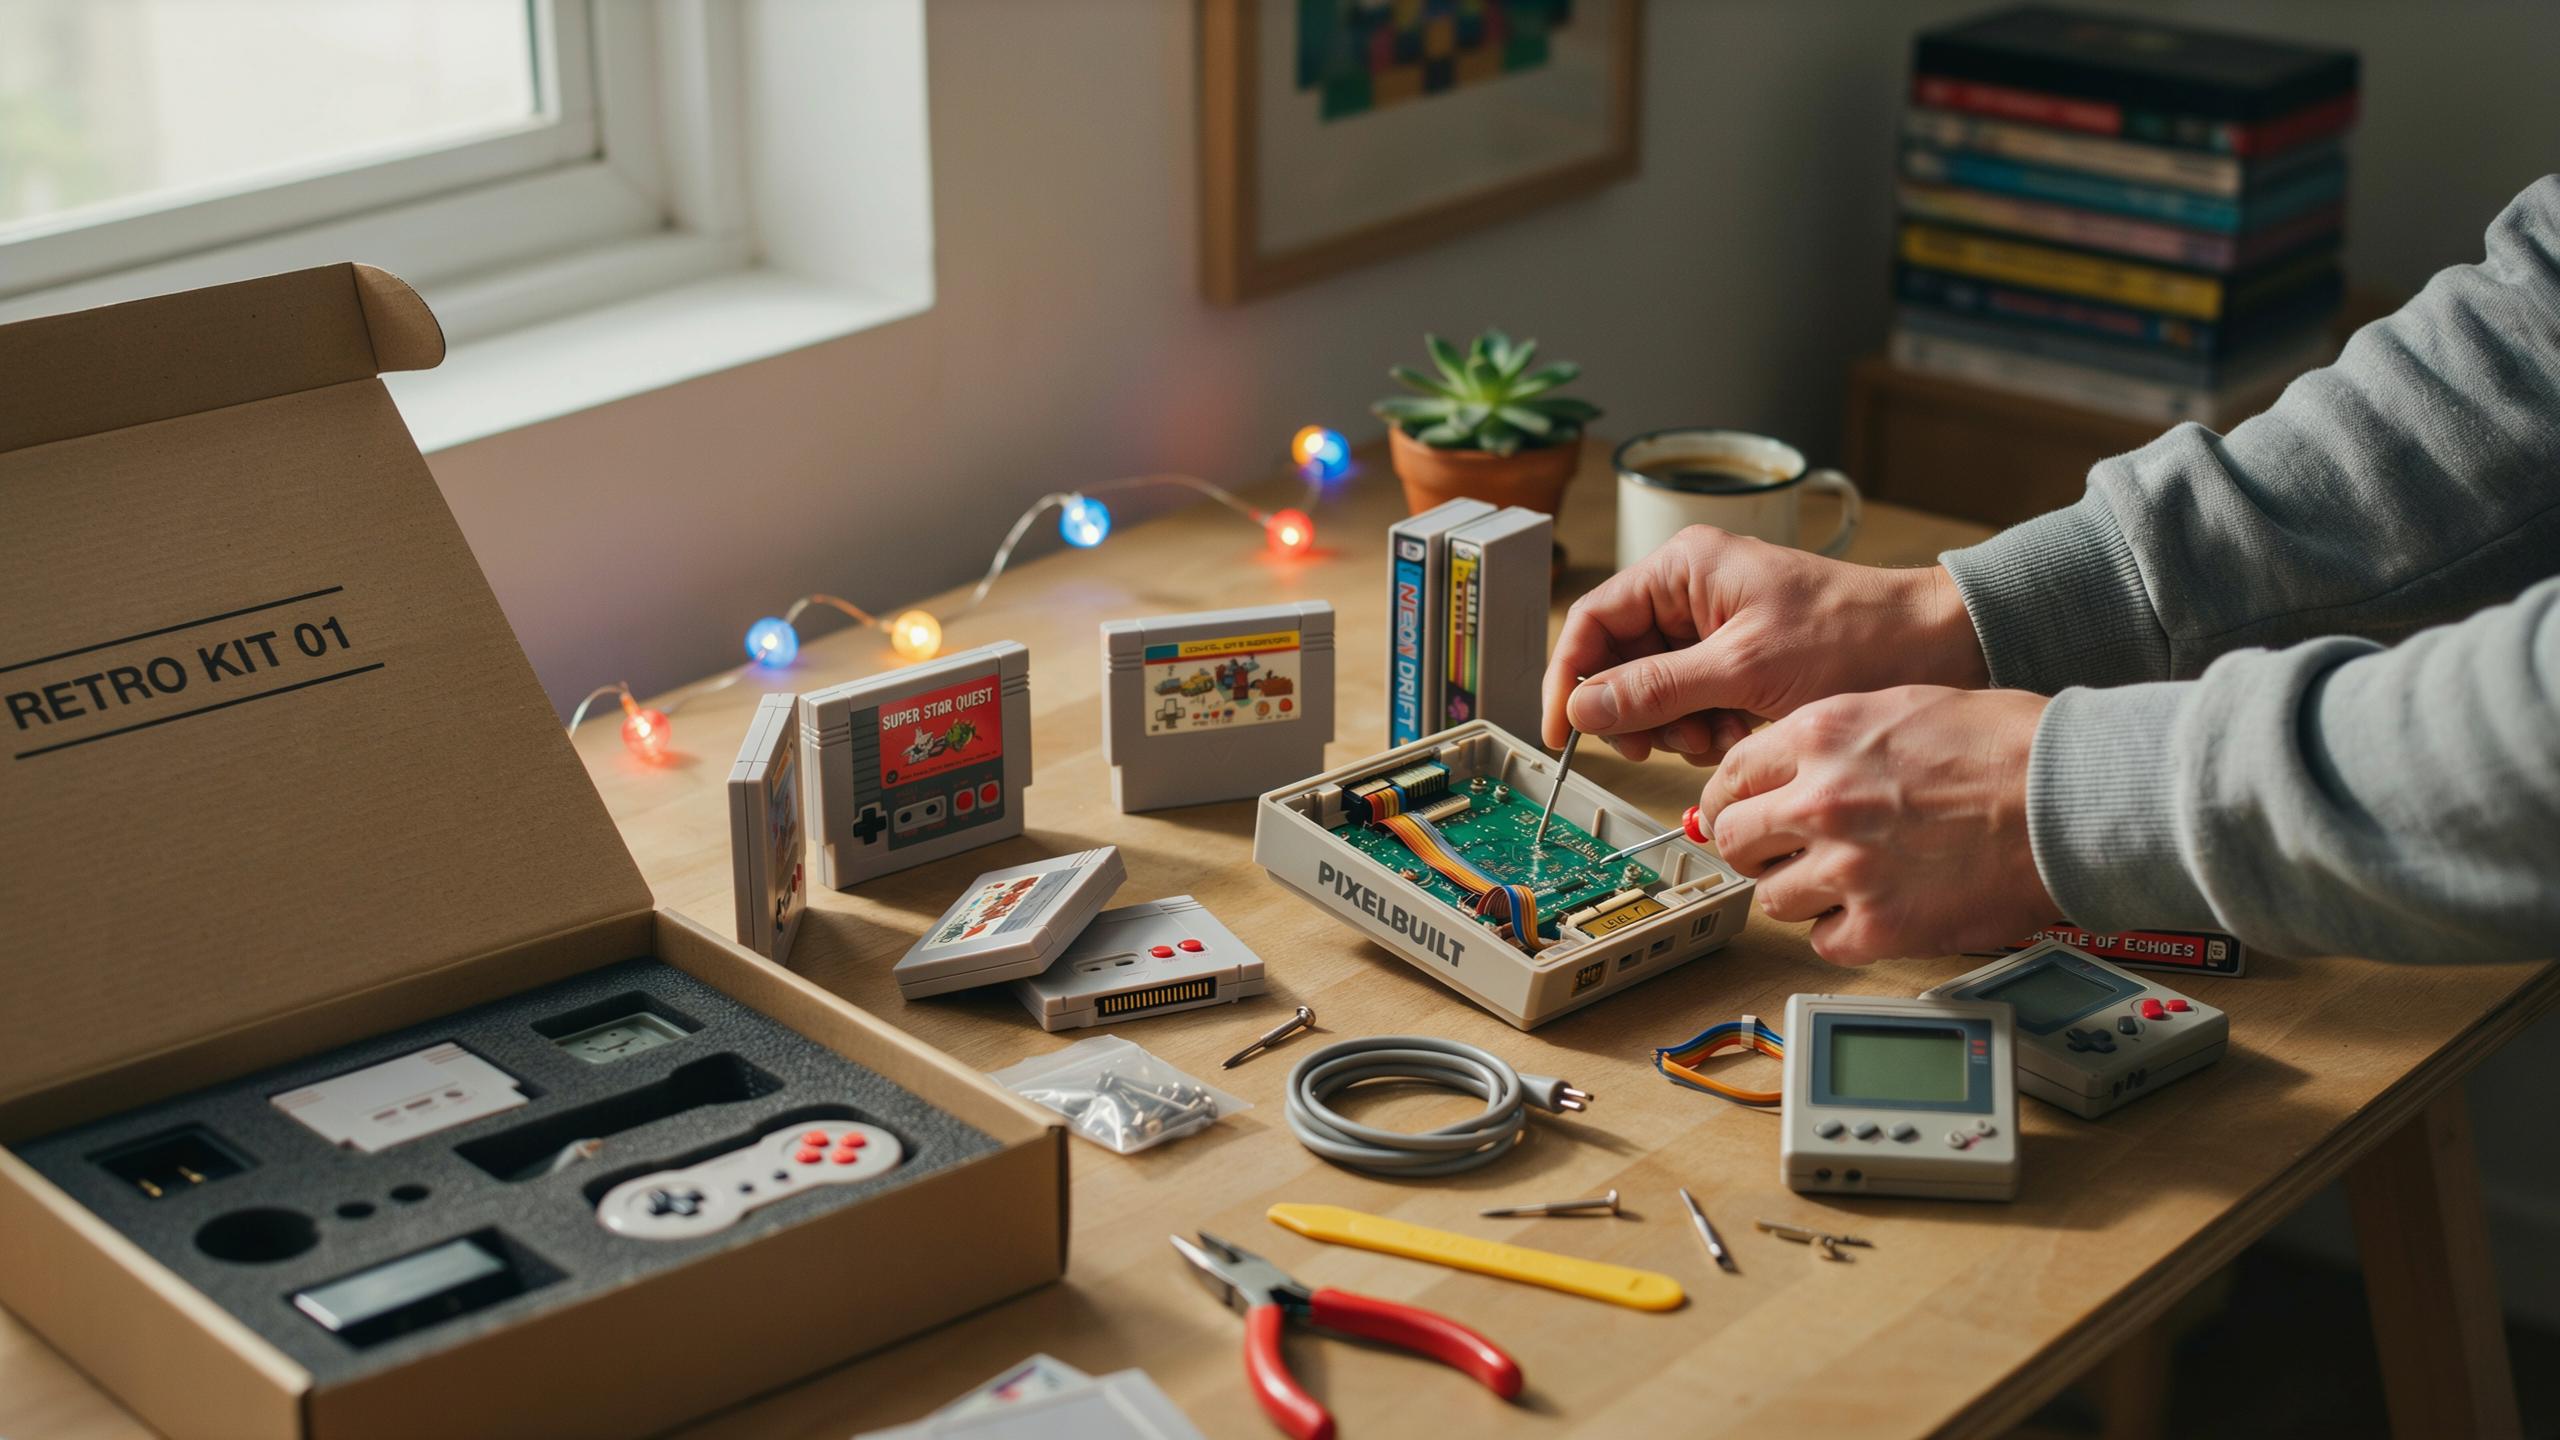
Retro game console build kits tap into genuine demand for classic gaming systems. People want access to games from the 1980s and 1990s without hunting for original hardware or paying inflated prices. These kits deliver that experience through modern components engineered specifically for reproduction systems. You get working hardware that plays actual games from those eras, minus the decay and failure rates of original machines.
The DIY aspect adds practical value beyond sentiment. Building your own video game console teaches you about hardware assembly, soldering basics, and system architecture. You understand how your finished product works because you constructed it yourself. This hands-on knowledge sticks with you in ways passive consumption never does. The result is both functional gaming equipment and earned technical competence.
The Accessible Entry Point To DIY Game Console Project
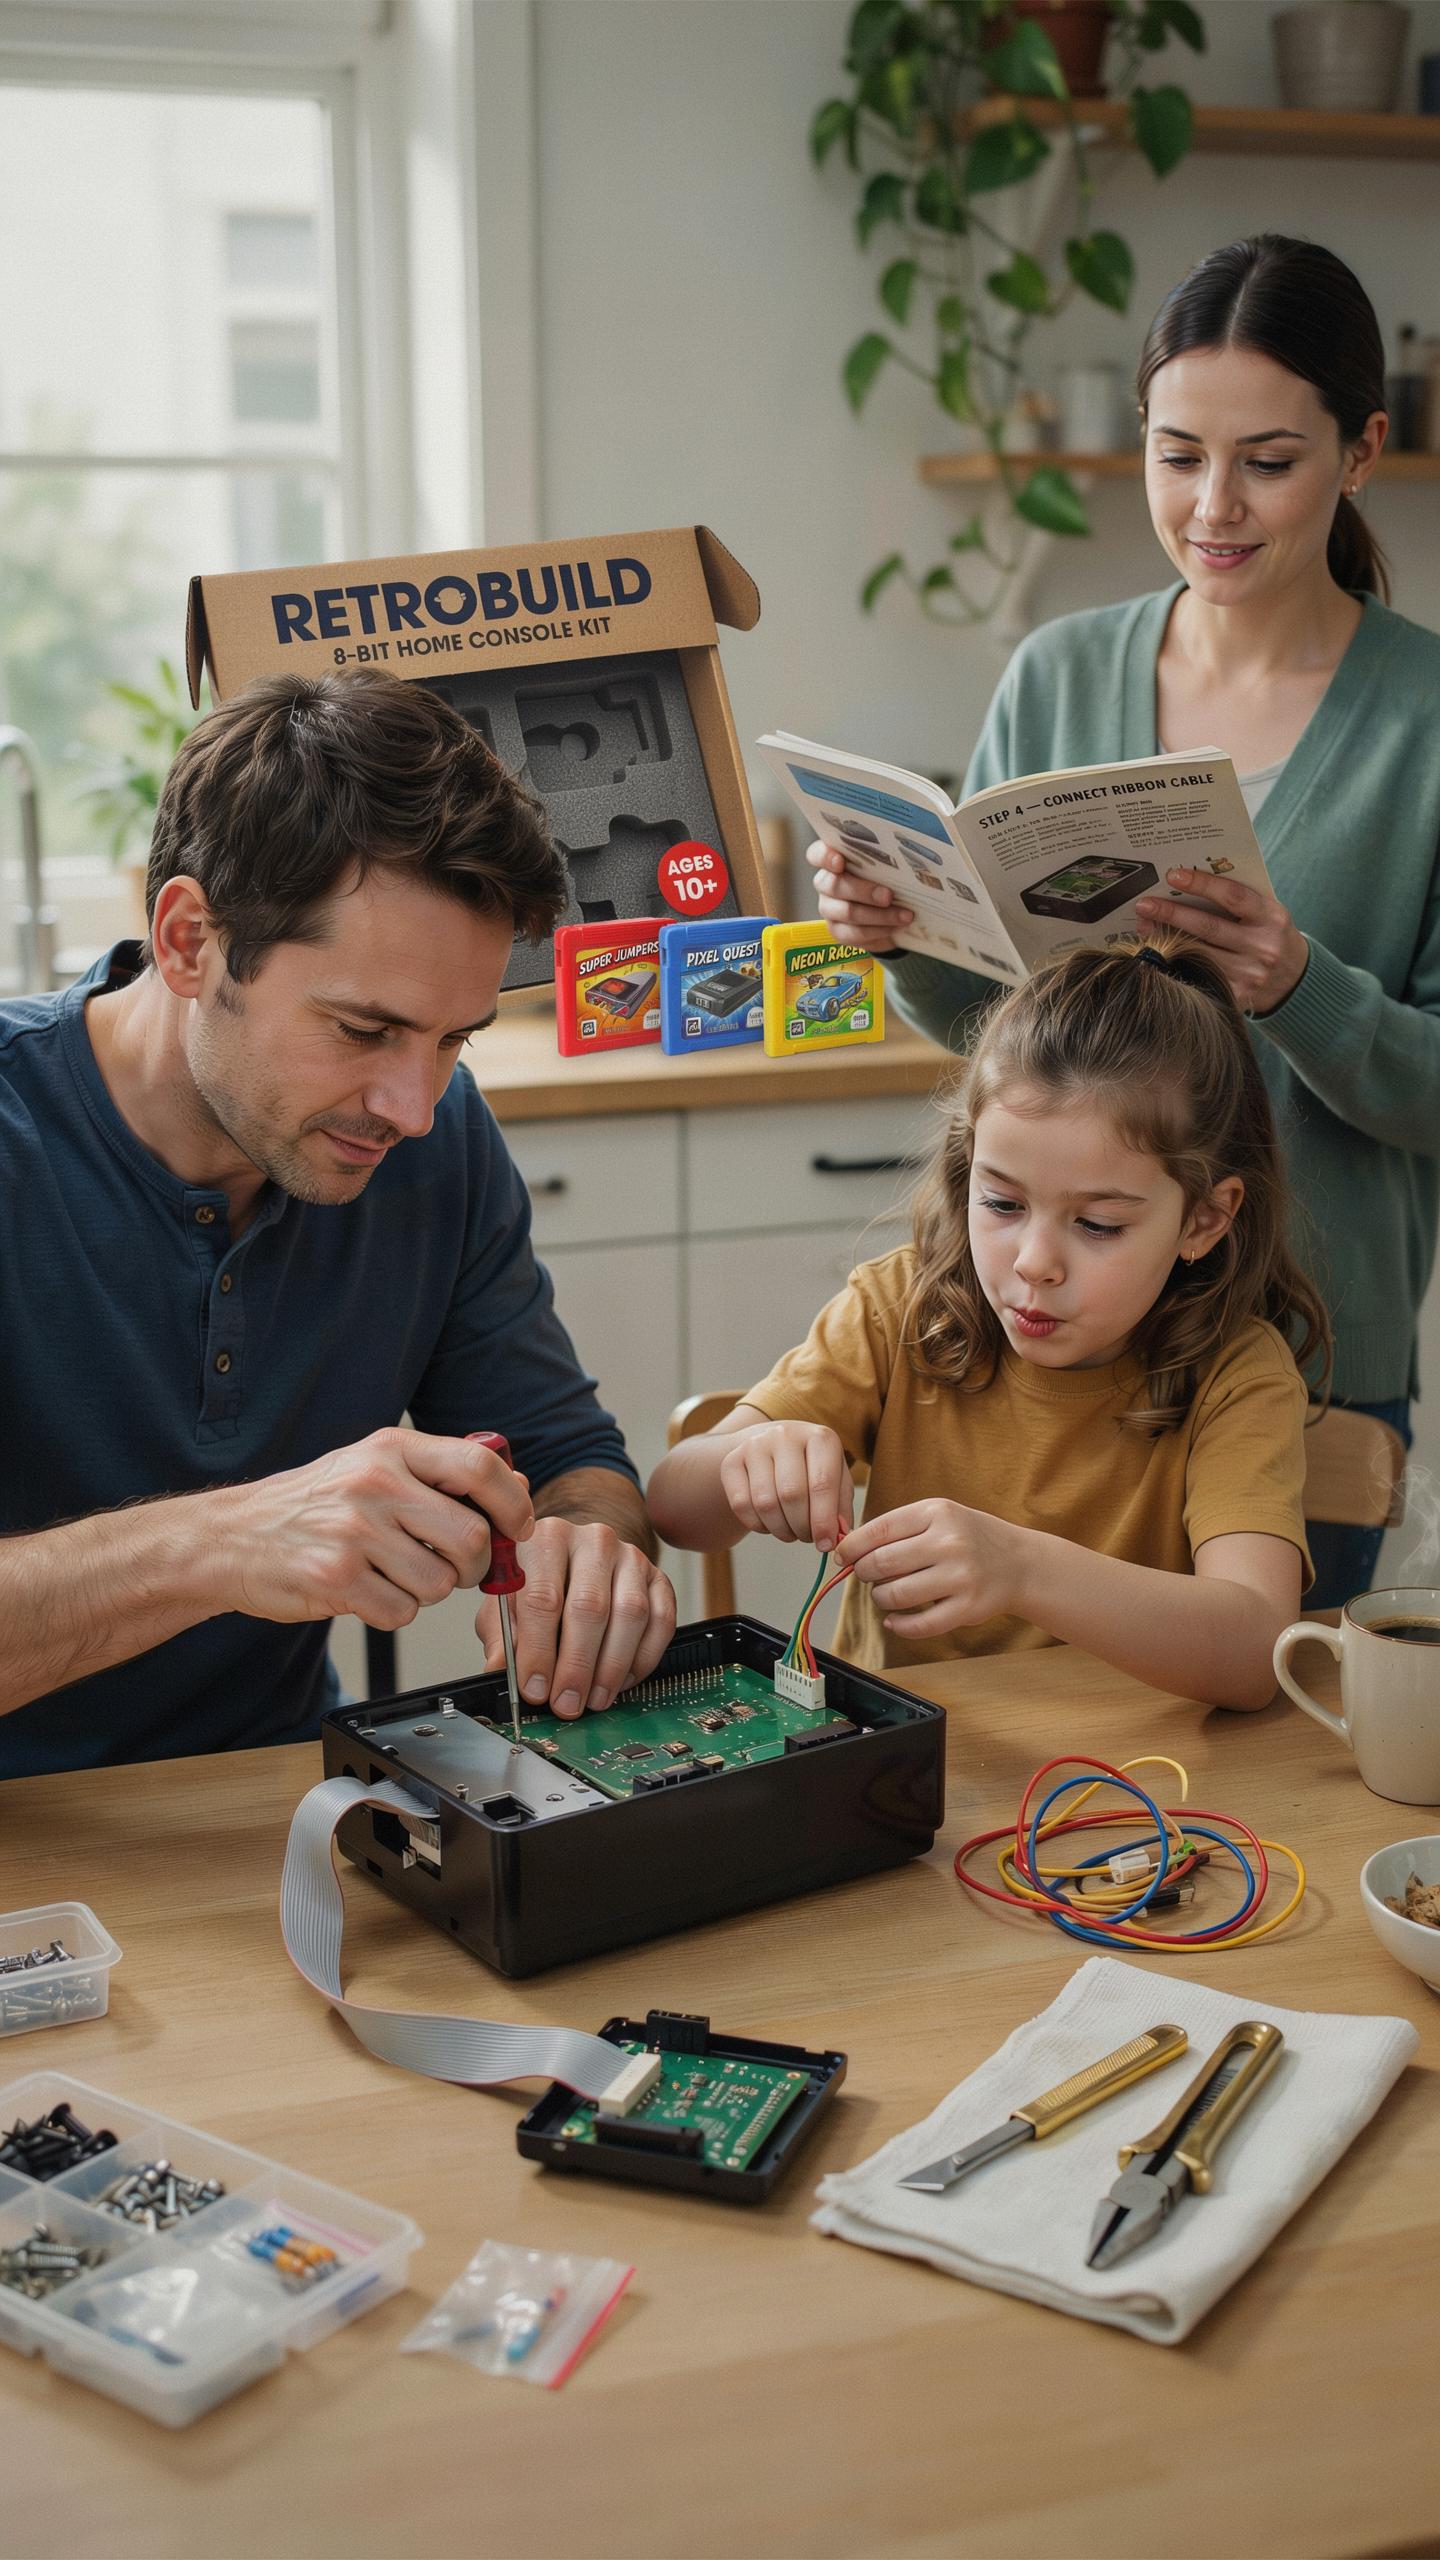
These kits remove barriers that typically block people from DIY game console projects. Manufacturers provide all necessary components in one package rather than forcing you to source parts separately across multiple suppliers. Instructions range from basic to detailed depending on the kit. You don’t need prior electronics experience or specialized tools beyond a soldering iron, which most kits account for in their design.
Time investment remains realistic for a weekend commitment. Most builds take between four and twelve hours depending on complexity and your experience level. You’re not signing up for a month long endeavor. The structured approach means you follow established steps rather than troubleshooting unknown problems. Completion feels achievable and satisfying because the path forward stays clear from start to finish.
What Exactly Is A Retro Game Console Build Kit
Components Typically Included In A Retro Games Console Kit
A retro game console build kit combines a single-board computer, case, controllers, and pre-loaded software into one package. The core component is typically a Raspberry Pi or similar ARM-based processor. You get the physical housing, power supply, HDMI cable, and input devices. Everything ships ready for assembly without soldering or advanced electronics knowledge required.
- Single Board Computer: Raspberry Pi 4, Pi Zero 2, or Allwinner H616 chips provide processing power to run emulators and handle multiple gaming systems from one device.
- Custom Case Housing: Injection-molded plastic or 3D-printed enclosures designed to resemble original consoles like the NES, SNES, Genesis, or custom form factors.
- Controller Options: Pre-configured wireless or wired controllers that connect via USB or Bluetooth, often modeled after classic controller designs.
- Power Supply: USB-C or micro-USB power adapters rated for the board’s requirements, typically 5V output with adequate amperage.
- Storage Media: MicroSD card with pre-loaded operating system and emulator software, ranging from 32GB to 256GB capacity depending on game library size.
- Connectivity Cables: HDMI for display output and USB cables for controller connection or additional peripherals like arcade sticks.
Assembly takes 30 to 60 minutes for most kits. You insert the board into the case, connect power and HDMI, insert the SD card, and plug in controllers. No calibration or coding required. The kit launches into a menu system immediately upon first boot, displaying your pre-installed game library organized by console type.
Software Considerations For Your DIY Retro Game Console Project
The operating system running these kits is typically a Linux-based distribution modified specifically for retro gaming. RetroPie, Batocera, and Recalbox are the three dominant choices. Each uses open-source emulators like MAME, Snes9x, and Mupen64Plus to run actual game ROM files. The software handles all emulation automatically. You select a game, and it launches with the correct emulator applied.

Game libraries come pre-loaded on the SD card, but you control what stays or gets added. Legal status matters here. The kits ship with software only, leaving ROM acquisition to the end user. Some kits include a few public domain or freeware titles to demonstrate functionality. Most users source their own ROMs from backup collections or original cartridges they own. Controller mapping is pre-configured but editable if you need custom button layouts for specific games.
Getting Started Choosing Your Ideal Retro Game Console Build Kit
Factors To Consider For Your Diy Video Game Console
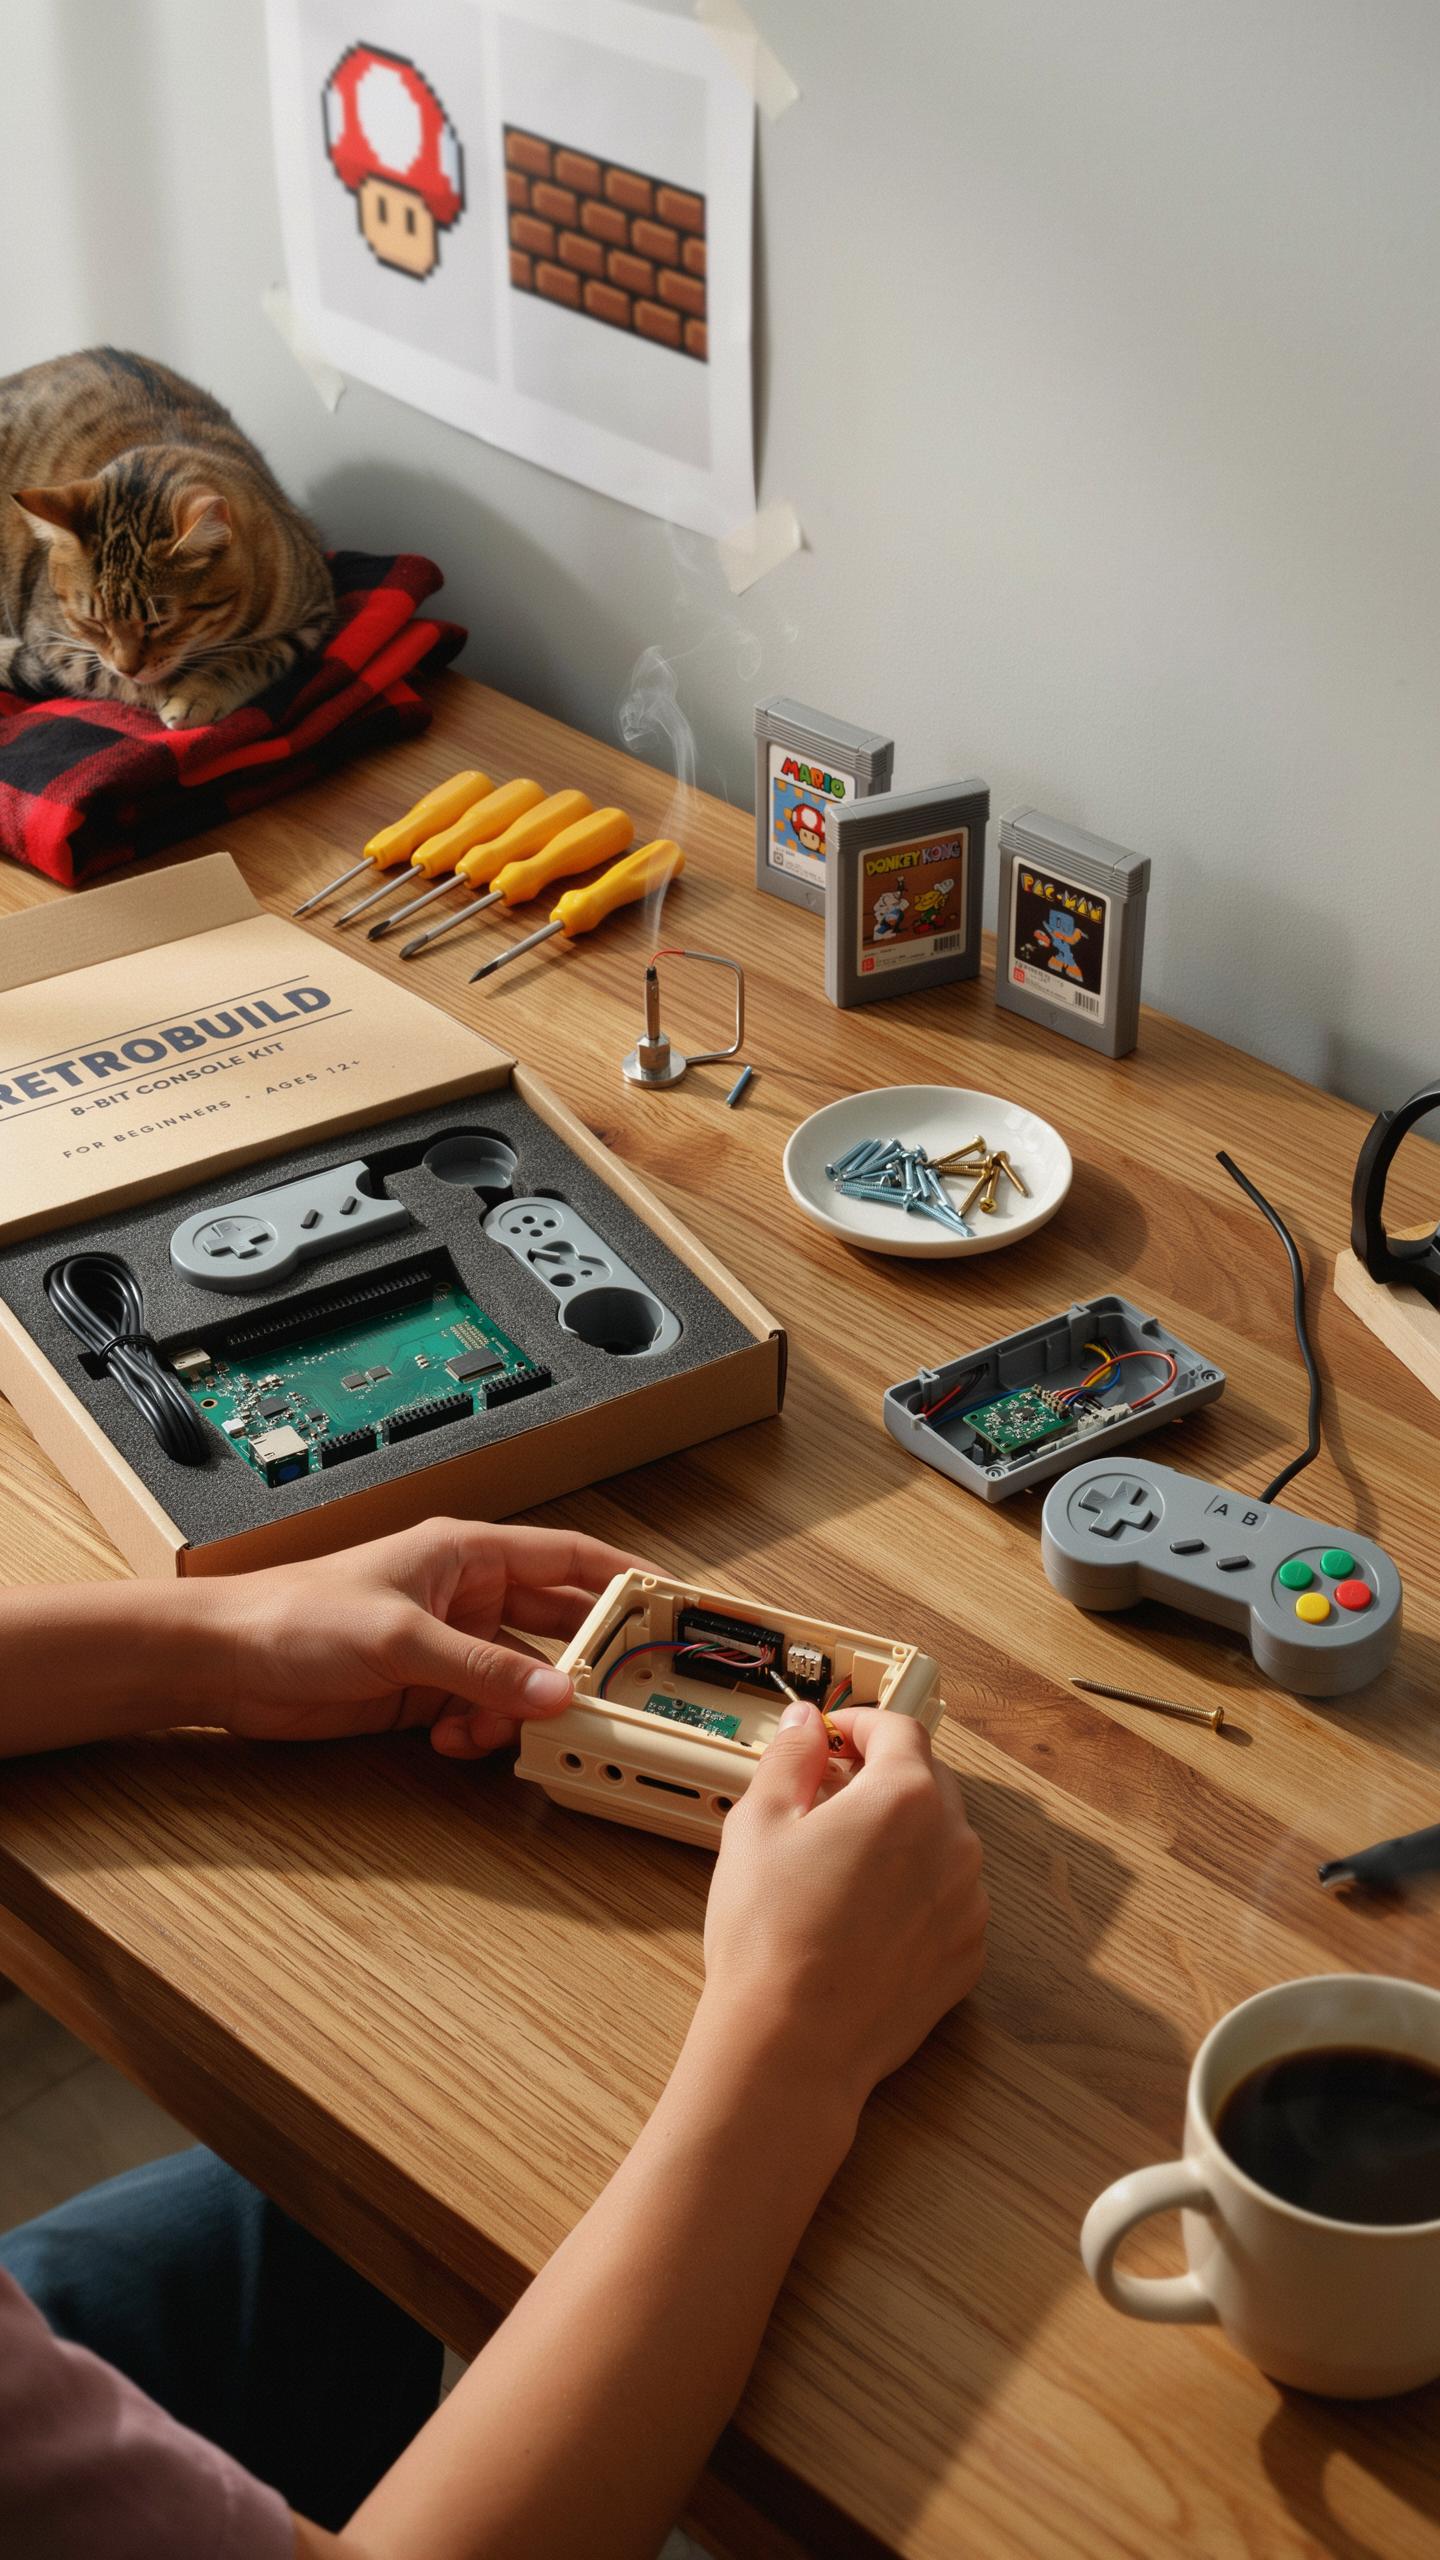
Your skill level determines which kit works best. Beginners need kits with pre-soldered components and clear instructions. Advanced builders can handle kits requiring circuit board assembly and component sourcing. The games you want to play matter too. Some kits emulate NES and SNES only. Others run systems from Atari through PlayStation. Budget ranges from fifty dollars to several hundred depending on complexity and included parts.
The physical space you have affects your decision. Compact kits fit small shelves or entertainment centers. Larger builds need dedicated room. Consider whether you want a handheld device, a console you connect to a TV, or a desktop unit. Think about controller preferences too. Some kits use wireless controllers, others require wired connections. Your tolerance for troubleshooting impacts your experience. Plug and play kits need minimal problem solving. Custom builds demand patience for debugging.
Popular Platforms And Their Retro Gaming Capabilities
Raspberry Pi dominates the DIY console kit market. The Pi 4 and Pi 5 run thousands of games from systems like NES, SNES, Genesis, and Game Boy. The Pi Zero serves budget builds but handles fewer simultaneous emulators. Raspberry Pi uses the RetroPie or Batocera software, both free and community supported. These platforms offer stable emulation for most retro systems released before 2000.
Arduino based kits exist but handle fewer games than Raspberry Pi options. They work well for specific single systems like NES or Commodore 64 emulation. PC based builds offer maximum compatibility but require more space and power. Some builders use older Intel or AMD processors for retro gaming. Handheld kits typically use smaller processors but provide portability that stationary setups cannot match.
The Assembly Process Building Your DIY Game Console Project
Step By Step Guide To Your DIY Game Console Project
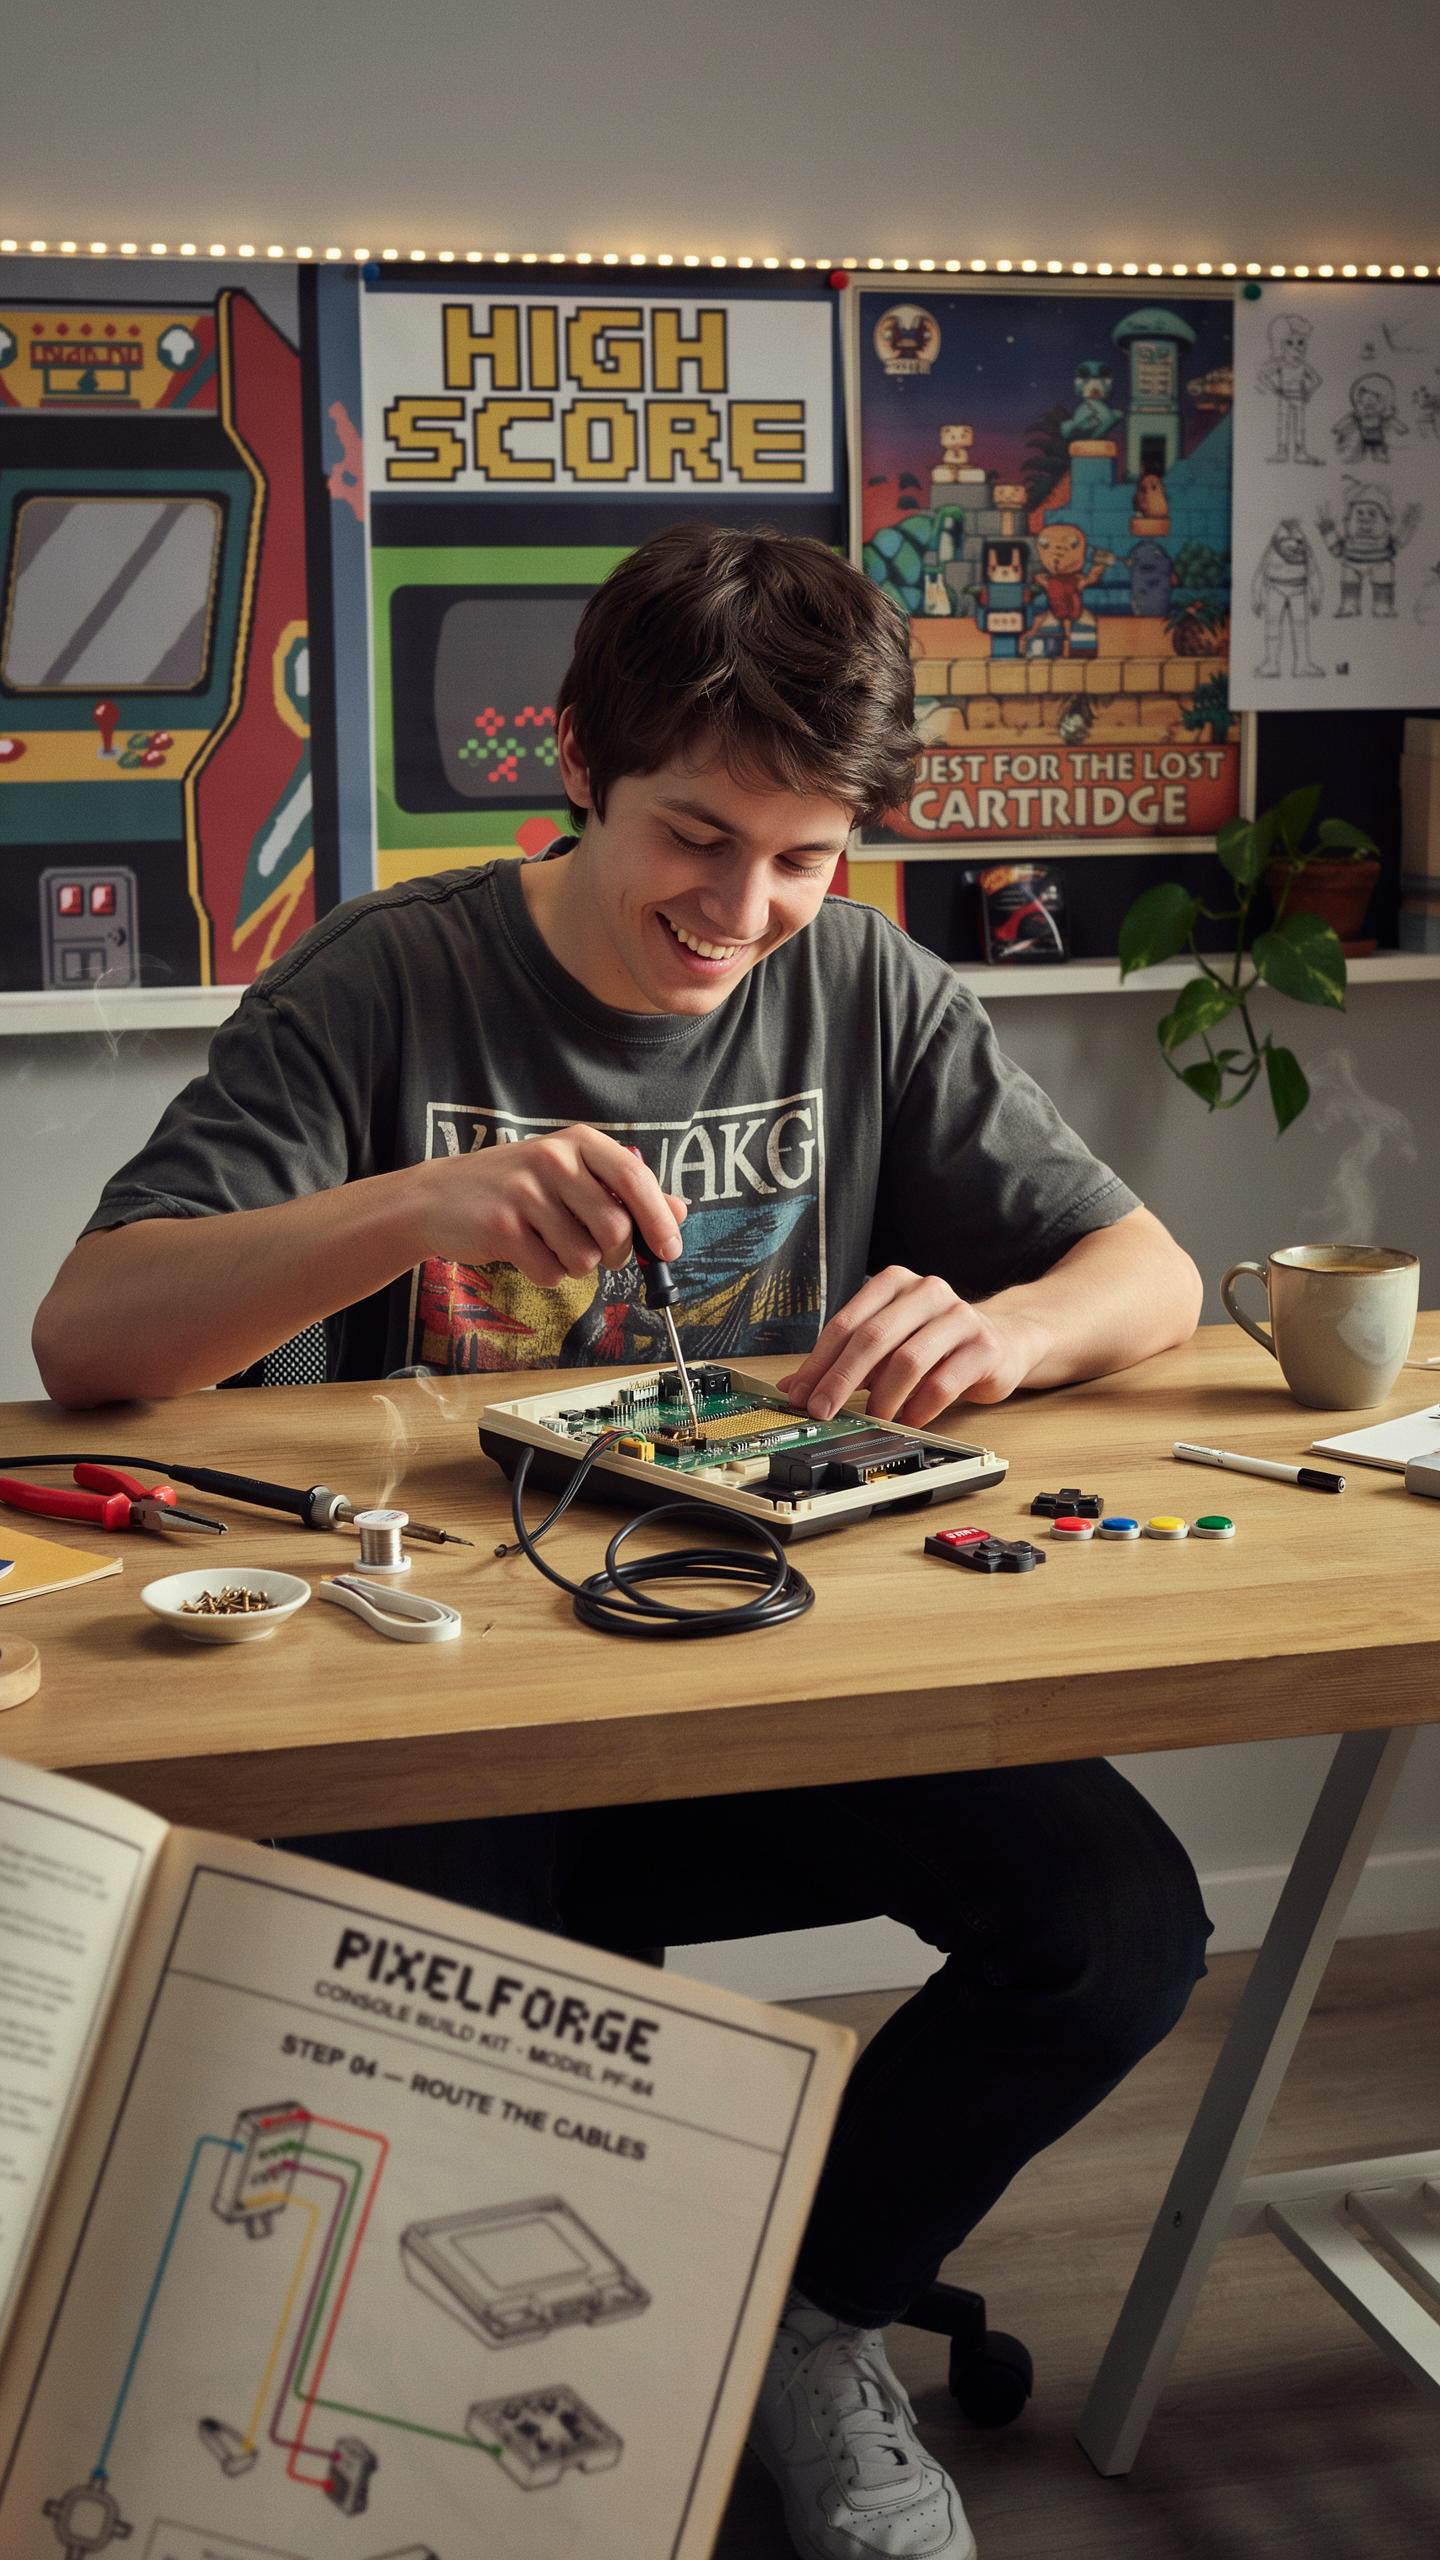
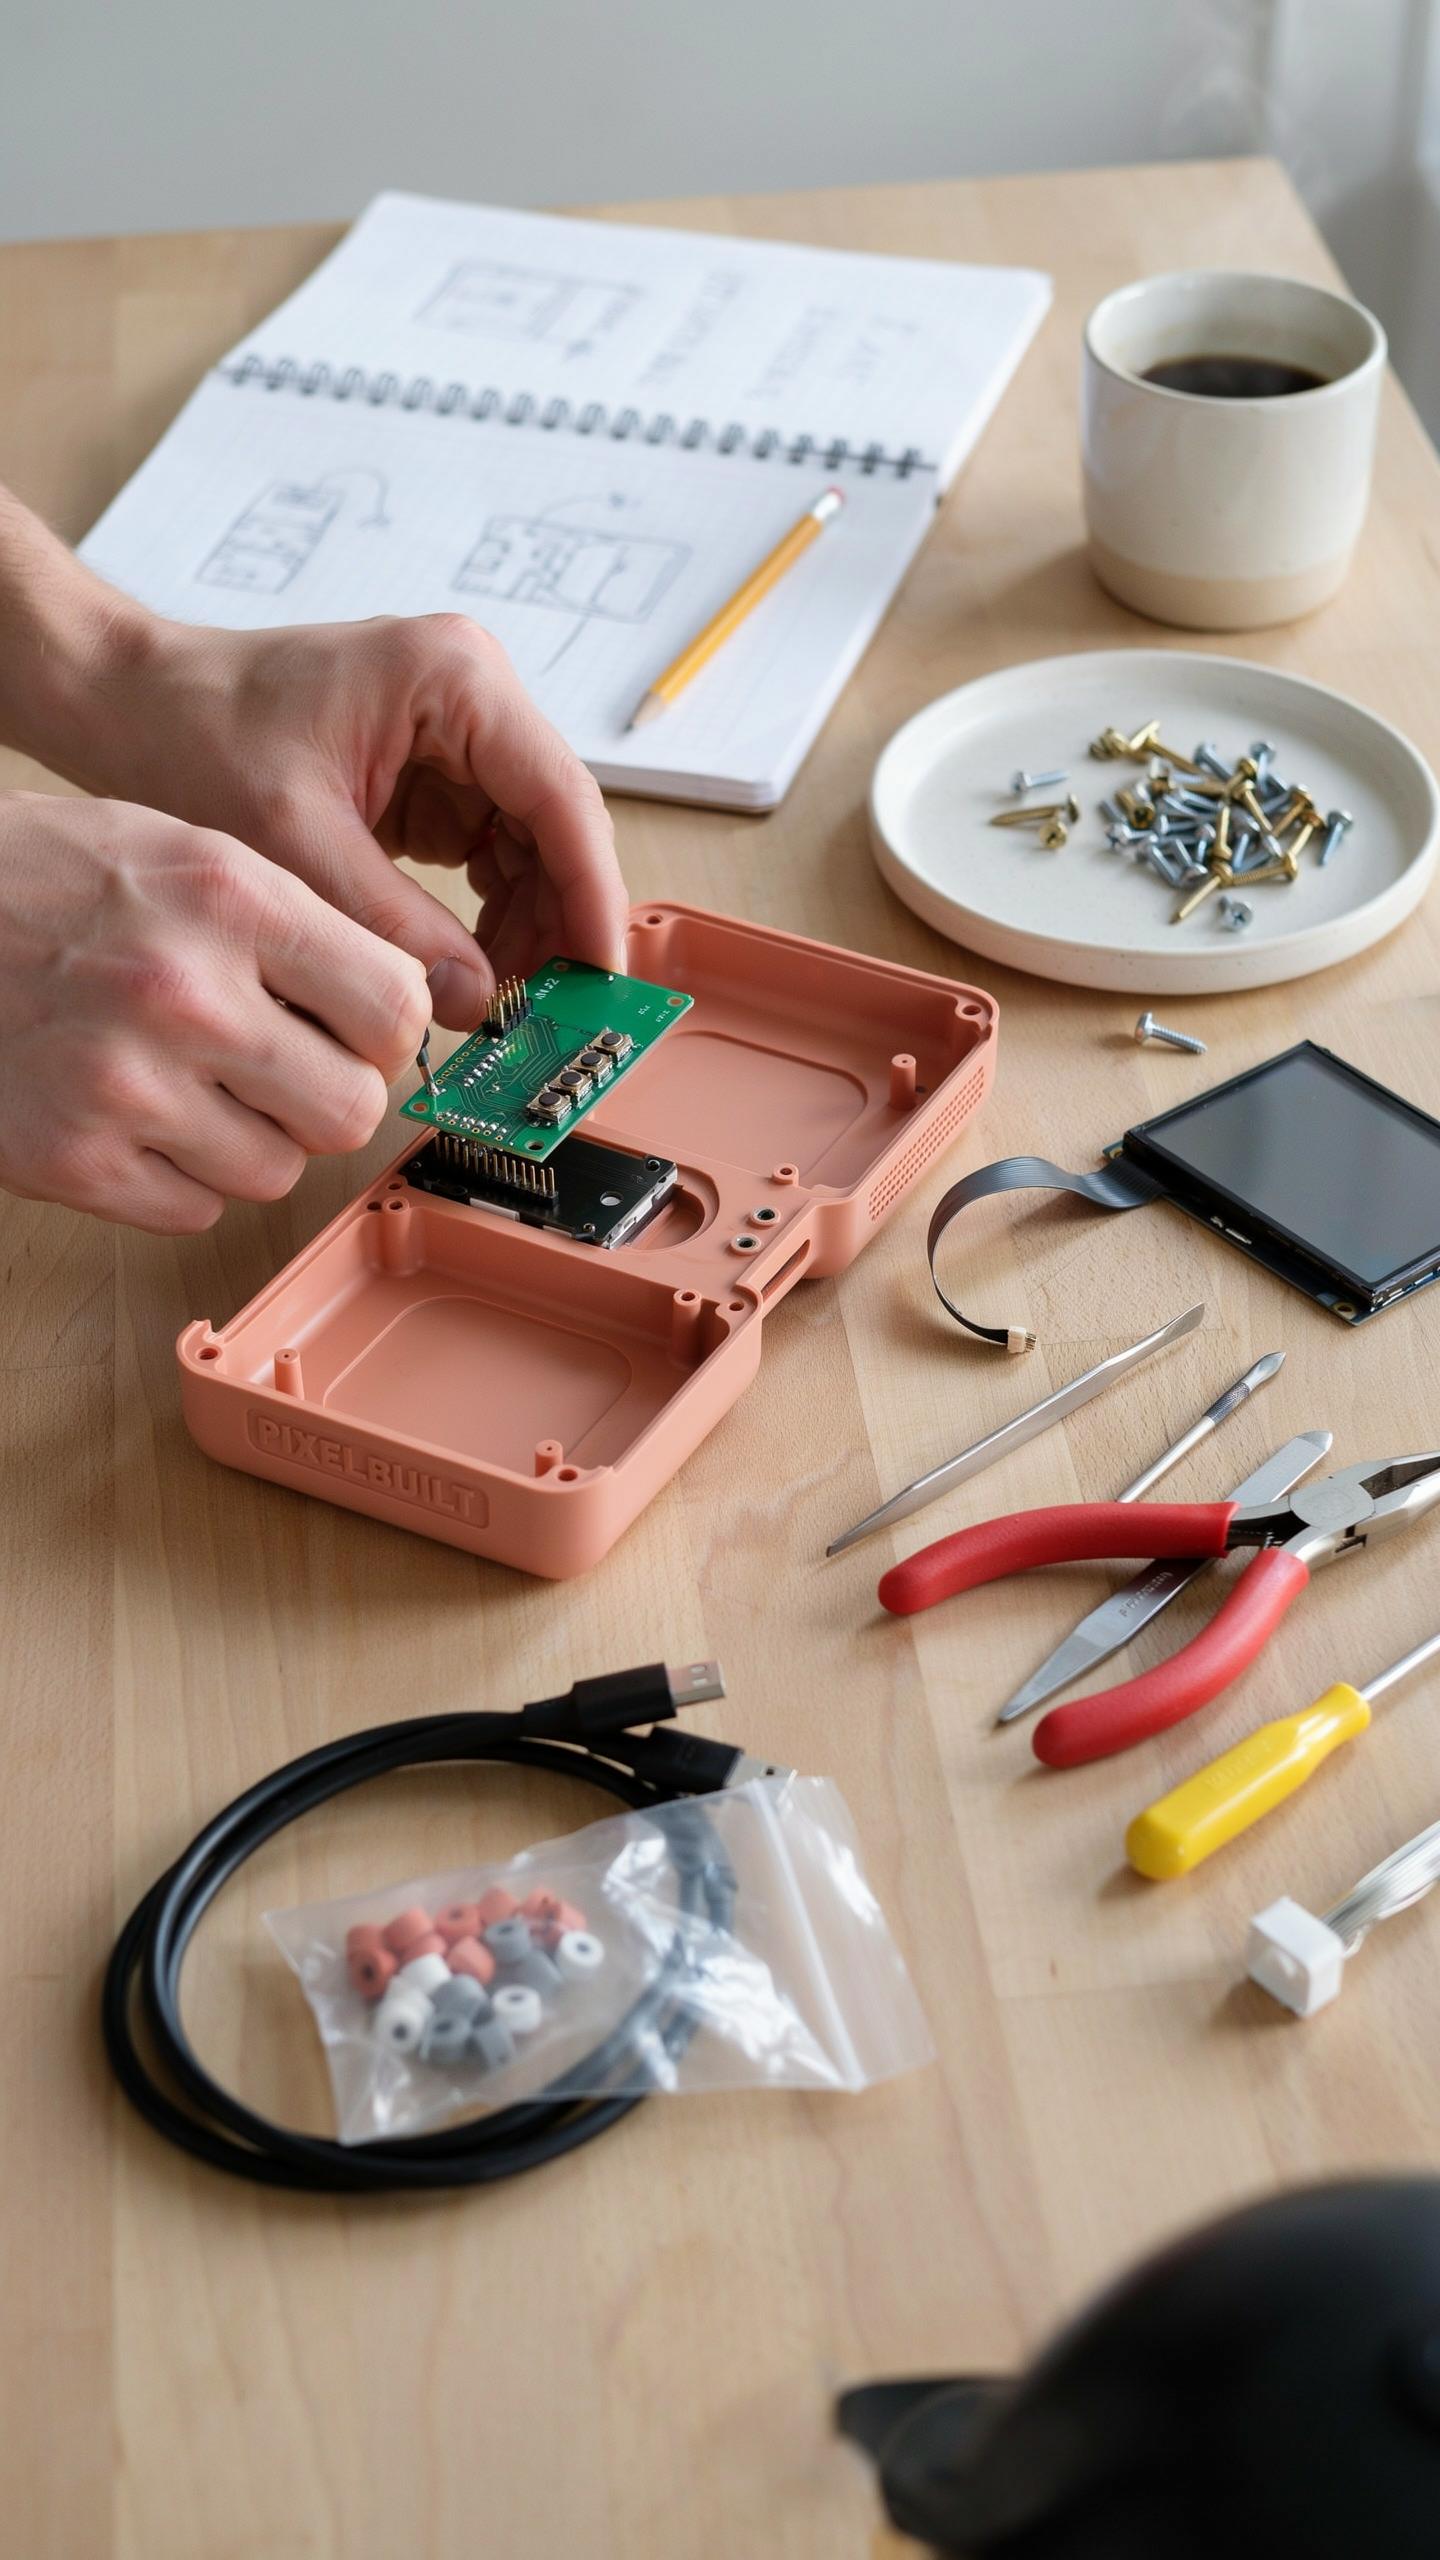
Start with your motherboard or main processing unit. Place it in the case base and secure it according to your kit’s specifications. Connect the power supply to the motherboard first. This step powers everything else, so get it right before moving forward with additional connections.
Next, install your storage drive and connect it to the motherboard via the appropriate cable. Attach your controller ports and USB connections to designated headers on the board. Connect your HDMI or video output cable. Wire the power button and LED indicators to their corresponding pins. Once all physical connections are complete, close the case and perform your initial power up to confirm the system boots.
Troubleshooting Common Issues During Assembly
Power failures during startup indicate loose power connections or incompatible power supplies. Check that your PSU cable seats fully into the motherboard power header. Verify the power supply matches your kit’s voltage and amperage requirements. Test with a different outlet to rule out electrical problems at your location. If the system still fails, inspect solder joints on the motherboard for cold connections or damage.
No video output means your HDMI connection needs attention. Reseat the HDMI cable firmly into both the console and your display. Try a different HDMI cable and different display input to isolate the problem. Check that your storage drive contains the operating system files and games you installed. Controller detection issues require you to verify USB connections to the motherboard and update any necessary drivers on your PC before connecting to the console.
Configuring Your Retro Games Console For Optimal Retro Gaming
Installing And Setting Up Emulation Software
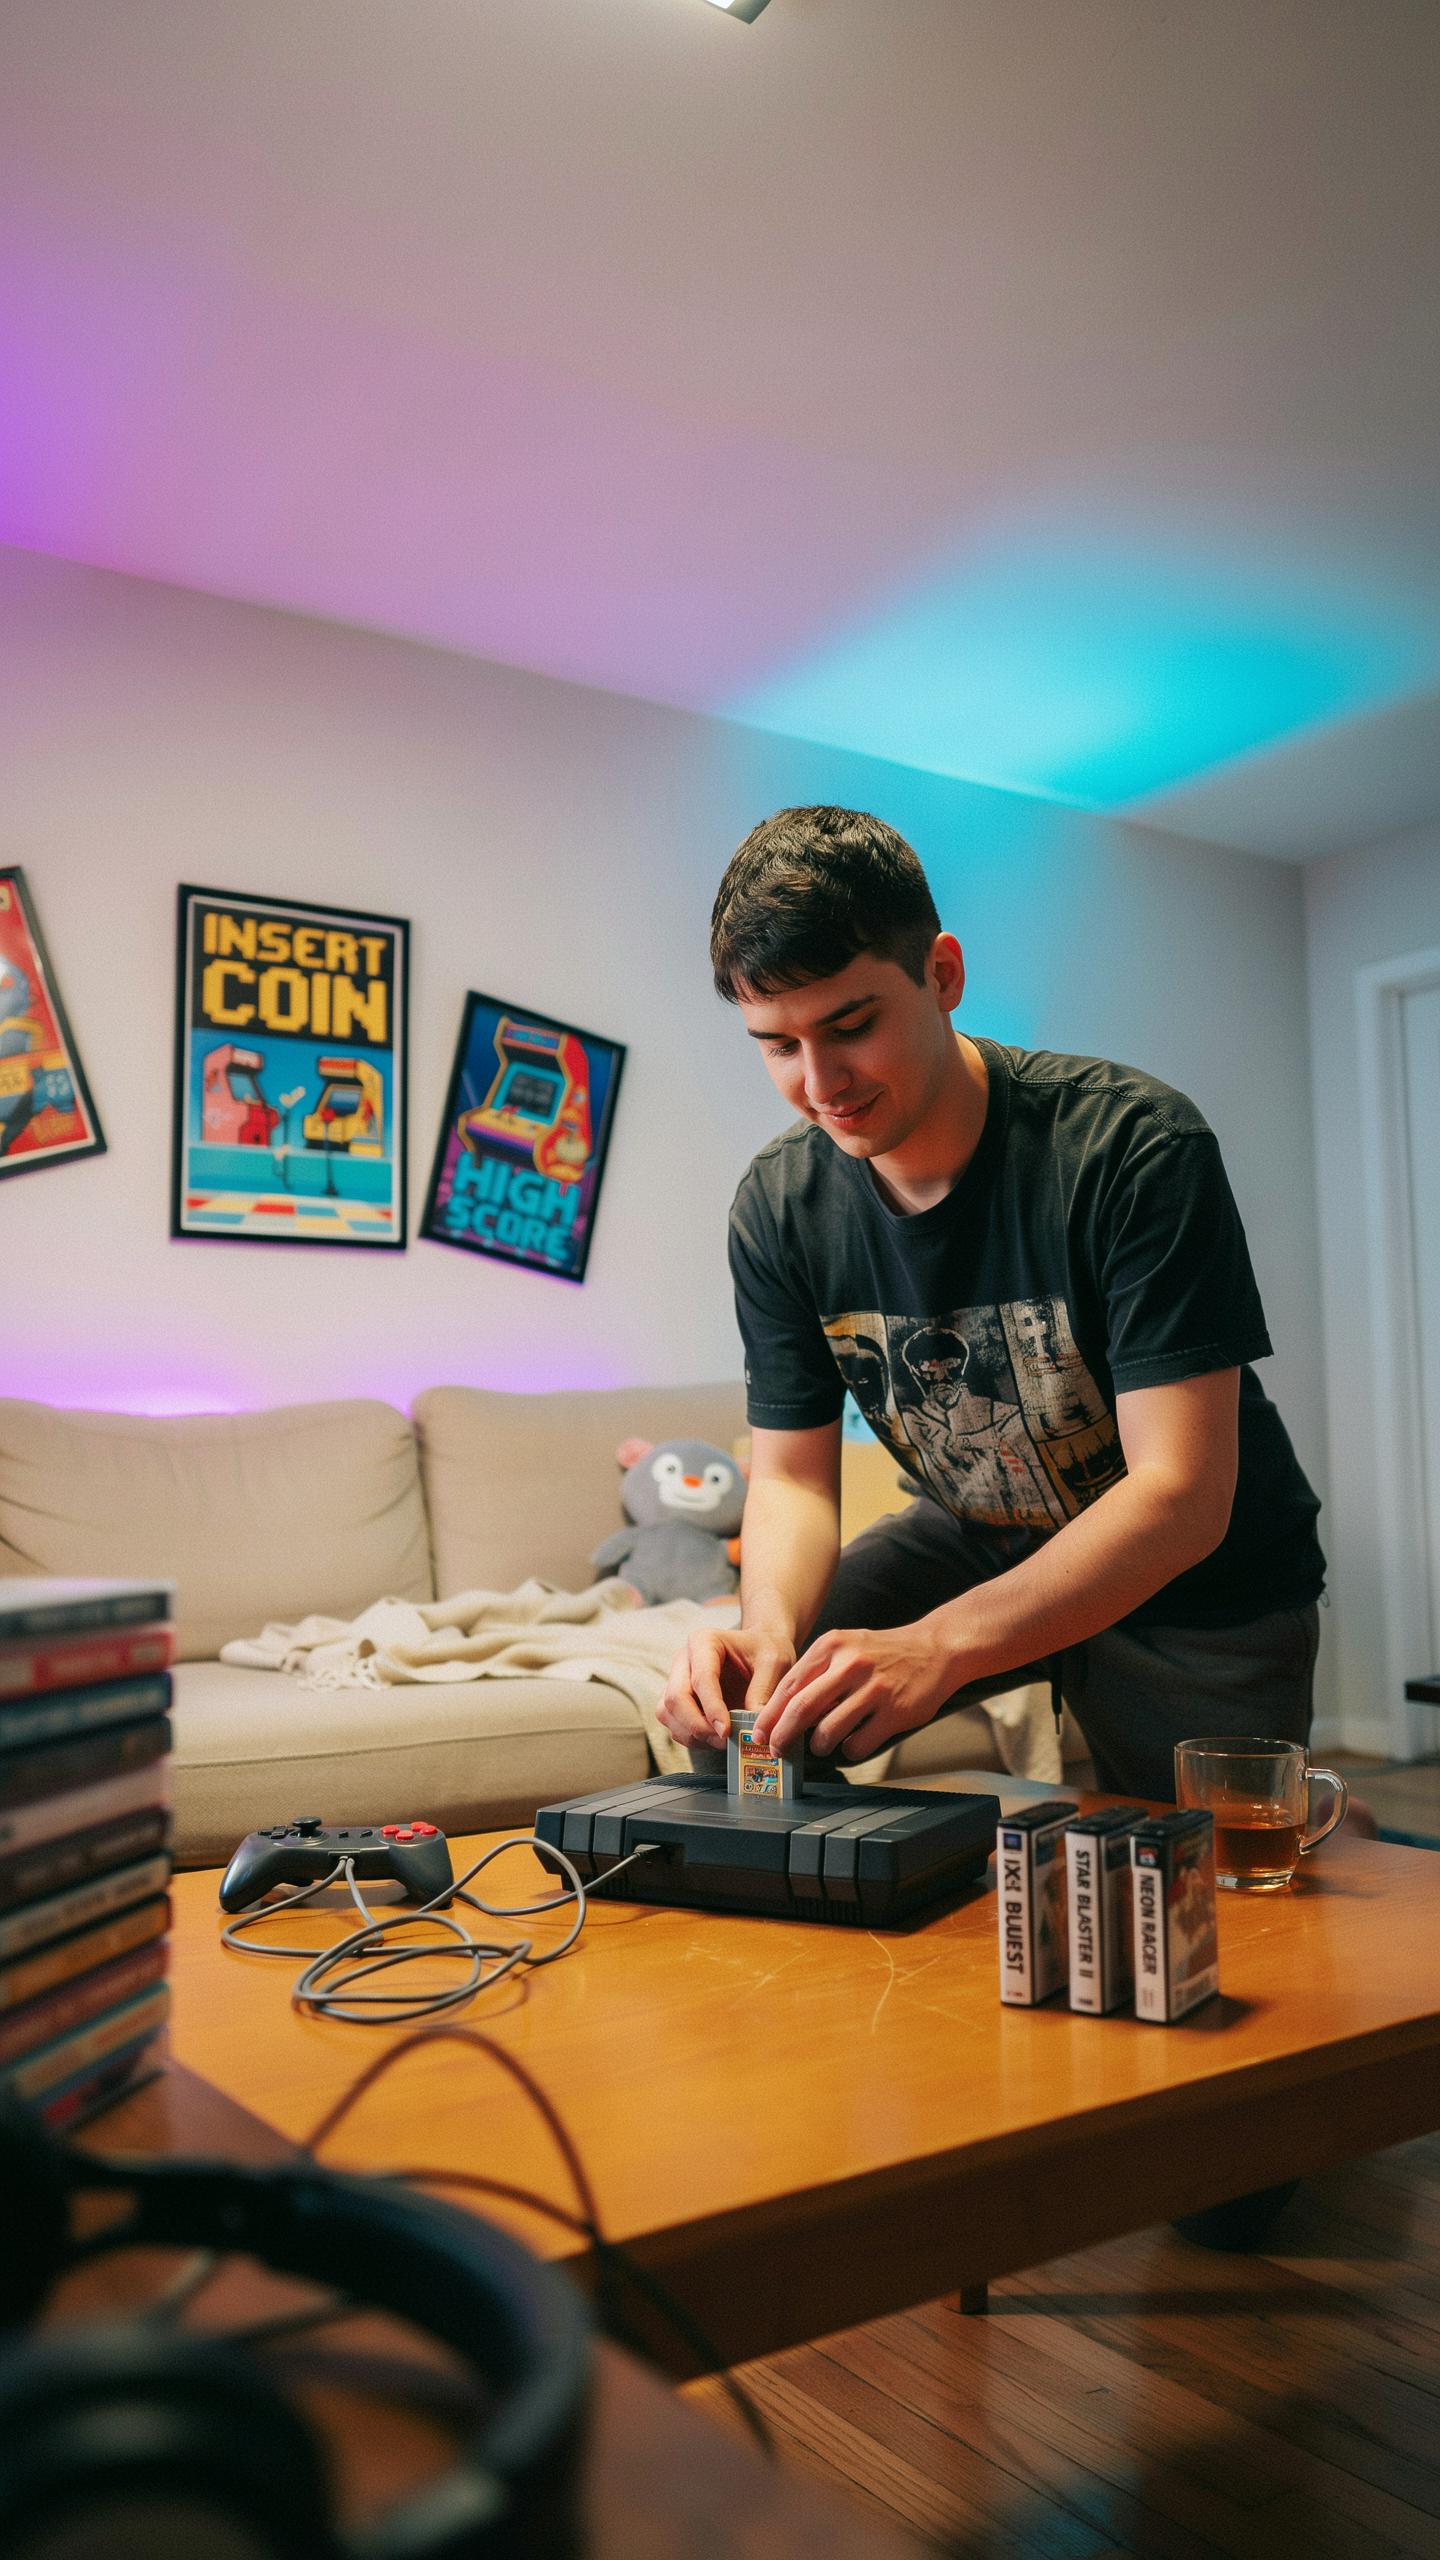
Your retro console build kit runs on emulation software that mimics the hardware of original systems. The most common platforms are RetroPie, Batocera, and Recalbox. These operate on Linux and handle multiple console architectures. Download the appropriate image file for your kit’s hardware, then flash it to an SD card using a tool like Balena Etcher or Win32 Disk Imager. This process takes minutes and requires a computer with an SD card reader.
After flashing, insert the SD card into your console kit and power on. The software walks you through initial setup. You configure controllers, set your region, and point the system to your game ROM directory. Most kits store ROMs organized by console type in folders. The emulator automatically detects and catalogs them. Proper folder structure prevents duplicate entries and search confusion. Take time during this phase to organize your collection before loading hundreds of games.
Optimizing Performance And Display Settings
Resolution and frame rate settings directly impact gameplay smoothness. Access the emulator settings menu through your console’s interface. Most kits default to 720p output, which works for most retro titles. Adjust scaling options to eliminate blurring on modern screens. Integer scaling preserves pixel-perfect graphics by enlarging games proportionally without interpolation. This matters most for 8-bit and 16-bit era games where visual clarity affects playability.

Audio sync and video refresh rates require matching for tear-free performance. Enable V-Sync to lock frame rates to your display’s refresh rate, typically 60Hz. Some emulators offer per-game profiles where you save custom settings. Use this feature for problematic titles that stutter or display incorrectly with standard settings. Test games after adjustments to verify improvements. Fine-tuning takes trial and error, but the effort prevents frustration during actual gameplay sessions.
Beyond The Build Enhancing Your DIY Retro Game Controller Project
Choosing And Connecting Your DIY Retro Game Controller Project
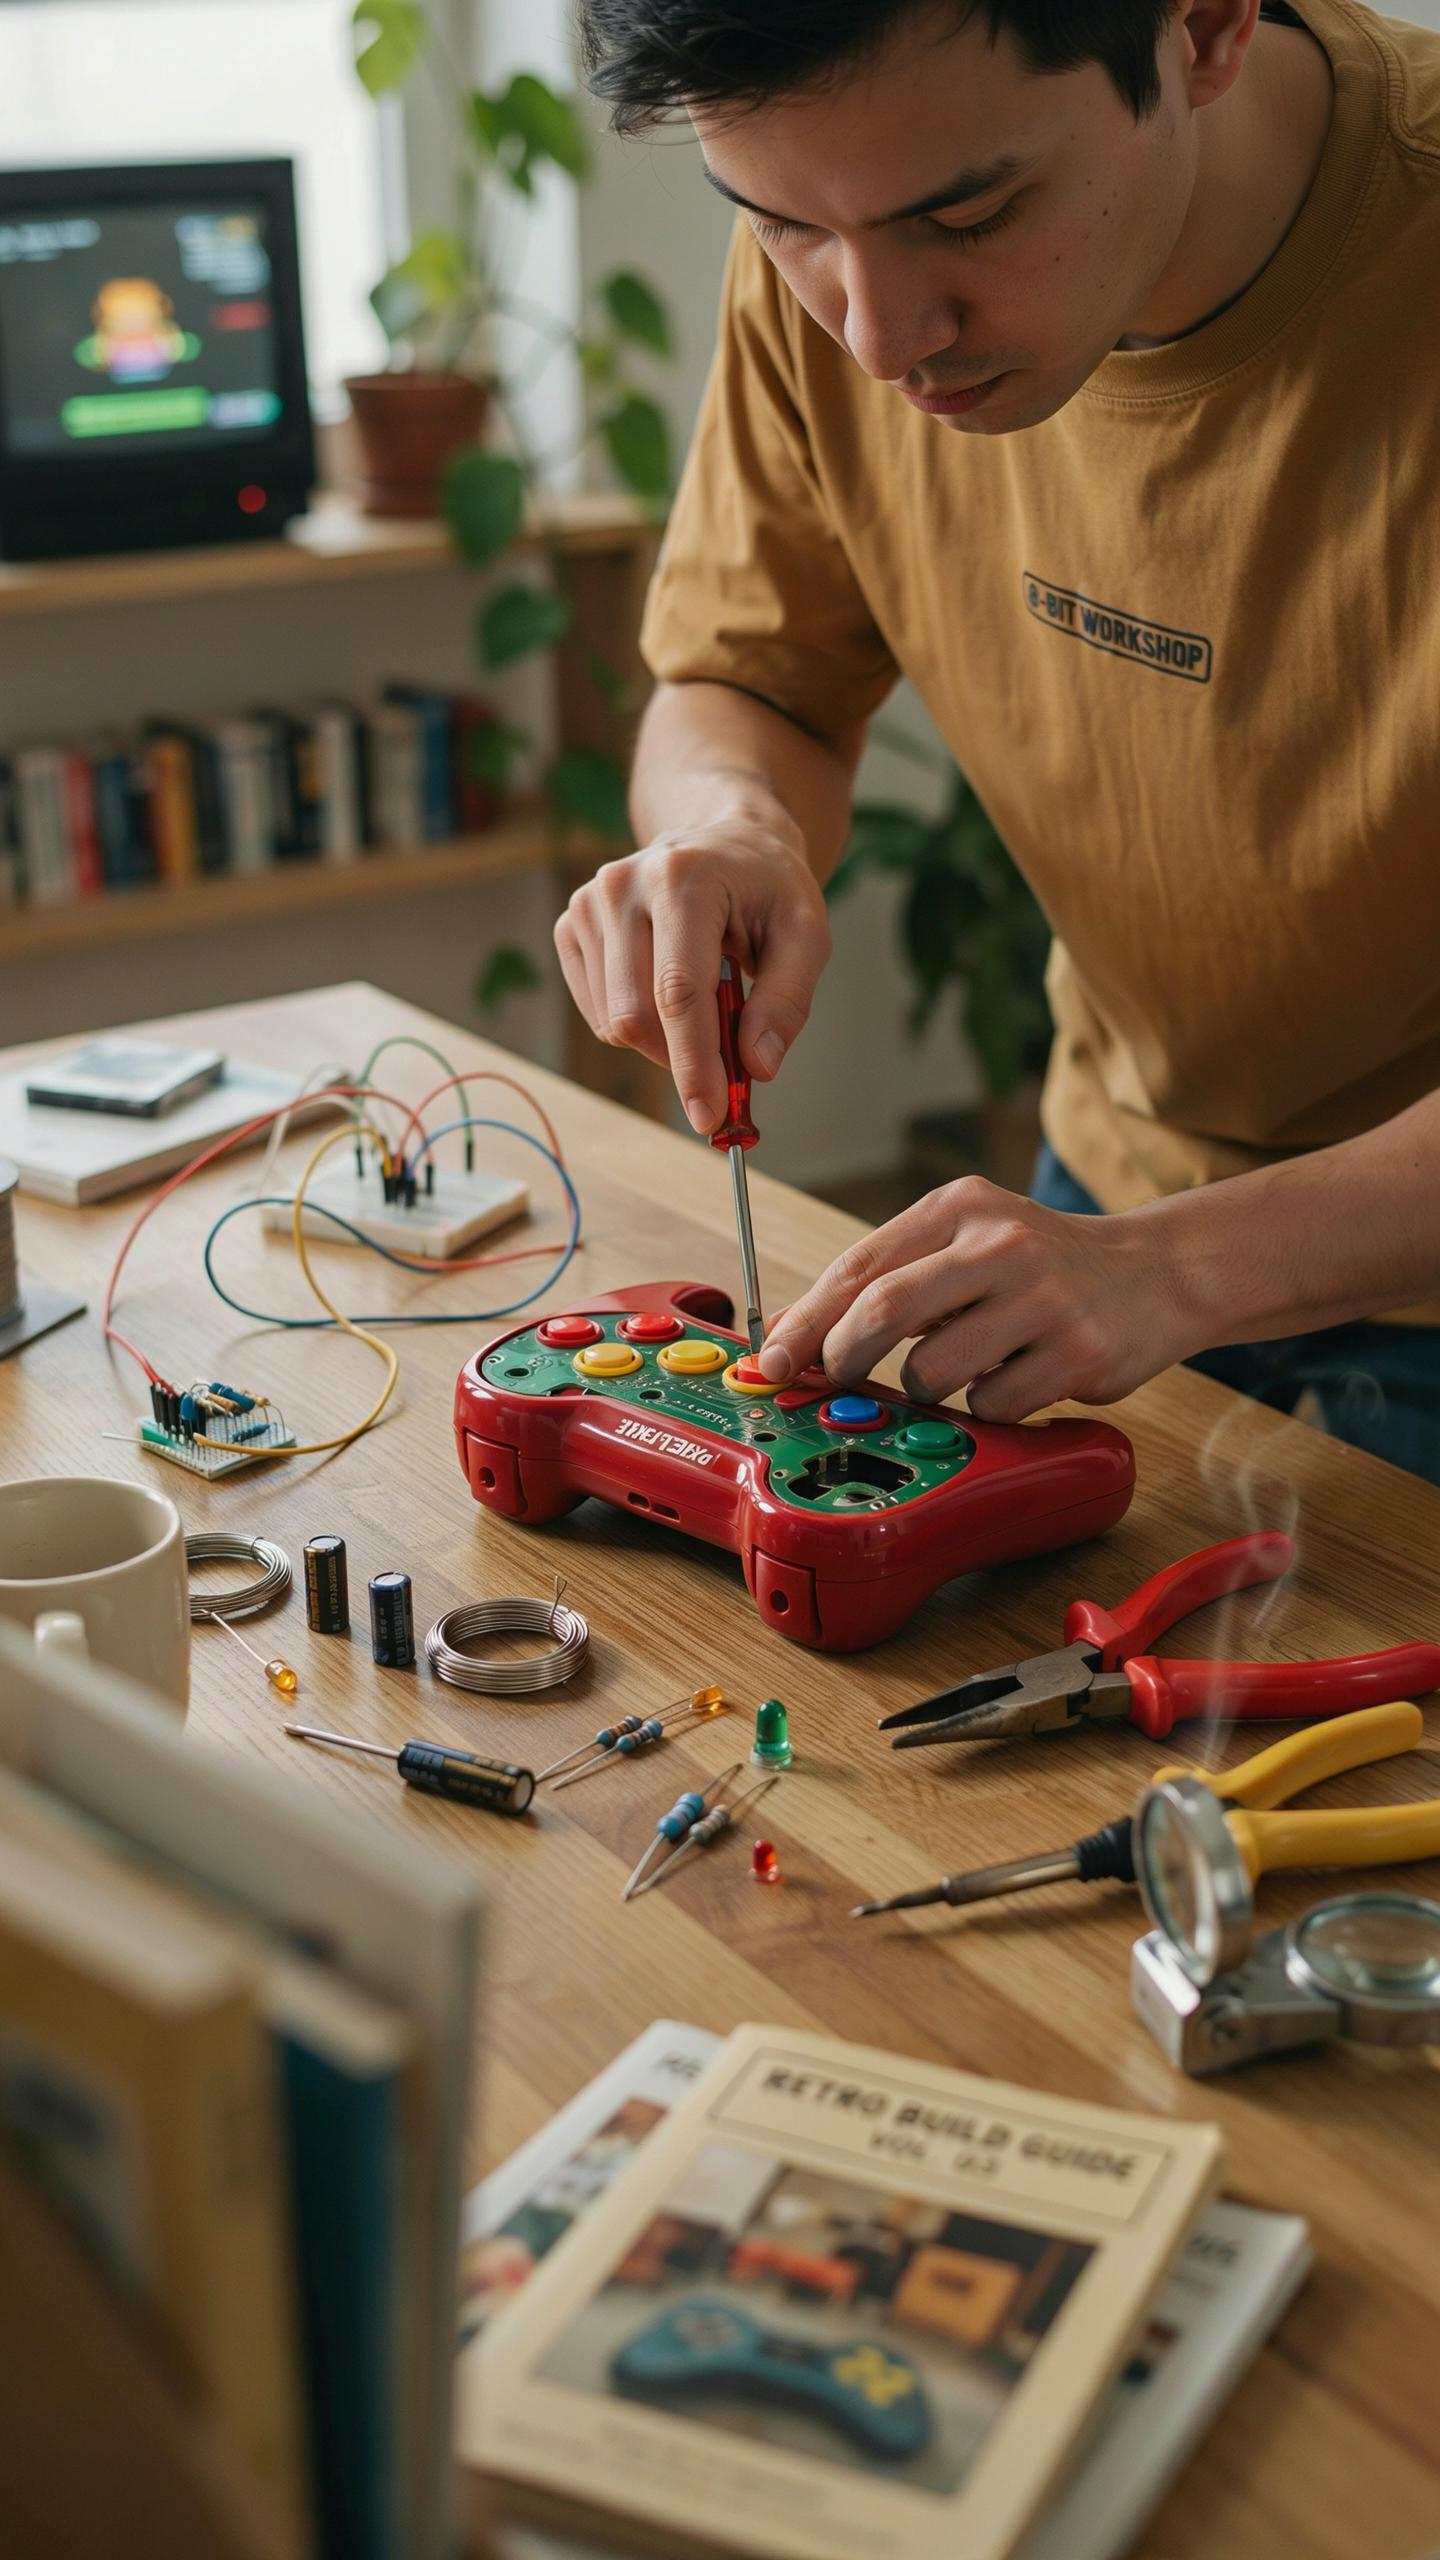
Your retro console build kit requires a controller solution that matches your hardware and gaming preferences. You have three core options: original controllers sourced from the secondary market, third-party replicas designed for modern comfort, or USB adapters that convert classic controllers for contemporary systems. Each path trades cost against authenticity and ergonomics differently.
Connection methods depend on your build kit’s specifications. Most modern retro kits use USB connections for simplicity and compatibility with emulation software. Wireless options exist but introduce latency concerns for competitive or timing-sensitive games. Verify your kit’s documentation before purchasing controllers to avoid incompatible hardware that requires additional adapters.
Customizing Your Gaming Experience With Peripherals
Accessory choices expand your retro setup’s functionality without compromising the original experience. Light guns work with specific kits that support them, arcade sticks provide alternative input for fighting games, and extra controllers enable multiplayer gaming without purchasing duplicate systems. These additions serve tactical purposes tied directly to your game library.
Video output upgrades matter more than most builders realize. HDMI converters eliminate the need for CRT televisions while preserving image quality. Audio solutions range from basic speaker systems to dedicated amplification for kits featuring original audio hardware. Select peripherals that address your specific technical gaps rather than accumulating unnecessary equipment.
Personalizing Your Diy Game Console Design
Creative Casing Options For A Unique Diy Game Console Design
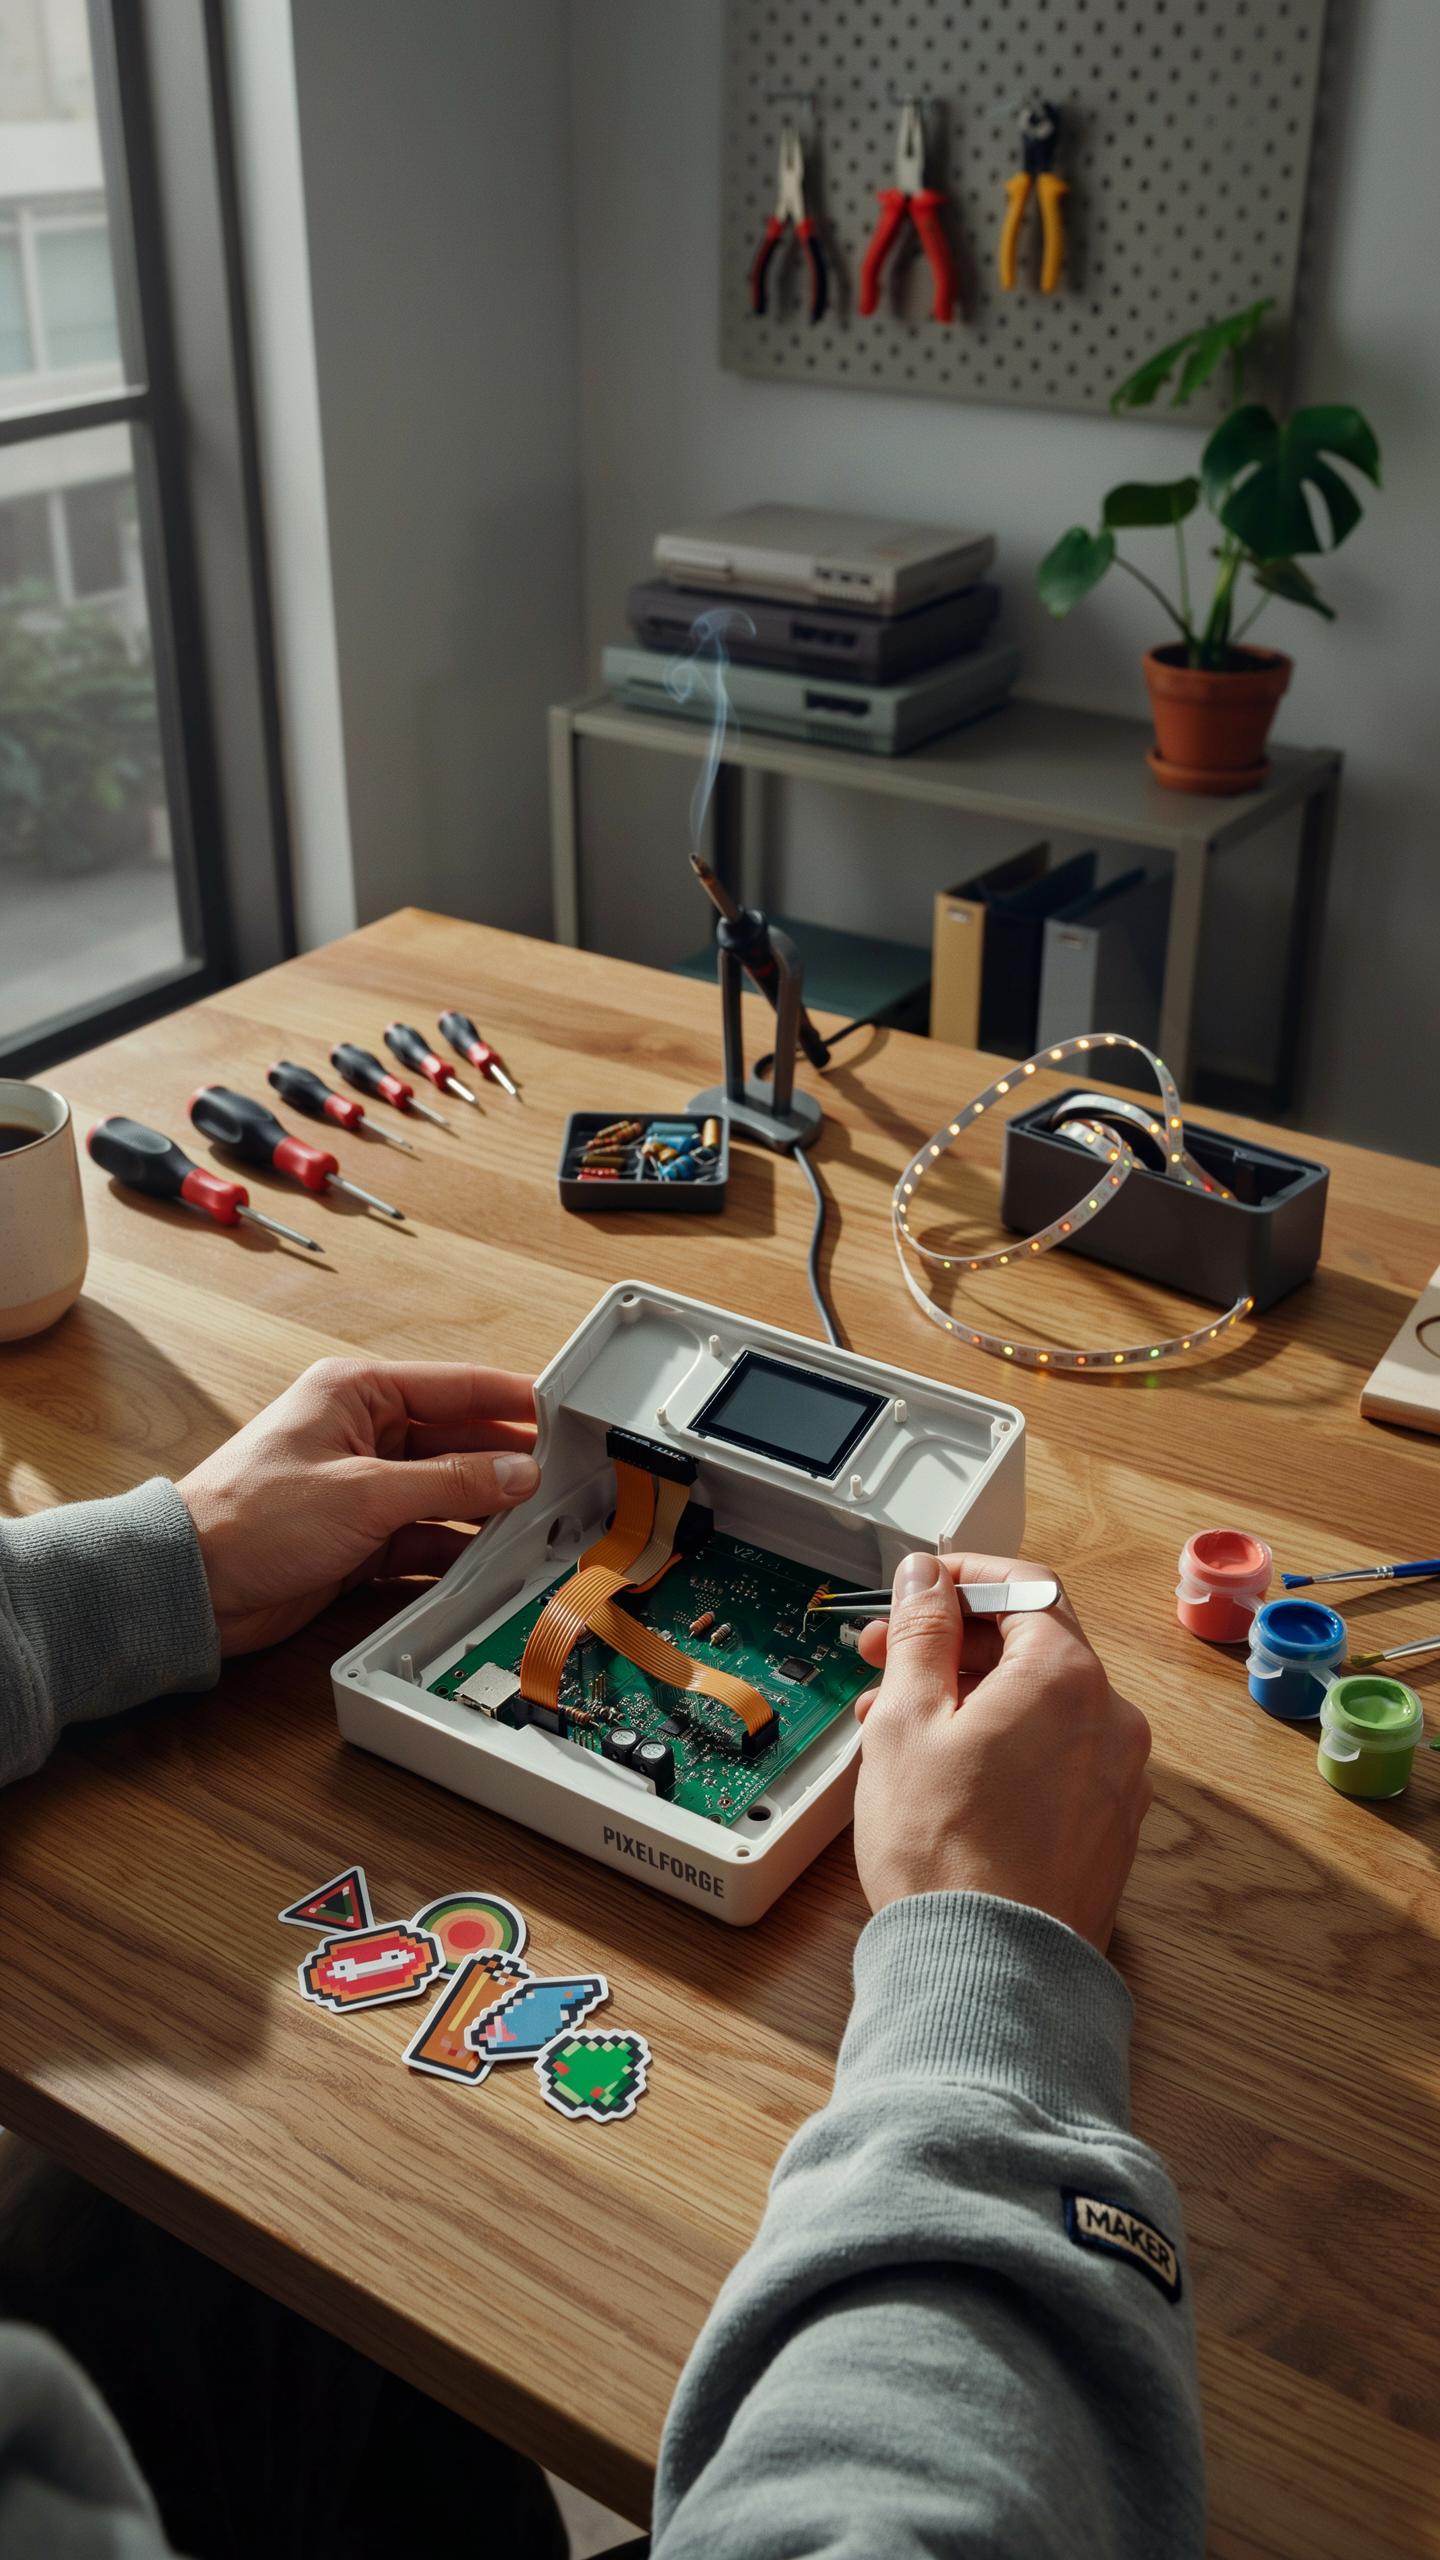
The housing of your console determines its durability and visual impact. You control this outcome directly. Stock cases work, but custom options give you control over aesthetics and function. Acrylic cases allow light to pass through, showcasing internal components. Wood cases offer a retro aesthetic matching 1980s and 1990s design sensibilities. 3D printing produces exact replicas of classic console shapes or entirely custom designs. Painting requires proper surface prep and appropriate paint types for plastic or metal surfaces.
Material selection drives both performance and appearance. Thermoplastics handle heat dissipation better than materials that trap warmth. Wood requires internal ventilation planning to prevent component damage. Metal cases conduct heat efficiently but add weight and cost. Your choice depends on component heat output, intended placement, and whether portability matters. Test your final design under load before committing to permanent modifications.
Adding Personal Touches To Your Retro Game Console
Custom controllers and button configurations transform user experience without affecting core function. Replace rubber membranes with mechanical switches for different tactile feedback. Rewire button layouts to match your muscle memory or game preferences. LED lighting inside the case highlights components and creates visual appeal during gameplay. Vinyl decals or stenciled artwork on the exterior reflect your personal style without structural changes.

Internal customization extends beyond aesthetics to practical improvements. Install custom fan systems for better thermal management than stock setups. Route cables through custom channels for cleaner internal organization. Add label plates identifying button functions or emulator information. These modifications take time but transform a generic build into equipment that matches your specific needs and preferences.
The Arduino Game Console A Deeper Dive Into DIY Gaming
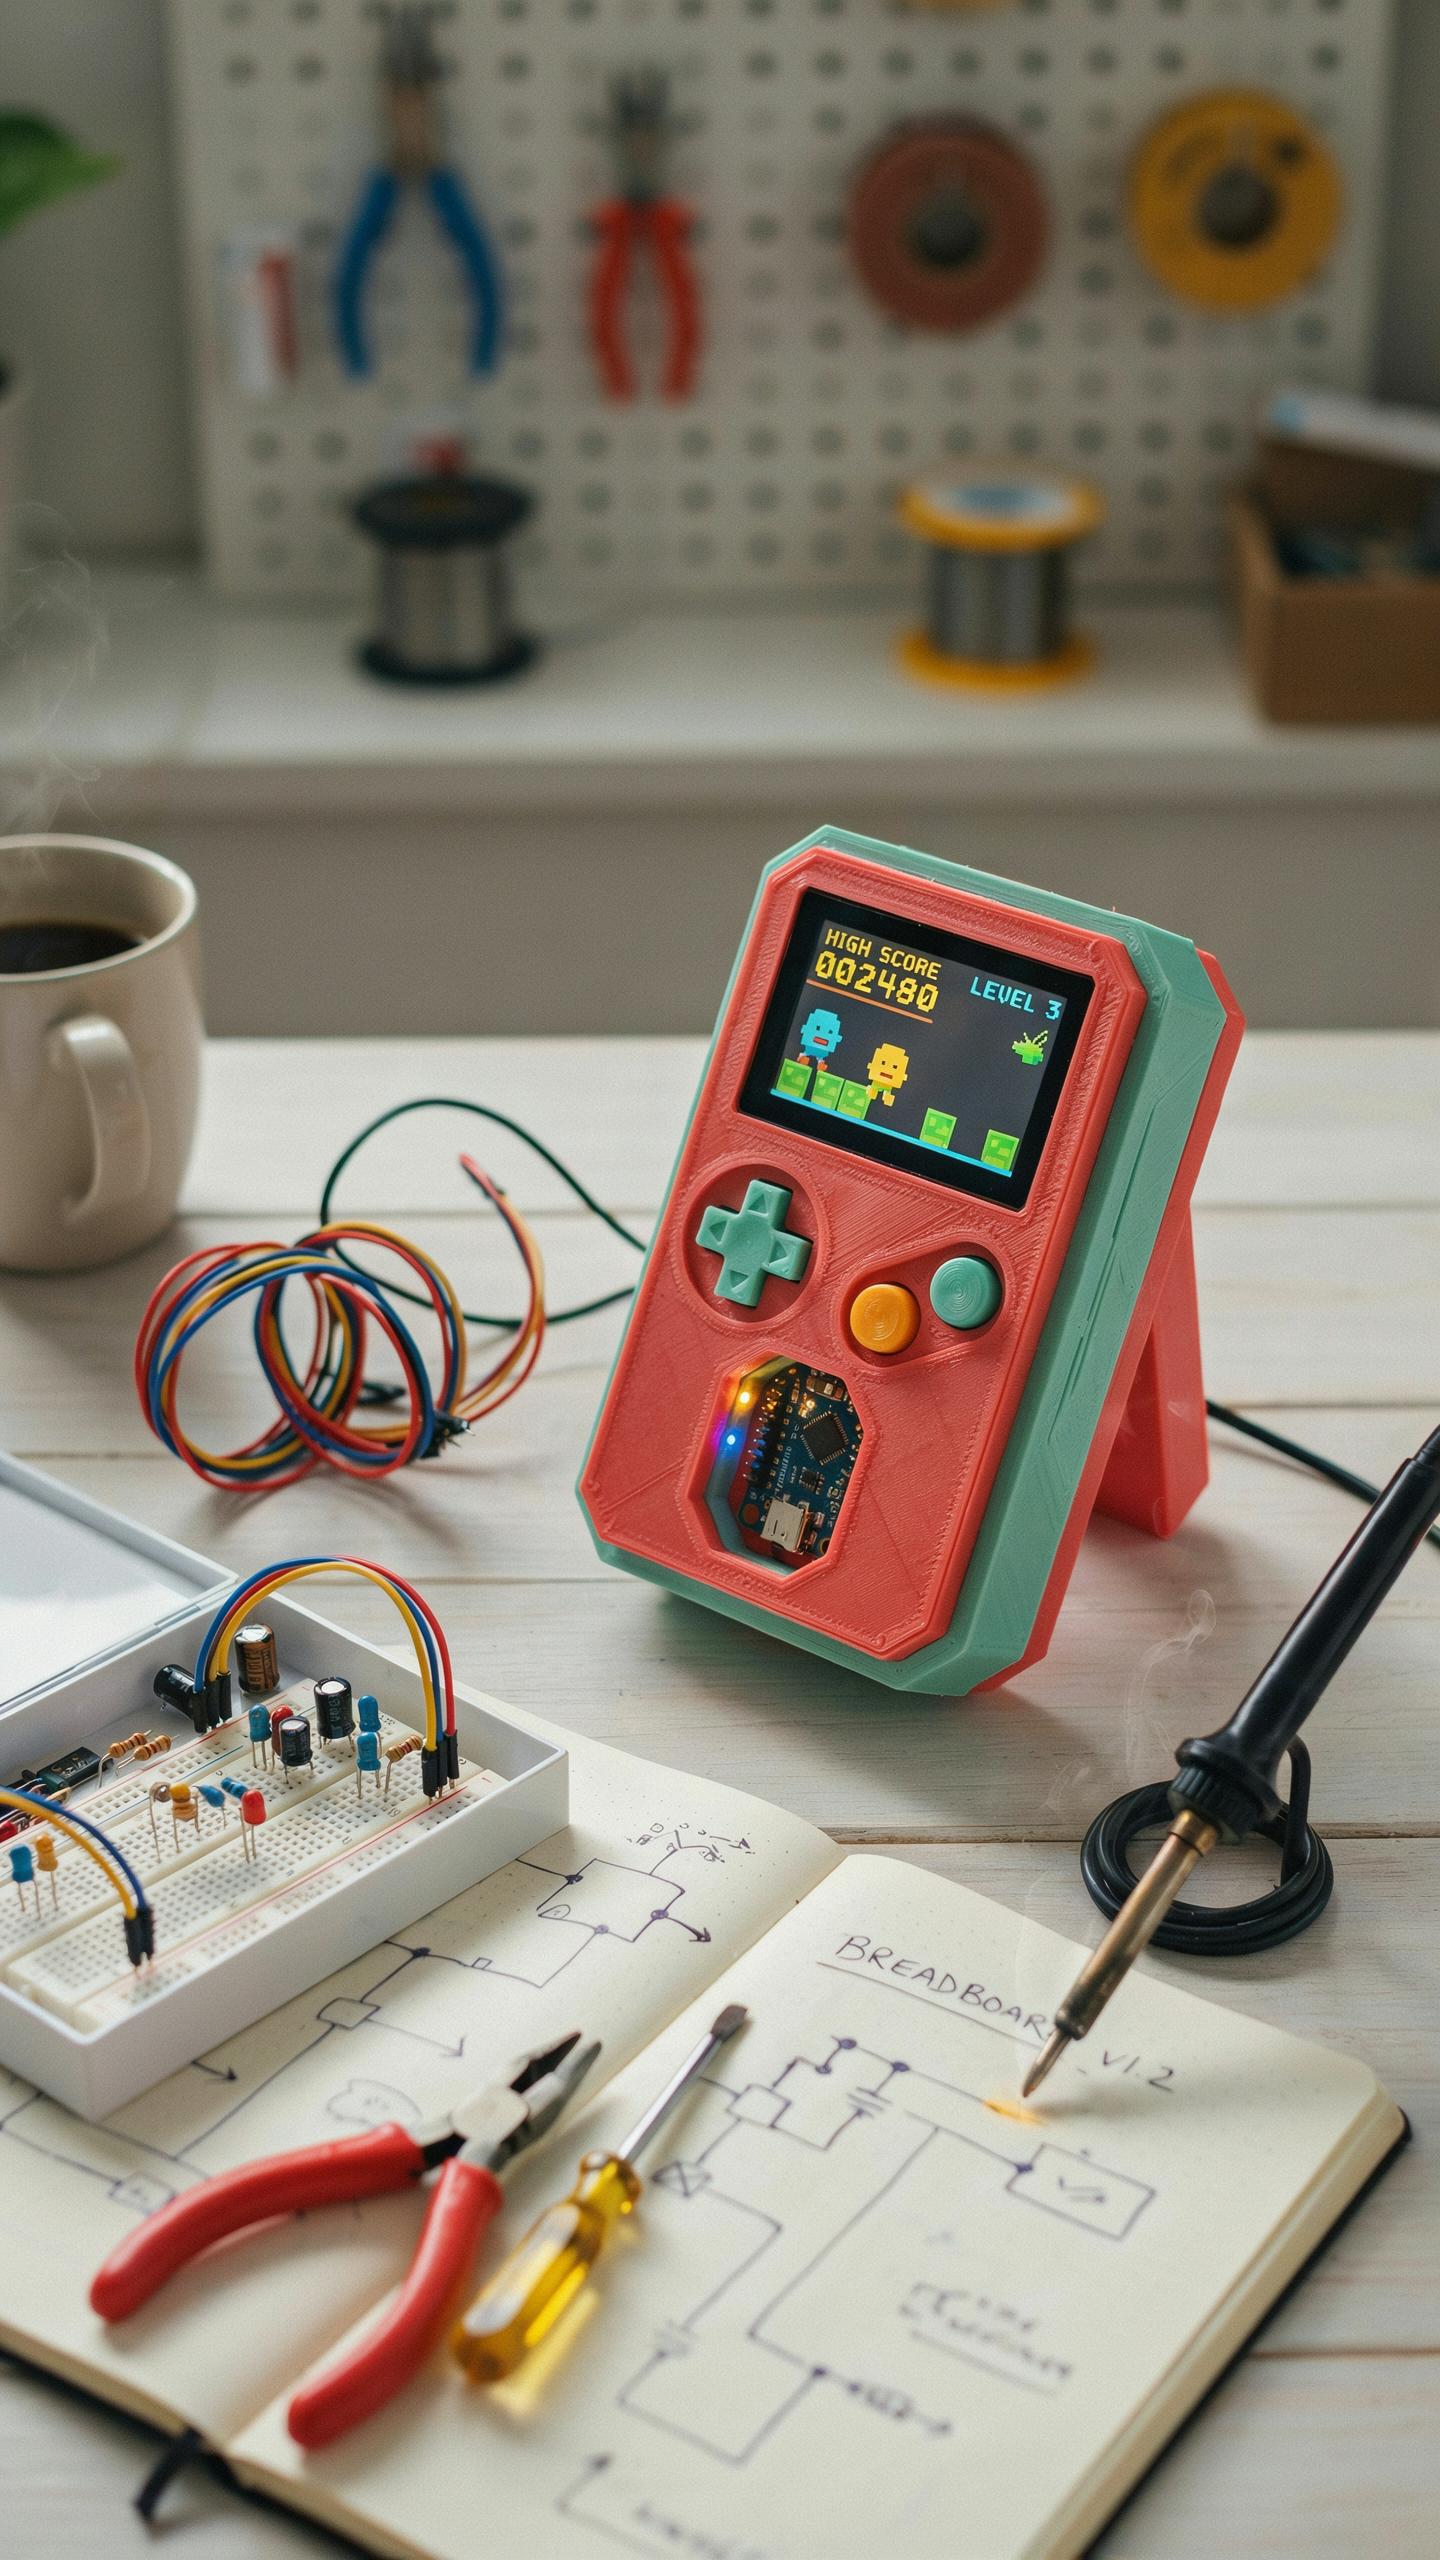
Introduction To Arduino For DIY Game Console Enthusiasts
Arduino boards are microcontrollers that run open source software. They accept input from buttons and sensors, then output to screens or speakers. Builders use Arduino for game consoles because the platform costs under fifty dollars, supports multiple programming languages, and has extensive online documentation. The boards connect to standard components like LCD displays and SD card readers without proprietary licensing.
Arduino gained traction in the maker community around the mid-2000s. The platform prioritizes accessibility over raw processing power, making it ideal for hobbyists building retro game console kits. You write code on your computer, upload it to the board, and the Arduino executes your instructions. No soldering knowledge is required for basic builds using breadboards and jumper wires.
Exploring The Potential Of An Arduino Game Console
Arduino consoles handle simple pixel art games and 8-bit style graphics effectively. Processing limitations mean you cannot run demanding titles or modern graphics engines. The platform excels at recreating games from systems like the Atari 2600 or early Nintendo handhelds. Storage constraints require games to load from SD cards rather than being stored on the board itself.

Custom Arduino consoles let you build exactly what you want without compromising to commercial design decisions. You control button layouts, screen sizes, and game libraries. Performance ceilings are real though. Complex audio synthesis, high resolution displays, and simultaneous multiplayer features push Arduino past its capability threshold. Many builders transition to Raspberry Pi systems once Arduino limitations become apparent.
Expanding Your Retro Gaming Library Where To Find Diy Game Console Content
Legally Acquiring Games For Your Retro Game Console
Your options for obtaining games legally depend on the original copyright holder’s current stance. Nintendo, Sega, and Atari still control many titles and actively enforce rights. Purchase physical cartridges and discs from secondhand markets, eBay, and retro game shops. These used copies generate no revenue for rights holders, making them legally safe. Official re-releases through Nintendo Switch Online and similar services provide legal access to curated libraries.
Some publishers have abandoned enforcement on older titles, though abandonment does not equal legal permission. Research each game’s copyright status before downloading. Emulation itself is legal, but distributing copyrighted ROMs remains illegal regardless of a game’s age or availability. Contact publishers directly when uncertain about a specific title’s legal status. Documentation protects you from liability and clarifies your position.
Building your own retro console isn’t just a project; it’s a journey back to the joy of simple, timeless fun. As Shigeru Miyamoto once said, “A delayed game is eventually good, but a rushed game is forever bad.” Take your time, craft your experience, and rediscover the magic.
Community Resources And Homebrew For Diy Game Console Builds
Retro gaming communities on Reddit, GitHub, and specialized forums share technical guides, build documentation, and troubleshooting advice. Sites like Archive.org maintain historical information about console hardware and emulation development. These communities operate transparently about legal boundaries and direct users toward legitimate content sources. Active participation connects you with experienced builders who accelerate your learning curve significantly.
Homebrew games represent original creations designed for retro hardware by independent developers. Platforms like itch.io host free and paid homebrew titles for systems like NES, SNES, and Sega Genesis. Many developers explicitly permit distribution on retro consoles they’ve built. These games expand your library without licensing complications and support creators directly. Contributing to homebrew communities strengthens the entire retro gaming ecosystem.
The Community And Future Of Diy Retro Game Console Project
Connecting With Other Diy Retro Gaming Enthusiasts
Reddit hosts dedicated communities like r/retrogaming and r/emulation where builders share builds, troubleshoot hardware issues, and exchange component recommendations. These forums provide direct access to experienced builders who answer technical questions and validate your approach before you invest money.
RetroPie forums and GitHub repositories connect you with active developers who maintain software and share configuration guides. Discord servers focused on retro gaming offer real-time chat for quick answers. Local maker spaces and retro gaming conventions provide in-person opportunities to see working builds and network with experienced hobbyists who understand your project goals.
The Evolving Landscape Of Diy Video Game Console Technology
Single-board computers like the Raspberry Pi 5 and newer alternatives continue improving processing power and compatibility with older game systems. This advancement expands which classic consoles you can emulate accurately and reduces lag in performance-sensitive games that require precise timing.
Custom firmware development remains active across multiple platforms. Developers release updates that improve game compatibility, add new features, and optimize performance for emerging hardware. This ongoing work ensures your build stays functional and gains capabilities over time without requiring complete rebuilds or hardware replacements.
Frequently Asked Questions

What exactly is a retro game console build kit, and is it suitable for someone new to electronics?
A retro game console build kit provides all the components you need to assemble your own classic gaming system. Many kits are designed with beginners in mind, offering clear instructions and pre-sorted parts, making it a fantastic entry point into electronics assembly and a rewarding weekend project with timeless gaming fun.
What is involved in building a retro game console from a kit, and what tools will I need?
Building a retro game console from a kit typically involves following step-by-step instructions to connect components like microcomputers (e.g., Raspberry Pi), control boards, and cases. You’ll usually need basic tools such as a small screwdriver set, and sometimes a pair of pliers or cutters. Some kits may require minor soldering, but many *retro game console build kit* options are solder-free.
Are retro game console build kits expensive, or are there affordable options for new builders?
The cost of a retro game console build kit can vary widely, but there are definitely affordable options available, especially for those new to building. You can find entry-level kits that provide a great starting point without breaking the bank, allowing you to enjoy the DIY experience and classic gaming on a budget.



