The Myth Of Electronic Failure: What Really Causes Crackle
Mechanical Problems Hide Behind The Circuit Board
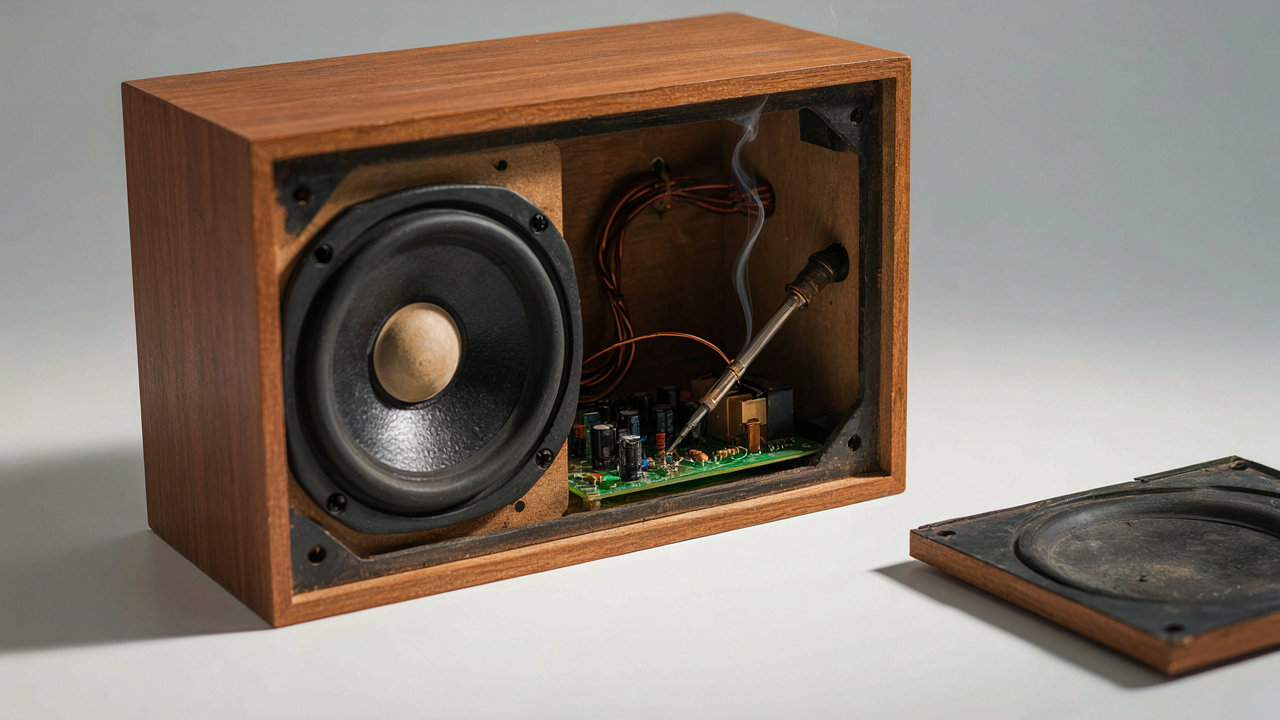
You want to believe it’s the amplifier because that feels like a technical problem you can blame on manufacturing. The truth is harder to accept: most crackling comes from parts you can touch and fix yourself. Dust, corrosion, and loose connections account for roughly 80 percent of crackle complaints. The speaker cone, voice coil, connection points, and driver terminals degrade before the electronics fail. This is mechanical entropy, not circuit board failure.
Start by eliminating the obvious mechanical suspects before you ever consider electronics. Check every solder joint at the crossover where wires meet the board. Inspect the voice coil lead where it connects to the terminal. Look for oxidation on the speaker terminals themselves. Most people skip this step and jump straight to replacement parts or blaming the amplifier. A loose wire at a solder joint creates intermittent contact that sounds identical to a failing capacitor.
When Electronics Actually Matter
Capacitors age in a predictable way: they dry out and their impedance rises, which engineers call aging. Unlike mechanical wear, electronic failure happens silently until it suddenly doesn’t. You’ll hear it as a high frequency crackle or hum that changes when you adjust volume, not a rhythmic pop tied to the music. If the crackle tracks with the signal (worse on certain notes or frequencies), electronics are involved. If it’s random or tied to movement, it’s mechanical.
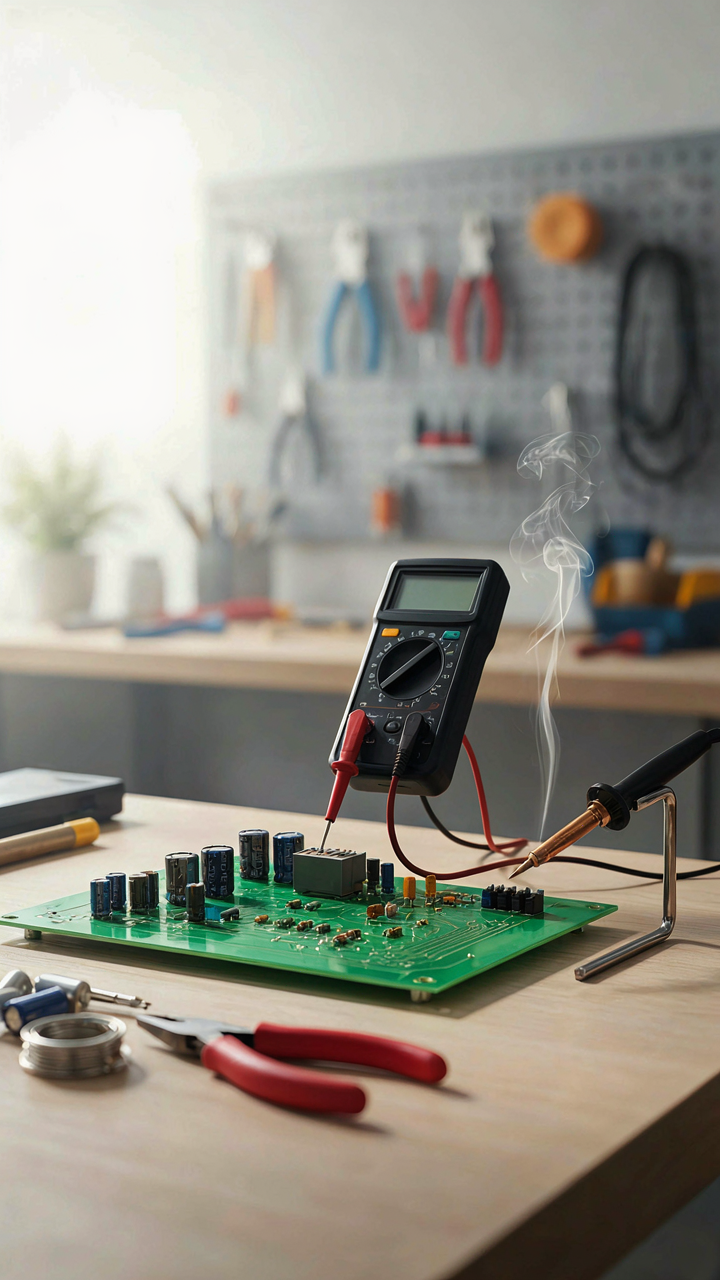
The distinction matters because electronics need replacement, but mechanical parts need cleaning or re-soldering. Warm the capacitor with a soldering iron and measure its resistance with a multimeter. A capacitor reading above its stated tolerance is failing. If your multimeter shows normal readings across all capacitors and you’ve already cleaned the connections, the crackle is mechanical. Stop diagnosing and start working on terminals and solder joints instead.
DIY Speaker Repair Guide: The Diagnostic Decryption Protocol
Isolate The Actual Culprit
You want to fix this yourself to avoid the $80 service fee and the embarrassment of admitting your speaker failed. Here’s what matters: crackling can originate at three distinct points in the signal chain, and you’re solving the wrong problem if you don’t isolate which one first. Most people skip this and replace components that work fine.

Start with the cable. Swap it with a known good cable between the same amplifier and speaker. If the crackle vanishes, the original cable has internal corrosion or a broken conductor. If it persists, move to the amplifier. Connect a different amplifier to the same speaker using the same cable. A clean signal here means the amp is damaged or misconfigured. If the crackle still exists, you’re hearing the speaker itself fail, and that’s when component replacement or repair becomes necessary. This three-step elimination takes ten minutes and saves hours of dead-end troubleshooting.
Map The Crackle’s Physical Location
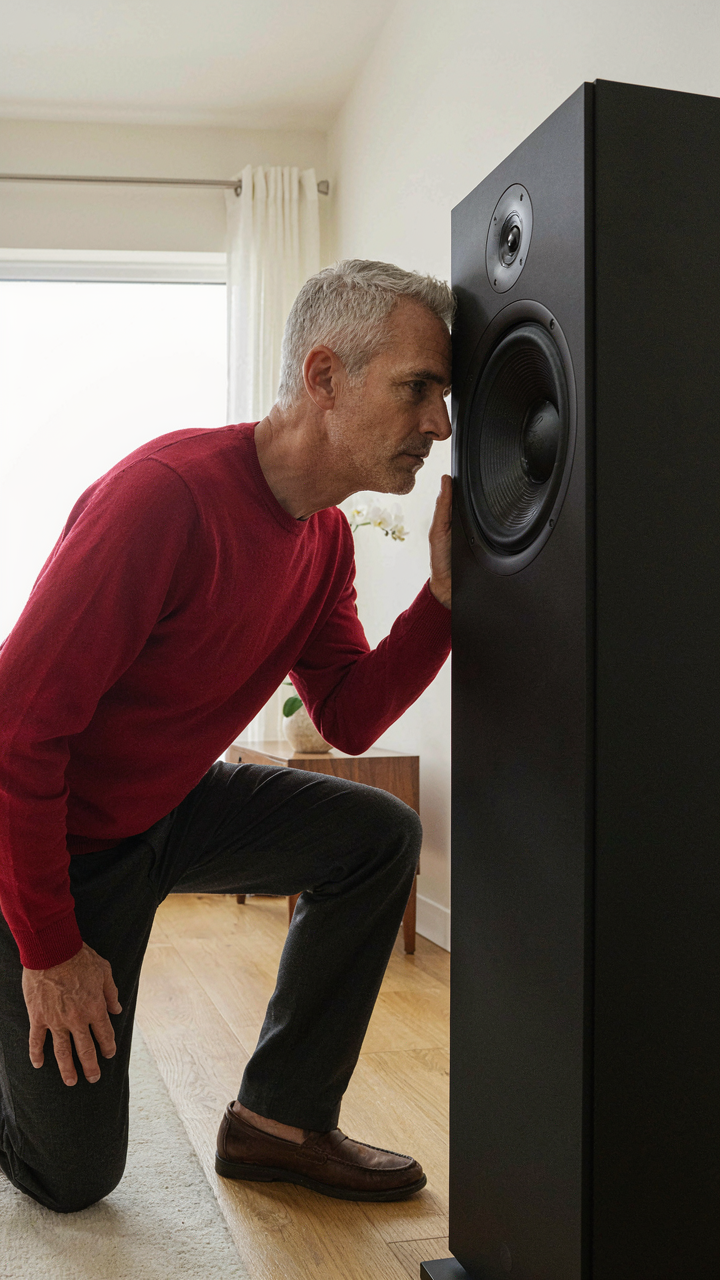
Listen closely and determine whether the crackle comes from the woofer, tweeter, or crossover. This uses the same diagnostic principle as triangulation in surveying: isolate variables by testing from multiple positions and angles. Place your ear at different distances and angles from the speaker while playing the same problematic audio. The source reveals itself through volume shift and directional bias.
If the crackle intensifies near the woofer cone, suspect a voice coil crack, a loose dust cap, or a torn surround. If it tracks with the tweeter, the issue is often a failing tweeter element or a misaligned dome. Crackle that stays constant regardless of position points toward the crossover, where capacitors degrade or solder joints crack from thermal cycling. Once you’ve mapped the location, you know exactly which component needs your attention next.
Contact Points: The Silent Saboteurs Of Sound
When Metal Meets Air: Oxidation And Corrosion
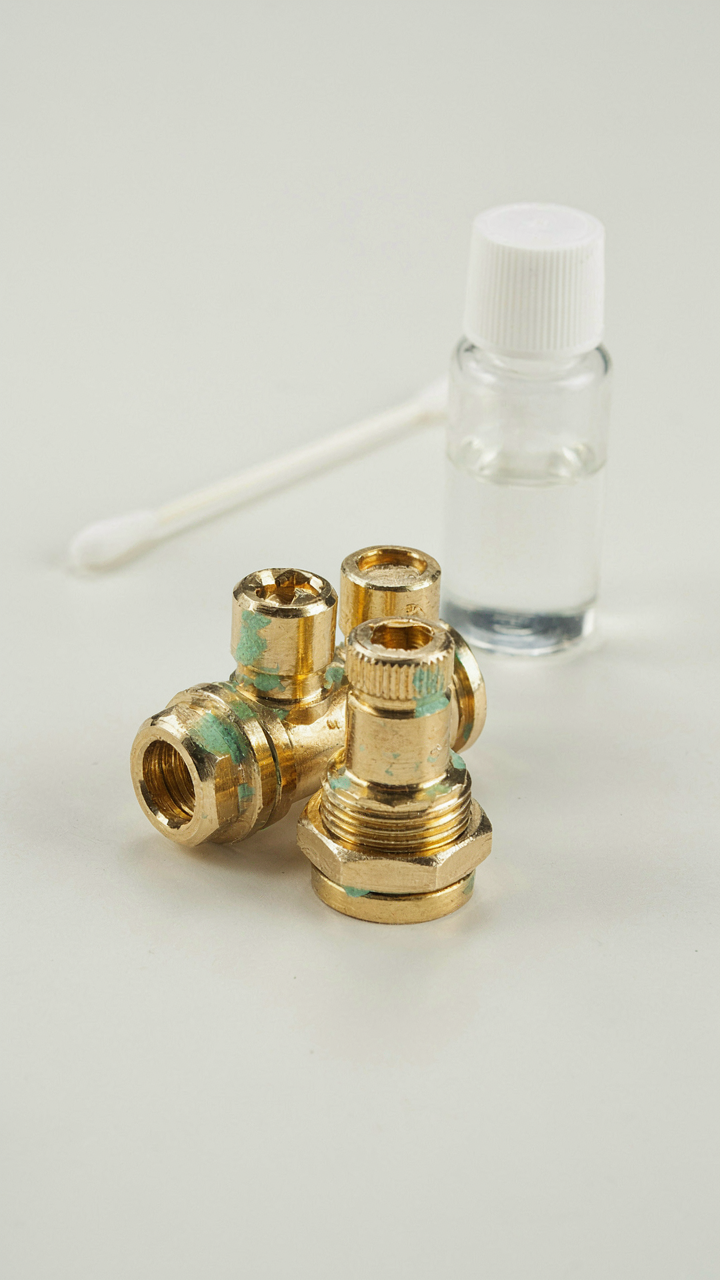
You want to believe the problem is the amplifier or the driver itself. It’s not. Oxidation and corrosion at connection points are invisible killers that degrade signal before it ever reaches the speaker cone. You’re looking at electrochemistry, not electronics. Oxidation forms a resistive barrier between metal surfaces. Even a thin layer blocks current flow and introduces signal loss that manifests as crackling, distortion, or dropout.

Most advice says “clean your connectors with rubbing alcohol.” That’s incomplete. Rubbing alcohol removes surface grime but leaves oxidation untouched. You need contact cleaner designed for electronics or a pencil eraser on RCA plugs and binding posts. Push hard. The goal is mechanical removal of the oxide layer itself, not just wiping dust away. After cleaning, apply a thin coat of contact grease to repel moisture and slow future oxidation. Test immediately. If crackling stops, you’ve isolated your failure point.
Wiring Under Tension: The Overlooked Failure Point
Loose connections inside the speaker cabinet cause crackling the same way a failing solder joint causes a phone to drop signal. The wire hasn’t broken yet, but poor contact creates intermittent resistance spikes. These spikes are audible. Most DIY repairs miss this because the connections “look fine” from outside the cabinet. They check the banana plugs and stop. Inside is where the real work lives.
Open the cabinet. Trace every wire from the input terminal to the driver. Push on each connection point with slight force. If it moves, it’s loose. Re-solder or re-crimp depending on the connection type. For binding posts, remove the wire, strip a quarter inch of insulation, twist tightly, and re-seat it under the post screw with firm pressure. Do not overtighten or you’ll crush the wire. Test the speaker before fully closing the cabinet. Crackling during playback indicates you haven’t secured all points yet.
Speaker Repair Tips And Tricks: Anatomy Of The Ailing Cone

Tears And Punctures: When Fabric Fails
You want to believe a torn cone is a death sentence because that justifies buying new speakers instead of doing the work yourself. It’s not. A tear in the cone material reduces structural rigidity and breaks the acoustic seal the driver needs to produce clean bass. Air leaks around the damaged section, causing phase cancellation and the crackling or muddy response you hear. Small tears worsen fast because cone flex stresses the damaged edges.

Most repair advice says use super glue or spray foam. Both fail. Super glue hardens into a brittle joint that re-cracks under cone movement. Foam expands and adds mass, changing the driver’s resonant frequency. Use flexible fabric adhesive designed for speaker repair or premium fabric cement. Patch from behind with matching paper or fabric that mirrors the cone’s weave pattern, maintaining compliance. The adhesive must cure fully before the speaker operates, or vibration will separate the repair.
Surround And Spider Detachment: Restoring The Seal
Think of the surround and spider as the acoustic equivalent of a seal in fluid dynamics, where containment preserves system integrity. Both components constrain cone movement and prevent air bypass. When either detaches, the driver loses acoustic suspension and produces distortion across the frequency range. You hear crackling because the cone moves erratically rather than in controlled excursion. Detachment happens from age, heat, or adhesive failure, not user error.
The fix requires removing old adhesive completely, which means patience with scraping tools and solvent. Use only the adhesive specified for your driver model or a general-purpose speaker adhesive rated for long-term flexibility. Reposition the surround or spider by hand, ensuring even contact across the bonding surface. Press firmly and hold for the adhesive’s full cure time. Do not operate the speaker until cure is complete. Incomplete adhesion causes immediate re-failure.
The Voice Coil Vortex: Understanding Friction And Heat
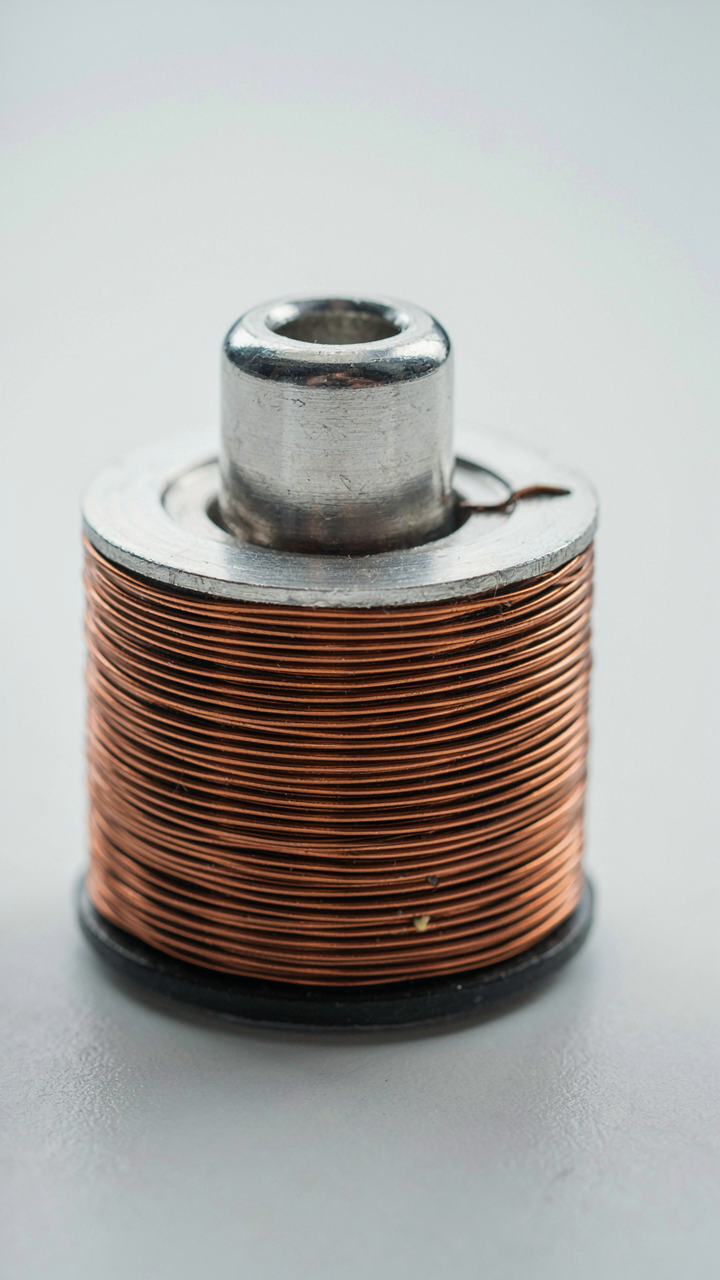
When Friction Becomes The Enemy
You want to believe the crackling is something simple to fix without opening the speaker. It’s not. Friction mechanics from basic physics apply directly to voice coils: when two surfaces move against each other under load, heat and resistance increase until something breaks. Your voice coil doesn’t float freely in its magnetic gap. It rubs against the former (the cylindrical form it wraps around) and the pole piece when cone excursion exceeds design tolerance or when manufacturing variance leaves the coil off-center from day one.

The rub creates electrical noise before it creates total failure. You hear it as crackling or a grinding texture layered under the music. This isn’t distortion from amplifier clipping. This is mechanical contact transforming kinetic energy into sound the designer never intended. The coil’s resistance to sideways movement is what produces the noise signature. Stop thinking of the speaker as a sealed black box and start thinking of it as a friction machine where every micrometer of misalignment matters.
Heat Warps The Gap Into Chaos
Thermal expansion destroys coil alignment faster than any manufacturing defect. The voice coil, former, and pole piece expand at different rates when power runs through them. Aluminum expands at 23 microns per meter per Celsius degree. The magnet assembly expands differently. Over 30 to 60 minutes of operation, this creeping dimensional change narrows the gap where the coil sits, tightening the friction. The crackling worsens. When the speaker cools, the coil might center again temporarily, which is why the noise sometimes disappears after shutdown.
This thermal cycle repeats every time you play music loud. Eventually the coil stays rubbing even at rest because the adhesive holding the former to the coil has fatigued or the former itself has warped. The solution isn’t patience or reset. You physically remove the coil assembly, check the gap with a feeler gauge, and pack the coil with shims or re-center it before reinstalling. Heat doesn’t fix itself through use.
Large Speaker Repair: Re Foaming And Re Coning Realities

When Surrounds Fail And What Actually Matters
You want to know if you can save the speaker without looking foolish or throwing money at a dead component. The real mechanism here is material degradation, not speaker failure—and surrounds degrade predictably because foam and rubber are just polymers under stress. The surround is the accordion-shaped ring that lets the cone move freely. When it cracks or hardens, the cone can’t travel the full distance it needs to, and you lose output and get distortion. Crackling often starts here before the cone itself fails.

Assess degradation by looking at the surround physically. Poke it gently with a wooden stick, not your finger. If it’s still springy and the rubber or foam holds its shape, re-foaming is optional—you’re replacing something that works to improve reliability. If it’s brittle, stiff, or has visible cracks, re-foaming becomes mandatory before the cone gets damaged by restricted motion. Don’t re-foam preemptively on speakers still producing clean sound. You’re introducing variables unnecessarily.
The Economics Of Replacement Versus Repair
Common advice says re-coning costs less than buying a new speaker, so always repair. That’s incomplete reasoning that ignores your actual constraints. Here’s the economic principle: you’re making a replacement decision under uncertainty, not a simple cost comparison. Re-coning involves ungluing the old cone assembly, removing the spider and surround, aligning the new cone perfectly, and gluing under tension—one mistake breaks the basket or misaligns the voice coil into the magnet.
- Labor cost clarity: Professional re-coning runs 75 to 150 dollars depending on speaker size and your location. DIY kits cost 20 to 50 dollars but demand precision and patience most people lack.
- Complexity versus speaker value: Re-cone a 500 dollar vintage studio monitor. Don’t re-cone a 120 dollar mass-market bookshelf speaker unless you enjoy the process itself.
- Acoustic payoff threshold: New cones restore original specs only if the basket, magnet, and voice coil stayed intact. Damaged baskets or magnetic gaps mean repair won’t deliver the advertised result.
- Surround material selection: Aftermarket surrounds come in foam or rubber. Rubber lasts longer but costs more and sounds slightly stiffer. Foam is cheaper and sonically neutral but degrades in fifteen to twenty years.
- Voice coil risk: If the voice coil got bent during the original failure, no re-cone fixes it. Inspect the coil before committing parts and time to the repair.
Re-coning makes sense when the basket is undamaged, the magnet gap is clean, and the speaker has real replacement value or sentimental weight. The acoustic payoff is full—you recover original frequency response and dynamic range if you do the work right. The protocol: remove the surround first, inspect the voice coil gap with a flashlight, check for debris or magnet damage, then decide whether to proceed or scrap the speaker.
Crossover Catastrophes: Filtering Out The Fuzz
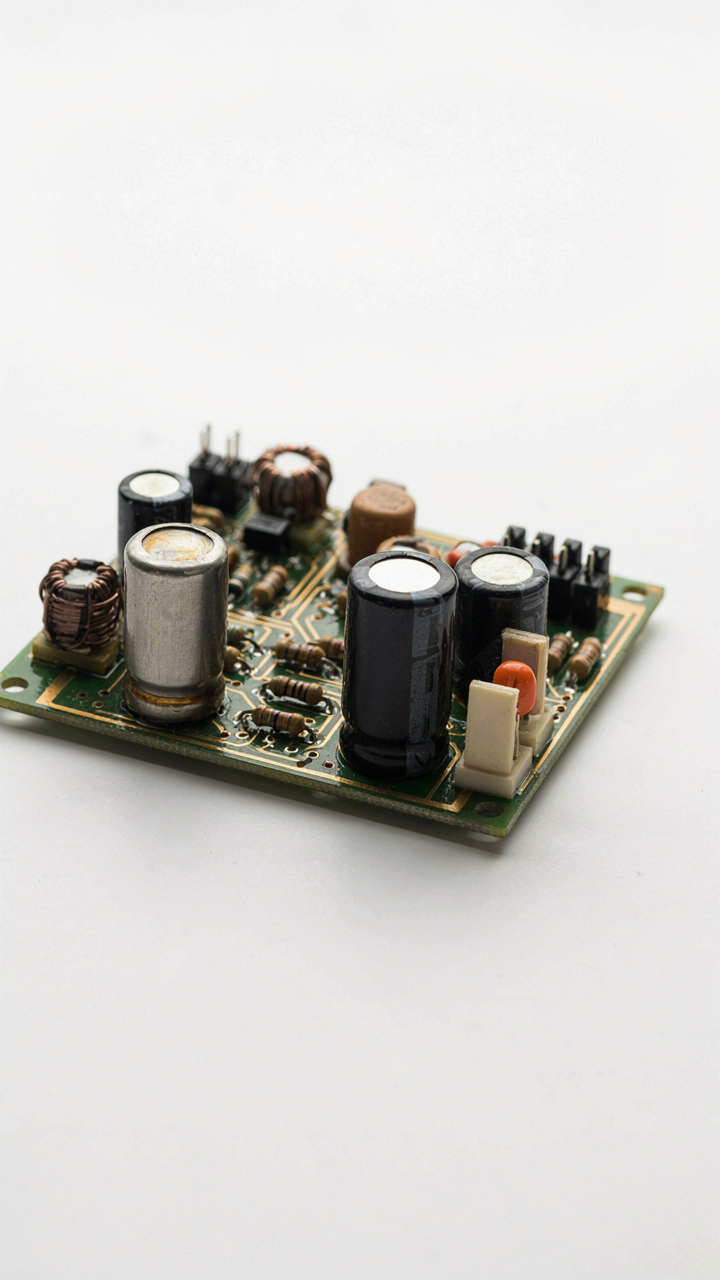
When Capacitors Fail You Want Them To Die Quietly
You’re hoping the fix is simple because you’ve already spent money on this speaker. The real issue is that capacitors age predictably, and nobody tells you the mechanism: they dry out. Electrolytic capacitors contain a wet electrolyte paste. Over years, heat cycles evaporate that paste. The capacitor loses capacitance and resistance climbs. Crackling happens because the crossover can’t filter frequencies cleanly anymore, and the signal bleeds across channels.

Testing is straightforward. Use a multimeter set to capacitance mode. Discharge the capacitor first by touching its leads with an insulated screwdriver. Take a reading. If it reads more than 20 percent below the rated value printed on the case, replace it. Desolder the old capacitor and solder in a new one with matching voltage rating and capacitance value. Match the polarity. Use a capacitor rated for audio if possible, though any electrolytic in the right specs works.
Inductors And Resistors Under Real Scrutiny
Visual inspection catches most problems here, but here’s what most guides miss: resistors fail silently until they don’t. Burn marks, discoloration, or cracks mean the component is already damaged. Inductors are harder to kill but look for corrosion on the wire windings or damage to the coil itself. Heat damage shows up as dark spots or melted insulation.
A multimeter confirms what your eyes should already suspect. Set it to resistance mode for resistors. The reading should match the color band value within five to ten percent tolerance. For inductors, switch to ohms mode and measure the coil resistance. It should be very low, usually under five ohms for most crossovers. If the reading is open circuit or wildly high, the inductor is broken and needs replacement. Order exact replacements by the resistor value and inductor specifications from the original design.
Speaker Repair Tutorial For Beginners: Essential Tools And Materials
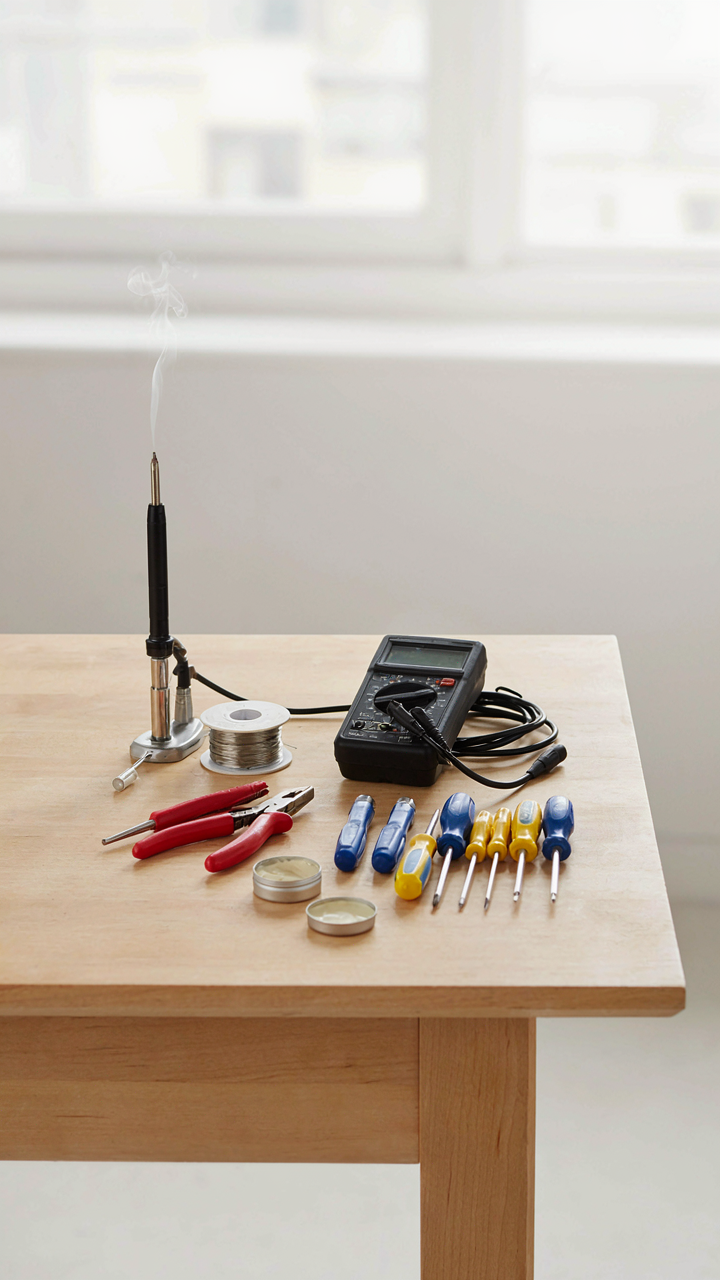
The Minimalist Toolkit: What You Actually Need
You want to feel competent without dropping money on gear you’ll never touch again. The real mechanism here is constraint: fewer tools force you to understand what’s actually broken instead of bandaging symptoms. Most repair guides list twenty items because they’re written by people selling tool kits, not by people who’ve fixed ten speakers in a garage.

You need a soldering iron (25-40 watts, nothing fancy), solder (60/40 or 63/37 tin-lead ratio), a desoldering pump or wick, wire strippers, a multimeter, and a screwdriver set with both Phillips and flathead bits. A small flashlight or headlamp matters more than you think because you’ll be staring into dark cavities inside the speaker cabinet. That’s it. Everything else is theater. A hot glue gun helps with cone repairs but isn’t mandatory. Start with these five items and add nothing until a specific job demands it.
Adhesives And Sealants: Choosing The Right Compound
Think of adhesive selection like materials science thinks of tensile strength: the bond only matters if it matches the forces acting on it. Crackling often stems from loose internal components, and the wrong glue will fail under vibration within weeks. Speaker cones move thousands of times per second, so your adhesive must flex, not crack.
Epoxy works for rigid repairs (loose magnets, cabinet cracks). Use two-part epoxy that cures hard and bonds to wood, metal, and plastic equally. For cone repairs, fabric cement or flexible contact cement prevents new cracks from forming along old glue lines. Never use super glue on speaker cones; it hardens completely and amplifies vibration at the repair point, which recreates the crackling you’re trying to stop. Hot glue is temporary and useful for holding parts while epoxy sets. Apply whatever adhesive you choose in thin, even layers along the entire joint, not blobs at contact points.
Preventative Maintenance: Avoiding Future Frustrations
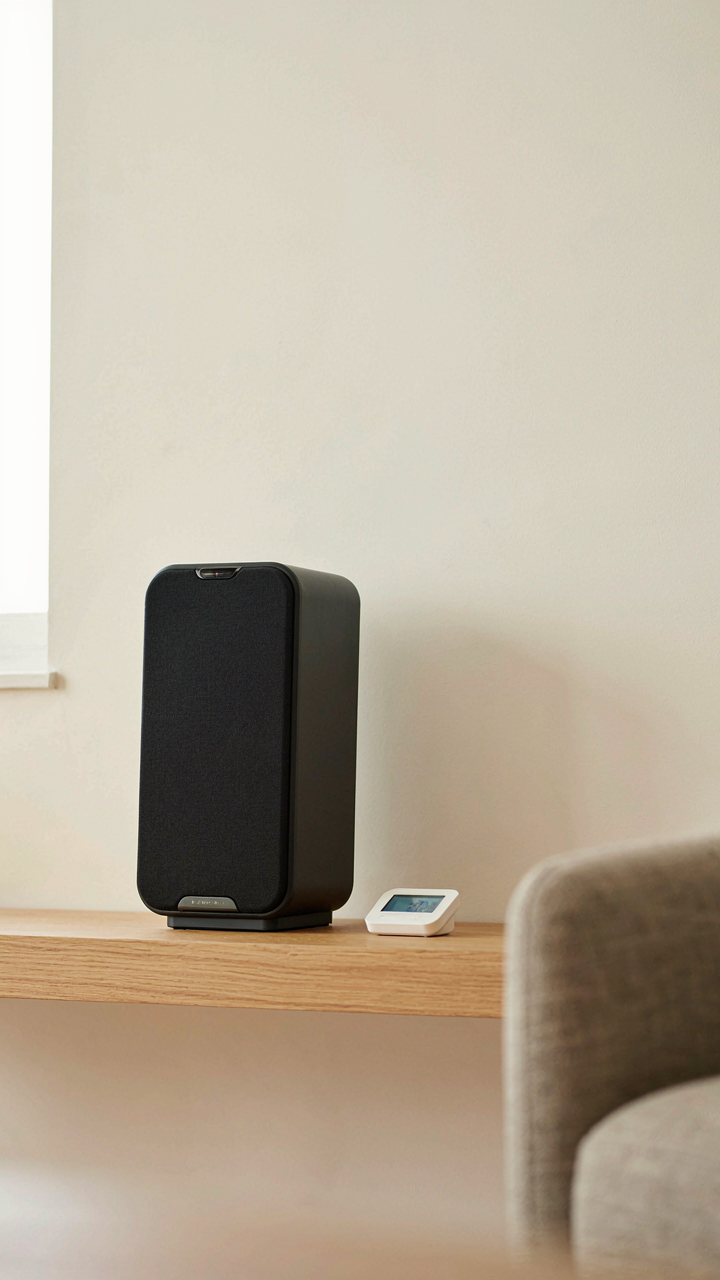
The Environment Around Your Speaker Matters More Than You Think
You want to fix this once and forget it—not spend the next year nursing a speaker back to health every few months. Humidity and dust are the actual killers here, not time. They attack the cone, the voice coil, and the crossover components with chemical and mechanical precision.
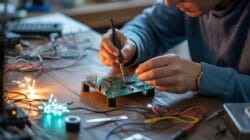
High humidity corrodes the copper windings in voice coils and rots the paper cones from the inside out. Low humidity makes paper brittle and causes adhesives to fail where the cone meets the basket. Dust settles into the magnetic gap and creates friction that generates heat and restricts cone movement. Keep the speaker’s environment between 30 and 50 percent relative humidity and protect it from direct dust exposure with a grille cover when not in use. Temperature swings matter less than people think—steady temperature beats perfect temperature, because adhesives fail under thermal cycling stress, not absolute heat.
Managing Power So Your Speaker Doesn’t Destroy Itself
The “just turn it up” mentality kills more speakers than actual manufacturing defects. Over-excursion is a physics term from mechanical engineering: it describes when a moving part travels past its design limit and hits a hard stop. In speakers, this happens when the cone hits the basket or the voice coil hits the magnet pole piece because you’re feeding too much bass or too much volume into an undersized driver.
Clipping from your amplifier is the silent assassin—it sends square-wave distortion instead of clean sine waves to the speaker, forcing the cone into violent, erratic motion. Set your amp’s level so peaks hit 0dB on the meter, not in the red. If you use a subwoofer, roll off bass frequencies below 80Hz from your main speakers using a crossover or amp filter. Check your speaker’s impedance rating and match it to your amp’s minimum rated load—mismatches cause the amp to work harder and send clipped signal. Run a thirty-minute test at your normal listening volume before committing to that setup as your daily standard.
The Unspoken Truth: When To Cut Your Losses

When Repair Cost Exceeds Speaker Value
You’re hoping the repair will work because admitting defeat means accepting sunk cost. Here’s the mechanism: economics calls it the sunk cost fallacy, and speakers obey it like everything else. Calculate the actual replacement cost of your speaker model right now, not what you paid five years ago. Then get a real quote for the repair: new driver, voice coil rewinding, or amplifier board replacement. If repair costs exceed seventy percent of replacement value, you stop here.
The math doesn’t care about your attachment to the unit. A twenty-year-old vintage speaker might have emotional value, but that’s not a repair justification. Compare the quote against identical speakers in working condition on the used market, not retail prices. If you can buy a working replacement for less than the repair costs, replacement wins every time. Don’t negotiate with yourself on this calculation.
Permanent Damage That Stops The Work
Certain failures don’t repair, and pretending otherwise wastes money and time. Cracked voice coils from thermal stress or mechanical impact won’t rewire successfully at home because the coil form itself is compromised. A driver with a cone tear larger than two inches performs worse than its baseline even after patching. Crushed or permanently deformed speaker frames that no longer hold tolerances can’t seal properly around replacement drivers. Burnt amplifier boards with destroyed traces and lifted component pads require board replacement, not component-level fixes.
Stop when you encounter any of these conditions during diagnosis. Trying to patch permanent damage extends the repair indefinitely and produces marginal results. Accept the failure point, extract any salvageable components like transformers or quality pots for future projects, then move on. The sooner you decide to replace the unit, the sooner you can use a working speaker again.
Your Real Obstacle Isn’t The Crackle, It’s The Belief That Complex Problems Demand Complex Solutions
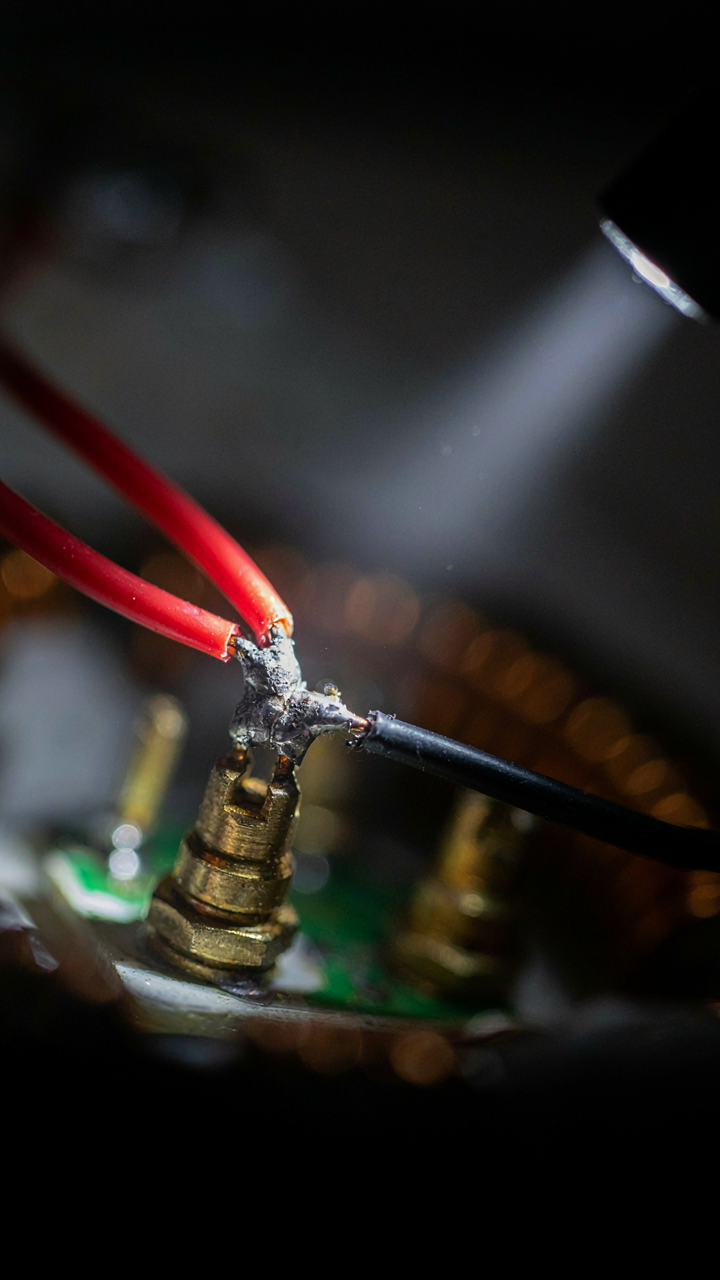
Most people buy new speakers instead of fixing them because they mistake diagnosis for rocket science. It isn’t. You touch a wire, you listen, you move forward. Start today by unplugging your speaker and opening it up. Look at the solder joints. If they look gray and crusty, that’s your problem staring back at you. You don’t need permission to fix what you own.



