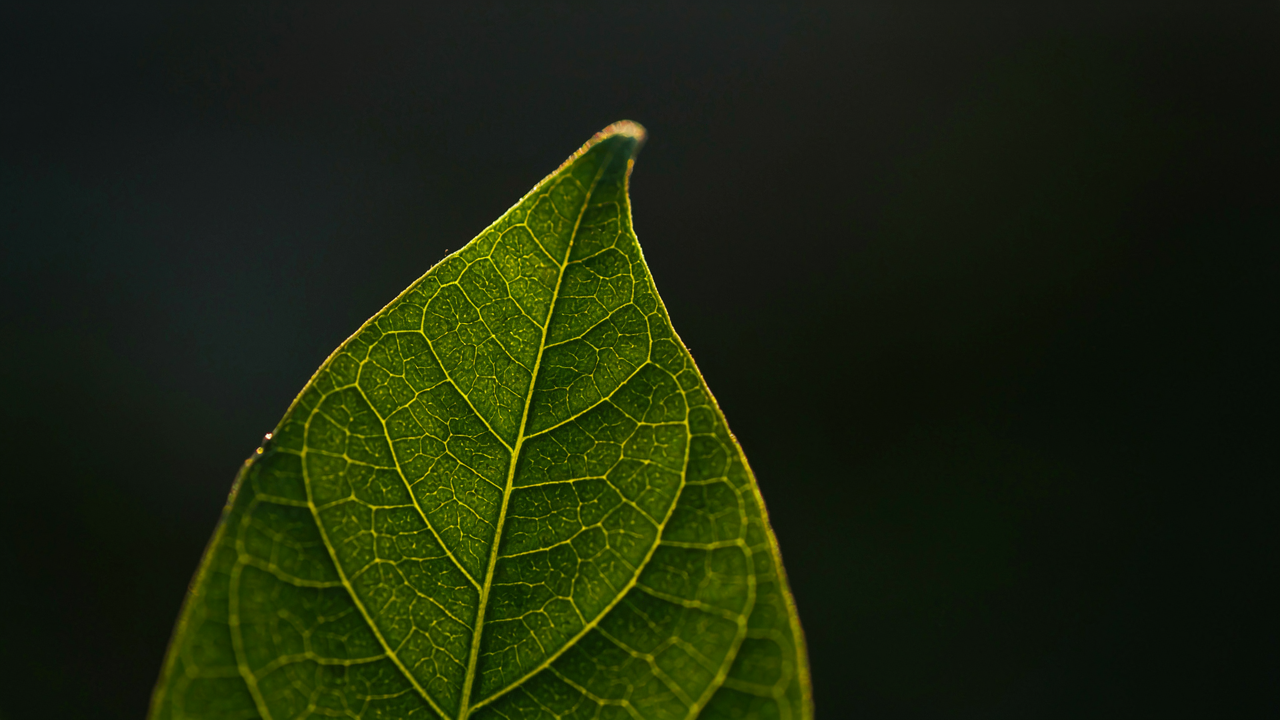
The Unseen World: Beyond Basic Leafy Close Ups
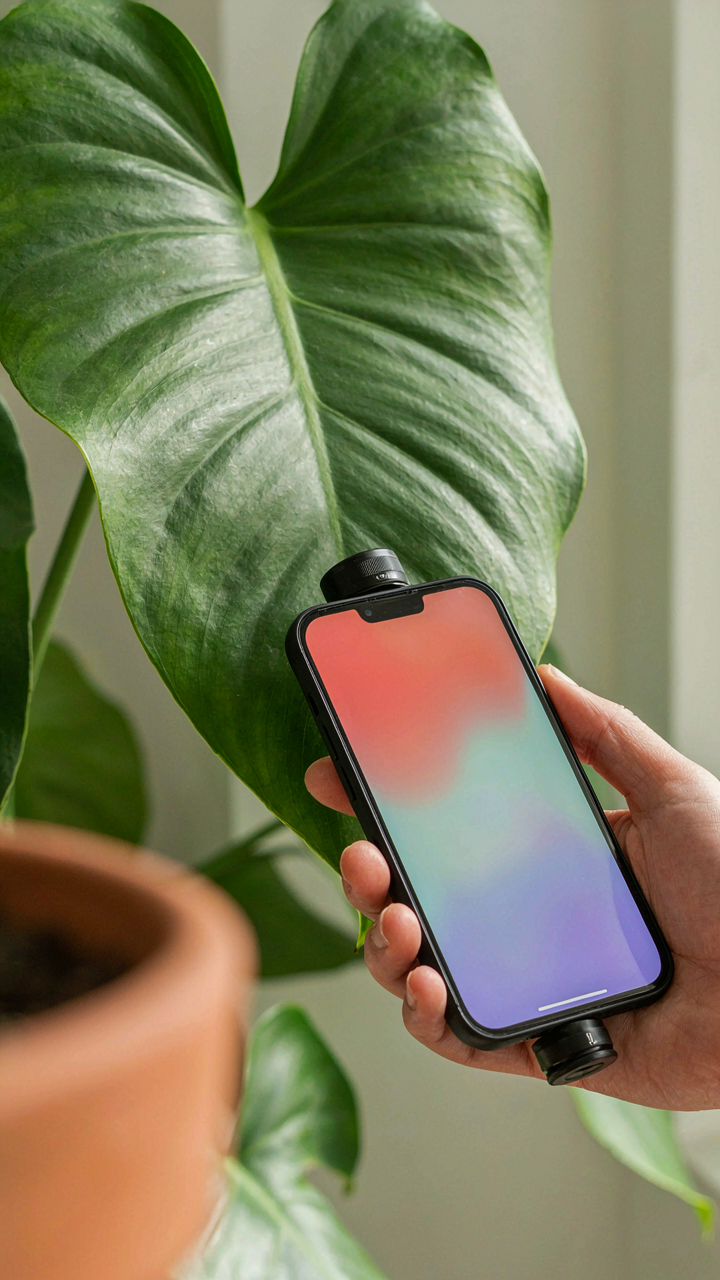
What Your IPhone Actually Sees
You want proof that your phone captures detail nobody else notices. That’s status wrapped in technical language, and it’s honest. Here’s the mechanism: your iPhone’s sensor doesn’t magnify. It crops. The telephoto lens on Pro models uses optical zoom, which physically moves glass elements closer to the subject. The digital zoom on all models just enlarges pixels after capture, destroying detail. Most plant photography advice ignores this distinction entirely. Understanding what happens before the shutter opens determines everything that comes after.
The iPhone 14 Pro and 15 Pro have a true 3x telephoto lens. The standard wide lens has a 77-degree field of view. When you zoom past 3x on Pro models, you’re using computational zoom, which means the software is guessing at detail that doesn’t exist. For close-up plant work, use optical zoom only. Position yourself at the distance where the lens naturally frames your shot. Your iPhone actually sees less than your eye does at close range, which means you must move closer to the plant itself, not rely on the camera to compensate.
Surface Details Most People Miss
Biology teaches the concept of camouflage: organisms evolve patterns that blend into their environment. Apply this to plant surfaces: the patterns on a leaf aren’t random. They follow hydraulic fracture networks, veins that distribute water and nutrients. Your eye skips these because they’re too regular to register as interesting. Your iPhone’s sensor catches them because it records light bouncing off every ridge and depression. The camera has no bias toward what matters. It documents what exists.
Leaf texture separates amateur plant photography from functional documentation. Stomata, the pores that regulate gas exchange, appear as faint lines or dots running parallel to the leaf surface. Trichomes, which are hair-like structures plants grow for protection or water absorption, cast shadows that reveal their geometry only when light hits them at the right angle. Use side-lighting, not frontal flash. Position the sun or your light source at a 45-degree angle to the leaf plane. Shoot during golden hour when the angle is naturally shallow. This reveals the texture that makes the image feel tactile instead of flat.
Light As A Weapon: Manipulating Shadows For Plant Aesthetic
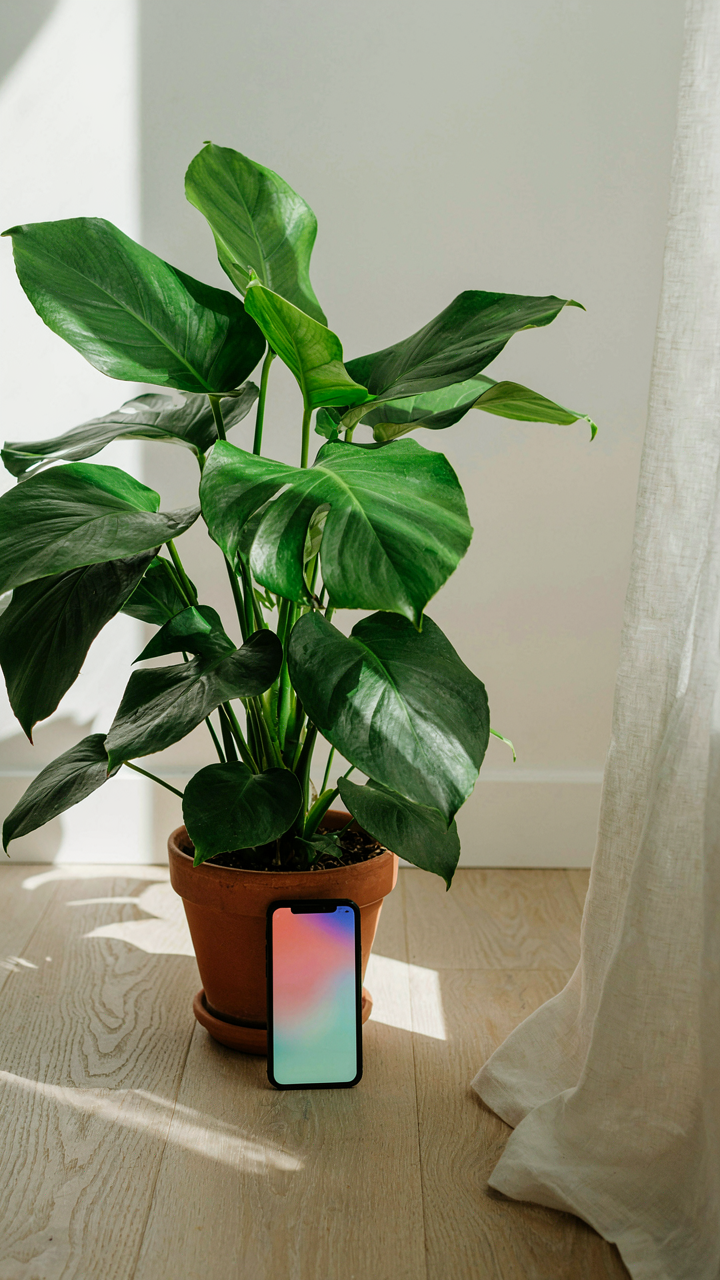
Harsh Light Reveals, Not Hides
You want soft, diffused light because you think it’s safer. That’s the real reason. But harsh light on plants does what flat light never will: it exposes texture. Using photography terminology borrowed from cinematography, you’re working with “contrast ratio” – the relationship between your brightest and darkest tones. Direct sunlight creates extreme contrast ratios that force leaf veins, plant hairs, and surface geometry into visibility. Your iPhone camera sensor actually performs better in high contrast because it has fewer midtones to interpret.

Shoot between 11 AM and 2 PM when the sun angles hard across your subject. Position the plant so light hits it sideways, not head-on. This reveals the plant’s actual structure instead of flattening it into a shape. The iPhone’s computational photography will retain detail in both highlights and shadows when you tap to expose for the midtones. Harsh light isn’t your enemy. Misplaced harsh light is.
Depth Through Shadow Placement
Shadows don’t fill negative space – they define it. Positioning shadows strategically lets you separate foreground leaves from the background without using blur. When a leaf sits in shadow while another sits in direct light, your eye reads them as existing on different planes even if they’re inches apart.
Find a light source that rakes across your plant at a low angle. Arrange your subject so some leaves intercept that light and others fall into the shadow cast by upper leaves. This creates a natural layering effect. The iPhone’s HDR mode can flatten this deliberately if you’re not careful, so shoot in standard mode and expose for the lit areas. The shadow areas will retain enough detail to show depth while staying distinct from the highlights.
The “Botanical Anomaly” Protocol: Finding The Imperfect
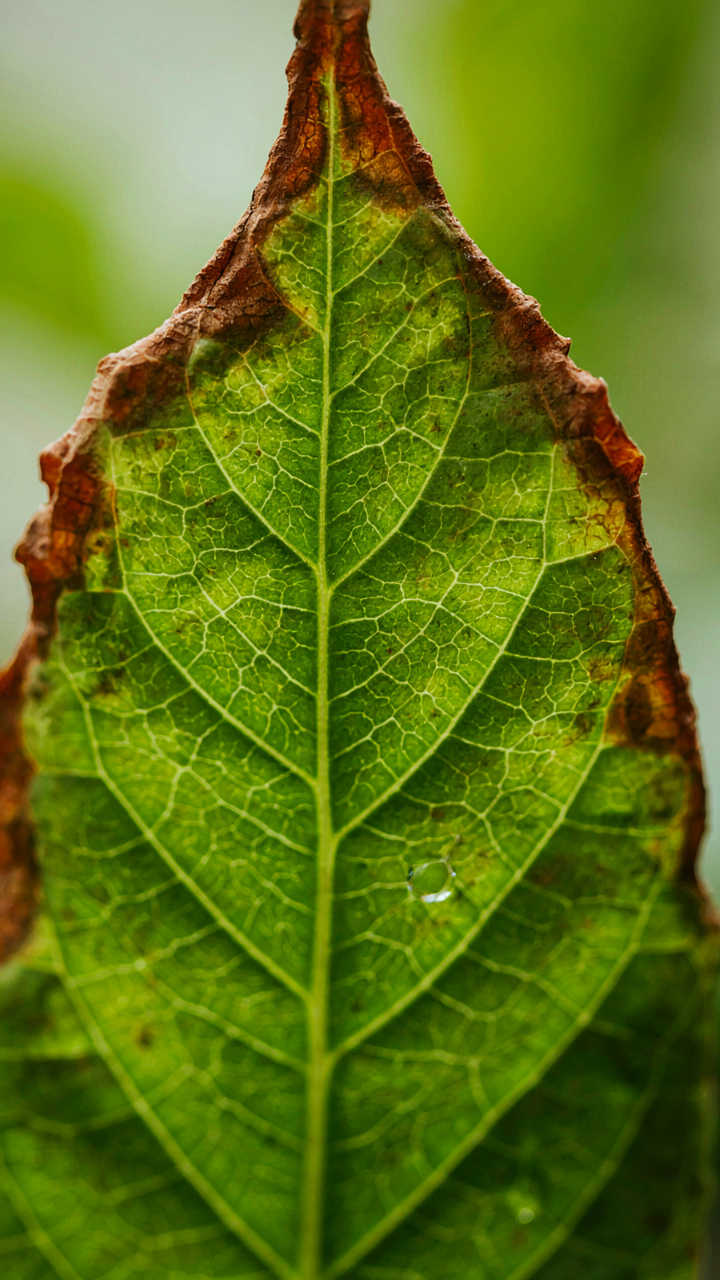
Damage Tells A Story Your Phone Captures Better
You want permission to stop chasing the Instagram plant. That’s what this is really about. Here’s the mechanism: biology uses scars, tears, and wilts as visual data. Your iPhone’s sensor reads contrast and texture better than it reads perfection. A torn leaf edge creates shadow discontinuity. A wilted section shows color gradation that a turgid leaf cannot. The damage becomes the subject, not the distraction.

Most plant photography advice tells you to hide damage. That’s backward. Damage is high-contrast material. Your iPhone’s computational photography processes edges aggressively. A torn leaf margin shoots at different contrast ratios than the blade itself, forcing your phone’s processor to work harder, which means sharper edge definition and deeper color saturation in the surrounding tissue. Scars, browning, and disease spots are not failures to hide. They’re data your camera is designed to read.
Texture Variations That Break Visual Monotony
Leaf structure variance solves what flat-plane photography cannot: boring sameness. Botanical morphology tracks leaf shape, vein pattern, and surface texture as survival markers. Your iPhone sees these distinctions through microtexture. A serrated edge photographs different from a smooth margin. Waxy surfaces reflect light unevenly. Fuzzy or pubescent leaves scatter the phone’s focus in intentional ways.
The real move is extreme close-up macro positioning on structural oddities, not on the “perfect” leaf face. Get 2 to 3 inches from a leaf with unusual venation patterns, ridged texture, or edge deformation. Your iPhone’s depth of field collapses at that distance, isolating individual vein systems or surface irregularities. This creates visual separation without needing a second subject. Magnification through proximity becomes your framing tool, not composition.
Compositional Defiance: Breaking The Rule Of Thirds

Off Center Power: Asymmetrical Plant Photography
You want permission to break the rule of thirds because following it feels safer, and safer feels professional. Here’s the mechanism: the rule of thirds is a training wheel, not a law. Asymmetry in photography borrows from graphic design’s tension principle—the visual weight of an off-center subject creates cognitive friction that holds attention longer than balanced compositions. Your iPhone sensor has no preference for centered subjects. Shoot the leaf cluster hard to the left. Push the stem into the corner. The negative space becomes a visual question mark instead of dead air.

The common advice says “always use grid lines.” Wrong. Grid lines train your eye to symmetry, which kills tension in plant photography. What works instead is intentional imbalance. Place your subject where it occupies roughly 30 percent of the frame, leaving 70 percent as breathing room or context. This ratio creates dynamic instability. Your brain registers the imbalance and locks onto the plant. Shot from this position, even a common houseplant reads as more deliberate, more composed, more worth studying.
Filling The Frame: Eliminating Negative Space For Drama
Most plant photography advice tells you to “include context and environment.” This is wrong when your goal is impact. Filling the frame means crushing the iPhone’s sensor with leaf texture, vein patterns, and botanical detail. No background. No pot. No windowsill. Just the plant itself, magnified to the edges. This forces the viewer into an intimate scale they didn’t expect. Drama lives in specificity, not in showing the whole scene.
The mechanism is simple: constraint creates intensity. When you eliminate negative space, you remove the viewer’s escape route. They can’t look away to the environment. They’re locked into the texture, the translucency of the leaf against light, the small imperfections that make botanical subjects real instead of decorative. Move closer. Use Portrait mode on your iPhone to compress distance and eliminate background. Fill the frame until the leaf edges touch the borders. That friction between subject and boundary is where the image lives.
The “Depth Perception” Algorithm: Beyond Blurry Backgrounds
How Light Separates Foreground From Background
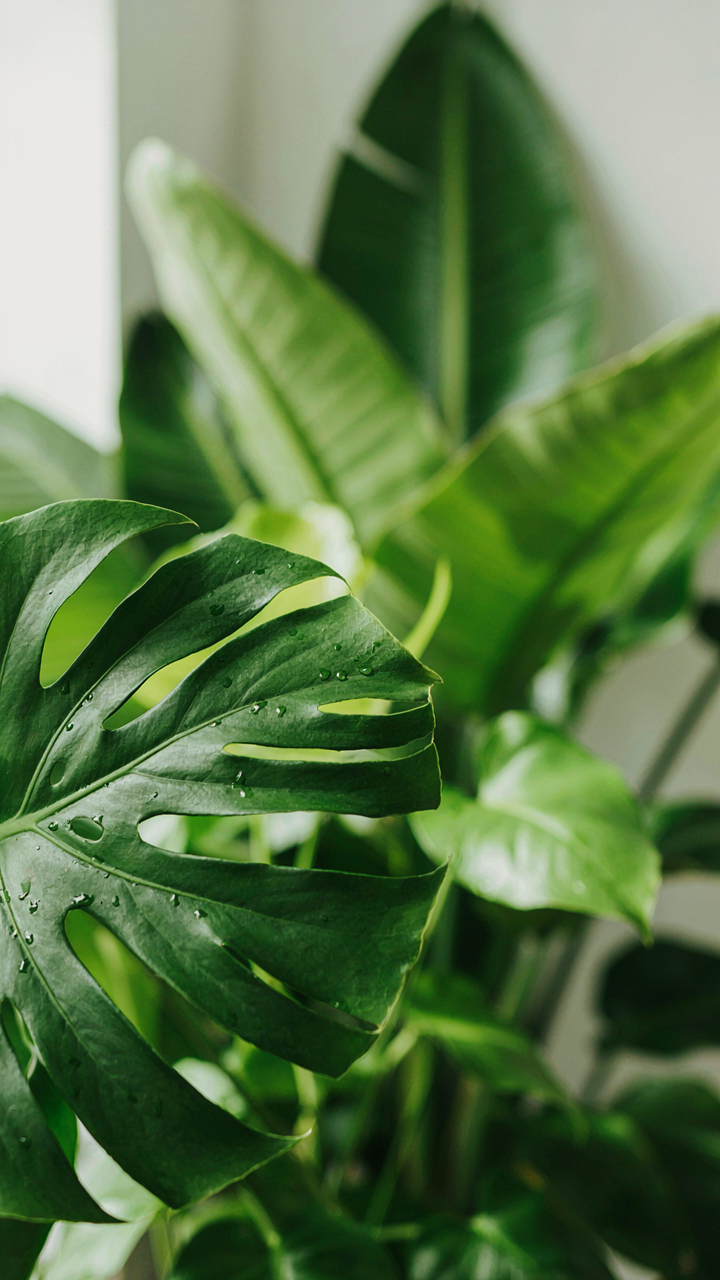
You want bokeh because it makes your feed look professional. That’s the real reason. Here’s what actually happens: physics, not magic. Light enters the iPhone lens at an angle. When it hits a plant leaf close to the sensor, that light converges quickly. Light bouncing off background elements travels a longer path and spreads wider before reaching the sensor. The iPhone’s computational photography stacks multiple exposures and uses depth maps to identify which pixels are near and which are far. It then selectively blurs the distant pixels. This isn’t true optical bokeh like a DSLR creates. The iPhone simulates it by understanding distance, not by using aperture alone.

The mechanism works because the iPhone calculates depth using dual cameras (or computational tricks on single-camera models) and applies selective blur based on that map. You don’t need to understand the math. You need to understand the requirement: the phone must detect distance differences to create separation. A leaf six inches from your lens and a wall six feet back give the algorithm plenty of information to work with. Position your subject close enough that foreground-to-background distance is real. Too close, and the depth map fails. Too far, and there’s no distance gradient to exploit. The sweet spot is twelve to eighteen inches from the leaf you’re framing.
Stacking Layers To Build Visual Depth
Bokeh is one tool. Layering is the actual architecture. Plant photography fails when everything sits on one plane. You need at least three distinct depth zones: a sharp foreground element, a mid-focus subject, and a blurred background. This isn’t compositional theory. It’s how your eye processes information. When the iPhone sees multiple depth zones, it renders them differently, creating the illusion of three-dimensional space on a flat screen.
Start with a single leaf in sharp focus. Place a second leaf or stem behind it, slightly out of focus. Add background vegetation or a wall another foot back. The iPhone’s depth algorithm now has real work to do. It prioritizes the closest element, softens the middle layer, and blurs the back. This layering technique forces the phone’s computational photography to activate at full capacity. Shoot at twelve inches, adjust your angle so leaves occupy different distances from the lens, and let the phone’s software do the sorting. The depth separation you see isn’t a setting you toggle. It’s a natural outcome of giving the algorithm multiple planes to distinguish.
Color Theory For The Cynic: Desaturating The Obvious
Monochrome Impact: Stripping Away Color For Emotion
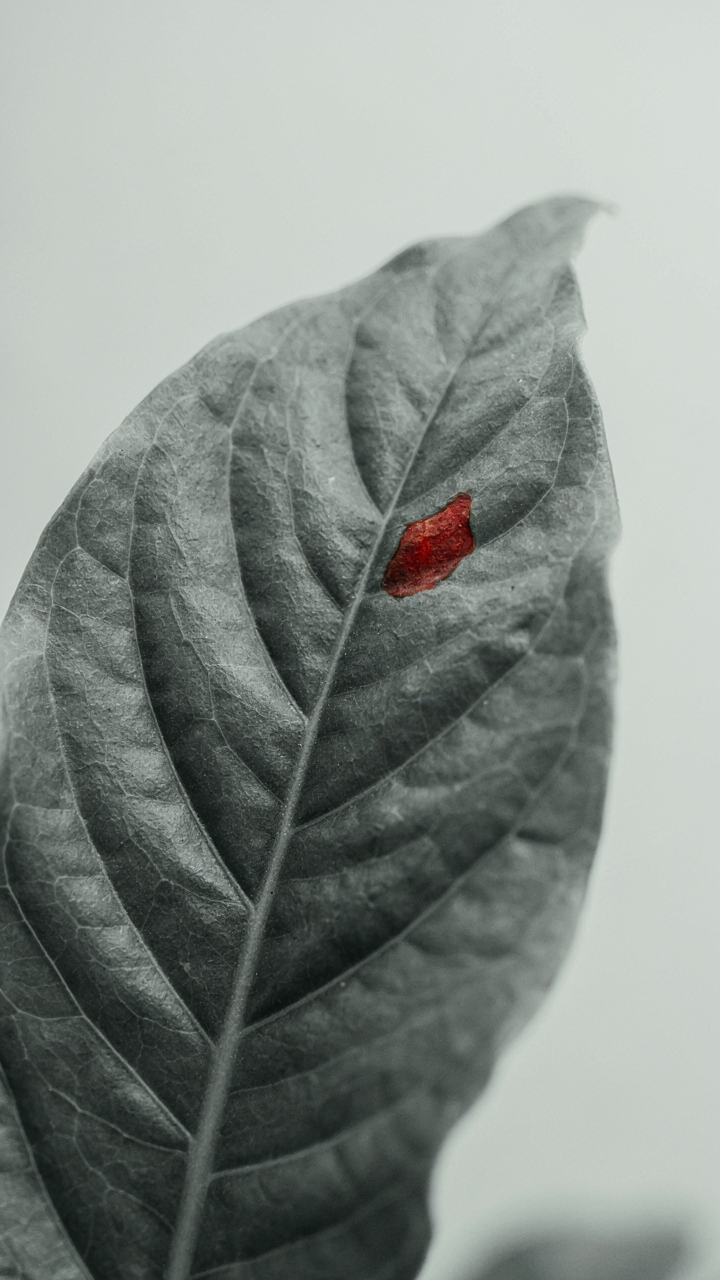
You want monochrome to feel artistic because you’re afraid full-color plant shots look like catalog photography. Here’s the mechanism: color competes for attention. Remove it and the brain stops parsing a dozen competing hues and locks onto texture, form, and light instead. Monochrome forces your subject’s structure to do the work that color usually masks.

The iPhone’s native grayscale filter applies a weighted desaturation algorithm across channels, not a simple average. This matters because the filter preserves tonal separation better than flat desaturation. Shoot in standard color mode first, then convert in post using your camera roll’s edit tools or a dedicated app like VSCO. This gives you the original file as insurance and lets you dial in how aggressively the filter crushes the midtones.
Selective Color Pop: Drawing Attention To Detail
Most advice says “desaturate everything except one color” as though that’s revolutionary. It’s not. The real tactic is using selective color to expose contrast that the full spectrum buried. Borrow the term “signal-to-noise ratio” from electrical engineering and apply it here: when you silence all colors except one, that color becomes the signal and everything else becomes noise.
- Red or orange veins on green foliage: Desaturate the leaf to grayscale, then restore warmth to the vein network only. The human eye tracks warm tones against cool backgrounds instantly.
- Water droplets with color underneath: Keep the droplet’s reflection in color while draining saturation from the leaf surface. The droplet now reads as a distinct object, not a surface detail.
- Stem variation: Drain all saturation except the stem’s purple or burgundy undertones. This isolates the plant’s structural skeleton from its leafy mass.
- Texture emphasis on translucent leaves: Desaturate except for the yellow-green halo where backlight hits. This single color choice exposes fine vein structure that color normally obscures.
- Fungal or pest damage: Keep only the affected area’s natural coloration while converting healthy tissue to gray. This reveals damage severity without visual noise.
Use the iPhone’s selective color tools in post: open the edit menu, tap Color, then slide individual color channels down to near-zero while leaving your target hue untouched. The mechanism is threshold-based selection, not manual masking. You’re not painting a mask; you’re telling the algorithm which wavelengths to preserve. This is faster and more repeatable than trying to hand-select every edge.
Editing As Art: The Post Processing Power Play
Contrast Control Separates Leaf From Noise
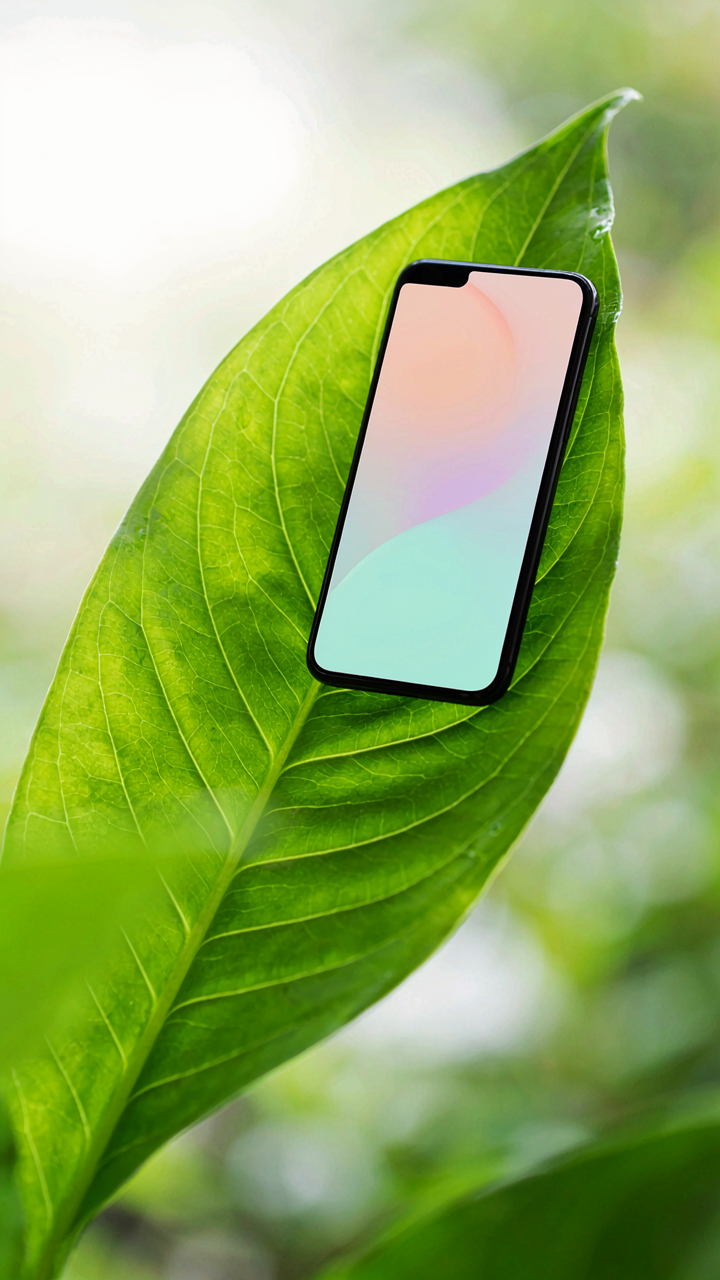
You want your phone photos to look professional so strangers believe you know what you’re doing. The mechanism is simple: contrast isolates the leaf from its background by exaggerating the tonal gap between them. In photography, contrast borrowed from the principle of signal-to-noise ratio in electrical engineering. A strong signal pushes through. Weak signals disappear. Lift your blacks slightly and pull your whites tighter in the Shadows and Highlights sliders on your iPhone, or use the Curves tool in Lightroom Mobile to create a subtle S curve. This works because leaves have inherent tonal variation that contrast amplifies without requiring you to oversaturate color.

The mistake most people make is crushing blacks entirely or blowing highlights into pure white. That kills detail. Instead, target the midtones where most leaf texture lives. Push contrast to the point where veins become visible and edges feel defined, then pull back ten percent. The leaf should read as a distinct object in the frame, not float seamlessly into the background. Open the Exposure or Contrast slider in your iPhone’s default Photos app and watch how fast a flat leaf shot transforms into something with presence and dimension.
Sharpening Texture Without Artifacts
The common advice here is wrong: sharpening does not add detail that does not exist. It creates the appearance of detail by increasing local contrast at edges. What you actually sharpen are the boundaries where leaf color shifts to background, or where veins meet the leaf surface. Use the Detail slider in Lightroom Mobile instead of generic sharpening. This isolates edge enhancement to high-frequency information, meaning it affects the fine structures of leaf veins and surface texture without making the entire leaf look brittle or digital.
Set your Detail slider between forty and sixty for most leafy close ups. Above eighty, you introduce halos around leaf edges that scream “edited on my phone.” The mechanism is protection: sharpening at moderate levels enhances what the iPhone camera already resolved, while extreme sharpening invents artifacts the sensor never captured. After you apply sharpening, zoom to one hundred percent and check the leaf edges against the background. If you see colored fringes or a glow, reduce Detail by ten points and reassess.
The “Contextual Rebellion” Method: Beyond The Isolated Leaf
Show The Plant Where It Lives
You want to look like you understand plants, but isolated leaf shots prove the opposite. The mechanism here borrows from ecology: a plant’s niche is the specific conditions and position where it thrives, and your iPhone should capture that niche, not just the organism. A monstera against a blank wall teaches nothing. A monstera growing through a bookshelf, casting shadows on worn wood, reveals why someone keeps it alive.

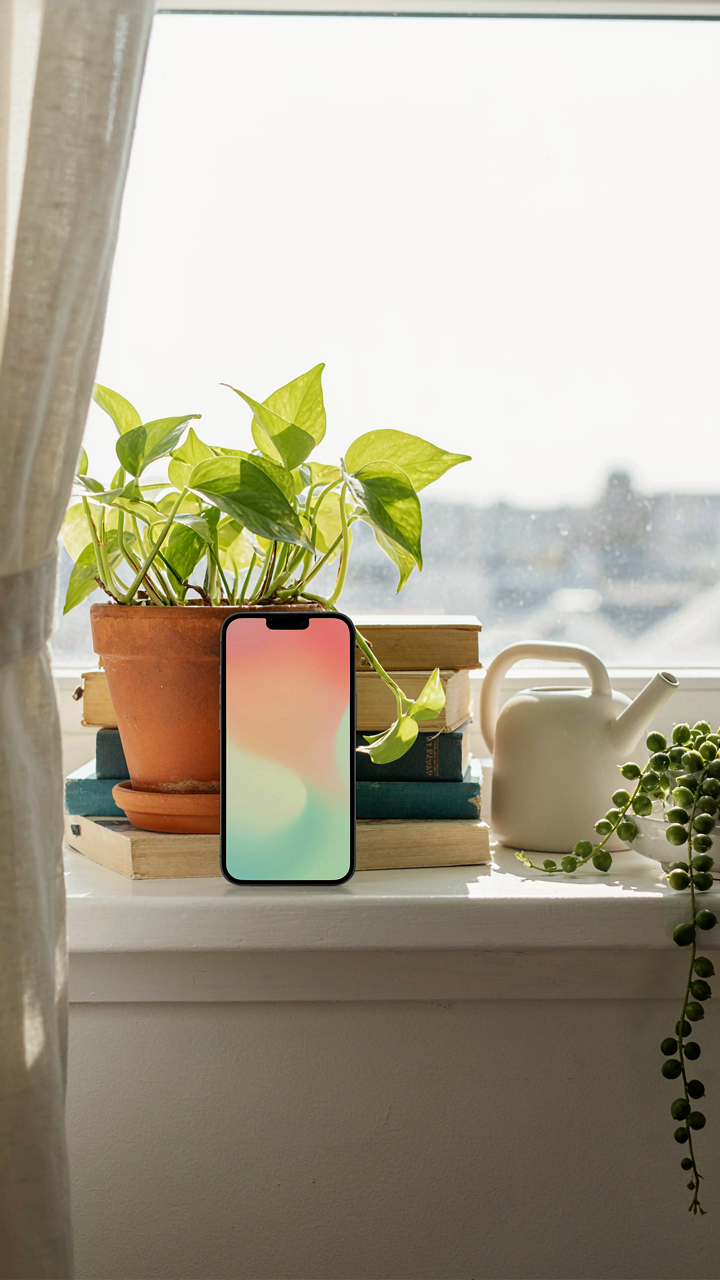
Environmental storytelling means shooting the plant inside the system that sustains it. Capture the pot, the windowsill, the competing plants nearby, the light quality at that specific hour. Show whether the plant sits neglected in a corner or centered in a well-maintained collection. The context is not decoration. It is the reason the plant exists in that location, and your viewer needs to understand that reason instantly to believe you know what you’re photographing.
Scale Reveals What Words Cannot
Human hands in plant photography are not a trend—they are a measurement tool. When you place a fingertip on a leaf, your viewer’s brain instantly calculates size without reading text. This is why product photography uses hands constantly. Your iPhone’s camera has no inherent sense of scale, so you must provide it through comparison.
Shoot yourself holding the pot. Shoot your hand pruning a stem. Shoot a plant in someone’s palm. These moments collapse the gap between the image and the viewer’s own space. The interaction tells a story about maintenance, care, or neglect that a solo plant cannot. Your hand in the frame also dates the image with specificity—viewers unconsciously read hands as proof of presence and intention. Frame one hand interaction per shoot. It works.
From Phone To Frame: Curating Your Plant Wallpaper Collection
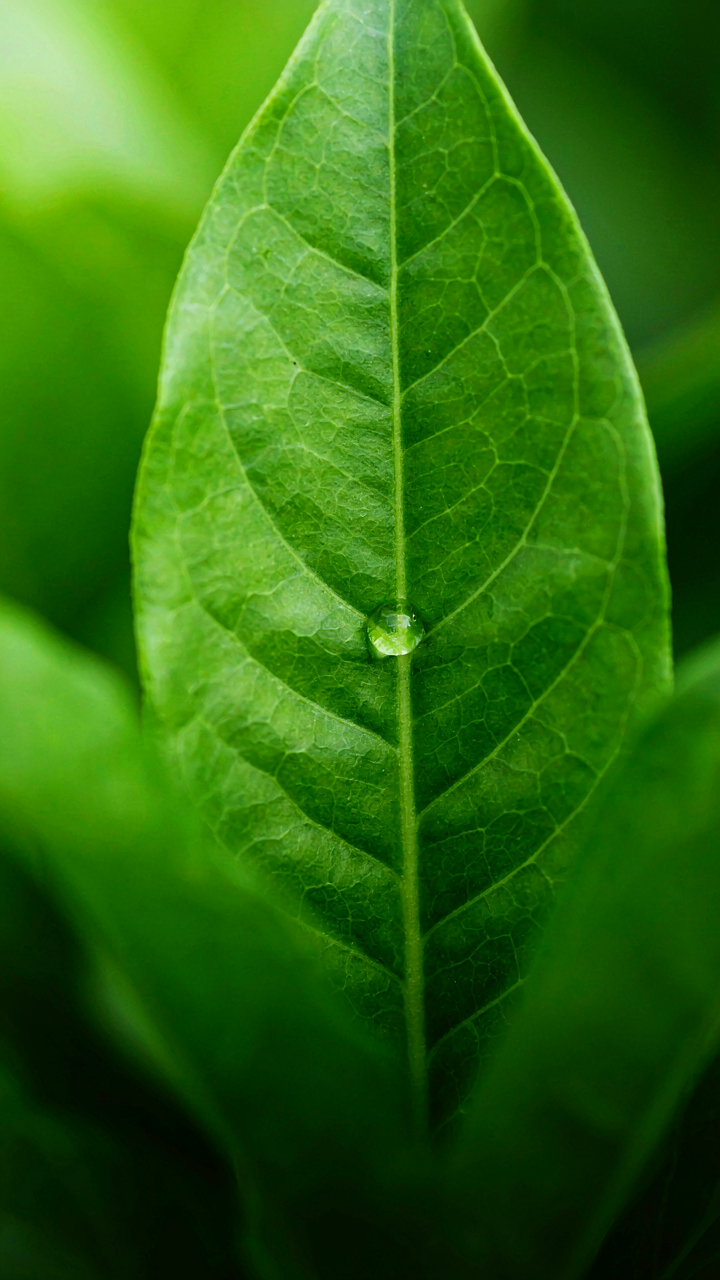
What Actually Works As A Wallpaper
You want proof that your photography matters. That’s the real reason you care about turning these shots into backgrounds. Here’s what people miss: wallpaper isn’t about beauty in isolation. It’s about contrast against your app icons and notification badges. Borrowed from graphic design, the concept is “figure-ground relationship”—your plant image must read clearly when 40% of the screen gets covered by interface elements. A shot with depth, strong leaf definition, and clear focal points survives this treatment. Flat, evenly-lit plant photos vanish behind iOS elements.

Your best iPhone plant photos become wallpapers only when they solve a specific problem: they need to function as a backdrop while remaining visually dominant. This means shooting with intentional negative space—either blurred backgrounds or solid tones behind your subject. Macro shots of leaf texture work here because they compress depth and eliminate competing visual noise. A wide shot of an entire plant in a room fails as wallpaper because the environment fights for attention with your status bar and dock.
Resolution And Actual Screen Fit
The generic advice says “just use high resolution.” That’s incomplete. iPhone screen specifications matter more than total megapixels. Current iPhones use displays between 1125 x 2436 pixels (standard) and 1290 x 2796 pixels (Pro Max), but your camera shoots at 4000+ pixels on each axis. The real mechanism: iOS scales your image to fit the display, and overshooting resolution doesn’t add clarity—it wastes processing and storage. You need enough resolution to survive compression and cropping, not maximum output.
Shoot at your iPhone’s native camera resolution, then export at 1.5x your target display size. For a standard iPhone, that’s roughly 1600 x 3600 pixels. Anything beyond this adds file size without improving screen clarity. Use HEIF format instead of JPEG—it cuts file size in half while maintaining quality on iPhone. When setting your wallpaper, position your shot so critical details land in the center third of the frame, where icons and notifications won’t obscure them.
The Real Obstacle Isn’t Your IPhone Camera; It’s Your Fear Of Looking Foolish

You’ve already got the tool. What you lack is permission to look stupid while learning it. Every photographer you admire shot hundreds of terrible plant close-ups before nailing one. Stop waiting for confidence to arrive first. Open your camera app right now and photograph the nearest leaf from five different angles. You’ll discover what works faster through one hour of awkward experimentation than a year of planning the perfect shot. The only thing separating you from decent iPhone plant photography is accepting that everyone starts as a beginner.