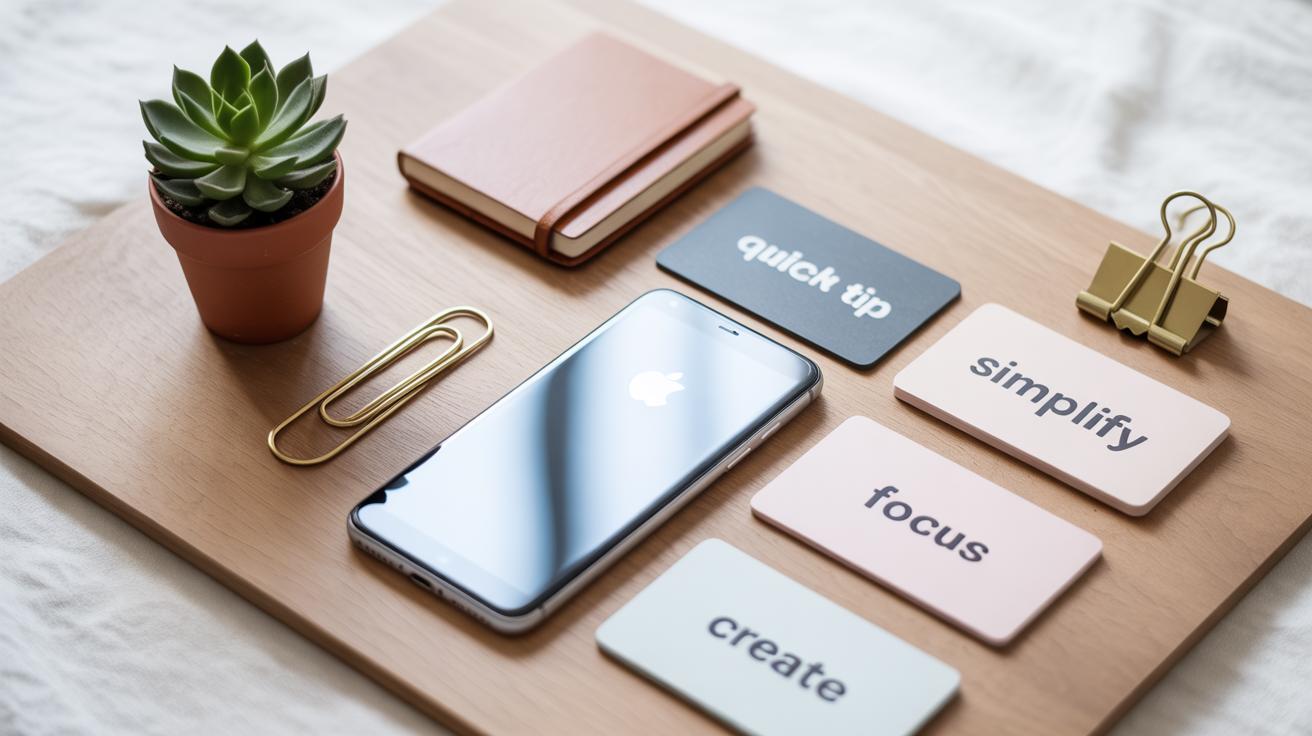
Introduction
iPhone photography has become popular for capturing moments easily and beautifully. Your iPhone’s camera can take stunning photos if you know how to use it well. This article covers iPhone photography tips beginners wish they knew to help you create better images. You’ll learn how to use your camera’s tools effectively and capture great pictures in different situations.
We will explore simple tips to improve your photos right away. From basic camera settings to creative techniques, you will understand how to make the most out of your iPhone camera. Whether you want to shoot landscapes or portraits, these tips will guide you step by step.
Understanding Your iPhone Camera Basics
The iPhone camera has evolved quite a bit, but at its core, it’s pretty straightforward once you get to know it. You’ve got multiple lenses—standard wide, ultra-wide, and sometimes telephoto, depending on your model. Each lens offers a different field of view, so knowing when to switch can make a big difference in your shots.

Opening the camera quickly is something many overlook. Just swipe left on your lock screen or tap the camera icon—it’s faster than fumbling with your phone. Once open, you’ll see the main layout: a big shutter button, flash options, Live Photo toggle, and mode selector at the bottom.
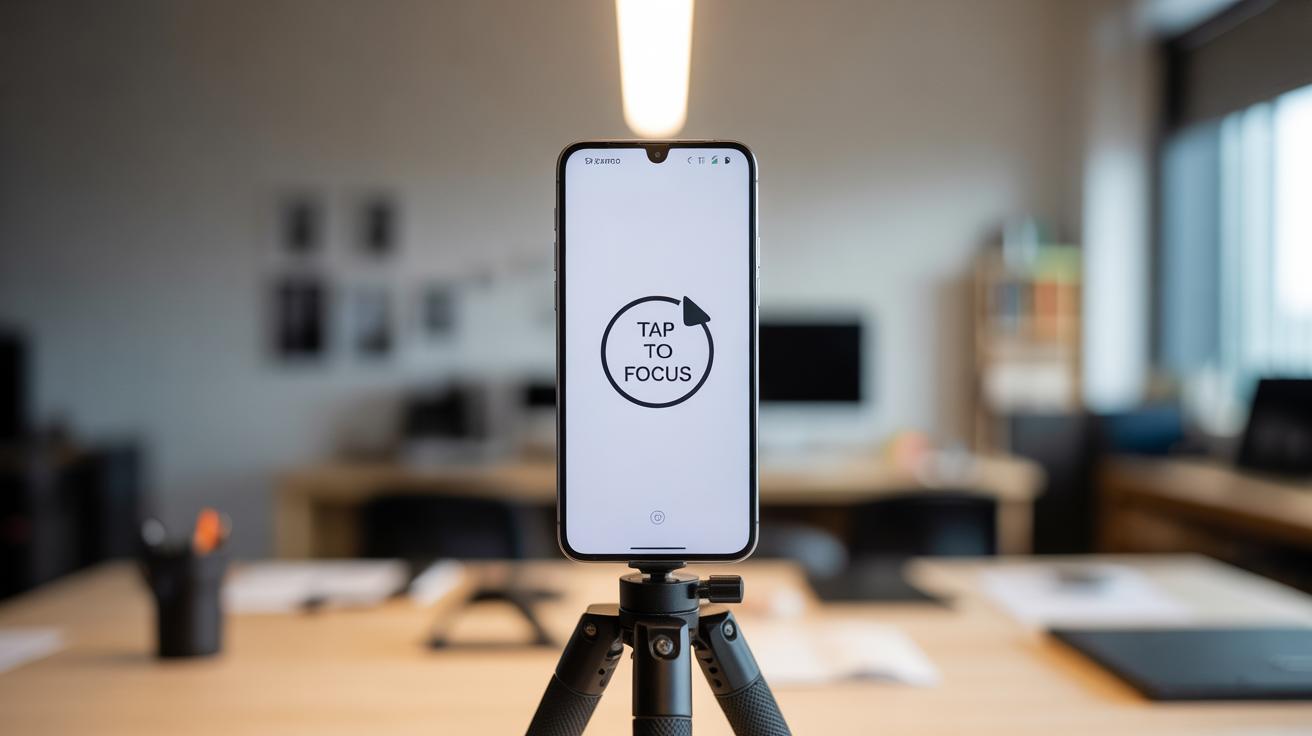
Focus works by tapping where you want on the screen. When you do this, a yellow square appears, locking focus and also setting exposure there. You can drag the exposure slider up or down next to the square to brighten or darken the image before snapping. This manual adjustment is useful because sometimes the phone guesses wrong. Taking a photo or video is as simple as pressing the shutter or holding it down for quick video capture.
How to Use Focus and Exposure
Setting focus manually is key to clearer pictures. Just tap the part of your image you want sharpest, whether it’s a face or a flower petal. Then, an exposure slider appears—slide it up to add brightness, down to reduce glare or shadows. Ignoring this can lead to washed-out skies or underexposed subjects that lose detail.
Experimenting with these controls showed me how much more control you have. Sometimes, you think the phone’s auto-settings got it right, but a quick tap and adjust changes the mood completely. It’s a small step, but it makes photos look balanced, avoiding those frustrating “too dark” or “too bright” shots.
Exploring Camera Modes
Your iPhone offers several camera modes, and knowing when to pick each helps you capture better photos.
- Photo: The standard mode, great for everyday shots. Use this when you want quick, straightforward pictures.
- Portrait: Designed for people or objects, this mode blurs the background to highlight your subject. Perfect for capturing faces or details with a professional look.
- Panorama: Lets you capture wide sweeping views. It’s great for landscapes or large group shots. But keep your hands steady—even a slight shake can ruin the effect.
- Video: Records motion and sound clearly. You can switch between 30 and 60 frames per second, but I usually stick to 30 unless I want slow-motion effects.
Each mode feels suited for different needs, and it’s worth testing them all, even if you don’t use each every day. You might find a new favorite way to shoot, and your photos will show it.
Lighting and Composition Techniques
Using Natural Light to Your Advantage
Natural light can make or break your photo. Often, the best shots come from simple sunlight rather than complicated setups. Try to position your subject so the light falls on their face or main feature—not too flat, not too harsh. Soft light, like during the golden hour just after sunrise or before sunset, gives a warm feel that almost makes your photo glow. It’s a time when shadows stretch and colors deepen. Shooting then can really change how your image feels.
On the other hand, mid-day sun is harsh, throwing strong shadows and sometimes washing out colors. If you must shoot at that time, look for shade or use nearby objects to block direct sunlight. Overcast days are also great—they act like a giant diffuser and soften everything, though photos may feel a bit flat. Playing with these different light qualities will up your game more than you might expect.
Composition Rules for Better Photos
Composition helps guide the viewer’s eye and adds meaning to your photos. The rule of thirds is probably the easiest to start with—imagine your frame divided into a grid of nine equal boxes, and place your subject along those lines or where they cross. It makes the image feel balanced, but not boring.

Framing is another simple but powerful tool. Use windows, doorways, or even tree branches to frame your subject. This can add depth and draw attention without needing any fancy gear. Leading lines, like roads, fences, or rivers, pull the viewer’s gaze through the photo. These lines don’t have to be perfectly straight; they can curve or zigzag, as long as they direct focus.
Sometimes breaking the rules helps too. But starting with these basics gives you solid footing. Try combining a few—maybe a subject off-center with a natural frame—and see what surprises you get. Photography should feel a bit like experimenting, right?
Getting Creative with Photography Styles

Photography styles can completely change how your iPhone photos feel. Black and white is a classic choice if you want to focus on shapes, shadows, and emotions without the distraction of color. On your iPhone, switching to black and white is straightforward—just use the Camera app’s filters or edit the photo in the Photos app afterward. It strips away color, pushing your focus to contrast and texture.
HDR, or High Dynamic Range, is another style worth exploring. It lets you capture details in both bright and dark parts of a scene at the same time. Usually, when you shoot a photo with stark lighting differences, either the highlights get blown out or the shadows lose detail. HDR combines multiple exposures into one image to solve this.
Applying filters on iPhone is incredibly easy, but it’s easy to go overboard. The built-in filters are designed to enhance your photos subtly, not to make them look unnatural or heavily edited. It’s tempting to push the colors or change the mood drastically, but often less is more. Tweak the intensity of filters or make simple adjustments like brightness and contrast to keep your photos looking real—yet appealing.
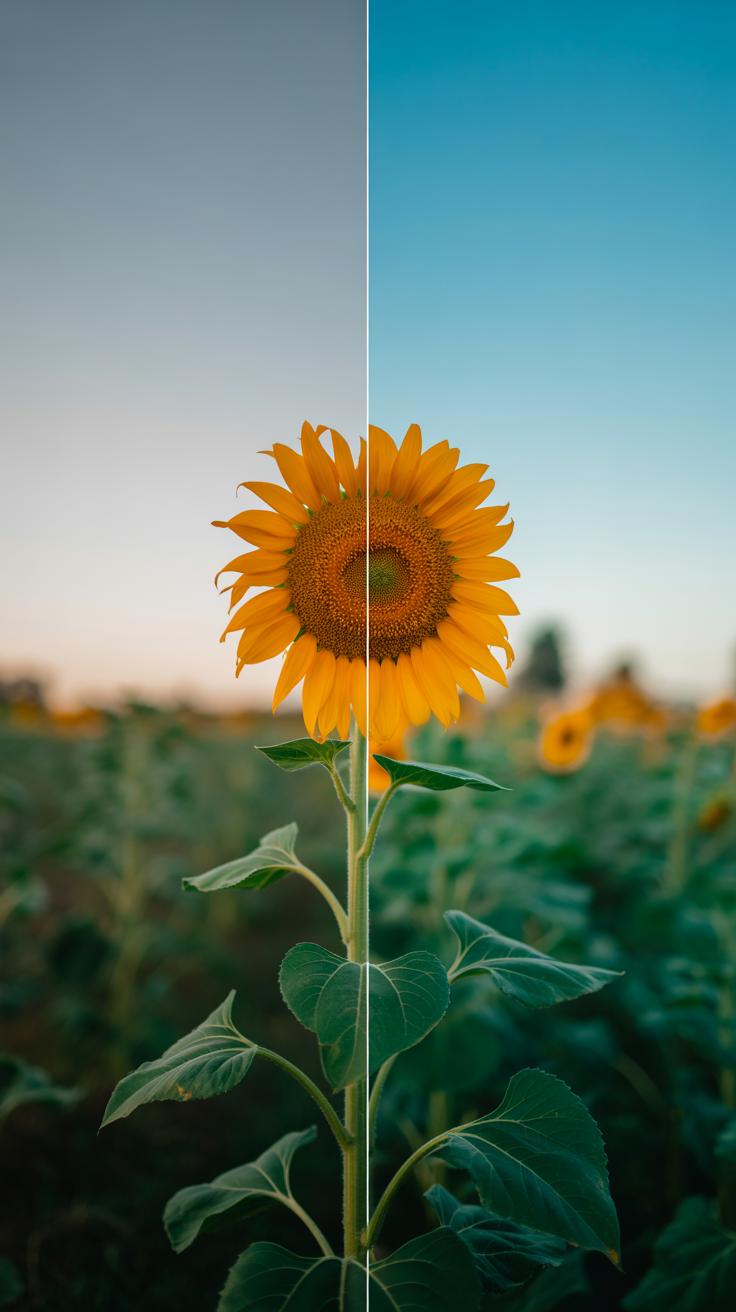
Using HDR for Balanced Images
HDR stands for High Dynamic Range, and it’s all about capturing a wider range of light and dark areas in a photo. When you have a scene with bright skies and shadowy foregrounds, HDR helps your iPhone balance those extremes so you don’t lose detail in either. If you’ve struggled with photos where some parts look too bright and others too dark, HDR might be your fix.
To enable HDR, just open the Camera app and look for the HDR option near the top or in the settings. On newer iPhones, it might be set to auto by default; if not, you can turn it on manually. When active, your phone snaps multiple images quickly at different exposures and blends them together. The result? A photo closer to what your eyes actually see—not just the camera’s limited view.
You might find HDR doesn’t always improve every shot. Sometimes the blend can make photos look less natural, especially in scenes with movement. But generally, using HDR for landscapes, cityscapes, or portraits in tricky lighting can give you richer, more balanced pictures.
Adding Style with Filters and Editing
Filters on the iPhone are both a blessing and a curse. They’re a quick way to add mood or punch to a photo, but it’s easy to overdo it. I’ve seen photos where the colors are so saturated or the contrast looks unnatural that it distracts more than it enhances. So, a good rule is to start small.
Try these steps for simple, natural edits:
- Pick a filter that suits the photo’s mood—warm tones for cozy scenes, cool ones for calm or stark moods.
- Use the filter slider to reduce its strength. Usually, less than 50% is enough.
- Adjust brightness, contrast, or sharpness in small increments.
- Don’t forget the crop tool to improve framing after editing.
Editing on your iPhone is handy because you see updates in real-time. You might discover a filter you thought was too strong looks just right when softened. Filters aren’t magic, but when used thoughtfully, they can elevate your photos without turning them into something you hardly recognize.
Mastering Portrait Photography
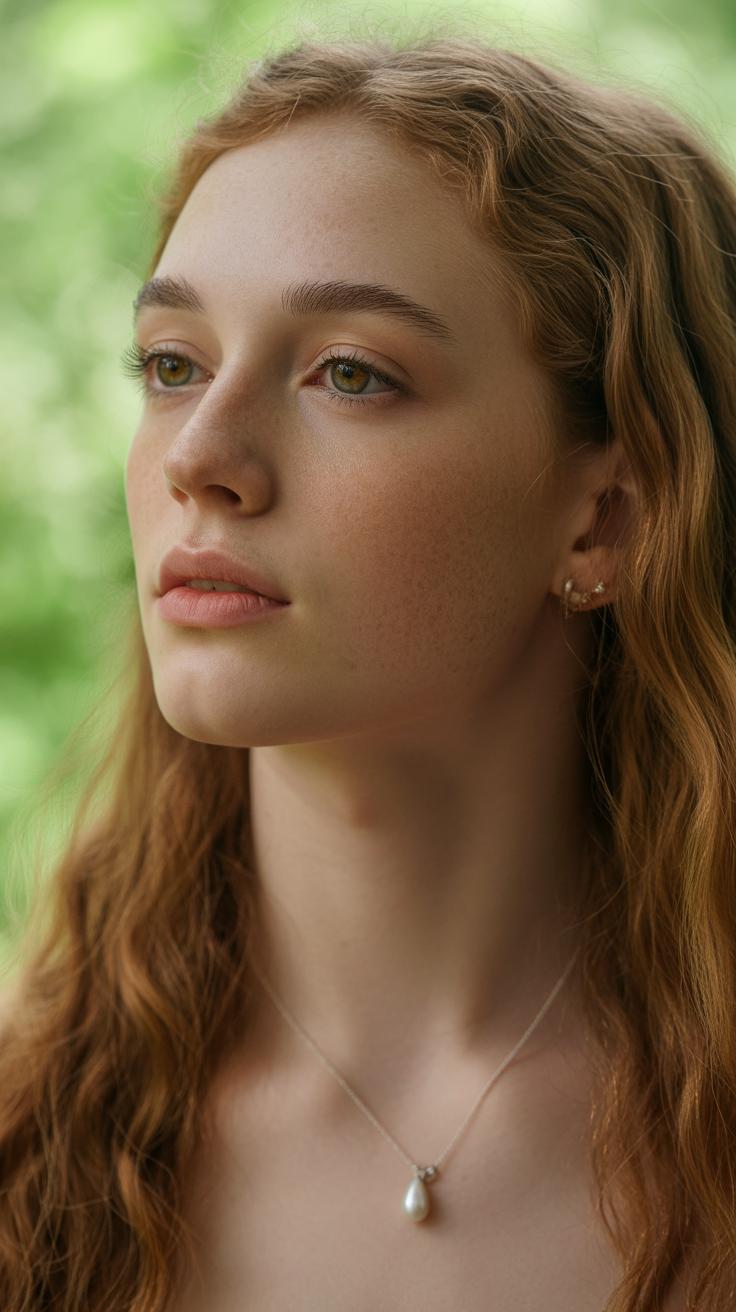
Using Portrait mode on your iPhone can drastically improve your photos by making your subject stand out with a beautiful blur, or bokeh, effect on the background. To activate it, open the Camera app and swipe to Portrait—on most recent iPhones, this mode is easily accessible. On older models, you might need to look for the depth control option manually. The phone uses its dual or triple lenses to create that depth effect, isolating your subject with a sharp focus while softening everything behind.
Getting the lighting right really changes the story your photo tells. Try placing your subject so that natural light falls on their face from the side or front, avoiding harsh midday sun that can cause unwanted shadows or squinting. If indoors, a nearby window or soft lamp works well. You want light to gently wrap around the features without flattening them.
As for backgrounds, simpler is usually better. Cluttered scenes tend to distract, even with the blur effect. Look for plain walls, open spaces, or softly patterned areas. Sometimes, pulling your subject a little away from the background improves the blur and helps your iPhone do its job effectively. Experiment with angles and distances to find what feels right—sometimes a slight shift makes a solid difference, even if it seems subtle.
Don’t forget to play with the depth control slider after you take a Portrait shot. Turning the blur up or down lets you customize how much of the background melts away. It’s tempting to aim for maximum blur every time, but less can sometimes feel more natural. What kind of portrait looks best often depends on your style—and the story you want to tell.
Exploring Advanced Camera Features
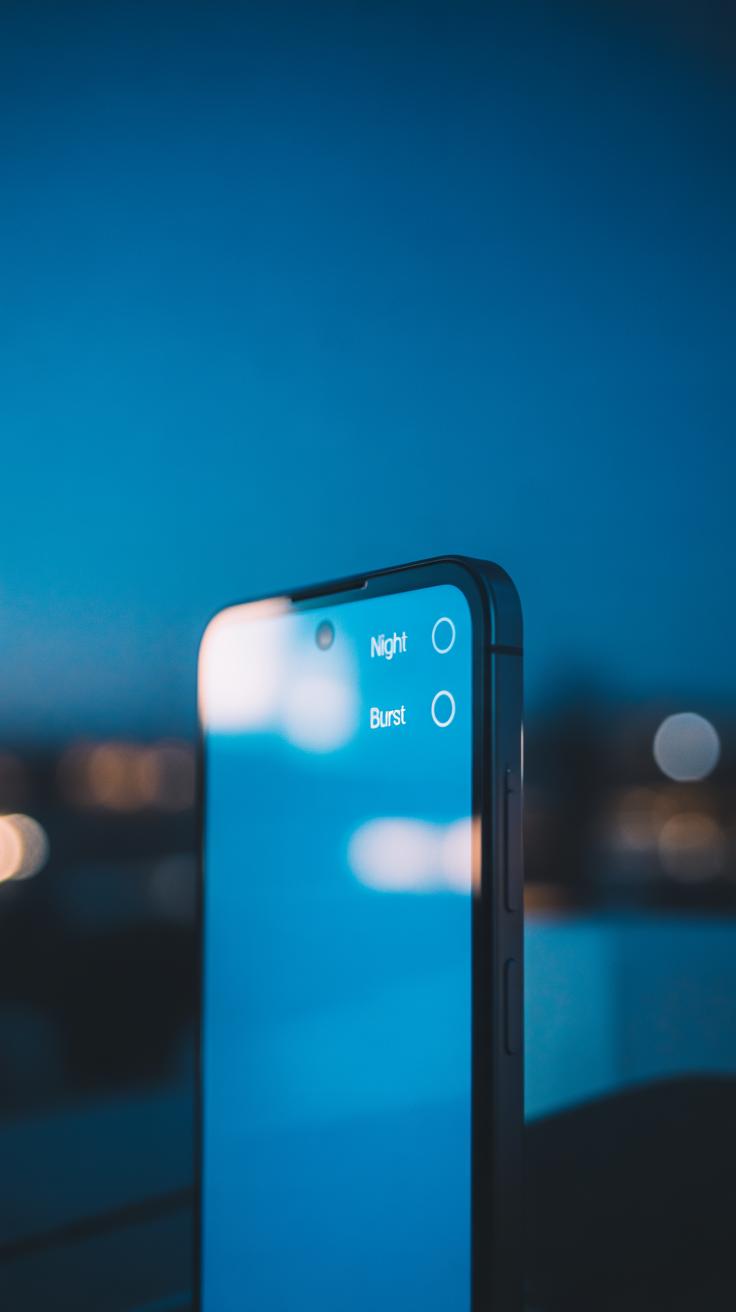
Using Night Mode for Low Light Shots
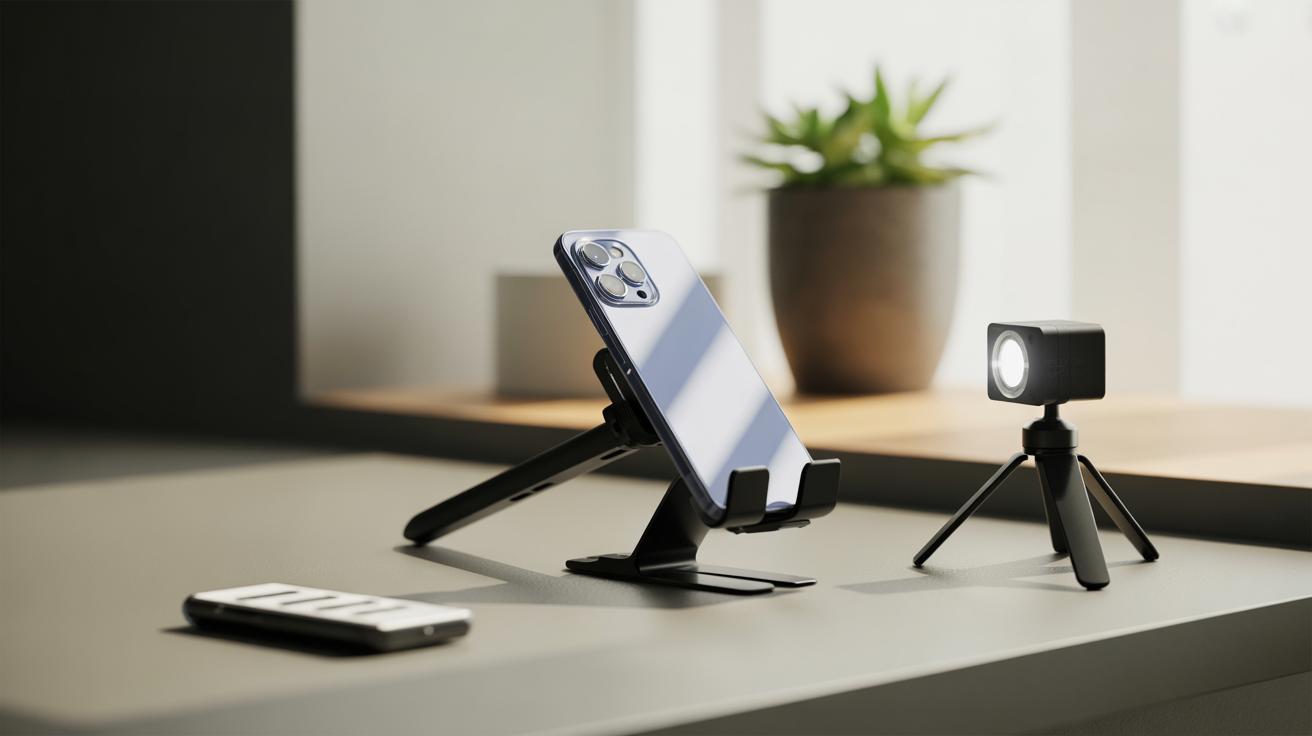
Night mode on the iPhone is a game-changer when you’re trying to snap photos in poorly lit environments. It works by capturing multiple frames over a few seconds and combining them to create a brighter, sharper image. The longer your phone holds still, the clearer the shot gets. So, I guess the biggest tip here is—steady hands matter a lot. If you have a tripod, definitely use it. If not, brace your phone against a solid surface or hold it very still.
Night mode usually activates automatically when the camera senses low light. But you can adjust the exposure time manually by tapping the crescent moon icon and sliding the bar. Longer exposure brings in more light, but it also makes the phone more sensitive to movement. This mode is great when you want to catch city lights, candlelit dinners, or stars, but maybe less practical for moving subjects that might blur.
Creative Uses of Live and Cinematic Modes
Live Photos do more than just capture a still moment—they include a short video clip of what happened just before and after you press the shutter. This is perfect when you want a little more life in your shot, like a smile that changes or a quick motion. You can turn Live Photos into fun effects like Loop or Bounce right in your Photos app, which is a nice way to highlight an animated detail you might otherwise miss.

Then there’s Cinematic mode for videos, which adds a depth-of-field effect and dynamically shifts focus from one subject to another as the scene changes. It’s a bit like directing a short film with your phone. You might want to try this when shooting interviews or stories involving people because it creates a sense of focus on emotions or reactions. But remember, it works best with steady movement and clear subjects—too many fast actions can throw off the focus transitions.
Both these modes nudge you to think beyond just ‘click and save.’ They invite you to explore how motion and focus can tell a richer story with your iPhone. Maybe you’ll find yourself experimenting more than usual, just to see how these subtle effects change the feel of your photos and videos.
Editing Your Photos on iPhone
Once you’ve captured a great shot, the next step is to refine it right on your iPhone. The Photos app has built-in editing tools that are pretty straightforward but can really boost your images if you spend a little time with them.
Easy Cropping and Straightening Tips
Start by opening a photo and tapping “Edit.” Cropping is simple—just drag the corners to trim out distractions or improve framing. It’s surprising how much changing the crop can shift the mood of a photo. Sometimes, I find myself cropping repeatedly, trying to get the perfect balance.
For straightening, use the grid overlay that appears in the crop tool. Slide the straighten dial until the horizon or lines in your photo look level. This small tweak can save a photo that feels awkwardly tilted, even if you didn’t notice it before.
Adjusting Colors and Exposure
After cropping and straightening, move on to adjustments like brightness, contrast, and saturation. Tap the adjustment icon—looks like a dial—and scroll through options.
- Brightness: Raises or lowers the light in your photo. If your image feels dull, a small bump can bring it to life, but too much might wash it out.
- Contrast: Deepens shadows and enhances highlights. Adding contrast can add punch—but sometimes it removes subtle details.
- Saturation: Boosts color intensity. Overdoing it makes colors look fake, but a gentle increase can make the photo pop.
- Highlights and Shadows: Adjusting these can recover details lost in very bright or dark areas. Playing with them can make the photo feel more balanced.
It takes a bit of trial and error to find what looks right. I often toggle between these settings, trying different combos before settling. Sometimes less is more, other times an edgy look is what I want. How do you usually decide when a photo looks “finished”?
Organizing and Sharing Your Photos
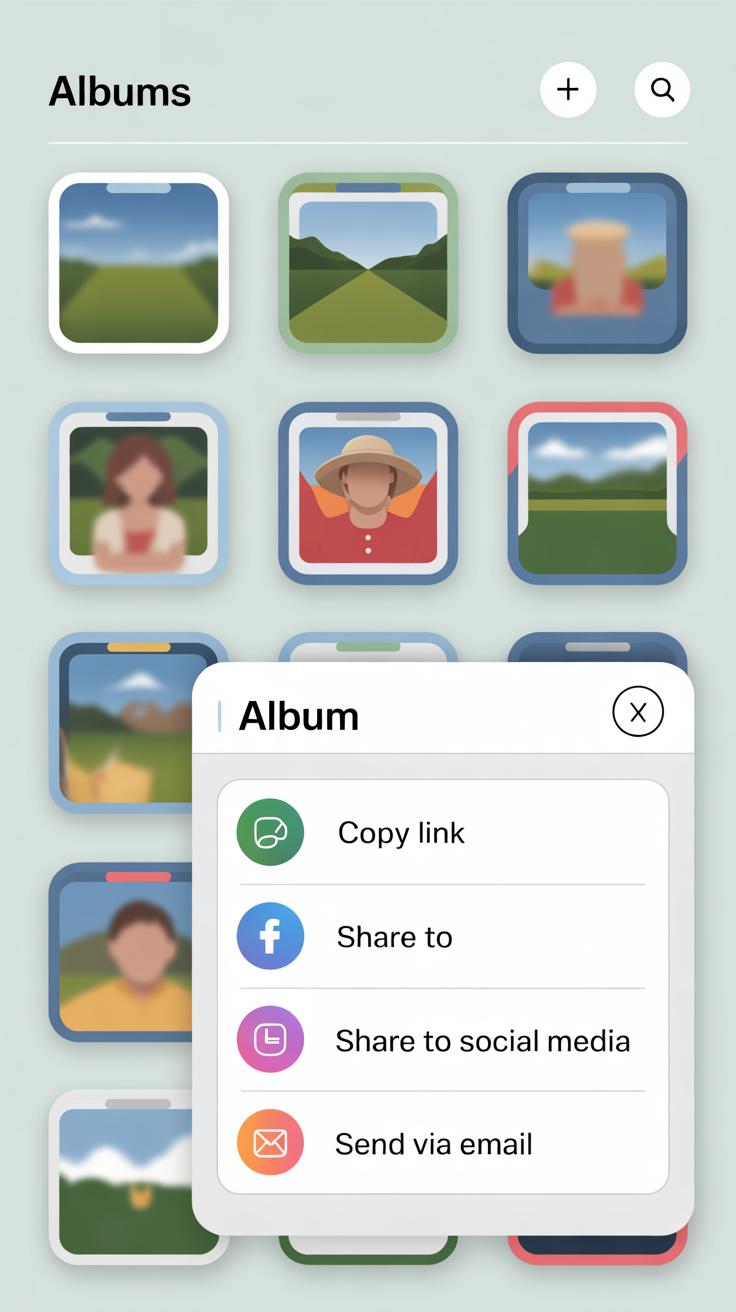
Creating Albums and Backups
When your photo library starts to grow, it quickly becomes harder to find that one picture you really liked. Creating albums on your iPhone is a simple way to keep things neat. Just open the Photos app, tap the plus sign in Albums, and name your new album. Then you can add photos to it, either directly or by selecting from your existing pictures. I’ve found that sorting photos by events or themes—like “Beach Trip” or “Food” —makes browsing much easier later.
Backing up your photos is something people tend to forget until it’s too late. iCloud can automatically back up your entire collection if you turn it on in Settings. This way, your shots stay safe even if you lose your phone or it breaks. But if you like a bit more control, consider other cloud services like Google Photos or Dropbox. They all have their quirks and limits, so maybe try a couple and see what feels right for you.
Sharing Photos Safely
Sharing photos can be fun but requires a bit of care. AirDrop is perfect for sending pictures instantly to nearby Apple devices without shrinking quality, but it only works if you’re close to the other person. Messaging apps like iMessage or WhatsApp are easier for quick sharing, but they often compress photos, which annoys me sometimes when I want to keep detail.
Posting to social media is straightforward, but it raises questions about privacy. You might want to check your settings or consider which photos you really want public. Sometimes I hesitate before sharing a location-tagged picture. Think about cropping out sensitive details or limiting the audience it reaches. Sharing doesn’t have to be risky if you stay aware of where your photos end up.
Practicing and Improving Your Skills
Getting better with your iPhone camera takes more than just clicking away—it means regular practice and a bit of curiosity. Try photographing different subjects: people, nature, cityscapes. Change the lighting conditions—morning light, harsh noon sun, or dim evening shade—each will teach you something new about how your iPhone handles exposure and color.
Playing with various camera settings helps too. Don’t just stick to Auto; test Portrait mode or experiment with exposure adjustment. Sometimes shots don’t turn out as expected, but that’s part of learning. Think of it as discovering what your camera really does behind the scenes.
Set yourself challenges—like a 7-day photo theme, maybe “shadows” or “textures.” You might start to see ordinary things differently. Or try capturing the same subject at different times of day. These small projects push creativity and sharpen your eye.
After you shoot, review your photos critically. Ask yourself: What worked here? Was the focus sharp? Did I get the lighting right? Sometimes, you’ll find a good image by accident. Other times, you’ll spot obvious flaws—and that’s okay. Learning grows from reflecting on both the hits and misses in your gallery.
Conclusions
Now you know the essential tips that can enhance your iPhone photography. By practicing these simple techniques, you will notice a big difference in your pictures. Use your iPhone’s features like focus, exposure, and different camera modes to get the best results every time you shoot.
Keep practicing, and don’t hesitate to experiment with angles and lighting. Your iPhone is a powerful tool. With the right knowledge and creativity, you can create photos that stand out and capture special moments beautifully.