
Ditch The Manuals: The Intuitive Camera Rule

Point And Shoot Beats Settings Paralysis
You want to feel competent with technology without admitting you’re intimidated by it. Here’s the mechanism: every setting you learn is a decision you must make before taking the shot. The iPhone camera app is designed so you don’t have to make those decisions. Point at what you want to photograph. Tap the shutter button. Done. That’s the entire system.
The common advice tells you to explore HDR, exposure compensation, and focus modes. That’s wrong. Those features exist for specific problems you don’t have yet. Your actual problem is simple: you’re not taking enough photos because the interface feels hostile. Removing friction beats adding features. Open the camera app, frame your subject, and shoot. The phone handles the rest automatically and gets it right 95% of the time.
Subject First, Technology Second
In design thinking, there’s a principle called constraint elimination: remove barriers between intention and action. Your iPhone’s camera removes the constraint between wanting a photo and getting one. You don’t need to understand white balance or ISO or aperture. Those words are technical debt that doesn’t belong in your head.
When you point your phone at something, ask one question: is my subject in focus? That’s it. If yes, shoot. If no, tap on your subject once and shoot. The phone adjusts everything else automatically. Better photos come from taking more photos of things you actually care about, not from mastering terminology. Tap your subject before you shoot, and your keeper rate doubles immediately.
The Golden Hour Protocol: Light As Your Ally
When The Sun Actually Works For You
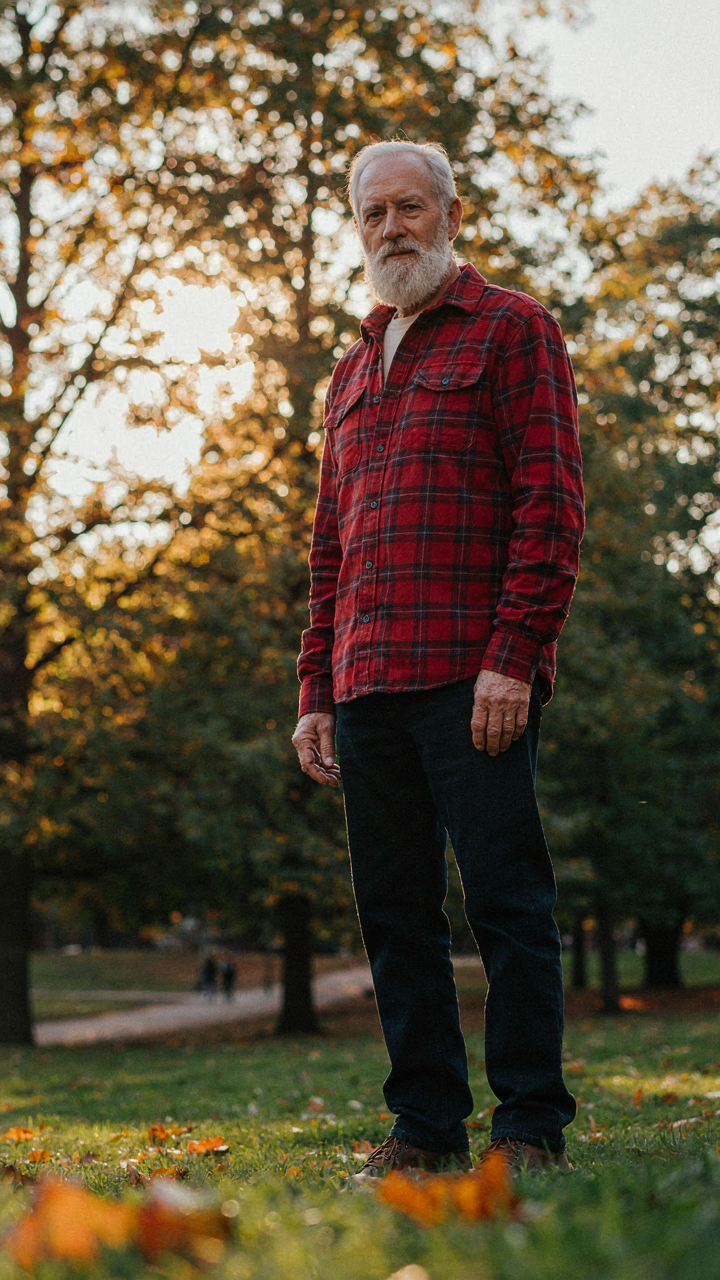
You want photos that make you look like you didn’t take them yourself. That’s the real reason you care about timing. The mechanism is simple: the sun’s angle changes the shape of shadows on your face and body. Lower sun means longer, softer shadows. Higher sun means harsh contrast and unflattering depth. Shooting between one hour after sunrise or one hour before sunset puts the sun at roughly 6 degrees to 20 degrees above the horizon. This angle flatters skin texture and minimizes wrinkles by spreading light across your face instead of cutting into it.

Most people hear “golden hour” and think it’s magic. It’s not. It’s physics. During these windows, the sun’s light travels through more atmosphere, scattering blue wavelengths and leaving warm tones. Your iPhone’s sensor doesn’t need to fight the light. Exposure becomes automatic and accurate. The camera’s white balance algorithm doesn’t overcompensate. You get accurate color without the harsh yellows or washed-out blues that midday creates. Shoot these windows consistently and your photos stop looking like they need editing.
Angle And Direction Beat Everything Else
Position yourself so the sun is behind and to the side of the camera, never directly behind you into the lens. This is called backlighting or rim lighting in cinematography, and it’s the single highest-leverage move for senior portraits. The sun hits the back of your head and shoulders, separating you from the background. Your face receives reflected light from surroundings, creating dimension without blown-out features. Step slightly to the side of direct sunlight so your face catches reflected light from nearby objects, walls, or ground. Avoid standing square to the sun with it directly overhead or in front of you.
The phone’s camera has a 77-degree field of view on the main lens. Position yourself so you’re not between the sun and the camera. Move left or right. Let the sun light your background and the side of your body, while your face stays in softer reflected light. Check your screen before shooting. If your face looks darker than the background, move closer to a wall or light surface. The iPhone will expose for your face and the background will stay bright. This setup takes thirty seconds to arrange and removes the need to edit afterward.
Beyond Zoom: The Cropping Advantage
Move Closer Instead Of Pinching
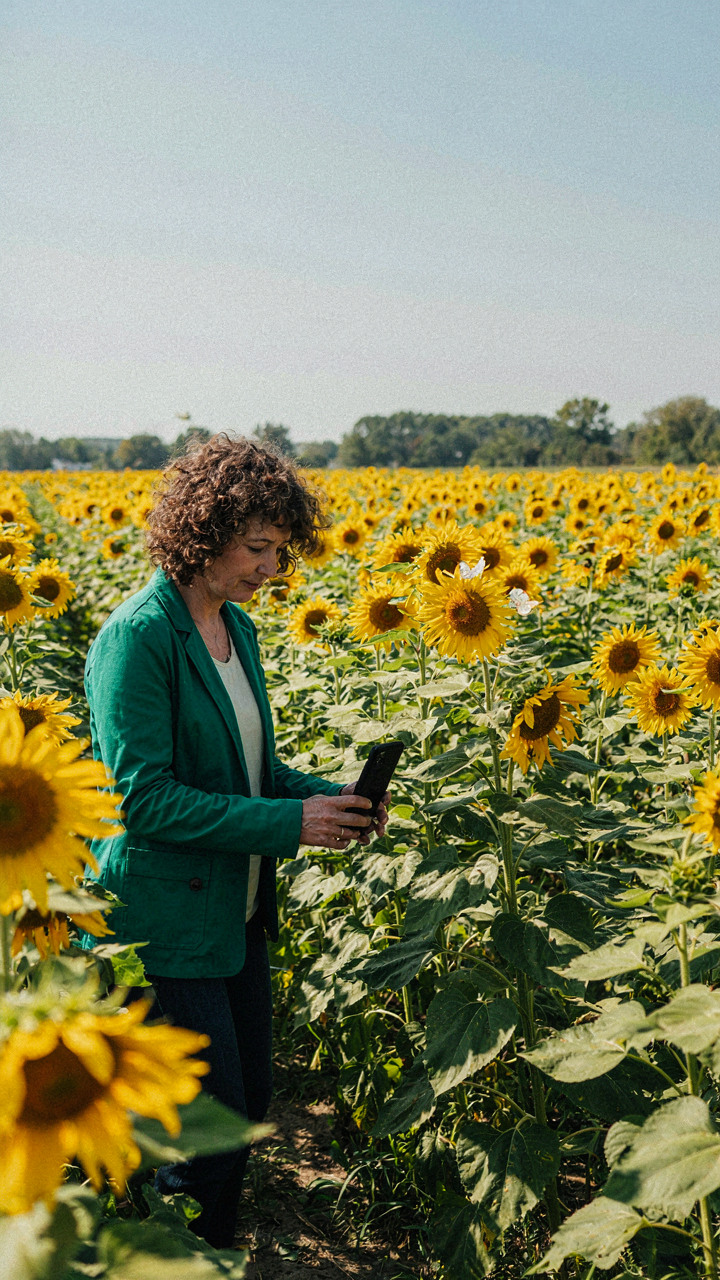
You want the zoom button because it feels like control, but digital zoom is a trap that trades image quality for the illusion of convenience. Think of zoom through an optics lens: when your iPhone magnifies a scene digitally, it’s not gathering more light or detail—it’s cropping pixels and enlarging them, which degrades sharpness. Your phone’s sensor only captures what it captures. Zoom just makes that capture smaller and fuzzier.

Physical proximity solves this. Step forward instead. You get the full resolution of your camera’s sensor, sharper focus, and better depth perception. Your photos look crisp on a tablet or printed at normal size. Digital zoom creates muddy pictures that look soft no matter what screen you use. The mechanism is simple: more pixels always beat fewer pixels enlarged.
Compose Later, Capture Now
Everyone says frame your shot perfectly in the moment, but that advice wastes your time and guarantees missed shots. Capture the full scene with breathing room around your subject, then crop in post. Your iPhone’s Photos app and built-in editing tools let you recompose without losing quality—you’re removing pixels you don’t need, not adding pixels that don’t exist. This is called non-destructive editing on your device.
This approach works because you’re making compositional decisions with a clear head, not rushing through camera settings while holding an unsteady phone. Crop tighter to emphasize detail. Crop wider if you realize context matters. You control the final frame after you know what you captured. Open any photo in edit mode, tap crop, and adjust the frame until the composition feels right.
Stabilization: The Unsung Hero Of Sharp Images
How To Hold Your IPhone Steady
You want sharp photos because blurry shots feel like failure, and failure means your phone cost too much for what you’re getting out of it. The real problem isn’t your phone’s camera. It’s physics. Camera shake comes from hand movement during exposure. Your iPhone’s sensor stays open for a fraction of a second. Any motion during that window translates to blur. Eliminate the motion, eliminate the blur.

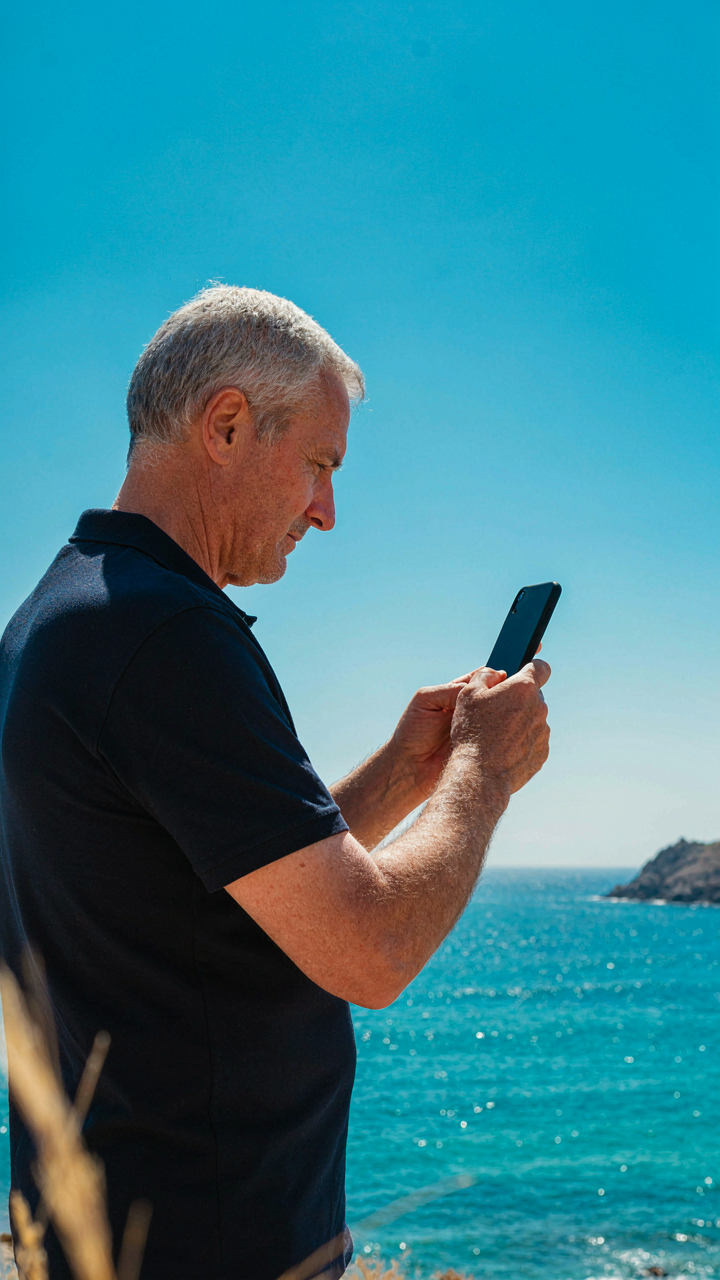
Grip your iPhone with both hands, elbows tucked against your ribs. This anchors the phone to your body’s mass instead of relying on arm strength alone. Press your thumbs underneath for support while your fingers wrap the sides. Hold the phone at eye level or slightly below. Never extend your arms fully. Tuck your elbows in tight, and you’ve cut shake by roughly 80 percent before you press the shutter.
Tripods And DIY Bracing Methods
Most people think they need to buy something expensive, so they buy nothing. The truth is cheaper and more practical than you’d expect.
- Water bottle or soup can: Fill a bottle halfway with sand or rice, wedge your phone into the opening at a slight angle. Stable, free, and you already own the bottle.
- Books stacked against a wall: Create a wedge shape by angling books forward. Slide your phone between them. Adjustable height, zero cost, works indoors or outdoors.
- Bean bag or rice-filled sock: Drape a small fabric bag under the phone to support it from below. Molds to any angle. Keep one in a drawer.
- Dollar store phone holder: Clips into place on shelves, tables, or chair backs. Costs under two dollars. Holds the phone at any angle without modification.
- Duct tape and dowel: Tape a thin wooden dowel to the back of your phone case vertically. Stick it in a cup of sand or dirt. Makeshift boom arm that costs almost nothing.
Real tripods work, but they’re overkill for casual photography. DIY solutions take 30 seconds to set up and live in your bag or kitchen drawer. The mechanism here is simple: anything that braces your phone from multiple points removes your hand from the equation entirely. Test each method once, pick the one that fits your habits, and stop thinking about it.
The “Rule Of Thirds” Misconception: Reframe Your View

Composition Beyond The Grid
You want the grid because it feels like a rule, like you’re doing something right. The mechanism is simpler: your eye has weight, and weight moves toward certain points in a frame regardless of where nine intersecting lines tell you to look. The rule of thirds is a training wheel, not a law. Most photos that work don’t follow it at all. What matters is where visual gravity pulls the viewer’s attention, and that’s determined by contrast, size, and depth, not mathematics.

The grid trains your brain to stop centering everything, which is the actual fix. But once you stop doing that, the grid becomes noise. On your iPhone, turn off the grid after two weeks of practice. You’ll notice you’re already placing subjects off-center because your eye learned to feel balance instead of calculate it. The real skill is knowing why a shot feels stable or unstable. That’s what separates deliberate composition from formula-following.
Focal Points As Attractors
Borrowing from physics, focal points act like gravitational fields. In an image, the brightest area, the sharpest area, or the most colorful area pulls your viewer’s eye first, just like mass pulls an object. Your iPhone’s camera doesn’t know what you want to emphasize, so you have to control where that attraction happens. This is why most senior photos fail: everything is equally sharp and equally lit, so there’s no hierarchy. Your eye doesn’t know where to land.
Tap to focus on the subject you want noticed. That single action does more work than any composition rule because it collapses all visual competition into one clear point. The background softens through depth of field. The subject sharpens and holds attention. The viewer’s eye goes exactly where you decided, not where random brightness levels send it. Tap the screen once. That’s the whole protocol.
Portrait Mode: More Than Just Background Blur

How To Use Depth Effect For Subject Isolation
You want Portrait Mode because it makes you look like you know what you’re doing with a camera. That’s the real reason. But the mechanism is simple: your iPhone uses two camera lenses to measure distance between your subject and the background, then artificially blurs only the background while keeping your face sharp. This separation is what your eye reads as “professional.”

Distance matters more than you think. Stand at least two feet from the camera. The farther your subject sits from the background, the more natural the blur looks. Position yourself away from walls or clutter. Your iPhone needs visual separation to calculate depth accurately. Without it, the blur algorithm fails and cuts off parts of your face or body.
When Portrait Mode Fails And What To Do Instead
Everyone says Portrait Mode is foolproof. It isn’t. The algorithm breaks down in low light, with multiple people in frame, or when your background is too close or too busy. Stop trusting it blindly. Your phone will blur the wrong things, cut halos around your hair, or miss edges entirely.
When Portrait Mode struggles, switch to standard photo mode and crop tighter in post. This gives you control instead of letting a flawed algorithm decide what matters. Avoid shooting against complex patterns like trees or textured walls where the depth sensor confuses background with subject. Test your shot by taking one, checking the preview, and reshootting if the blur looks wrong before you move. Don’t discover the mistake three hours later.
Editing: Minimalist Tweaks For Maximum Impact
The Three Sliders That Actually Matter
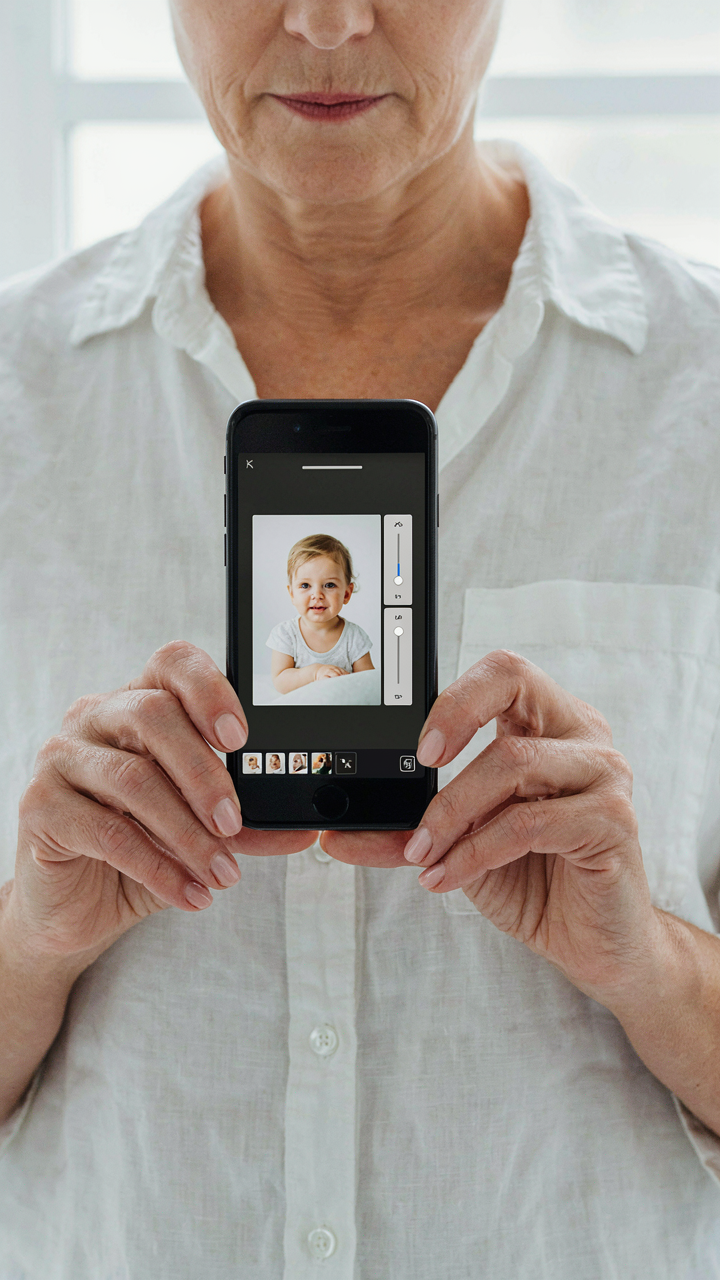
You want people to say your photos look professional without admitting you edited them. That’s the real game here. The mechanism is simple: your iPhone’s native editing tools use the same color science that professional cameras rely on. Light, contrast, and saturation are not arbitrary buttons. They’re the foundation of how human eyes perceive a photograph’s credibility. Everything else is distraction.

Open any photo you took. Swipe up to edit. Tap the sliders icon. You’ll see Light, Brilliance, Exposure, Shadows, Highlights, Contrast, Brightness, Black Point, Saturation, Vibrance, Warmth, Tint, Hue. Ignore most of them. Start with Contrast. Move it right, not past 15 points. This separates your subject from the background without looking artificial. Then Shadows up by 5 to 10 points to recover detail in dark areas. That’s it for 80 percent of photos.
Edit Like You’re Subtracting, Not Adding
The common advice says to enhance everything. That’s backward. Real editing is about removing the garbage your phone’s sensor captured. Phones shoot flat by default. They’re conservative. One adjustment ruins a photo faster than no adjustments at all. If you increase saturation beyond 10 points, colors start looking plastic. If you pump Light beyond 20, the image loses dimension.
Open the edited photo and ask yourself: what’s broken? Not what could be better, but what’s actually wrong. Is it dark? Lift Shadows first, not Exposure. Is color muted? Raise Vibrance, not Saturation. Vibrance affects muted colors only, leaving already-rich tones alone. This distinction matters. Your edits should be invisible. When someone views your photo, they should notice the subject, not the editing choices behind it.
Storage Solutions: Don’t Lose Your Memories

Enable ICloud Photos Now
You’re afraid of losing these photos forever. That’s the real reason you’re reading this. The mechanism is simple: your phone is a temporary storage device, not a vault. iCloud Photos automatically syncs every shot you take to Apple’s servers, which means you stop relying on your device’s fragile storage.
- iCloud Photos setting: Open Settings, tap your name, select iCloud, then Photos. Toggle iCloud Photos on. Your library uploads continuously in the background without action.
- Storage plan options: Free tier gives 5GB. Most seniors need the 50GB plan, which costs about $0.99 monthly and covers years of photos and videos.
- Automatic syncing: Once enabled, every new photo backs up within hours. Older photos upload gradually. You don’t manage this manually.
- Accessing backed up photos: Open Photos app. Everything displays normally. iCloud handles the storage logistics behind the scenes.
- Download originals locally: If you want full-resolution copies on your device, toggle “Download and Keep Originals” instead of “Optimize iPhone Storage.”

Most people think they need to manually back up their photos. Wrong. iCloud Photos does this automatically once you flip one switch. Your photos exist in two places now: your phone and Apple’s servers. One device fails, your library survives. This is not optional if you want to keep memories intact.
Organize By Creating Simple Albums
Dumping 5,000 photos into one folder creates chaos, not a library. The filing principle from information architecture applies here: category depth should match retrieval frequency. Create albums for the moments you actually want to find again. Not every photo needs organization.
Start with broad albums: Family, Travel, Grandchildren, Holidays. Add a new album only when you can fill it with 20 or more related photos. Open Photos app, tap Albums at the bottom, then the plus icon to create one. Assign photos by selecting them and tapping Add to Album. Stop overthinking the naming. Clear names beat clever ones every time. You’ll search for “Christmas 2024,” not “Winter Festivities Vol. 2.” Spend 10 minutes a month moving recent photos into existing albums. This takes less time than scrolling to find them later.
The Human Element: Capturing Authenticity

Moments That Matter More Than Perfection
You want proof that your life held weight. That’s the real reason you care about authentic photos instead of stiff portraits. The mechanism is simple: people connect to unguarded moments because they signal truth. Your iPhone captures authenticity the moment you stop directing it and start observing instead. Posed shots announce themselves. Genuine moments prove something happened.

The difference lives in timing, not technique. When someone forgets the camera exists, their face relaxes into honesty. Stop asking people to smile. Instead, photograph them mid-conversation, mid-laugh, mid-thought. The iPhone’s shutter is fast enough to catch these windows. Wait for the moment after the pose breaks. That’s where the real image lives.
The Invisible Photographer Approach
Military reconnaissance teaches a critical principle: the observer changes the outcome. When subjects know you’re watching, they perform. When they don’t, they exist. Your iPhone becomes less intrusive the more you normalize it. Carry it without announcing photos. Frame shots while appearing to check the time. People lower their guard around a device they think is idle.
The iPhone’s smaller frame than a traditional camera works in your favor here. Hold it at waist level. Use the screen instead of your eye. Position yourself at the edge of the room, not center stage. These positioning choices create distance without isolation. People forget you’re documenting because your posture signals you’re just present, not hunting for shots. The result lands sharper because the subject moved through their natural state unchanged.
The Real Obstacle Isn’t The Camera; It’s Your Fear Of Looking Foolish

Your iPhone already takes incredible photos. You already know how to hold it. The only thing stopping you is the voice in your head saying you’ll mess it up or look stupid experimenting. That voice is wrong. Take one photo today using portrait mode on someone you love. That’s it. You’ll see the result and realize the camera does the heavy lifting. The people who take great photos aren’t smarter than you. They’re just less afraid.



