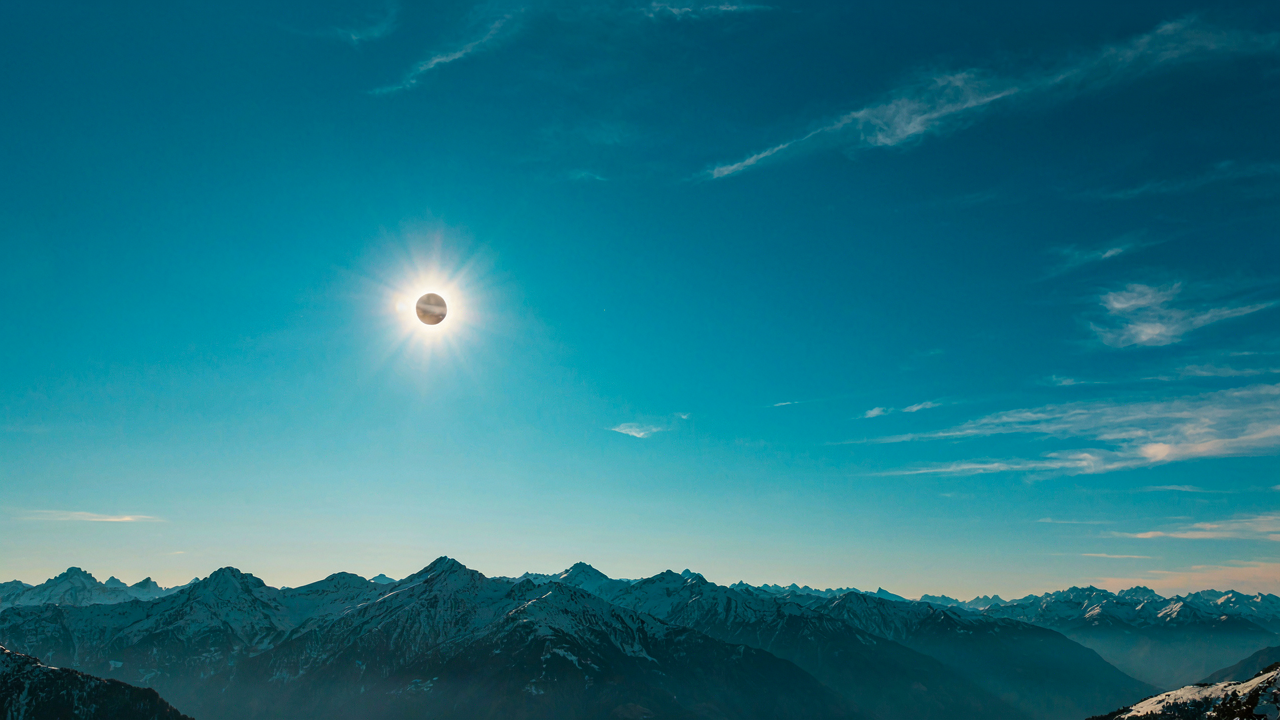
Beyond The Buzz: Setting Realistic IPhone Expectations For Solar Eclipse Photography
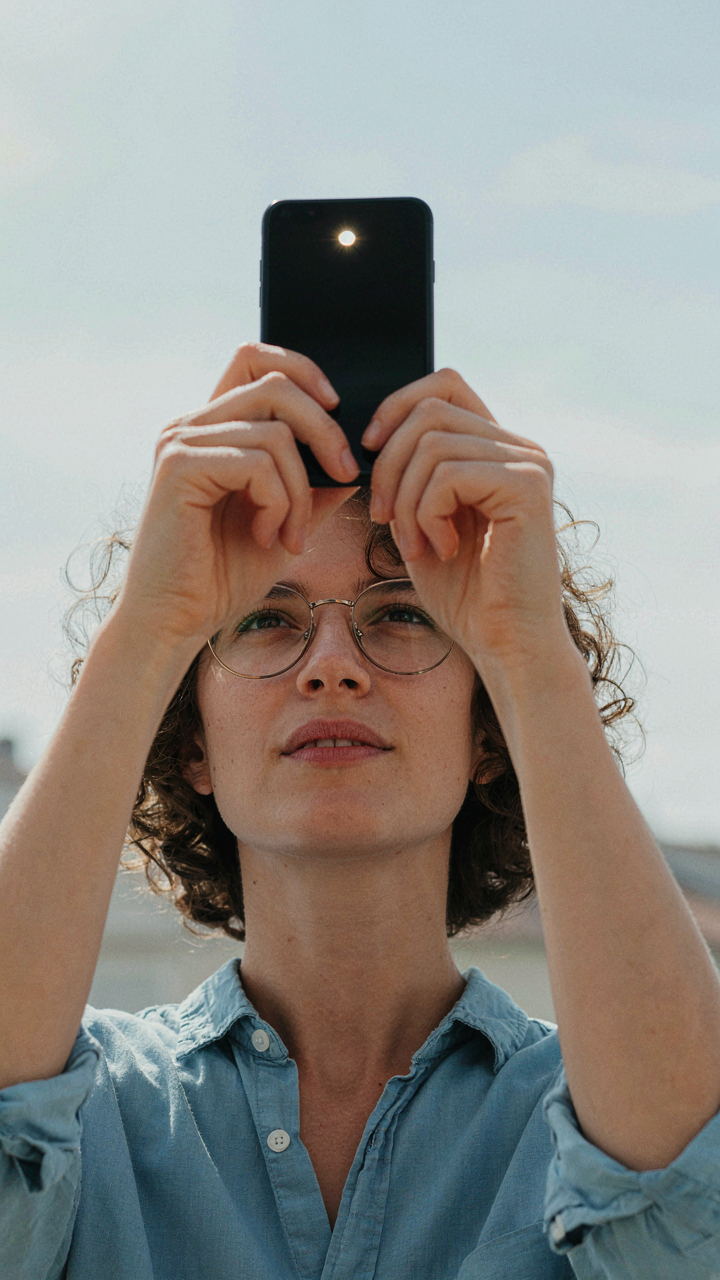
Your Phone’s Actual Reach
You want to believe your iPhone can capture what your eye sees during totality, and that desire sells gear you don’t need. The mechanism is optical: your iPhone’s telephoto lens maxes out at roughly 12x digital zoom on newer models, which means a 77-millimeter equivalent focal length at best. An eclipse demands 500 to 1200 millimeters to render the sun as anything larger than a small disk. The gap between what you own and what you need is absolute, not negotiable.
The sun during an eclipse occupies half a degree of sky. At your phone’s maximum reach, it appears as a grain of rice on your screen. Professional eclipse photographers use dedicated telescopes with focal lengths exceeding 2000 millimeters. Your phone captures the eclipse event, not the eclipse itself. The distinction matters because it changes your shooting strategy entirely.
What You Actually Resolve
The advice to “just use your phone” is incomplete and misleading. Optical physics governs what becomes visible: resolution equals focal length divided by aperture. Your iPhone’s sensor contains roughly 12 to 48 megapixels depending on the model, but megapixels mean nothing without focal length to deliver detail to those pixels. A professional 8-inch telescope with a solar filter can resolve surface features across hundreds of kilometers on the sun. Your phone resolves a blurry orange circle, nothing more.
Totality changes the calculation temporarily. During the two to four minutes when the moon blocks direct sunlight, your phone captures the corona, prominences, and stars without a solar filter, using standard exposure settings. This is the only moment your iPhone excels: when the eclipse eliminates the overwhelming brightness that normally washes out detail. Outside totality, accept that your phone records proof of attendance, not scientific documentation.
The “Sacrificial Lens” Protocol: Essential Eye & IPhone Protection
Solar Filters Are Non Negotiable
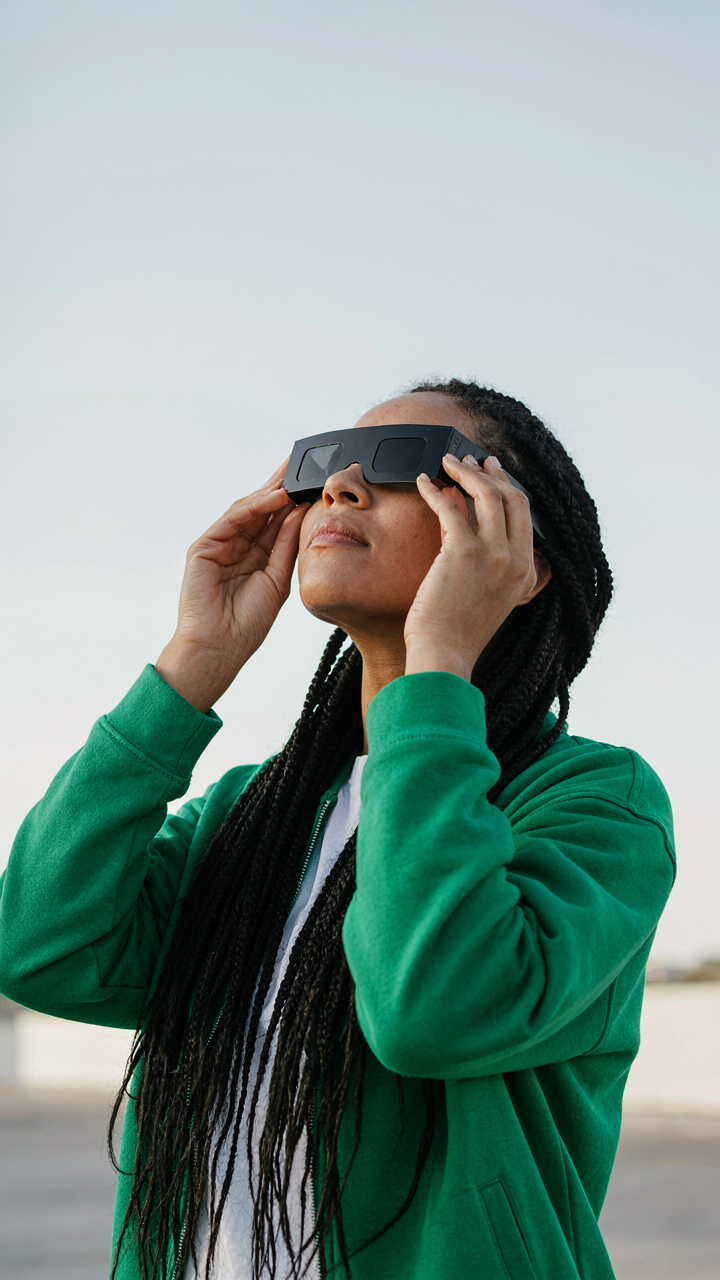
You want the shot without admitting you’re terrified of going blind. The mechanism is simple: the sun produces infrared radiation your eye can’t feel until damage is done. Think of solar filters as military-grade armor for both your eyes and your iPhone’s sensor. No filter means irreversible burn to your retina or your phone’s image sensor within seconds.
- ISO 12312-2 certified eclipse glasses: The only eyewear standard that blocks 99.99997% of sunlight. Verify the certification on the label before purchase, not after.
- Threaded solar filters for camera lenses: Screw directly onto your iPhone external lens adapter. Reduces solar intensity to safe levels for extended shooting.
- Handheld solar viewers: Cardboard or plastic frames with certified film. Hold between your eye and phone when composing shots to preview safely.
- Welding glass shade 14 or higher: Industrial alternative that blocks sufficient infrared and ultraviolet. Cheaper than eclipse glasses but requires verification of shade rating.
- Smartphone solar lens adapters: Purpose-built clips that hold certified filter material over your iPhone camera. Specific to eclipse photography, non-negotiable for sensor protection.

No shortcuts exist. Electronics retailers sell counterfeit filters constantly. Buy only from vendors selling certified stock with traceable batch numbers. Your retina doesn’t regenerate. Your iPhone’s sensor doesn’t either.
Sensor Burnout Happens Faster Than You Think
A smartphone sensor focuses infrared directly onto its silicon without the natural defenses your eye has. The damage occurs in milliseconds. Shooting even a partial eclipse without a filter will create a permanent hot pixel cluster or dead zone on your sensor, visible in every photo you take afterward.
The common advice here is incomplete: people say “don’t point at the sun,” which is useless because you point at the sun intentionally during an eclipse. The real mechanism is that unfiltered sunlight concentrates through your iPhone’s lens into an area smaller than a pinhead on the sensor. That heat melts the photosensitive layer. Once melted, no software fix works. You replace the camera module or live with corrupted images. A certified solar filter absorbs 99.99% of that energy before it reaches your lens, making the difference between a usable shot and hardware failure.
Manual Mode Mastery: Unlocking Your IPhone’s Hidden Solar Eclipse Photography Power
Exposure Control Without The Guesswork
You want this shot to look intentional, not like you grabbed your phone in a panic. Here’s the mechanism: iPhone’s auto-exposure locks onto whatever dominates the frame, which during an eclipse means the bright corona or the dark moon depending on angle, leaving everything else crushed or blown out. Exposure compensation exists precisely for this problem. Open the Camera app, tap to focus on the eclipse, then swipe up or down on the exposure slider that appears. Lower exposure when the sun dominates. Raise it if you want the corona detail visible against the black sky. The slider’s range is limited, so you’re working with what you get, not miracles.

Most people never touch this control because they don’t know it exists or assume it’s too complicated. It’s not. Swipe once, watch the preview change in real time, shoot. The critical move happens before eclipse day: open your camera app right now and find that slider so you’re not hunting for it when totality lasts ninety seconds. ISO adjustment on iPhone happens automatically in low light, and you can’t override it directly in standard Camera app. What you can control is keeping that exposure slider at the exact position you need the moment the moon starts its final coverage. That’s your real lever.
Critical Focus: Bypassing Auto Focus Failure
Auto-focus hunts for contrast, which an eclipse refuses to provide during totality. Tap directly on the moon or corona where you see definition, and hold your finger there until the yellow box locks. This isn’t optional during the eclipse window. The moment you release, your phone reverts to hunting mode again. Lock it before you need it.
The pro move is to focus slightly inside the moon’s edge rather than at its center, which gives you sharper detail across the corona’s wispy edges. Once locked, your phone maintains that focus distance until you lift your finger. Keep it pressed throughout the sequence you’re shooting. Motion blur kills eclipse photos faster than poor exposure ever could. Test this protocol the day before on something stationary with similar contrast: a distant building against sky, a tree limb against clouds. Get muscle memory now so your hand instinct works when adrenaline hits.
The Steady Hand Principle: Tripods & Timers For Sharpness
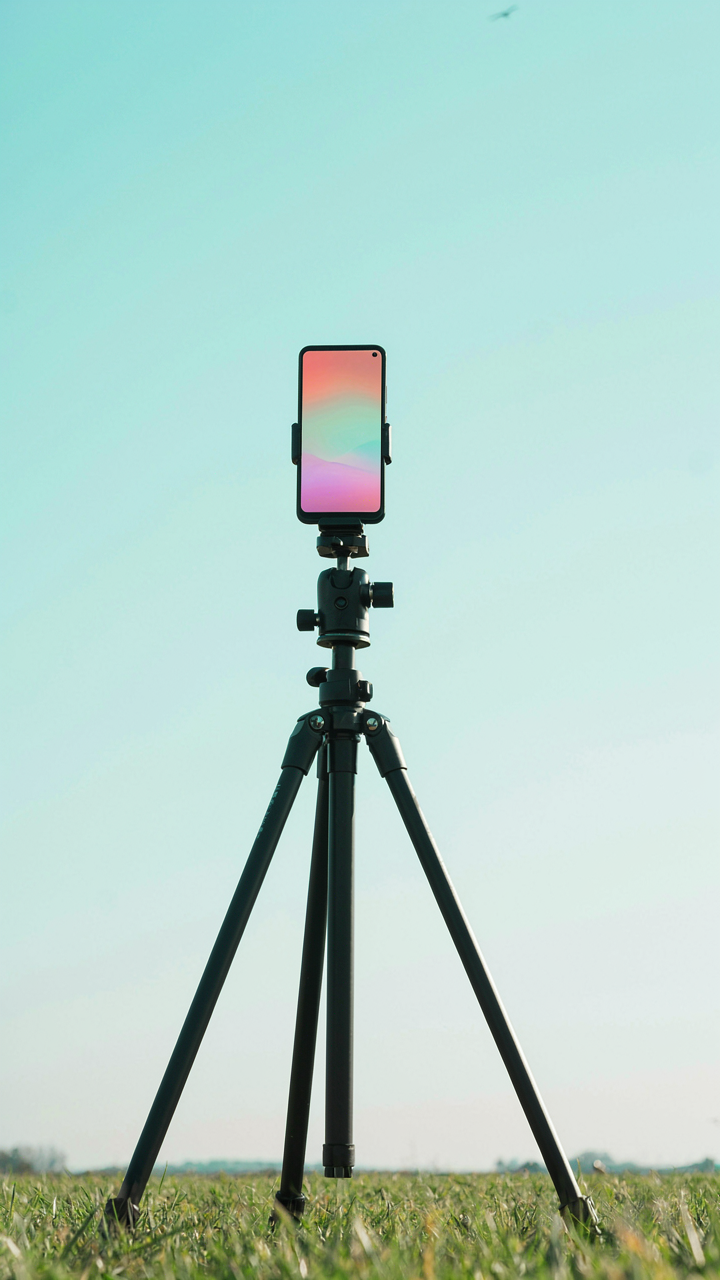
Eliminating Shake: The Enemy Of Crisp Luna Eclipse Shots
You want the shot to look effortless. That’s the real reason you’re reading this. But here’s the mechanism: camera shake during exposure destroys sharpness at any focal length, and your iPhone’s sensor is small enough that even half a second of hand tremor translates to visible blur. Physics calls this mechanical resonance, and eclipse photography amplifies it because you’re shooting a dark subject that demands longer exposures. Your hands cannot hold still for the duration your sensor needs.

A tripod with a ball head or gooseneck mount locks your iPhone’s position before the exposure begins. The phone stays motionless through the entire capture, eliminating the variable that ruins most eclipse photos. Use a tripod tall enough to reach your eye level without craning your neck. Lock every joint tightly. This is not optional if you want usable images.
Remote Shutter Releases For Zero Contact Captures
Most people tap the screen to shoot and wonder why their eclipse photos blur. Pressing the button itself introduces vibration into the phone and tripod system right when the sensor is open. The solution is contact-free triggering: use your iPhone’s self-timer or wireless remote to fire the shutter without touching the device.
The self-timer on your iPhone works. Set it to 3 or 10 seconds, position your shot, press the button, step back, and let the delay absorb any residual vibration before exposure begins. If you have an Apple Watch or a Bluetooth remote, use that instead. Zero hand contact means zero introduced movement. This single change produces sharper eclipse frames than any other adjustment you can make during shooting.
Framing The Event: Composition Beyond The Obvious For Understanding Eclipse Phenomena
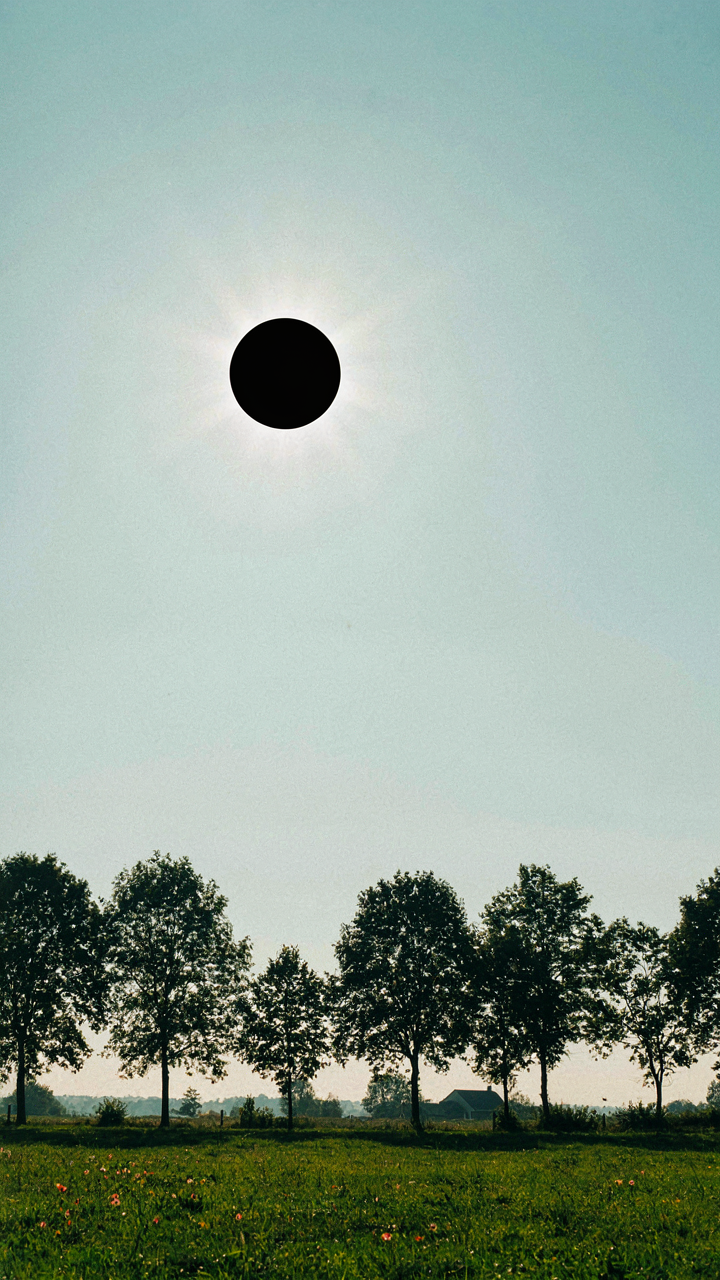
Scale And Context Define The Shot
You want people to believe you were actually there. That’s the real reason composition matters here, not some vague aesthetic principle. Eclipse photography borrows from landscape architecture’s concept of “layering”—the deliberate placement of objects at different depths to create perceived distance. Your iPhone captures what’s in front of the lens, but how you position terrestrial elements determines whether viewers understand the eclipse’s actual scale relative to Earth.

Most eclipse photos fail because they isolate the sun. The corona looks impressive for three seconds, then it’s just a glowing disk with no reference point. Include recognizable objects in the foreground: trees, buildings, people, mountains. This anchors the phenomenon to human reality. Your iPhone’s computational photography actually handles this well when you frame intentionally. The phone meters the bright eclipse and automatically exposes the darker ground elements, giving you context automatically. Shoot with a slight upward angle so foreground elements occupy the lower third of the frame, the eclipse above them.
Positioning Elements For Visual Weight
The rule of thirds is not decoration. It’s a cognitive tool based on how human eyes actually parse visual information. Place the eclipse along one of the two vertical gridlines in your frame, not centered. This creates dynamic tension that your brain registers as “something significant is happening here,” not “here’s a centered object.”
When the moon passes in front of the sun, your compositional choices determine whether the image reads as “an event I witnessed” or “a celestial object I photographed.” Offset the eclipse toward the upper third line. Let foreground elements anchor the lower portion. This spatial relationship tells the story of scale and perspective that a centered, isolated sun cannot. Your iPhone’s standard camera lens has a 28mm equivalent focal length, which naturally compresses depth. Use this to your advantage by including substantial foreground detail. Compose before totality hits, then hold position.
Post Processing With Purpose: Enhancing Your IPhone Eclipse Photos, Not Faking Them
The Three Moves That Matter
You want your eclipse photo to look as good as what you saw—or better than what you saw. That’s the real motive here, and it’s honest. The mechanism is simple: your iPhone’s sensor captured data your eye didn’t process the same way, so modest adjustments bridge that gap. Think of post-processing like exposure compensation in real-time. You’re not inventing detail. You’re revealing what was already there but got compressed by the camera’s limited dynamic range.

Contrast is your first move. Bump it 10 to 15 points in your editing app—not 30. The eclipse has natural contrast between the corona and the dark sky, and your phone flattened it. Exposure adjustment comes second: if the moon looks washed out, drop exposure by 0.3 to 0.5 stops. Color temperature matters last. Eclipses have a specific light quality—slightly cooler than noon sun, slightly warmer than overcast. Shift the temperature slider 200 to 400 Kelvin cooler if your image reads too yellow. These three moves solve 90 percent of eclipse photo problems without crossing into manipulation.
Authenticity Over Drama
The common advice here is garbage: “Push the saturation until it pops.” That’s how you end up with a fake-looking moon that reads as a graphic, not a photograph. Your job is to enhance what actually happened, not create a version that didn’t. The eclipse you shot was real. Your edit should prove it, not contradict it.
Start with the Exposure or Levels app native to iOS. Adjust the highlights to recover blown-out corona detail. Keep shadows subtle—pulling them up too much introduces noise in the dark sky and screams “I edited this.” If you use third-party apps like Snapseed or Adobe Lightroom, use the selective editing tools to adjust the moon separately from the sky. This prevents over-brightening the corona when you’re trying to recover the lunar disk. Save your original file before editing. Export in full resolution. Authenticity means you could explain every slider movement to someone skeptical.
The “Observational Economics” Method: Prioritizing Experience Over The Shot

The Real Cost Of Every Frame
You want the photo because you want proof you were there. Economics calls this opportunity cost, and it applies directly to eclipse viewing: every second your eye is behind the iPhone screen is a second you cannot experience the eclipse directly. Your brain cannot process both simultaneously at full depth. The mechanism is simple: attention is finite. You choose between capturing the event or witnessing it.

The eclipse moves fast. Totality lasts minutes. If you spend half that time composing shots, adjusting exposure, and checking results, you’ve traded a primary experience for a secondary record of it. The iPhone photo will never match what your unmediated eye sees. This is not pessimism. This is math.
When The Repetition Stops Paying
Most eclipse photography advice tells you to “take lots of shots to get the best one.” That’s incomplete. Economics recognizes diminishing returns: each additional attempt costs the same effort but yields progressively weaker results. After your first solid shot, the marginal gain per frame drops sharply.
The protocol is direct: take one or two frames during the phases you plan to photograph, then put the phone down. Lock in the settings before totality begins. Review nothing during the event. The moment you check your screen mid-eclipse, you’ve already lost the moment you were trying to preserve. Shoot, confirm focus locked, then watch.
Beyond The Totality: Capturing Partial Phases & Lunar Eclipse Pictures
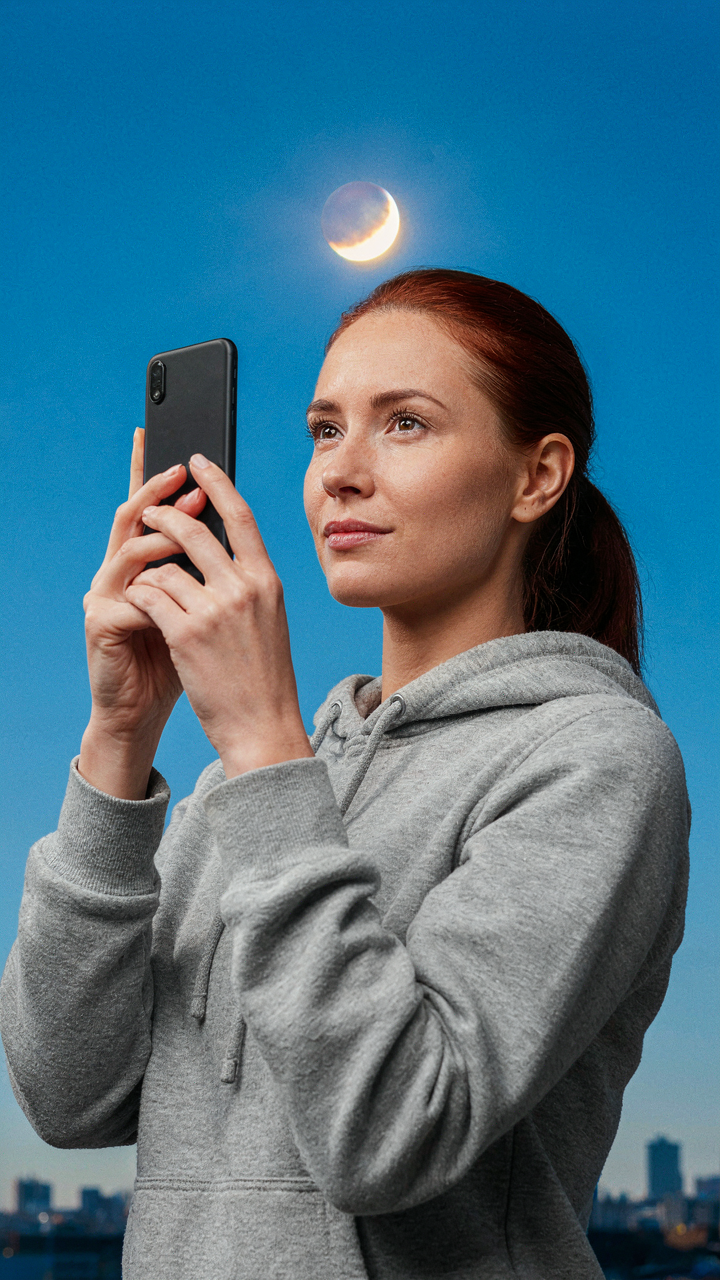
The Light Shift That Separates Good From Blurry
You want proof that you were there, not just that you own an iPhone. That’s the real reason partial phases matter to you. Here’s what people miss: light changes during an eclipse follow physics, not intuition. As the Moon moves across the Sun, the ambient light on your scene drops in discrete steps, not gradually. Your iPhone’s auto-exposure reads this and tanks your settings mid-shot, destroying your sequence.

Shoot manual exposure once you lock your settings. The progression from partial to totality requires you to drop your ISO and shutter speed in stages, not continuously. Use your phone’s Pro mode or a third-party app like Halide to see exposure in real time. Take a test shot every few minutes during the partial phases, then adjust down by one-third stop. This documents the actual light shift without letting the camera hunt for exposure and wreck your images.
Pulling Detail From The Moon’s Surface
Longer exposure sounds simple but betrays a misunderstanding of how phone sensors work during daylight. Longer shutter speed doesn’t recover lunar surface detail in partial eclipse shots because the Moon is still bright relative to the sky. Exposure depth comes from aperture, not time. Your iPhone’s fixed f/1.8 or f/2.0 aperture does not change. The real lever is ISO and where you meter.
Meter directly on the lunar disk by tapping it in your app before you shoot. This forces the phone to expose for the Moon’s surface instead of the surrounding sky. Use ISO 100 and shutter speed around 1/500th to 1/1000th of a second for partial phases. For lunar eclipses, where the Moon is dimmer and copper-toned, drop to ISO 400 and 1/30th to 1/60th. The Moon’s surface craters and maria become visible only when you expose for the Moon itself, not the scene around it.
The Real Obstacle Isn’t Your IPhone’s Camera; It’s Your Addiction To Instant Gratification
You’ll chase the perfect eclipse shot and miss the eclipse. Your phone becomes a barrier between you and something rare. Put the camera down for the first thirty seconds. Watch it with your actual eyes. Your brain needs the raw experience before your feed needs the content. The best eclipse photo you’ll ever take is the one you don’t post.




