
The Lighting Deception: Why More Light Isn’t Always Better

Natural Light, Not Studio Floods
You want your craft to look professional, which makes you think more light equals better photos. That’s backwards. Natural light wins because it reveals texture without erasing it. Studio floods are blunt instruments. They flatten handmade items into flat surfaces. A north-facing window or diffused daylight gives you directional control without destroying the dimensional quality that makes craft work worth photographing in the first place.
The mechanics here come from optics, not opinion. Hard light sources create harsh shadows and blown highlights on uneven surfaces. Diffused light bends around your object, illuminating crevices and weave patterns that justify the price tag. Your iPhone’s sensor works better with consistent, moderate light anyway. Place your craft perpendicular to a window, not facing it head-on. This single positioning choice changes everything about how texture reads on screen.
Shadow Play For Depth And Drama
Shadows aren’t the enemy of clarity. They’re the proof your object has volume. Remove all shadow and you’ve made your handmade item look mass-produced and hollow. Strategic shadow creates the visual hierarchy that separates craft photos from product shots. Use one light source, one window, one direction. Let the opposite side of your object fall into controlled darkness.
This is borrowed from cinema lighting doctrine. The ratio between key light and fill light determines perceived dimensionality. On your iPhone, a 3:1 ratio works: three units of light on the front, one unit bouncing back from shadow side. You don’t need reflectors. A white foam board or crumpled aluminum foil on the shadow side is enough. Position it close enough to catch ambient light without flattening the shadow entirely. Your goal is a shadow deep enough to suggest form, not so dark it reads as damage.
The Proximity Principle: Get Closer To Your Craft
Macro Mode For Intricate Details
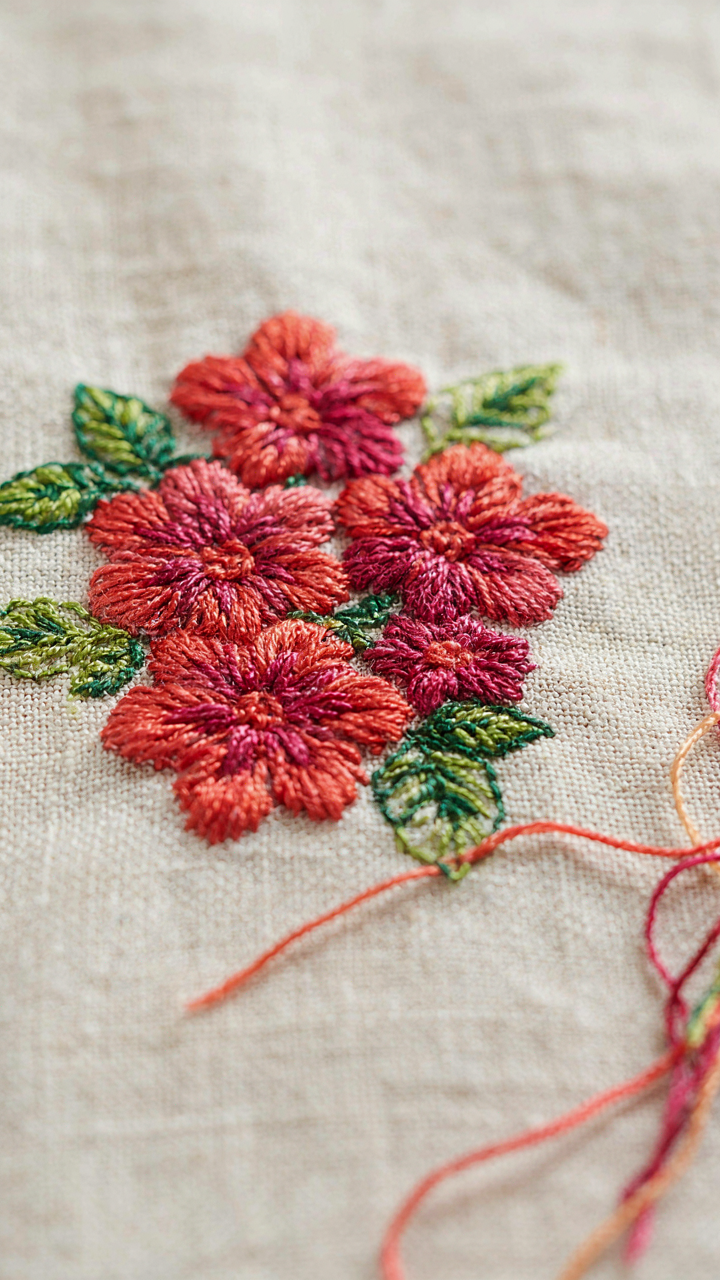
You want people to see the work you actually did. That’s the hidden motive here, and macro mode is how you prove it exists. In optics, magnification reveals what distance conceals. iPhone’s macro mode operates on the same principle: it collapses the gap between lens and subject until texture, stitching, and material quality become undeniable proof of craft.

Macro mode activates automatically on iPhone 13 Pro and later when you move within 2-4 centimeters of your subject. The ultra-wide camera switches to macro focus without user input. This isn’t a gimmick. The sensor actually captures surface details that standard focal lengths flatten into abstraction. Handmade items live or die on texture. Macro shows the buyer what their hands will feel.
Blurred Backgrounds Beat Minimalism
The advice to use plain backgrounds is incomplete. A blurred background doesn’t just look cleaner. It creates depth separation, which trains the viewer’s eye to lock onto your work and ignore everything else. This is basic visual hierarchy, and it works regardless of how plain or interesting your environment is.
Use portrait mode or position yourself close enough that the iPhone’s depth-of-field naturally softens the background. Distance matters more than location. Move your craft one foot from a wall, shoot from two feet back, and the wall disappears into bokeh. The real mechanism is simple: your iPhone prioritizes whatever sits in the focal plane. Put the craft in focus, let physics blur the rest, and attention follows automatically.
The Composition Protocol: Framing For Impact
Where Your Subject Lives In The Frame
You want the rule of thirds to make your craft photos look intentional instead of snapshot-level. Here’s the trap: the rule is a passive grid that promises balance but delivers boredom. You’re applying a 100-year-old painting principle to a medium where your actual job is pulling attention, not distributing it evenly across the frame.

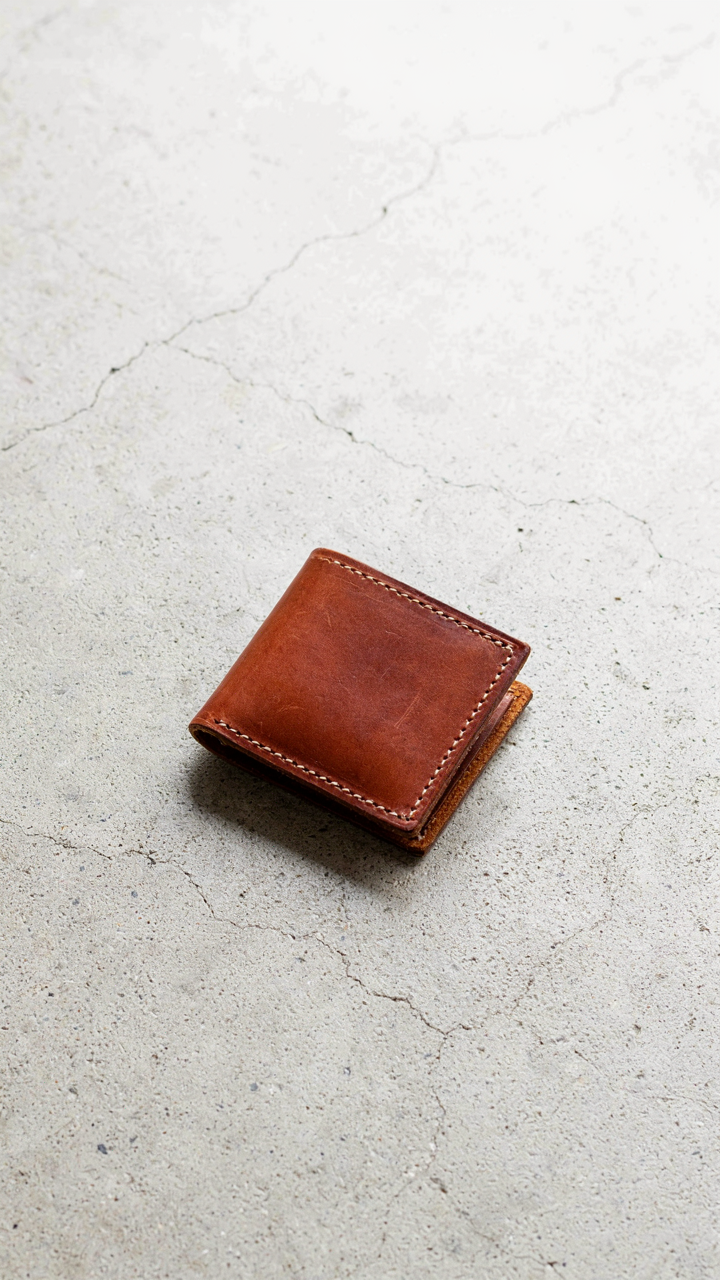
The mechanism borrowed from visual hierarchy says that weight and contrast move the eye, not symmetry. Place your handmade item where it creates tension with negative space, not where it settles into a third-line comfort zone. Off-center placement works only when the negative space actively frames the object, not when it just fills dead air. Test this: shoot your craft centered, then shoot it shifted left with intentional white or negative space on the right. The second version feels deliberate. That’s the point.
Directing Attention With Visual Pathways
Leading lines stop working the moment you notice them, which means most craft photography fails this test. A rope, edge, or shadow drawn too obviously across the frame screams technique instead of guiding. The real move is using lines that already exist in your craft’s structure or shooting surface to create an invisible path toward what matters.
Weave your lines through the composition rather than pointing straight at the subject like an arrow. A twisted yarn, the grain in wood, or the natural edge of a fabric fold becomes a pathway only if it feels organic to the object itself. Your iPhone’s lens flattens depth, so lines become your primary tool for manufacturing dimension. Angle your shot so the line enters from frame edge, crosses through the craft, and exits naturally. This creates movement without announcing it.
Editing Untangled: The Subtle Art Of Enhancement
Native Tools Only, No Third Party Apps
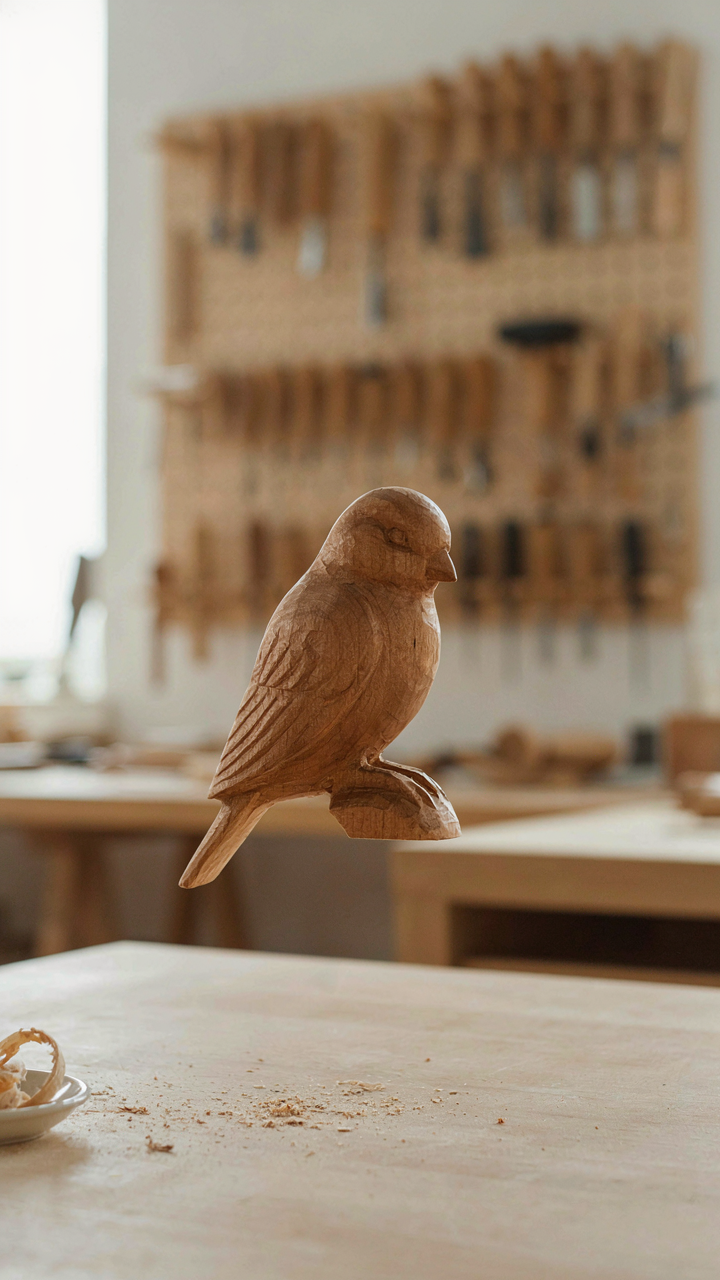
You want editing to feel invisible because you’re afraid your work looks amateur without it. Here’s the mechanism: iPhone’s native Photos app uses algorithms tuned specifically for iPhone sensors, which means adjustments stack predictably without creating artifacts. Third-party apps apply filters designed for Instagram feeds, not for selling handmade items where texture and material authenticity matter.

Exposure, contrast, saturation, and warmth adjustments in the native app preserve the actual data your camera captured. Shadows and highlights tools recover detail without the synthetic look that destroys perceived value in craft work. Start with exposure if lighting is off, then use contrast sparingly to define edges between materials. Warmth shifts work best for correcting phone sensor color casts, not for creating mood.
The Flatness Problem Masquerading As Clarity
Most people believe sharpening and clarity filters make details pop. They don’t. They create a flattened, processed appearance that reads as inauthentic on viewers trained by social media to spot manipulation. Clarity in native editing crushes the midtones and creates halos around edges, which destroys the dimensional quality handmade items need to justify their price.
Leave clarity at zero. Use saturation only if your phone undersaturated colors relative to the real object, which happens with certain lighting. Shadows and highlights at moderate values reveal texture without artificiality. Test each adjustment by zooming to 100 percent and comparing the before state side by side. Stop the moment detail starts looking processed rather than revealed.
The Storyteller Lens: Beyond Just Product Shots

Show The Item In Its Native Habitat
You want people to believe your craft is worth buying, not just worth looking at. The mechanism here is borrowed from retail psychology: context collapse removes doubt. When you photograph a ceramic mug sitting alone on white, the buyer’s brain fills the void with questions. When you photograph it steaming on a morning table next to a book, the narrative completes itself.

Your iPhone’s camera sees exactly what’s in frame. Use that constraint. Shoot your handmade item where it actually gets used, not in a studio setup that screams “I’m trying.” Natural light from a window beats any ring light for authenticity. The item becomes proof of function, not an orphaned object asking for validation.
The Process Shows The Person
Most craft photographers skip behind-the-scenes because they think finished work speaks for itself. It doesn’t. Buyers are not buying objects, they’re buying the story of someone making something with intention. Document one single step that reveals skill, not all steps in rapid sequence.
Film your hands working the material. Capture the moment where precision meets material. Close enough that texture reads, far enough that the action reads. One good process shot—hands shaping clay, stitching a seam, pouring resin—signals mastery faster than ten product glamour shots. Your iPhone shoots 4K video now. Use it to show movement that still images can’t. This builds the permission structure for premium pricing.
The Phone Camera Aesthetic: Your Unique Visual Signature
Build A Visual System That Repeats
You want people to recognize your work before they even see your name. That’s the real reason you care about consistency. The mechanism is simple: your brain spots patterns faster than it processes details. Apply this to iPhone craft photos by treating your phone’s native tools as a constraint system, not a limitation.

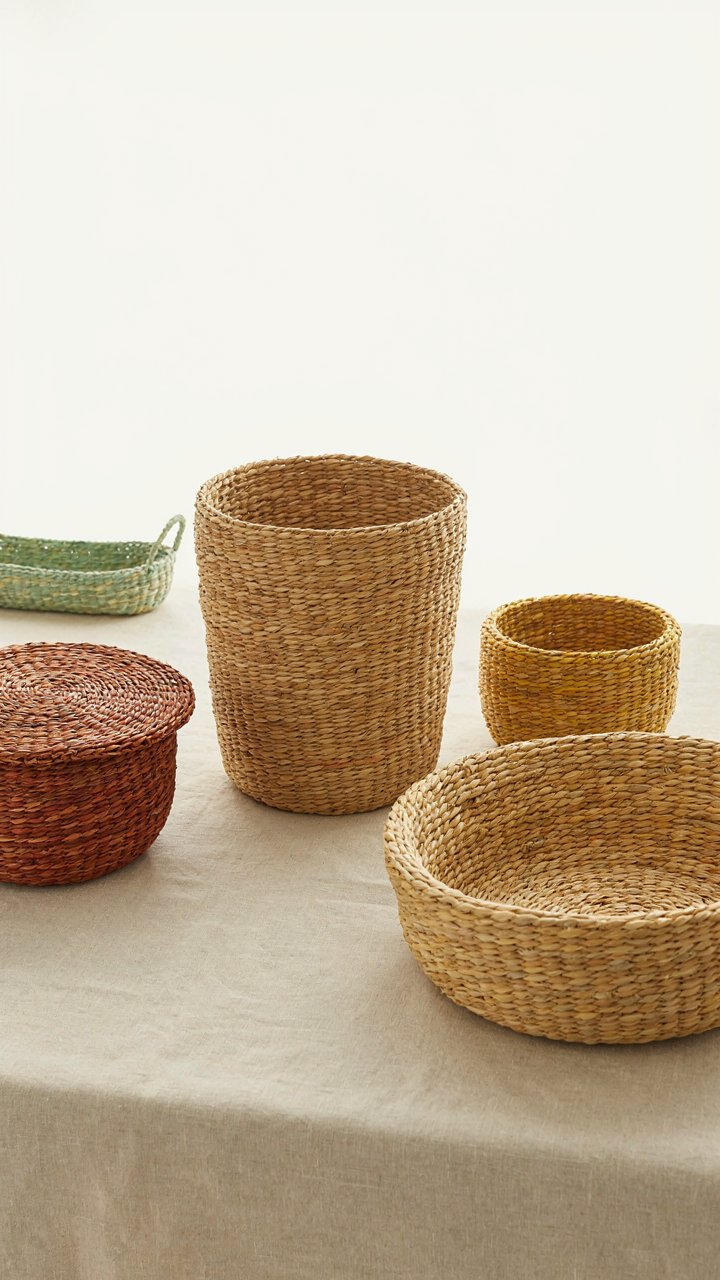
Most creators skip this step because they think authenticity means randomness. Wrong. Authenticity means making deliberate choices and sticking to them. Pick one color temperature, one shadow depth, one background material, and use it across fifty photos. Your iPhone’s native camera app has enough control through exposure compensation and focus lock to create this repetition without third-party apps. The pattern becomes your signature.
Reject The Algorithm Feed Trap
Generic feeds look generic because everyone chases the same lighting trends everyone else is using. Shoot what nobody else is shooting from your specific angle. Your phone’s position relative to your craft item creates geometry that’s impossible to duplicate. Macro mode on newer iPhones catches detail in ways that feed-scrolling destroys. Most people film their crafts at eye level because that’s where their hand naturally goes. Shoot from below, above, or at a severe angle instead.
Stop using phone camera apps designed for perfection. Those smooth filters and auto-enhancement tools erase the texture that makes handmade items worth photographing. Your iPhone’s native camera captures the actual surface imperfections, thread variations, and material inconsistencies that prove someone made this by hand. That specificity is what stops the scroll. Lock your exposure on the item’s shadow detail, not its highlight, and let the background blow out slightly. This creates separation without trying.
The Iteration Method: Learn From Every Shot
Test Multiple Angles And Settings
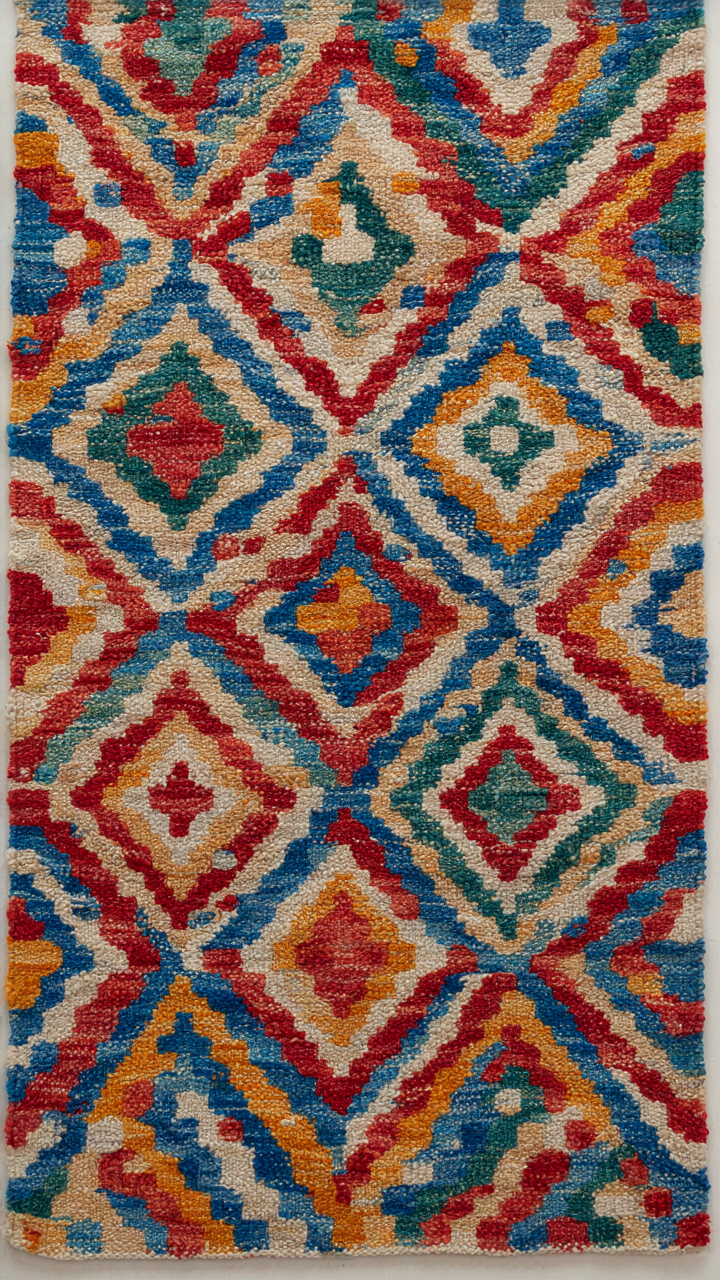
You want proof your work is good before you stake your reputation on it. That fear is the real reason you’re reading this. The mechanism is simple: your iPhone camera has optical limits, but your position doesn’t. Moving your phone changes what the lens sees, how light hits the object, and what the background communicates about your craft.
- Overhead shots: Flattens dimensionality and shows surface detail. Works for flat objects like ceramics, textiles, and jewelry laid on a table.
- 45-degree angle: Reveals depth and shadow naturally. Best for carved items, sculptural work, and anything with volume you want viewers to understand immediately.
- Direct side lighting: Isolates texture and edge definition. Essential for woodwork, metalwork, and anything where craftsmanship lives in the profile.
- Backlight with subject in silhouette: Emphasizes shape over detail. Powerful for glasswork, translucent materials, and objects where form matters more than surface.
- Close macro range 4-6 inches away: Captures texture and process marks. Reveals the hand in handmade items, proving authenticity through visible labor.

Document each setup in your camera roll with notes on what changed: angle, light direction, distance, background. Stop guessing which angle works. After five objects photographed this way, patterns emerge about what your specific craft needs to sell.
Watch What Actually Converts
Most advice here is wrong: engagement metrics don’t tell you what sells. Views and likes reward novelty and scroll-stopping visuals, not purchasing intent. What you need is conversion data, which lives in direct messages, purchase history, and repeat customer comments.
Track which photos get clicked through to your shop or product page, which ones generate DMs asking for custom orders, and which inspire repeat buyers to order variations. This is the only metric that matters. Screenshot customer messages that reference specific photos, then reverse-engineer why that image worked. Maybe the lighting showed imperfection in a way that felt honest. Maybe the angle proved durability. Maybe the background contextualized who uses your work. Build your next shoot around that mechanism, not around what the algorithm rewards.
The “Sunset Pictures” Fallacy: Timing Your IPhone Photos
Golden Hour Isn’t Just For Sunsets
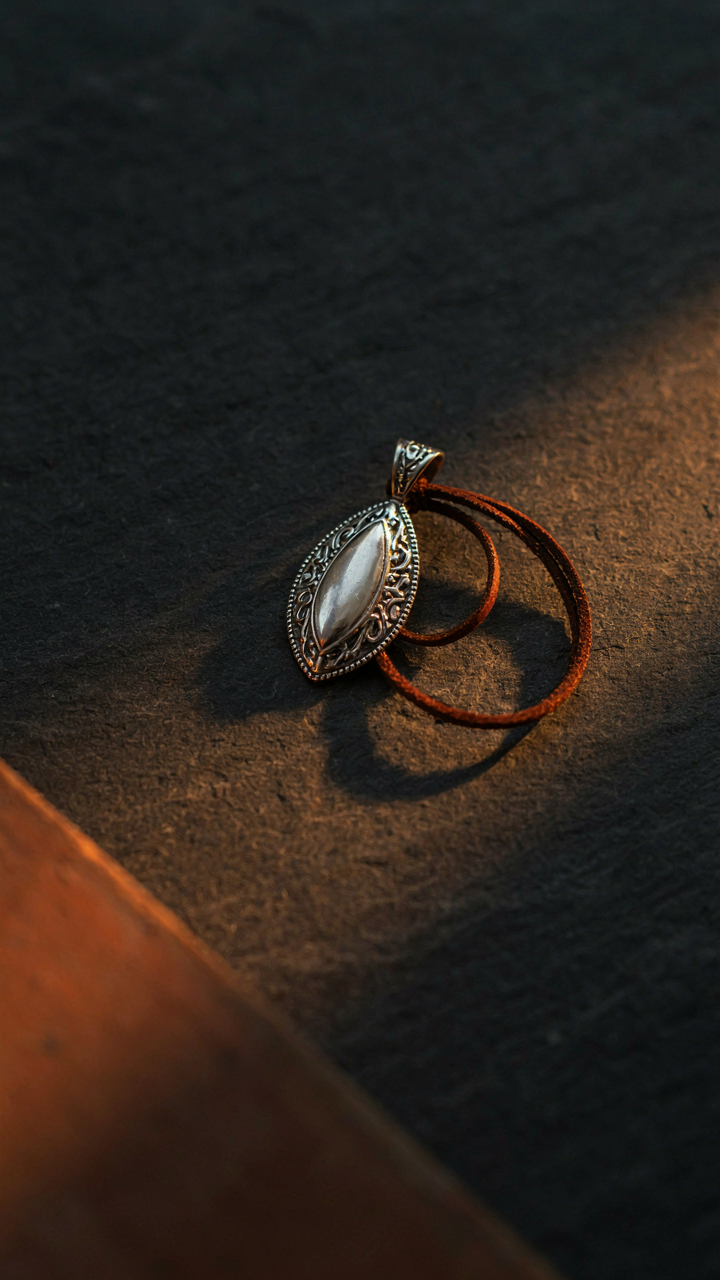
You want golden hour because you think it makes your work look professional. The real mechanism is physics: low-angle light creates shadow depth that a flat midday sun cannot. Light hitting your craft at 15 to 30 degrees from the horizon produces dimensional contrast without washing out detail or creating harsh blown highlights on texture.

Golden hour extends far beyond sunset. It starts in early morning, roughly one hour after sunrise, and repeats in late afternoon, one to two hours before sunset. The warm color cast is secondary. What matters is the angle and the consistency of that angle across your subject. iPhone sensors struggle with extreme contrast, so the diffused quality of low-angle light gives you more recoverable information in shadows and highlights than direct overhead sun ever will.
Overcast Days Beat Clear Skies
The common advice says shoot outdoors in good weather. This is backward for craft photography. Overcast conditions function as a giant diffuser, turning the sky into a soft light source that eliminates shadows and hot spots. Your iPhone’s computational photography cannot compete with the dimensional control you get from naturally diffused light.
On overcast days, move your craft closer to a window or outdoors and shoot without fighting exposure. You lose the dimensional depth that low-angle light provides, but you gain even illumination across texture and detail. The trade-off works when your craft has intricate surface work or when you need consistency across multiple pieces. Shoot on overcast days when detail matters more than dimension. Shoot during golden hour when dimension matters more than detail. Choose based on what your craft demands, not the calendar.
The Human Element: Connecting With Your Audience
Show The Maker, Not Just The Product
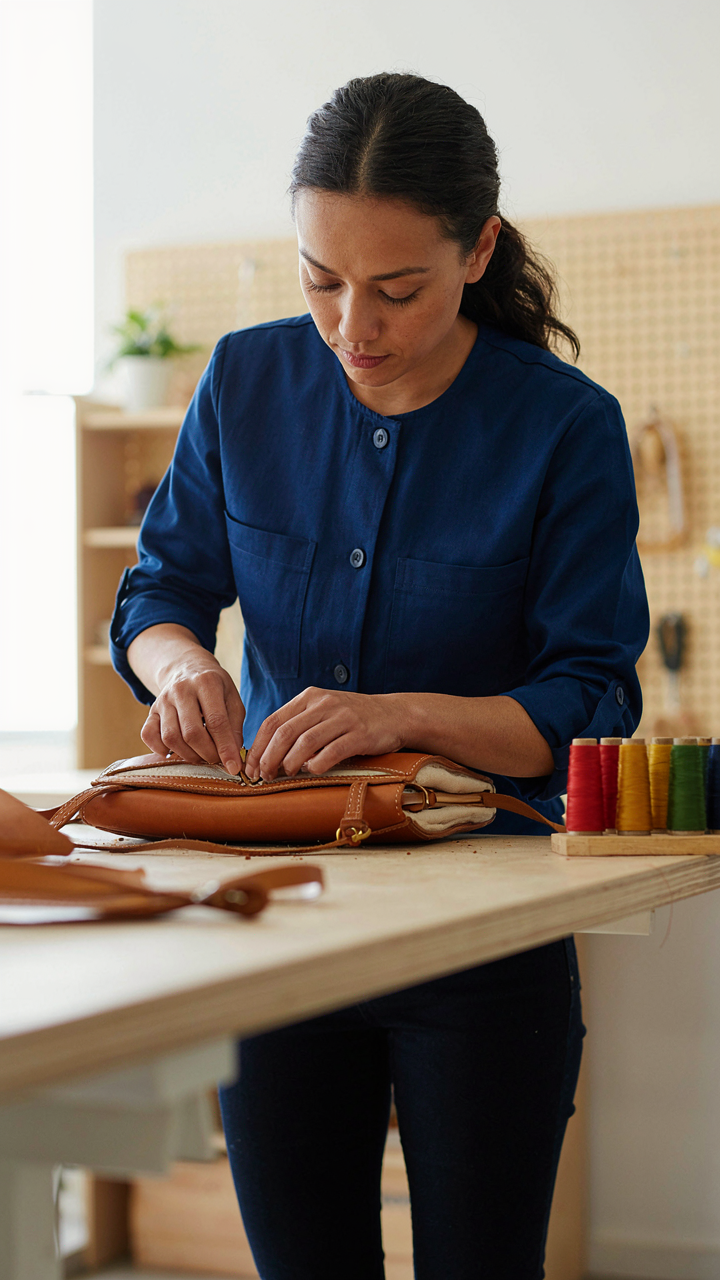
You want proof that someone real made this thing. That’s the real reason you care about this section—it kills the fear that your craft looks like a factory product. The mechanism is simple: hands in the frame signal authenticity in a way product-only shots never do. Your iPhone captures this better than any studio setup because the lighting stays natural and the context stays believable.

Hands create proof of process. When someone sees fingers holding your ceramic bowl, adjusting a leather edge, or threading a needle, they’re watching competence unfold. This isn’t decoration. It’s evidence. Shoot one hand doing the actual work—stitching, carving, polishing, whatever the final step was. The maker visible in the frame collapses the distance between viewer and creator.
Faces Stop The Scroll
Evolutionary biology explains why: the human brain processes faces faster than any other visual input, and that speed converts to attention. Map this onto iPhone craft photos like this—a face in frame becomes the highest-leverage focal point you can add. This isn’t about vanity or branding. It’s about signal strength in a feed built on millisecond decisions.
The face doesn’t need to be the main subject. Wear your product while holding another piece. Look at the work, not the camera. Show concentration, not a smile. When your iPhone captures genuine focus on the craft, the viewer’s brain mirrors that focus. You’re not selling the product anymore. You’re selling the state of mind that made it. Photograph yourself in the moment of quality control, examining a detail only the maker would scrutinize.
Beyond The Pixel: The Long Term Vision For Iphone Photography
Build A System That Scales With You
You want your photos organized so you never lose them and can find them in seconds when you need them. That fear is valid, but most people organize wrong because they think about folders instead of metadata. iPhone’s native Photos app lets you tag by date, location, and custom albums, but that’s surface level. Use a dual system: keep originals in iCloud with automatic backup enabled, then export edited versions to a dedicated folder structure on your computer using year/month/product-type naming. The real mechanism is searchability, not storage.
Craft photographers who shoot 20 to 50 items monthly need a protocol that doesn’t require thinking. Create a naming convention before you shoot: productname_date_angle.jpg. This sounds rigid but it’s the opposite. You spend 10 seconds naming instead of 10 minutes searching later. Test this system for two weeks. If you’re not finding photos in under 30 seconds, your structure failed. Adjust and lock it in.
Multiply Content Output Without Reshaping
The common advice is to post the same photo everywhere and call it repurposing. That’s lazy and it kills reach. Each platform has different aspect ratios, engagement patterns, and audience expectations for craft content. A vertical portrait that works on Instagram Reels will crop poorly on Pinterest. A 1:1 square looks cropped on TikTok. You need to shoot with the end platform in mind, not retrofit images afterward. This is the real lever: shoot for the platform, not for a generic folder.
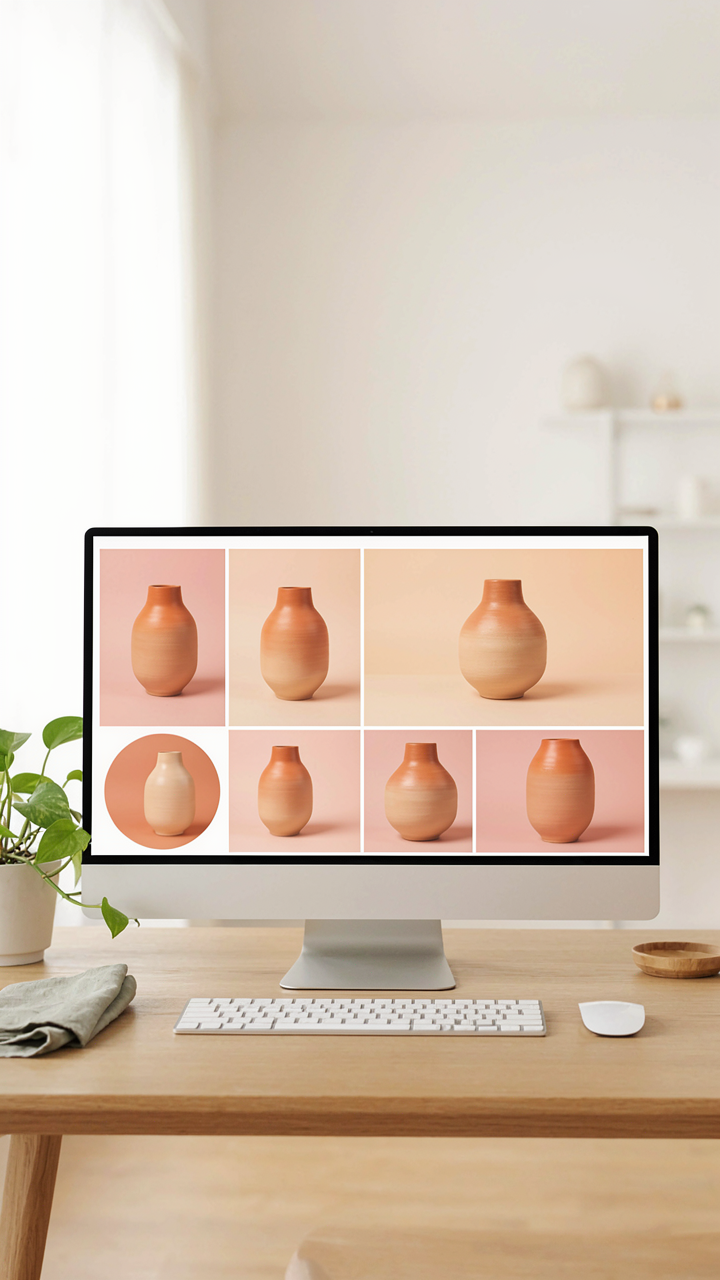
Your iPhone captures full-resolution images with room to crop and reframe. Before you hit publish on one platform, create variants: a square crop for Instagram Feed, a vertical crop for Reels and TikTok, a 2:3 ratio for Pinterest, and a 16:9 landscape for YouTube shorts. You don’t need new photos. You need different framings of the same shot. Export each variant separately and rename them by platform. Store these exports in a “Ready to Post” folder organized by date. When you’re ready to publish, you grab the version sized for that channel and upload it immediately.
The Real Obstacle: Your Belief That Equipment Dictates Your Phone Camera Aesthetic
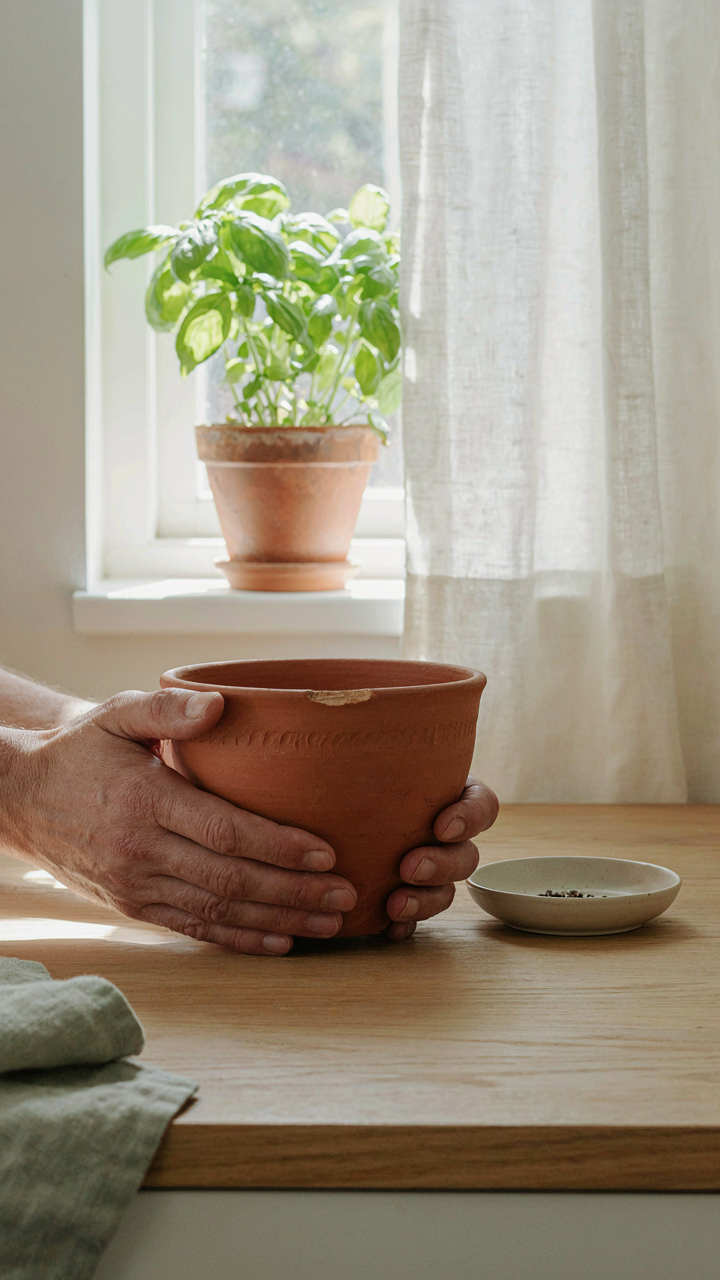
You’re waiting for a better phone. You’re not. You’re waiting for permission to believe your current one is enough. Shoot one product photo today using only natural light and your iPhone’s native camera app. No filters. No editing. Just one. You’ll realize the limitation was never the phone. It was the fear that what you made wasn’t worth showing the world.



