
The Ambient Light Deception: Why More Candles Kill The Mood
How Physics Breaks Your Instinct
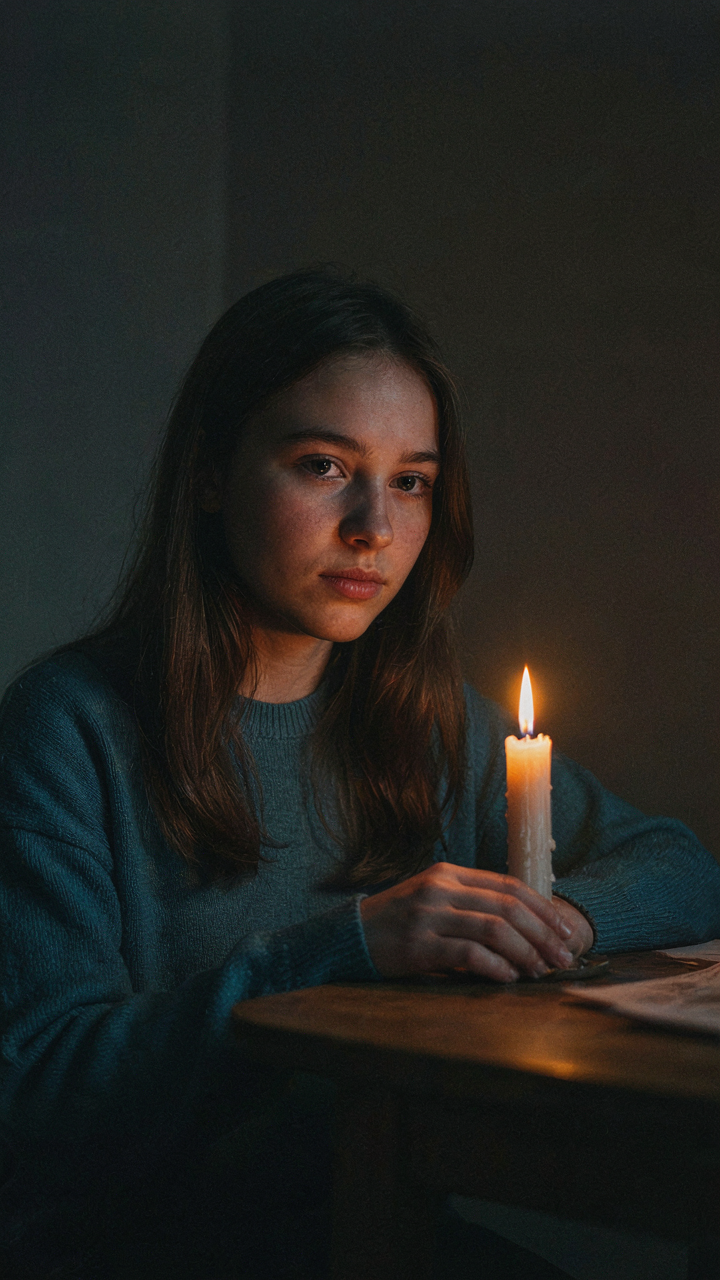
You want the photo to look warm and intimate because you think that proves you have taste. Here’s what actually happens: light from a source obeys the inverse square law, meaning intensity drops by a factor of four every time you double the distance. Your iPhone’s sensor reads this drop as a signal to boost the entire frame’s exposure, which flattens the candle’s glow into a yellow wash and clips the shadows into black void. More candles don’t fix this. They make it worse.
One candle positioned close to the subject creates directional contrast. The phone sees a real gradient between lit and dark areas, so it exposes for the midtones and preserves the depth. Two or three candles spread around the frame create competing light sources that confuse the metering and force the sensor to average them out. You lose the thing you came for: the mood. The mechanism is exposure averaging, not total light quantity.
When Darkness Does The Work
Every resource on iPhone photography says to add light. That’s incomplete advice for this specific situation. You need to subtract first. Reduce ambient room light to near-zero. Close curtains. Kill overhead fixtures. The candle’s relative brightness becomes so dominant that the phone’s metering locks onto it as the primary exposure reference. Fill light—if you use it at all—should come from a reflector or white surface positioned to bounce candlelight back into shadow areas, not from another candle or LED.
Test this in your actual shooting space. Set one candle at the frame edge, close enough that it creates visible fall-off on the subject’s face. Shoot with the room at full ambient brightness. Then shoot with the lights off. Compare the iPhone’s sensor behavior in the histogram, if your phone has one, or simply review the raw file in Lightroom. The second version shows the candle’s actual warmth because contrast survived the exposure decision. That’s the protocol: darkness amplifies the candle’s visual authority.
The “Shadow Sculptor” Protocol For IPhone Candlelight Photos
Where Shadows Actually Live
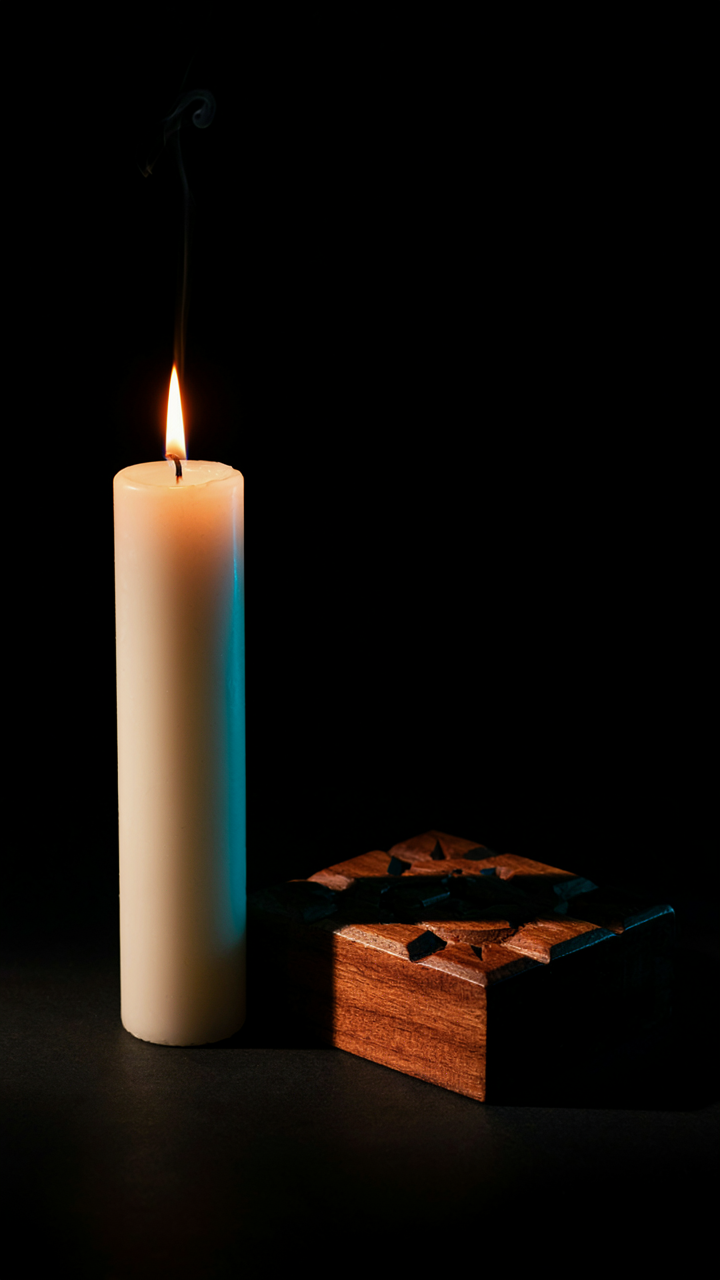
You want this to look intentional, not accidental. That’s the real motive. Most people think candlelight photos fail because there’s not enough light. Wrong. They fail because shadows aren’t placed. In portraiture and product photography, shadows define form the same way a sculptor defines shape with negative space. Your iPhone’s camera doesn’t invent shadows—it records where light stops. Position matters. The candle doesn’t light the scene equally. It creates a gradient. One side of a face stays dark. One edge of an object disappears into black. That’s not a problem. That’s the entire visual system working.

The mechanism is simple: light travels in straight lines from the flame. Anything between the flame and your subject casts a shadow. Anything behind the subject absorbs light and goes dark. Your job is to position objects and people so these shadows land where they create depth, not confusion. Move the candle six inches left and a shadow migrates across a cheekbone. Move it closer and shadows shorten and intensify. The iPhone captures this exactly as it happens. No settings required. Just geometry.
The Power Of What You Don’t Show
Negative space isn’t about leaving things out. It’s about controlling what the viewer’s eye lands on first. Common advice says “fill the frame” or “don’t leave empty space.” That’s backwards for candlelight. The black areas around a lit object aren’t wasted real estate. They’re contrast. A candle-lit hand against pure black reads as a hand immediately. That same hand against a busy background becomes invisible. The iPhone’s sensor struggles in extreme low light, but this works in your favor. The shadows go completely black. No detail. No distraction. Just shape.
Set up a shot where the candlelit subject occupies maybe forty percent of the frame. The rest goes dark. The viewer has nowhere to look except the lit area. The candlelight becomes the entire story because nothing else exists. This is how you engineer visual hierarchy in low light. Close your aperture slightly in the camera app if you have manual control, or use a third-party app that lets you adjust exposure. Underexpose the overall scene by one to two stops. Let the candle define the only lit zone. That’s when the photo stops being “a picture in the dark” and becomes a photograph.
Dynamic Range: Not Your Friend In A Dark Room
Why HDR Crushes Your Candlelight
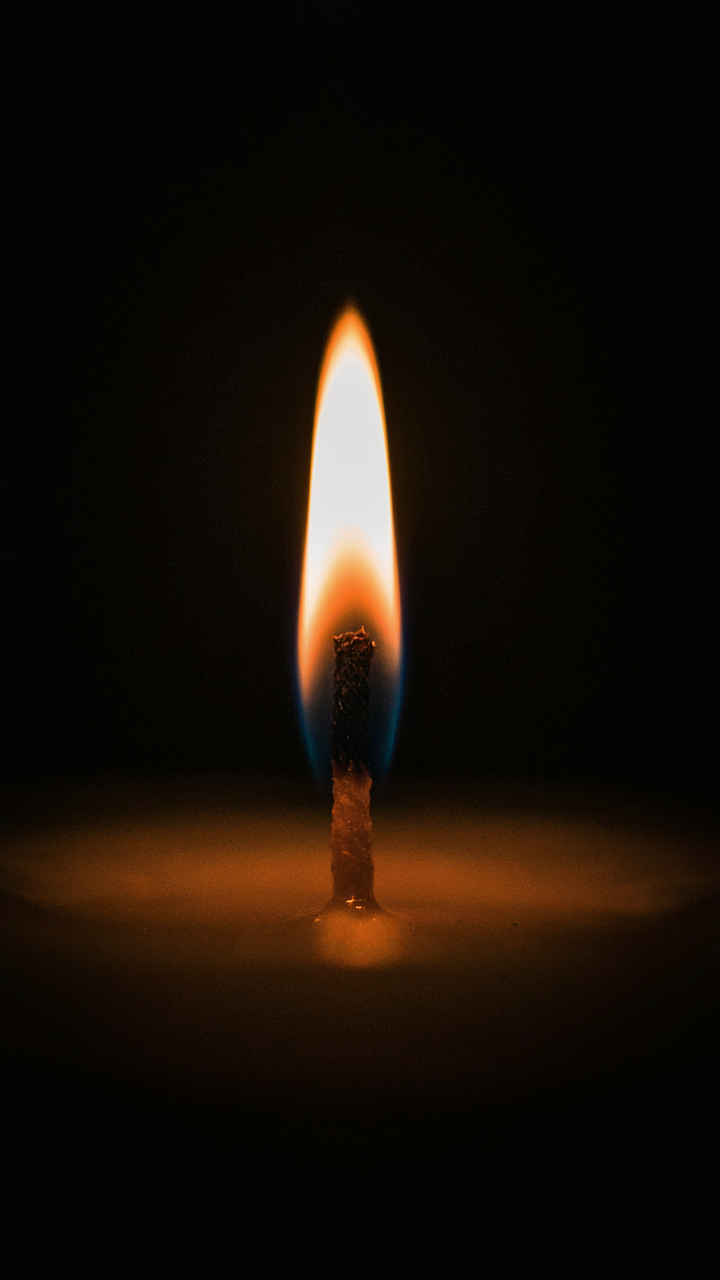
You want the photo to look intentional, like you’re capable of capturing mood. Here’s what actually happens: your iPhone’s HDR mode sees a dark room with a bright flame and treats it like a problem to solve. In photography terms, dynamic range is the distance between your darkest shadow and brightest highlight. HDR compresses that distance aggressively, blending multiple exposures to bring up shadow detail everywhere. Your candle’s glow becomes a flat, ambient wash instead of a localized heat source defining the frame.

The consensus advice is to “just turn HDR off.” That’s incomplete. HDR off solves nothing if your base exposure is wrong. You need to understand that HDR doesn’t enhance candlelight—it neutralizes the contrast that makes candlelight readable as candlelight. The algorithm sees an underexposed room and overexposed flame, then averages them into visual mush. Disable HDR, yes, but only after you’ve set manual exposure to preserve the gradient between light and shadow that actually communicates mood.
Manual Exposure For Preserving Light Gradations
Forget exposure compensation sliders for a moment. Tap directly on the candle flame in your iPhone camera app to lock focus and set exposure metering to that point. Your phone calculates exposure based on what you tap, meaning the flame stays bright and the room falls into intentional shadow. The physics principle here is metering: where you place it determines what the sensor treats as “correct.” Place it on the flame and you’ve weaponized your phone’s light meter instead of fighting it.
Slide the exposure adjustment down slightly after tapping the flame. This prevents blow-out on the brightest part of the wick while letting shadows exist as shadows. The delicate gradient—bright orange fading to dark amber at the flame’s edge, then pure black beyond—only survives if you refuse to recover shadow detail everywhere. Take the shot. Review it. Adjust one stop down if the flame shows no texture, one stop up if the room disappears entirely. Repeat until the flame shows internal color variation and the surrounding space reads as intentional darkness rather than technical failure.
The “Single Source” Fallacy: Mastering Multiple Flames

Layering Candles For Actual Depth
You want people to think your space feels intentional, not like you lit whatever was closest. That’s the real motive here. The mechanism is borrowed from cinematography lighting: you need a key light, fill light, and back light. In candlelight iPhone photography, your key light is the brightest candle closest to your subject. Your fill light is a second candle positioned to soften shadows on the opposite side. Your back light sits behind the frame, visible or just out of frame, to separate your subject from the background and create dimension the phone’s sensor actually captures.

One candle produces a flat, one-dimensional glow that reads as generic on screen. Two to three candles placed at different distances and heights create separation between planes. The iPhone’s computational photography interprets this layering as depth, not just brightness. Position your key candle six to eight inches from your subject. Place a secondary candle twelve to fifteen inches away at a forty-five degree angle. This setup forces the sensor to process multiple light sources, which triggers the phone’s HDR algorithm to render the scene with actual tonal range instead of blown highlights or crushed shadows.
Strategic Placement For Reflected Light And Highlights
Surface reflectivity changes everything, and most people skip this entirely. Place your secondary candle where its light bounces off a reflective object—a glass, ceramic mug, book cover, or metallic surface near your subject. The iPhone captures both the direct flame and the reflected bounce, which reads as intentional lighting, not accident. This reflection fills detail into shadow areas without adding another candle to your scene. The phone’s sensor prioritizes highlight detail over shadow detail, so reflections essentially give you a second fill light for free.
Back light positioning separates your subject from the background and prevents that flat, pressed-into-the-frame feeling. Place a candle behind your subject but slightly outside the frame edge, or let it sit just visible in the background. Angle the candle so its glow catches the edge or outline of your subject. The iPhone will render this as a bright rim that creates visual separation. Shoot from a forty-five degree angle to the candle arrangement, not straight on. This perspective compounds the layering effect because each candle occupies a different depth plane in the frame.
Focusing Beyond The Flame: What A Candle Photo Really Captures

Foreground Objects That Signal Context
You want people to assume your life is more intentional than it actually is. The mechanism is simple: a candle alone reads as decoration. A candle with supporting objects reads as narrative. The iPhone camera has limited depth of field at wide angles, so foreground elements occupy the visual weight that tells viewers what kind of person made this image.
- Open book or journal: Positions the candle as accompaniment to reading or writing. The iPhone captures the page texture and binding detail when placed 6-12 inches from the lens, anchoring the scene in deliberate activity rather than mood alone.
- Coffee cup or tea vessel: Establishes a time-of-day context. Ceramic holds warmth visibly in candlelight, and the rim or handle gives the eye a familiar reference point. iPhone’s sensor reads the steam detail when humidity is present.
- Hands in frame: Implies active presence rather than staged emptiness. Holding the cup, turning a page, or reaching toward the flame creates compositional tension. The iPhone captures skin tone warmth against the candle’s color temperature shift.
- Writing instrument or bookmark: Suggests the scene interrupted a task, not created for the photo. A pen resting on pages or a bookmark mid-placement feels incidental. This detail costs nothing to add and changes the entire read.
- Textile element: A blanket corner, sweater sleeve, or cushion adds tactile context. The iPhone resolves fabric texture under warm light, reinforcing the sensory claim the image makes about the moment.

The foreground object does the work your caption cannot. When viewers see supporting props in focus, they construct the narrative themselves, which makes the photo feel discovered rather than performed. Place objects 4-8 inches from the lens for maximum detail separation from the candle flame behind them.
Portrait Mode: Separation Through Simulated Depth
Landscape photographers call this principle “layering”—the strategic placement of distinct planes to guide attention. iPhone Portrait Mode applies that principle by calculating depth and blurring the background while keeping the foreground candle sharp. The mechanism isn’t artistic. It’s optical compensation for the iPhone’s small sensor, which naturally renders everything in sharp focus at distances over three feet.
Without Portrait Mode, a candle photo captures your entire room competing with the flame for attention. With Portrait Mode enabled, the background dissolves into bokeh—those soft, unfocused light shapes created by out-of-focus candles or distant lights. The iPhone’s dual camera system (on Pro models) uses parallax data between two lenses to estimate depth. Even single-lens models use computational depth mapping. This separation makes a candle 18 inches away feel isolated and intentional rather than surrounded. Activate Portrait Mode before framing. Position yourself 2-4 feet from the candle. Let the iPhone calculate depth for 2-3 seconds before shooting. The flame stays sharp while background elements blur into pure color and light, which is exactly the visual effect that reads as “cozy” to viewers instead of “cluttered room with a candle.”
Color Temperature: The Unseen Hand Of Mood Manipulation
Tuning White Balance For Emotional Precision
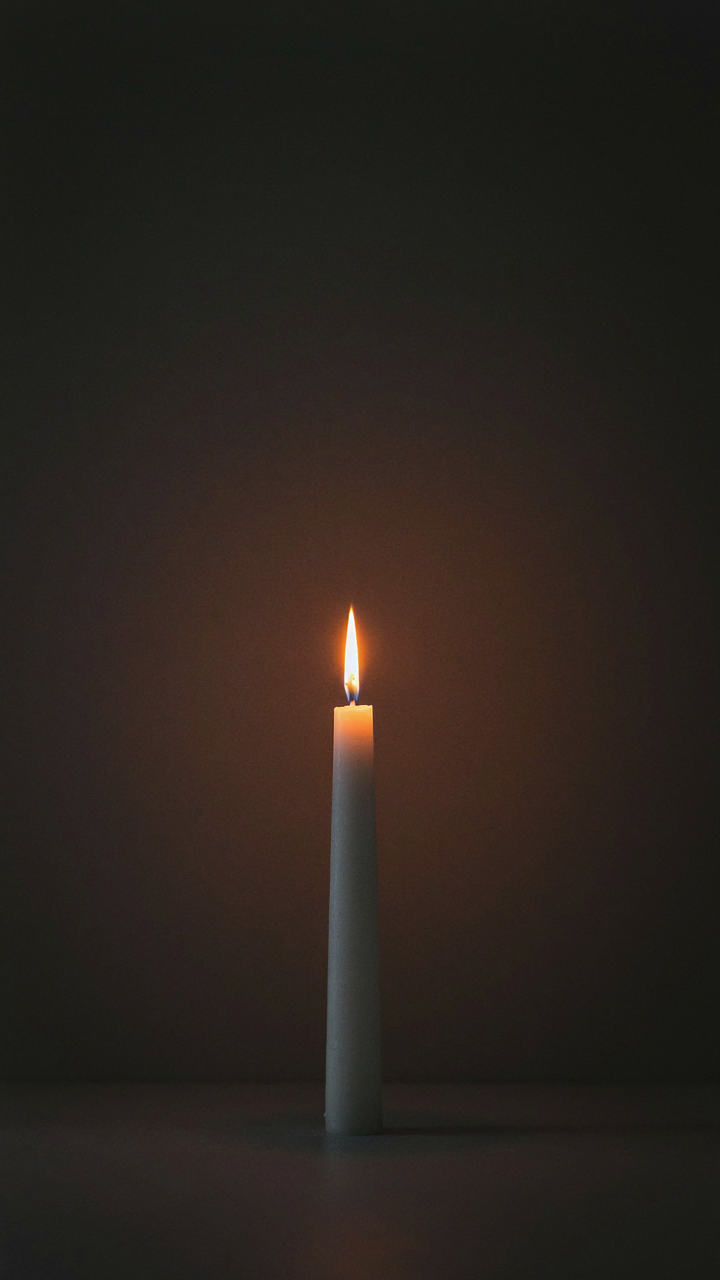
You want people to feel something when they see your photo, and you’re banking on candlelight to do the work. It won’t, not without controlling color temperature first. White balance is the mechanism. Your iPhone’s camera interprets light wavelengths and assigns a color cast to match what it thinks is “neutral.” Candlelight is warm (around 1500K to 2000K), but your phone often compensates by adding blue, flattening the mood you’re after. You’re fighting the camera’s assumptions before you even frame the shot.

The fix isn’t to trust auto white balance. Tap the flame or the warm area of your frame in the exposure adjustment screen, hold, and swipe to dial in the warmth. This tells the iPhone to stop correcting and start preserving. The result looks less “corrected” and more intentional. Color temperature control bypasses the camera’s default logic entirely. Your emotional intent survives the sensor.
Isolating Warmth From Competing Light Sources
Mixing light sources kills candlelight photos. The advice to “just use natural light too” is incomplete and lazy. Multiple color temperatures create competing casts that confuse the sensor and dilute the mood. A window at 5500K, a ceiling light at 3000K, and candles at 1800K in one frame forces your iPhone to compromise. You end up with muddy, confused color that reads as neither warm nor clean.
Shoot in near-darkness with candles as your primary light source. Close curtains. Turn off overhead lighting. If ambient light exists, it should be minimal and from a single direction. Your phone’s sensor needs a dominant color temperature to lock onto and preserve. Once you eliminate competing wavelengths, the white balance adjustment becomes surgical. One light source means one emotional truth. The candle becomes the only voice in the frame.
Compositional Control: Borrowing From Military Strategy
Where The Viewer’s Eye Actually Goes First
You want this section because you suspect composition matters but suspect your phone shots still look amateur. Here’s the mechanism: military targeting doctrine uses “line of sight” to mean the unobstructed path from observer to target. In candlelight photography, line of sight is the same thing—the unobstructed visual path your viewer’s eye takes through the frame. The iPhone’s sensor doesn’t care about composition. Your viewer’s attention does. Control where their eye lands first, and the entire mood shifts from random to intentional.

Most composition advice tells you to “use leading lines” or “create depth.” That’s incomplete. The real work is subject hierarchy. You decide what ranks as primary target, secondary, and noise. Place your candle or lit object where it wins the competition for attention immediately. This means positioning it where the iPhone’s metering system locks onto it naturally, and where ambient light falloff doesn’t steal focus to a brighter background element. Stop assuming the camera will figure out what matters. You tell it.
Forcing The Eye Through Constraint
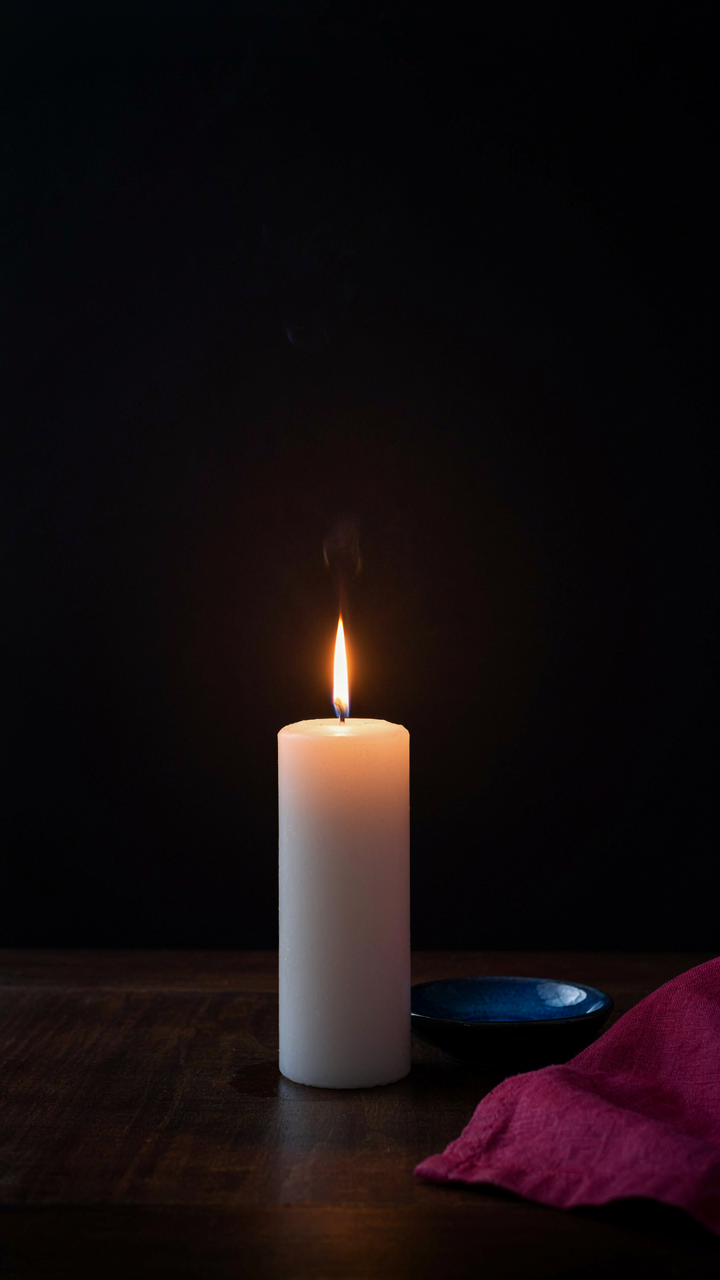
Visual choke points aren’t about framing tricks. They’re about removing exits. In military strategy, a choke point is terrain that forces movement through one narrow passage. In your iPhone frame, a choke point is an area of high contrast, sharp focus, or brightness that your eye cannot skip over. Candlelight creates these naturally—the flame or glowing wick becomes unavoidable because everything else fades into shadow.
Build your shot by identifying what elements will compete for attention, then use darkness to eliminate them. Position your subject so the brightest part of the candle sits in the third or lower third of the frame where the eye lands after the initial entry point. Underexpose the surroundings deliberately. The iPhone will fight you and try to brighten the dark areas—lock your exposure by tapping and holding on the candle itself, then refuse to move the phone. This single protocol step separates intentional candlelight shots from accidental ones.
Post Processing: The Unfiltered Truth Of Natural Light
Subtle Contrast Adjustments, Not Heavy Filters
You want people to believe you didn’t edit the photo. That’s the real reason you’re reading this. The mechanism is simple: candlelight photos fail not because the light is bad, but because your phone’s sensor captured a flat, compressed version of what your eye actually saw. The dynamic range collapsed. Shadows went black. Highlights blew out. A heavy filter masks this failure. Subtle contrast work fixes it.

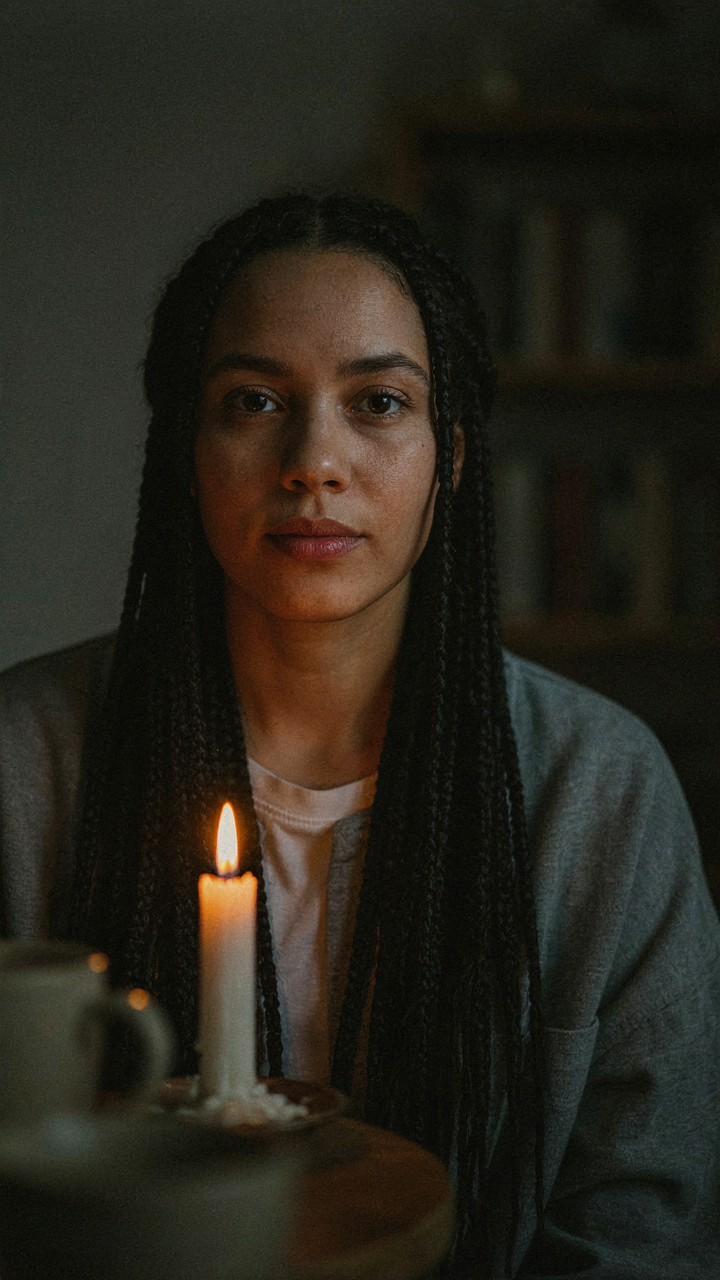
Contrast adjustment in post isn’t about making the image “pop.” It’s about recovering tonal separation the phone’s HDR algorithm flattened. Lift the shadows by 5 to 12 points. Crush the blacks slightly, maybe 3 to 8 points. This restores the visual hierarchy candlelight creates naturally but your phone failed to record. The image reads as untouched because it approaches what you actually saw.
Dodging And Burning: Where The Work Lives
Photography borrowed dodging and burning from the darkroom, where technicians controlled exposure on specific film areas during development. On your iPhone, this principle translates to selective brightening and darkening—not to create drama, but to guide where the viewer’s attention lands. Candlelight photos need this badly because the light source itself fights for dominance against the surrounding shadows.
Use your phone’s editing tools or Lightroom Mobile to selectively brighten the subject’s face while darkening the background gradient. Spend 60 seconds on this step alone. The flame itself should stay slightly underexposed to read as a light source, not a blown-out blob. This isn’t artistic interpretation. It’s correcting the physics problem your sensor created by default. Dodge the face. Burn the edges. Save the file.
The Imperfection Principle: Embrace The Noise, Own The Grain
Clarity Kills The Mood
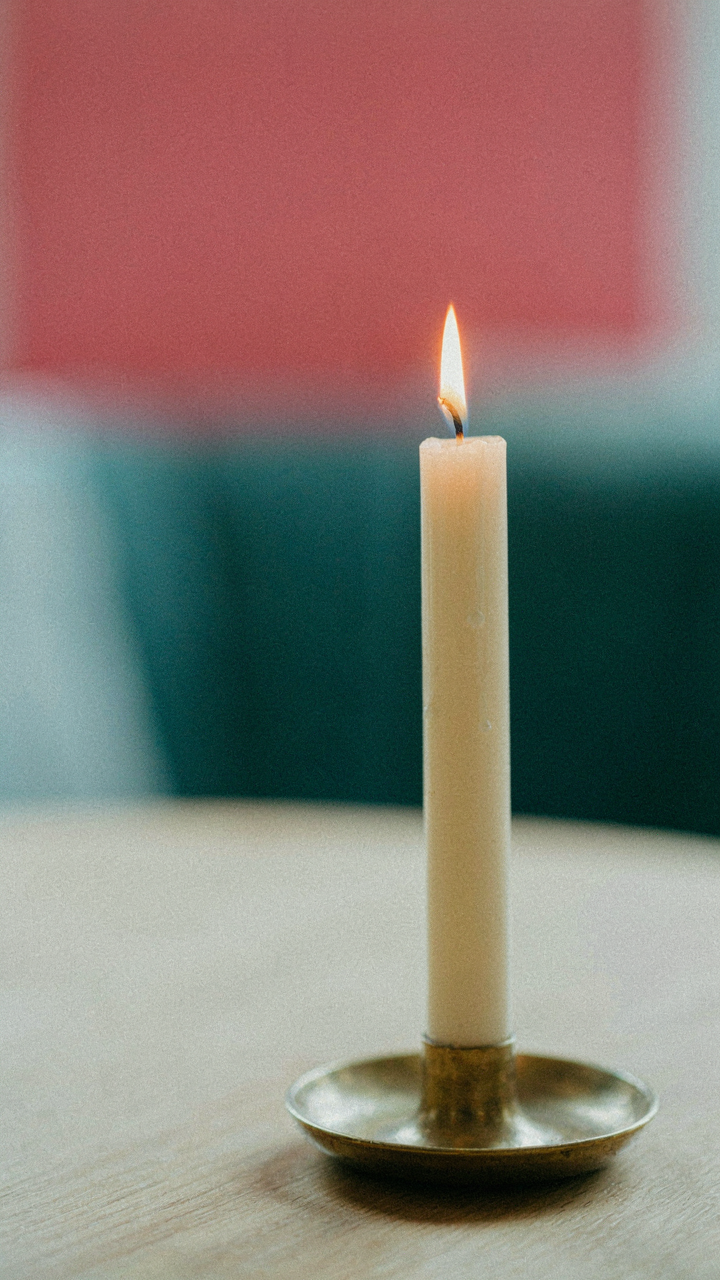
You want your candlelight photos to look professional because you’re worried they’ll read as amateur if they’re too soft or grainy. Here’s the mechanism: absolute sharpness and zero noise signal artificial light and processing. Candlelight photos that feel genuine contain grain. The iPhone’s computational photography smooths away noise automatically, which strips the image of the texture that makes firelight read as real. A perfectly clean candle photo looks staged. It doesn’t match what human eyes actually perceive in low light, where detail dissolves and imprecision dominates the scene.

Turn off Night Mode’s noise reduction to preserve the grain structure. When you shoot at high ISO in actual candlelight, the sensor captures grain as a byproduct of light amplification, not a flaw. This grain becomes the visual anchor that tells the viewer’s brain: this is authentic low-light capture, not a filter applied later. The contradiction is counterintuitive: less processing creates more believability. Disable Smart HDR in candlelight scenarios, or dial it to minimum, so the iPhone doesn’t flatten the shadows that make candles read as a light source rather than decoration.
Intentional Noise As Design Element
In signal processing, noise is defined as unwanted information that degrades clarity. For candlelight photography, you invert this framework: noise becomes the wanted information that confirms authenticity. The grain structure in an ISO 1600 to ISO 2000 shot taken in genuine candlelight carries visual weight because it matches the visual degradation the human eye experiences in that environment. Professional photographers shooting in available light deliberately preserve grain for this exact reason. It communicates constraint and honesty about the shooting conditions.
Test this at ISO 1600 minimum when shooting in candlelight without artificial fill light. Don’t export with additional noise filters or presets that simulate grain. The native grain from the sensor is more credible than applied texture because it correlates directly to the light level in the scene. When you post a candlelight photo with visible grain, the viewer’s subconscious reads it as unmanipulated. The grain is the proof. Shoot in RAW format and apply minimal noise reduction in post to preserve this signal, then export at full resolution to let viewers see the texture detail without compression artifacts obscuring it.
Your Pursuit Of Mood Is Really A Fear Of Amateurism. The Phone Is Just A Tool; Your Eye Is The Actual Lens
Stop waiting for the perfect phone. Stop tweaking settings. The candlelight is already there. Your job is to notice what makes you feel something and capture it before your brain talks you out of it. Grab your phone right now. Light a candle. Take one shot. Don’t edit it. Don’t delete it. Show someone. The only thing standing between you and real iPhone candlelight photos is the voice telling you it won’t be good enough, and that voice isn’t protecting you, it’s paralyzing you.



