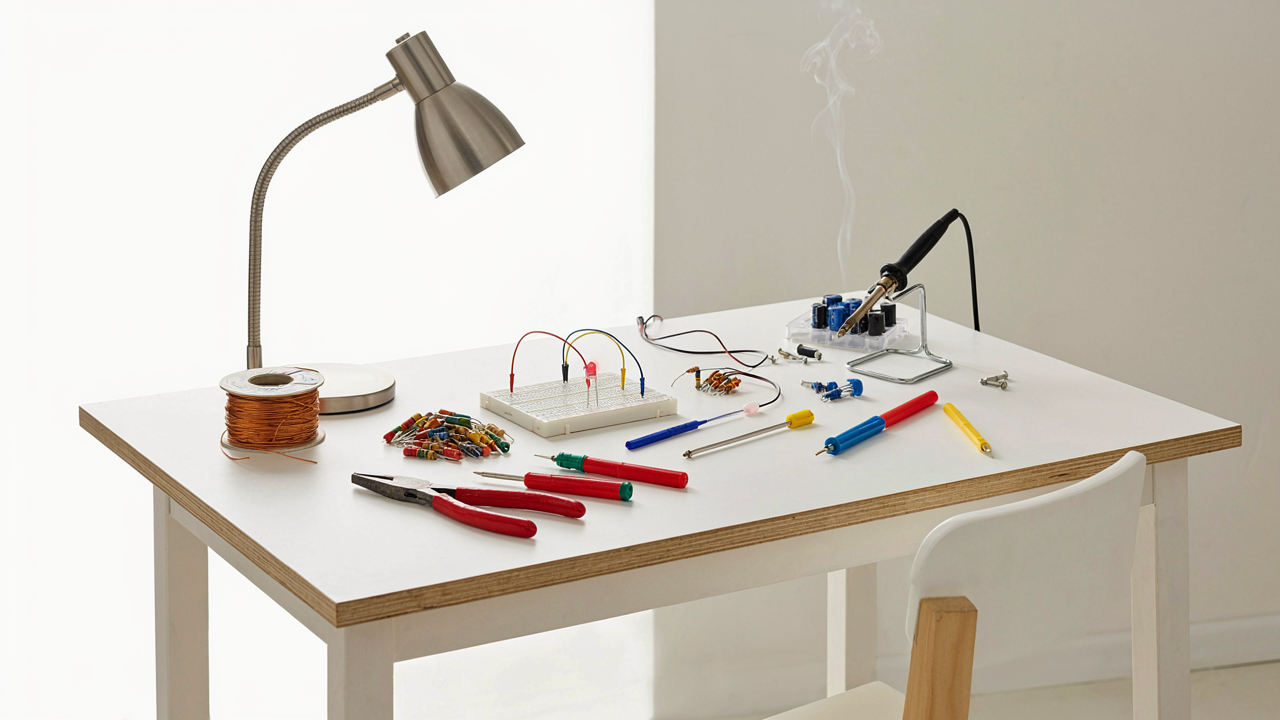
The Illusion Of The All In One Beginner Electronics Kit
Most Kits Aren’t Real Tools
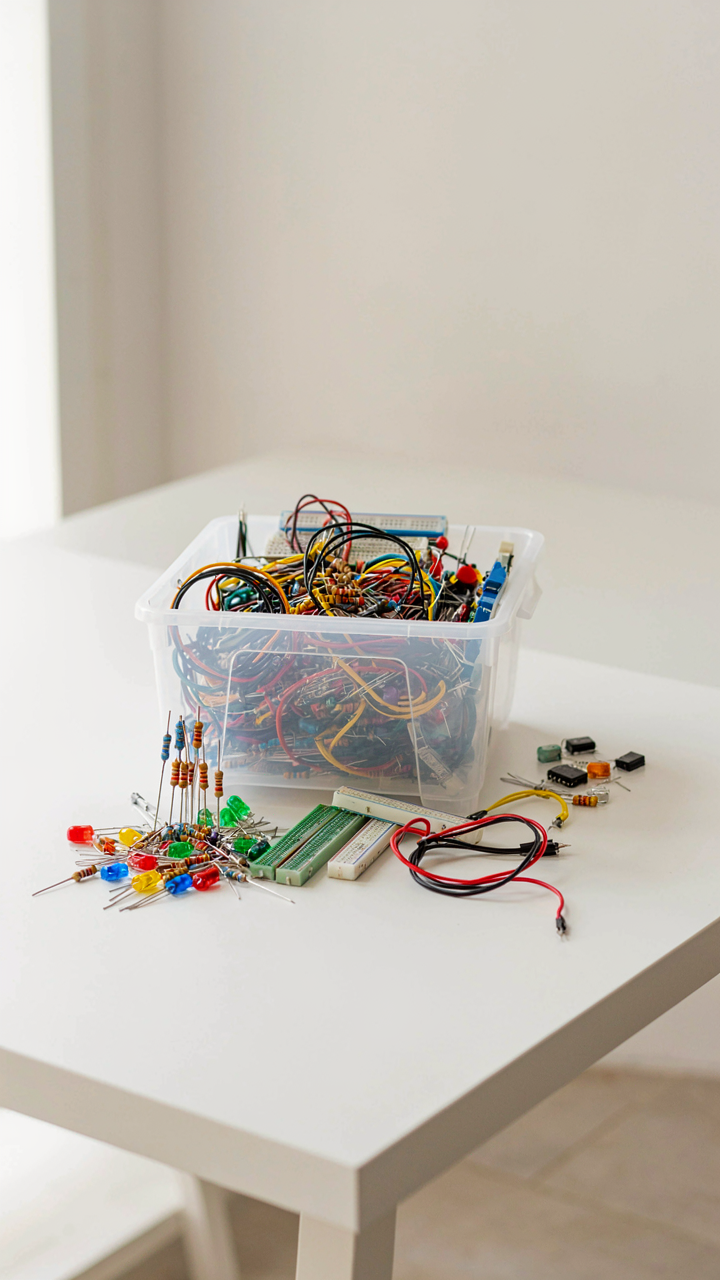
You want to feel prepared without spending months researching. That’s the trap. Most hobby electronics starter kits bundle components in arbitrary quantities, optimized for retail margins, not for what you’ll actually build. They’re toy boxes pretending to be workshops. You get 100 resistors in values you’ll never use and three that you will.
The mechanism is simple: kit manufacturers design for shelf appeal, not project completion. A beginner sees 200 components and feels wealthy. The retailer profits. You waste time sorting through trash. Real tools solve specific problems. A starter kit solves the problem of looking like you’re prepared to solve problems.
What Actually Gets Thrown Away
You don’t need 50 LEDs if you’re only building three circuits. You don’t need breadboards with 1,000 connection points when 400 will handle 90 percent of beginner projects. You don’t need seven different potentiometers, pre-cut jumper wires in twelve colors, or resistor value packs organized by decade. These items exist because bulk manufacturing is cheaper than curation.
The filler works against you mechanistically. Every component you don’t need increases the cognitive load when you’re troubleshooting. You second-guess which part you should have used. You waste time reading datasheets for components irrelevant to your current project. Start with the essential 15 to 20 components instead. Build three real projects first. Then buy what’s missing.
The Essential Hardware Kit For Projects Protocol
Start With What Actually Gets Used
You want permission to buy expensive gear without feeling like you wasted money. Here’s the mechanism: most beginners buy tools for projects they’ll never build, then quit before using half of them. The real move is to stock only what solves immediate friction in your first five projects, then expand from there.

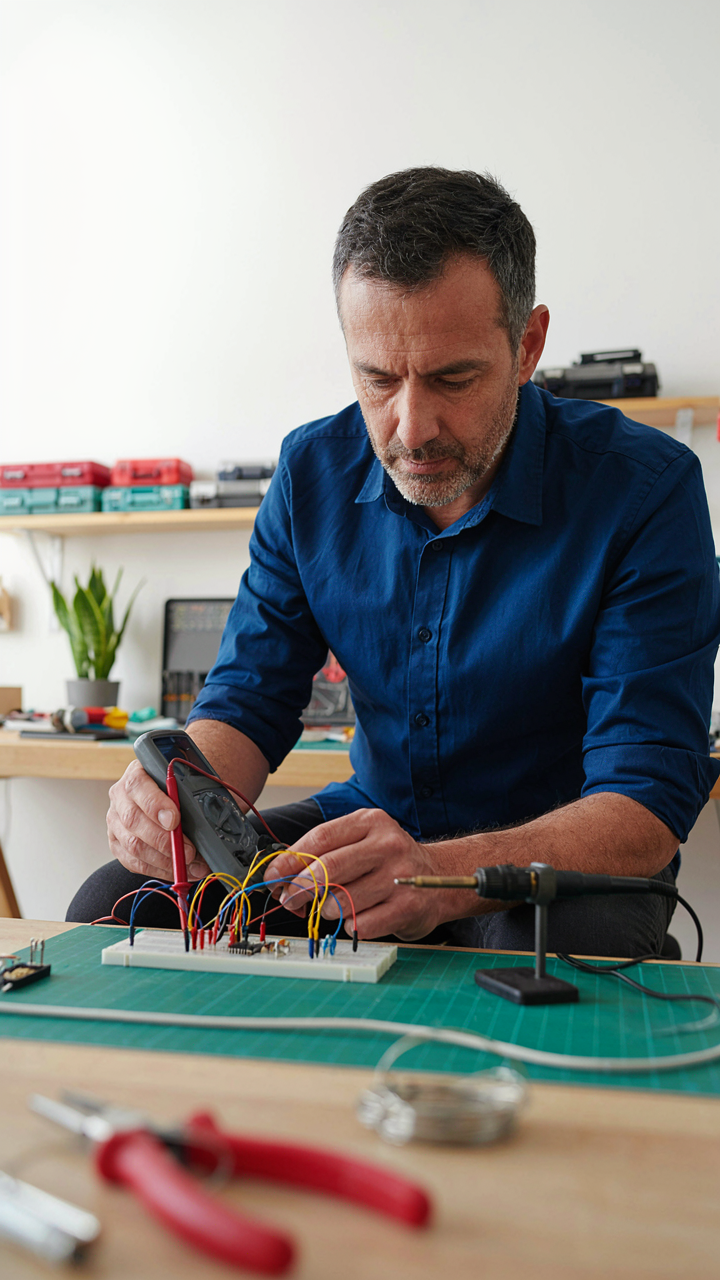
A multimeter measures voltage, current, and resistance. You need this before anything else because you can’t debug what you can’t see. A soldering iron joins components permanently. A breadboard lets you test circuits without soldering, so you fail fast and cheap. These three tools form the constraint that forces learning instead of collecting.
- Digital Multimeter (10-20 dollar range): Measures voltage, continuity, and resistance. Auto-ranging models work fine for beginners and eliminate guesswork on dial settings.
- Soldering Iron (25-40 dollars): 30-40 watt pencil-tip irons handle hobby projects efficiently. Avoid cheap irons that won’t heat properly or expensive temperature-controlled ones you don’t need yet.
- Solderless Breadboard: Reusable prototyping board with spring contacts. Standard 830-point boards fit most beginner circuits and cost 5-10 dollars.
- Solder and Flux: Lead-free solder with rosin core flux included. One 25-foot spool lasts months for hobby work and costs under 10 dollars.
- Wire Strippers and Needle-Nose Pliers: Strip insulation and bend leads without crushing components. A basic combo set runs 10-15 dollars and handles all manual tasks.
The mistake everyone makes is assuming “beginner kit” means you need twenty tools stacked in a drawer. You don’t. You need friction removal, not collection. Buy these five items, build three circuits, then decide what’s actually missing from your workflow.
Tools That Compound Over Time
Good tools don’t save money on the first project. They save time across fifty projects, which is where the economics flip. This is supply chain thinking applied to your workbench: you’re optimizing for total cost of ownership, not unit purchase price.
A cheap soldering iron heats unevenly and damages components. You waste solder joints, rework circuits, and lose hours debugging cold connections that were never the real problem. A 35-dollar iron with consistent heat output eliminates that entire failure mode. Same logic applies to multimeters. A meter that measures accurately costs five dollars more but gives you real data instead of guesses. Guesses compound into false debugging paths.
Breadboards matter the same way. Cheap breadboards have loose contacts that create phantom connections. You chase ghosts in your circuit while the hardware is fine. A quality 830-point board from a known manufacturer costs the same as three cheap ones over time because you buy it once. The protocol is simple: spend enough on each tool that you’ll actually use it for six months without wanting to replace it, then stop. Cheap tools create a second purchase disguised as a first one.

Beyond The Arduino Uno: Microcontrollers That Actually Matter
Know When You’ve Outgrown The Starter Board
You want to believe the Arduino Uno can do anything because admitting otherwise means you bought the wrong thing. It can’t. The real mechanism here is constraint recognition: the Uno has 2KB of RAM and runs at 16MHz. Those numbers don’t scale. When your project demands WiFi, real-time processing, or more than a handful of simultaneous sensors, the Uno becomes a bottleneck disguised as a learning tool. Stop forcing it to work.
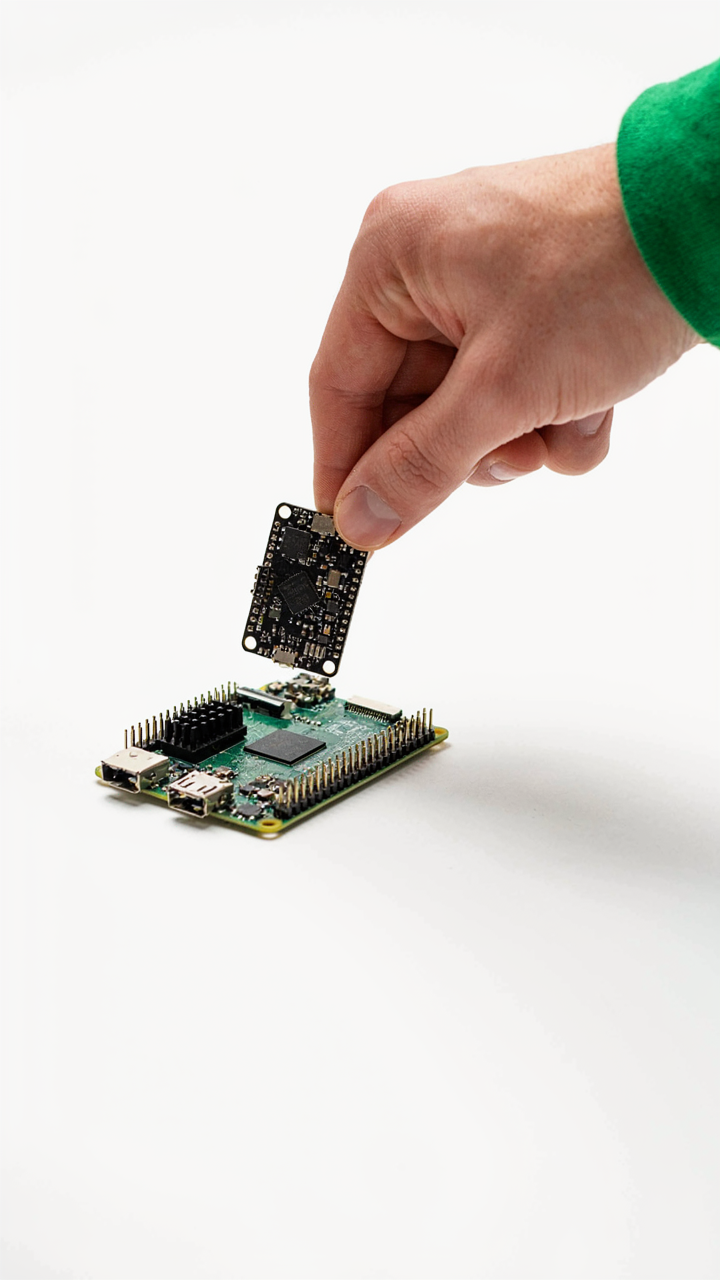
The upgrade decision isn’t about ambition. It’s about honest project requirements. If you’re building a temperature logger that needs cloud connectivity, an Uno won’t get you there without external shields that cost more than the chip itself. The ESP8266 or ESP32 handles that natively. If you’re running computer vision or complex data processing, you need a Raspberry Pi. Match the tool to the actual constraint, not the one you think sounds cooler.
ESP32 And Raspberry Pi Serve Different Architectures
Think of microcontrollers and single-board computers like military doctrine: microcontrollers are tactical operators (focused, resource-constrained, purpose-built), while single-board computers are strategic platforms (flexible, power-hungry, general-purpose). The ESP32 is a microcontroller with WiFi and Bluetooth baked in. The Raspberry Pi is a computer that happens to have GPIO pins. Confusing the two wastes money and time.
The ESP32 runs on 3.3V, handles real-time tasks, and costs fifteen dollars. Use it when you need wireless communication in an embedded device that runs for months on batteries. The Raspberry Pi runs Linux, needs five volts and sustained power, costs thirty-five dollars minimum, and excels at projects that benefit from a full operating system: home automation hubs, media servers, machine learning inference. The ESP32 is your choice for sensors and wireless endpoints. The Pi is your choice for the thing that processes what the sensors send.

The ‘Diy Electronic Components Kit’ You Actually Need
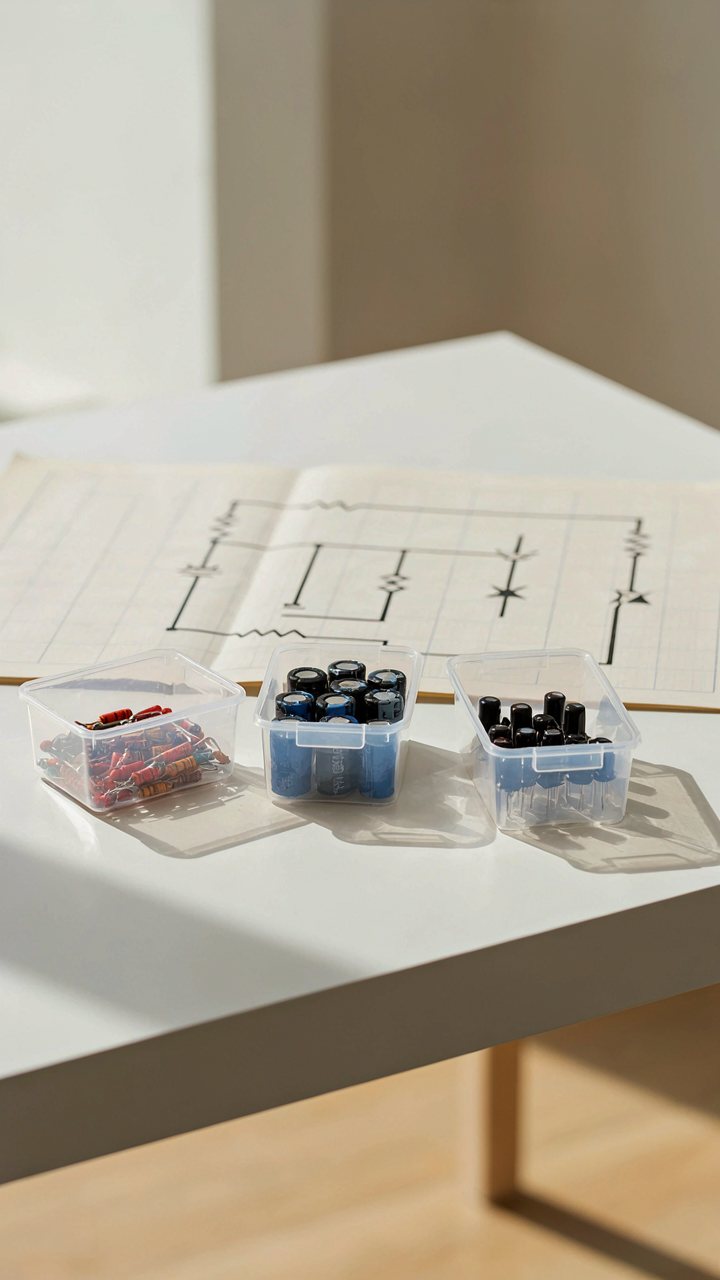
What Resistors, Capacitors, And Diodes Actually Do
You want to feel competent without understanding the fundamentals, which is why generic kits sell so well. Here’s the mechanism: resistors slow electron flow and waste energy as heat. Capacitors store electrical charge temporarily, then release it. Diodes allow current to flow one direction only. These three parts form the basis of every circuit you’ll build because they control, buffer, and protect everything else.
Most beginners stock components without knowing why specific values matter. A 10k resistor and a 100k resistor do the same job in different contexts. A 100 microfarad capacitor behaves entirely differently than a 0.1 microfarad one at different frequencies. The value determines function. You’re not memorizing specs. You’re learning that every component has a rated specification that determines its role in a specific circuit.
Build Around Projects, Not Breadboards
The common advice here is garbage: “get a variety pack with thousands of components.” That wastes money and creates decision paralysis. Stock components backward from project types instead. If you plan to build audio circuits, you need specific capacitor values for audio frequencies. If you’re making LED projects, you need specific resistor values to limit current correctly. If you’re working with power supplies, you need different diode types than signal projects.
This is supply chain thinking applied to hobby electronics. You don’t buy inventory randomly. You buy for demand. Decide on three concrete projects before opening your wallet. Then source only the components those projects require, plus twenty percent buffer. This forces specificity and prevents your parts drawer from becoming a junk bin nobody touches again.

Arduino Projects Are A Starting Point, Not The Destination

From Blinking Lights To Real Problems
You want the Arduino projects because they feel like proof you’re not wasting money on this kit. Here’s the mechanism: a blinking LED is immediate feedback. Your brain releases dopamine. The problem is you’ll mistake that dopamine hit for actual learning. Every beginner starts with blink sketches, servo controls, and sensor reads pulled from tutorials. That phase lasts two weeks. Then stagnation hits because you’ve memorized patterns, not understood systems.
The progression matters because complexity scales in layers, not jumps. After blinking LEDs, you move to timing and state management. Then sensor integration and conditional logic. Then combining multiple sensors into a single circuit that makes a decision. Each step builds on the previous one, but only if you’re actually debugging when things fail instead of copy-pasting the next tutorial.
You’re Solving For Their Problems, Not Yours
Everyone says “learn by building projects.” That’s incomplete advice. What they mean is learn by building projects where you own the problem statement. Building someone else’s motion detector or temperature logger teaches you syntax and pinouts. Building a system that solves an actual friction point in your life teaches you circuit design, troubleshooting, and the gap between what you imagined and what physics allows.
Problem-solving in electronics means you hit walls early. Voltage drops. Noise on signals. Components that don’t behave as the datasheet implies. Real learning happens when you read the datasheet yourself, test hypotheses with a multimeter, and figure out why your circuit isn’t doing what you expected. This is the hard part nobody talks about because it’s not glamorous.

The Economics Of Beginner Electronics Kit Ideas: Scarcity Thinking
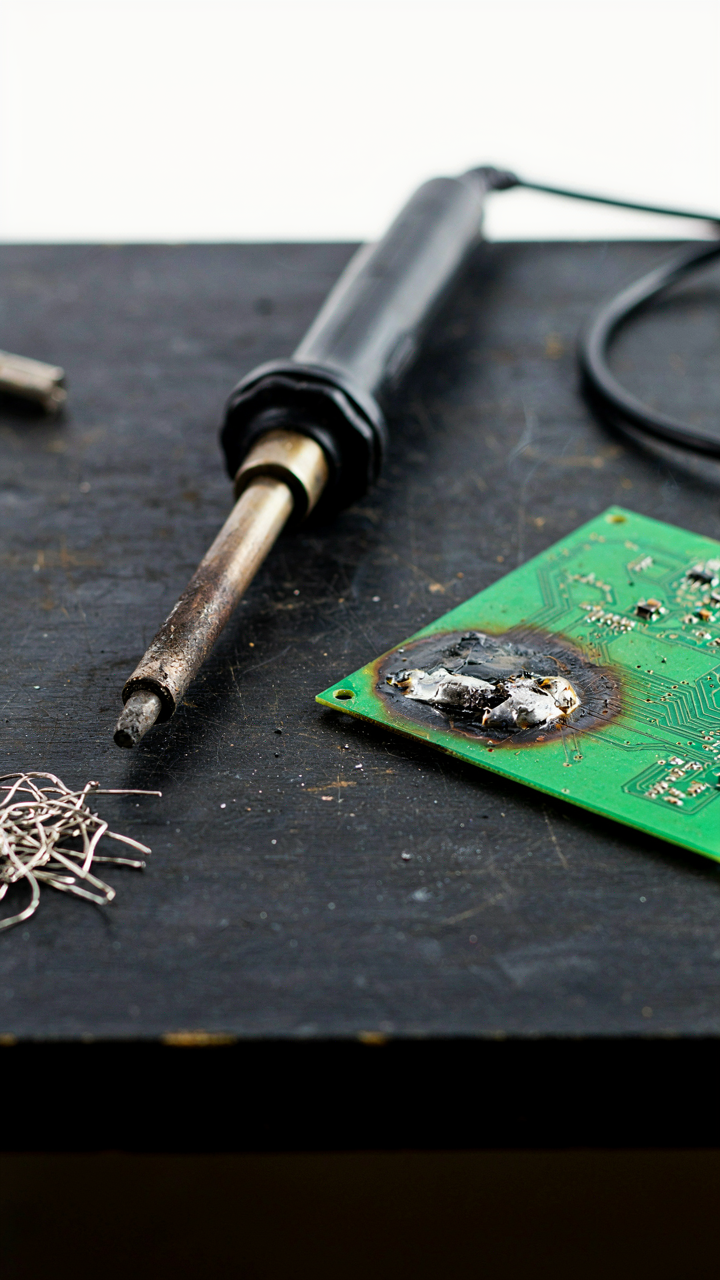
The Real Cost Of Cheap Tools
You’re trying to save money upfront because you’re not sure this hobby sticks. That’s the actual motive. But economics calls this “false economy” – you optimize for the wrong variable and pay the real cost later in wasted time and abandoned projects. A cheap soldering iron doesn’t heat evenly, burns components, creates cold joints that fail silently. You spend three hours debugging a circuit that works fine but your tool ruined the connection. That’s opportunity cost in its purest form.
The starter kit that costs half as much doesn’t save money if it tanks your motivation in week two. You’ll buy tools again, this time better ones, after you’ve already written off the first kit as frustrating garbage. The real calculation isn’t “kit price versus kit price.” It’s “total cost of reaching competence.” Buying once and buying right collapses your total timeline and expense. Start with tools that handle the work without fighting you.
Components That Survive Multiple Projects
Real investors don’t pick stocks that drop after use. Your components shouldn’t either. A quality hobby electronics starter kit holds its value because the parts are reusable across dozens of projects, not consumable in one build. Resistors, capacitors, LEDs, breadboards – these are infrastructure, not consumables. You pay slightly more per piece but you pay once, not repeatedly as you buy kits for each new interest.
Cheap kits skimp on component quality and count. You run out of specific values mid-project or discover half the LEDs are dead from manufacturing defects. Then you’re buying individual components retail, which costs more per unit than buying them in bulk from the start. This is where “saving money” on the kit actually costs forty percent more by month three. The protocol: buy one kit with surplus components in common values, then add only what specific projects need. This stops the kit replacement cycle entirely.

Beyond The Schematic: Real World Electronics Projects Navigation

When Your Circuit Fails To Work
You want to believe the problem is one thing so you can fix it and move on. That’s not how circuits work. Debugging is forensics, not guessing. You isolate failure points by treating your circuit like a system with discrete stages, then you test each stage independently until the signal stops flowing where it should.
Start at the power supply. Verify voltage and current with a multimeter before touching anything else. Most failures trace back to power: wrong polarity, insufficient current draw, or a dead battery nobody thought to check. Then move downstream stage by stage. Test the input signal at each component, then the output. The goal is binary: does the signal pass through this stage correctly or not? When you find where it stops, you’ve found your problem.
Rapid Prototyping On Actual Breadboards
The military calls it the OODA loop: Observe, Orient, Decide, Act. In hobby electronics, you observe what the circuit does, orient yourself to why it failed, decide on a fix, then act by rewiring on the breadboard. Speed matters because each iteration teaches you something your schematic never will.
Don’t solder anything until you’ve tested it three times on a breadboard and confirmed it works. Breadboards let you swap components, reroute connections, and test assumptions in minutes instead of hours. Once the design holds up across multiple tests under different conditions (different temperatures, different power sources, different load conditions), then you move to permanent construction. This prevents wasted solder joints and components burned in irreversible mistakes.

The ‘Electronics Hobbyist Starter Kit’ For Mastery, Not Just Entry

When Sensors Become Your Competitive Edge
You want to build things that matter, not just blink LEDs. That motive is legitimate. The mechanism is this: most hobbyists plateau because they treat sensors and actuators as add-ons instead of the core system design. In control systems terminology, sensors are your feedback loop. Without them, you’re operating blind. Temperature sensors, motion detectors, and servo motors aren’t upgrades to a starter kit—they’re the threshold between toys and functional devices.
The standard advice pushes you toward Arduino shields and pre-built modules. That’s incomplete. Real expansion means understanding the signal chain: how a sensor outputs voltage, how a microcontroller reads it, how an actuator responds. DHT11 humidity sensors, ultrasonic distance modules, and DC motors forced you to grapple with analog-to-digital conversion and PWM control. This isn’t theoretical. You need hands-on familiarity with at least three sensor types and two actuator types before you can design anything that solves an actual problem.
Building Things People Actually Use
The shift from consumer to maker isn’t about ideology. It’s about incentive alignment. When you buy electronics, the designer’s problem was solved. When you build electronics, you solve your own problem. This changes what you measure and why. Your first three projects should be driven by friction you actually experience, not tutorials.
Start by identifying one genuine inconvenience in your environment. Temperature control in a room, a plant that dies from neglect, a door that stays unlocked at night. Write down what you’d need to measure, what decision you’d automate, and what would alert you. Then source components that address that specific chain. This forces you to read datasheets, calculate resistor values, and debug real failure modes. You’re no longer assembling kits. You’re engineering solutions.
The Unspoken Truth About Beginner Electronics Kit Components
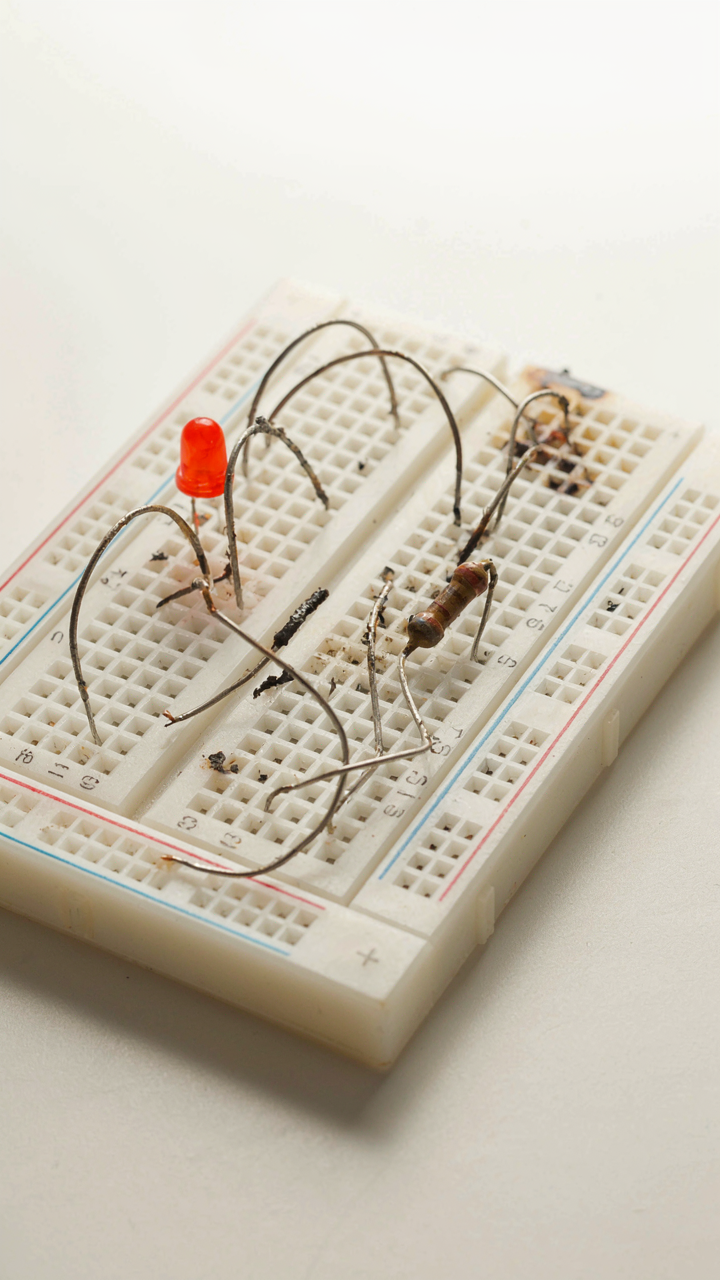
The Real Price Of Cheap Components
You want to feel like you made the right choice by spending less money upfront. Here’s the mechanism: “beginner-friendly” components often mean lower quality tolerances and inconsistent specifications. A resistor rated at 220 ohms might actually read 215 to 225 depending on the batch. On its own, harmless. Stack five cheap components in one circuit and your project fails in ways that teach you nothing except frustration. You waste time debugging a dead LED when the real problem was a capacitor that drifted out of spec on day one. Expensive kits use tighter tolerance parts because they cost more to manufacture, not because they’re magic.
The hidden cost isn’t in the price tag. It’s in the hours you spend chasing ghosts in code and circuits that work fine on paper. Breadboards from ultra-cheap kits have loose contacts that make intermittent connections look like design errors. Jumper wires with corroded leads do the same thing. You learn to blame yourself instead of the tools. Buy mid-range components from established suppliers like Adafruit or SparkFun, not the $15 kits from unknown vendors. The extra ten dollars protects your time, which is the only resource that actually matters.
Design First, Parts Second
The conventional wisdom says start with a parts list and build from there. That’s backwards. Treat component selection like constraint-based design in engineering: you define the problem first, then choose parts that fit. You don’t grab a kit and ask what you can build. You decide what you want to build, understand the electrical requirements, then source components that meet those specs. A beginner who builds three projects by selecting parts for each one learns more than someone who buys a kit and follows ten shallow tutorials.
Most starter kits are designed around what manufacturers have excess inventory for, not what teaches you the core principles. This means you get LEDs, buzzers, and basic sensors in configurations that don’t scale. Learn to read datasheets instead of kit instructions. Learn why a 10K resistor works with a button but a 1M resistor doesn’t. Learn current limits, voltage drops, and impedance matching through deliberate choice, not accident. When you understand the mechanism, you can build with any component. When you follow a kit, you can only replicate what’s in the box.
The Real Obstacle Isn’t The Kit; It’s Your Ability To Discern Genuine Value From Marketing Fluff
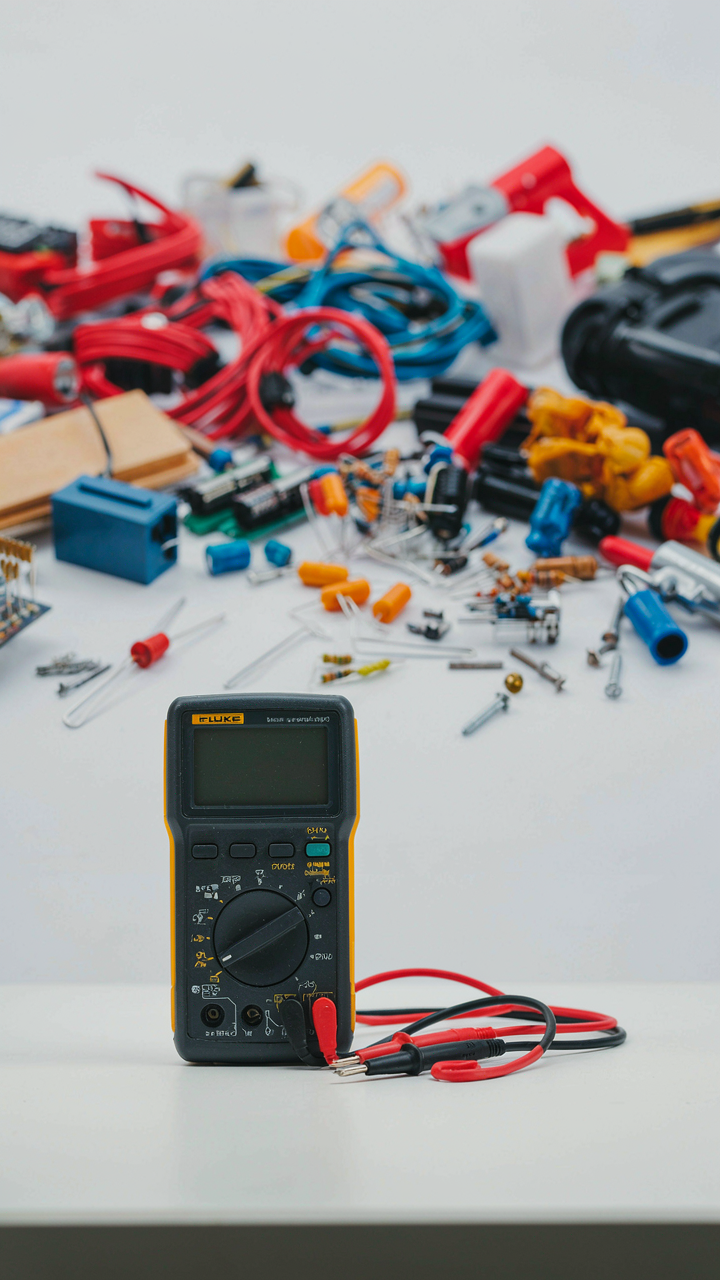
Every beginner makes the same mistake: they buy the shiniest hobby electronics starter kit and expect it to teach them. It won’t. The kit is just metal and wire. What matters is whether you can spot which tools actually matter versus which ones exist to pad the price tag. Buy one quality multimeter instead of ten mediocre ones. Test it today. Your ability to build anything meaningful depends entirely on your willingness to reject noise and choose depth over breadth.



