
Introduction
Fish eye lens phone photography opens up creative possibilities for capturing images with bold, wide perspectives. This type of lens creates a unique, curved effect that captures more of the scene than a normal lens. It can make ordinary photos look unusual and interesting by showing a broad view in a circular or wide-angle format.
In this article, you will learn what a fish eye lens is, how it works, and why it is great for photos taken with your phone. We will also explore practical advice on using a fish eye lens to grab attention and make your photos stand out. Get ready to explore this fun and striking way to shoot pictures.
What is a Fish Eye Lens
History and Basic Idea
A fish eye lens is an ultra-wide-angle lens that produces a distinctive curved image, making the scene look warped or bent around the edges. The name comes from its resemblance to the view inside a fish’s eye — wide, stretched, and curved. Early on, in the 1920s, the concept began with experiments to capture panoramic sky views for meteorological studies. The first fish eye lens was created to mimic how a fish might see underwater, with a very wide field of view packed into a single frame.

It’s a bit curious, really, how the idea started not for art but for science — to help scientists see the entire sky at once. But because the lens bends so much light to fit that wide view, it produces the unique, almost spherical distortion we associate with it.
How the Lens Works
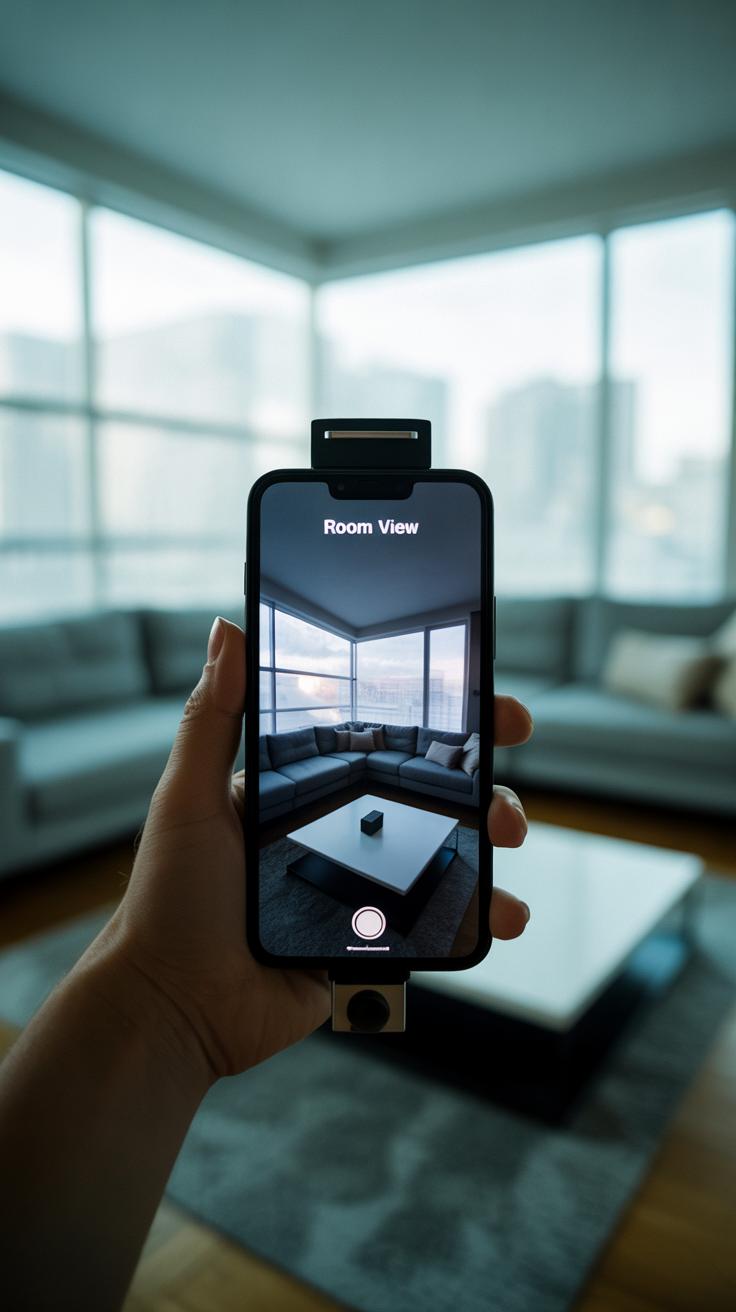
Unlike regular lenses that try to keep straight lines straight, a fish eye lens embraces distortion. It captures an extremely wide scene — sometimes close to 180 degrees — by bending light onto the sensor in a way that curves the image. This bending means lines that would normally be straight appear bowed or circular.
So, instead of a flat, rectangular shot, you get a bubble-like effect, where the center is closest to reality, and everything around the edges sweeps outward in a curve. That’s why buildings or horizons often look rounded or stretched when viewed through these lenses. It’s a trade-off: you get way more in the shot, but you lose the usual straight-line perspective.
In a way, the lens plays with your perception of space. You wonder — are you looking through a window or some sort of warped portal? This is exactly what gives the fish eye lens its charm and makes it a bold tool for capturing scenes you won’t see otherwise.
Why Use a Fish Eye Lens on Your Phone

Picking up a fish eye lens for your phone can change the way you see everyday scenes—quite literally. One big advantage is how much more you can fit into a single shot. Compared to your phone’s standard lens, this little tool lets you capture an expansive view without stepping back or stitching photos together. Think about a skyline, a crowded room, or a sprawling landscape. With a fish eye, these scenes become more immersive and, well, kind of fun to explore.
There’s also something about the distortion that grabs attention. Curved lines and warped edges aren’t just quirks—they give your photos personality. Sometimes, straight lines become sweeping arcs, and ordinary objects take on unusual shapes. That can make your images more eye-catching and different from what you usually see on social media or in snapshots.
Maybe you’re unsure if this kind of extreme perspective fits your style. That’s fair. Not every photo benefits from a curve-warped look. But when it does, you might find yourself experimenting more, pushing creative limits without needing fancy gear. It’s like seeing the world anew, all through a simple piece clipped onto your phone. And isn’t that kind of exploration what photography’s about?
Types of Fish Eye Lenses for Phones
When it comes to fish eye lenses for your phone, there are basically two main categories you’ll run into: clip-ons and built-in lenses. Both of these have their own quirks, and understanding the differences can help you decide what fits your style and budget.
Clip-On Lenses

Clip-on fish eye lenses are probably the most common way people try this effect with phones. They’re small, portable, and usually pretty affordable—think anywhere from $10 to $50 depending on brand and quality. You just clip them over your phone’s camera, which means they’re super easy to swap between devices. You don’t have to be tech-savvy to get these working. The catch? Sometimes alignment can feel a bit fiddly, especially if your phone has multiple cameras close together. But once clipped on, they can open up totally new visual worlds. I’ve found myself carrying one in my pocket just in case inspiration strikes.
Built-In Fish Eye Phone Cameras
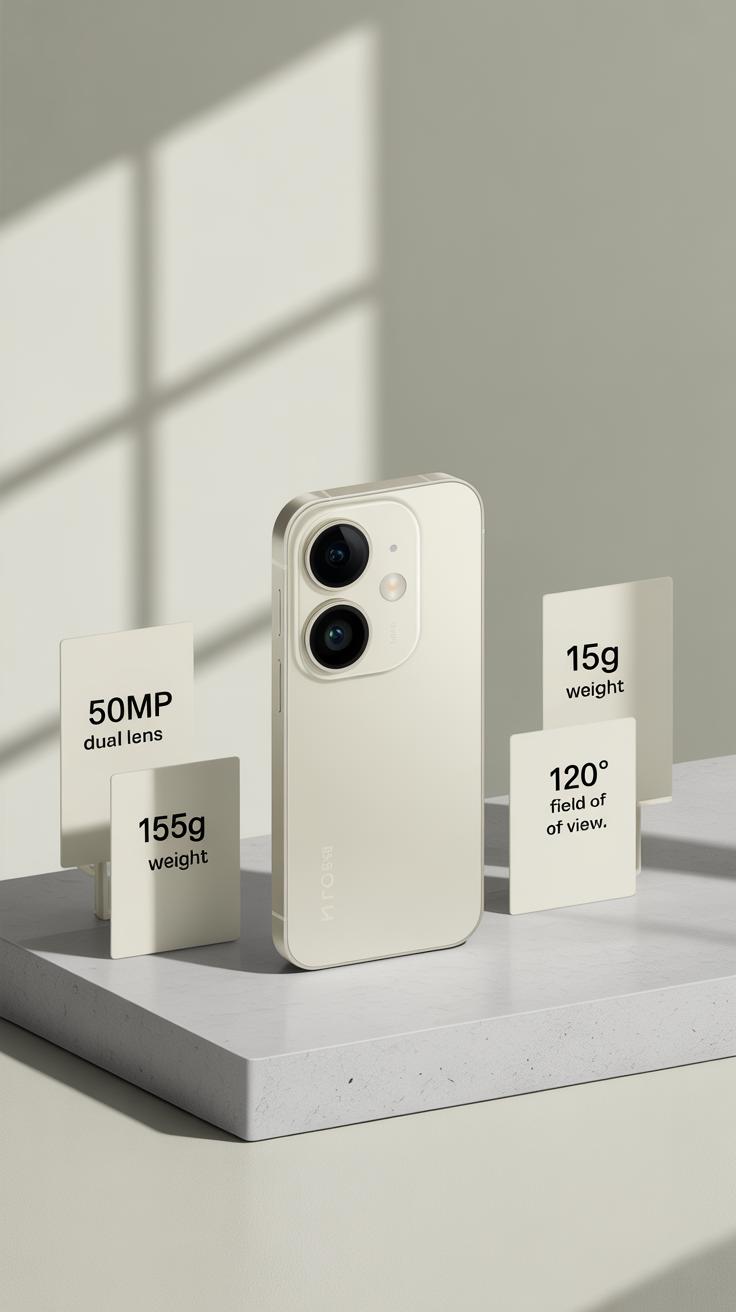
Some newer phones include built-in ultra-wide or fish eye-style lenses as part of their camera setups. These are designed right into the phone, so you don’t need extra attachments. The major benefit here is image quality—since the lens is integrated, processing tends to be cleaner, with fewer issues around distortion correction or light leaks. Phones from brands like Samsung and LG have offered wide-angle modes that verge on fish eye perspectives, though true fish eye lenses built-in are still a bit niche. It’s interesting, though, because with built-ins, you lose the flexibility of physically swapping lenses, but gain a more reliable experience out of the box.
So, are you into convenience and quick swaps? Or would you rather stick with what’s built-in and trust the phone’s software to handle the rest? The choice might reveal how serious you are about experimenting with those bold, wide-angle shots.
How to Choose the Right Fish Eye Lens for Your Phone
Compatibility with Your Phone
When picking a fish eye lens, it’s easy to overlook whether it really fits your phone. But trust me, this matters more than you might think. Phones vary a lot—size, camera placement, number of lenses. A clip-on lens that works well on one model might block a second lens or sit unevenly on another.
Sometimes a lens advertised as “universal” doesn’t fit as smoothly as you expect. Maybe your phone has a case that makes things tricky or the camera setup is oddly placed. Before buying, check if the lens supports your specific model or if it requires removing the case. A little session of Googling or reading user reviews can save you frustration later.
Also, think about how secure the attachment feels. No one wants to wrestle with a loose lens in the middle of a shoot. You want a fit that’s snug but won’t damage your phone. It’s worth double-checking this, even if you’re tempted by a cheaper lens.
Lens Quality and Price
Price doesn’t always tell the whole story. Sometimes a more expensive fish eye lens delivers clearer, sharper images with less distortion and better edge detail. But I’ve seen cases where a lens costing twice as much feels only a little better than a modest option.
Think about what you really want from your lens. If you’re just starting, a budget-friendly option might be all you need to explore fish eye perspectives. On the other hand, if you want crisp, bold images for sharing or print, investing a bit more in quality glass and build can pay off.
Durability plays a role too. Cheaper lenses often use plastic parts that can wear down or scratch easily. More solidly built lenses with metal mounts or coated glass tend to last longer. But sometimes they’re heavier or bulkier, which might affect how often you carry and use the lens.
In the end, it’s a balance. You want a lens that complements your phone without breaking the bank. Test a few if you can. And listen to others’ experiences, but trust your own sense of what looks right to you.
Setting Up Your Phone and Lens for Great Fish Eye Shots

Attaching and Positioning
Before you capture those bold fish eye shots, make sure your lens and phone are ready. Start by gently cleaning both your phone’s camera lens and the fish eye attachment with a microfiber cloth. Dust or smudges here can easily ruin your shot — trust me, I’ve learned that the hard way.
When attaching the fish eye lens, align it carefully over your phone’s camera. Most clip-on lenses have a small groove or rubber edge to hold them steady. Check that it sits perfectly centered; even a slight shift can create odd vignetting or blurriness. Sometimes, when you think it’s fixed, it still moves slightly, so adjust it a bit while previewing your camera view until the edges look even and clear.
Camera Settings to Use
Once your lens is in place, tweak the camera settings to suit the fish eye effect. Focus manually if your phone allows it; autofocus can struggle with the distortion and might lock onto the wrong part of your frame. Exposure is another factor—fish eye shots often capture wide scenes, including bright skies and dark shadows, so try adjusting exposure compensation to avoid blown-out highlights.
Turning on grid lines helps more than you might expect here. Grids assist in aligning horizons and main subjects despite the warped edges. It’s tricky, but those lines can feel like a subtle guide through all the circular distortion.
One thing I sometimes forget: disable any digital zoom. Zooming usually lowers image quality and doesn’t mix well with the fish eye lens curvature. Instead, move your feet to get closer. Also, experiment with your phone’s HDR mode—sometimes it improves contrast and detail in these wider views, but sometimes it feels over-processed. It’s a little hit or miss.
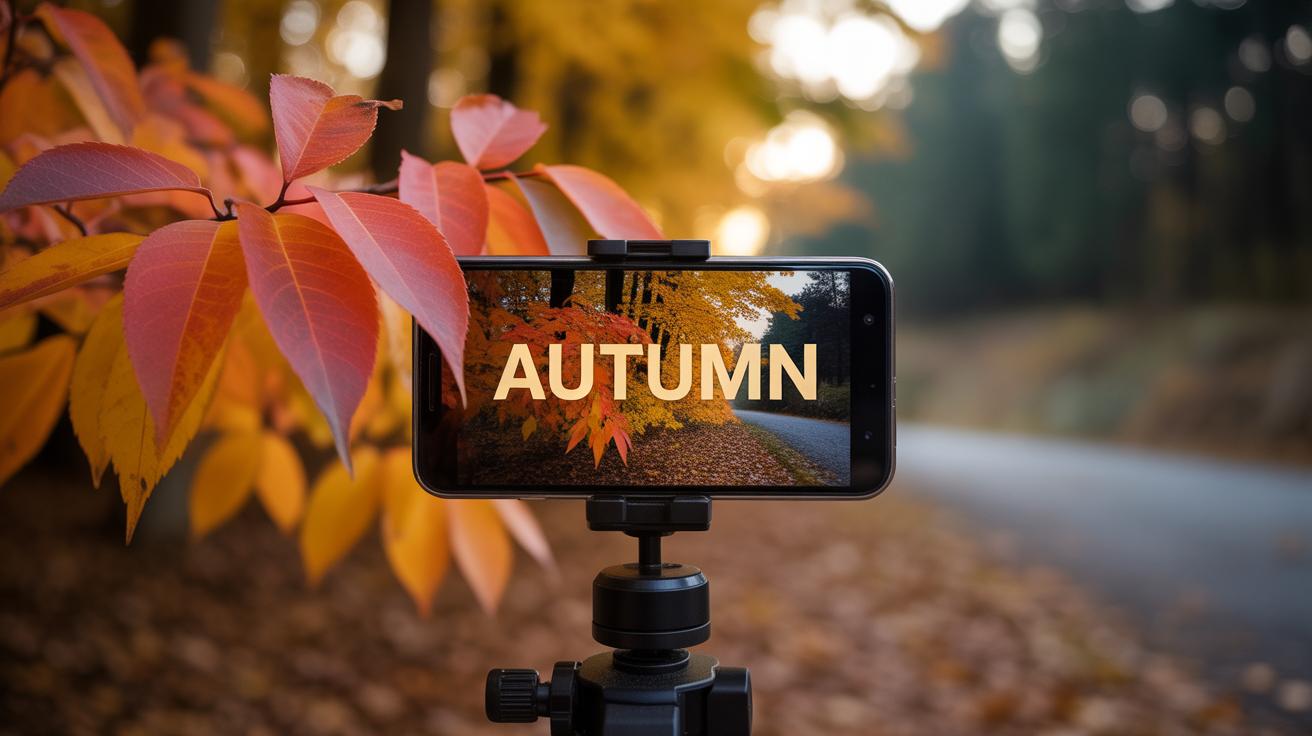
Techniques for Taking Fish Eye Lens Phone Photos

Getting strong fish eye photos with your phone really comes down to experimenting with angles and subjects. Don’t just stand still—move around your subject to find unusual perspectives. Sometimes shooting from very low or high up can make the curvature pop in interesting ways. Walking closer or stepping back changes the distortion quite a bit too, so try different distances and see what surprises you.
When it comes to subjects, round shapes almost always work well. Think about things like spheres, curved staircases, or even faces close-up. Skies can be dramatic when captured with a fish eye lens—it wraps the horizon, creating a sense of vast space. Buildings with strong lines give a cool mix of straight and curved edges, which can look a bit odd but kind of compelling. Close-ups let you play with exaggerating facial features or textures in objects, but don’t crowd the frame too much or it can get confusing.

One thing I’ve noticed: sometimes simple scenes become more interesting because of the distortion, while other times it feels like too much. There’s a balance, but maybe it’s okay not to find it every time. Just keep trying and see what your phone reveals.
Editing Your Fish Eye Lens Photos on Phone

Edit your fish eye photos right on your phone to bring out their best qualities. It’s easy to overlook how much simple tweaks can change the vibe of an image with such a distinctive look. Crop and straighten tools don’t have to flatten the unique curves—used carefully, they can actually help focus attention where you want it.
Using Crop and Straighten Tools
When cropping fish eye shots, keep the lens’s signature distortion in mind. You don’t want to cut off the curved edges too much, or you lose what makes the shot special. Sometimes, tightening the frame can remove distractions and highlight your subject better.
Straightening is tricky here. A slight tilt can add to the energy of a fish eye photo, so don’t rush to perfect alignment every time. But if the image feels chaotic or unbalanced, a subtle adjustment can keep the distortion intentional rather than accidental. I often find that straightening just a few degrees helps without killing the effect.
Adjusting Colors and Contrast
Color choices affect how the photo reads. Boosting contrast can make the curves and details pop more visibly. I’ve seen fish eye photos that felt dull initially but gained a punch with just a little contrast and clarity bump.
Try enhancing saturation gently. Too much saturation can overwhelm, but a mild lift gives life to the curves and shapes captured by the lens. Play with brightness and shadows to emphasize the depth created by the lens. If shadows are too harsh or highlights too bright, it can distract from the subject’s unusual perspective.
Don’t forget experimenting with warmth or coolness. Shifts here can change the mood completely. Sometimes, a cooler tone adds a strange, surreal feeling suited to the fish eye’s warped surroundings. Other times, warm tones bring out a friendly vibe, even when the image is distorted.
What kind of edits help your fish eye photos? Maybe you prefer bold colors or something more muted. The key is trial and error—editing on your phone lets you see instant results and refine what works best for your unique shots.
Creative Ideas for Fish Eye Lens Phone Photography

Nature and Landscape Shots
Fish eye lenses can flip the way you see outdoor scenes. Instead of just capturing a stretch of land or sky, they wrap around it, pulling in more than you might normally notice. Imagine pointing your phone up to a scattered, dramatic sky and getting that curved, almost spherical effect. It can feel like the sky is pressing down on you or swirling above, making clouds more powerful or mysterious.
Try this with trees too. Stand under a tall tree and aim your fish eye lens straight up. The branches bend outward in all directions. It adds energy, maybe a bit of disorientation. It’s not just a picture of a tree — it’s a light, organic explosion from the center. It changes how you connect with the subject, I think.
For wide fields or water surfaces, the lens can exaggerate the horizon, creating a surreal sense of vastness. It’s not always perfect, but that unpredictability might be worth exploring.
City and Street Photography
In urban settings, fish eye lenses bring out things you don’t often notice. Buildings bend and stretch, wrapping around your frame like they’re leaning in to meet you. Stand on a corner and capture tall structures pressing close. The distortion can highlight architectural details from a fresh angle, or give a sense of the city closing in.
Fish eye lenses also invite you to experiment with street scenes. Try shooting crowds or busy sidewalks—you’ll squeeze in more people with surprising space between them. Street lamps bend, cars and signs warp oddly, creating images that feel alive and unusual. Sometimes it looks a bit strange, sure, but the weirdness makes viewers pause.
I find it interesting how this lens can make even mundane urban moments feel something else—quirky or dramatic—and maybe you’ll discover parts of the city you’ve walked past a hundred times without really seeing. Wouldn’t that be something?
Common Challenges and How to Overcome Them
Managing Distortion Effects
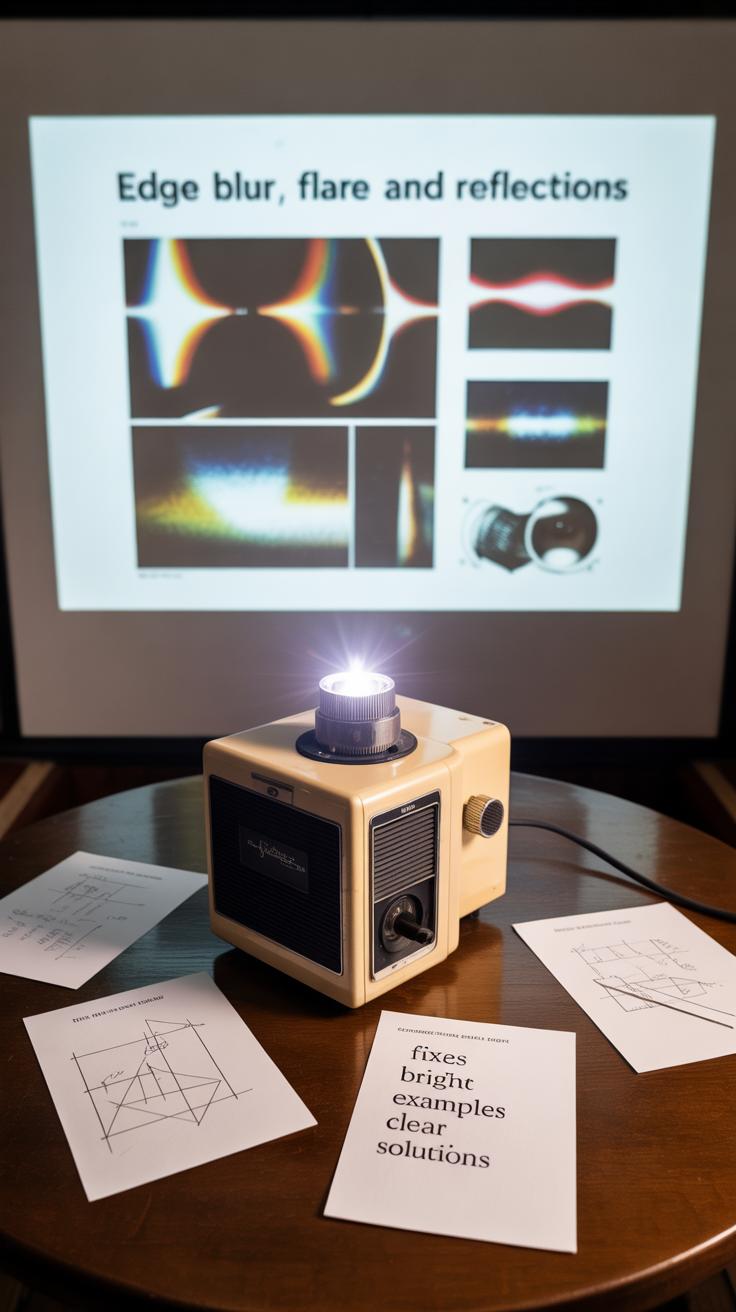
Fish eye lenses create bold curves that can sometimes take over your photo in ways you didn’t expect. That extreme bending at the edges can throw off the balance, making subjects look warped or stretched beyond recognition. If you’ve ever shot a person’s face with a fish eye lens, you probably noticed noses getting bigger or walls curving sharply. It can feel a bit much.
To handle this, you might want to focus on a clear subject near the center, where distortion is less severe. Placing key elements away from the edges can help keep things recognizable. Sometimes, that exaggerated curve is what you want—but if it feels overwhelming, try cropping afterward or adjusting the angle you shoot from.
Another trick: use distortion as a creative tool rather than fighting it. Frame architecture or abstract shapes where bending lines add interest instead of distraction. And don’t hesitate to experiment with different distances; moving closer or farther can drastically change how much distortion appears.
Keeping Your Lens Clean and Clear
A surprising challenge is keeping the fish eye lens spotless. Because they often attach over your phone’s own camera lens, fingerprints, dust, or even a tiny smudge can reduce sharpness and clarity. Sometimes, in dim light, even a little dirt can turn your photos into blurry, lackluster shots.
Regular cleaning helps more than you might expect. Use a microfiber cloth gently—many kit lenses come with one—and avoid rough materials. Compressed air can blow away dust but be cautious not to damage coatings. I’ve found that cleaning before every shoot, even if the lens looks fine, saves time in editing later.
Also, handle the lens carefully when attaching or detaching it. Keeping it in a small case or pouch between uses limits how often you need to clean and reduces the risk of scratches or damage. Those tiny marks on a fish eye lens can really throw off image quality, so it’s worth a bit of care.
Conclusions
Using a fish eye lens with your phone allows you to create photos that stand apart from the usual shots. The wide, curved perspective brings life and interest to common views. As you practice, you will discover how to use this effect effectively to enhance your images.
Experiment and have fun capturing different subjects with the fish eye lens. Notice how it changes your view and offers new angles. This technique can take your phone photography to a fresh level, offering bold and memorable pictures every time you shoot.