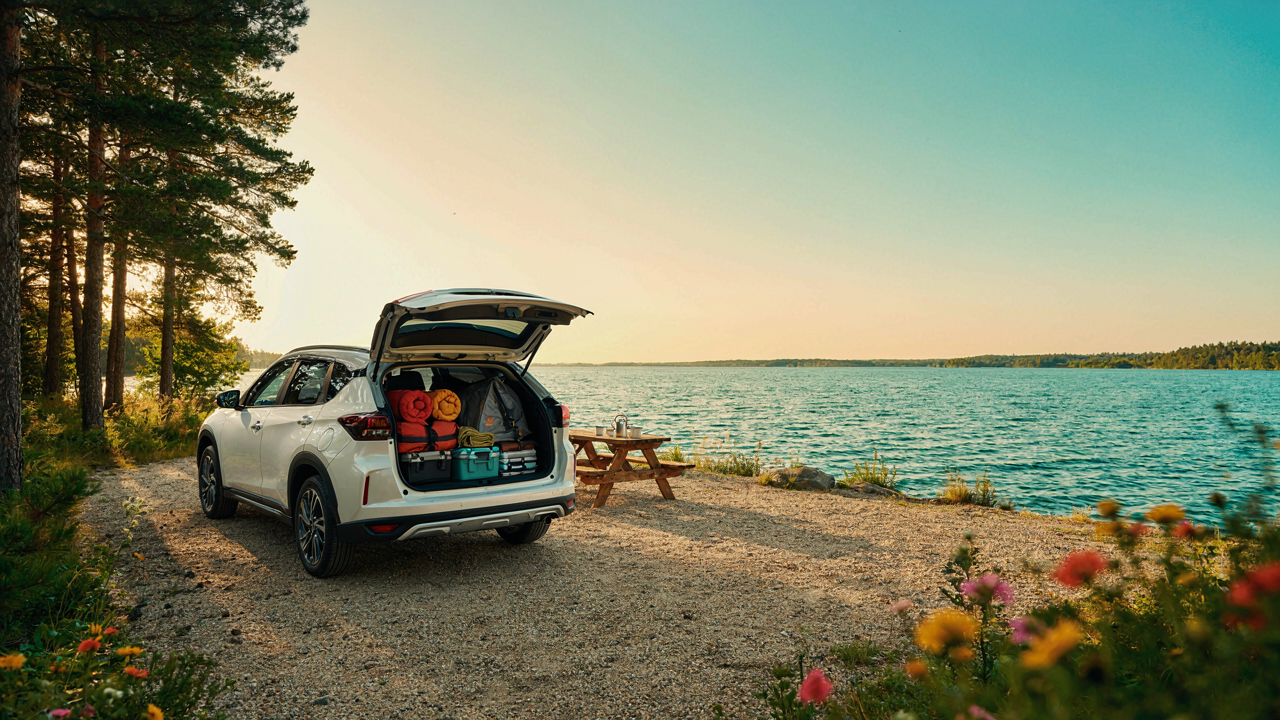
The 3 Tiered Car Camping Essentials Hierarchy
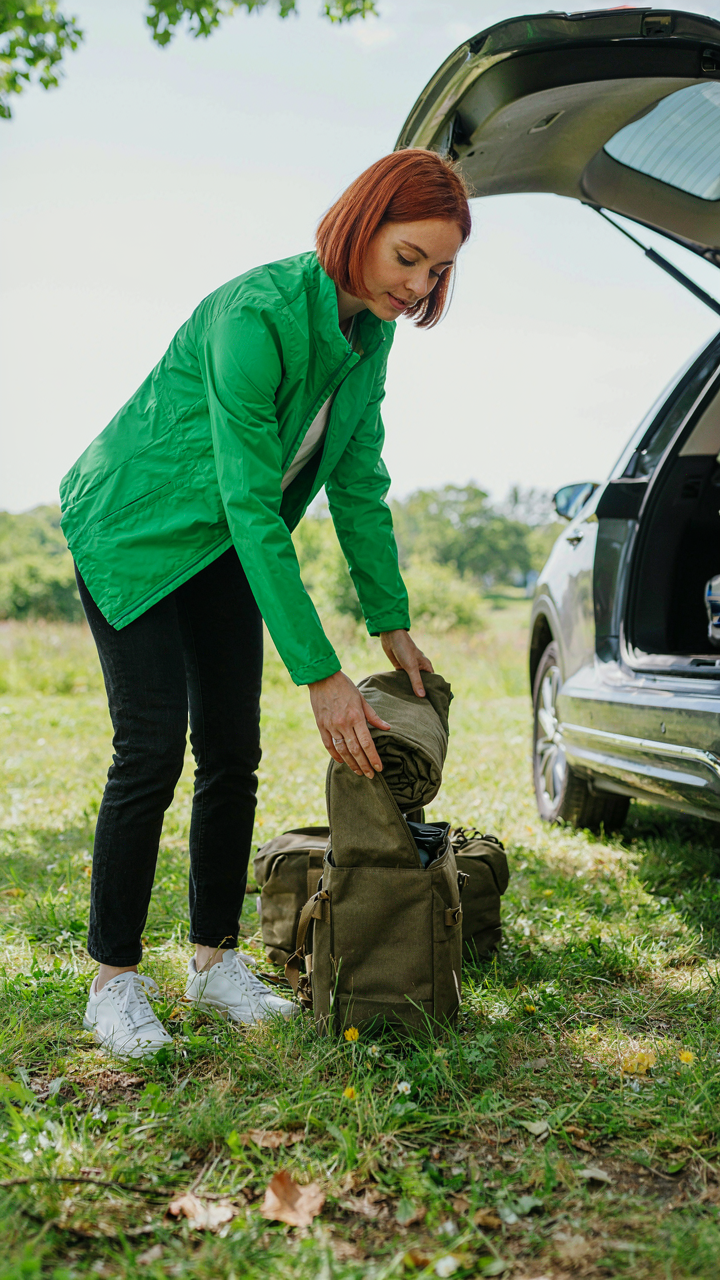
Survival Comfort And Luxury Defined
You want permission to buy more gear without feeling irresponsible. Here’s the mechanism: tier your gear by what it actually does, not by how you feel about owning it. Survival gear keeps you alive. Comfort gear lets you function normally. Luxury gear is everything else. The distinction matters because each tier has different ROI on your actual experience. Most people conflate them, which is why they end up with 200 pounds of equipment and still sleep poorly.
Survival gear includes shelter, insulation, water access, and fire. Your tent, sleeping bag rated to the season, water container, and a way to make fire are non-negotiable. Comfort gear makes a weekend feel like rest instead of endurance: a decent sleeping pad, pillows, camp stove, basic cooking tools. Luxury is the rest: camp chairs, string lights, novelty coolers, portable speakers. Knowing which tier an item occupies stops you from packing like you’re preparing for a documentary.
Why Generic Lists Create Dead Weight
Every car camping essentials list online blends all three tiers into one undifferentiated pile. The result is people buying 40 items when they need 12. This happens because gear companies profit from volume, and blog writers optimize for clicks by making lists look comprehensive rather than useful. A 200 item list looks authoritative. A 12 item list looks incomplete, even when it’s actually complete for survival and comfort.
The mechanism is simple: once you own tier one and tier two items, tier three purchases don’t increase your actual camping quality. They increase your gear collection. Stop confusing them. Start with survival and comfort. Everything else is a choice, not an essential. Your first trip should use what you already own: blankets, cookware, a tent if you have one. Add strategically after you camp, not before.
SUV Camper Ideas: Maximizing Your Vehicle’s Built In Advantage
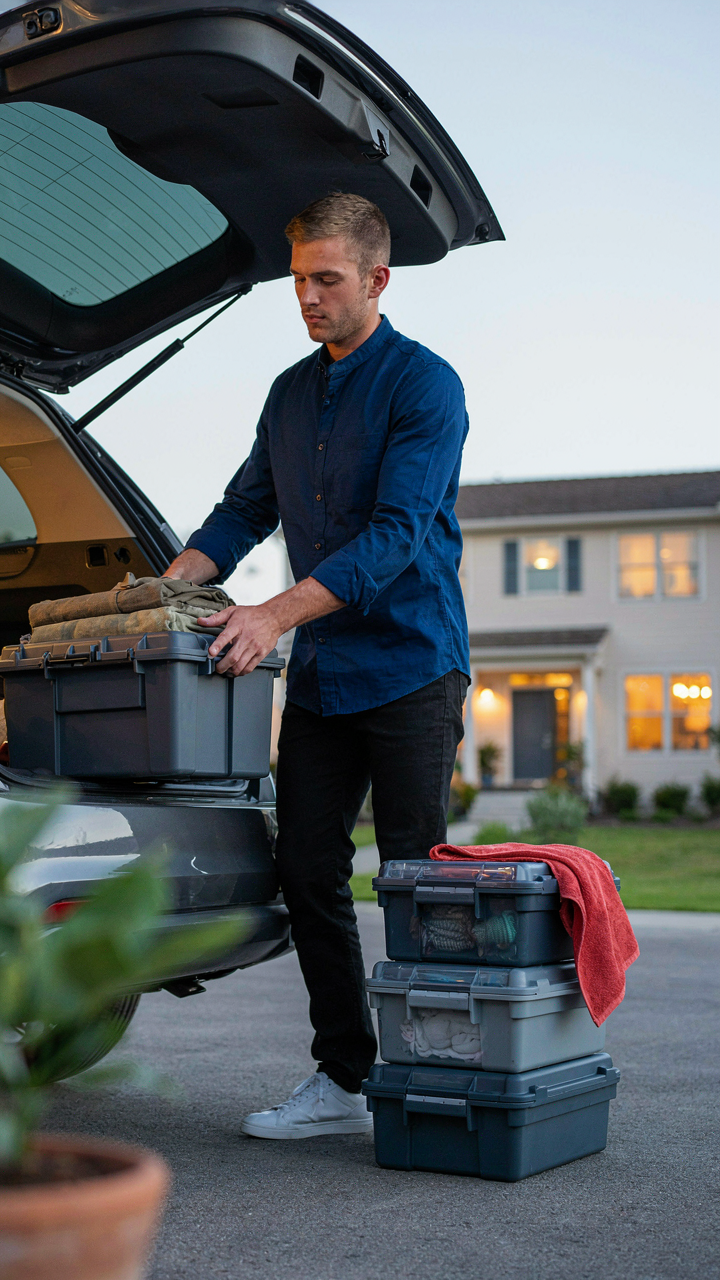
Built In Storage Beats Bolted On Gear
You want to look like you have your camping setup figured out without actually doing the work. Here’s the real mechanism: an SUV already has dead space. The factory designed those compartments, wheel wells, and under-floor cavities. You don’t need roof racks or trailer hitches announcing your incompetence. You need to claim what’s already yours.
Most people bolt external storage onto their vehicles because they never mapped what exists inside. Your SUV has under-seat storage, door pockets, rear cargo areas with false floors, and sometimes sealed compartments between the frame rails. Measure these spaces first. Then buy gear that fits vertically into them, not horizontally across your roof. This keeps your center of gravity low, improves fuel economy, and lets you camp without advertising it.
Transform Your Interior In Minutes
Modular means each piece moves independently without tools. This isn’t about expensive van conversions or permanent installations that lock you into one setup. You’re applying industrial logistics principles to your vehicle: standardized components, quick-release mounting, rapid reconfiguration based on mission.
Stack sleeping platforms on top of storage bins. Use adhesive-backed velcro strips and carabiners to secure gear instead of bolts. Buy bins that nest when empty. Keep your sleeping arrangement separate from your gear arrangement. On Friday you load. Saturday morning you pull out the gear bins and slide in the sleep platform. Sunday you reverse it. Consistency in this protocol saves you thirty minutes each trip and keeps you from forgetting critical items.
Car Camping Accessories: The Leverage Principle (Physics Edition)
Volume Density Beats Comfort Sprawl
You want to believe your gear collection makes you prepared. It doesn’t. It makes you packed. Physics offers a useful lens here: force multipliers. In mechanics, a lever amplifies input force through mechanical advantage. In car camping, the same principle applies to your accessories—density of utility per cubic inch determines whether you actually use your rig or spend the weekend arranging things. The real constraint isn’t what fits in your vehicle. It’s what you can access, deploy, and maintain without wasting Saturday morning playing tetris.

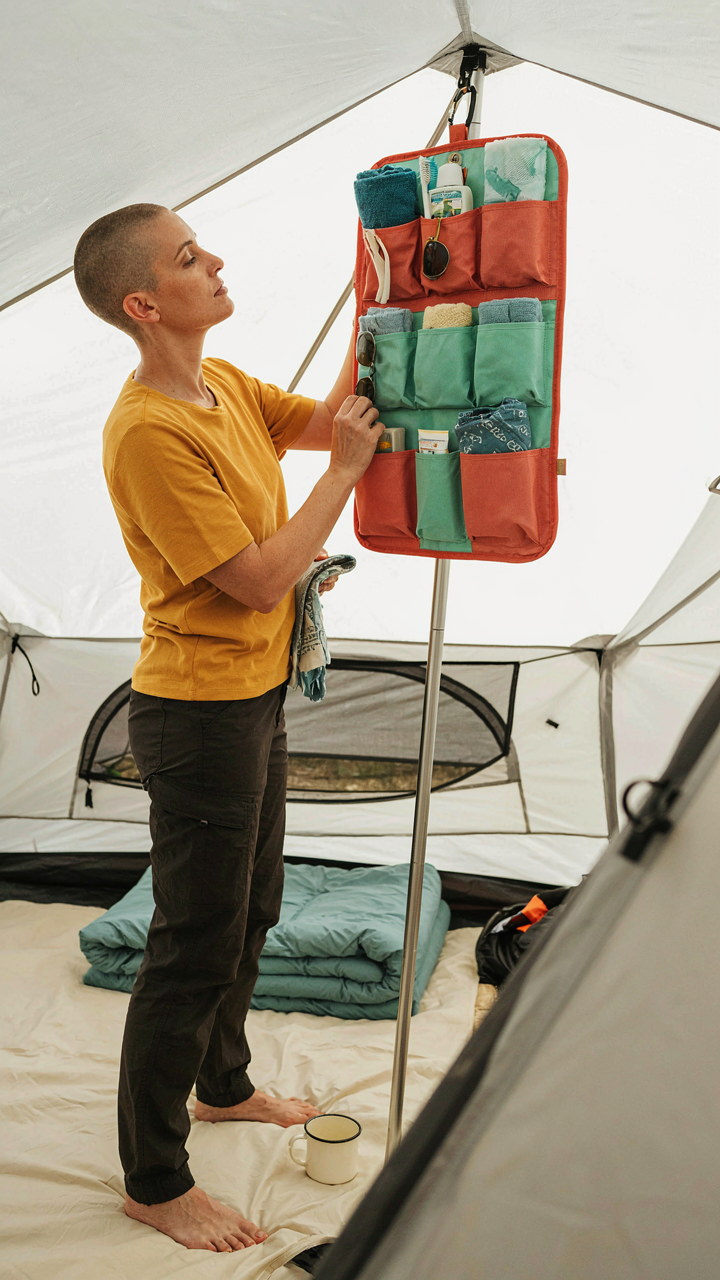
Most campers treat accessories as individual solutions stacked independently. Wrong approach. You’re looking for items where the volume footprint stays flat while the functional output compounds. A vacuum storage bag compresses a blanket from 2 feet to 6 inches—same warmth, different density. A hanging organizer mounted to your tent pole holds cooking tools, first aid, and toiletries without claiming floor space. The calculus is simple: smaller physical footprint equals faster setup, easier access, more actual usage. Density wins because friction determines whether you camp again next month or let the gear collect dust.
Overlap Geometry: Items That Perform Multiple Roles
One tool doing two jobs doesn’t save money. It saves the cognitive load of deciding which gear to bring, the physical load of carrying it, and the mental friction that kills repeat trips. A tarp isn’t decoration or luxury. It functions as a rain shield, a ground barrier, a sun blocker, and a wind deflector depending on how you angle it. A heavy-duty carabiner clips a lantern to your canopy pole, secures loose gear, and anchors a rope line. A cast iron skillet cooks breakfast, bakes cornbread, and radiates heat into your tent on cold mornings. This isn’t clever—it’s mandatory.
The mistake most guides make is treating multi-use items as secondary options. They’re your primary infrastructure. When you design your campsite around overlap, you cut setup time in half and reduce the mental burden of what to pack. A rope system that holds your food bag also creates a clothesline and anchors a tarp. A storage container that holds cooking supplies also serves as a step stool and extra seating. You stop thinking about problems and start designing systems. Build your car camping kit around items that solve at least two problems simultaneously, and your weekend becomes about relaxing instead of logistics.
The Minimalist Car Camping Checklist Packing Lists Protocol

Identify Your Non Negotiables
You want permission to buy less gear because you’re afraid you’re the type of person who wastes money. The mechanism is simple: most car campers pack items they never use because they confuse “what could happen” with “what will happen.” Your non-negotiables are the things that directly prevent discomfort or danger in your specific climate and trip length. Everything else is noise.
Start by naming three categories: sleep, shelter, and heat. A sleeping bag rated for the lowest temperature you’ll encounter. A tent that sheds rain. A way to stay warm if the temperature drops faster than expected. These three solve 95 percent of car camping failure. Everything you add after this is optimization, not necessity. Strip your packing list down to these anchors first, then ask if anything else prevents a specific problem you’ve actually encountered before.
One In One Out For Gear Acquisition
Gear acquisition follows the economic principle of scarcity. You have finite space in your vehicle and a finite budget. When you add a new item, something must leave. Most campers ignore this rule and end up with duplicate equipment, broken gear they won’t replace, and a car that feels like storage.
The protocol is blunt: before you buy new car camping gear, identify what you currently own that solves the same problem. If you own it, test it first. If it fails, document why. Only then replace it with something different. If nothing you own addresses the problem, buy one piece and use it for three trips minimum before adding anything adjacent. This forces you to actually learn what you need instead of chasing the gear fantasy.
Truck Camping Essentials: Adapting The Bed As A Basecamp
Build Your Own Platform Instead Of Buying Status
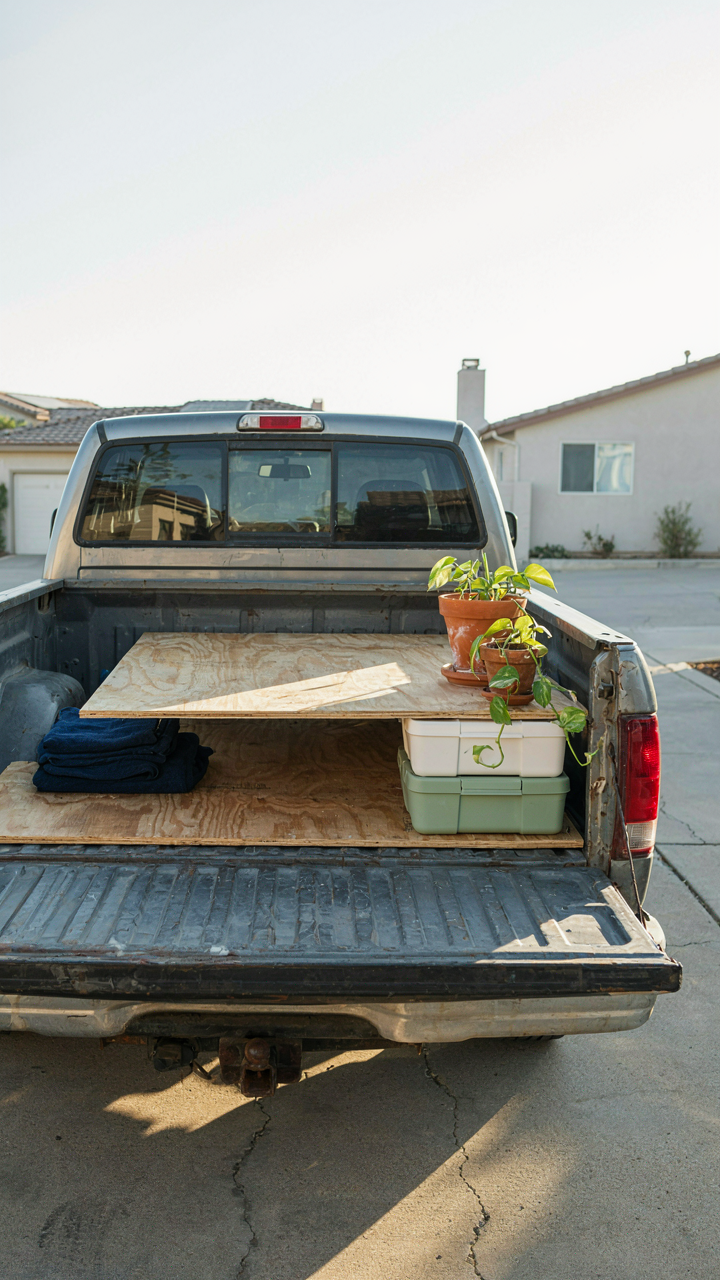
You want the commercial setup because it signals you’re serious about camping. That’s the actual motivation. Here’s what matters: a truck bed platform is leverage. In engineering terms, leverage means redirecting force. Your platform redirects wasted vertical space into usable sleeping height while creating storage underneath. A basic platform costs 80 to 150 dollars in materials. A commercial system runs 800 to 2000. The difference isn’t engineering—it’s packaging and branding.

DIY platforms use 2×6 or 2×8 lumber cut to bed length, mounted on cross-braces that sit on the wheel wells. You drill pilot holes to prevent splitting. The bed sits 18 to 24 inches high, enough for bins underneath. Commercial setups do exactly this, then add finish carpentry and powder coating. Skip the finish. Your time matters more than aesthetics when you’re actually camping. Build it once, use it for ten years, and recoup the cost on the first trip.
Tarps And Locks Over Empty Promises
The mistake everyone makes: they think weatherproofing means a cover that looks complete. It doesn’t. A standard truck bed tarp protects from vertical rain, which is 90 percent of weather exposure. Secure it with ratchet straps at each corner and two midpoints on each side. Wind catches loose material and tears it. Your gear stays dry because water runs off the edges, not because the tarp is fancy.
Security follows the same logic: trucks are visible, so gear theft happens. Use a tonneau cover if your budget allows—it keeps prying eyes off inventory. If not, a cable lock through gear handles and looped around the bed frame works. You’re not stopping a determined thief. You’re making your truck less interesting than the unlocked sedan next to it. That’s the entire mechanism.
Best Car Camping Gear: Quality Over Quantity Investment

Gear That Earns Its Weight
You want permission to buy expensive stuff without feeling guilty. Here’s the mechanism: gear that does one thing well costs less over time than gear that does three things poorly. Economics calls this “specialization,” and it applies directly to camping—a tent designed for camping outlasts a multipurpose shelter by years because its engineering solves one problem completely.

Longevity gear forces you to confront actual use patterns instead of theoretical scenarios. A four-season tent sits unused most of the year for most people. A three-season tent with proven seam construction, quality zippers, and a design that’s been refined for a decade gets deployed repeatedly and fails less often. Multi-functionality sounds efficient until you’re holding a water filter that also claims to be a water bottle, does neither well, and breaks first.
- Cast Iron Cookware: Heavy, conducts heat uniformly, withstands open flame. Requires seasoning protocol but performs identically for thirty years with minimal maintenance.
- Merino Wool Base Layers: Expensive initially but regulates temperature across wide ranges and resists odor. Outlasts synthetic alternatives by multiple seasons under regular use.
- Fixed-Blade Cooking Knife: No moving parts, no spring-loaded mechanisms to fail. A sharp blade designed for one task beats a folding multi-tool for actual camp food prep.
- Rechargeable Lantern With USB Output: Powers your phone, runs ten-plus hours, accepts standard batteries as backup. Replaces both flashlight and portable charger with zero redundancy.
- Sleeping Bag With Proven Temperature Rating: Manufacturers test to standardized EN protocols. A bag rated to 20F from a brand that’s made them for two decades works predictably across trips.
The gear tax hits hardest when you buy replacements. A $40 tent fails in year two and costs another $40. A $280 tent fails in year ten and costs one replacement. Multiply across five essential items and the math flips entirely in favor of initial investment.
The Real Equation Behind Purchase Decisions
Cost-per-use demolishes every other framework for gear decisions because it eliminates emotion. You own a car; that vehicle costs X divided by miles driven. A tent costs X divided by nights camped. This isn’t abstract accounting—it’s how you actually spend money.
A $150 sleeping bag used for four nights per year over ten years costs $3.75 per use. The same bag used for one camping trip and abandoned costs $150 per use. Most people calculate only the sticker price, which is why they accumulate unused gear. They never force themselves to predict actual deployment frequency before buying.
The second mechanism is replacement cost factored into initial price. Expensive gear breaks less often, but when it does, repair or replacement costs money. A $600 tent that’s repaired once in eight years still costs roughly $75 per use if deployed forty times. A $150 tent that fails after fifteen uses and requires replacement costs $10 per use on paper, but you’ve bought two tents and camped only fifteen times total—a false economy. Calculate your realistic trip frequency per year, multiply by years you plan to camp, then divide equipment cost by that total. Buy gear where cost-per-use drops below your actual willingness to spend. Stop there.
Car Camping Basics: The Energy Management System

Power Solutions: Charging, Lighting, And Efficiency
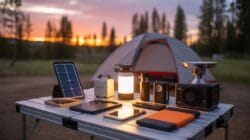
You want to avoid looking unprepared when your phone dies at 40% on day two. But the real mechanism is this: power management in car camping is about managing discharge rates, not just capacity. Borrow a term from electrical engineering—load management—and apply it directly. Your battery depletes at different rates depending on what draws from it. A LED headlamp uses 0.5 watts. An old incandescent flashlight uses 25 watts. Same light output, vastly different drain. Choose tools that match your actual need, not your worst-case fantasy.
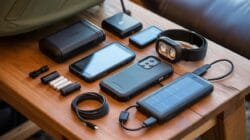
A 20,000mAh portable battery charges most phones four to five times and weighs under a pound. Pair it with a solar panel only if you camp frequently enough to justify the cost and complexity. For weekend trips, a wired USB charger running from your car’s 12V outlet works faster and costs less. Keep headlamps and lanterns LED-only. Skip multi-tool flashlights with incandescent bulbs—they’re thermally inefficient and drain batteries in hours. Run a simple protocol: charge all devices fully before leaving home, use headlamps instead of lanterns for personal use, and reserve the lantern for group hours after dark.
Leave No Trace As System Optimization
Waste management isn’t an ethical layer you add on top of camping—it’s the operating system that lets you return to the same sites without degradation. Think of it as preventative maintenance for your access. The common advice to “pack it in, pack it out” is incomplete. You need to eliminate waste before it exists, not manage it after. Buy food without excess packaging. Use reusable containers. Bring a waste bin in your vehicle, not scattered bags.
Grease and food waste attract bears and raccoons, which escalates site restrictions and closes campgrounds. Use a sealed container for all organic matter, even coffee grounds. Burn nothing except untreated wood in designated fire rings. Human waste requires distance: dig a cat hole 200 feet from water sources, 12 inches deep, and pack out all toilet paper in a sealed bag. Establish this routine on your first trip: pack one consolidated waste container before departure, designate the cooler zone for food storage, and execute the bathroom protocol the same way every time.

The Pre Trip Recalibration Method For Car Camping Essentials List

Test Your Setup Before You Leave Home
You want to avoid looking foolish in front of people, so you pack what looks right instead of what actually works. That’s the real cost of skipping a driveway test. You’ll discover broken zippers, missing poles, and incompatible connectors only when you’re five miles from cell service.
Set up your tent, sleeping system, and cooking gear in your driveway or backyard before the trip. Identify what doesn’t fit in your vehicle, what takes longer than expected to assemble, and what you actually need versus what you assumed you’d need. This isn’t theory. This is operational validation that takes two hours and prevents twelve hours of friction.
Document What Changed Between Trips
People skip this because it feels like busywork, but iteration is how systems improve. Write down three things after every trip: what you grabbed but never used, what you wished you had, and what broke or malfunctioned. The pattern emerges fast.
After three trips, you’ll see which items appear on the “wish I had” list consistently. Those go on the next purchase list. Items that stay unused for two consecutive trips get removed. Your essentials list isn’t static. It’s a living inventory that responds to actual behavior, not assumptions. Update it the night you return, before you unpack everything and forget the details.
The Real Obstacle Isn’t What You Pack, But Your Inability To Ruthlessly Optimize Space And Function

Most people fail at car camping because they treat their trunk like a storage unit instead of a system. Stop buying gear and start auditing what you already own. Grab a notepad today and list every item you’ve taken on trips. Cross out anything you didn’t touch. The essentials aren’t mysterious—you already know them. You just refuse to eliminate the noise. Your weekend won’t improve until you accept that camping comfort lives in constraints, not abundance.



