The “Compact Camping Table Design” Illusion: Why Smaller Isn’t Always Smarter

The Real Price Of Micro Portability
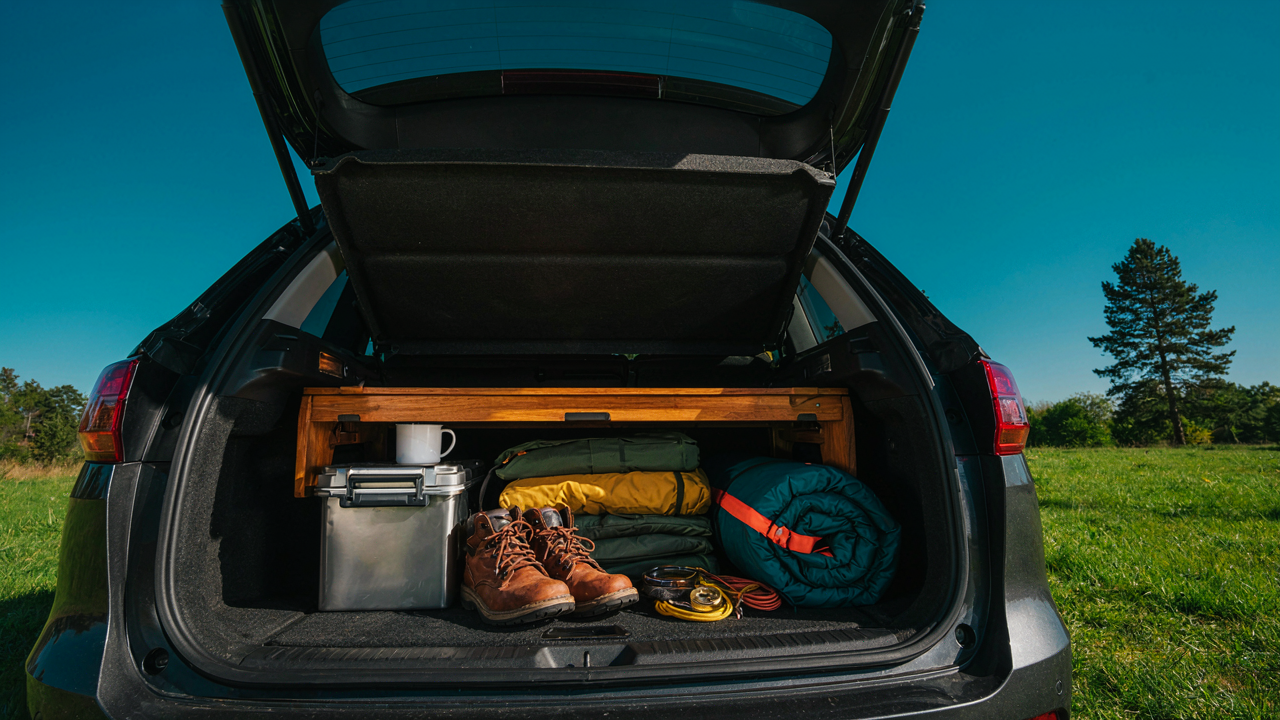
You want a table that vanishes into your car because you’re afraid of commitment—afraid you’ll buy camping gear and never use it. That’s the actual motive here. But let’s talk economics: the smaller the table footprint, the higher the cost per square inch of usable surface. Manufacturers charge premiums for compression mechanisms, exotic materials, and engineering that collapses geometry down to nothing. A traditional four-legged table with no moving parts costs less to produce and less to buy. You’re paying friction tax to feel like you might go camping.
The mechanism is simple. Portability features—hinges, sliding mechanisms, locking clips—add material, labor, and assembly complexity. A table that folds into a 12-inch package requires precision tolerances that a fixed table never does. Most ultralight camp tables sacrifice either stability or usable surface area because they can’t do both at the extreme end of compression. You get a surface the size of a laptop that wobbles under a plate of food. You bought convenience, not function.
When Tiny Tables Betray You
The common advice says pack less, buy smaller, go minimal. That’s incomplete. A table you can’t actually eat on is not a table—it’s a prop. Stability comes from the relationship between base width, center of gravity, and surface leverage. A 24-inch-square table with a 12-inch base creates a physics problem the moment you set down a camp stove or lean your forearm on the edge. The math doesn’t change because you’re in the woods. Small tables demand placement perfection: perfectly level ground, nothing hanging off edges, no elbows resting anywhere. Real camping doesn’t happen on perfectly level ground.
The decision comes down to one question: what do you actually need the table to do? If it’s holding a water jug and a headlamp, go small. If you’re cooking, eating, or working with any volume of gear, buy the largest table that still fits your vehicle with seats still functional. Measure your car’s cargo space now. Calculate the table dimensions that leave you 18 inches of clearance on each side. That number is your actual constraint, not some fantasy of ultralight minimalism.
The “Folding Camping Table” Deception: Stability Over Stowability
Where Tables Actually Fail Under Load
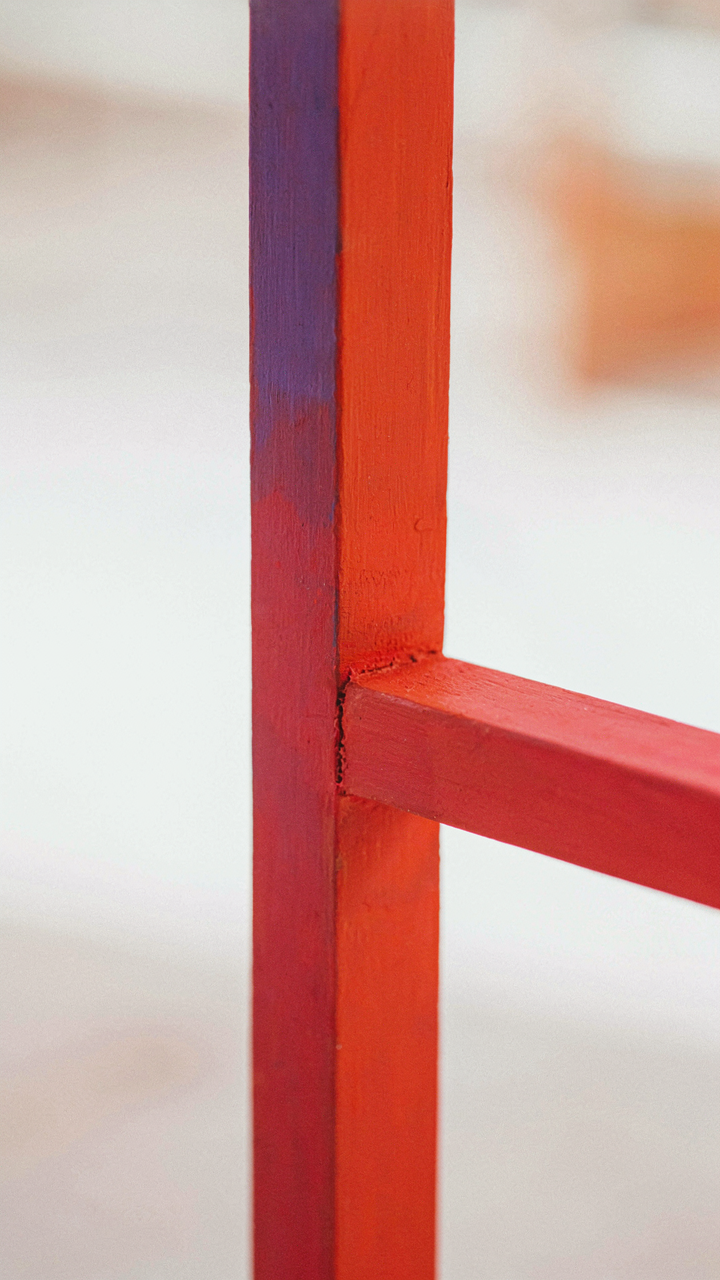
You want a table that folds small because you’re lying to yourself about trunk space. The real problem nobody states: most folding camp tables collapse not because the metal fails, but because the joint between the leg and the frame becomes a pivot point the moment weight shifts unevenly. Engineering calls this a “pin joint failure”—think of it like a hinge that wasn’t designed for the force pressing down on it sideways. A meal, a cooler, someone leaning while reaching—any of these introduces lateral stress the frame wasn’t engineered to resist.

The mechanism is simple: legs connect to the tabletop frame through a single bolt or friction lock. When you set a plate on the edge, you’ve created a lever arm. The weight doesn’t push straight down. It pulls the leg outward, rotating it against that joint. Aluminum legs especially don’t bend back. They snap at the connection, or the whole frame twists like a parallelogram. You notice it too late—when your meal is already sliding.
Reinforcement Points That Actually Hold
The common advice is to “buy a heavier table.” That’s incomplete. Weight helps only if the frame transfers load correctly. The two critical failure points are the leg-to-frame connection and the cross-bracing. Most budget tables either skip cross-bracing or add it too high, leaving the lower structure unsupported. Reinforce by adding a secondary brace—a metal tube or wooden strut running parallel to the leg, six inches from the bottom, bolted or welded to both the leg and the frame base.
The second fix targets the joint itself. Don’t rely on friction or a single fastener. Double up the bolts, use lock washers, and add a triangular gusset plate at each corner where the leg meets the frame. This distributes the rotational force across a wider surface area instead of concentrating it on one point. After any heavy use, retighten every connection. Check that cross-brace for cracks. A table that holds its geometry holds your food.
The “Diy Camping Table Ideas” Manifesto: Building For Purpose, Not Just Price

Pick Materials That Survive Repeated Use
You want to build something cheap so you feel resourceful, but you’ll abandon it after three trips when it warps or splinters. The real mechanism here is material selection as load management: in structural engineering, engineers choose materials based on stress cycles, not initial cost. Your camp table endures repeated compression, temperature swings, and moisture exposure. Aluminum extrusion handles this better than pine. Steel tube resists warping where wood fails. Marine-grade plywood tolerates damp better than construction plywood. Pick the material that matches your actual trip frequency, not the fantasy version where you camp monthly.

The material choice determines maintenance burden. Untreated wood requires sealing every season or it delaminates. Aluminum oxide-coated aluminum stays stable for years with soap and water. Stainless fasteners cost more upfront but prevent rust bloom that destroys joints. Your build survives or it doesn’t based on this decision alone. Most DIY camping tables fail because builders chose materials by price tag instead of use pattern.
Joinery That Holds Under Load
People say “just use bolts” and call it done. Wrong. Bolts alone create shear points where the fastener fails before the material does. Basic joinery means understanding how forces distribute through the connection. A simple angle bracket transfers downward force into shear stress along one plane. A gusset reinforces the joint by spreading load across a wider area. Mortise and tenon joints, traditional in furniture making, eliminate fasteners in favor of mechanical interlock. For a camp table, bolted connections with gussets on underside corners handle repeated weight shift without loosening or cracking.
Build your table with cross bracing that reaches from corner to corner underneath. This triangulation prevents racking, the lateral twist that breaks joints under side loads. Use Grade 8 bolts with lock washers, not regular hardware store bolts. Tighten every fastener, then re-tighten after the first trip when wood settles or metal flexes slightly. A table that fails mid-meal teaches nothing except frustration.
The Minimalist’s “Wooden Camping Table Design” Protocol: Biomimicry For Load Bearing
How Trees Actually Hold Weight
You want a table that doesn’t collapse under real food, real plates, real weight—without hauling a steel beast to your campsite. Structural biology solves this: trees distribute force through tapered geometry, not thickness. A tree trunk isn’t uniform. It’s wider at the base, narrower at the top. This taper means fibers work in tension and compression simultaneously. Apply this to legs: the joint where leg meets top surface takes the most stress. Design that zone thick, then taper down as the leg extends to the ground. The leg absorbs impact load without requiring bulk.

The mechanism is radial load distribution. Force doesn’t push straight down; it spreads outward through the grain when grain runs vertically. Wooden legs oriented with vertical grain instead of horizontal grain handle camping-weight impact far better. Most camp tables get this backwards, treating wood as a static rod instead of a directional force conductor. Taper your legs from one and a half inches at the mortise joint to three quarters of an inch at the base. This single detail eliminates wobble and handles dynamic loading from people shifting weight mid-meal.
Joinery Without Hardware
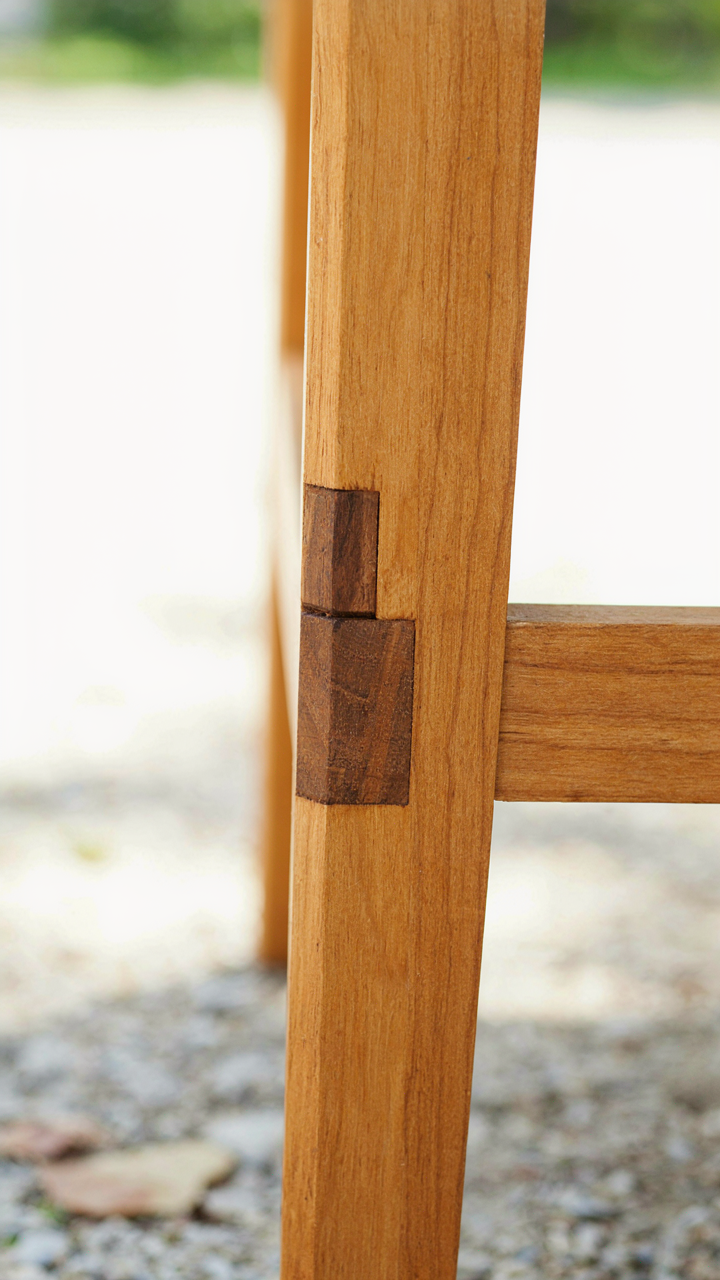
The common advice says bolt everything down or use pocket holes. This is incomplete. Historic furniture makers didn’t have bolts and built tables that lasted centuries. They used mechanical interlock instead of metal fasteners. A mortise and tenon joint locks wood to wood through geometry alone. The tenon (the protruding part) slides into the mortise (the cavity), then a wedge driven from the outside locks it permanently. No screws, no rust, no failure points that corrode in damp camp conditions.
Wooden wedges work better than metal because they compress into the joint and actually tighten over time as moisture cycles. The wedge should be driven perpendicular to the tenon grain, creating lateral pressure that locks the whole assembly. Cut your mortise slightly narrower than your tenon, then plane a small angled relief cut into the tenon shoulder. The wedge enters from the outside and spreads the tenon fibers inside the mortise. This creates tension that holds the joint tighter under load than any screw ever could.
Beyond “Rustic Camping Table Design”: Integrating Multi Functionality
The Table As Prep Station And Storage
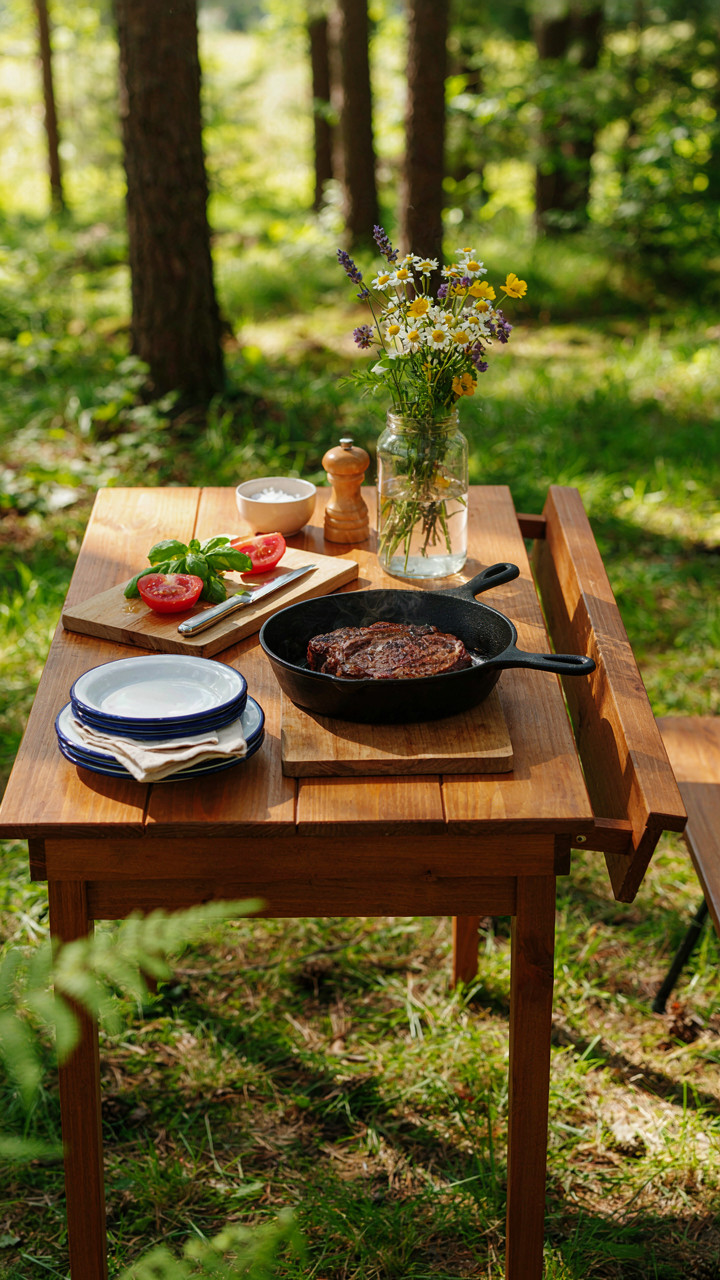
You want a camp table that makes you look competent without requiring actual planning. The real mechanism here is surface area conversion: you need the same table to function as cutting board, ingredient staging area, and containment system for the gear that would otherwise scatter across your campsite.

Most camping advice treats tables as passive furniture. Wrong. Your table is a workflow container. Dedicate one third of your surface to food prep, one third to organized storage of cooking tools and spices, and one third to plating or serving. This forces intentional design rather than hoping organization happens. Countertop height tables between 28 and 32 inches work best for standing prep work without back strain during meal assembly.
Modular Additions For Evolving Needs
Camp table utility scales through attachment, not replacement. Borrowing from mechanical engineering’s concept of load distribution, modular additions shift your table from fixed capacity to responsive capacity. A flat top accommodates hanging rails, fold out shelves, or removable partitions that you add only when you need them.
Carrying one oversized table wastes your small car’s space on days you cook simple meals. Instead, start with a base table 20 by 24 inches and add a side extension, under shelf, or hanging caddy when your group size or meal complexity increases. Build these additions from the same material and connector type so assembly takes under two minutes. Your storage footprint stays minimal. Your functionality expands on demand.
The “Diy Camping Table” Blueprint: Engineering For Real World Abuse
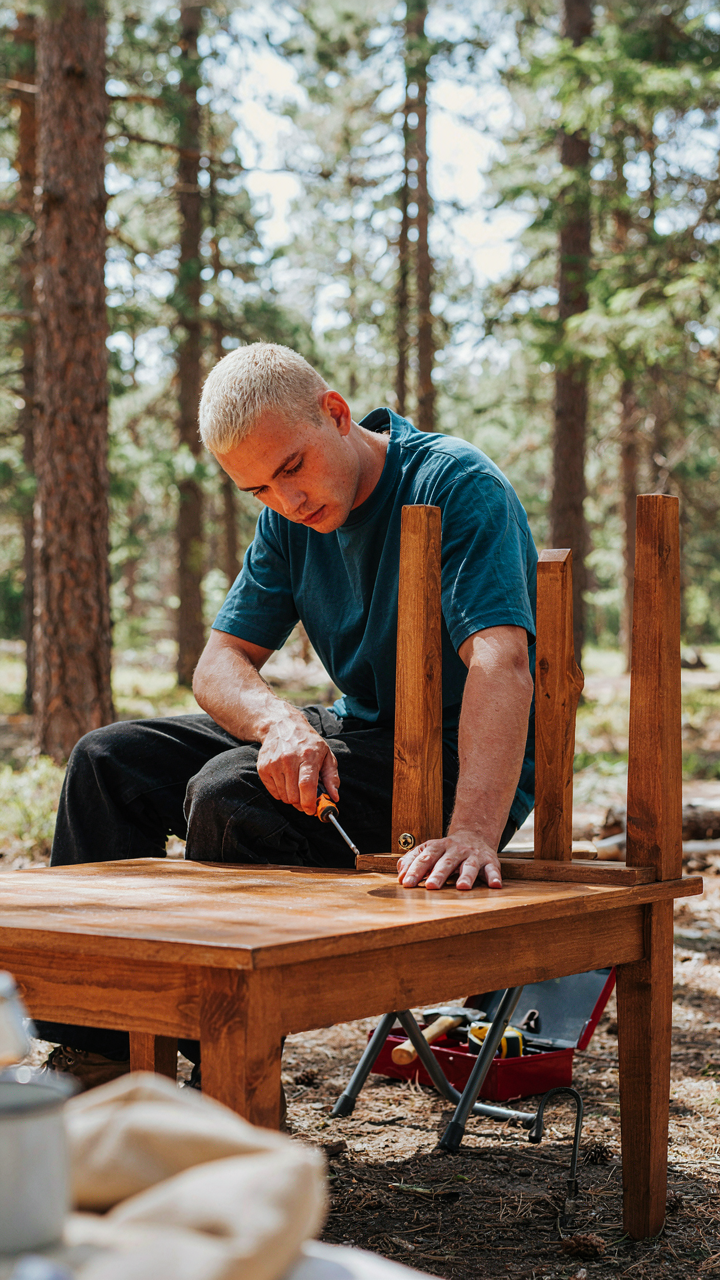
Where Tables Actually Fail
You want a table that won’t embarrass you when it collapses in front of other campers. That’s the real reason you’re reading this. But the mechanism that determines whether your table survives the season isn’t the material—it’s load distribution. Engineering uses the concept of stress concentration, and camp tables fail at joints, not surfaces. The weakest point in any DIY table bears three times the force it was designed for because weight doesn’t spread evenly across amateur connections.

The leg-to-frame joint is where 90 percent of tables die. Bolts loosen from vibration. Wood splits under lateral pressure. Welds crack under temperature swings. Most people reinforce the top and ignore the actual failure point. You need to accept that your table will be moved, set on uneven ground, and loaded unevenly. Design every joint as if it carries double the estimated load. Use oversized fasteners, add gusset plates, and triangulate bracing wherever possible. A table that survives isn’t prettier—it’s over-engineered where it counts.
Field Repairs That Actually Work
Bringing a toolkit to camp defeats the purpose of the table being portable. The real solution is designing for failure modes you can fix with materials already in your car. Bolted connections beat welded ones because you can tighten them without equipment. Modular legs that slide into a frame give you replacement options if one bends. Wood screws and lag bolts fail predictably—you can diagnose why and swap them in minutes.
Pre-drill pilot holes in every bolt location and carry extra fasteners in a small bag labeled by location. If a leg wobbles, the bolt worked loose, not the joint itself. If the top surface cracks or sags, it’s taking too much load—redistribute gear or remove it. If a leg bends, you either bend it back with leverage or swap it for a precut backup. The mechanism is simple: testable parts beat permanent assemblies. A table you can diagnose and fix in camp beats one that strands you with a useless frame.
Reinventing The “Camping Table Diy”: Fixed Vs. Flexible Surfaces
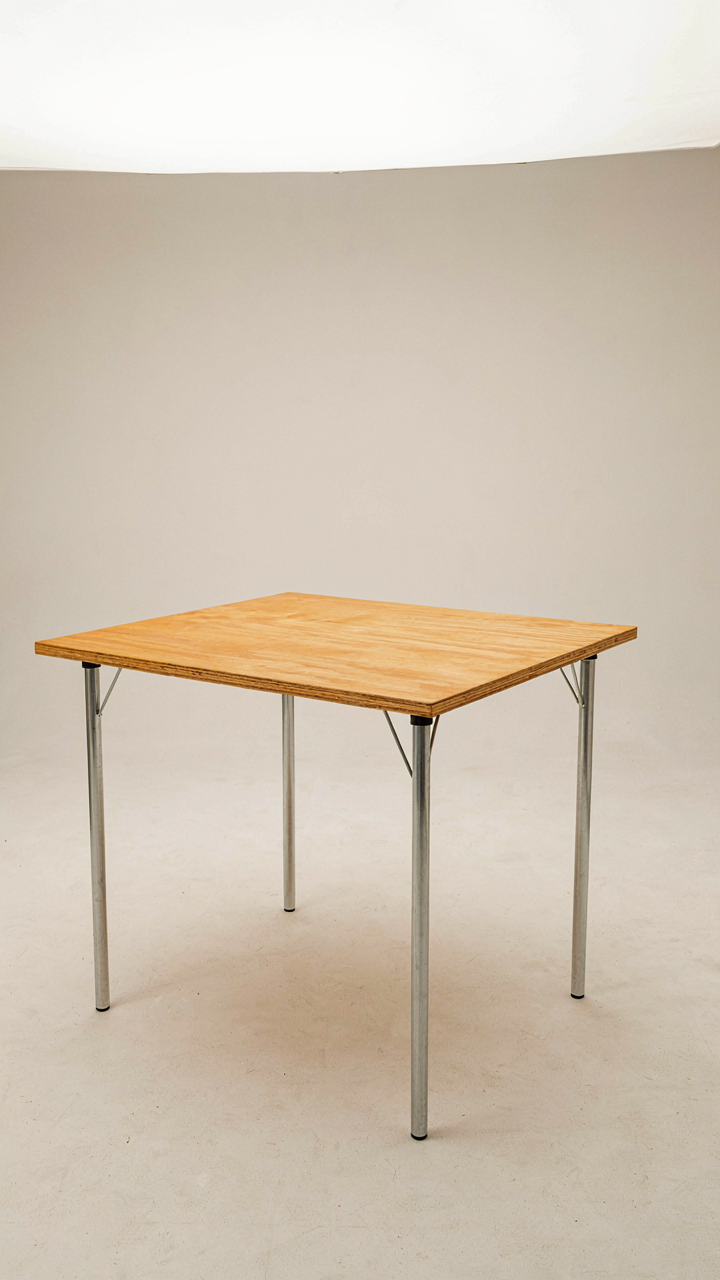
Solid Tops That Actually Hold Weight
You want a table that doesn’t wobble because you’re afraid your meal will end up in the dirt and you’ll look incompetent in front of whoever you brought. Here’s the mechanism: rigidity is load distribution. A solid top spreads force evenly across its support points instead of concentrating stress on hinges or joints that fail under uneven pressure.

Plywood and MDF tops don’t collapse mid-meal. They handle hot cookware, elbows leaning in, and the chaotic reality of outdoor eating without flexing or warping. The trade-off is weight and packing space in a small car. A half-inch plywood rectangle three feet by two feet adds fifteen to eighteen pounds. That matters when your vehicle is already cramped. Attach it to aluminum tube legs with corner brackets, and you’ve eliminated the single worst failure point in DIY camp tables: the joint that tightens loose.
Rolling And Slat Designs For Real Conditions
Slat surfaces solve a problem conventional advice ignores: water pooling and debris trapping. When rain hits a solid top, it creates standing water that won’t drain. Slats let water pass through, keeping your table usable in wet conditions without requiring a tarp or constant wiping.
Rolling tables sacrifice some rigidity but gain maneuverability in tight camp spaces and small car packing routines. Use heavy-duty locking casters rated for at least fifty pounds per wheel. The mechanism is simple: controlled mobility trades stability for accessibility. Test the lock mechanism before buying. A table that rolls away mid-meal because the brake failed is worse than one that never moved at all.
The “Diy Camping Table Project” Reimagined: Small Car, Big Utility
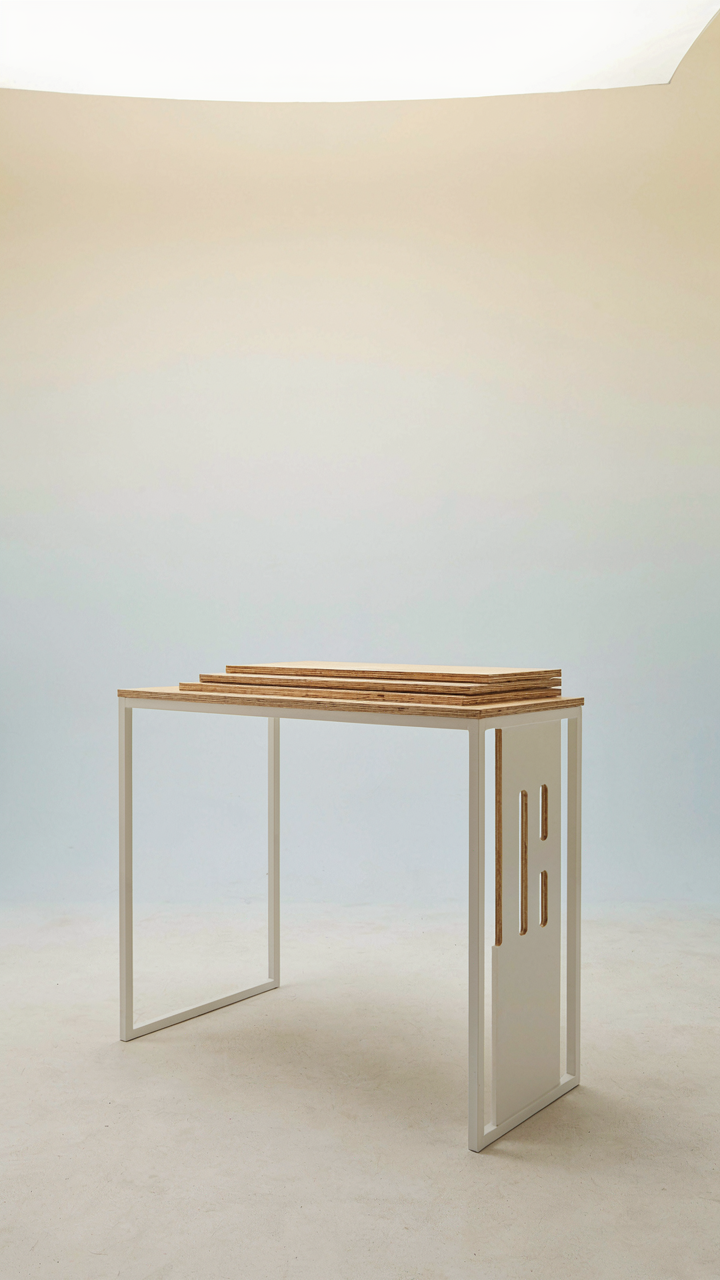
Stack Your Surfaces Vertically
You want to feel like you solved something without actually changing your behavior. Here’s the mechanism: vertical storage borrows from industrial logistics, where stacking by Z-axis (height) preserves X and Y floor space. A camping table doesn’t need one fixed footprint. It needs multiple surfaces that nest or collapse into the dead space above and beside your cargo.

The mistake most people make is designing for a single deployed state. They build a table, test it once, then realize it takes up half their car year-round. Instead, design each surface component to collapse flat or slide into a vertical channel. This is how commercial food trucks manage prep, storage, and service in twelve square feet.
- Sliding Top Panels: Two or three thin plywood sheets that nest together flat, then slide into vertical slots on the table frame. Deploy only what you need for the meal.
- Magnetic Shelf Risers: Stack small metal plates on the table leg to hold additional surfaces at different heights without adding bulk to the base structure.
- Hinged Side Extensions: Fold-down wings that flip up from the main surface plane, expanding usable area only when deployed, folding flush when packed.
- Hanging Gear Rails: Vertical aluminum extrusion mounted to the table’s rear edge holds cooking tools, utensils, or small containers suspended above the surface.
- Under Surface Basket Mounts: Attach collapsible storage baskets to the table’s underside with quick-release clips, turning dead space into functional storage that doesn’t add height.
Build your table frame with witness marks for each storage option. Use quick-release fasteners, not bolts. The goal is a system you actually reconfigure between trips, not one you stare at collapsed in your trunk.
Nested Components As Load Distribution
Stacking logic breaks down when components bear weight without a plan. Think about how suspension bridges distribute load across multiple points rather than one central beam. Your nested table components need independent support legs or load paths so one piece failing doesn’t collapse the entire structure.
Design each nested layer to stand alone if removed. A top surface should work on its own frame. A shelf riser should have its own feet. When stacked, they share the load path, but separation is always possible without structural failure. Use aluminum tubing for the frame, not wood. Weight matters in a small car, and aluminum tolerates repeated nesting without fatigue cracks.
The actual deployment sequence matters. Pre-assign which piece deploys first, second, third. Write this on the frame itself with a label maker. When you’re tired at camp and hungry, you won’t remember whether the shelf goes under or over the main top. A clear sequence cuts setup time from fifteen minutes to three.

The Unseen “Camping Table” Advantage: Designing For Psychological Comfort

A Stable Surface Reduces Mental Load
You want people to think you have your life together. The truth is simpler: a wobbly table creates cognitive friction that drains energy before anyone eats. Cognitive load theory from psychology maps directly here. Your brain treats instability as a threat. Every micro-adjustment your body makes to compensate for an uneven surface consumes mental resources that should go toward conversation, rest, or actual enjoyment. A rigid, level platform eliminates that tax entirely.
The difference between a camp table that settles unevenly into soil versus one with adjustable legs isn’t comfort—it’s bandwidth. When your table stays put, your nervous system stops working and starts relaxing. This is why legs matter more than material. A lightweight aluminum frame with four independent feet that adjust separately performs better than a heavier wood table that rocks on uneven ground. The mechanism is dead simple: less physical correction equals less mental overhead.
The Impact Of Organization On Calm
Nobody talks about this because it sounds soft, but spatial chaos creates decision fatigue that kills the meal before it starts. Behavioral economics calls this the “friction cost” of environmental complexity. A camp table without organization forces repetitive micro-choices: Where do I put my plate? Where’s the salt? Is my food stable? Each question burns executive function. A table designed with zones—cooking prep on one end, serving in the middle, eating space on the other—removes those decisions.
Organization on a camp table is infrastructure for mental clarity. A table with defined sections or compartments lets people move through a meal without negotiating space every thirty seconds. The protocol is straightforward: assign zones before anyone sits down. Designate cooking prep, active meal space, and rest space. Mark it physically if needed. This structure creates permission for people to relax. They know where things go. They know where to sit. The meal becomes a ritual instead of a coordination problem.
The Real Obstacle Isn’t Finding A Better Table; It’s Your Assumption That Convenience Trumps Capability When The Wilderness Demands Both
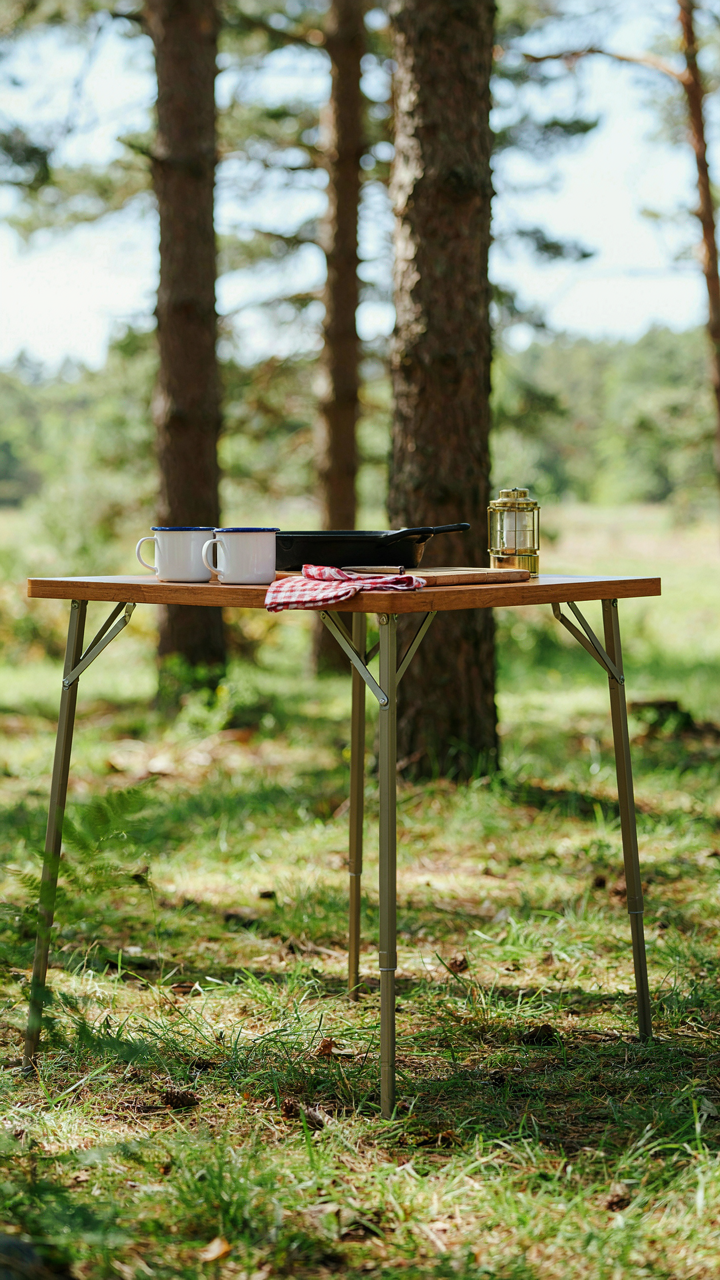
You’ve been choosing between two false options: cramped comfort or awkward sacrifice. The actual move is building a system that does both. Stop scrolling for the perfect table. Instead, spend thirty minutes today measuring your car’s cargo space and sketching what fits. The wilderness doesn’t care about your excuses. Your meals, your memories, your entire trip hinges on one decision you make before you leave the driveway.



