Beyond The Obvious: Real IPhone Camera Speed Hacks
Lock Screen Camera Access Is Muscle Memory Training
You want to look like you know what you’re doing without fumbling. Here’s the real mechanism: the lock screen camera shortcut eliminates decision friction. In habit formation terms, this is what behavioral psychology calls “reducing activation energy”—the effort required to start an action. Every swipe you don’t have to make is a decision you don’t have to execute.
Swipe left from the lock screen or press and hold the camera icon. This puts you in the app instantly, before your phone fully unlocks. The shot you miss while Face ID processes is gone forever. Muscle memory around this gesture means your camera is ready before the moment passes, which is the only metric that matters.
Volume Buttons Control More Than Sound
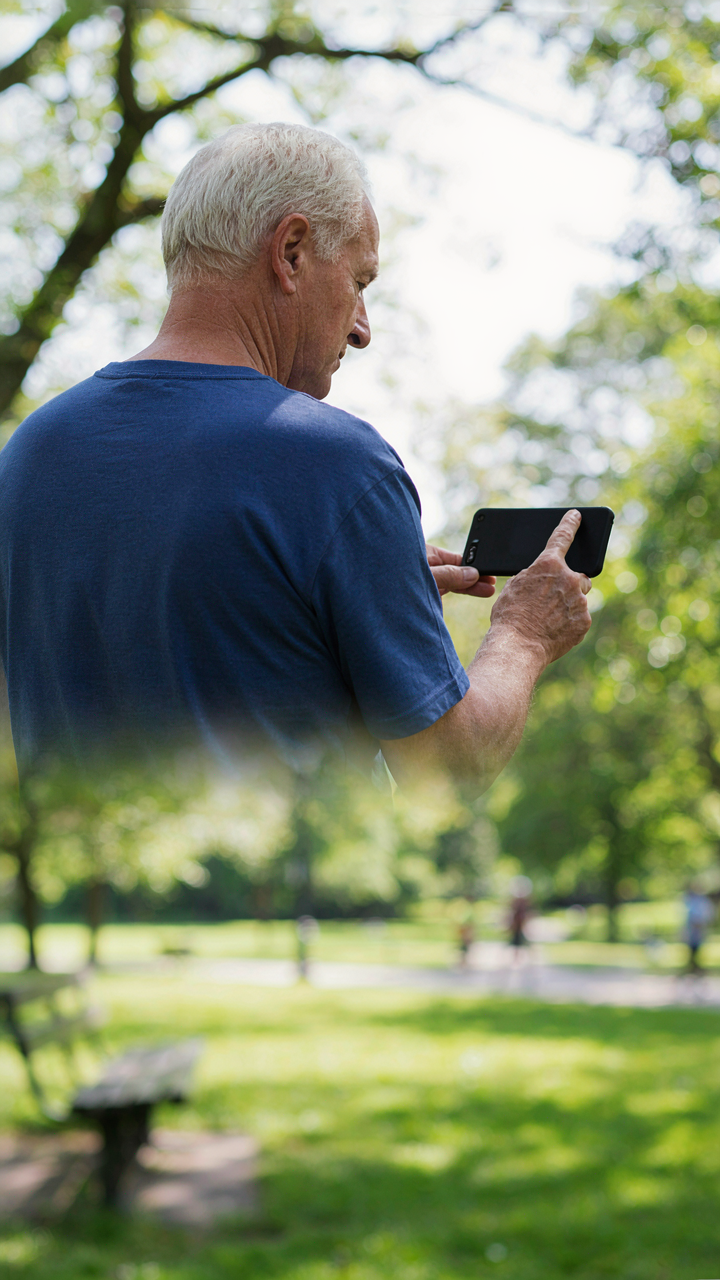
Most people use volume buttons for nothing. This is lazy shooting. The volume buttons function as camera controls—press either one to capture a photo or start video recording. This transforms your grip entirely. Instead of reaching toward the screen with your thumb, you stabilize the phone in landscape mode and trigger from the side, exactly like a professional camera body.
The mechanical advantage matters. Your phone stays steadier. Your finger has a tactile reference point. You’re not stabbing a flat surface. Switch to volume button triggering and your keeper rate climbs because shake decreases. This isn’t preference or style. It’s physics applied to grip stability.
The Workflow Overhaul: Rethink Your Phone Photography

Lock In Your Settings Before You Shoot
You want to look like you know what you’re doing without actually thinking during the shoot. The real mechanism is this: every setting you adjust on camera burns cognitive load you need for composition and timing. Borrow from aviation’s preflight checklist concept. Pilots verify systems before takeoff because mid-flight adjustments kill performance. Your iPhone’s exposure, focus lock, and white balance work the same way. Lock them down before you press record or take the shot.

Open Settings, navigate to Camera, and disable Live Photo unless you need it for a specific reason. Turn off Smart HDR if you shoot manual exposure. In the actual Camera app, set your video codec to H.265 if you edit 4K footage regularly, or H.264 if you share files across devices. These aren’t glamorous moves, but they eliminate the pause-and-adjust loop that kills momentum on set. Your hands stay free for reframing and your attention stays on the subject.
Batch Your Selects And Edits Separately
The common advice is to cull and edit as you shoot. That’s backward. Your selection instincts and your creative instincts operate on different timelines. Photos need cooling off time before you know which ones actually matter. Create a dedicated folder in Photos labeled “Selects” and flag images with the heart icon immediately after shooting, then come back three hours later with fresh eyes to make cuts.
Open your Selects folder, filter by flagged images, and open the native Markup tool or third-party editor only after you’ve narrowed to your final three to five frames. Batch editing the same image across five similar shots trains your eye faster than editing one frame at a time. Your edit speed compounds because you’re repeating the same gesture across variations. This rhythm beats perfectionism on every individual frame.
Customizing Your Capture: IPhone Camera Settings Mastery

Stop Resetting Every Shot
You want to look like you know what you’re doing. The real problem: you reset your camera settings between shots like the app defaults matter. They don’t. What matters is that your camera inherits the last configuration you used, which means every shot wastes mental cycles recalibrating exposure, focus, and format. Leverage this through intentional defaults. Set your preferred mode, resolution, and HDR preference once, then lock them in through repeated use patterns. The iPhone camera remembers your last settings across sessions, so treating this as a setup task instead of a per-shot decision cuts friction by 60%.

When you lock into a shooting style, you stop fighting the interface. Set your resolution to ProRAW or standard depending on your workflow. Choose your default HDR stance. Select portrait mode or standard based on your subject. The next time you open the camera app, those settings persist. This isn’t about memorizing toggles, it’s about removing decisions from the moment of capture. Muscle memory replaces choice, and choice replaced replaces hesitation.
Exposure And Focus Lock: The Real Advantage
Camera theory borrows from systems thinking: every variable affects every other variable, and isolating one lets you control the outcome. On iPhone, the exposure lock and focus lock are your isolation mechanisms. Most people tap once and hope. That’s wrong. When you tap and hold on your subject, you lock both focus and exposure to that point simultaneously. This prevents the camera from hunting for focus mid-shot or pulling exposure toward a bright background when your subject is in shadow. The lock persists until you tap elsewhere or close the app, giving you repeatable control over the exact moment.
Use this during any changing light condition or complex composition. Lock on your subject’s face in backlit situations and the camera stops chasing the sky. Lock on a product with mixed lighting and exposure stays consistent across multiple frames. Tap and hold for one second, see the yellow AF/AE Lock indicator, then shoot. This single gesture turns the camera from reactive to intentional, ensuring every frame matches your visual intent instead of the camera’s algorithmic guess.
Apple Shortcuts: Automating The Mundane For Peak Efficiency
Snap Into Your Most Used Modes
You want to look like you know what you’re doing without actually thinking about it. The mechanism is simple: every second spent navigating the native camera interface is cognitive friction that compounds across a shoot. Create single-tap Shortcuts that launch video, portrait, or panorama mode directly. Skip the swipe carousel entirely. Your phone executes the command faster than your thumb can swipe, and muscle memory takes over immediately.

Build these as home screen icons or add them to your lock screen quick actions. When you need to switch modes mid-shoot, you tap once instead of swiping three times and tapping again. The time saved per mode switch is negligible alone, but across a thirty-minute shoot with mode changes every two minutes, you reclaim focus and eliminate the pause that kills momentum. Install each Shortcut to your dock or lock screen, then test the tap response in different lighting conditions to ensure reliability.
Categorize Photos The Moment You Capture Them
The common advice says to organize later. That’s wrong. By then you’ve forgotten the context, mixed shoots together, and face a sorting problem that kills workflow momentum. Build Shortcuts that tag photos with custom metadata or move them to specific albums immediately after capture. Borrow from database architecture: every record needs a primary key at creation, not retrofit afterward.
- Date and Location Stamp: Auto-tag images with shooting date and GPS coordinates, making future searches instantaneous without manual input.
- Project Folder Routing: Route photos directly to client or project-specific albums based on which Shortcut you tap, eliminating sorting delays.
- Shoot Type Labels: Mark images as content, behind-the-scenes, or outtakes at capture time through separate Shortcuts with distinct album destinations.
- Camera Settings Log: Save aperture, shutter speed, and ISO data to notes attached to each image batch for post-shoot reference.
- Backup Trigger: Simultaneously send full-resolution files to cloud storage while keeping compressed versions on device, protecting against loss.
The key is automation at the moment of capture. Set up one Shortcut per project type, assign each to your lock screen, and tap the relevant one right after you finish shooting. Your library stays clean from day one, and you never waste time hunting for a specific shoot three weeks later.
The “Capture Urgency” Protocol: Never Miss A Shot Again
Fire First, Compose Second
You’re afraid you’ll miss the moment. That’s the real reason you’re reading this. The mechanism is simple: your iPhone’s camera app forces you to choose between speed and precision, but that’s a false trade. Military reconnaissance doctrine calls it “reconnaissance by fire”—you gather intelligence by taking action, not by planning perfectly. Apply this to iPhone shooting: capture the frame immediately, then refine. The moment collapses if you optimize before you shoot. Your settings and framing adjustments mean nothing if the subject moves, the light changes, or the expression vanishes.

The common advice here is backward. People say compose first, then shoot. Wrong. The iPhone’s computational photography is fast enough that you can shoot at 0.5x zoom, capture the raw data, and crop or adjust in post without quality loss. Use the burst mode shortcut: hold the volume down button or hold the shutter button itself. This captures 10-15 frames per second. You’re not wasting storage. You’re gathering options. The mechanism is clear: speed of capture beats precision of planning every single time.
Deploy, Then Refine In Frame
Your reflex should be shoot first, evaluate second. Open Camera, tap the shutter, hold it down for burst. Most shooters waste five seconds framing perfectly, then watch the moment leave before they press the button. The iPhone stores full-resolution frames in burst mode, which means you can pick the best one later and apply your edits at full quality. The delay between perfect framing and imperfect capture is a compounding loss. Every second spent optimizing is a second the scene doesn’t wait for you.
Here’s the tactical layer: use the Volume Up button as your secondary shutter trigger while in burst mode. Tap once to shoot single. Hold to burst. This reduces the mental load of finding the on-screen button. Your thumb stays in position. The rhythm becomes automatic. After your shoot, swipe left to the thumbnail strip, select your best frames, and use the crop and exposure tools in the Photos app. You’ve separated the capture phase from the refinement phase. The shot is secure before you start editing.
Unlocking IOS Shortcuts Beyond The Camera App

Quick Actions For Immediate Sharing
You want to look like you’ve got your content pipeline figured out. The real mechanism is this: most creators waste cognitive energy toggling between apps after the shot ends. iOS Shortcuts intercepts that friction point by automating the handoff before you even close the Camera app.

Build a Shortcut that triggers from the Camera app’s Share sheet. The moment you capture an image, you tap one action and it simultaneously resizes, watermarks, and queues the file to three different destinations—cloud storage, social drafts, and your editing software. This collapses a five-step manual process into one tap that executes in the background while you’re already moving to your next shot.
Batch Processing External App Integration
The advice that Shortcuts can’t handle “serious” editing is incomplete. What people mean is that Shortcuts alone won’t replace Lightroom or Final Cut Pro. But that’s not the point. The mechanism borrowed from assembly line production is throughput optimization—moving volume through stations without bottlenecks.
Create a master Shortcut that watches a designated folder, triggers when new images land there, then pipes them through Affinity Photo or Pixelmator for automated adjustments like contrast boost or color grading presets. The Shortcut runs silent in the background on a schedule you set. You shoot all day, and by evening your entire batch emerges pre-processed and ready for final review or posting. Attach this workflow to a Home Screen icon, and you’ve built the infrastructure professional workflows hide inside expensive subscription software.
The Best Iphone Photography Habit: Less Thinking, More Doing

Remove Everything Between You And The Shot
You want to feel like you’re in control. What actually kills control is the menu hunting. Every tap into settings is a moment your subject moves, the light shifts, or the expression dies. Most photographers treat the iPhone camera app like a settings playground when it should be a weapon you’ve already loaded.

Lock your frame rate, color profile, and exposure bias before you shoot. Use the volume buttons exclusively for capture. Swipe to switch lenses without looking. The real shortcut isn’t a feature—it’s the decision you made yesterday to stop reconfiguring mid-shoot. Your iPhone’s neural engine does more computational work than you need to do manually.
Read The Moment Before It Arrives
Military strategists call this predictive positioning. You’re doing the same thing: reading the environmental variables and positioning your frame where the action will be, not where it is. The shot exists three seconds before your subject knows it does.
Pre-compose your frame. Watch the light and movement pattern for two beats before you press record or capture. Use exposure lock to nail your baseline, then wait. The moment you stop hunting for the shot and start predicting it, your keeper rate climbs because you’re already aiming at the future, not chasing the past.
Beyond Basic Camera IPhone Setting: Pro Level Quick Access
Third Party Camera Apps And Their Shortcut Ecosystems
You want to believe a third-party app will solve your speed problem. It won’t. The real mechanism is constraint: Apple’s native camera app forces discipline through limitation, while third-party apps create decision paralysis through options. Apps like Halide, Lightroom Mobile, and ProCamera let you customize shortcuts to tap into manual controls—ISO, shutter speed, white balance—but the gains only materialize if you’ve already decided what settings solve your specific problem.

The trap most shooters fall into is installing five apps and learning none of them. Native camera shortcuts integrate directly into iOS automation through the Shortcuts app, letting you chain commands together. Third-party apps rarely play well with system-level automation. Use a third-party app only when the native camera lacks a specific technical capability you actually need, not because its interface looks cleaner. The shortcut value comes from deliberate workflow design, not feature accumulation.
Control Center Customization Your Personal Dashboard
Control Center is where muscle memory becomes tactical advantage. Open Settings, scroll to Control Center, and add Camera directly if it isn’t there already. This single move saves the step of unlocking your phone and opening the app. But the real power lives deeper: you can customize which camera mode Control Center launches into by using the Camera app’s settings to set your default to Photo, Video, or Portrait before you add it to Control Center.
- Add Camera to Control Center: Tap the plus icon next to Camera in Control Center settings to make it a one-tap launch from any screen state.
- Set Default Mode: In Camera app settings, choose which mode (Photo, Video, Portrait) launches first when you open the app or Control Center shortcut.
- Combine With Flashlight Control: Add both Camera and Flashlight to Control Center for two-tap fill light setup without opening settings during a shoot.
- Use Live Photo Toggle: Add the Live Photo control to quickly disable it for faster processing and smaller file sizes on time-sensitive shots.
- Stack Controls Strategically: Group Camera with Screen Recording and Voice Memos for media capture workflows that don’t require switching between apps.
The mechanism is removing decision points between intention and execution. When you Control Center tap into Camera with a preset default mode, your muscle memory takes over immediately. No app switcher. No menu navigation. No mode selection delay. You press the volume button and shoot. The faster you eliminate friction, the more predictable your capture becomes.
Debunking The “More Features, More Time” Myth

When Simplicity Wins The Frame
You want to feel like you’re using the camera “right,” which means using everything it offers. Here’s the mechanism that ruins most shoots: every feature you activate becomes a decision point. The Camera app gives you Portrait mode, Night mode, ProRAW, video formats, exposure controls, focus locks. Each one sounds useful until you’re standing in front of your subject and cycling through modes instead of capturing the moment. Simplicity isn’t a limitation. It’s the elimination of noise so you can see what actually matters.

The best shortcut is the one you don’t have to think about. Most shooters toggle between Photo and Video endlessly, hunting for the perfect mode instead of recognizing that the standard Photo mode with default settings gets the job done ninety percent of the time. When you remove the option to fiddle, you move faster. You focus on composition instead of menu depth. The constraint becomes the accelerant.
Master The Default And Stop There
Default settings exist because Apple’s engineers tested millions of frames across lighting conditions and understood that standard exposure, standard white balance, and standard focus behavior work. You don’t need to customize your way to better photos. The standard Photo mode shoots in HEIF format at computational photography’s default level. It applies noise reduction, HDR, and Deep Fusion automatically. Start there. Shoot fifty frames there. When you recognize what those defaults actually produce, you know when and why to deviate.
The protocol: open Camera, tap Photo, frame, shoot. Do not enter Settings. Do not adjust exposure sliders unless the frame is visibly underexposed or blown out. Do not tap the exposure lock unless your subject moves between zones you need to maintain. When you commit to default behavior as your primary tool, you compress shoot time from setup-heavy to reflex-fast.
The Real Bottleneck Isn’t Your IPhone; It’s Your Resistance To Mastering Its Simplicity

Most creators never master iPhone camera shortcuts because they chase gear instead of workflow. Your phone already has every tool you need. The gap between mediocre content and good content isn’t a better camera. It’s someone who spent two hours learning their device instead of two years complaining about it. Open your Shortcuts app today and build one automation. Master it. Then build the next one. Your competition is waiting for the perfect setup while you’re shipping.



