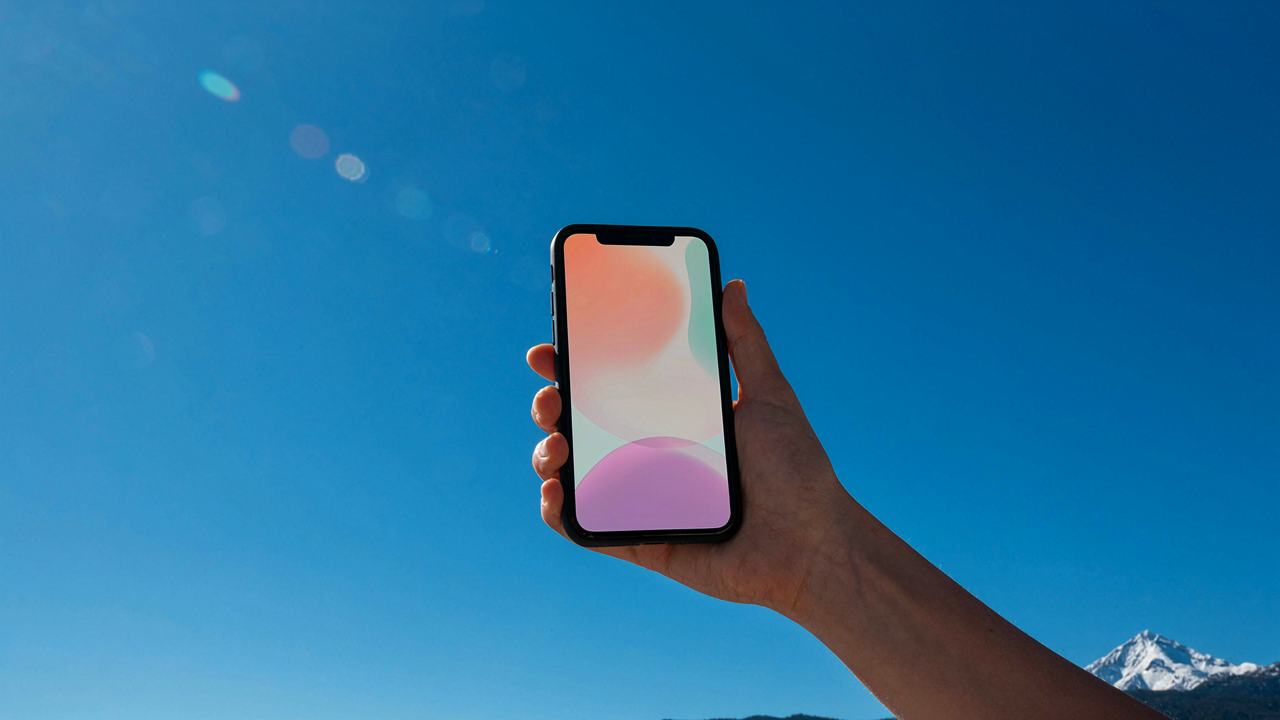
The Myth Of The Magic Tripod: Why Stability Starts With You

You’re Blaming The Wrong Thing
You want sharper photos because you think equipment is holding you back. The real problem is simpler: you’ve never learned how your hands actually destabilize an iPhone. Mechanics matter here. In physics, force applied off-center creates rotation. Your thumb pressing the shutter button from the side introduces exactly that force, turning your phone into a pendulum at the moment of capture. The tripod doesn’t fix bad technique—it just removes your hand from the equation.
Most stability advice skips this entirely and jumps straight to “get a tripod.” That’s lazy. Your hands create camera shake through three specific failures: thumb pressure on the button, wrist angle that allows drift, and grip tension that fluctuates. A tripod masks all three without teaching you the mechanics. You need to understand what destabilizes the shot first, then solve for it—whether that’s holding the phone differently or using external tools.
The IPhone’s Actual Limits
Modern iPhones max out at roughly 1/20th of a second before motion blur becomes visible in daylight conditions. This isn’t a design flaw—it’s physics hitting reality. Sensor stabilization helps, but it compensates for movement, not eliminates it. Your iPhone’s optical image stabilization shifts the lens inside the camera module, but it has a range limit of about 2-3 degrees of tilt. Beyond that, shake wins.
The sensor itself matters less than people think. A larger sensor captures more light, which lets you shoot faster shutter speeds in dim conditions. But holding the phone steady still determines whether you hit that threshold. Your technique determines whether stabilization technology works or gets overwhelmed. If your wrist drifts during the exposure, even the best stabilization can’t recover the shot. The mechanism is clear: control the platform, or technology can’t help you.
The Kinematic Grip Protocol For IPhone Stability
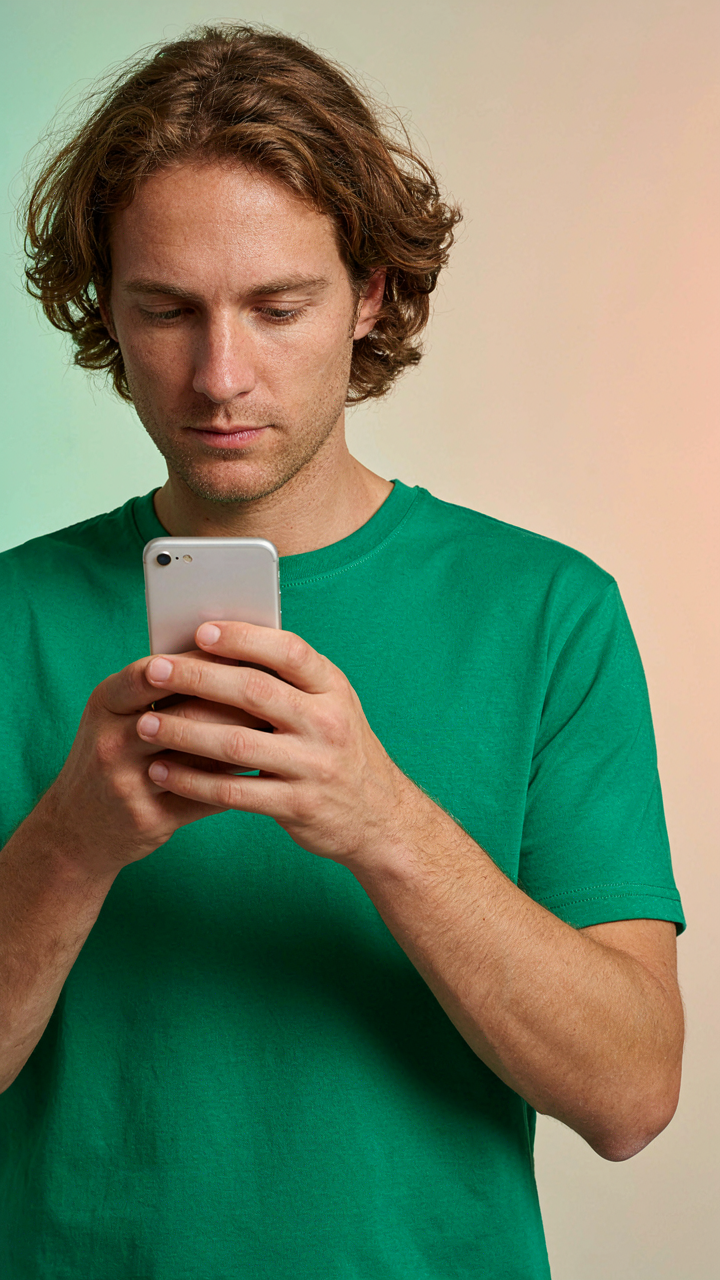
Hand Placement: Leverage Points Not Brute Force
You want sharp photos because blurry ones make you look amateur. The real problem isn’t grip strength—it’s leverage. Treat your hand as a mechanical system. Your thumb and pinky finger create the base. Your middle and ring fingers act as load-bearing points against the phone’s sides, not the back. This distributes force across multiple contact points instead of concentrating pressure in your palm, which introduces micro-movements when muscles fatigue.

Position your phone so the weight sits in the webbing between your thumb and index finger, not resting on your palm. Your pinky extends underneath as a secondary support, absorbing vibration from your arm. The phone should feel stable with minimal grip pressure. If you’re squeezing hard, you’ve already lost the battle—tension in your forearm muscles creates tremor that translates directly to camera shake. Test this: hold the phone loosely and notice when tremor stops.
Elbow Tuck: Creating A Human Tripod
Your arm is a cantilever beam. Physics tells us that instability increases with distance from your body. When your elbow floats away from your torso, every micro-movement in your shoulder and core compounds downward through your arm into the phone. Tuck your elbow tight against your ribcage. This locks your upper arm into a fixed position relative to your spine.
Bend your elbow to roughly 90 degrees. Bring your forearm parallel to the ground, not extended outward. Your other arm should cross your body and brace your shooting arm’s elbow or wrist from the opposite side, creating a closed kinetic chain. This transforms your body from a wobbly pole into a stable frame. When both elbows are anchored, camera shake drops measurably because you’ve eliminated the primary source of movement: arm extension and shoulder rotation.
Body As Stabilizer: Borrowing From Marksmanship

Widen Your Base, Lower Your Center
You want sharp photos without spending money on gear. That’s the real reason this matters. Marksmanship teaches us that stability comes from geometry, not effort. In shooting, “stance” is the foundation that absorbs recoil. With your iPhone, stance is the foundation that absorbs micro-movements your hands create before you even tap the shutter.

Widen your feet to shoulder width. Plant them. Lower your center of gravity by bending your knees slightly and bringing your elbows into your ribcage. This creates a triangle with your body at the base and your phone at the apex. The wider and lower you go, the less your arms can drift. Physics does the work. Your muscles don’t fight the phone’s weight anymore, your skeleton does.
Exhale Before You Shoot
Breathing control separates deliberate shots from lucky ones. Every inhale moves your chest, ribs, and shoulders. Every exhale creates stillness. In marksmanship, shooters exhale and hold at the natural pause before squeezing the trigger. Do the same with your phone. Inhale, exhale halfway, hold that breath, and tap the shutter during the hold. Your lungs won’t expand or contract. Your frame stays locked.
The exhale should be natural, not forced. You’re looking for a two to three second window where your body is genuinely still, not straining. In that window, your hands have the least drift, your shoulders have the least tension. Tap the shutter. That’s the protocol: breathe in, exhale, hold, shoot within two seconds.
The Mobile In Hand Leverage Principle
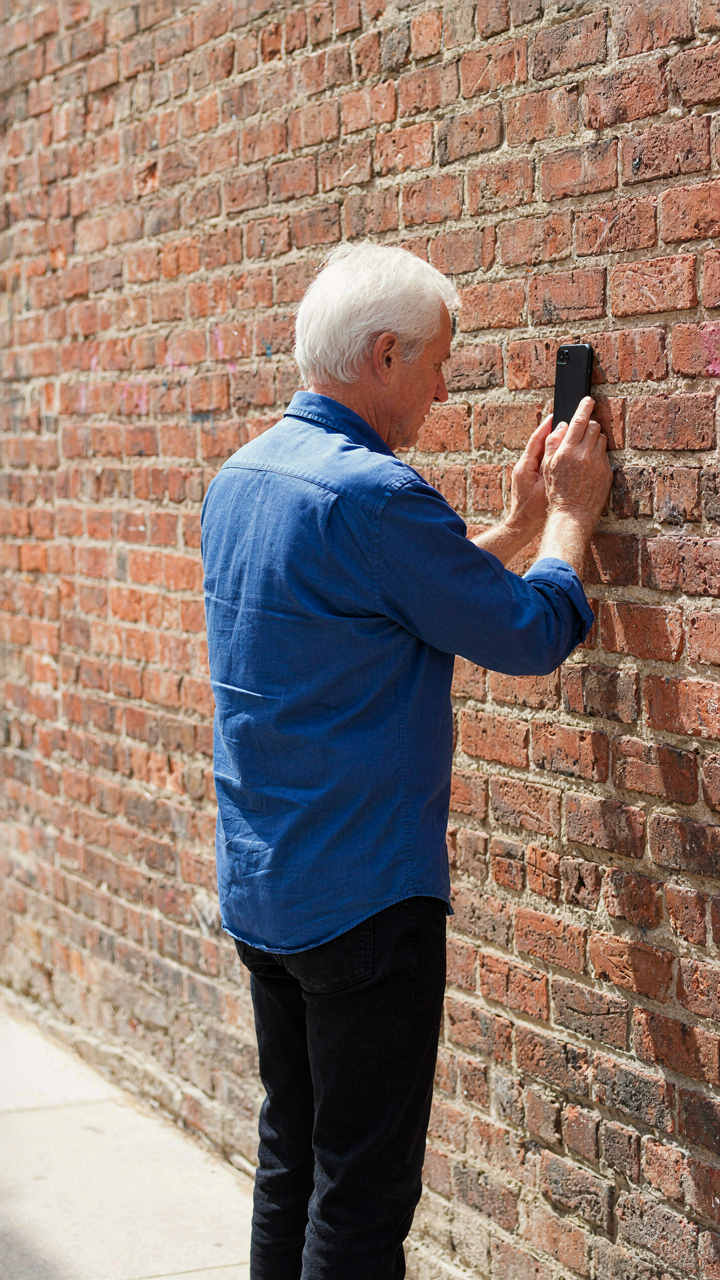
Anchor Your Phone To The Environment
You want sharp photos without looking like you’re fumbling. The real mechanism here is leverage. In engineering, leverage means using a fixed point to multiply force with minimal effort. Your iPhone is the load, your hand is the effort, and the environment becomes your fulcrum. Most people treat their hands as the only tool available. They aren’t. Every surface around you reduces camera shake by removing the burden from your arm muscles entirely.

Find contact points that don’t require you to move. Press your iPhone against a wall, doorframe, tree trunk, or table edge. The phone touches the fixed object at two points minimum: the back and one side. This triangulation kills vertical and horizontal drift. Your hand becomes the fine-adjustment mechanism, not the primary support. The environment does ninety percent of the stabilization work. You’re borrowing its structural integrity instead of fighting physics with tired muscles.
One Hand Versus Two: The Real Trade
Two hands feels safer because it spreads load across more muscle groups. That’s incomplete reasoning. One-handed shooting forces you to use environmental support because your single arm can’t hold steady alone. You adapt immediately and find a brace. Two hands let you cheat, so you don’t brace. You end up relying on grip strength, which fatigues and produces micro-movements. One-handed holding actually teaches better technique faster because the constraint forces the right behavior.
Two hands work when you’re moving or tracking motion. One hand works when the subject is static. Choose based on your shot type, not comfort. If you’re standing still photographing a landscape or portrait, switch to one hand and anchor the phone to something solid. Your forearm pins the device against a post. Your hand holds it at the correct angle. This removes the variable that breaks sharpness: muscular oscillation from trying to grip stability into existence.
Shutter Release: The Silent Killer Of Sharpness

Volume Button Vs On Screen Tap
You care about this because you’re tired of blurry shots you can’t explain. The real reason most phone photos fail isn’t grip or lighting—it’s the act of releasing the shutter itself. In mechanics, we call this “input lag,” and your finger is the problem. When you tap the screen to take a photo, your fingertip must travel down, make contact, and trigger the sensor. That travel distance creates micro-movement. The volume button sits on the side of the phone where your grip anchor already exists, so pressing it moves your entire hand less than reaching across the screen does.

The volume button method works because your hand is already positioned to absorb the force. When you tap the screen, your index finger extends from your grip point and pulls the phone toward it as it descends. This is physics, not preference. Use the volume button every time you need a sharp shot. Your grip stays locked. Your wrist stays neutral. The phone barely moves during actuation.
Timer Delay For Hands Free Actuation
This solves the problem most people ignore: you cannot hold the phone perfectly still while your finger is moving. The three-second or ten-second timer removes the variable entirely. Set the timer, then let your body settle into a stable position before the shutter fires. No finger movement means no acceleration. No acceleration means no blur from camera shake.
Use the timer for any shot where your hands are the weak point—low light, zoomed in, or when you’re braced against a wall or object. The delay also forces you to think about composition before the frame locks, which eliminates rushed shots. Press the button, then step back or secure the phone, then breathe. Wait for the countdown. The shutter fires when your body has zero momentum.
Accessory Augmentation: When To Break The Rules
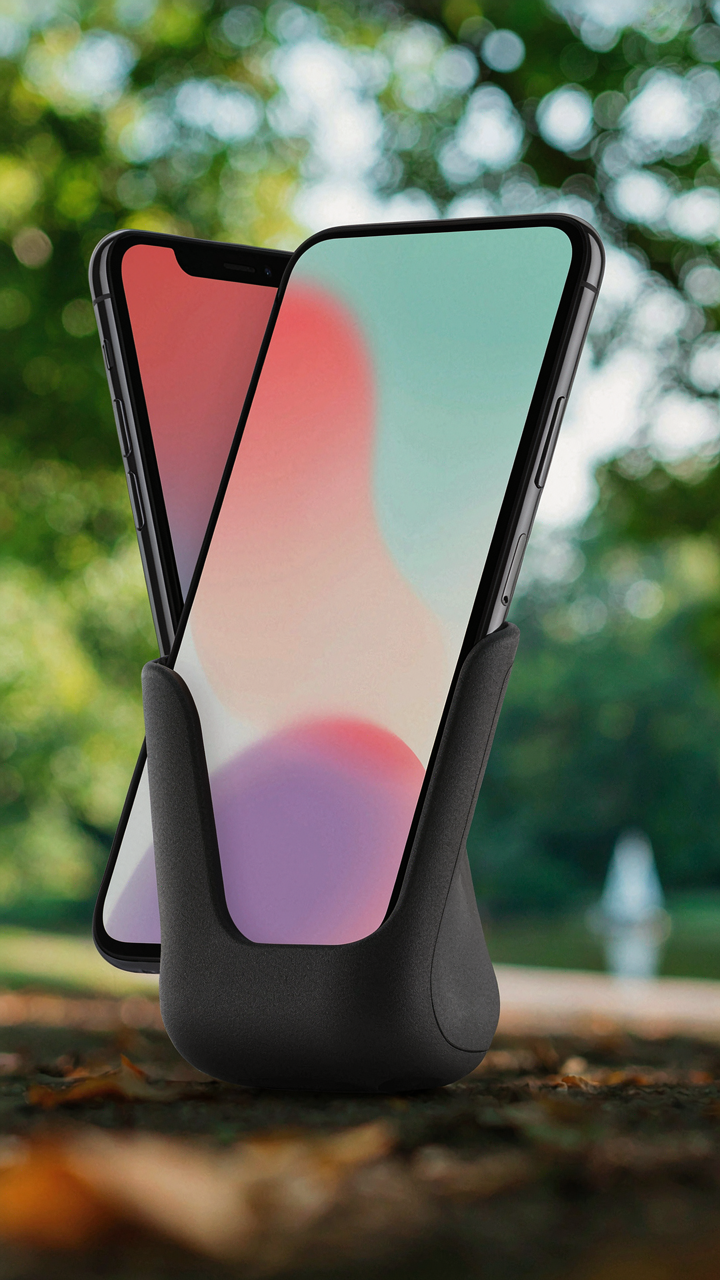
Grips, Cases, And Their Actual Impact
You want permission to buy gear instead of fixing your technique. Here’s the mechanism: a grip or case reduces hand fatigue by distributing pressure across your palm rather than concentrating it in your fingers, which means your stabilizing muscles stay engaged longer without tremor. But the common advice that “cases improve stability” is incomplete. A case adds weight and changes your phone’s center of gravity. The real benefit comes from texture and ergonomics, not mass.

Most phone cases sacrifice grip for aesthetics. Rubber or silicone surfaces with actual texture matter more than thickness. If your case is smooth plastic, you’re paying for fashion, not stability. Test this: hold your phone in a case for thirty seconds, then remove it. Your hand should feel noticeably more tired immediately after, not before. The grip did the work. A quality case with aggressive surface texture costs the same as a mediocre one, so the choice is tactical, not expensive.
Mini Tripods: Situational Deployment, Not Dogma
Mini-tripods are tools with specific contexts, not universal solutions masquerading as convenience. Think in terms of mechanical advantage: a tripod transfers the load from your muscles to a rigid structure, eliminating drift entirely. But they’re heavy, slow to deploy, and they lock you into a single angle and frame. Use them only when you have time to set up and your shot composition won’t change.
- Desk or table work: Mounting a phone for hands-free video calls or recording tutorial content where the camera angle stays fixed for minutes at a time.
- Low-light or long-exposure scenarios: When shutter speed drops below what human hands can hold steady, even a basic mini-tripod becomes mandatory, not optional.
- Repetitive framing: Taking multiple shots from identical angles for product photography or before-and-after documentation where consistency matters more than spontaneity.
- Group photos or self-portraits: Freeing your hands to position yourself or others in the frame without asking someone else to hold the camera.
- Video panning or tracking: Mounting the phone on a mini-tripod with a motorized head or fluid base for smooth, controlled movement you cannot replicate by hand.
Most people carry tripods they never use because they conflate “having the tool” with “actually deploying it.” A tripod sits in a bag for ninety percent of your shooting sessions. Keep one in your car or office for predictable scenarios. For spontaneous moments, it’s dead weight. The protocol is simple: before you leave, decide if your shoot has a fixed location and repeatable setup. If yes, bring the tripod. If no, leave it behind and master hand holding instead.
The Art Of Anticipation: “Holding Phone” For The Moment

Pre Focus And Pre Compose For Speed
You want the shot without thinking about it because thinking kills timing. That’s the real reason you care about this section. Pre-focusing borrows from military doctrine: “action before reaction.” You lock your focus and composition before the moment arrives, so your hands only stabilize, not adjust. This removes the variable of focus-hunting mid-shot, which destroys sharpness faster than camera shake ever could.

Most people focus and compose simultaneously, which splits attention between two competing tasks. Lock focus on where your subject will be, lock your frame position, then wait. Your hands become a stabilization rig, not a decision-making tool. Tap to focus on the exact spot, reframe if needed, then stop moving. When the moment hits, press the shutter. No hand drift from refocusing. No blur from recomposing.
Burst Mode More Than Just Action Shots
Burst mode solves a problem most people don’t admit: your hands are not stable enough to guarantee sharpness on a single press. It’s the insurance policy against your own physiology. Take five frames instead of one, and probability favors at least one frame with zero motion blur. This works because burst eliminates the variable of shutter button pressure, which introduces micro-movements.
Fire in bursts of three to five frames on every shot that matters, not just fast-moving subjects. At least one frame in that sequence will have optimal hand position and minimal shake. Delete the soft ones after. This trades storage space for a near-guarantee of sharpness. Consistency beats luck.
Beyond The Grip: Software Stabilization Secrets
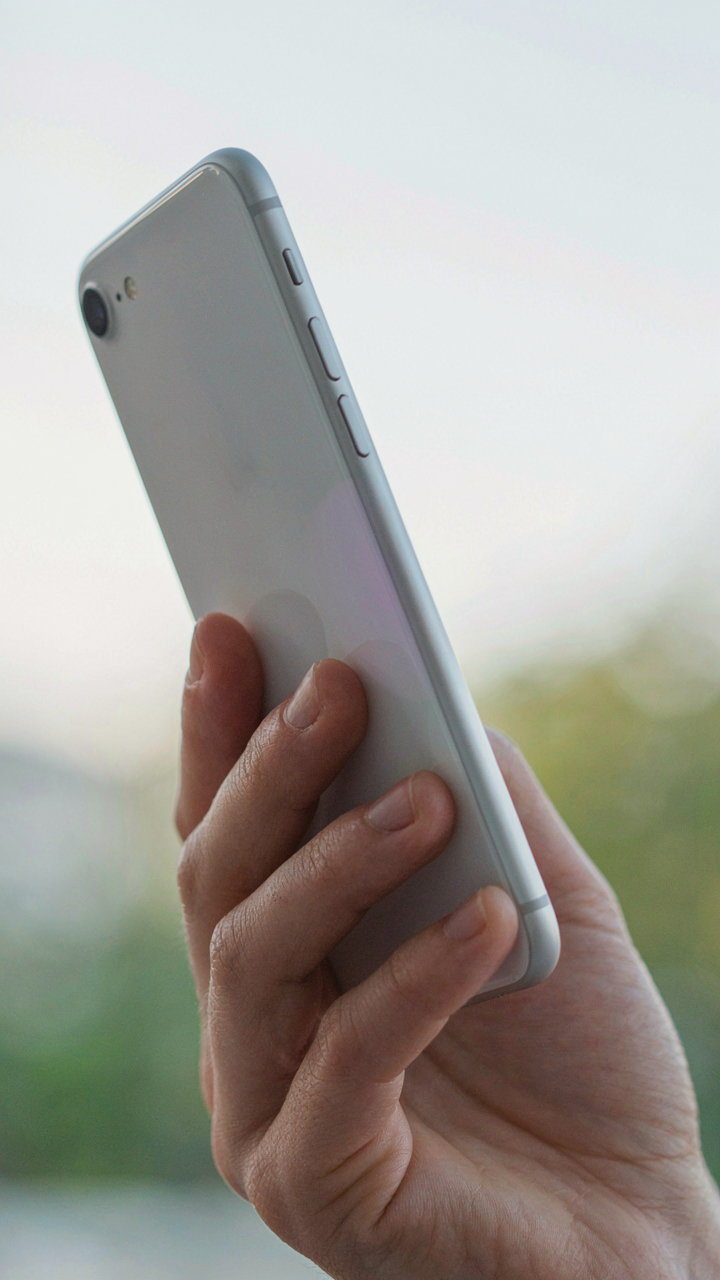
Optical Stabilization Works Like A Gyroscope
You want to believe your phone’s stabilization is doing the heavy lifting so you don’t have to think about your grip. It’s not. Optical image stabilization, or OIS, functions as a gyroscope would in aerospace engineering: it detects motion and physically shifts the camera lens to counteract it in real time. The sensor measures tilt and movement, then activates tiny motors that float the lens assembly, keeping it stable relative to the incoming light path while your hand moves.

This system has real limits. OIS compensates for small tremors and micro-movements, typically within a range of a few millimeters. Beyond that threshold, no amount of lens shifting saves you. This is why your grip still matters more than the technology. A loose or twisted hold exceeds what OIS can correct, which is why you see blurry photos from people who assume the phone will handle everything. Your hand position sets the baseline. The software just cleans up the noise you create after that.
Computational Photography Fills The Gaps
What people call “computational photography” is really temporal image stacking disguised as a single shot. The phone doesn’t take one photo anymore. It captures a burst of frames at high speed, analyzes each for sharpness and alignment, then fuses the clearest data from multiple exposures into one final image. This process runs in the background on every modern iPhone. The mechanism is simple: more data points equal more chances to extract a sharp result, even when your hand introduces small variations between frames.
The catch is timing and lighting. Computational stacking works best in adequate light where the phone can maintain fast shutter speeds across its burst sequence. In dim conditions, the phone slows down each individual frame to gather light, which widens the window for handshake to degrade image quality before the algorithm can correct it. This is why holding steady matters even more in low light, not less. Your grip becomes the primary stabilization tool when software can’t grab clean frames fast enough to work with.
Hands Holding Phone: The Ergonomics Of Endurance

Grip Adjustments For Longer Shoots
You want to look professional without your hands shaking in the frame. The real issue is muscular fatigue, which degrades stability faster than technique ever could. Biomechanics teaches us about load distribution, and your phone grip works the same way: concentrated force in one spot creates fatigue. Spread the load across multiple contact points and you extend your holding capacity without technique changes.

A three-point grip beats the standard pinch every time. Use your thumbs on the back, index fingers on the sides, and let your remaining fingers curl underneath for support. This distributes pressure across muscle groups instead of taxing your thumbs alone. Switch which hand leads every few minutes. Your non-dominant hand can hold steady while your dominant hand resets. This rotation prevents the localized burn that kills your shot consistency mid-shoot.
Posture’s Impact On Overall Stability
Bad posture doesn’t just look unprofessional, it actively destabilizes your phone work. Your core stability translates directly to arm stability, which translates to phone stability. Stand with your feet shoulder-width apart, knees slightly bent, shoulders back. Elbows stay tucked against your torso, not extended out like a tripod. When your elbows float, your shoulders compensate with micro-movements that ripple down to your hands.
Your head position matters too. Don’t crane your neck forward to see the screen. Bring the phone to your eyes instead. Forward head posture engages your neck stabilizers wrong and creates tremor feedback into your upper body. Plant your feet, lock your core, keep elbows in, bring the phone to you. These four points eliminate the postural drift that causes blur in otherwise solid shots.
Post Processing: The Final Stand Against Blur

Sharpening Tools: When And How Much
You’re reading this section hoping software will fix what your hands couldn’t do. It won’t. But sharpening works on a signal-to-noise principle borrowed from electrical engineering: you amplify the edges (signal) while the camera already captured blur (noise you can’t separate). The mechanism is simple. Sharpening increases contrast at pixel boundaries. This makes edges appear crisper without actually removing the blur already baked into the image. Apply it only to images that are technically sharp but lack punch, not to salvage motion blur.
Most editing software defaults to mild sharpening that looks good on screens but falls apart in print. The real move is selective sharpening: sharpen only the areas where focus is critical, typically faces or key subject details. Use a mask or local adjustment. Oversharpening creates halos and destroys texture. Test your images at 100% zoom on a calibrated display before exporting. Sharpening is a finishing touch, not damage control.
Noise Reduction Tradeoffs For Clarity
The common advice about noise reduction is backwards. People assume more reduction equals cleaner images. Actually, aggressive noise reduction destroys fine detail faster than it removes grain. Think of it as a surgical problem: you’re trying to remove noise without cutting into the tissue underneath. Low ISO shots need minimal noise reduction. High ISO shots require a different approach entirely.
Modern noise reduction algorithms preserve detail better than older methods, but they still trade clarity for smoothness. Apply noise reduction before sharpening, never after. Reduce luminance noise more aggressively than color noise, since your eye detects color noise less. Keep reduction settings moderate. Test small sections of your image at full zoom. The goal is removing actual noise, not painting over reality with computational smoothing.
The Real Blur Isn’t Your IPhone; It’s Your Unfocused Intention
Most people blame their phone when their photos look soft. Wrong target. You move because you don’t know what you’re shooting. Grip matters, yes. But intention matters more. Before you raise that camera, decide what deserves sharp focus. Lock your elbows. Plant your feet. Then shoot with purpose. Shaky hands come from shaky thinking.



