The “Beginner’s Hoard” Fallacy: Why More Tools Means Less Progress

You’re Afraid Of Looking Unprepared
You want the full kit because incompleteness feels like failure. The real mechanism is decision paralysis. When you own twenty tools you’ve never used, you spend mental energy evaluating which one to reach for instead of actually building something. Analysis replaces action. You freeze between a digital multimeter, an analog one, three different wire strippers, and a soldering iron you’re not confident using yet. The paradox is brutal: abundance of choice collapses into zero progress.
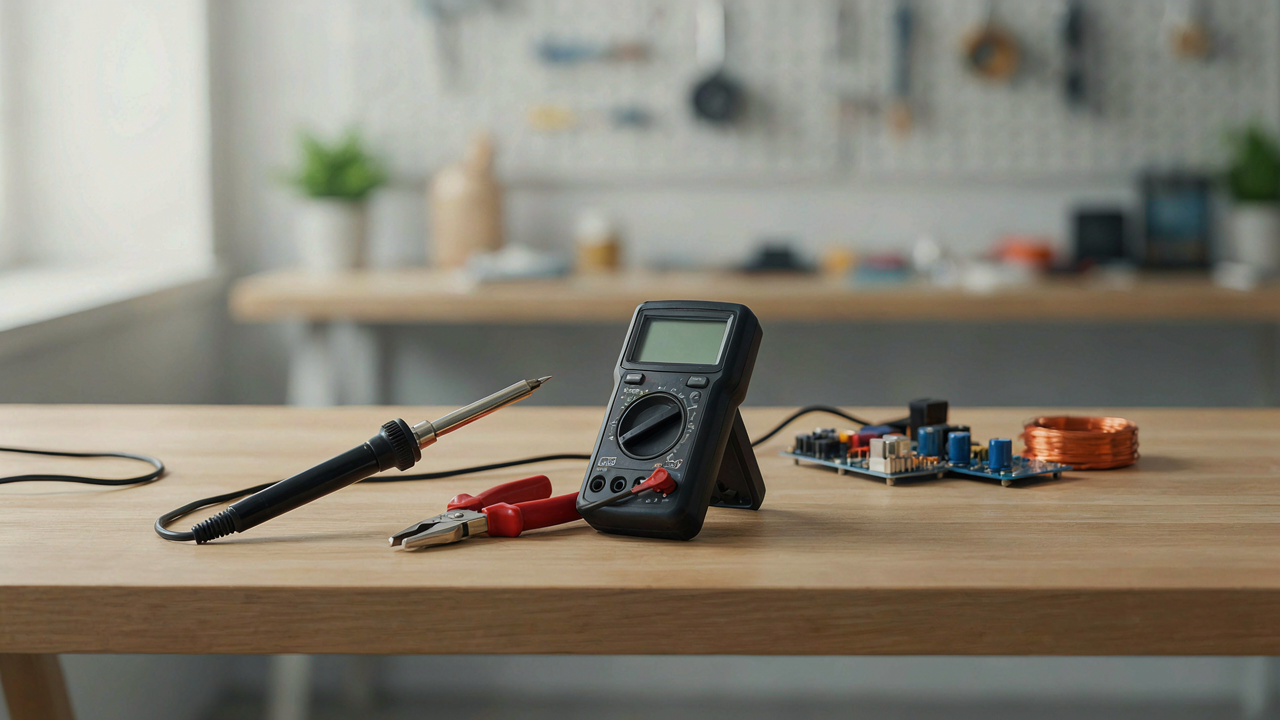
Most beginners own tools they’ll never touch. They buy based on “what if” scenarios instead of the project sitting in front of them. A full workbench doesn’t make you capable. Capability comes from using one tool repeatedly until it becomes invisible to your hands. You need exactly three things to start: a multimeter, a soldering iron, and wire strippers. Everything else is inventory pretending to be preparation. Buy them. Use them. Only add the fourth tool when the first three can’t solve the actual problem you’re facing.
Capital Locked In Dust Collectors
Buying tools you don’t use is a tax on your future learning. You spend money that could fund components, breadboards, or project kits instead. The economics are simple: every dollar in a drawer is a dollar you can’t reinvest into experiments that teach you. Beginners rationalize bulk purchases by imagining future projects, but future projects require capital you just spent on speculation.
A soldering iron costs fifteen to forty dollars. Wire strippers cost eight to twelve. A decent multimeter costs twenty to fifty. That’s fifty to one hundred dollars for the functional foundation. The rest of the toolkit costs another hundred dollars easily, and most of it stays wrapped. When you inevitably need a specific tool your hoard didn’t include, you’ll buy it anyway, wasting both the old capital and the new money. Start with core tools only, then buy the next tool when a real project demands it.
The Essential Trinity: Your First Purchases For Basic Electronic Circuits

Soldering Iron: Precision And Permanence In Connections
You want to buy this because you’re afraid of looking incompetent when your circuits fall apart. The mechanism is simple: solder melts at a low temperature and creates a metallurgical bond between components and copper traces. This isn’t glue. It’s a permanent connection that conducts electricity and holds mechanically. A 30-40 watt iron works for all beginner projects. Temperature control matters more than wattage. Anything below 350 degrees Celsius on the tip won’t melt solder reliably. Anything above 450 degrees damages component leads and traces.

Buy an iron with adjustable temperature, not a fixed-temperature model. The ceramic heating element lasts longer than nichrome wire. A wet sponge for cleaning the tip prevents flux residue from insulating the heat transfer. The solder itself should be lead-free, rosin-core, 60/40 or 63/37 tin-to-lead ratio if you can source leaded solder in your region. Practice on scrap wire first until the solder flows smoothly and forms a shiny cone around the joint. A cold joint looks dull and grainy. It works inconsistently, fails under vibration, and wastes your time troubleshooting a problem that never existed.
Multimeter: The Diagnostic Eyes For Your Circuits
Think of a multimeter as your circuit’s nervous system sensor. In systems theory, feedback loops detect deviation from expected state and trigger correction. A multimeter measures voltage, current, and resistance to confirm your circuit behaves as designed. Without it, you’re guessing. Most beginner projects fail not because the design is wrong, but because a single component is dead or a solder joint broke. A multimeter catches both in seconds.
Buy one with a backlit display and a manual range selector, not auto-ranging. You’ll learn faster when you choose the range consciously. Test continuity first—this catches broken traces and bad solder joints immediately. Measure voltage across power rails before connecting components. Check resistance of components before soldering them in place. A basic digital multimeter costs under thirty dollars and handles everything you’ll encounter in the first year. Don’t upgrade until you understand what each measurement tells you about circuit health.
The “Scarcity Principle” For Hobby Electronics

Constraints Force Better Decisions
You want permission to buy everything at once because you fear missing out on the “right” tool. The mechanism is simpler: scarcity in your toolkit creates pressure to solve problems with what you have, which builds actual skill faster than having options. Economics calls this opportunity cost. In electronics, it’s the difference between owning a multimeter and knowing how to use it.

Start with three tools maximum. A soldering iron, a multimeter, and a pair of wire strippers solve most beginner problems. When you hit a wall without a fourth tool, you learn to work around it or discover you didn’t need it. This forced problem-solving cements fundamentals. Most beginners accumulate tools they never touch because they never faced the friction that would teach them to use it properly.
Build The Problem First, Then Hunt The Tool
Generic advice says “get a toolkit.” That’s backward and wastes money. The real pattern is inverted: identify a specific circuit you want to build, hit an actual obstacle, then acquire the minimum tool to clear it. Tools purchased this way get used immediately and stay in rotation.
Example: You’re breadboarding an LED circuit. You need to know if your power supply is delivering the right voltage. That’s when you buy a multimeter, not before. You’re not speculating about future projects. You’re solving a concrete problem that exists right now. This method eliminates dead inventory and ensures every tool in your workspace has a job, which is how professionals organize their bench.
Beyond The Bench: The “Learn Electronics” Debugging Protocol

Probing Without Assumptions
You want to feel like you know what you’re doing before you actually do. The real mechanism here comes from military strategy: reconnaissance by force means you test aggressively to expose hidden failures instead of guessing. In electronics, this translates to systematic poking with a multimeter before you assume anything about a circuit’s state.

Most beginners grab a multimeter and then hesitate. They’re afraid of breaking something or looking stupid. Stop. A multimeter measures voltage, current, and resistance without forcing current into the circuit in ways that destroy components. Start at power supply pins, measure against ground, move downstream. You’re not diagnosing the problem yet, you’re mapping what actually exists versus what should exist.
Isolate One Variable Per Test
The common advice is to “test everything at once” or “use the process of elimination.” That’s lazy thinking. Iterative testing means you change one element of your setup, measure the result, then lock that finding down before moving to the next variable. Pull one component or disconnect one wire. Measure. Document the state. Put it back. This rhythm prevents you from creating new problems while hunting for old ones.
A solderless breadboard becomes your greatest debugging tool here because you can remove and reinsert components without permanent damage. When your circuit fails, physically separate the power stage from the signal stage. Test each half independently. The failure point narrows immediately. Record which node showed the wrong voltage or resistance, then isolate which component connected to that node caused the deviation.
The Power Supply Paradox: Why Less Features Often Means More Learning
Fixed Voltage Sources Teach Circuit Design Faster
You want a power supply that makes you look competent, not one that exposes how little you understand about voltage regulation. The mechanism is simple: when your supply does the thinking for you, you never learn what voltage actually does to a circuit. Borrowed from control systems engineering, a “setpoint” is the target value a system maintains automatically. A fixed voltage supply removes the setpoint from your hands and locks it in hardware. You stop asking why 5 volts works here and 12 volts fails there. You just plug in and hope.

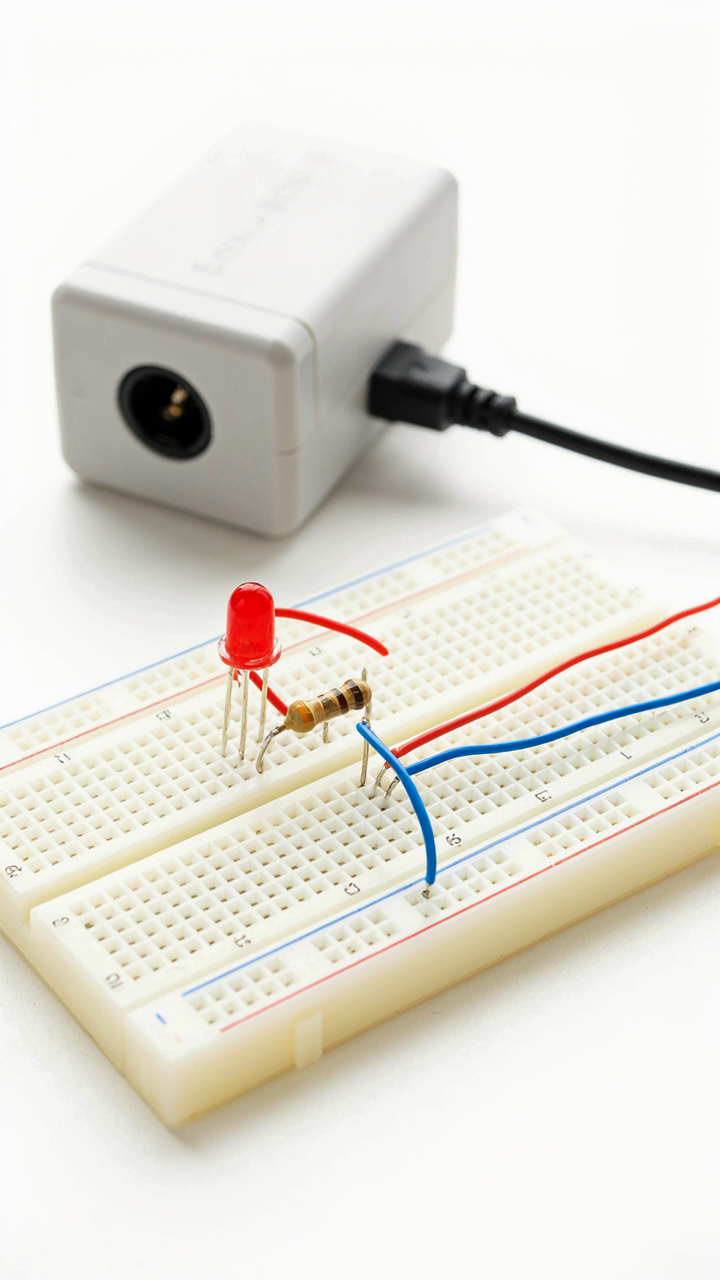
A basic fixed voltage supply forces you to respect constraints instead of ignore them. You cannot dial down to 3.3 volts because the supply outputs 5 volts. This friction teaches you component selection. You learn that LEDs need current limiting resistors because the supply will not protect them. You design around the tool instead of expecting the tool to compensate for bad design. This is the real education: understanding why your circuit needs what it needs, not just having enough features to brute force a solution.
Breadboard Connections Make Mistakes Visible
Every connection you make on a breadboard sits exposed and reversible, which is exactly why most beginners hate them at first. Breadboards force you to see the actual path electricity takes through your circuit instead of hiding it inside neat solder joints. When your LED does not light, you cannot blame a cold solder joint. You stare at the actual wires and trace the voltage path yourself. That brutal clarity is the entire point.
The speed advantage compounds over time. Removing a wire takes two seconds. Desoldering one takes five minutes and leaves cold joints behind. Breadboards let you iterate through ten circuit variations in the time solder would dry on one. You build faster, fail faster, and learn faster. The temporary nature of breadboard connections keeps you from over-committing to bad design decisions before you understand them.
The “Electrical Circuit Diagram” Interpretation Method

Schematic To Physical: Mapping Components Efficiently
You want to feel competent without actually building anything yet. That’s the real reason you’re reading this. The mechanism is simple: a schematic is a translation layer between intent and reality. Think of it like military strategy mapping terrain to troop positions. Every symbol on a diagram represents a physical object you’ll hold and place. Your multimeter, soldering iron, and wire strippers only work when you know what you’re actually building.

A schematic shows connections as lines. Those lines become physical wires in your hand. Resistors drawn as zigzags are actual components with two leads. Capacitors shown as parallel lines exist as cylindrical objects on your breadboard. The tool you choose depends on what the schematic demands. If you’re building on a breadboard, you need needle-nose pliers to insert components into holes. If you’re soldering, you need a soldering iron and solder. The schematic tells you which tool becomes mandatory before you buy anything.
Reading Component Datasheets For Informed Tool Use
Most beginners skip the datasheet entirely and wonder why their tools don’t work as expected. A datasheet is the contract between the component and your methodology. It tells you voltage ratings, pin configurations, physical dimensions, and failure points. Your tools operate within constraints set by the component’s specifications, not by your intuition. A soldering iron that’s too hot will destroy a sensitive integrated circuit. A multimeter set to the wrong range will give false readings or break itself. The datasheet prevents both outcomes by stating exactly what the component tolerates.
Start with the pinout diagram in any datasheet. This identifies which lead does what. Count the pins, note the orientation markers, then cross-reference with your physical component before touching a tool to it. Voltage and current ratings determine which measurement settings on your multimeter are safe. Temperature ratings tell you how hot your soldering iron can be without damaging the part. Read the datasheet first, then select your tool. Never select a tool based on what you own. Select it based on what the component requires.
Upgrade Calculus: When To Expand Your Electronic Workbench
Project Demands Drive Tool Acquisition
You want permission to buy more tools without feeling like you’re just collecting gear. Here’s the mechanism: a tool only becomes necessary when a specific project makes it the path of least resistance. Before that point, it’s overhead disguised as preparation.

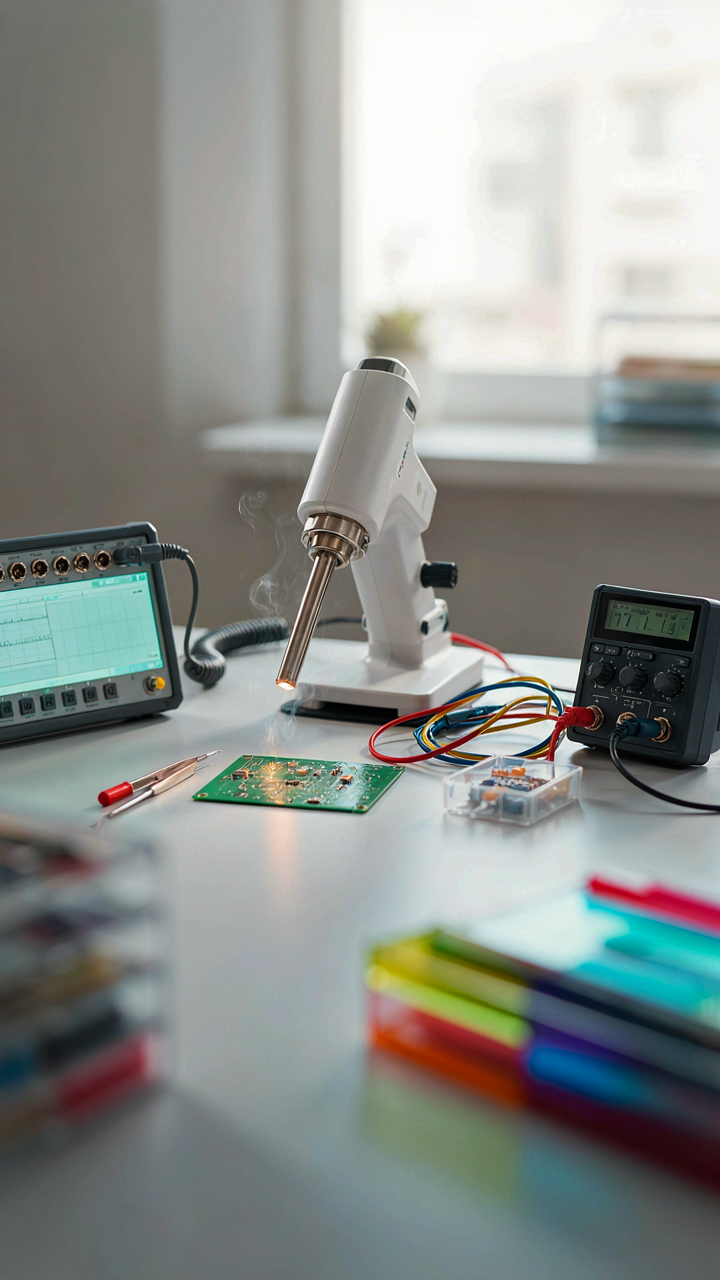
The economics framework applies here. In economics, marginal utility measures the value gained from one additional unit. In electronics, marginal utility of a tool drops to zero the moment you stop using it for actual projects. Buy a logic analyzer because you’re debugging a communication protocol that fails silently. Buy a hot air station because you’re reflowing surface mount components. Buy a function generator because you’re tuning filters. The project pulls the tool into existence, not the reverse.
- Soldering iron upgrades: Move to a temperature-controlled station only when basic irons can’t hold heat under thermal load or when you’re soldering components with tight tolerance requirements like BGA work.
- Multimeter expansion: Get a true RMS meter when you’re measuring non-sinusoidal signals or AC ripple, not before. Standard meters work fine for DC and basic AC checks.
- Oscilloscope acquisition: Start with 100 MHz bandwidth minimum if you need one at all. Cheaper 20 MHz scopes create false confidence and miss real problems in switching power supplies and digital signal integrity.
- Component storage systems: Build modular drawer systems when your parts exceed what fits in a shoebox, not when you have twelve resistor values. Scale matches scope, not ambition.
- Bench power supply upgrade: Replace a basic wall adapter supply when you’re building circuits that require current limiting, multiple voltage rails, or stability monitoring during development.
The pattern stays consistent: the project defines the tool requirement. You don’t buy a bench vice because it looks professional. You buy it when you’re holding a PCB for microsoldering and your hands are shaking. Write down every time you hit a real bottleneck over the next two months, then buy only tools that solve those bottlenecks.
The Real Cost Of Wrong Timing
Most advice about tool upgrades treats cost as the only variable. That’s incomplete and leads to waste. The actual cost includes time lost to inadequate tools, money spent on gear you use twice, and opportunity cost of capital tied up in your workbench instead of components.
A cheap multimeter costs 15 dollars and fails to measure impedance. You waste three hours troubleshooting a circuit that actually works. A 60-dollar meter solves that in ten minutes. That’s not a 45-dollar difference. That’s a 45-dollar upgrade that recovered three hours of your life. But that same 60-dollar meter sitting on a shelf because you don’t need its features for six months is a pure loss. The mechanism is this: calculate tool payback by dividing its cost by the hours it saves you in a real project timeframe. If payback exceeds three months of your current project pipeline, don’t buy it yet. Use free tools or rent time on shared equipment instead. Community makerspaces, schools, and repair shops often let you use oscilloscopes and soldering stations for hourly rates or memberships far below ownership cost.
Simple Circuit Success: Mastering One Tool At A Time

Push Your Current Tools First
You want permission to buy more gear because you’re stuck, and new tools feel like the escape route. They’re not. The real mechanism here borrowed from engineering is constraint optimization: the fewer variables you control, the faster you learn what actually matters. Most beginners exhaust a multimeter’s capabilities in a week, then blame the tool instead of themselves.

A basic multimeter reads voltage, current, and resistance. A soldering iron heats to temperature and melts solder. A breadboard accepts wire and components without permanent connections. You can build 80 percent of beginner circuits with just these three. Before buying a logic analyzer, oscilloscope, or power supply upgrade, you need to understand why your current setup failed. That failure teaches more than any new purchase will.
One Project Demands One Tool Addition
The “one project, one tool” philosophy stops you from building a graveyard of unused equipment. Pick a specific project: an LED flasher, a temperature sensor, a simple amplifier. Identify the single tool that blocks you from finishing it. Buy that tool. Use it until the project works. Then move to the next project that demands the next tool.
This method forces prioritization instead of hoarding. You learn each tool deeply because necessity makes you sit with it. A function generator becomes essential when you need to test frequency response. A logic probe matters when digital circuits stop behaving predictably. When you buy tools before you need them, they collect dust and you retain nothing. When the project demands it, you internalize the tool in hours.
The Real Obstacle Isn’t Lacking A Tool, It’s Lacking A Focused Problem To Solve
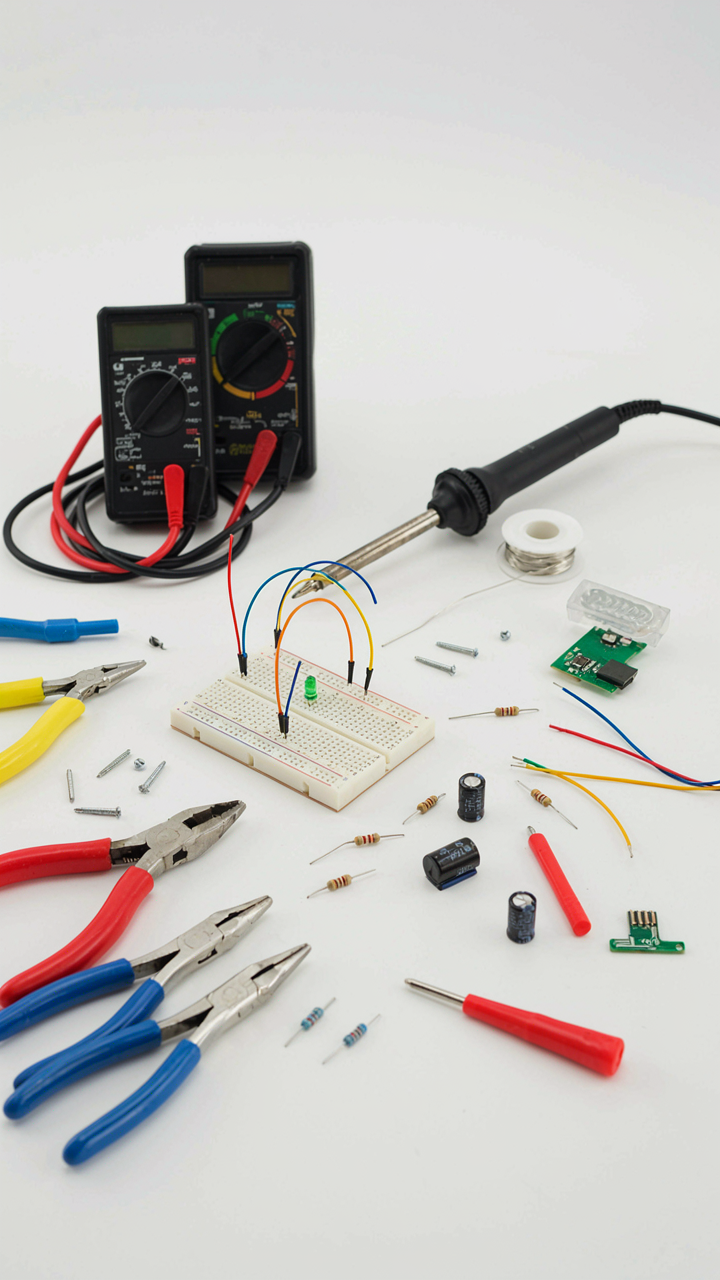
Most beginners buy tools before they have a real project. They end up with a drawer full of unused gear and zero skills. Flip this. Find a specific circuit you want to build or a device you want to repair. Then buy only the tools that problem demands. Pick one project today and order the three tools it requires. Your problem will teach you faster than any tool ever could.