The Illumination Fallacy: Why More Light Isn’t Always Better

Your IPhone’s Sensor Has A Hard Ceiling
You want to believe better light means better photos. It doesn’t. Your iPhone’s sensor has a fixed dynamic range—the gap between the brightest and darkest tones it can capture simultaneously. The common advice tells you to “get more light.” That’s incomplete. Your sensor doesn’t scale infinitely with light. Once you flood the frame, you lose detail in highlights. Shadows crush to black. The mechanism is signal-to-noise ratio physics: more light helps until your sensor saturates, then additional illumination just burns out detail instead of revealing it.
The iPhone 14 Pro’s sensor captures about 14 stops of dynamic range in optimal conditions. That’s the ceiling. Blast your subject with direct sun or a ring light at full power, and you compress that range faster than the processor can recover it. You’ve traded depth for brightness. The real skill isn’t adding light—it’s placing light where your sensor can actually resolve texture and separation without clipping. Position your key light at 45 degrees, diffuse it, and watch shadow detail return.
When Artificial Light Destroys Clarity
Continuous LED panels and ring lights create a false sense of control. The problem: most people crank them to maximum output because they assume intensity equals sharpness. Wrong. High-intensity artificial light increases lens flare, introduces color cast, and forces your iPhone to close its aperture mentally by raising ISO to compensate for the harshness. You end up with blown-out whites and muddy midtones. The sensor is working against overexposure, not toward clarity.
Fluorescent and cheap LED sources also flicker at frequencies your iPhone’s rolling shutter can’t sync with, creating banding and uneven exposure across the frame. Even tungsten bulbs color-shift your whites. Start with your light source at 50 percent power. Use a diffusion panel. Measure the actual light hitting your subject, not the raw output of the fixture. Your iPhone’s exposure meter guides you to the edge of headroom, not past it. Stop when you see detail in both shadows and highlights on your screen.
The Stability Paradox: Your Hands Are The True Enemy

The Subtle Shakes That Kill Sharp Focus
You want to believe your iPhone camera is the problem because admitting your hands move constantly feels like failure. Physics calls this phenomenon resonance, and your hands are the oscillating system destroying your focal plane. Every muscle twitch, every breath, every unconscious adjustment creates micro-vibrations that translate directly into blur. The iPhone’s sensor records these movements faithfully, which is why the camera works perfectly fine—your technique doesn’t.

Most advice tells you to “hold steady” or “brace yourself.” That’s incomplete. The real mechanism is acceleration, not just position. Your hands don’t need to move far to wreck sharpness. A movement of two millimeters at your wrist translates into image blur because the distance between your hand and the subject magnifies that tremor. Even with optical image stabilization enabled, you’re still fighting against your own physiology. The solution isn’t willpower—it’s constraint.
Micro Movements: An Invisible Photographic Assassin
Micro-movements operate below conscious awareness, which is why they destroy more photos than intentional movement does. Your iPhone’s autofocus system locks onto a plane, but the moment autofocus completes and your finger moves toward the shutter button, you’ve already shifted position. That half-millimeter shift happens in under a second. The sensor captures it as softness across the frame because the focal plane no longer aligns with your subject.
Here’s the mechanism: tap to focus, wait two full seconds before pressing the shutter, and keep your phone absolutely motionless between those actions. Use your second hand to brace the device. Better yet, rest it against a stable object. Your iPhone’s software can’t compensate for movement that occurs after focus locks. The stability paradox demands that you stop trusting your ability to hold still and start using external anchors instead. When you press the shutter, your hands should already be at zero velocity.
The Autofocus Deception: When Your IPhone Lies To You

How The AF System Misinterprets Intent
You want to believe your phone knows what you’re shooting. It doesn’t. The iPhone’s autofocus system uses contrast detection to find edges and lock onto them, but contrast exists everywhere in a frame. Your phone is making a guess about your subject based on where it detects the sharpest transition between light and dark, and that guess fails constantly because the algorithm has no concept of what you actually care about.

The real mechanism borrows from signal processing: your iPhone treats focus like a lock onto the strongest signal in the frame. When you tap to focus, you’re telling it which contrast zone matters. Tap on a face in soft light with a bright background, and the phone locks onto the background because the contrast there is higher. The autofocus didn’t blur your shot. It focused on the wrong thing, and you mistook that for a technical failure instead of a decision-making failure on the phone’s part.
Manual Focus Override: Reclaiming Control
Everyone says “just tap to focus.” That’s incomplete advice. Tapping works until it doesn’t, which is exactly when your lighting gets tricky or your subject sits near competing edges. Manual focus override cuts through the autofocus guesswork entirely. Swipe up on the focus slider after tapping, and you lock the focus point in place while gaining the ability to adjust it by dragging your finger up and down the screen. The phone stops hunting for contrast.
This becomes critical in three scenarios: backlit subjects where the background contrast dominates, shallow depth of field where the autofocus hunting creates micro-movements, and video where autofocus pumping destroys continuity. Enable the manual focus slider by tapping the camera settings, then lock your focus distance before shooting. You’ve now eliminated the mechanism that was causing the blur your phone blamed on everything else.
The Digital Zoom Trap: Pixels Are Not Infinite
When Digital Zoom Destroys What You Thought You Captured
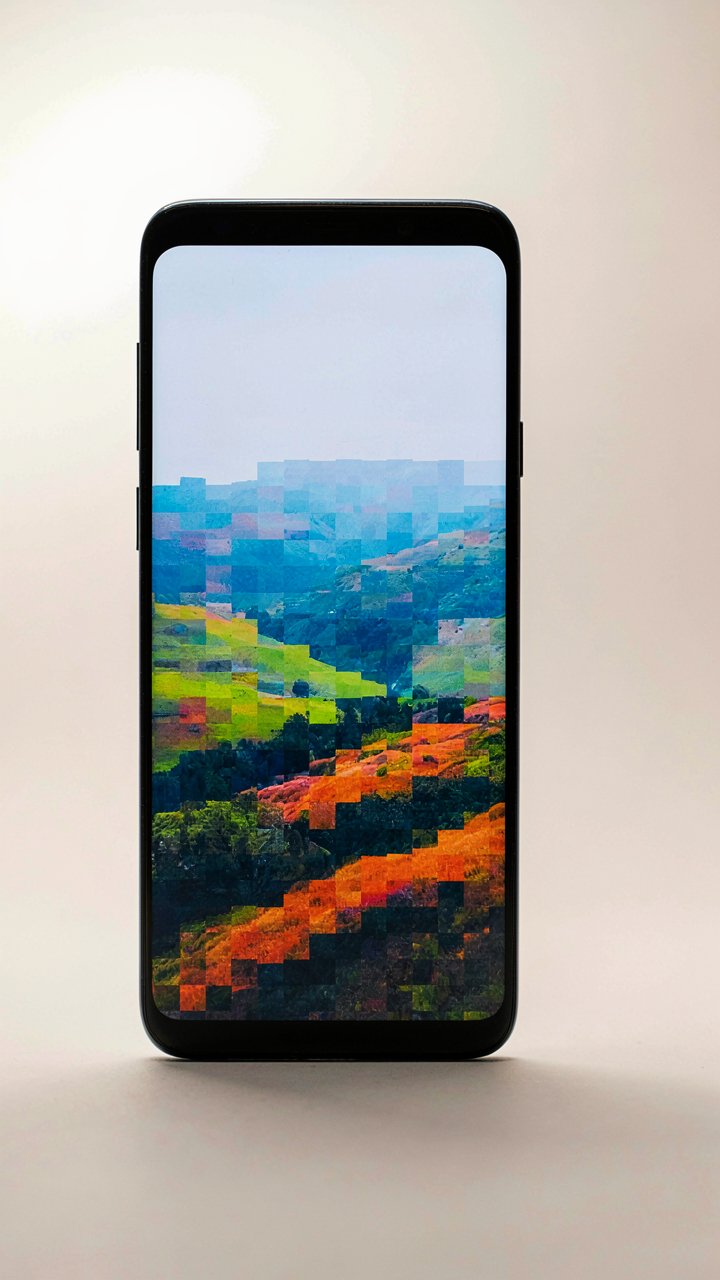
You want the shot to feel closer because it makes you look more intentional as a photographer. Here’s what actually happens: digital zoom crops your image and enlarges the remaining pixels. Your iPhone doesn’t add detail. It stretches what’s already there. The sensor captured a fixed amount of information at capture. Zoom in digitally and you’re just making those same pixels bigger, which means softer edges and visible degradation. The blurriness isn’t a processing error. It’s mathematics.

Think of it like photocopying a photocopy. Each generation loses information. Digital zoom is the same principle applied to pixels instead of paper. When you pinch to zoom after taking a photo, the phone interpolates new pixels by guessing what should exist between the old ones. This guessing creates artifacts and softness that no amount of post-processing sharpening can fully recover. The damage happens at the moment you frame the shot, not later.
Optical Versus Digital: The One Difference That Matters
Optical zoom uses actual glass optics to magnify the scene before light hits the sensor. Digital zoom crops and enlarges after the sensor captures. The iPhone 15 Pro and Pro Max have a 5x optical telephoto lens. That means five times magnification happens through real glass, not software math. When you use that lens, you’re not losing information. You’re gathering information from a narrower field of view. Every other zoom level on your iPhone above 5x is purely digital crop and interpolation.
The architectural difference is simple: optical zoom preserves resolution and detail. Digital zoom trades resolution for apparent magnification. Most iPhone users don’t realize they’re shooting digital zoom until they see the result. The default camera app doesn’t show you a line where optical ends and digital begins. You’re already zooming digitally before you notice. To avoid this trap, frame your shot at 1x or use the optical zoom lens if you have one. Anything beyond that on standard iPhone models is a blurry compromise you accepted without knowing it.
The Lens Contamination Protocol: Invisible Saboteurs
Why Your Lens Isn’t Actually Clean
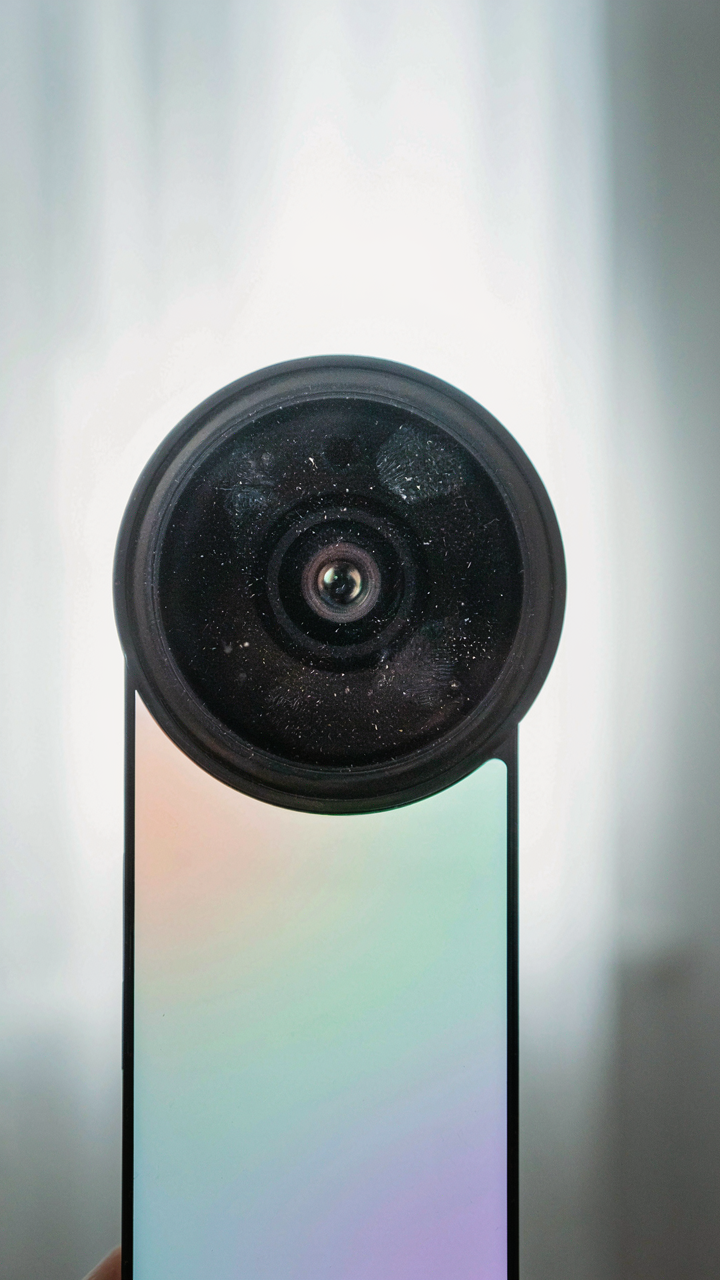
You’re checking your photos and blaming the phone when the culprit is sitting on your camera lens right now. Fingerprints and dust degrade image sharpness before any software or sensor limitation matters. Think of it like signal-to-noise ratio in electrical engineering: contamination acts as noise that competes with the actual light information reaching your sensor. A smudged lens scatters light rays at angles the computational photography can’t recover.

The mechanism is simple physics. Your iPhone lens is a precision optical element about the size of a peppercorn. Oil from your fingers or dust particles block light paths and create diffusion across the sensor. This doesn’t produce motion blur or focus failure—it produces a soft, veiled quality to every shot. No amount of tapping the exposure lock or adjusting focus will fix it because the problem exists before light reaches the sensor itself.
How To Actually Maintain Your Lens
Most people clean their lenses wrong or not at all, then wonder why their shots look flat. The standard recommendation—use a dry cloth—leaves residue. Here’s what works without causing damage.
- Microfiber cloth only: Use a clean microfiber cloth specifically made for optics. Regular cloth fibers scratch coatings. Replace it monthly or when visibly soiled.
- Breath and gentle circular motion: Exhale onto the lens, creating condensation. Wipe in slow circular motions from center outward. This removes oil without abrasive pressure.
- Isopropyl alcohol on cloth, not lens: Dampen the microfiber with 70% isopropyl alcohol, never drip directly onto glass. One pass only, then dry with a clean section of the cloth.
- Compressed air for dust first: Use a manual blower or can of compressed air to dislodge particles before wiping. This prevents dragging dust across the coating.
- Weekly protocol regardless of visibility: Clean even when you can’t see contamination. Oils build up gradually and degrade sharpness incrementally before you notice.
The mechanism that most people miss is accumulation. A single fingerprint reduces contrast by 10 to 15 percent. Two weeks of casual phone handling builds layers of microscopic oil that compound into visible softness. Establish a rhythm: clean your lens every seven days, before shooting sessions on important days, and after use in high-humidity or dusty environments. The camera system performs exactly as designed only when the lens is optically clear.
The Shutter Speed Myth: Beyond The Automatic Settings

When Your Subject Moves Faster Than Your Phone Captures
You want to believe your iPhone’s automatic settings handle this. They don’t, and that’s why your photos of moving subjects look like smeared glass. Physics doesn’t negotiate with convenience. When a subject moves, the camera sensor records light over a duration called shutter speed. Your iPhone’s automatic system defaults to whatever keeps the image bright enough, not whatever freezes motion. This is the core disconnect nobody admits.

The iPhone prioritizes exposure over motion control because it assumes you’re shooting static scenes in decent light. A faster shutter speed requires more light to hit the sensor in less time. Your phone chooses brightness first. When motion enters the frame, automatic settings become a liability. The camera slows the shutter down to capture more light, and the moving subject streaks across the sensor during that longer exposure. You get blur.
Remapping The Exposure Triangle For Mobile
Traditional photography teaches the exposure triangle: aperture, ISO, and shutter speed all trade off against each other. Borrow that framework and map it directly onto iPhone behavior. Your phone’s aperture is fixed (you can’t change it). Your ISO adjusts automatically to compensate. Your shutter speed is the forgotten variable in this conversation, and it’s the one strangling your motion control.
Here’s what actually happens: iPhone locks aperture, then uses ISO and shutter speed to expose the image. When light drops, the software increases ISO first, then slows shutter speed as a last resort. This order saves image quality at the cost of motion clarity. You reverse this priority by forcing faster shutter speed in low light through manual control in the camera app. Tap the exposure slider down before you shoot. This forces ISO higher and shutter speed faster. The trade-off is acceptable grain in exchange for stopped motion.
The Post Processing Pitfall: Fixing A Broken Base
Editing Blurry Photos: A Futile Exercise
You’re hoping post-processing fixes motion blur because admitting the shot is ruined feels like wasted time. Here’s the mechanism: motion blur destroys actual pixel information. When your subject or camera moves during exposure, the sensor captures light spread across multiple positions simultaneously. No algorithm recovers data that was never recorded. Sharpening filters can’t reconstruct what doesn’t exist in the captured file.

The common advice says “enhance in Lightroom and save the day.” That’s incomplete. You can reduce noise or boost contrast, but you cannot reverse motion blur. The moment the shutter closed on a blurry frame, the damage was permanent. Editing tools work on what the sensor actually captured. They sharpen edges that exist, not edges that vanished during movement.
Sharpness Filters: Digital Band Aids
Sharpening in post-processing is a mask, not a solution, borrowed from signal processing where you amplify edges to create the illusion of clarity. What happens: the filter increases contrast between adjacent pixels, making blur appear less severe. It doesn’t add sharpness. It manufactures the appearance of it. Your brain perceives the contrast shift as detail, but the underlying blur remains unchanged. You’re applying cosmetics to a structural failure.
Relying on sharpness filters trains you to accept mediocre captures. Each filter application compounds compression artifacts and noise, degrading the image further with each pass. The real protocol: shoot sharp in camera first. Get proper lighting, stabilize your device, nail focus before release. Only then does post-processing enhancement have something real to work with. Sharpening filters work best on already sharp images that need minor refinement, not on frames broken at capture.
The Environment Neglect: Where Context Kills Clarity

Atmospheric Interference And Optical Scatter
You want to believe the camera is the problem so you don’t have to change where you’re standing. Here’s the actual mechanism: light travels through air. That air contains particles. Humidity, fog, and pollution create a scattering effect that degrades contrast and sharpness before the sensor even captures the image. Physics doesn’t care about your composition preferences.

High humidity and fog are the primary culprits. Water vapor in the air acts like a diffusion filter, softening edges and reducing the separation between foreground and background. Pollution particles do the same thing. Your iPhone’s processing can’t recover detail that never reached the sensor in the first place. Shoot on clear, dry days when visibility extends far. If you’re in coastal or industrial areas, expect chronic haziness.
Vibration Sources You’re Not Monitoring
The common advice says to hold steady and use image stabilization. That’s incomplete. Vibration comes from sources outside your body. Cars passing nearby create low-frequency vibrations that travel through the ground and into your tripod or your hands if they’re resting on a surface. Music or machinery does the same. Your iPhone detects these vibrations as motion, triggering the sensor to compensate erratically and blur the final frame.
Move away from vibration sources before you shoot. If you’re near a road, step back fifty feet minimum. If you’re indoors near speakers or machinery, relocate. Use a tripod only when you’re on isolated ground or a solid structure away from equipment. Handheld shooting in vibration-heavy environments will produce inconsistent results regardless of your technique because the phone is responding to external energy, not your movement.
The Real Blur Isn’t In Your Photos; It’s In Your Understanding Of What Truly Matters
Most photographers obsess over technical fixes when they should obsess over intention. A blurry photo isn’t a failure of your phone. It’s a failure of your plan. You didn’t know what you were shooting before you raised the camera. Fix that first. Today, pick one subject and shoot it five different ways with purpose. Notice how clarity follows commitment.




