The Frame Rate Fallacy: Why More Isn’t Always Better For IPhone Video Settings
When Slow Motion Isn’t The Default
You want 60fps because you think it makes you look more professional. It doesn’t. In cinematography terms, frame rate is your shutter—it controls motion blur and the illusion of time itself. Higher frame rates don’t equal better video. They equal different video with specific use cases.
60fps on iPhone captures twice as many frames per second as the standard 24fps. This creates a hyper-smooth, almost unnaturally clear image that reads as modern and clinical. Use it only when you’re intentionally shooting slow-motion footage or capturing fast action you plan to slow down in post. Default shooting at 60fps wastes storage and ruins the visual language most audiences expect from finished video.
The Cinematic Look Requires Intentional Settings
The film industry chose 24fps not by accident—it’s the slowest speed that still feels fluid to human perception. That constraint forced filmmakers to use motion blur and composition to convey information. When you lock your iPhone to 24fps, you’re not adding a filter. You’re adopting the technical limitation that shaped cinema for a century.
Go to Settings > Camera > Record Video and select 24fps at 1080p or 4K. Shoot outdoors in natural light where motion blur becomes visible and matters. The lower frame rate combined with natural motion blur creates separation from phone footage shot at 30fps or 60fps. This is the only free cinematic move available on any iPhone model.
Resolution Roulette: When 4K Becomes A Bottleneck, Not A Boost

The Storage Tax Nobody Names
You want 4K because it sounds like future-proofing. It’s not. This is economics talking: in economics, a bottleneck occurs when one constraint limits the entire system’s output. Your storage is the bottleneck here, not your camera. A one-minute 4K video at 60fps consumes roughly 400-500MB on iPhone. That math compounds fast. Most creators never finish projects because their devices choke halfway through editing, or they delete footage to make room, or they stop shooting altogether. The resolution didn’t make them better. The file size made them quit.

4K demands more than storage space. It requires processing power during capture and export. Your iPhone’s A-series chip handles it, but every other task competes for that same resource. Battery drains faster during recording. Heat throttling kicks in during longer sessions. Export times extend into hours. Meanwhile, most social platforms compress or re-encode your footage anyway, neutralizing the resolution advantage before viewers ever see it. You’re paying the cost in full without collecting the benefit.
When 1080p Wins The Actual Game
The advice says shoot in the highest resolution possible. That advice is incomplete. 1080p at 60fps delivers smooth motion that viewers process faster than resolution detail. It uses one-quarter the storage of 4K 60fps. It exports in minutes instead of hours. It loads faster on phones, uploads faster to platforms, and edits without lagging on mid-range systems. The constraint shifts from storage to creative output: you shoot more, edit more, ship more. That compounds into actual skill and actual reach.
Choose 1080p when editing, iteration, and shipping speed matter more than pixel density. Choose 1080p when your footage will land on Instagram, TikTok, or YouTube Shorts, where playback caps at smaller screens anyway. Choose 1080p when you’re testing concepts or building a library quickly. The decision isn’t about the camera’s capability. It’s about whether you finish the project before your momentum dies.
Exposure Compensation: The Manual Control Your IPhone Video Craves
Using The EV Slider For Precise Brightness
You want your footage to look professional without hiring a colorist, and exposure compensation is how you stop leaving money on the table. Think of exposure like gain in audio engineering: the input level determines everything downstream. On iPhone, the EV slider lets you dial brightness before you hit record, not after. Tap the screen to focus, then swipe up or down on the sun icon that appears. Each notch shifts the sensor’s sensitivity to light. Negative values darken the frame. Positive values brighten it. The range runs from minus 4 to plus 4 in most models.

Most creators ignore this tool and shoot flat, then try to fix it in post. That’s backward. Setting exposure correctly in-camera means your video preserves detail in highlights and shadows instead of crushing them into unusable information. The iPhone’s sensor has limits. Overexpose and your sky turns white with zero recovery. Underexpose and your subject becomes a silhouette. Exposure compensation is your only real-time control before the sensor locks in the image. Lock it in right the first time.
Locking Exposure For Consistency Between Shots
Consistency breaks the amateur look faster than anything else. One shot bright, the next dim, and your edit jumps like a strobe light. On iPhone, you lock exposure by tapping and holding on your subject until you see “AE/AF Lock” appear at the top of the screen. AE stands for automatic exposure. When locked, the iPhone stops recalculating brightness frame to frame as light conditions shift. Your footage stays locked at that exposure value for as long as you hold the lock active.
Unlock and retap to adjust if your scene changes dramatically. Use this before every shot where continuity matters: an interview, a product reveal, a sequence of clips in the same location. The lock holds your EV setting steady while you reframe or move. Without it, your camera hunts for the right exposure constantly, creating flicker and drift that editing software can’t fully repair. Lock exposure, frame your shot, then record. This protocol eliminates the most common reason mobile footage looks unstable.
The Stabilization Illusion: Why Software Can’t Fix Bad Form
Optical Versus Digital Stabilization
You want to believe a setting can fix your shaky hands. It can’t. The physics of stabilization work like a gyroscope: optical systems move lens elements to counteract motion before light hits the sensor, while digital stabilization crops and shifts the image after capture. iPhone uses both, but optical does the real work. Digital stabilization is crop masquerading as correction, and crop means resolution loss.

Optical image stabilization exists on iPhone 12 Pro models and later flagships. It physically moves the lens assembly to track camera movement in real time. Digital stabilization then runs on top, further correcting drift the optical system misses. But here’s what Apple won’t tell you plainly: digital stabilization wastes your resolution to hide bad technique. Every pixel you lose to digital crop is gone forever. The setting can’t overcome fundamental camera physics.
Stabilization Requires Stillness First
Body mechanics determine shot quality before any iPhone setting activates. Think of your body as the tripod. If the tripod moves, no amount of lens correction compensates. Stabilization assumes minor drift from hand tremor, not large motions from your arm repositioning or your torso shifting. The mistake most creators make is enabling maximum stabilization and ignoring their own movement entirely.
Plant your feet shoulder width apart when shooting. Lock your elbows against your ribs. Support the phone with both hands, not one. When you need to pan, move from your hips and legs, not your shoulders. Enable Cinematic Mode or standard video stabilization only after your body is mechanically stable. The setting amplifies stillness—it doesn’t create it. Test this yourself: shoot handheld with stabilization off, then fix your form instead of changing settings. You’ll see the difference.
Dynamic Range Deception: Unlocking True Visual Depth With Best Iphone

HDR Video Versus Standard Dynamic Range
You want HDR footage because you think it makes you look professional. The real mechanism is simpler: HDR captures a wider range of light values in a single frame, meaning blown-out skies and crushed shadows become optional instead of inevitable. Standard dynamic range compresses all brightness data into a narrower band, forcing the camera to choose what lives and what dies.

iPhone HDR video records multiple exposures simultaneously and merges them during capture. This is borrowed from exposure bracketing in still photography, where “bracketing” means capturing the same scene at different light levels to preserve detail across the entire tonal range. When you enable HDR in video settings, your iPhone does this work in real time. The file size grows because you’re storing more information, but the trade-off is non-negotiable if you film mixed lighting or outdoor scenes with bright skies.
Highlight And Shadow Recovery
The common advice is wrong: turning on HDR doesn’t guarantee you’ll recover blown highlights or crushed shadows in post. What actually happens is the camera preserves the data needed to recover them. Shooting standard dynamic range gives you less raw material to work with later, no matter how skilled your colorist is.
Enable HDR in Settings > Camera > Record Video, then toggle it on for your preferred frame rate and resolution. This forces the camera to meter for the entire scene rather than favoring one exposure. Shadow detail becomes recoverable in highlights, and highlight detail stays in shadows. The mechanism works only during capture, not in editing. Once you’ve recorded in standard dynamic range, no post-processing software can invent the detail that was never recorded.
The White Balance Witch Hunt: Stop Chasing ‘Accurate’ Color

Color Theory Shapes Perception, Not Reality
You want white balance to be “correct” because you think it proves your footage is professional. It doesn’t. White balance is a psychological tool, not a technical checkpoint. Borrowed from color theory in design and film: white balance functions like contrast in composition. Just as contrast directs attention and emotion, white balance directs how the viewer feels about the scene. Warm light reads as intimate, safe, nostalgic. Cool light reads as sterile, urgent, untrusted. Your iPhone’s auto white balance algorithm chases neutral, which is the opposite of what you need for storytelling.

The common advice says “nail white balance in camera to save time in post.” That’s incomplete. Nailing white balance in camera means committing to an emotional strategy before you understand what the footage should feel like. Lock white balance manually not because it’s more accurate, but because it gives you control over the emotional register of your content. Let auto white balance run during shoots where you’re still discovering the story. Lock it down only when you know the mood you’re building.
Lock It Or Lose It To Automation
iPhone offers three white balance modes in the native Camera app: auto, presets, and manual lock. Auto hunts constantly and shifts mid-shot, making color flicker almost invisible until you’re editing. Presets give you named anchors like Daylight, Cloudy, or Tungsten, but they’re binary and won’t adapt to mixed lighting. Manual lock freezes white balance at the moment you tap and hold on a reference point, stopping all drift.
- Daylight: Assumes 5500K color temperature. Use this when sunlight is your primary source and you want neutral, sharp contrast. Works best between 10 AM and 2 PM.
- Cloudy: Shifts to roughly 6500K, adding warmth to overcast or shaded scenes. Use when you need to compensate for blue cast without looking orange.
- Tungsten: Locks to 3200K, aggressively cooling interior lighting. Use indoors with incandescent bulbs or when you want the scene to feel cold and intentional.
- Fluorescent: Targets mixed fluorescent light around 4100K. Most unpredictable in real offices because LED retrofits throw off its calibration.
- Manual Lock: Tap and hold on a neutral surface (white wall, gray card, skin tone) until the lock icon appears. This freezes the current white balance reading for the entire shot.
Manual lock is the only mode that prevents white balance from drifting mid-shot. Tap a neutral reference surface in the same light as your subject, lock it, then reframe. Your white balance stays frozen even if you move, pan, or the sun shifts behind a cloud. This is the single practical reason to leave auto behind.
Lens Selection Protocol: When To Ditch The Default For IPhone Camera Tricks
Wide Angle For Environmental Context
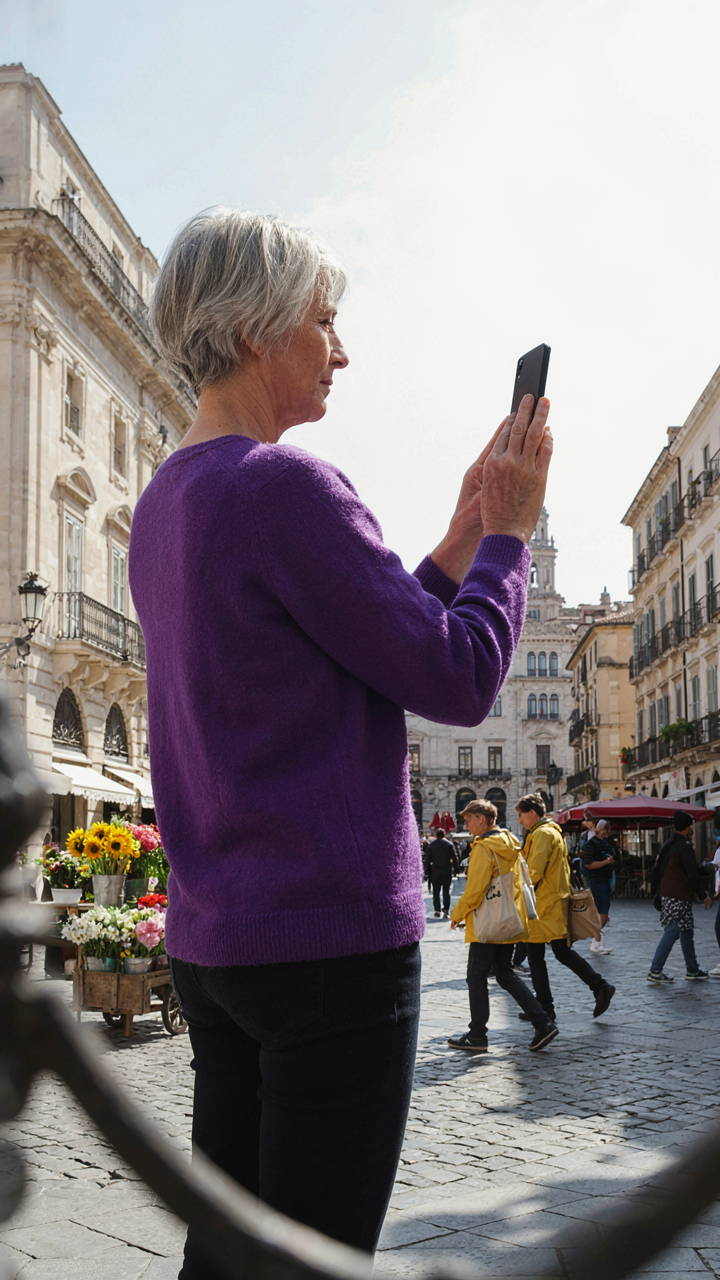
You want the viewer to feel present in the space, and you think switching lenses is the move. It’s not really. Optics borrow from geometry: a wide lens increases your field of view by shortening focal length, which means more environment enters the frame without you moving. The default iPhone camera sits around 26mm equivalent. When you tap the 0.5x or 1x toggle, you’re not getting “better” footage. You’re changing what story the frame tells.

Wide focal lengths distort edges and make foreground subjects appear larger relative to background. This works for establishing shots, environmental storytelling, and making tight spaces feel bigger. The trade-off: everything looks slightly further away, and edge distortion becomes obvious if your subject sits at frame edges. Use wide angle when the environment matters as much as your subject. Lock it in before you start recording to avoid jarring cuts.
Telephoto For Subject Isolation
Compression isn’t a camera trick. It’s basic physics applied to lenses. A telephoto lens (2x or higher zoom on iPhone) compresses the distance between foreground and background, stacking planes closer together visually. This isolates your subject and removes distracting context. Most creators skip this because the default feels “safe.” Safe is forgettable.
Telephoto zoom introduces two real constraints: reduced light gathering and increased camera shake sensitivity. Your phone’s stabilization compensates for shake, but low light still degrades quality because the sensor receives less light per pixel. Frame your subject with breathing room. Tighter framing hides compression artifacts and keeps focus lock stable. Switch to telephoto when your subject needs definition separate from surroundings, then commit to that focal length for the entire take.
The ProRAW Paradox: Beyond Basic IPhone Camera Settings
When ProRAW Actually Matters
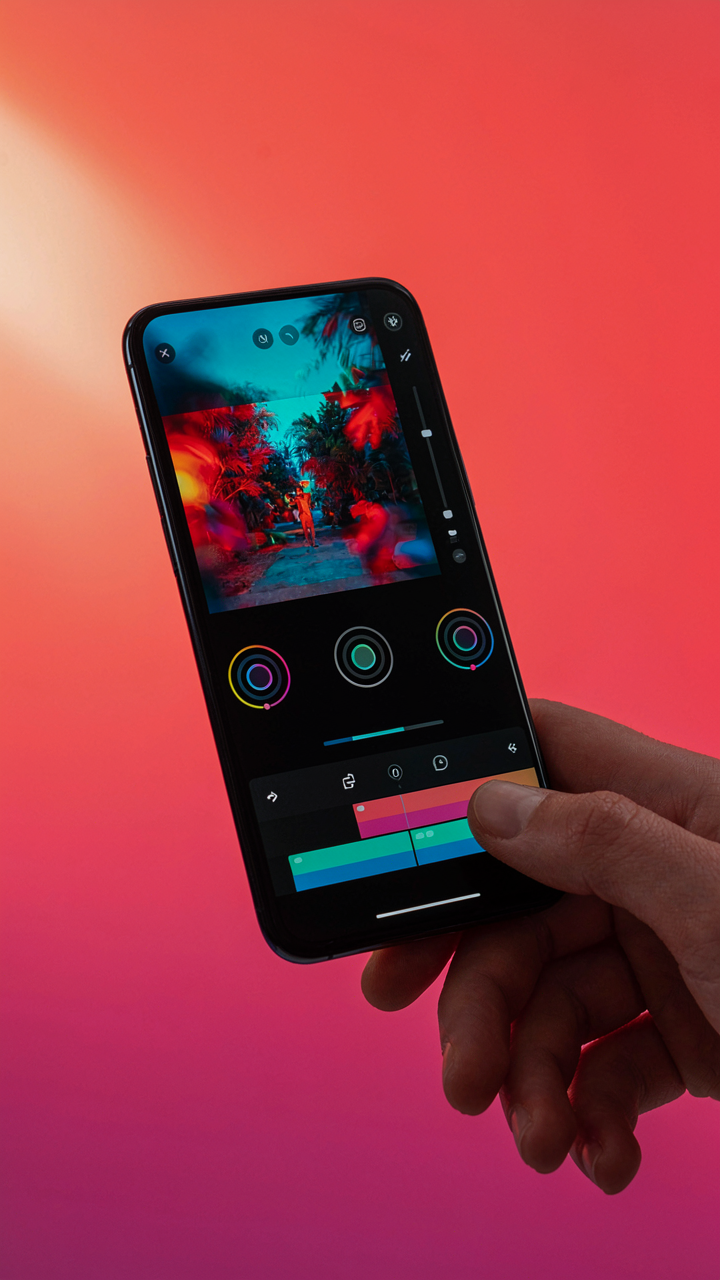
You want ProRAW because you think it signals you’re serious about video. The real mechanism is this: ProRAW captures 12-bit color information instead of 8-bit, giving you raw sensor data before the iPhone’s processing pipeline compresses it. That means more color information survives into post-production, but only if you’re grading aggressively. If your footage needs minimal correction, ProRAW wastes storage and processing time.

ProRAW files demand specific conditions to justify their size. Use ProRAW when you’re shooting in mixed or difficult lighting where you’ll need to recover shadow detail or pull down blown highlights. Shoot in LOG mode first (if available on Pro models), then consider ProRAW only when LOG leaves gaps in your color latitude. On standard iPhone models without LOG, ProRAW becomes the fallback for challenging exposures. Otherwise, standard video codec with proper exposure discipline beats ProRAW every time.
Color Grading Without Fighting Your Camera
The common advice says to shoot flat and grade later. That’s incomplete. You should shoot for the grade you want, then use ProRAW or standard footage to shift it 10 to 20 percent in post. Shooting completely flat wastes your iPhone’s metering advantage and creates extra work in color correction software.
In post-production, import your footage into Final Cut Pro or DaVinci Resolve and use the color wheels to shift hue and saturation in thirds: shadows, midtones, highlights. ProRAW files accept these adjustments without banding or color breaks. Standard footage tolerates about two to three stops of adjustment before compression artifacts appear. Lock your white balance in-camera before shooting. Your phone’s auto white balance creates inconsistent color between clips, which no grading tool fixes cleanly.
Your Pursuit Of ‘Smooth, Sharp Footage’ Isn’t About The IPhone; It’s About Your Fear Of Looking Amateurish

You’re obsessing over frame rates and bitrates because you think the gear matters more than it does. It doesn’t. Open your iPhone right now. Switch to 4K 60fps. Shoot something. Post it. Stop waiting for permission from your settings menu. The world doesn’t judge you for 24p versus 30p. It judges you for never shipping anything at all.




